Quick Links
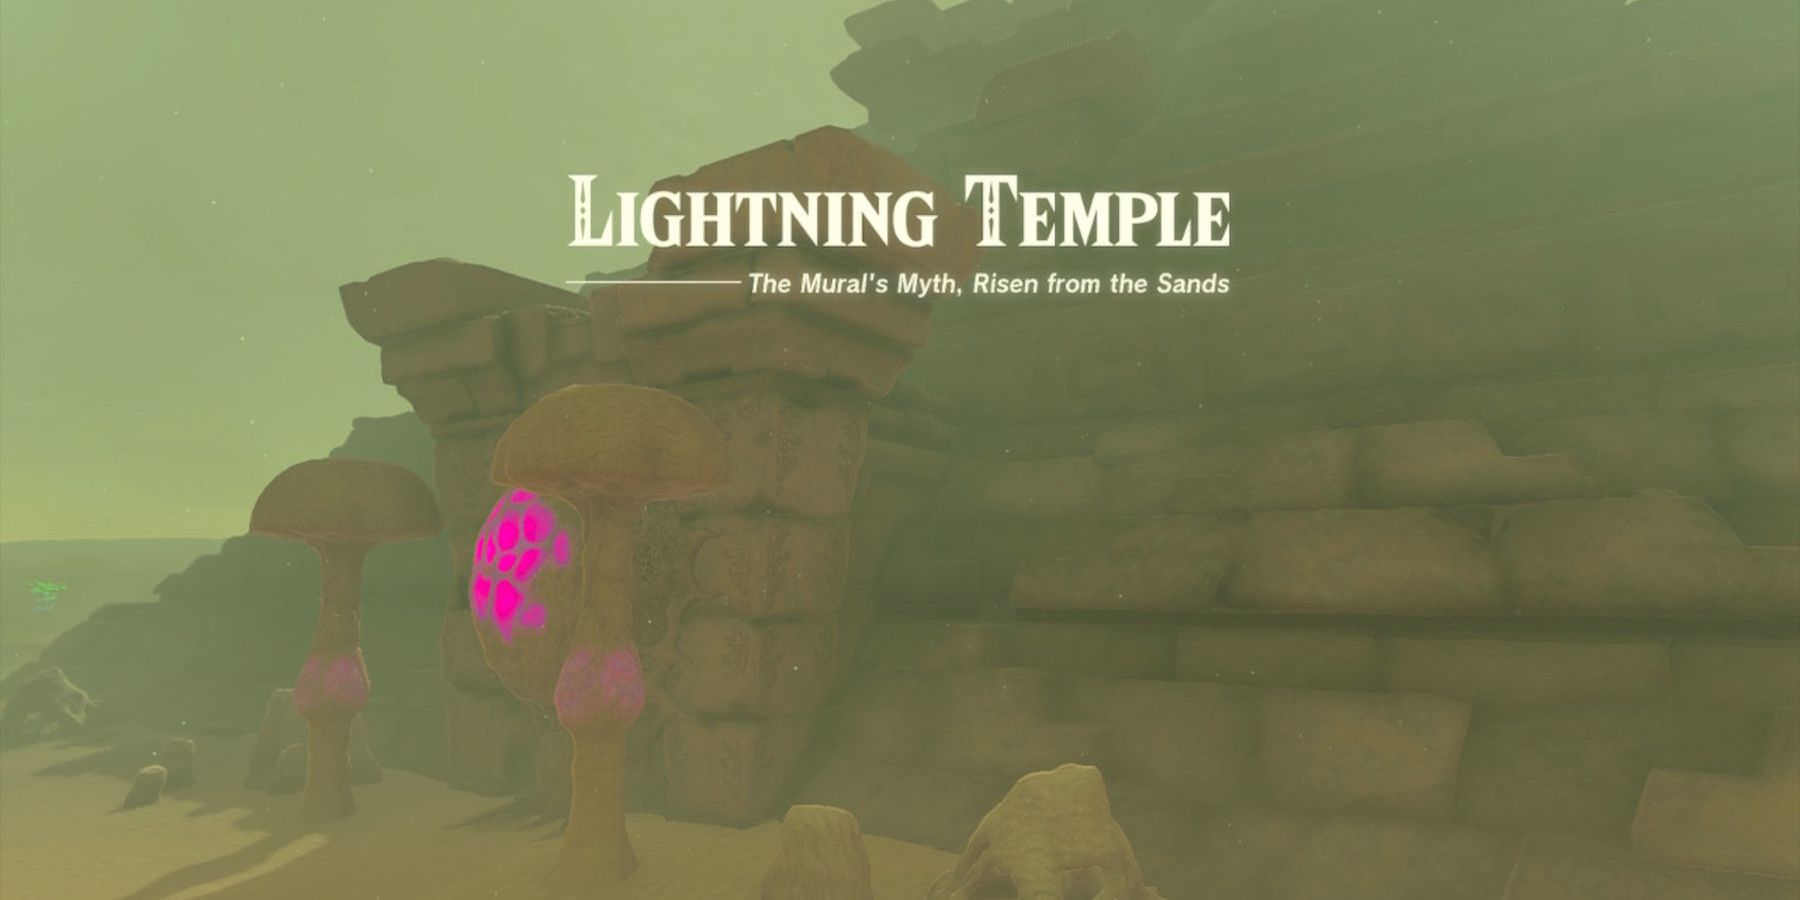
Players will visit the Lightning Temple in The Legend of Zelda: Tears of the Kingdom as part of the Riju of Gerudo Town main quest. In this dungeon, fans will encounter a variety of tricky puzzles, challenging enemies, and more, and there are many opportunities to get stuck. For those players that may find themselves in that situation, this complete walkthrough of The Legend of Zelda: Tears of the Kingdom's Lightning Temple is here to help.
To note, the boss at the end of the Lightning Temple can prove to be quite difficult, and players may want to make some preparations before digging deeply into this dungeon. Specifically, it is recommended that fans have at least eight Heart Containers, an assortment of healing foods, and some potent melee weapons at their disposal before taking on the final boss.
The Legend of Zelda: Tears of the Kingdom - Lightning Temple Entrance
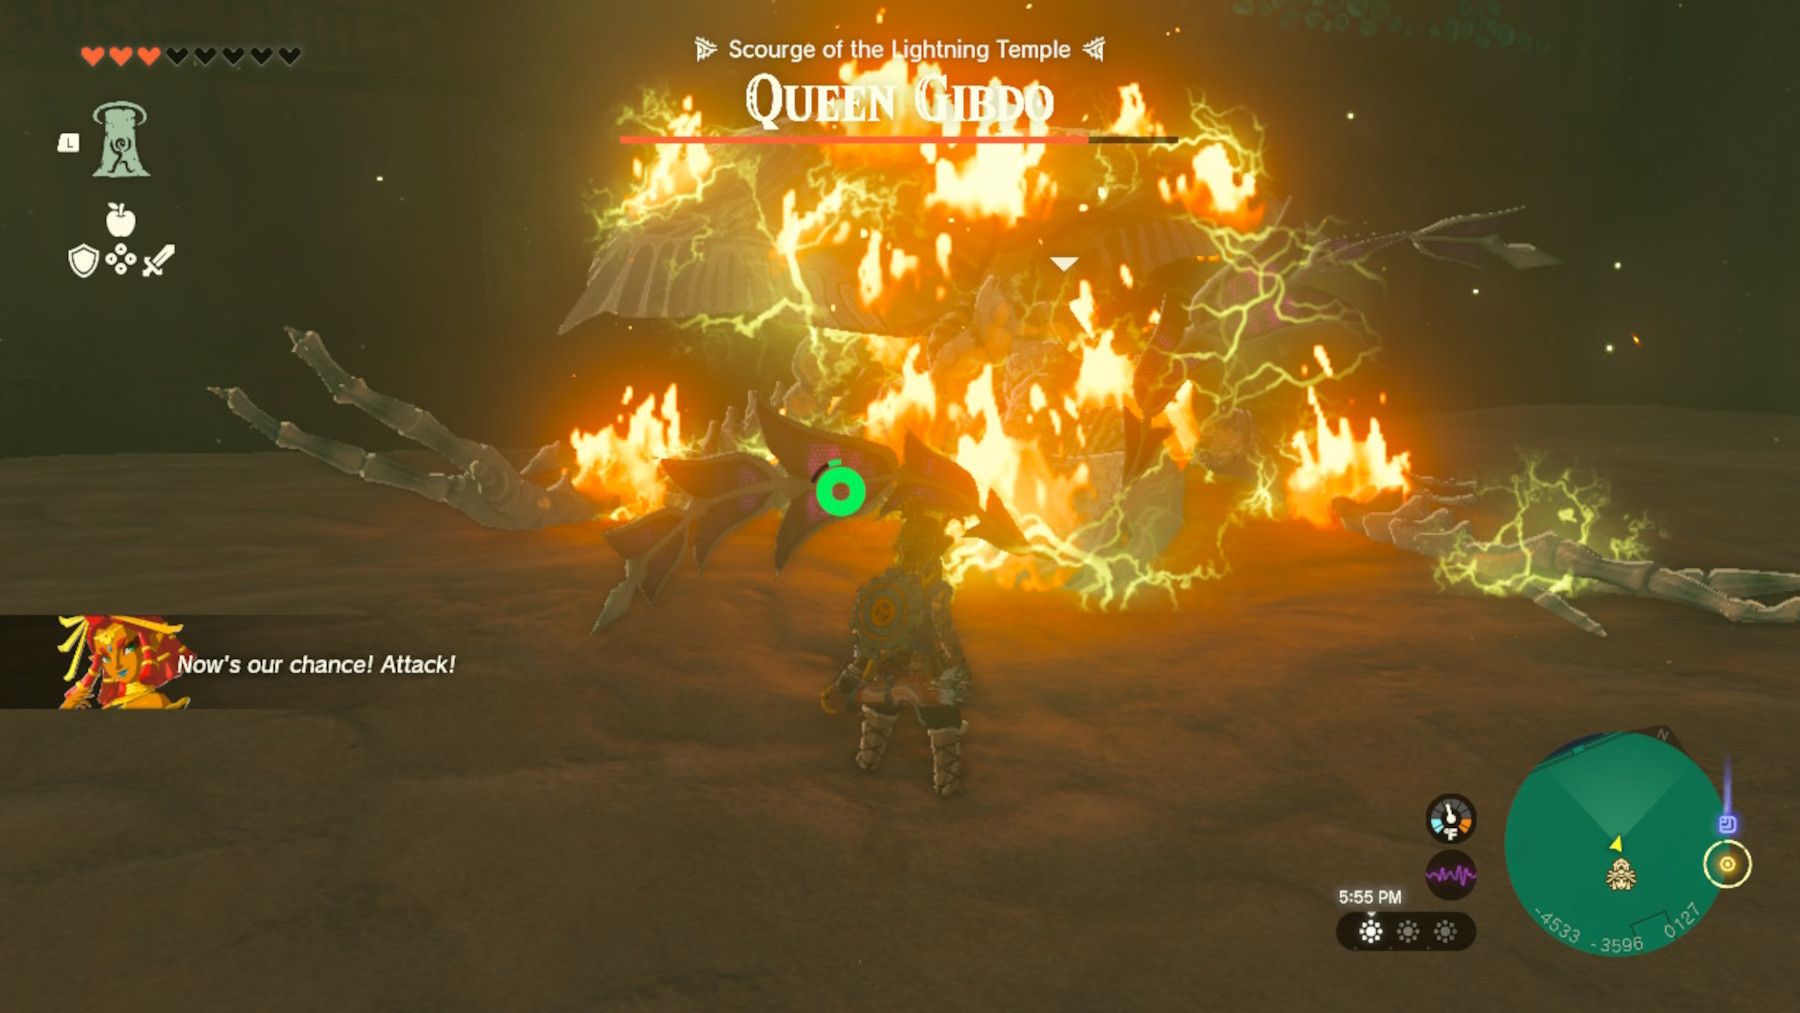
Upon arriving at the front of the Lightning Temple, Tears of the Kingdom players should use Riju's ability to hit the purple orb that blocks the entrance. This action will initiate a brief encounter with Queen Gibdo, and she has three attacks of which fans should be aware. Specifically, Gibdo has a charge, a beam attack, and the ability to summon cyclones, and players can avoid them all by maintaining distance and staying mobile. While fans work to dodge the assault, they should hit Gibdo withRiju's ability twice to end the encounter.
Players should now use Riju's ability to destroy a second orb that blocks the Lightning Temple's entrance and then proceed into the structure's first room. Here, fans should grab a Korok-Frond Duster from the wall and slash it in front of the sand piles on the ground to make them dissipate. One of those piles hides a square button, and standing upon it will open a door that players should advance through.
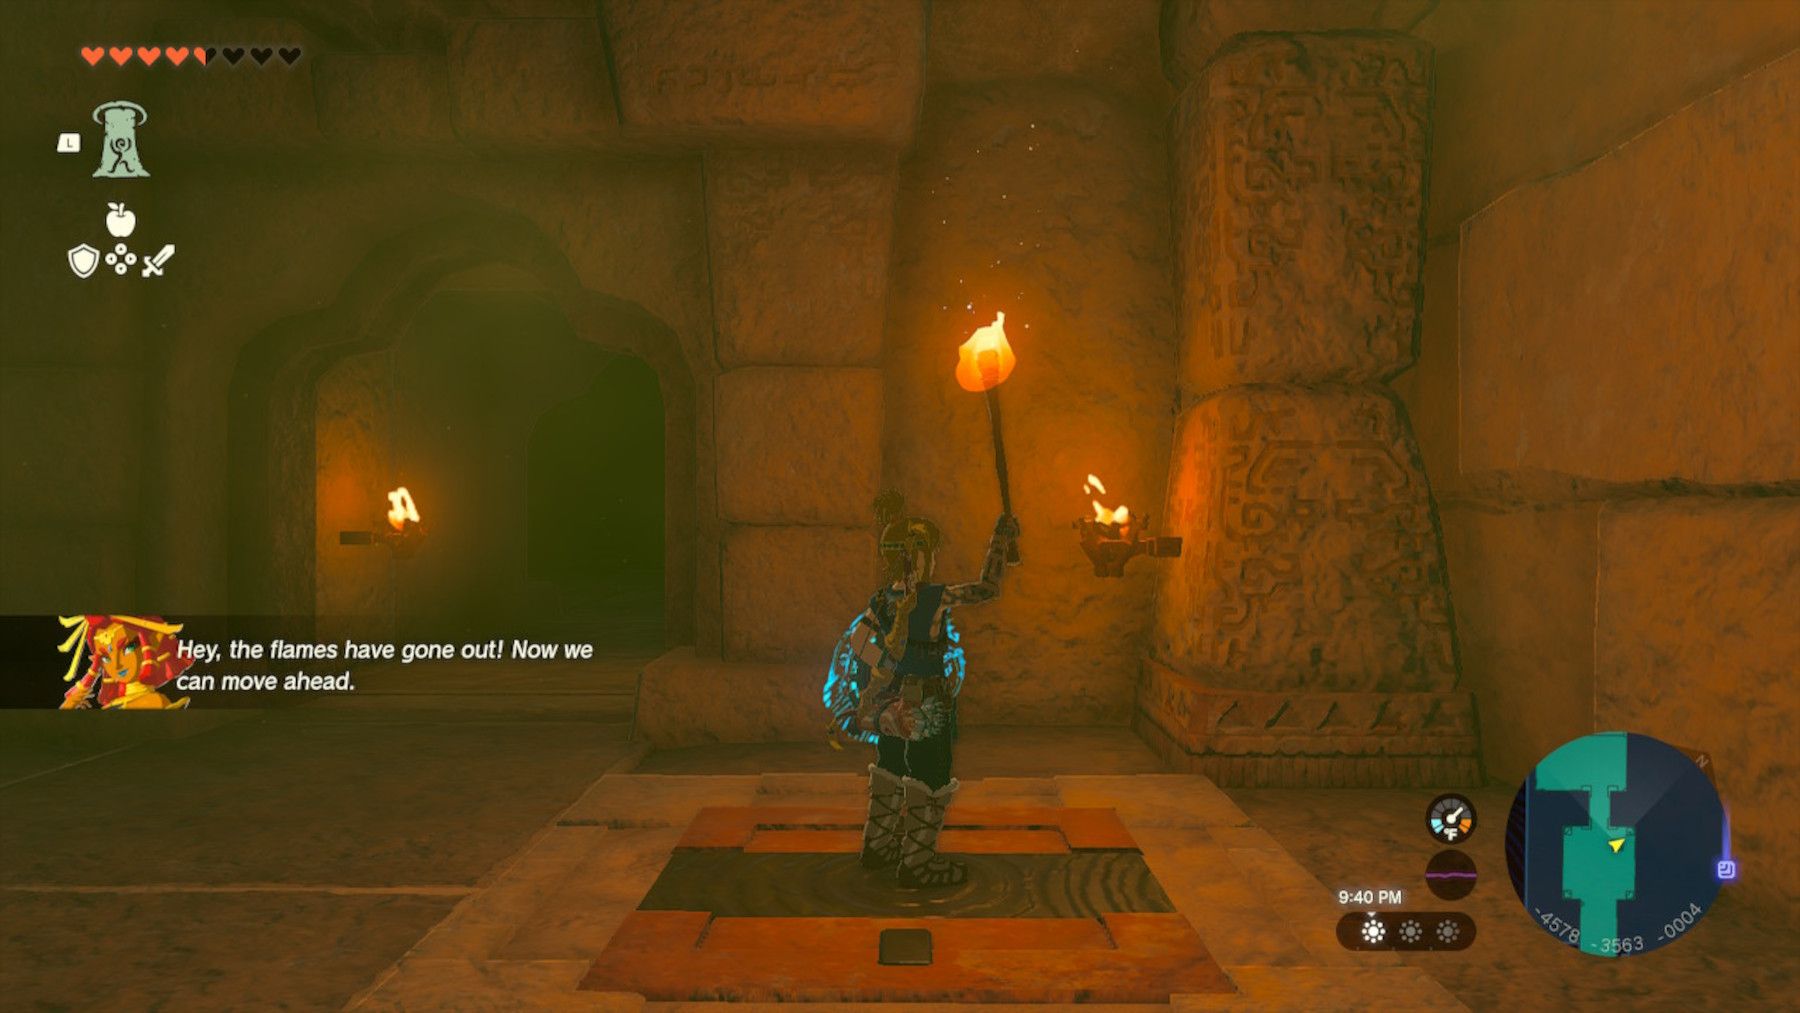
Beyond that door, fans should grab a Torch from the wall and then light it by slashing into one of the braziers. Players should then proceed down the ramp to reach B1 and follow the path to a series of flame jets that are attached to the wall. Notably, a portion of the floor preceding those jets will drop when stepped upon, and fans that have fallen into the hole can use TotK's Ascend ability to get out of it quite easily.
With respect to addressing the flame jets, players should simply time their movements so that they run in front of the devices when they are inactive. There is a square button on the ground past the jets, and standing on it will deactivate the devices and allow Riju to catch up with TotK's Link.
Not long after this hazard, players will encounter a corridor down which large flaming boulders are rolling. To bypass this trap, fans must simply hit a boulder with Recall and run through the corridor while it moves in reverse. Players should then step on the square button beyond the corridor to open a nearby gate.
Fans should now follow the path ahead, passing through a large room and ascending a ramp in order to reach the Room of Hopeful Light. After dispatching the Construct in this room, players should use their Korok-Frond Duster to free a Mirror from a pile of sand. This Mirror is to be picked up with TotK's Ultrahand ability, and fans should hold it within the stream of light to reflect that beam onto the green circle above the closed door.
The door will open after the Mirror has been held in that position for a short time, and players should then advance into the Room of Ascension. Here, Zelda fans should approach the circular device that is just ahead, speak with Riju, and interact with the green circle to get information on their next objective, which is to charge four batteries.
The Legend of Zelda: Tears of the Kingdom - Charge Four Batteries in Lightning Temple
Battery #1 (1F)
The first battery is on 1F, and players should make their way to the eastern corner of the room (coordinates -4493, 3607, 0027). There are two pots in this position, and there are two very conspicuous bricks in the wall behind them. Players can remove those bricks with the help of the Ultrahand ability, and they should hit the battery in the room beyond with Riju's lightning to charge it.
Battery #2 (2F)
Players should now make their way to the southern corner of 1F's central room, and they will find that an air current is rising from the ground at coordinates -4519, -3620, 0027. Fans should use Ultrahand to remove the large stone that is on top of this current, and they can then use Tears of the Kingdom's paraglider within the current to get a boost to 5F.
Here, players will find two burning braziers embedded into the southwestern wall, and there is small gap between them that fans can climb through to enter the Room of Natural Light. In this room, players should use Ultrahand to pick up a large rectangular stone and place it upright within the beam of light. Fans of open-world games should then grab one of the Mirrors that is tucked into the wall, attach that device to the top of the stone, and point it so that the light is directed through the gap.
Players should now pass back through the gap, use Ultrahand to move Statue #1 that is blocking the light, and run over to the northeast wall. Statue #2 is at this wall, and players should free it, by using the Korok-Frond Duster to remove the sand at its base, and then move it so that it is reflecting the light beam. Fans should then move Statue #3 at the northwest wall to reflect the beam upward.
This final reflection will cause a statue high on the southeastern side of the room to activate, and players should get underneath its position and use Ascend to reach it. Fans will now discover that there is a button in front of the statue, and they should step on it, pass through the opening that is created, and use their paragliders to safely descend through a series of flame jets. Players will now be in the room with the 2F battery, and they should let Riju enter (by standing on the square button), and use her ability to charge the battery.
Battery #3 (3F)
Players should now return to 5F, using the air current on 1F to get a boost. This time around, fans should move the southwestern Statue #1 to catch the light, and then move the southeastern Statue #4 to direct it downward. This will cause a statue on 2F to activate, and fans should glide down and pass through its opening.
The Room of Offered Light is beyond that opening, and players will need to dispatch several TotK Constructs and use Riju's ability to destroy a hive upon entry. With the enemies defeated, fans should look to the northeast wall, where there are a variety of materials that should be used make a Balloon. More specifically, players should attach a Ballon and Mirror to the top of a metal platform, as seen in the image that is above.
Once this Tears of the Kingdom construction is complete, players should move the Balloon into the of beam of light, with the Mirror pointing toward the northwest. Fans should then light a torch on the nearby brazier and stand atop the Balloon's metal platform. This will cause the contraption to rise, the mirror to hit a green circle near the ceiling with its light, and the battery to be revealed.
Battery #4 (4F)
For the final battery, players should climb the stairs that spiral around the perimeter of the central room until they reach coordinates -4520, -3586, 0051 in the northeast corner of 3F. Players that look up from this position will see that there is a brazier burning in the alcove above them, and they should use Ascend to reach it.
There is a rotating device embedded into the wall in this alcove, and players should hit it with Recall. As the device moves backwards, fans of adventure video games will discover that there is an identical device behind the one that they are controlling, and the goal is now to align their openings. This is done by releasing Recall when the devices are in the same position, and players should pass through the openings when they are aligned.
On the other side of the opening, players should use Ultrahand to remove two stones from the wall. This action will allow a light to be sent through the openings in the rotating devices, ultimately resulting in the activation of a statue on the other side of 4F. Fans should make their way to that statue, stand on the button in front of it, and pass through the opening to enter a room with some hazards.
These hazards manifest as spiked walls that are set to pulverize Tears of the Kingdom's protagonist, and players can overcome them by using large stones to block their movement. After using this strategy to pass by a second trap, fans should dispatch some Constructs and fall into the hole in the floor. Players should then use the Korok-Frond Duster to free a Mirror from a sand pile, hold that device in the light, and direct the beam at a green circle on the wall.
After that circle has been activated, and the platform above has retracted, players should Ascend out of the pit and grab a Mirror from the ground. This Mirror should be used to direct the light to a green circle that is on the other side of the second hazard. This will give players access to the final battery, and Riju will be happy to hit it with lightning once the nearby button has been pressed.
The Legend of Zelda: Tears of the Kingdom - Beat Lightning Temple Boss (Queen Gibdo)
Once all four batteries have been charged, players should return to the green circle in the center of 1F and interact with it. This action will activate a lift, sending Link and Riju into the Room of Glorious Light. Here, players should use Riju's ability to strike the large purple orb and prepare themselves for another battle with Queen Gibdo.
Phase 1
The first phase of this fight is effectively identical to the battle that occurred at the entrance to the Lightning Temple, and players will once again be dealing with a charge, a beam attack, and a cyclone attack. As before, fans should work to avoid this assault by maintaining distance and continually moving, and they should not shy away from frequently eatingfood in TotK to keep Link at maximum health.
While players dodge Queen Gibdo's attacks, they should focus on hitting her with Riju's ability and dealing as much melee damage as possible when the Tears of the Kingdom enemy is stunned. Notably, players should immediately get away from Gibdo as soon she starts to recover from a stun, as that will minimize their chances of getting hit with a charge.
Phase 2
After getting Queen Gibdo to around half health, she will transition into her second phase, which features some significant modifications. The first of those modifications is that the hives in the room will become active, and players should prioritize destroying them with Riju's ability as soon as possible. Not only does the destruction of the hives prevent additional enemies from spawning, players can get some temporary reprieve by standing in the light that replaces them.
The second modification is that the size of Gibdo's cyclone attack is increased, which makes maintaining distance all the more important. That said, the general approach to bringing down this Zelda boss remains the same, and fans that focus on dodging, landing lighting strikes, and dealing melee damage should eventually dispatch Gibdo and complete the Lightning Temple.
The Legend of Zelda: Tears of the Kingdom is available for the Nintendo Switch.

