


Nintendo’s The Legend of Zelda: Tears of the Kingdom has brought in several features and experiences from the franchise’s previous entry, Breath of the Wild. One of these includes the enemies that Link fights across the massive map of Hyrule. The developers have worked upon the title quite a bit more in Tears of the Kingdom and included a huge variety of entities for players to fight.
While there are many low-level enemies littered across the map, there are many that may be difficult for some players. Naturally, Nintendo wants to provide hardcore fans with a challenging experience. They will ideally need the strongest weapon fusions they can muster and have patience throughout battles before the bosses succumb to their attacks. These are some of the most challenging boss fights players will encounter in Tears of the Kingdom.
Updated 30th of September 2023, by Alexandra O'Leary: Now that this game has been out for several months, more information has been gathered about various enemies and the best ways to defeat them. This article has been updated to include a few enemies that can be challenging to players, as well as information about where to locate these enemies and the best methods for defeating them. As tough as these enemies are, players will have no trouble defeating them if they come prepared.
10 Battle Talus

- Many Battle Talus hide or roam around central Hyrule - namely the Hyrule Field and Ridge area. Some specific locations are: South Akkala Plains (in Akkala Highlands), Royal Ancient Lab Ruins (in Hyrule Ridge), and Sahasra Slope (in West Necluda).
A Battle Talus can be a very frustrating overworld mini-boss to take down. Oftentimes, especially early game, players may just find themselves running from this rock behemoth. Not only will Link have to take down a massive Talus, but he will have to avoid and defeat the few Bokoblins on a fort atop it. Oftentimes a Battle Talus will be patrolling a certain road, but occassionally what looks like an easy enough Bokoblin camp will turn out to be a hidden Talus.
The first step in taking down a Battle Talus is to get rid of the ranged-attack Bokoblins on top of it. Players are better off using arrows or explosives attached to arrows in order to dispatch these pests quickly - the sooner they're gone the better. It's important to note that a Battle Talus will not drop its face all the way to the ground like normal Talus do, this means that players will have to use Ascend to get on top of the platform and hit its ore weak-spot. In some ways, this makes a Battle Talus easier than a normal Talus since an ability can be used to get atop it.
9 Marbled Gohma

- The original boss Marbled Gohma can be found in the Fire Temple, and then in these locations in the depths: Directly east of Uasnoj Lighroot (explore southwest the Lanayru Wetlands area of the Depths and unlock every lightroot possible, since this location is surrounded by barriers that players cannot cross), directly northeast of East Hill Chasm, and west of Muzasu Lightroot (in the Hyrule Ridge Depths).
The Marbled Gohma is the final boss of the Fire Temple, and is a fierce foe that Link will have to defeat with the help of Yunobo. This terrifying rock spider-like creature will scuttle around trying to hit Link and launching marbled rock explosives around the dungeon. After initially defeating it, players will have three more chances to take down a Marbled Gohma.
The best method for defeating this boss is to use Yunobo, since he's specifically designed to help with this. Launching Yunobo at the Marbled Gohma's legs should eventually make it fall down. Like many enemies in Tears of the Kingdom, its big yellow eye is its weakpoint, so players will want to either climb up or use ascend to reach the eye and slash at it. In the original boss fight, Marbled Gohma's second phase will be to jump on the ceiling - meaning players will have to use the curved walls to launch Yunobo at it. This is a bit trickier than the original method, especially since missing a few times can convince players that's not what they should be doing.
But in the depths, the Marbled Gohma won't have a ceiling to cling to, making it way easier to take down the second, third and fourth time. As is the same with all eye-weakness enemies, players can also always use a zonai fan to launch them in the air and use the slow-motion bow tactic to launch arrows directly into its eye.
8 Mucktorok

- Mucktorok is a relatively rare boss that players will have to face at least once as the Scourge of the Water Temple. There are three other locations - all in the depths: On a platform near the Abandoned Tarrey Town Mine, a platform near the Abandoned Lanayru Mine, and a platform near the Uoyoyuik Lightroot (Great Hyrule Forest Depths).
The Scourge of the Water Temple presents a fight in Tears of the Kingdom where players need to be agile and have a keen awareness of their surroundings. Primarily, Mucktorok rides a Sludge Shark that spews sludge, slowing down Link and making him vulnerable if he gets caught up in it. It also has two other attacks, a wave that it sends out and a simple-to-avoid beam. When its health hits half bar, the second phase starts where the boss gets another attack - it spews sludge into the air that falls down and litters the area.
Players need to either stock up on Splash Fruit or Chuchu Jelly to clear away the Sludge Shark and make Mucktorok vulnerable to damage. It is recommended that they make as much use of Sidon as possible to make the fight easier. What makes this battle trickier than many others is that gamer need to ensure they don’t get stuck in the sludge as it slows them down by a considerable amount.
7 Master Kohga

- Players will only be able to fight Master Kohga as part of the storyline, and all his locations are in the Depths' Abandoned Mines: Central Mine, Gerudo Mine, Lanaryu and finally Hebra.
This boss comes from a set of side quests - Master Kohga of the Yiga Clan. Players need to defeat him in four successive locations, with each more difficult than the last. The first involves him using a tank, a glider in the second, a boat in the third, and a big mech in the last. The basic objective is to knock down Master Kohga from his constructs (arrows are advised) and then attack him further when he’s dazed.
What makes this set of fights in Tears of the Kingdom challenging is that the boss disappears after every few hits and reappears on a new construct that is modified to include better defensive and offensive options. Players need to ensure they are quick with aiming or use Keese Eyeball Arrows to ensure they quickly knock him down, and move in for further damage.
6 Flux Construct 3

- Flux Construct 3's are found exclusively in the Sky and in the Depths, key locations include: Depths Lomei Labyrinth, Depths North Lomei Labyrinth and Depths South Lomei Labyrinth.
The first time players encounter a Flux Construct, they may not find it to be too much of a challenge. However, a brief meeting with a Flux Construct 3 will likely change some minds. These enemies have only one weakness - it's core - and the stronger iterations of it can move its core around to prevent it being targeted.
One of the best methods to defeat a Flux Construct is to use a zonai fan, launch Link upwards in the air and aim for the core with an arrow. When Link is aiming an arrow while falling through the air, time will slow down which allows players to locate the core and target it directly. However, the Flux Construct can transform into a cube which rolls around trying to squish Link, and a floating platform that will be hard to reach. Another way to combat this is to use the Ultrahand ability to pull the core out of the Flux Construct and attack it in melee.
5 King Gleeok

- There are four King Gleeok's in the game, they're located in: West Hebra Sky Archipelago, the Sky Island above Eventide Isle, a Sky Island in the Gerudo Sky, and the Gleeok Den in the Depths (beneath Great Hyrule Forest.)
Players can encounter this three-headed dragon in multiple locations across Hyrule. An amalgamation of Frost, Flame, and Lightning Gleeoks, this Tears of the Kingdom boss presents a quite a bit of challenge. When it is flying around, they need to hit all three heads one by one till the boss drops to the ground. At that moment, they can move in with strong melee weapons or stick to ranged combat with bows.
Since the King Gleeok combines the attacks of the three Elemental variants, players need to ensure they have a good set of armor, weapons (especially ranged options like bows), and food that provides stamina. While it is imperative to avoid all three elemental forms of damage, gamers should place higher priority on avoiding being frozen as this will make them quite vulnerable.
4 Colgera

- Like all Temple bosses, the Colgera will only appear in other locations once it has been defeated in the Wind Temple. Those other locations are all in the depths, on a large platform: Northeast of the Nupisoyuat Lightroot (in the northwest area of the depths), directly east of South Lomei Labyrinth, and directly east of the Narusis Lightroot (in the middle, north area of the depths.)
The Scourge of the Wind Temple is yet another fight in Tears of the Kingdom that’s quite tricky. The difficulty it presents stems from a test of patience and skill with the Nintendo Switch’s controls. The battle takes place exclusively in air, and players need to ensure they’ve got a handle on the camera placement and movement. Essentially, the way to damage the Colgera is by breaking the ice under this dragon’s belly. While Link can use arrows to get the job done, he can jump from above the boss and dive right through the belly.
The tricky part is gliding across the sky to get in position and dodging the massive icicles that break from its body, exposing the ice. In the second phase, the Colgera also fills the sky with tornadoes that are difficult to dodge. As such, players need to take up this fight when they’re pretty confident of maneuvering Link across the various obstacles in the sky.
3 Phantom Ganon

- Like most bosses, players will encounter Phantom Ganon if they follow the central storyline - this is the only Phantom Ganon that will multiply. Phantom Ganon will also often spawn after players have defeated Gloom Hands, making him a relatively common boss. Here are some of the locations: The Great Deku Tree Chasm, Mekar Island (the westmost part of Great Hyrule Forest), and Lindor’s Brow Cave (near Hyrule Ridge).
This fight is going to demand a lot from players, which is kind of understandable with a foreboding name like The Demon King’s Phantom Saboteur. This boss appears after Link defeats all the Gloom Hands, and makes them appear childlike when difficulty and fear factor are compared. The Phantom Ganon splits itself into multiple copies that attack simultaneously, along with spreading around devastating Gloom.
Tears of the Kingdom players need to be on their toes to dodge the Gloom and the attacks. The copies come in phases, with one set using swords, one with clubs, and the last with spears. It is advised that gamers stock up on stamina-increasing and Gloom-resisting consumables, and use attacks like Flurry Rush or explosive arrows to deal damage from a range.
2 Queen Gibdo

- After defeating a Queen Gibdo at the Lightning Temple, players can find them in three different locations in the depths. A good tip when trying to locate a Queen Gibdo is looking for the large, purple towers that spawn Gibdos. The three locations are all on a large platform: directly south of Korakut Lightroot (Lanayru Wetlands Depths), slightly Northeast of Umamustor Lightroot (Gerudo Highlands Depths), and Northeast of Kawakarut Lightroot (Tabantha Frontier Depths)
Fighting the Scourge of the Lightning Temple is perhaps one of the most demanding tasks that players will carry out. The giant insect flies around casting tornadoes and beams, and goes for devastating charge attacks as well. They need to move around quickly to dodge these and make sure they use Riju’s lightning abilities to the max.
The fight gets much more difficult in the second phase as the Queen Gibdo activates multiple hives that keep spawning enemies. Link needs to destroy them first to ensure he doesn’t keep getting outnumbered. Further, the light zones that replace the hives allow some safe areas to take a breather.
Tears of the Kingdom players need to ensure they use Riju’s lighning abilities and other stun-based attacks like Dazzlefruit Arrows to make the boss vulnerable and then move in to cause some melee damage. If they want to play it safe, they can use Bomb Flower Arrows or other ranged attacks when the insect is immobile. Since the Queen Gibdo launches into a severe charge attack as soon as it recovers, knowing when to create distance is key.
1 Demon King Ganondorf
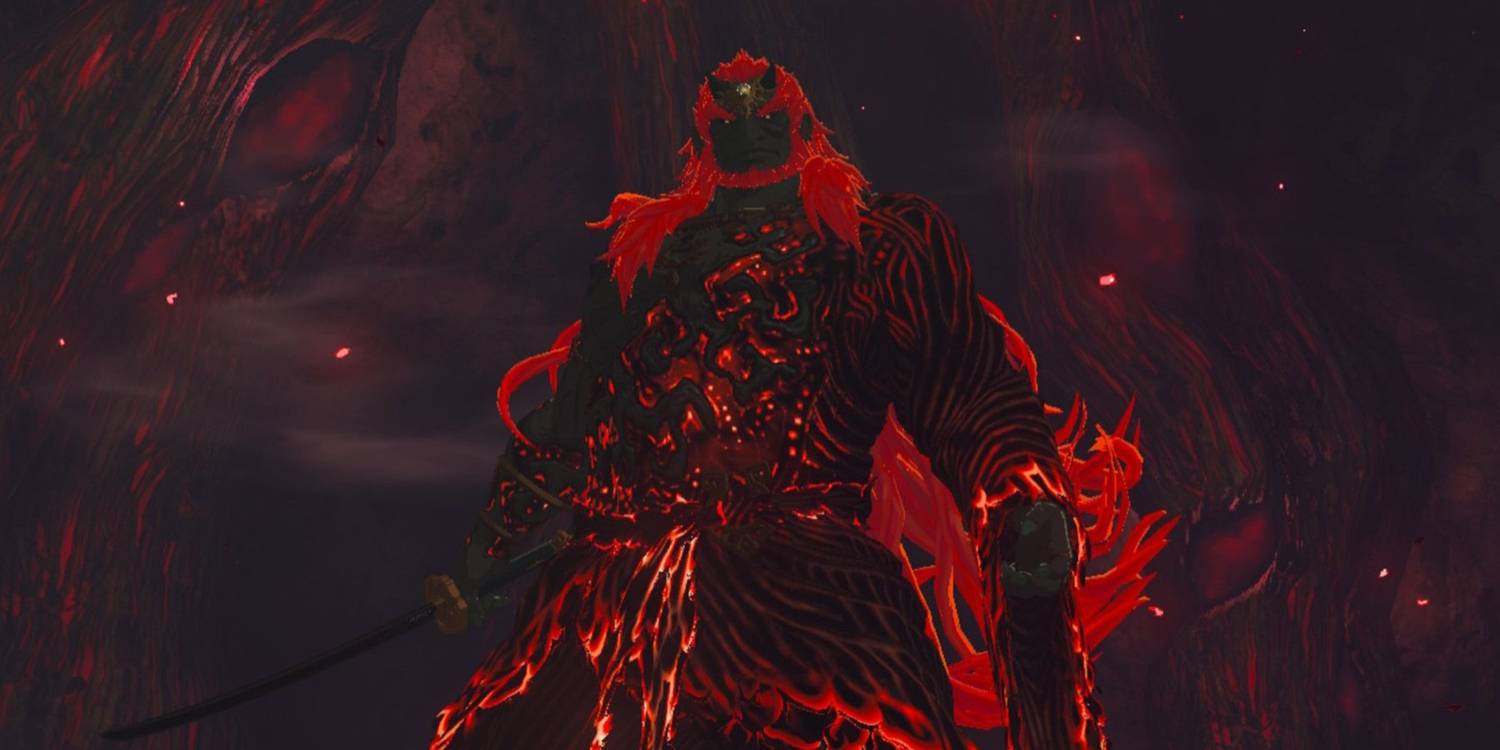
Naturally, the primary antagonist offers what is easily the toughest fight that players will face. This particular battle takes place in four phases, severely testing players' determination and skills with weapons. On that note, they are advised to take as many high-level shields and other weaponry as they can manage, since they will break quite a lot of them. Similarly, consumables that provide stamina and heal Gloom-dealt damage are crucial.
Players will need to ensure they’ve mastered movement and combat skills, as they’ll have to rely on dodging to avoid the devastating attacks. Going for perfect dodges to initiate Flurry Rushes is of immense importance in this fight in Tears of the Kingdom. While the first three phases are broadly the same, the third adds two modifications to the Demon King’s arsenal: a new attack and ability to dodge the first Flurry Rush. As such, they’ll have to be even keener when tracking the boss, and carry out two consecutive perfect dodges since the first’s Flurry Rush will be useless.
The fourth phase is the easiest. It takes place in the sky and players simply need to travel across the Demon King’s body, which has taken the form of a dragon, and break four masses of eyes. Breaking the Secret Stone that is subsequently exposed on its head will complete the intensely draining fight.
The Legend of Zelda: Tears of the Kingdom is available on the Nintendo Switch.