The Legend of Zelda: Breath of the Wild is an amazing game. Fans of the Zelda series love the turn the developers took with Breath of the Wild by making a vast open world with tons of characters to encounter, monsters to battle, and areas to explore. One of the most obvious additions to Breath of the Wild is the Shrines sprinkled through the land of Hyrule. While the four Divine Beasts and Hyrule Castle serve as the major dungeons in the game, these "mini-dungeons" offer a variety of challenges in the form of tasks to complete, puzzles to solve, and combat challenges of varying difficulty.
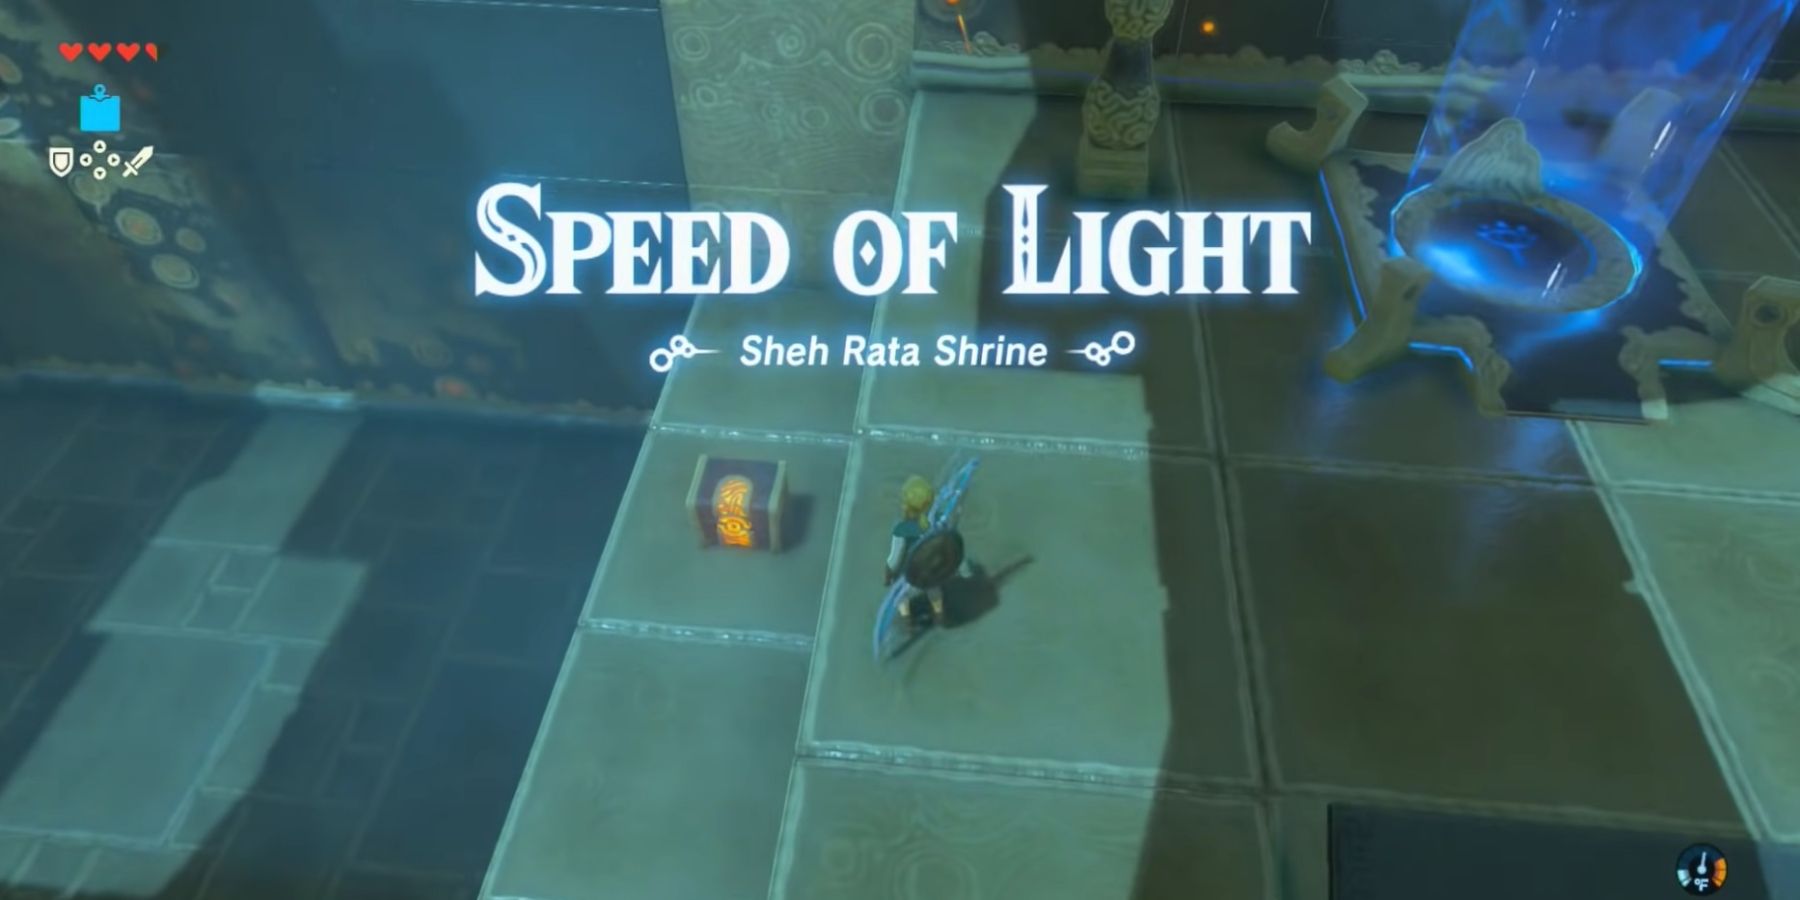
One of the Shrines that players rave about is that of the mysterious monk, Sheh Rata. The monk offers up a challenge to Link which he has titled, "Speed of Light." That said, let's take a walkthrough focused on how to find, how to get in, and how to complete the Shrine of Sheh Rata and his Speed of Light challenge.
3 Sheh Rata Shrine Location
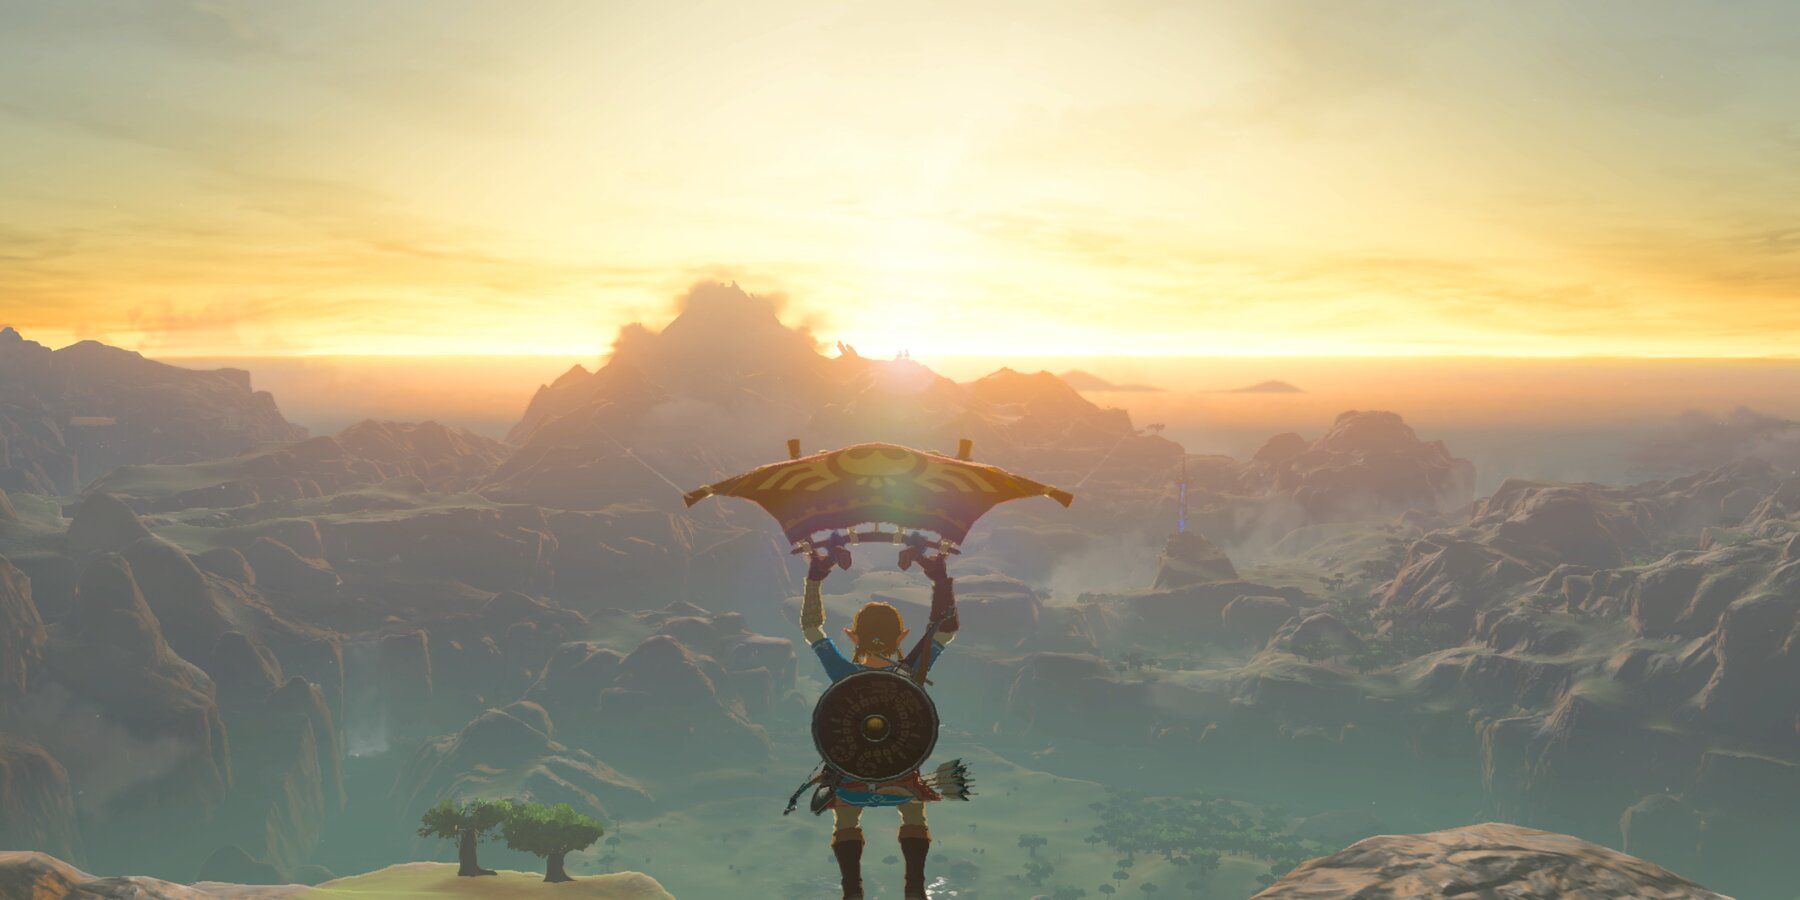
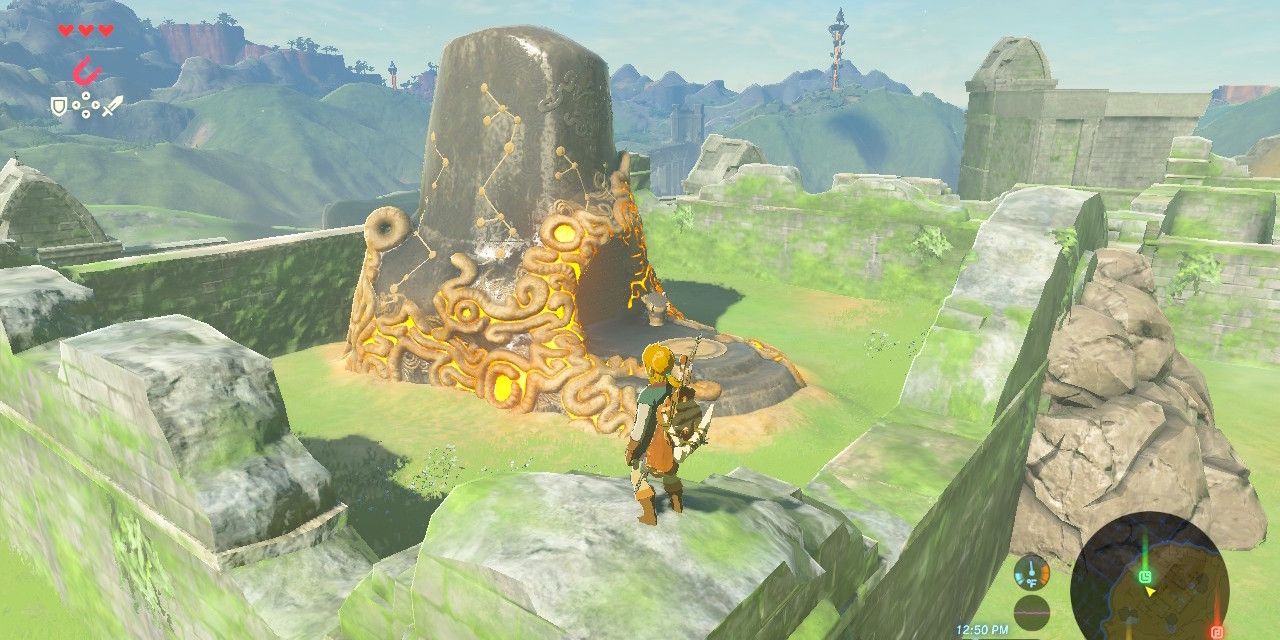
The Sheh Reta Shrine is located in the Lanayru region. From the top of the Lanayru Tower, Link can look to the west and he will see the shrine on top of a hill poking out of the water. It is best to mark it using one of the colored pins from the Sheikah Slate's Scope for quick reference moving forward. From there, the player can have Link fly towards the shrine from the top of the tower using the Paraglider and then make his way across the water to the shrine.
2 Entry
Once Link reaches the small island/hill where the shrine is located, the player will need to deal with several Lizalfos scattered around the area. Many players find it more fun to use the Sheikah armor and just sneak past them.
Once the area is clear of enemies, the player will find that the Shrine itself is surrounded by thorny vines that need to be burned away to gain access to it. A Fire Arrow, campfire, or fire-based weapon can all accomplish this task with minimum difficulty. Just set fire to a section near the shrine's entrance and let it spread. After a while, enough of them will be gone and Link can enter the Shrine.
Pro Tip: If Link has already attained Revali's Gale by defeating the Divine Beast Vah Medoh, then all of the above can be skipped. Simply use Revali's Gale to gain altitude and then glide over the top of the enemies and thorns to the entrance of the shrine.
1 Sheh Rata Shrine Puzzle
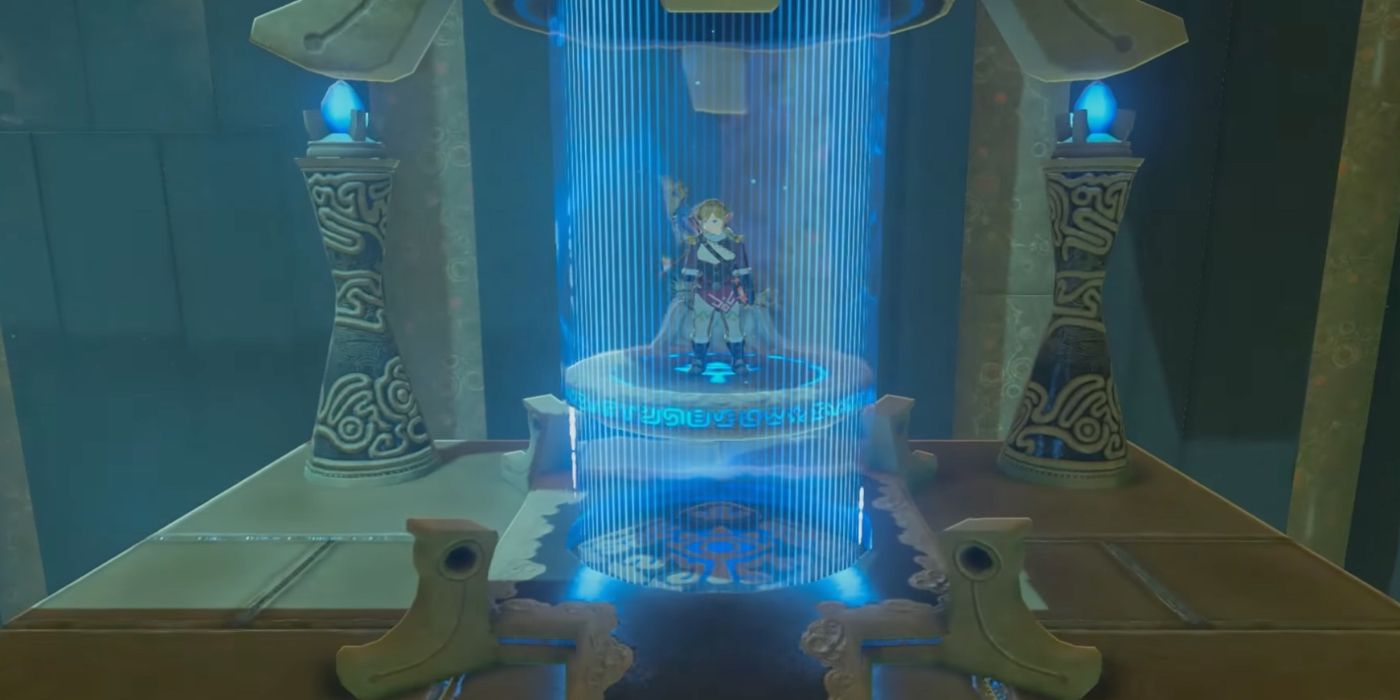
Once Link enters the Shrine, look around. There are three large elements the player should notice right away. There is a rotating switch on the left, a laser generator in the middle of the area, which is located above some Breath of the Wild water, and a crystal switch on the right. A small amount of experimentation with the rotating switch will reveal that it moves the laser generator into various positions depending on how much Link turns it. Some positions will make the laser hit the crystal switch and doing so will make the switch change the Shrine's water level.
The first thing Link will want to do is walk to the right of the elevator and fall onto a ledge that has a treasure chest on it containing some Opal. The player can then hit the crystal switch by any means, using an arrow, the laser, or throwing a weapon, etc. This will raise the water level in the Shrine.
With the water now raised, Link can use the Cryonis rune to make his way to the crystal switch. Once there, Link can just hit the switch to trigger it. For delayed triggering, it's easy to simply pace one of the square bombs next to it so that when it detonates, the switch will be triggered. It is best to go ahead and leave a bomb beside the switch now so that it can be triggered later on.
Link can now make his way to the other side of the Shrine by either swimming or using Cryonis. On this side of the Shrine, the player will notice an area with a large pool of water and a metal barrel. Looking into the water will show that there is a pressure floor switch submerged under it.
Use the Cryonis Rune to form a pillar of ice out on the water which Link can climb up and stand on. This gives Link a better view of the crystal switch and makes triggering it easier. From here, shoot the switch with an arrow, which will trigger it to lower the water.
With water back to its original state, pick up the metal barrel with the Magnesis rune or Link himself and put it on the pressure switch. This will open the gate to the Shrine's monk, Sheh Reta.
To the right of the monk is a pit with some shallow water, a ladder, and a ledge with a chest sitting on it that can't currently be reached just above them. Now is the time to detonate the bomb previously placed next to the crystal switch to activate it and raise the water again.
This will enable Link to use Cryonis on the now larger pool of water to reach the chest. The chest contains a Giant Boomerang, a two-handed Zelda weapon that does 25 damage per strike; it can also be thrown and caught again with good timing, as its name implies.
After opening this chest, Link can go talk to the Sheh Reta and claim his Spirit Orb, completing the Shrine.
Zelda: Breath of the Wild is available on Switch and Wii U.

