The Legend of Zelda: Breath of the Wild has been the "poster child" for studios behind long-running video game franchises looking to breathe new life into their series given the way that the title was able to revive the Zelda franchise and push it even further into mainstream popularity. Breath of the Wild is still a remarkable game nearly five years after its release with the way that it takes classic Zelda tropes and turns them on their heads. One of the biggest examples of this is how the game handles its dungeons.
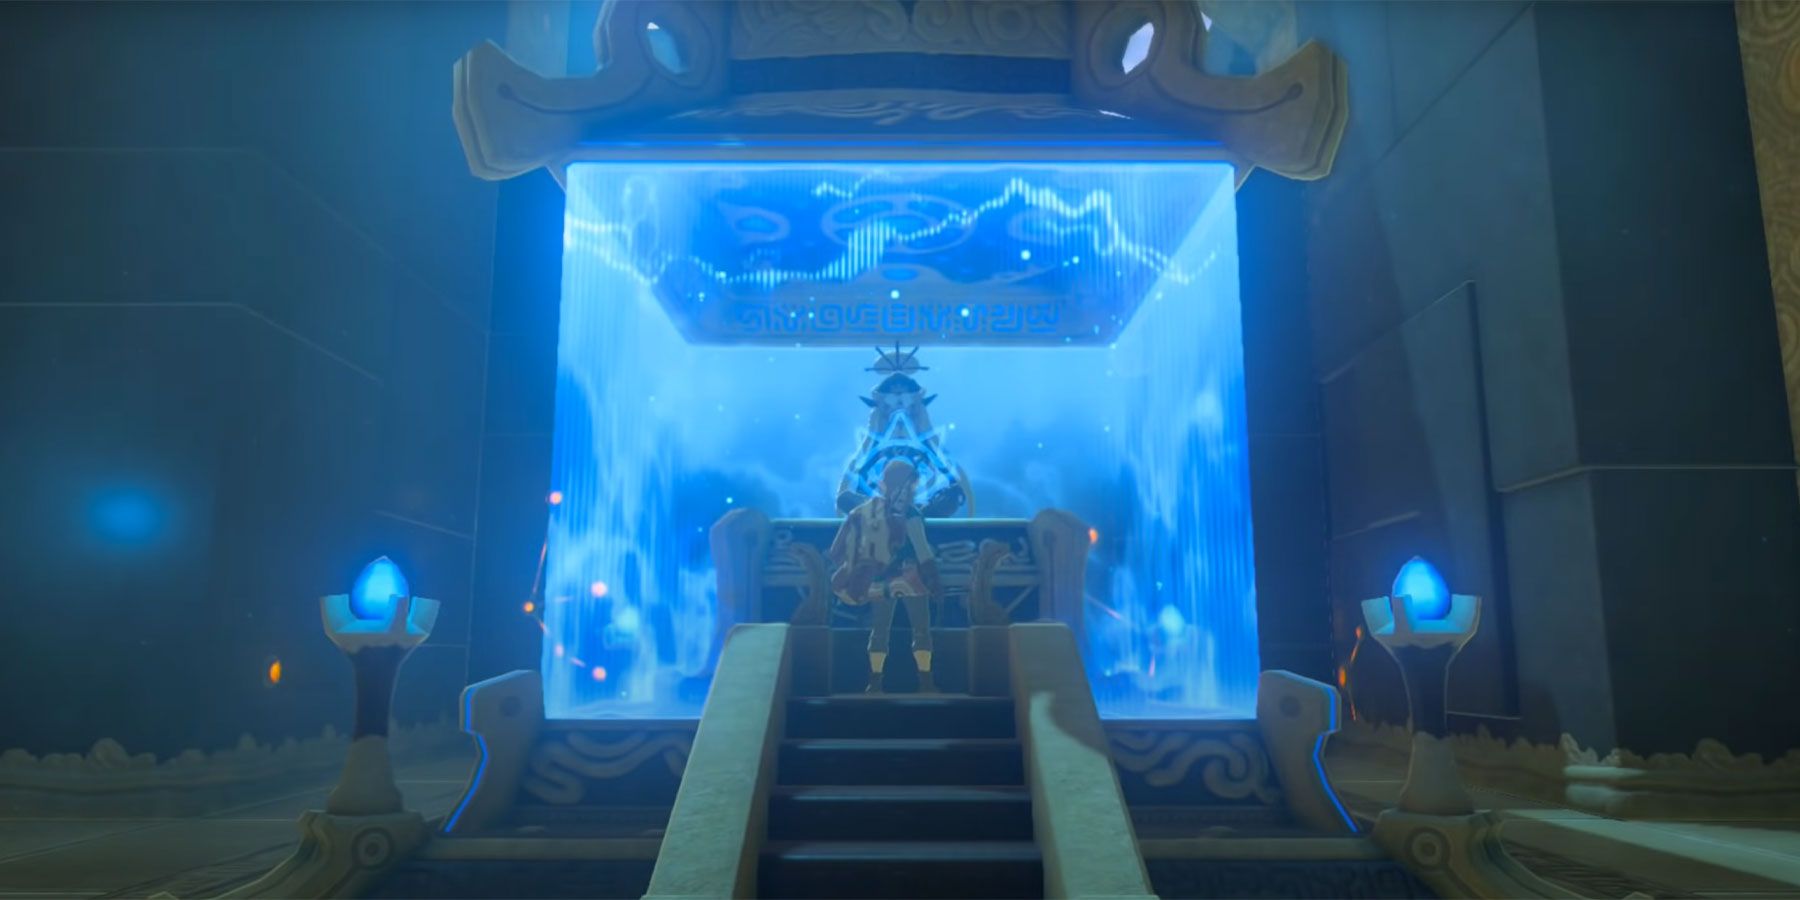
While there are still a small handful of more classic Zelda-style dungeons, the game's open-world is littered with smaller puzzle shrines that the player needs to complete in exchange for Spirit Orbs that power up Link's abilities. One shrine that's given players a little bit of trouble is the Daka Tuss shrine located in the southern swamps of the Lanayru Wetlands. Most players will be encountering it after their first trip to Kakariko Village in the early hours of the game so they might not be entirely clued into how all of Link's new powers work resulting in frustration with the shrine.
Daka Tuss Shrine Solution
It's important to note upfront that given Breath of the Wild's open-ended approach to puzzle-solving, there are multiple ways that players can approach every shrine. The solution being offered here is one way to tackle the Daka Tuss shrine, but there are likely more that players can experiment with. That said, once players get clued into how to solve the shrine, it's pretty straightforward.
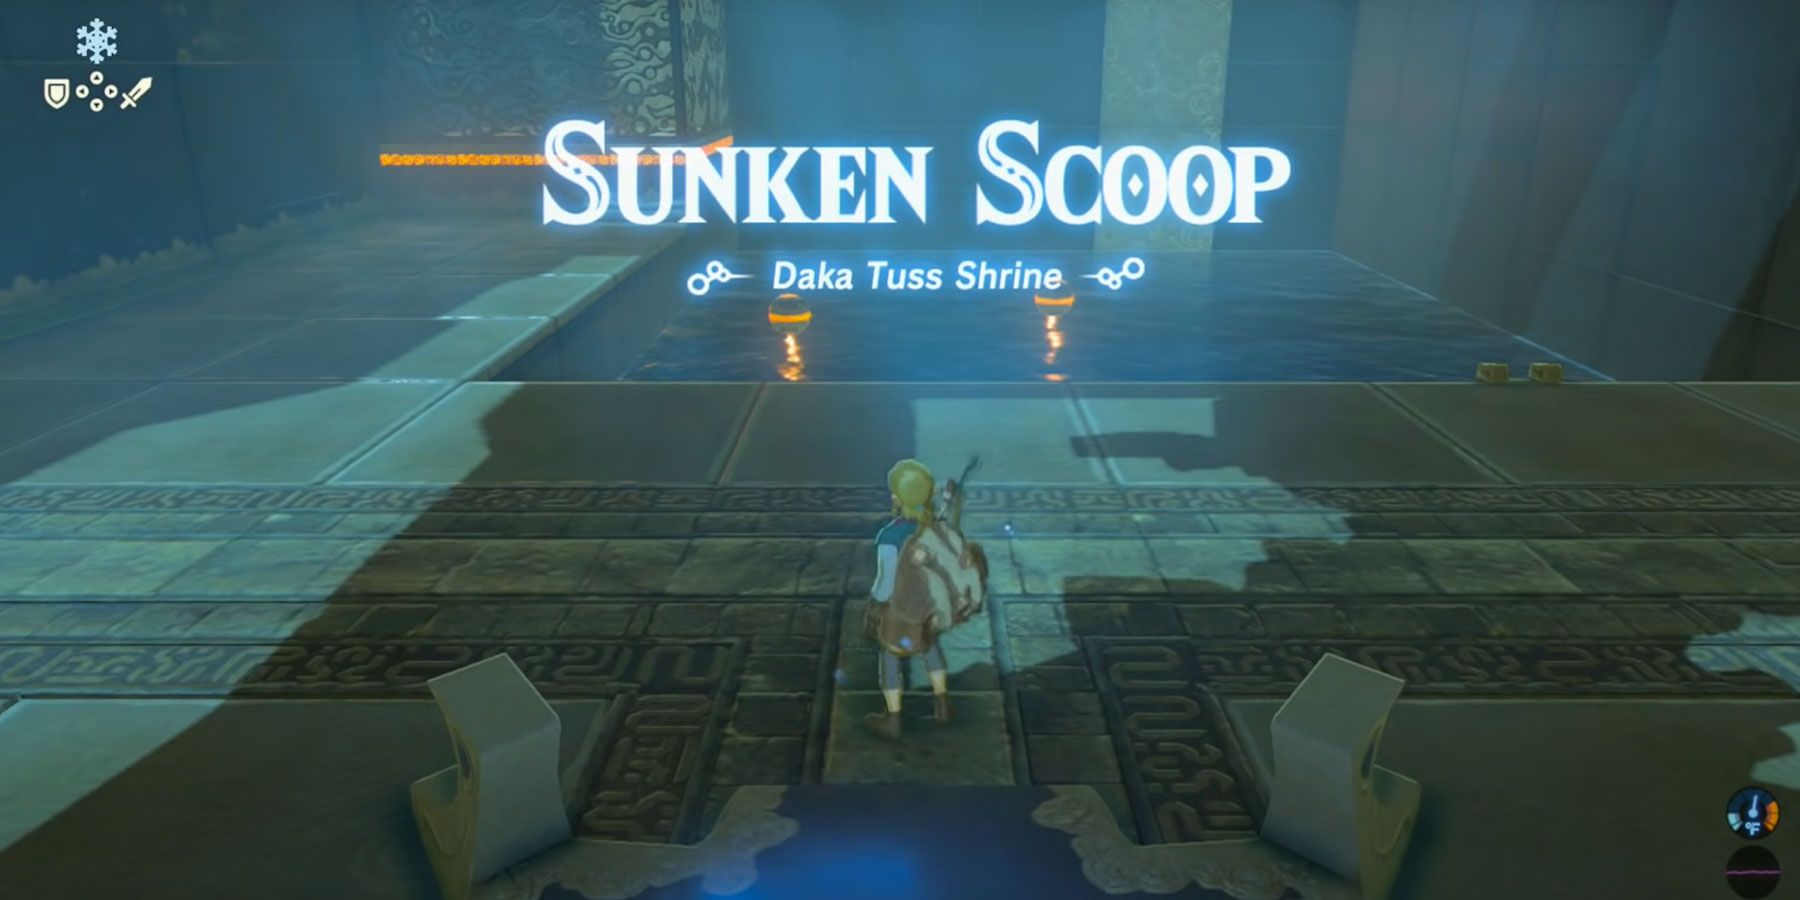
After entering the Daka Tuss shrine, players will find themselves in a room with a large pool of water that has three balls floating in it. On the other side of a fence on the left side of the room, there's a pressure switch that requires a ball to weigh down, but Link isn't able to simply jump in the water and throw a ball onto the platform. Instead, players will need to use the Magnesis ability to grab the bowl that's sitting hidden at the bottom of the pool to pick up a ball and place it on the switch. After doing that, a door will open to a similar-looking room with a pool full of balls. Players should take the bowl they found in the first room and head into the second.
The second room is more or less the same but it has a gate over the ball pressure switch and another switch at the bottom of the pool. To solve this room, scoop up one of the balls from the pool using the bowl and drop the ball on top of the gate above the ball pressure switch on the right side of the room. Once the ball is in position, take the bowl and drop it on the submerged pressure plate that's in the pool. That should trigger all of the water in the room to drain revealing a passage at the bottom of the pool that allows Link to access the Spirit Orb.
If players are looking for a little bit of treasure, they should head back into the first room after draining the water and jump into the now-empty pool. There's a passage on the wall opposite the shrine's entrance that takes the player to a small room with a treasure chest containing a Silver Longsword with 22 strength. It's not a bad idea for players to make sure to grab that, especially if they're in the early stages of Breath of the Wild as it'll be quite the powerful weapon early on. After obtaining the sword, head back into the second room, jump into the empty pool, and claim the Spirit Orb just beyond.
The Legend of Zelda: Breath of the Wild is available now for Switch.

