Customization, a defining feature of the WWE 2K franchise, has always offered players a unique experience. This year’s WWE 2K24 continues this tradition, empowering players to take complete control of their desired superstar. From attire and pose to statistics and entrances, every aspect can be personalized, allowing players to make the game their own.
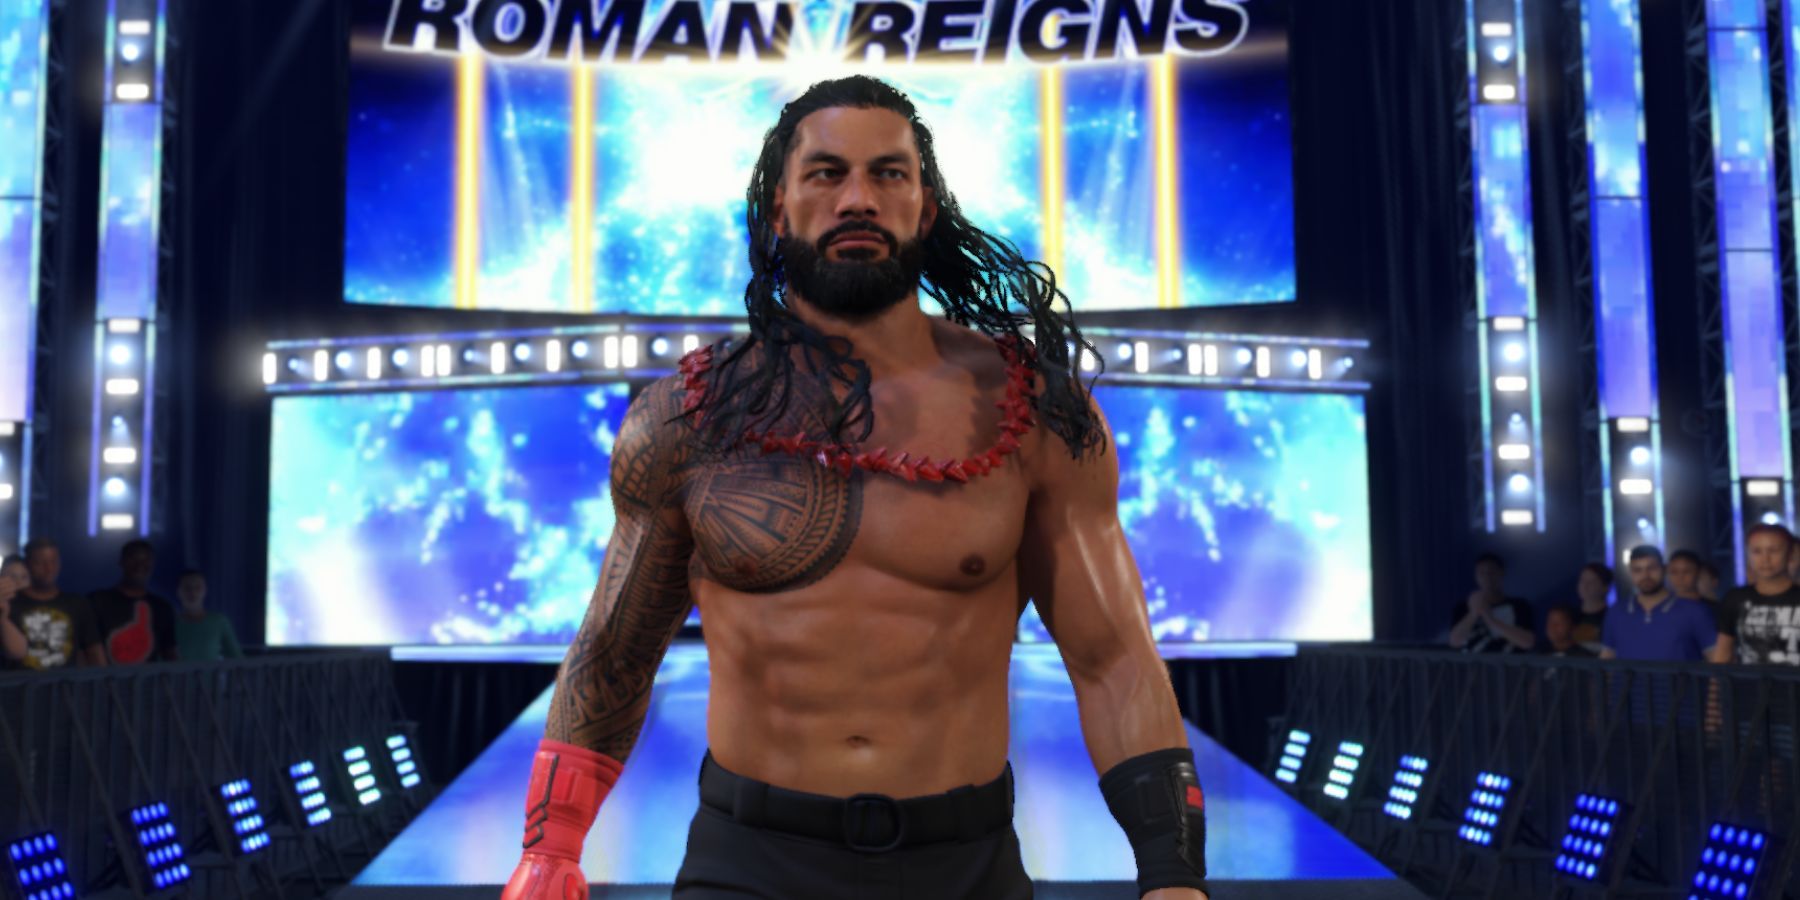
With the customization feature, players can do more than personalize their favorite superstars. They can transform them into custom creations, living out their dreams as world-class wrestlers with electrifying entrances. The entrance creation menu offers a plethora of customization choices, from the players' motion to lighting, background videos, and pyros, allowing you to create the ultimate wrestling experience.
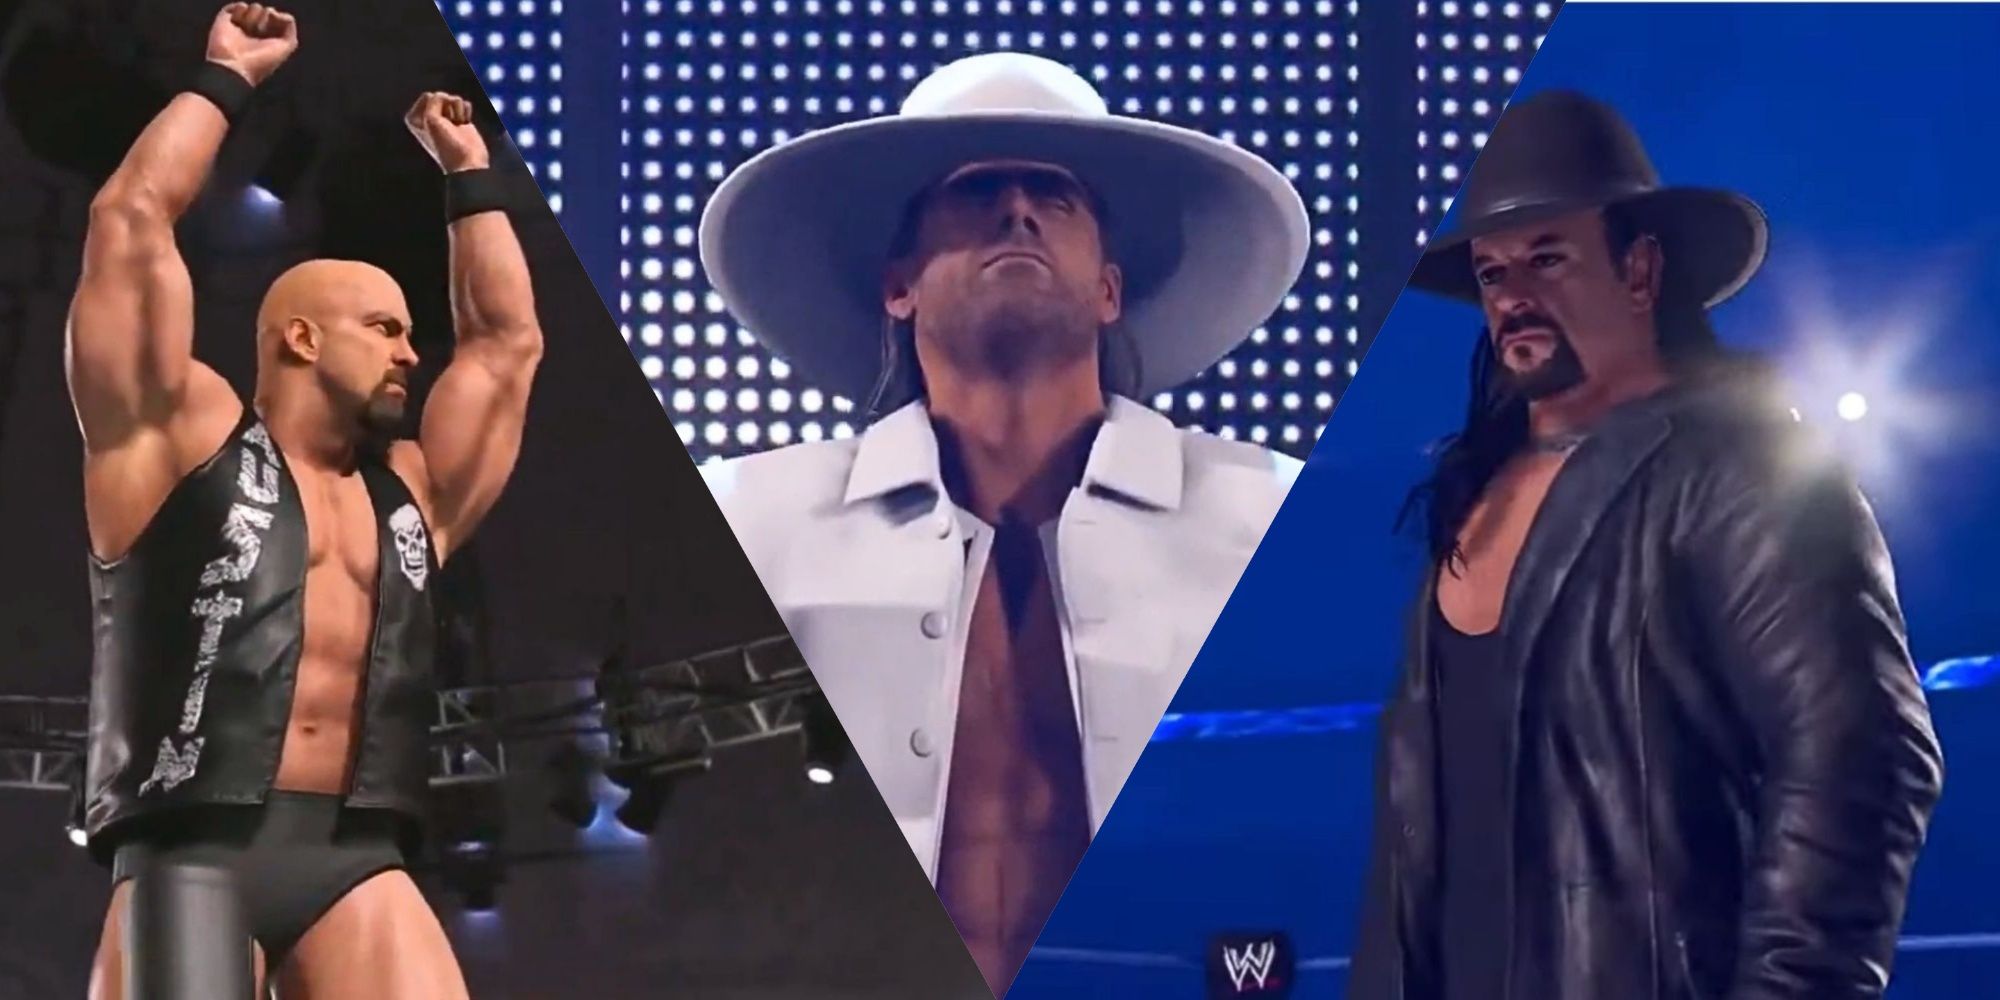
WWE 2K24: Highest Rated Legends
WWE 2K24 features a stacked roster, including wrestlers who have hung up their boots. Here are the best legends in the game.
How to Create an Entrance
Creating an entrance in WWE 2K24 can seem complex for players who are unfamiliar with the menu. To fully grasp how the customization works, players will first need to understand each part of the process.
To start the customization process, follow these simple steps:
- Go to the Creations menu.
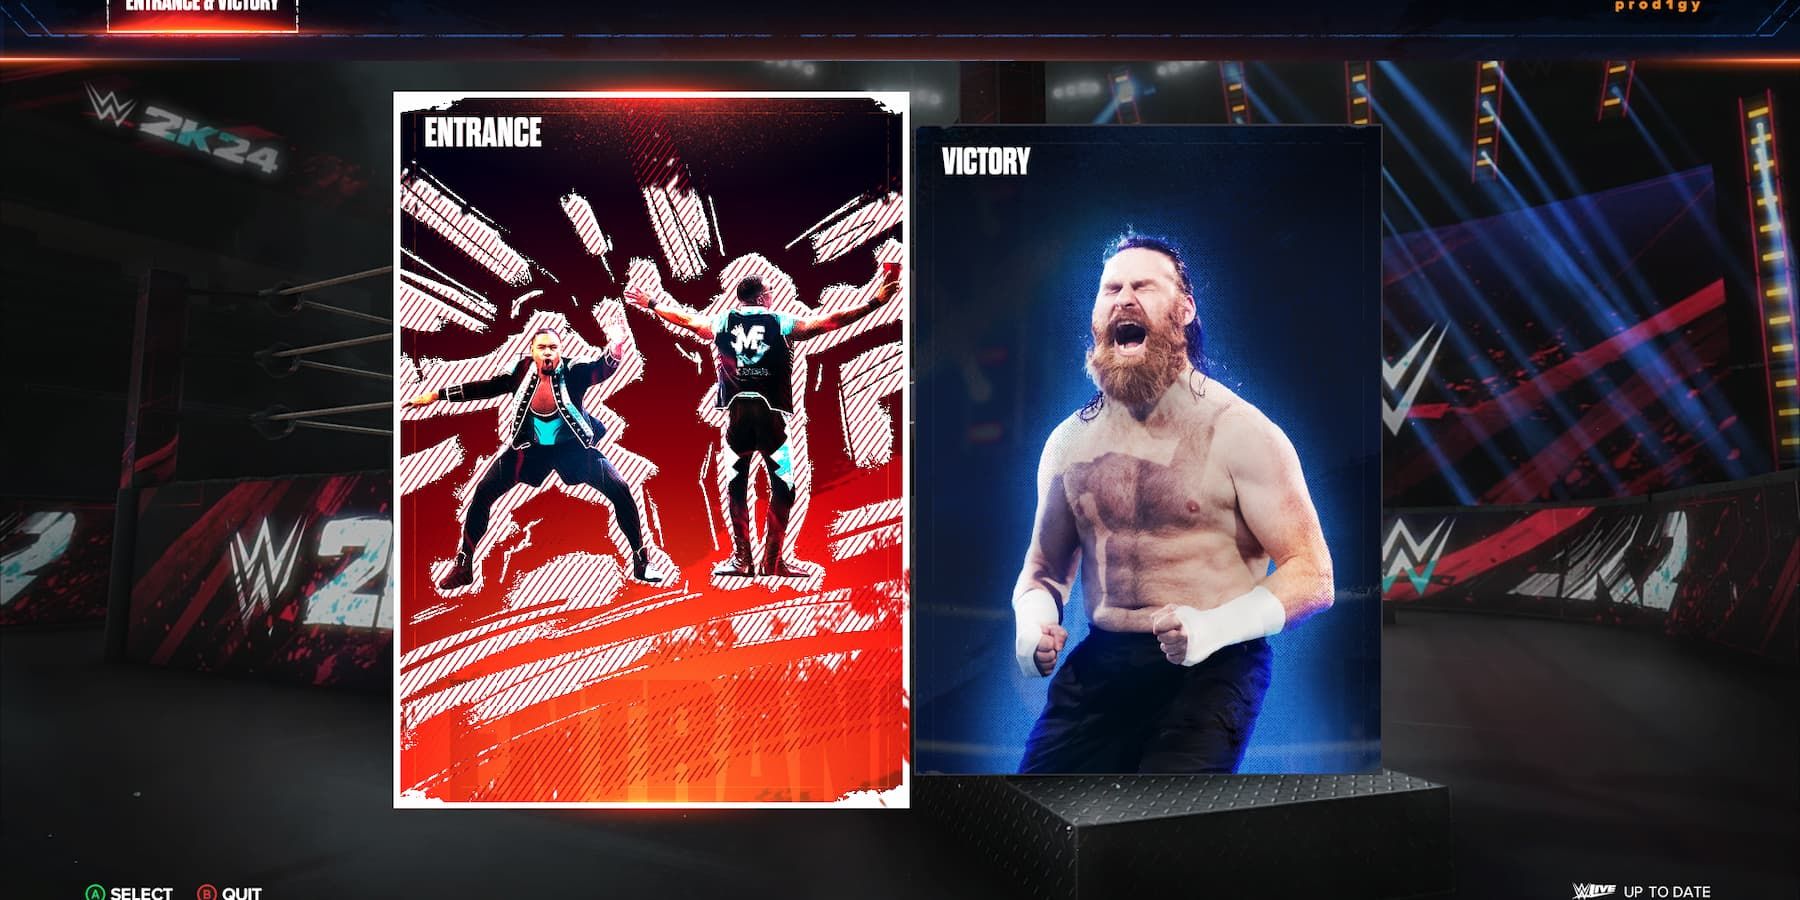
- Enter Entrance & Victory.
- Select Entrance.
- Choose from Superstar or Team.
- Choose a WWE Wrestler or Custom Character.
- Select Custom Entrance.
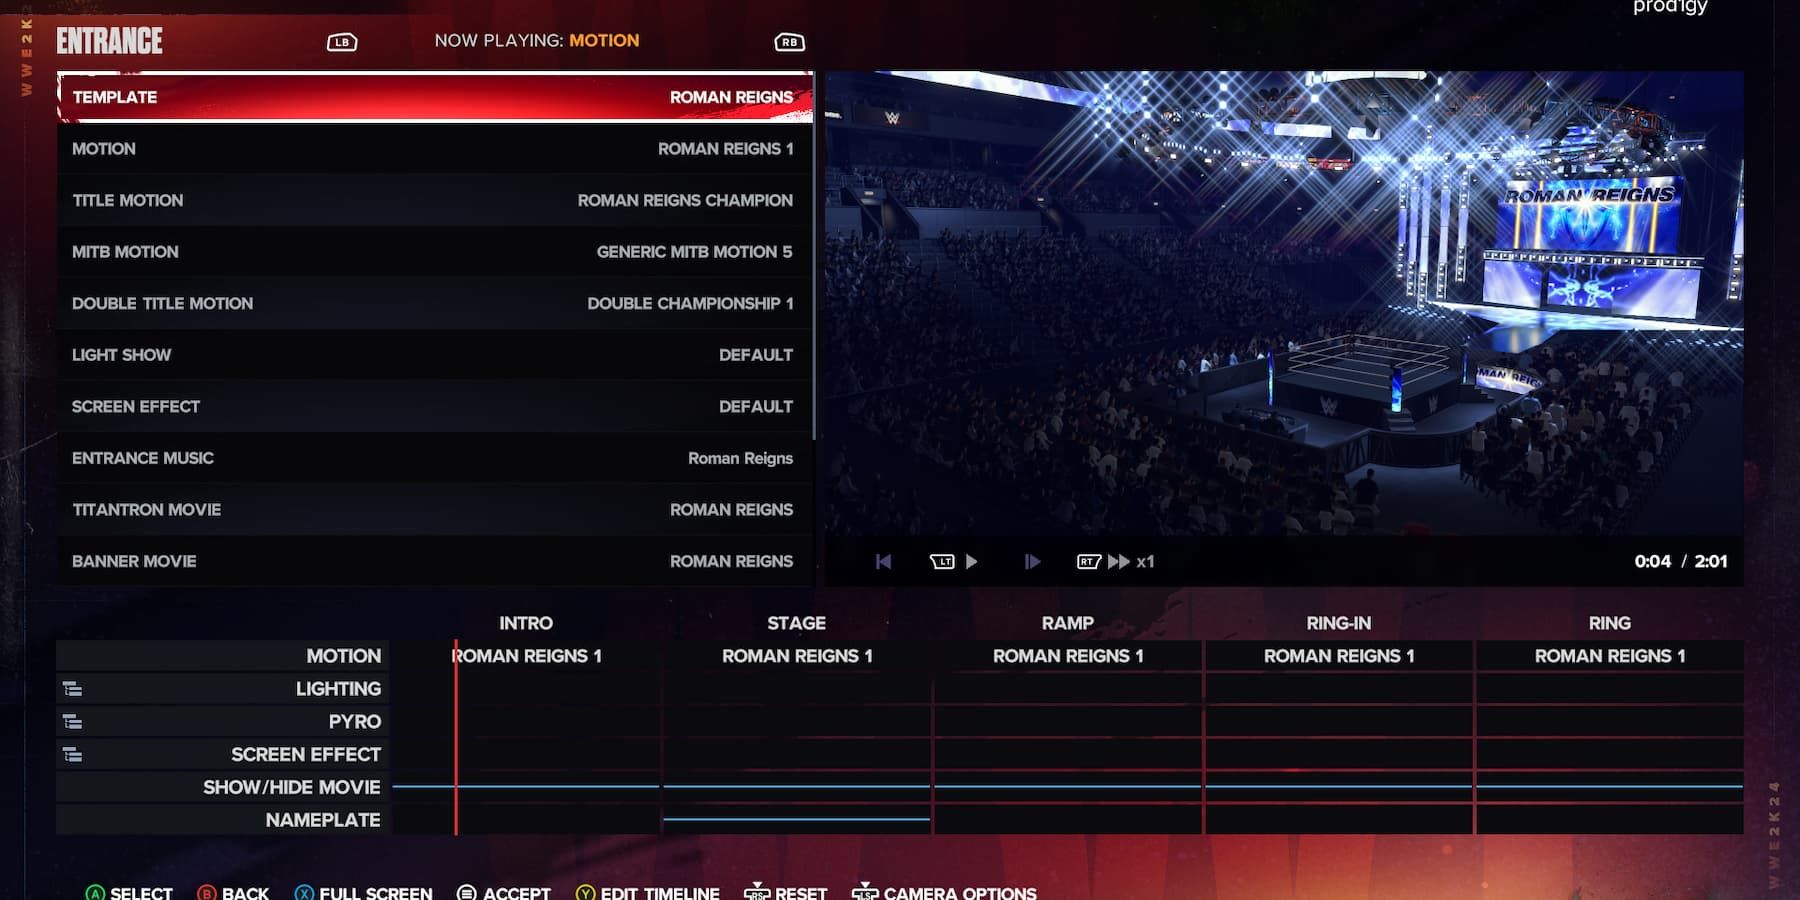
This will open up a menu similar to a video editing screen. You will get all the options to customize your entrance on this menu.
All Entrance Customization Options Explained
- Template: Templates are premade entrances used by WWE Superstars like Undertaker, The Miz, Finn Balor, and many other wrestlers available in the game. However, if any entrance customization options are changed, the template will automatically switch to ‘Custom.’
- Motion: The motion is the regular entrance of a player, starting from the wrestler’s intro to walking down to the ring.
- Title Motion: Allows players to change a wrestler’s entrance when they have a title belt.
- MITB Motion: Allows players to customize how the wrestler walks out with the Money in the Bank briefcase.
- Light Show: Controls the lighting effects around the arena when the wrestler performs the entrance.
- Screen Effect: Allows customization of the screen color.
- Entrance Music: With this option, players can customize the background music played during the wrestler’s entrance.
- Tilantron Movie: Controls the movie played in the background during the wrestler's entrance.
- Banner Movie: Customizes the movie played in the banners of the arena.
- Stage & Ramp: Allows players to customize the movie played on the stage and ramp during the entrance.
- Apron & Ringpost Movie: Controls the movie being played on the apron and the ring post.
- Barricade Movie: Controls the movie being played on the barricades.
- Movie Display: Using this option, players can turn on or off the movies played on all the screens.
How to Edit Entrance Timeline
The timeline of an entrance is divided into five phases:
- Intro: Actions while the wrestler first enters the stage.
- Stage: Controls the wrestler’s actions while standing on the stage.
- Ramp: Customizes how the wrestler walks along the ramp.
- Ring-In: Controls the wrestler's action while entering the ring.
- Ring: Controls how the wrestler acts inside the ring.
You can only edit the timeline of a regular entrance (motion) in WWE 2K24 by pressing the Triangle/Y button on your controller. Using the options available to customize, you can edit the frames and actions of your wrestler during each phase of their entrance.
- Motion: You can customize the whole entrance sequence phase by phase. You can also choose different presets in each phase.
- Light Show: Allows you to customize the light show that will be played during the entrance. You can choose up to five different lighting patterns during all the phases of the entrance.
- Pyro: From this option, you can use Pyro up to two times in each entrance phase.
- Screen Effect: Customize the screen's color during the entrance.
- Show/Hide Movie: Customize when and when not to show the movie.
- Nameplate: Allows you to decide when the wrestler’s nameplate will be shown on the screen.
After customizing any of the six options above, press the Option/Start button each time to save the customization. Once you are done editing the timeline, press the Triangle/Y Button again to exit the timeline editing menu. If you are satisfied with the entrance sequence, press the Option/Start button to accept and save entrance.
WWE 2K24
- Franchise
- WWE 2K
- Platform(s)
- PC , PS4 , PS5 , Xbox One , Xbox Series X , Xbox Series S
- Developer(s)
- Visual Concepts
- Publisher(s)
- 2K

