Quick Links
Tower of Adversity is one of the permanent endgame challenges in Wuthering Waves, similar in concept to Genshin Impact's Spiral Abyss. Players can expect to climb the tower's levels and progress through its stages, but they will likely need significant investment in their characters and Union Levels to earn all the rewards for each stage effectively. This system helps players stay up to date with the current meta and incentivizes them to experiment with new team synergies over time.
Wuthering Waves: Banners, Pulling, and Priority Guide
Wuthering Waves uses a Gacha mechanic called Convene, with a classic yet complicated Pity System explained in this guide.
While players might be familiar with similar endgame content, Tower of Adversity introduces unique aspects that require special attention. Here’s how players can unlock and progress through this content while using effective and F2P-friendly team compositions (although this isn't essentially mandatory to do).
How to Unlock Tower of Adversity in Wuthering Waves?
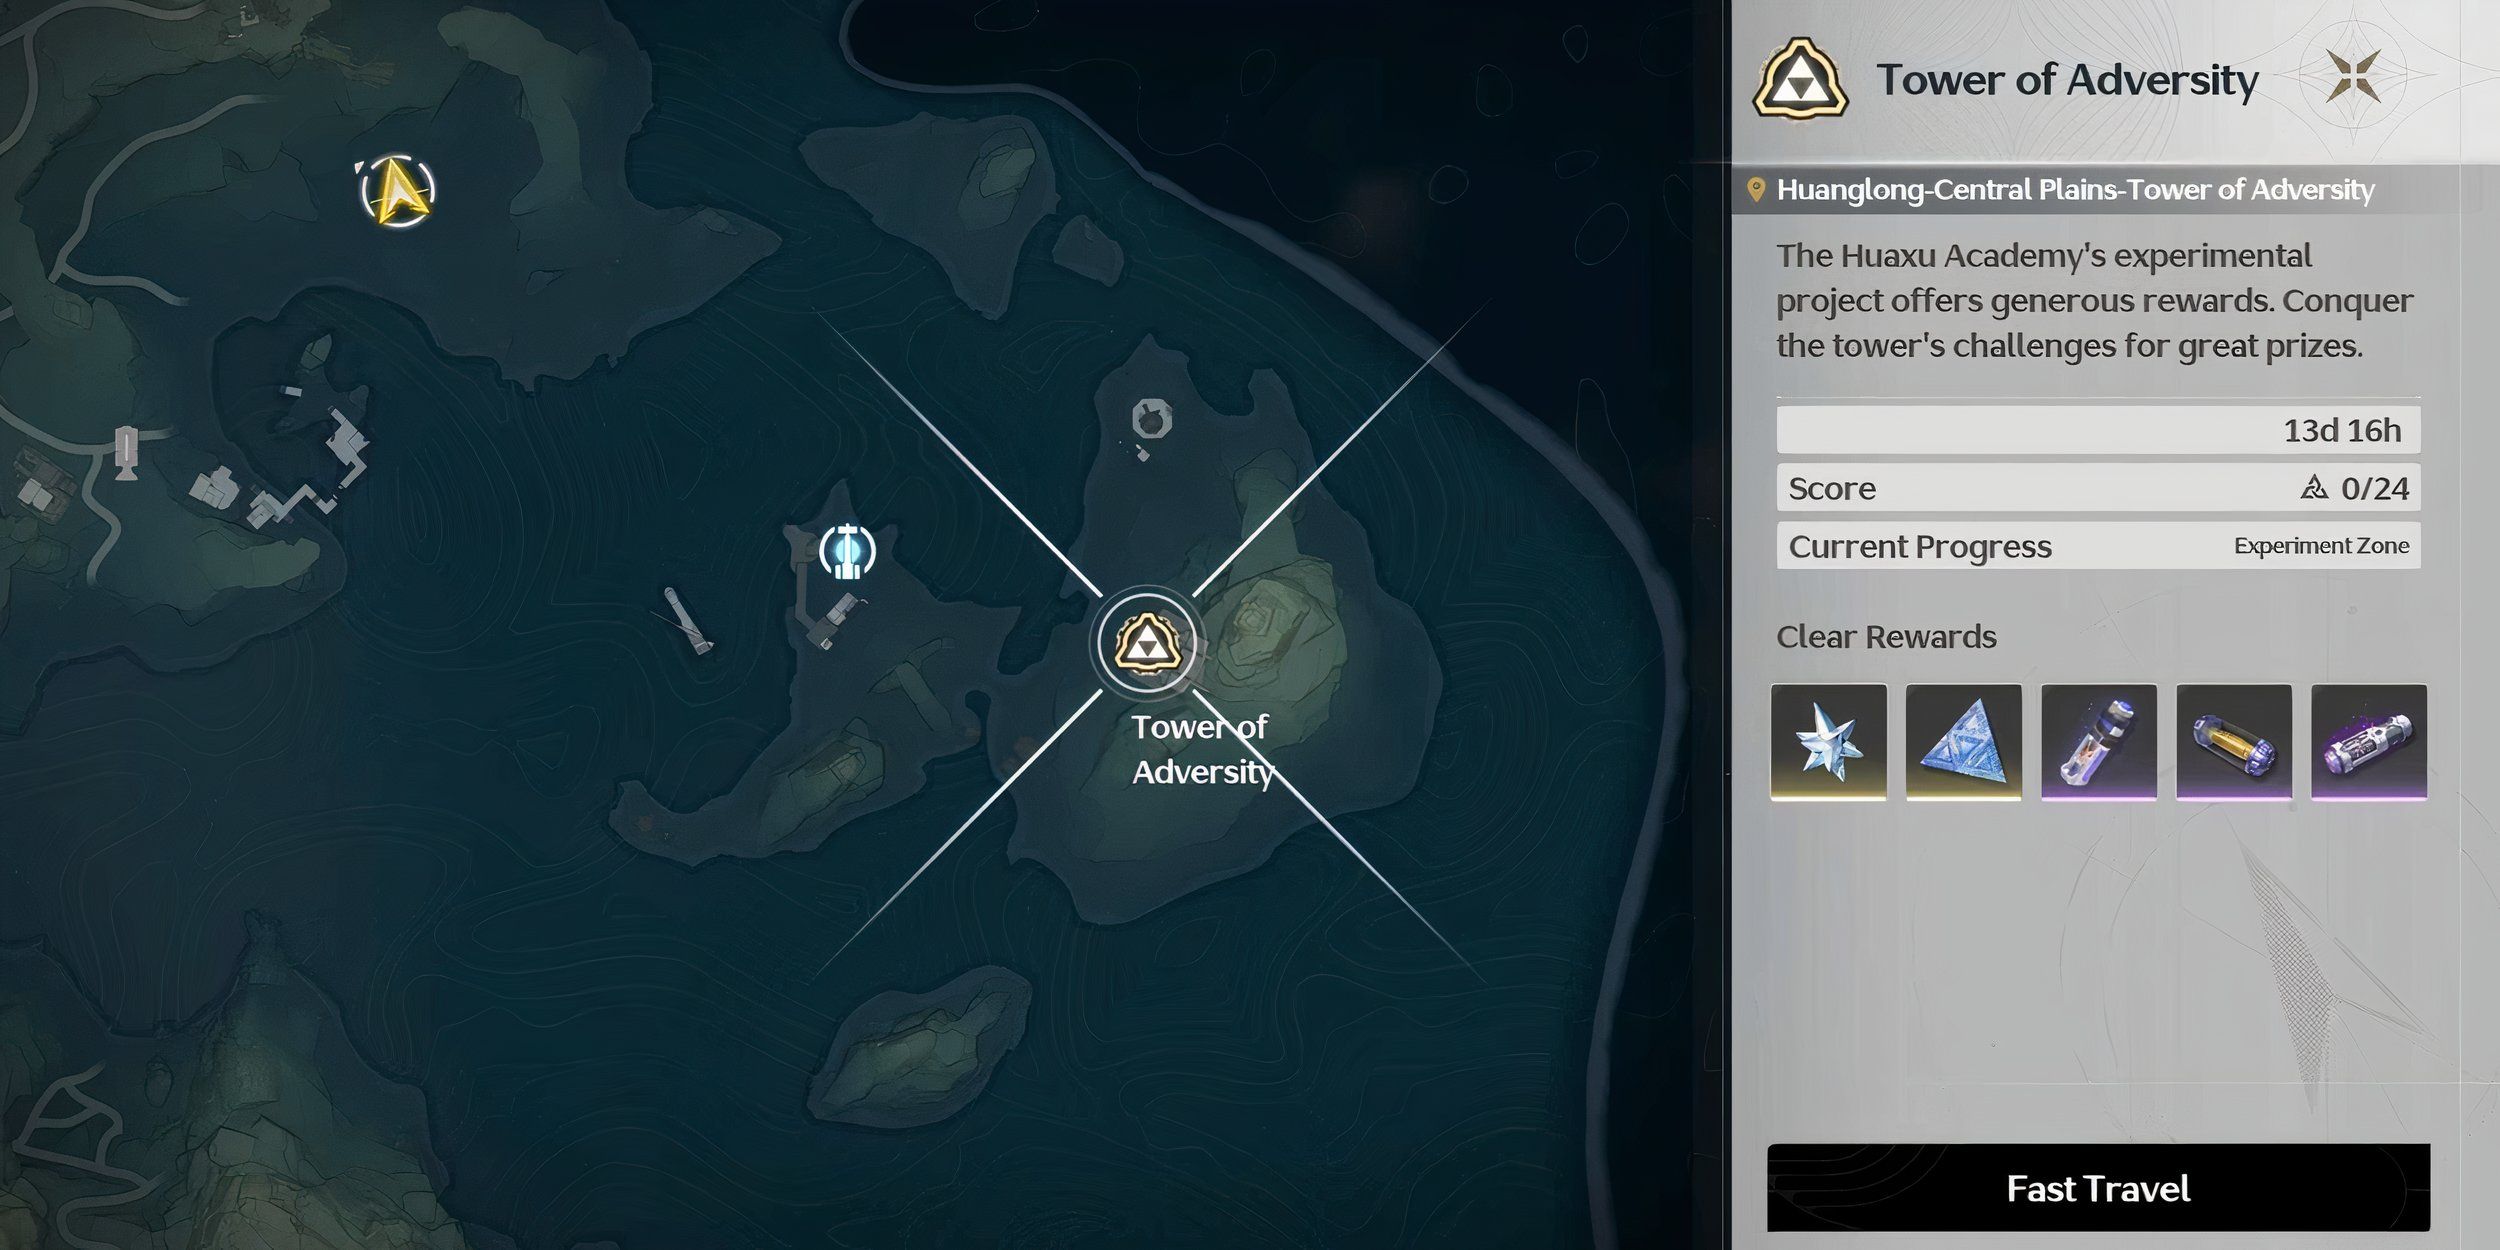
Players will need to reach Union Level 15 and complete Alone in the Abyss Tutorial Quest to unlock access to the Tower of Adversity. As a Tutorial quest, it only involves a few dialogues, and allows access to Tower of Adversity. Once unlocked, it becomes a permanent feature, providing ongoing challenges and rewards. Players can Fast Travel to Tower of Adversity, which is on the east side of Hualong-Central Plains.
Tower of Adversity Levels in Wuthering Waves, Explained
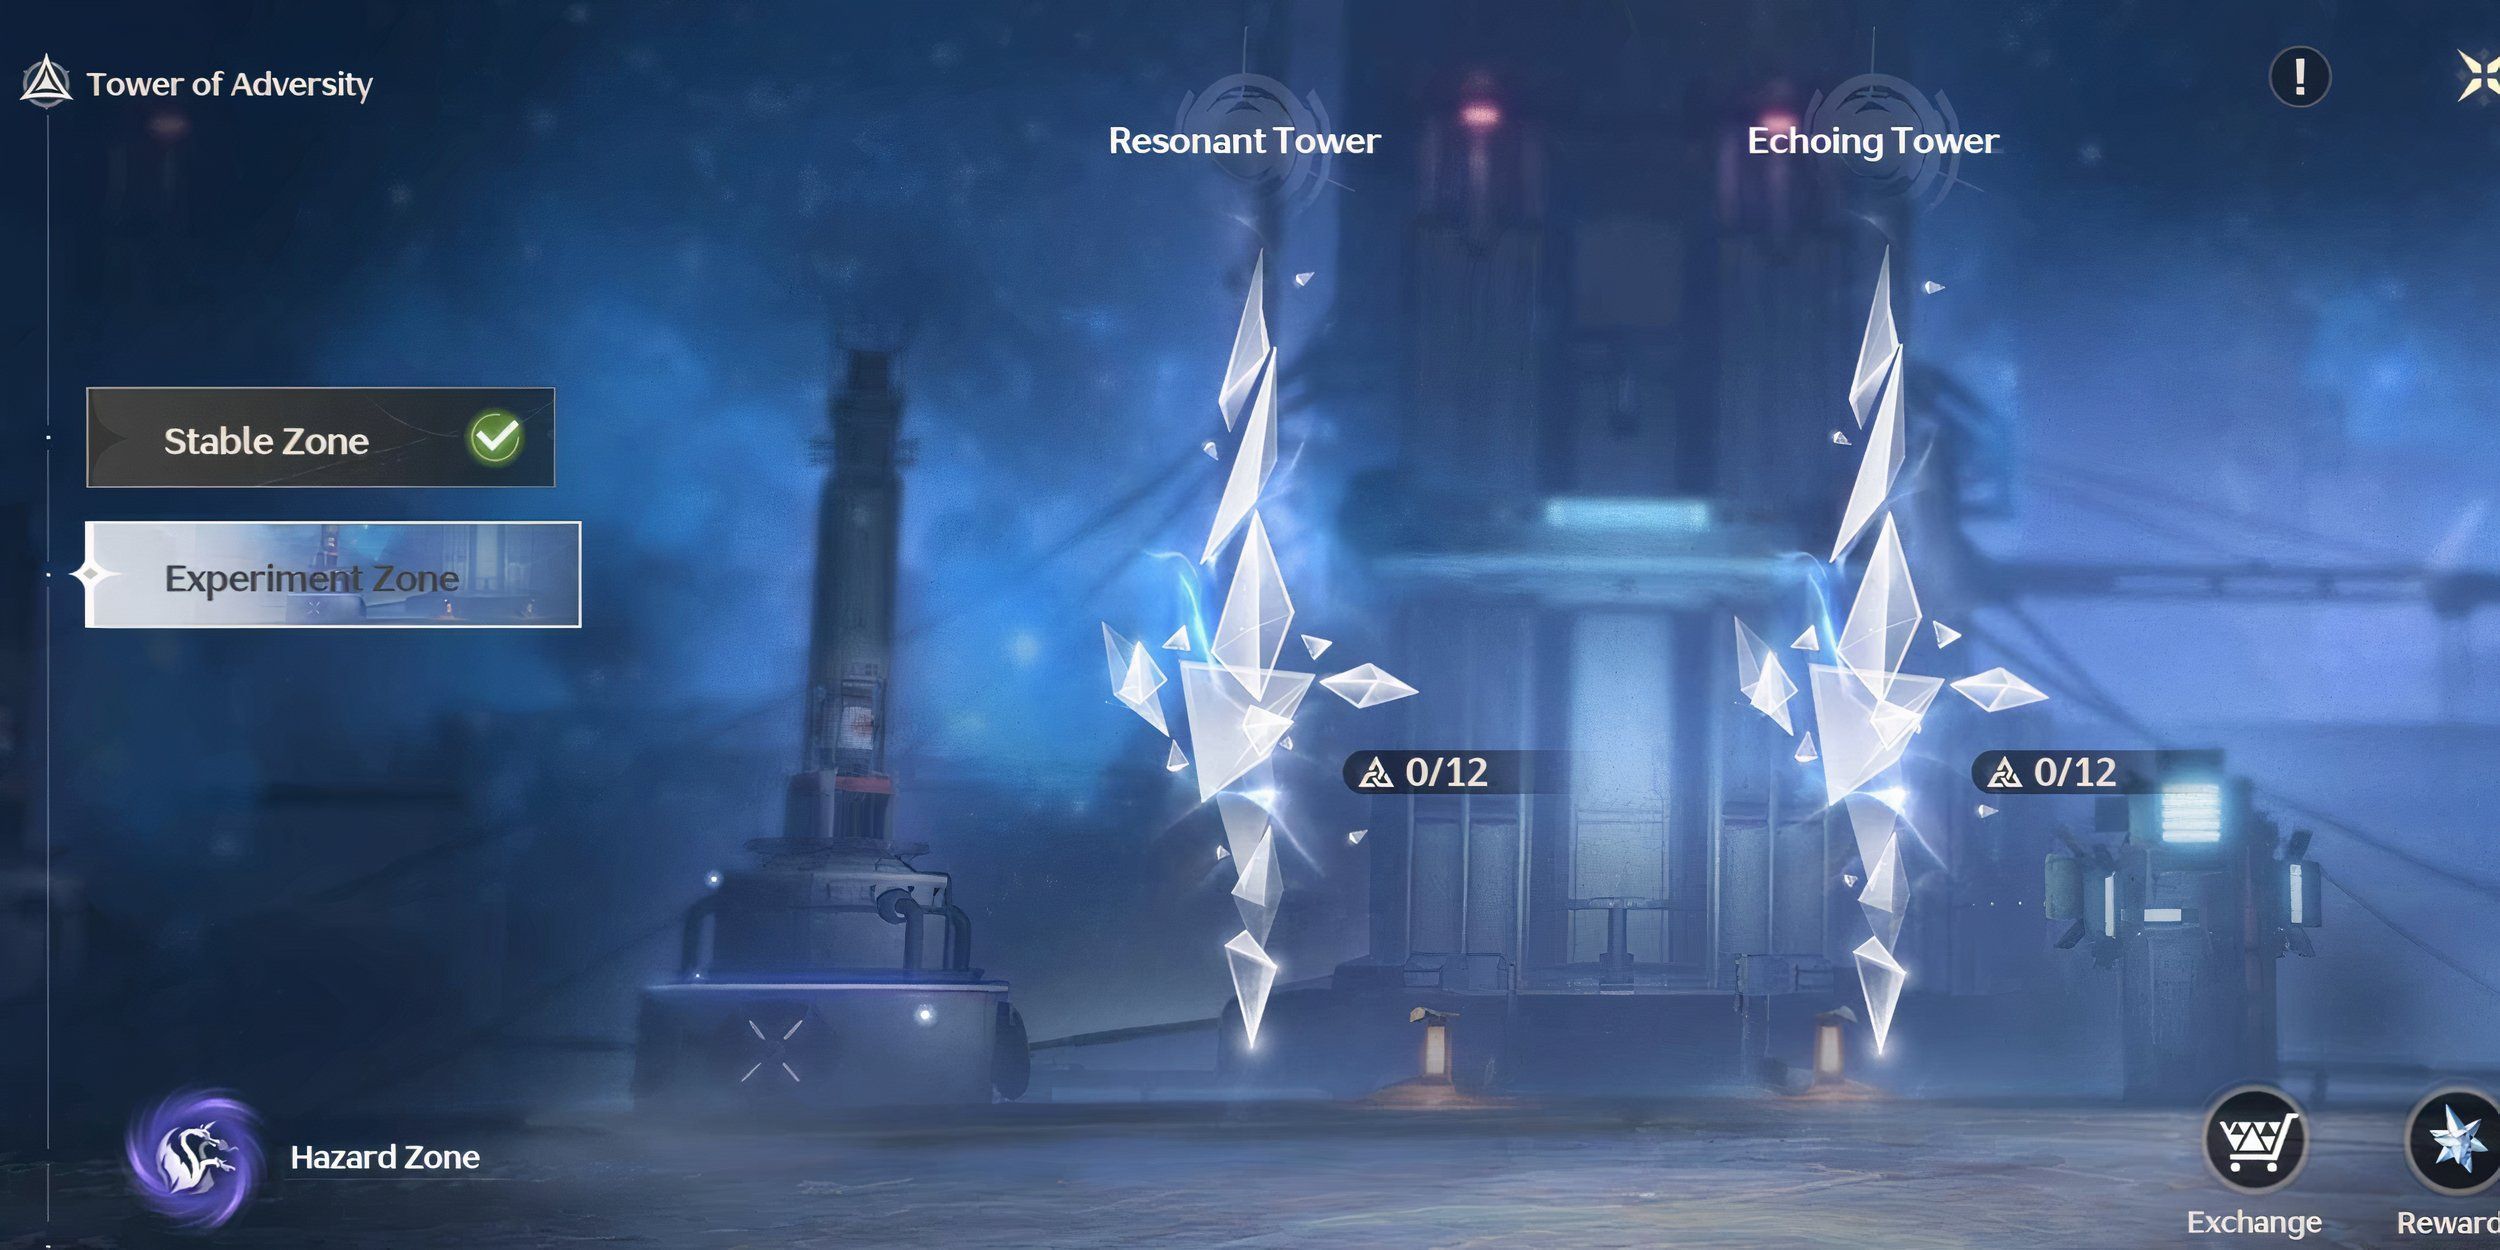
In the Tower of Adversity, players will navigate through three distinct zones, each escalating in difficulty: Stable Zone, Experimental Zone, and Hazard Zone.
- Stable Zone:
- Consists of one Resonant Tower with 4 levels in total.
- Designed for beginners to get accustomed to the mechanics and progressively increase in difficulty. (Enemies up to level 50)
- Must be entirely completed to unlock the Experimental Zone.
- Experimental Zone:
- Includes an additional Echoing Tower alongside the Resonant Tower, each with 4 levels.
- Offers a moderate challenge, requiring more advanced strategies and stronger team compositions. (Enemies up to level 70)
- Completion of both towers is necessary to progress to the Hazard Zone.
- Hazard Zone:
- Contains three towers: Resonant Tower, Echoing Tower, and the Tower of Hazard.
- The Tower of Hazard is unique with only 2 levels but presents the most challenging content.
- This zone is dynamic, with phases rotating every few weeks to keep the content fresh and challenging. Players can earn rewards repeatedly by collecting crests in each rotation.
While the levels within each tower increase in difficulty as players progress, the same levels across different towers within the same zone have similar difficulty, enemy levels, and requirements. This structured progression ensures that players must fully complete one zone before moving on to the next.
Stable and Experimental Zones are permanent, with their challenges remaining the same, offering one-time rewards for collecting all crests (1800 Asterite in total, among other rewards). Conversely, the Hazard Zone’s rotating phases provide an ongoing challenge with varied enemies, allowing players to earn rewards (Up to 700 Asterite each rotation) repeatedly as long as they can complete the required crests in each rotation. Players will also be able to collect Hazard Records as they progress, allowing them to obtain additional rewarsd including Phantom Skins for Echo's, Premium Tuner, Credits and more.
Vigor System in Tower of Adversity
To encourage players to utilize different teams, the Tower of Adversity introduces a Vigor system. This system prevents players from using the same teams for different towers within the same zone, requiring them to build and utilize multiple teams. Here's a detailed explanation of how the Vigor system works and its implications:
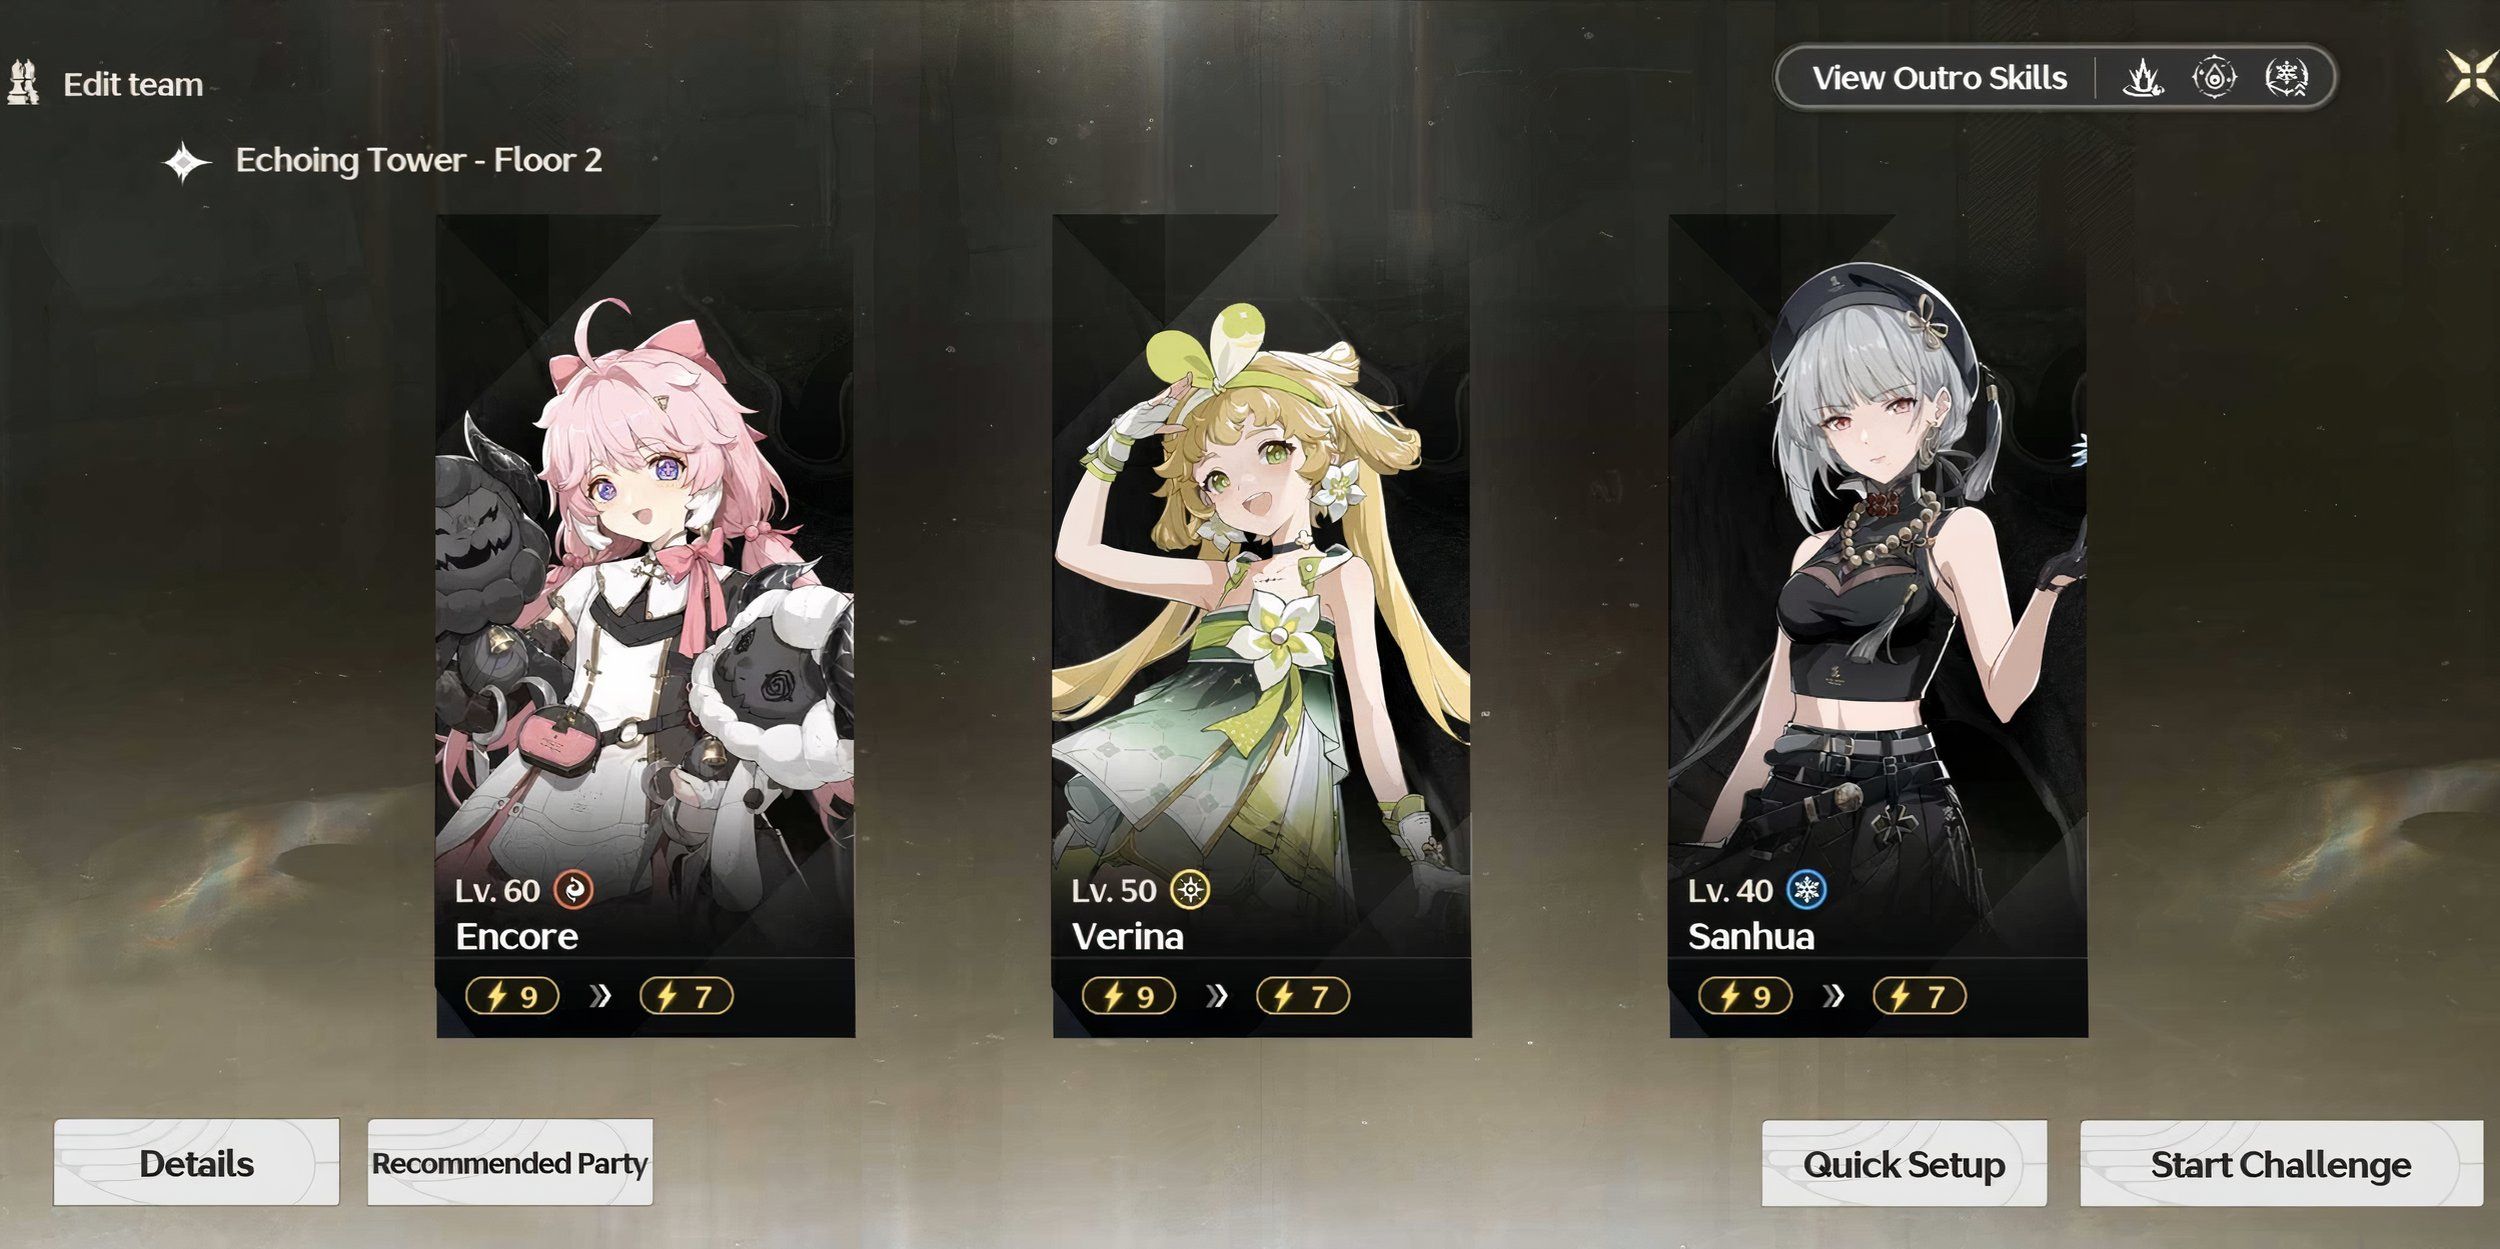
Each character has a certain amount of Vigor that depletes as they are used in the Tower of Adversity. The Vigor cost increases with each level: Level 1 uses 1 Vigor, Level 2 uses 2 Vigor, Level 4 uses 4 Vigor, and so on. Vigor is deducted based on character usage, meaning if a character is swapped between teams or used in multiple levels, their Vigor will deplete accordingly.
In terms of team requirements by zone, the Stable Zone requires only one team, as the Vigor cost is minimal, whereas the Experimental Zone requires two different teams due to higher Vigor demands.The Hazard Zone requires three different teams to manage the Vigor effectively for all towers within this zone. Players can swap team members between levels as long as they have enough Vigor remaining on the characters. Strategic planning is necessary to ensure that characters with sufficient Vigor are available for higher levels or more challenging towers. In the video above, players can see how vigor system in Stable Zone works.
Strategies and Best Characters to Complete Tower of Adversity
Considering that Hazard Zone buffs and enemies rotate, it is difficult to pinpoint one best strategy or team for it. However, for any lower-level stages, players can essentially utilize any character they have access to, provided they have built and leveled them to match the stages' enemy levels. Ensuring that characters are adequately leveled and equipped will allow players to clear these stages more effectively, regardless of the specific buffs or enemies present in a given rotation.
Thus, a flexible approach, where players adapt their teams to the current rotation's requirements while focusing on character development, will generally yield the best results in the Hazard Zone.
Even though the limited-character of the current duration of Hazard Zone might typically work excellently due to the buff and enemy type provided, players shouldn't be tempted to pull for these characters solely to receive all rewards, as this typically doesn't justify the resources spent to invest in the character. Instead, players should focus on characters they enjoy playing and build optimal synergies for them. By doing so, they can maintain a balanced roster that suits their playstyle and ensures a more enjoyable gaming experience while still being capable of tackling various challenges.
Here are some general strategies to have an easier time in the Tower of Adversity (ToA):
- Balanced Team Compositions: To ensure success in ToA, it's essential to focus on building a few strong teams with key characters capable of handling different types of challenges. Each team should ideally consist of a DPS character (such as Jiyan, Encore, Calcharo, or Havoc Rover), a suitable Hybrid Support (like Jianxin, Yinlin, or Sanhua), and a Sustain character (such as Verina, Baizhe, or Taoqi). Given that players will receive three 5-star characters early in the game through free pulls, combined with other freely obtainable 4-star characters, they can build a useful team around them without needing to spend in the game.
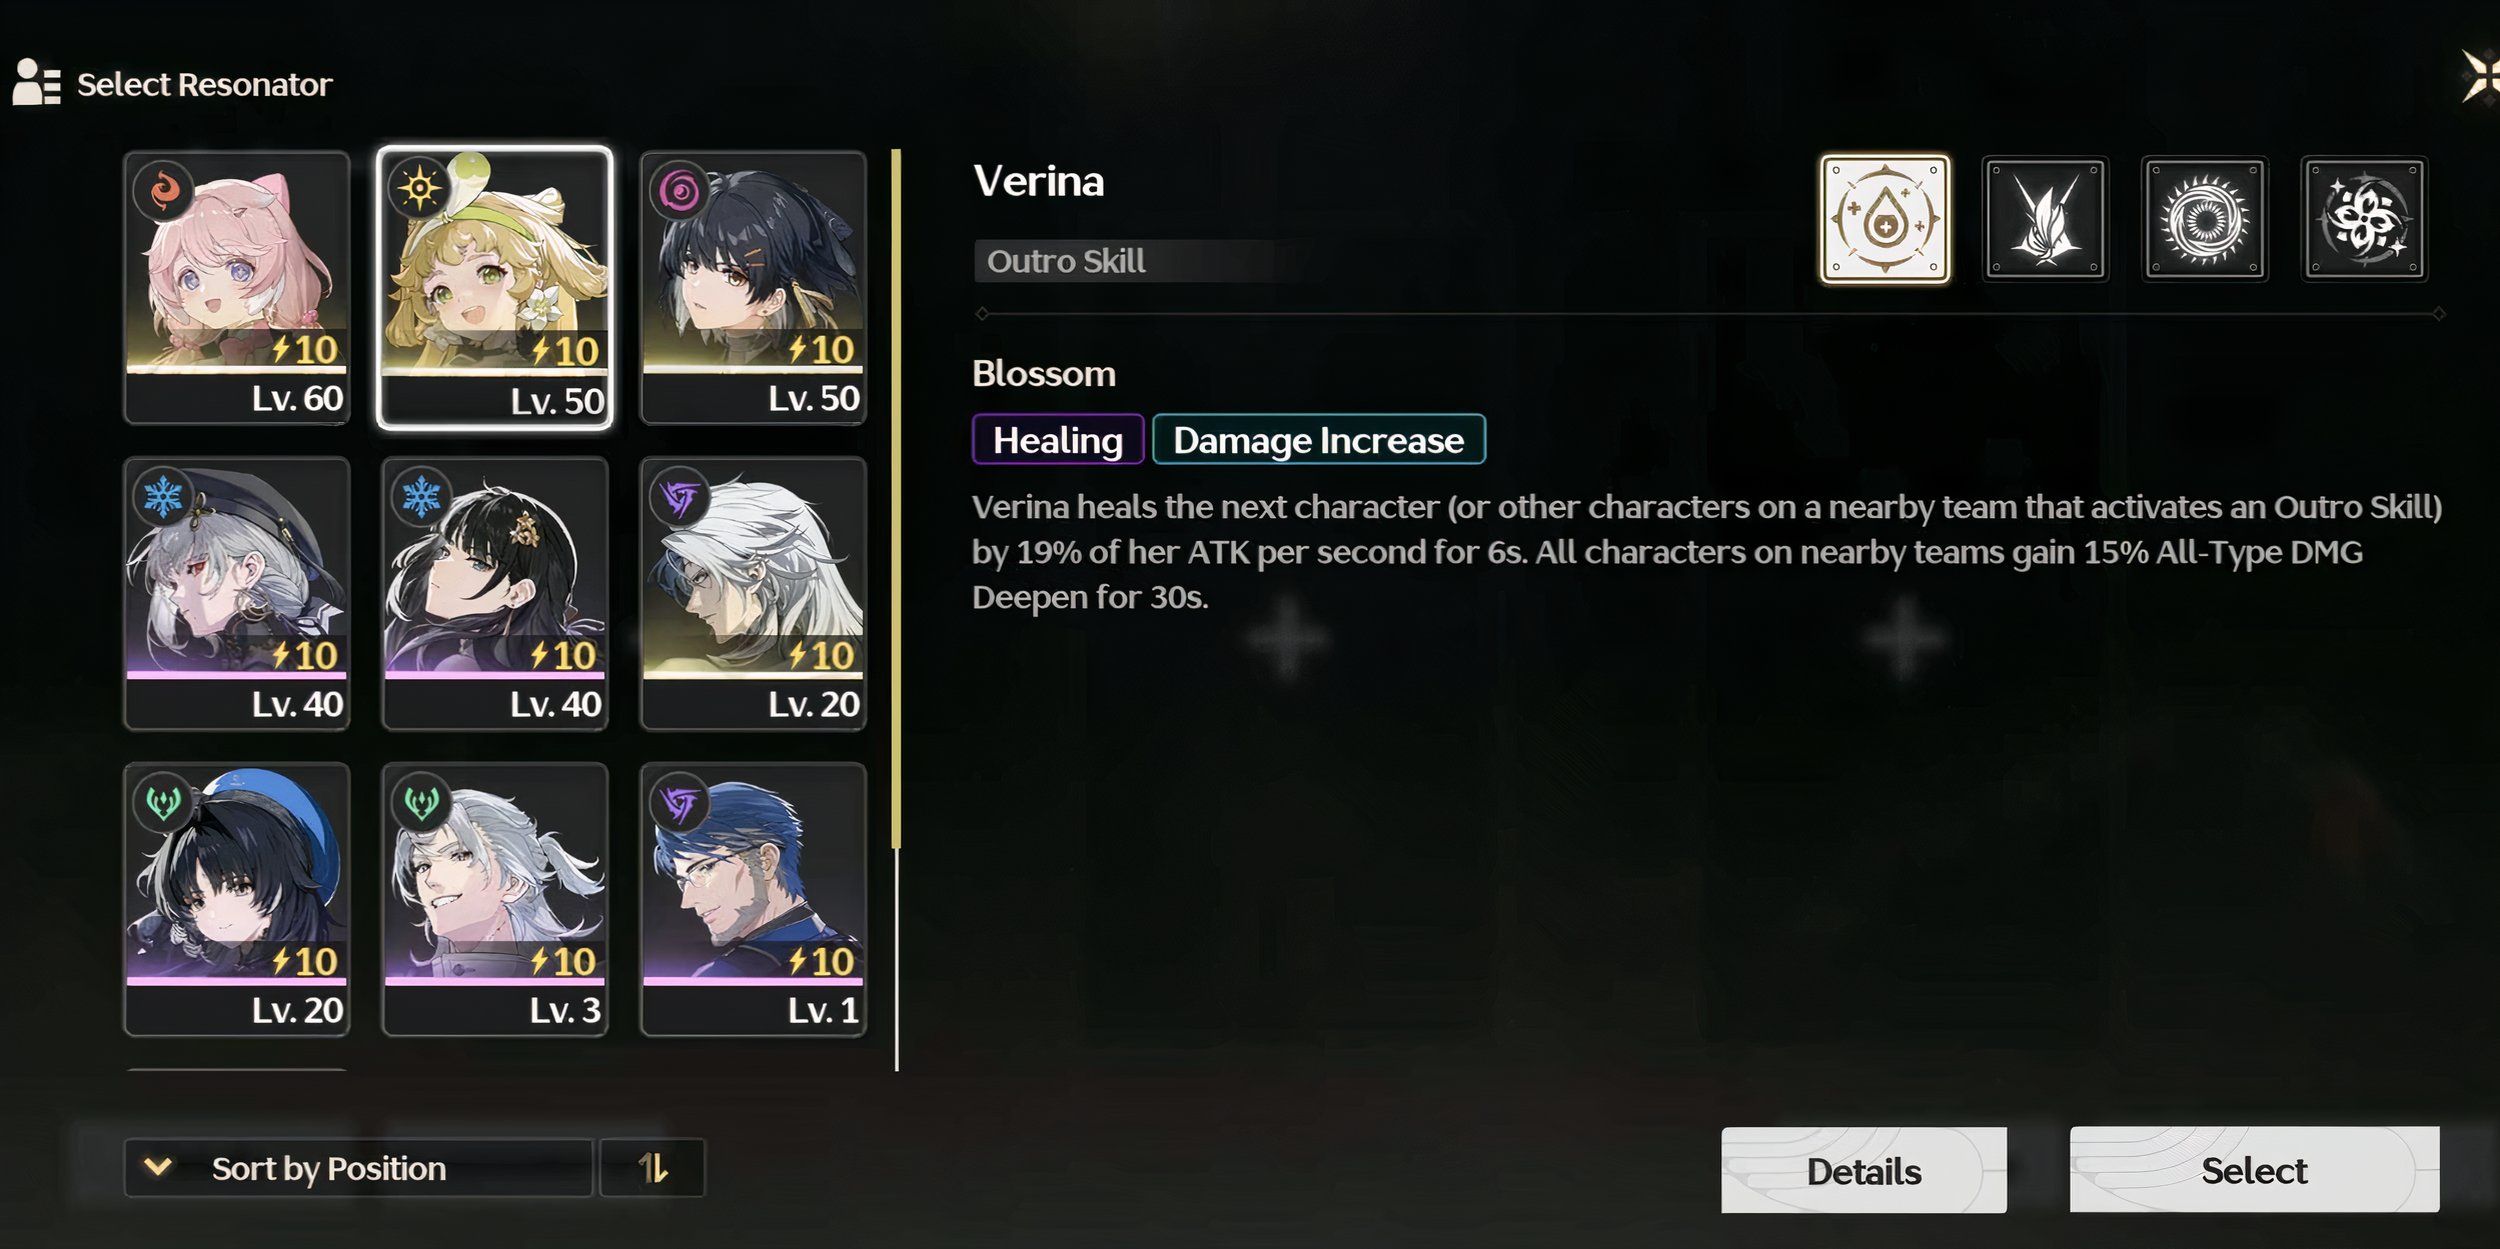
For players who are yet to decide who to build, especially for ToA, it's advisable to prioritize Verina. Her strong healing abilities and party-wide buffs make her an invaluable asset, particularly when combined with a desired DPS character. By focusing on Verina and strategically selecting complementary characters, players can enhance their team's effectiveness and improve their chances of success in ToA stages.
- Invest in Specific Characters and Manage Resources: Instead of ascending each character at the same time, and diverting resources,it is recommended that players decide on their favorite team compositions, and focus on upgrading one team at a time, typically focusing on optimizing the DPS character the most. With that, players will have an easier time with managing Waveplates while upgrading weapons and Echoes as well, and ensure a more effective continuous progression and character development.
- Make Good Use of Echo System: While getting a perfect 5-star echo with optimal sub-stats might take a long time, players should atleast focus on equipping all their characters with the highest rarity, and of correct sets, while aiming for the suitable main stats, and keep an eye on the Echo Skill. Having the right Echo Skill for a character can help with clearing the content easier, especially if these Echos can dish out massive damage, or provide buffs or benefits for the entire party.
- Pay Attention to the Stage Buffs and Enemies: While the levels among the different towers within the same Zone are similar, the buffs provided for each tower and level will vary. This means that players should strategically switch teams around to capitalize on the specific buffs for each level. However, if players have access to strong characters, except for the last few levels, this consideration doesn't become too prominent compared to the characters players have access to. In essence, having a diverse roster of powerful characters can mitigate the need to fine-tune teams based on buffs, especially in earlier stages of the Tower of Adversity.
Wuthering Waves: How to Increase Union Level
Here's how you can increase your Union Level, which needs to be improved to continue your progress in Wuthering Waves.

