Wuthering Waves is Kuro Games’ new addition to their franchise of dystopian RPG games. Enticing players with its spectacular graphics and unique gameplay, Wuthering Waves has exceeded many expectations. The game is set in a post-apocalyptic world where Resonators fight against the Remnants of a dark age. The player character, the Rover, is a mysterious figure who seems to have connections to the world’s past and future. There are only a few cities and harbors where civilization has settled, and the rest of the land is home to monsters and ruins.
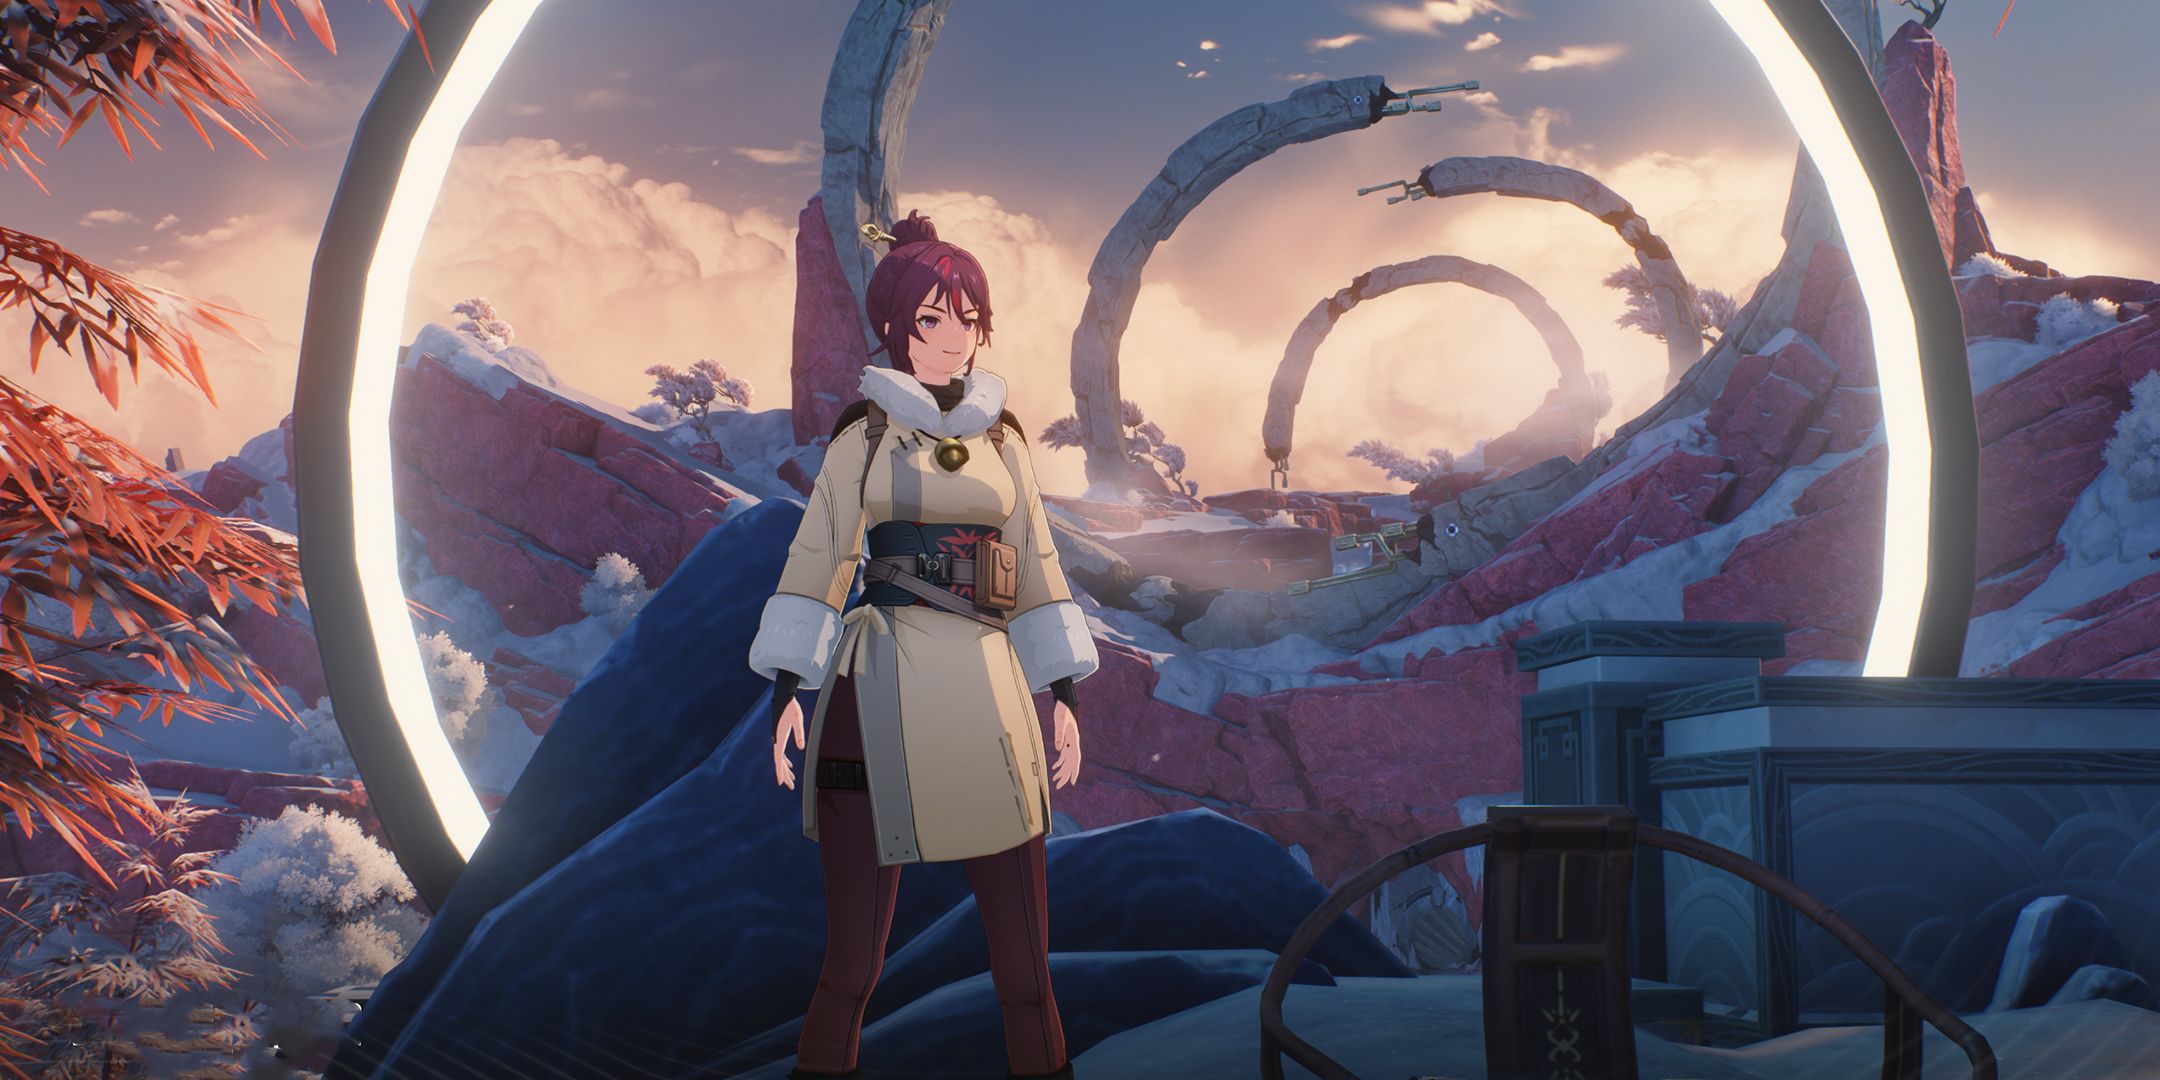
The ruins in the game are especially phenomenal. Many of them are human-made, meant to tell the story of how destructive human ambition can prove to be. The Court of Savantae Ruins perfectly embodies this idea, as this place was once the pinnacle of investigative science. Their research took them to many heights, but alas, they all came crashing down when an experiment went wrong and every single member of the area vanished. They left behind a variety of puzzles that Rovers can attempt to solve to unlock hidden lore and rewards. One especially challenging one is the Cube Puzzle, which is located west of the main ruins.

Wuthering Waves vs Genshin Impact: Similarities and Differences
Wuthering Waves and Genshin Impact are two different games that have similar mechanics. Here's a better way of understanding this new franchise.
Where To Find The First Guide Crystal Puzzle
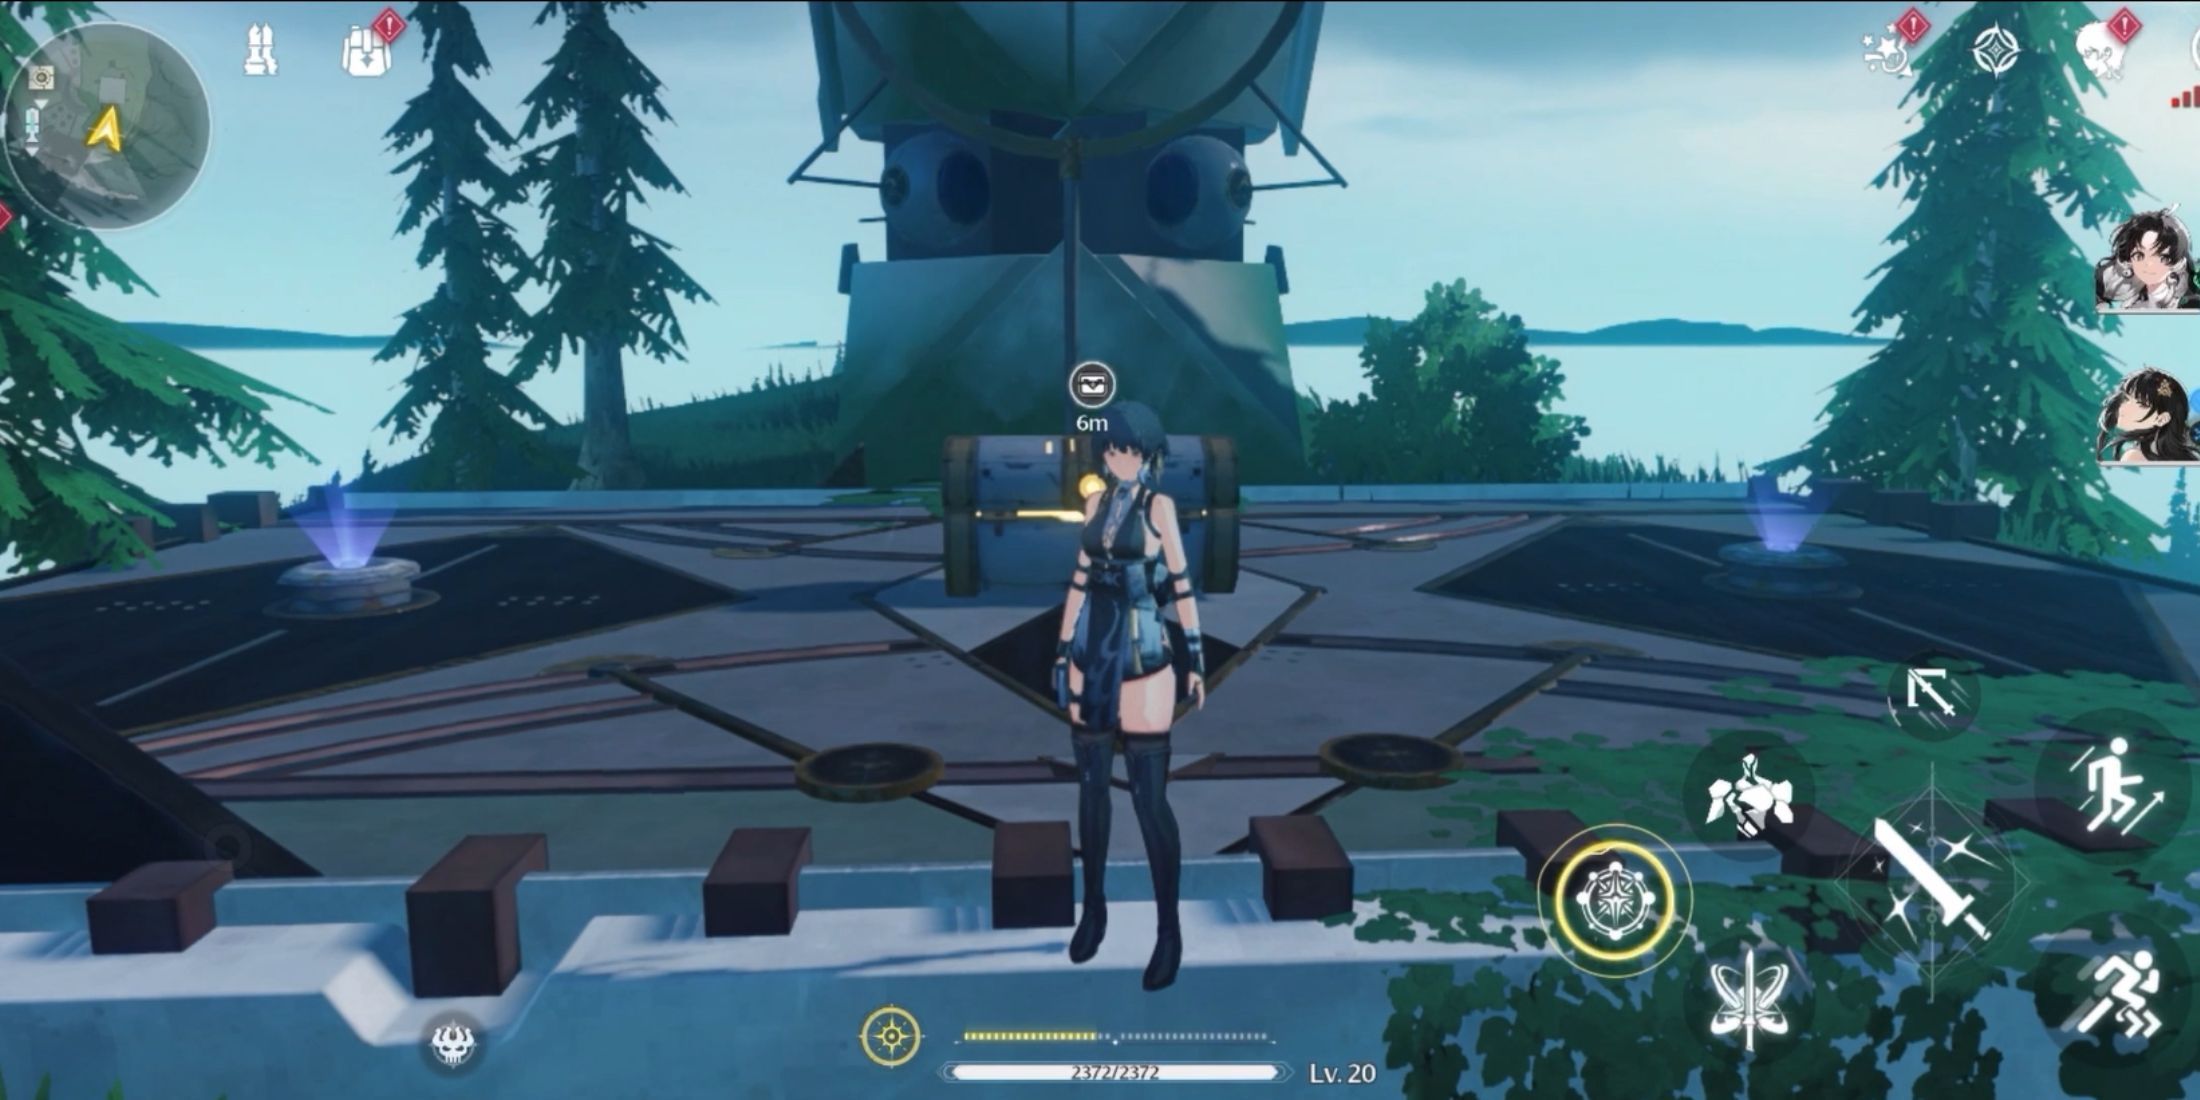
West of the Court of Savantae Ruins and south of the Resonance Beacon, players will find a massive building with a mechanism on the roof. There will be two platforms in front and six pressure platforms behind (right next to the door) that players need to work with. This puzzle is a little tricky, so be sure to follow each step through to the end.
- The two platforms in front will be your indicator on which pressure platforms you need to step on near the door. Use the Levitator in your Utility to pick up the cube from the middle and place it on the pressure plate to your right. (This is the pressure plate that is second to your right from the center if you were facing the door.)
- Turn around and step onto the center (top) pressure plate. This will unlock the second cube that is placed on top of the rock.
- Head towards it and look at the platform on the left. That will be your indicator for the next part of the puzzle. Pick the second cube and head over to the pressure plates on the left. Place this cube on the pressure plate that is second from the one in the center. If you were facing the door and in the center, this pressure plate would be the second one on your keft.
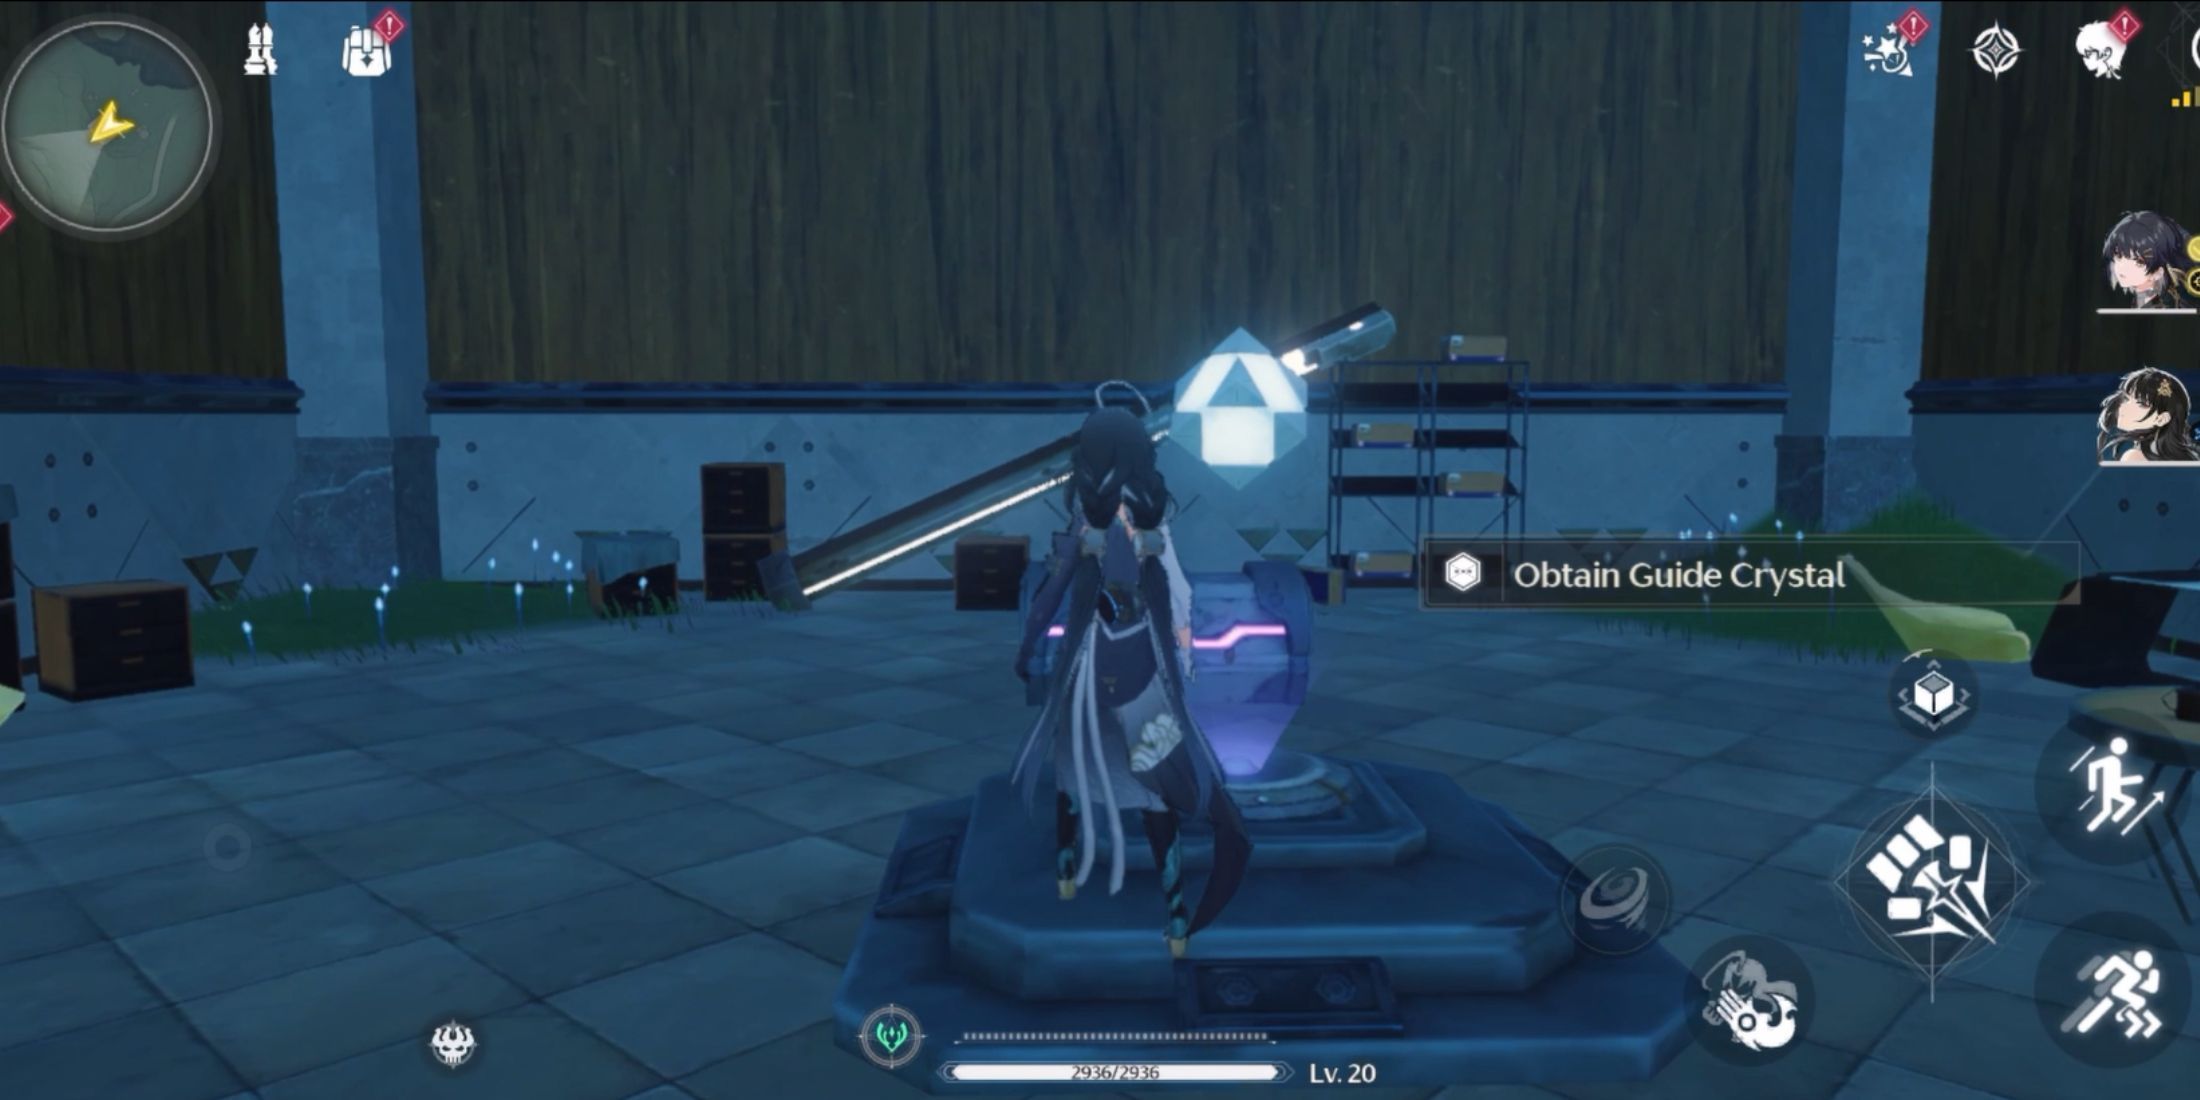
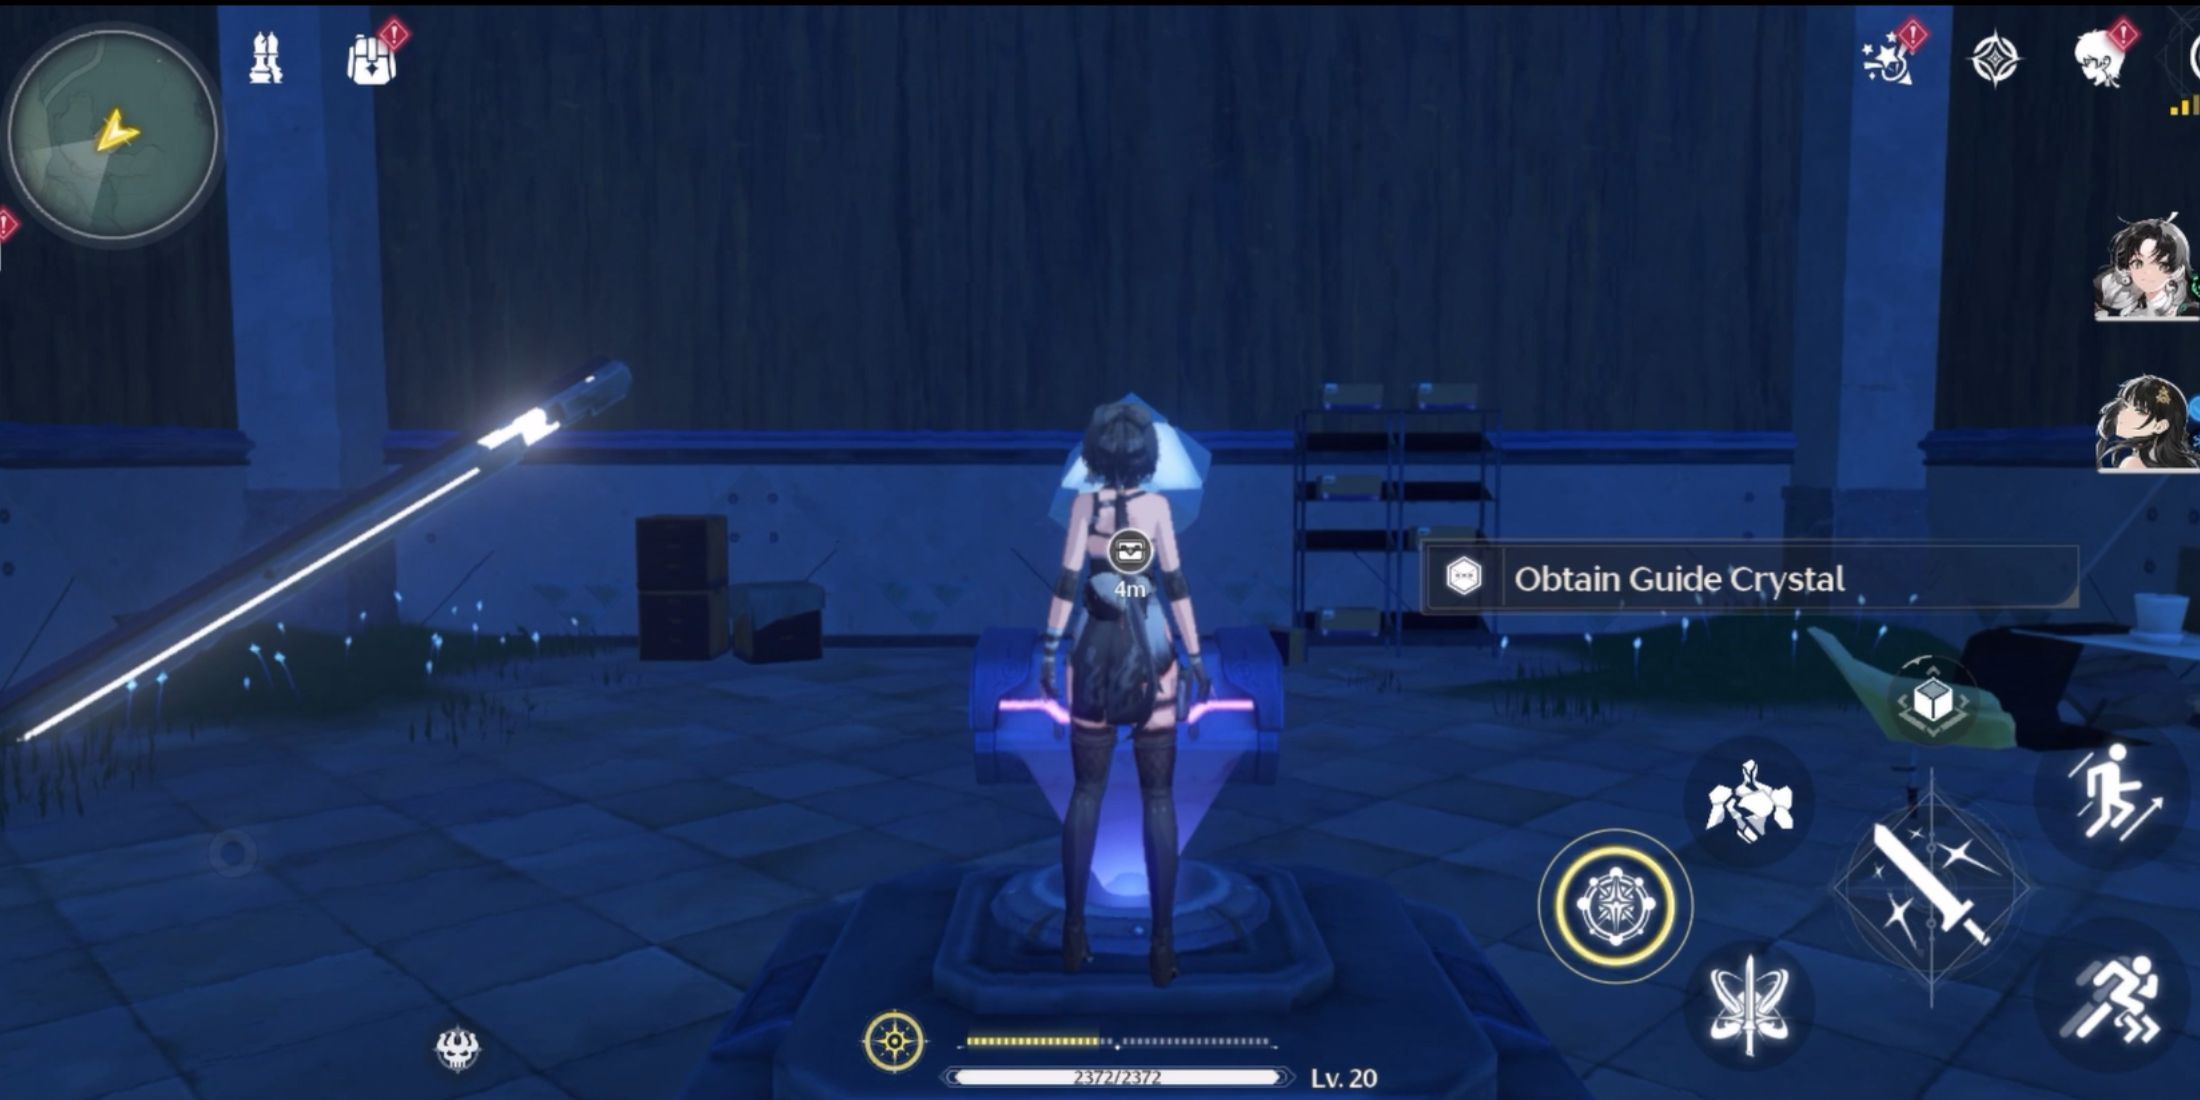
- Step directly across to the pressure plate in front of you, and the second part of the puzzle will be complete. This will unlock the door, and you can go inside to claim the chest. The guide crystal will also be inside, so pick it up before you leave.
There’s another secret puzzle where players can claim another chest before they leave for the next site. There will be some flowers to the side that look oddly symmetrical. The blue flowers represent the pressure plates that the cube needs to be placed on.
- Move the left cube one space up.
- Move the right cube one space down.
- Then, go stand on the pressure plate at the botto. This will unlock a chest in the circle of flowers.

Wuthering Waves: Character Tier List
Wuthering Waves tier list can help Rovers assess which character is worth building, ensuring proper resource management for the players.
Where To Find The Second Guide Crystal Puzzle
The second Guide Crystal is located south in another mini-facility. The two buildings are parallel to each other, and only vary in the distance between them. Just travel a couple of hundred meters south, and you’ll be able to see it. This puzzle is a little bit more confusing than the previous ones.
- Towards the right of the building, you will find a firebomb to throw at the thorns crawling up the side of it. The thorns start from the right of the building, and they grow upwards and down the left side. The fire will spread and destroy the thorns on the left, revealing an energy matrix that you need to complete the puzzle.
- Pick it up using the Levitator and place it at the top right of the puzzle.
- Pick up the four piece matrix to your left and place it at the bottom below the previous matrix.
- The third piece needs to be rotated to an upside down L-shape and slotted on the left. This will be adjacent to the four-piece you placed earlier.
- Turn around, and you’ll see the final piece of the puzzle near some rocks. Pick that up and rotate it seven times to make a horizontal L-shape. Slot it at the top, and the puzzle will be complete.
- The entire energy matrix will turn yellow when the puzzle is complete and the door behind it will unlock.
- There will be a chest to claim and another Guide Crystal to pick up.
How To Use The Guide Crystals In The Court Of Savantae Ruins
Place both crystals on a detection platform closer to the main ruins. You can teleport to the nearby waypoint and head southeast to find the structure. It will be right behind a structure with a massive cube on the roof. Place the Guide Crystals in each slot, and you’ll receive a Premium Supply Chest, along with 40 Astrides.
