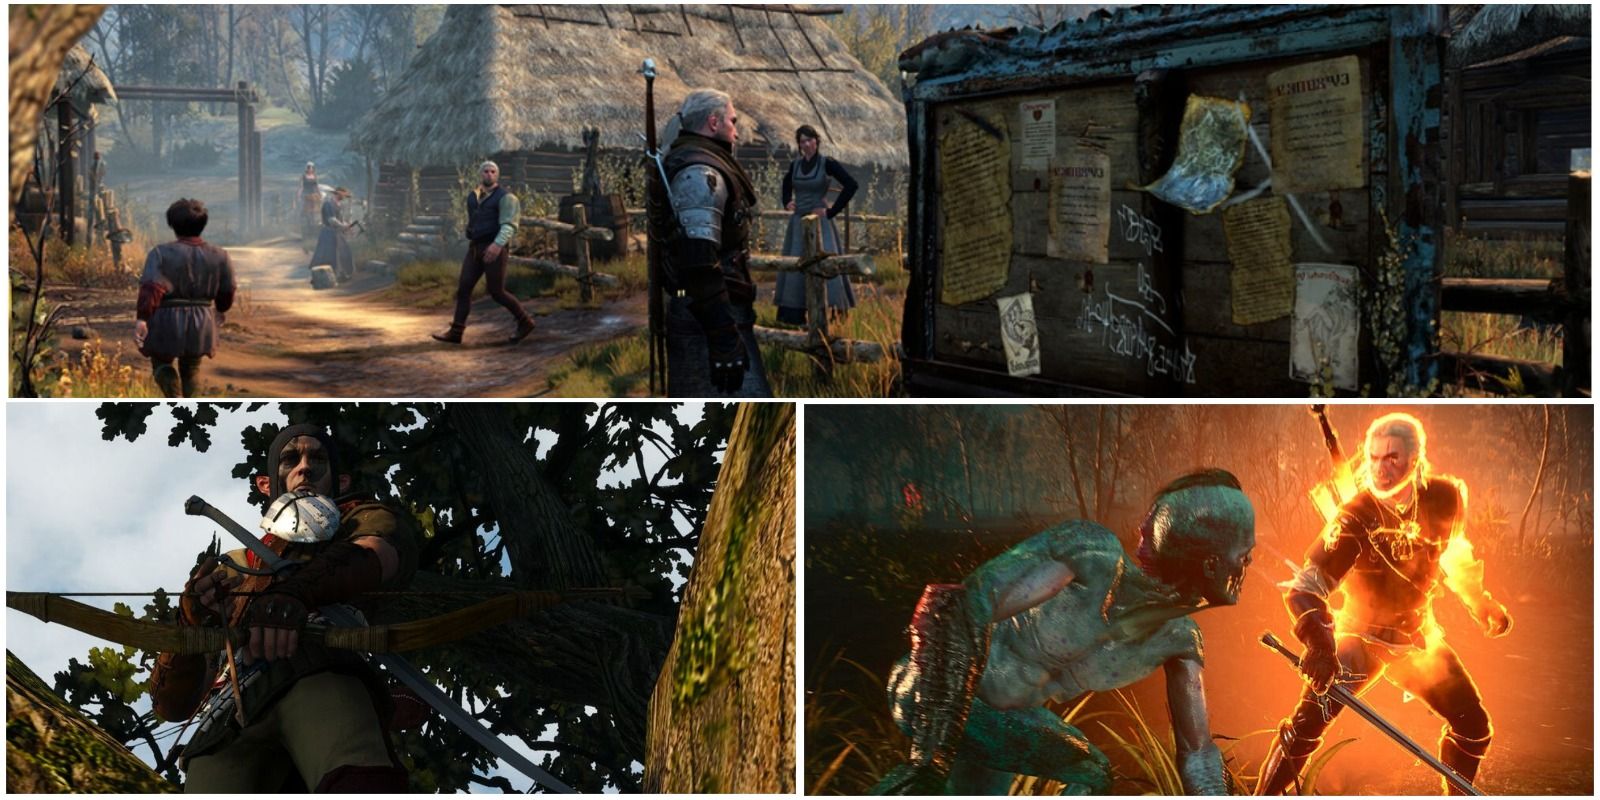
The dynamic storytelling in The Witcher 3: Wild Hunt often means that contracts don't always end up being what they seem. The "Woodland Beast" contract is just such a quest, for Geralt sets out to hunt down a beast of unknown nature, though soon finds out that it is not a monster behind the killings.
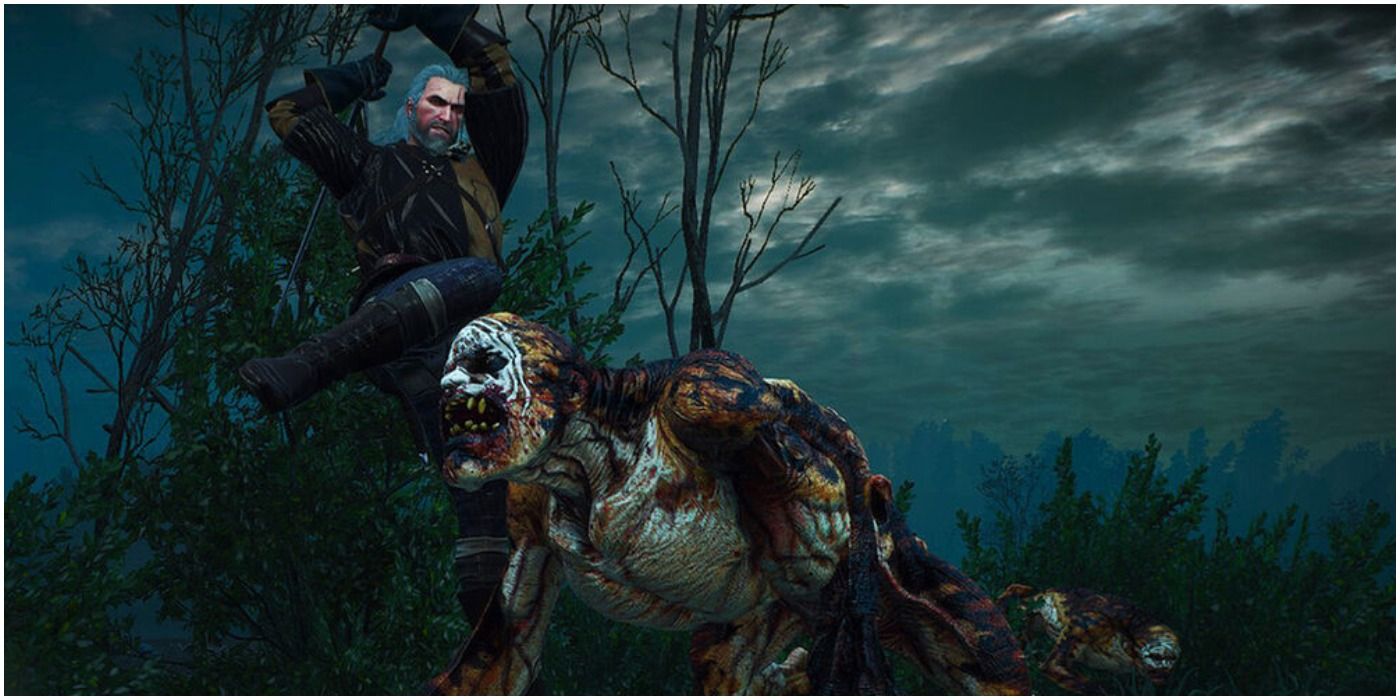
However, this does not mean that there will be no monsters to fight. The Northern Realms are full of supernatural foes all too eager to rip apart any and everything that they consider to be easy prey. Just be ready to encounter multiple types of adversaries before setting forth on this contract.
Quick Objective Overview
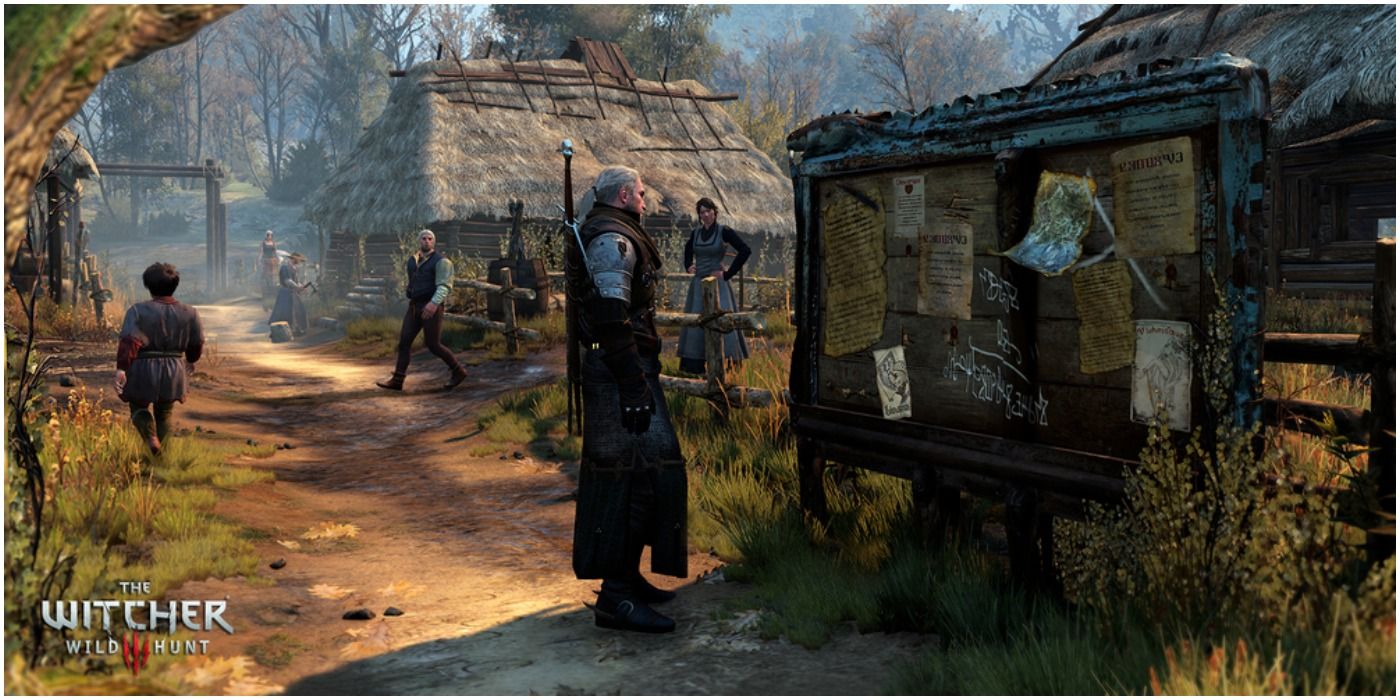
- Pick up the Woodland Beast Contract at either the Border Post or Oxenfurt notice boards
- Talk to the Redanian captain on the bridge at Border Post
- Investigate the site of the caravan attacks mentioned by the captain
- Follow the tracks leading away from the site with Geralt's Witcher Senses
- Confront the Scoia'tael who are the real culprits
- Decide to either kill them all or leave them be
- Return to the captain for the reward
Step 1: Starting The Contract
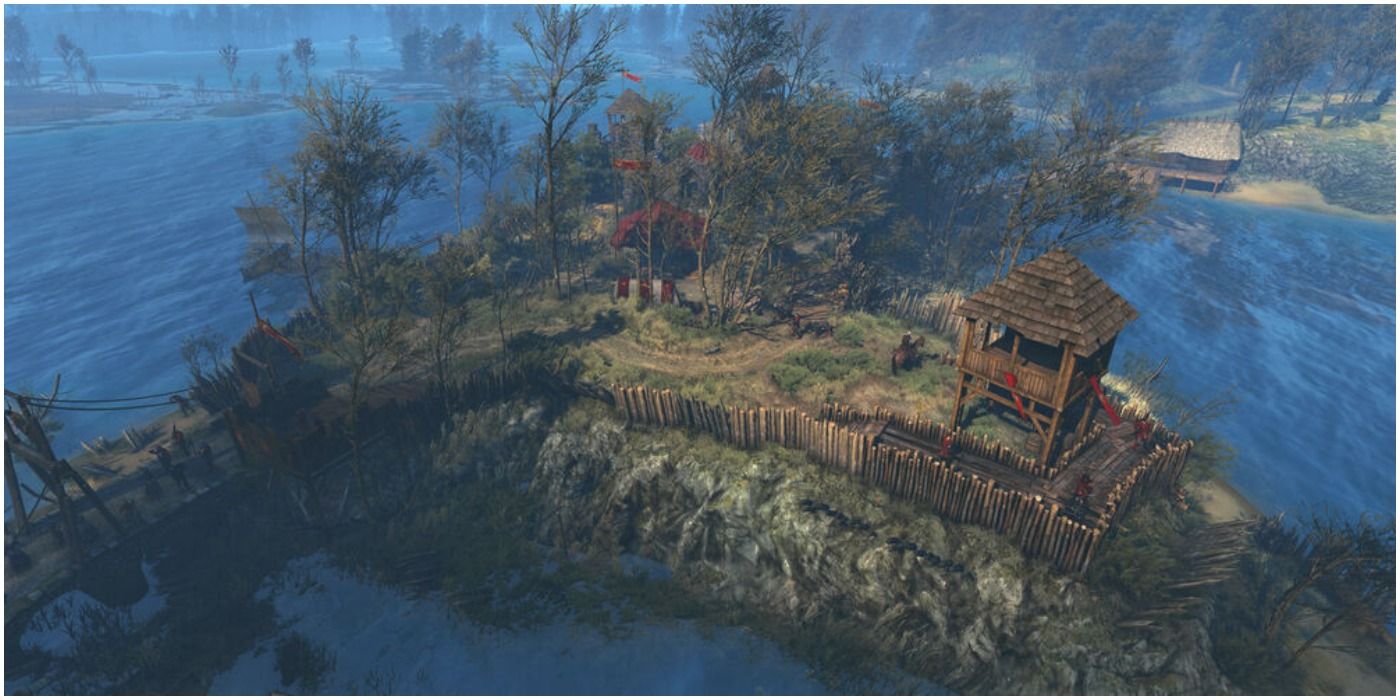
This contract can be picked up in either Border Post or in Oxenfurt. It is recommended to grab it from the Border Post notice board as this area is encountered a bit sooner and is closer to the first objective. Border Post is located northwest of the Hanged Man's Tree fast travel point upon a small island known as Halver Isle.
After picking up the contract, a quest marker will appear that will lead the player to a Redanian captain located at Border Post's main bridge. He will tell Geralt all about soldiers and caravans suffering from attacks by an unknown threat. He'll offer the witcher a letter of safe conduct, which will let the player cross the Pontar River if he slays the mysterious fiend. As one of three main ways to gain this quest item that allows Geralt to progress to later areas in the game, this can be a viable option if one cannot get such an item from the Bloody Baron or acquire fake papers.
Step 2: Investigate The Attack Site
Follow the quest marker to the location indicated by the captain, which is just northeast of the river before one reaches the Inn at the Crossroads fast travel point. Here Geralt will encounter a few alghouls consuming the remains of the dead left in the wake of the caravan attack. Although alghouls are dangerous foes for non-witchers, it is clear that these monsters are merely scavengers and not the ones who attacked the caravan and Redanian soldiers.
These necrophages are a bit more wily than their ghoul and graveir brethren, so they should be tackled with a bit of caution. They can go into a mad frenzy of reckless strikes, so it is recommended to stay on their flanks or behind them when attacking. Necrophage Oil upon one's silver sword will help to dispose of them quicker. Axii can also be of great help in this fight, as it will force the alghouls to retract their sharp spines, which causes Geralt to take damage when he attacks them with melee assaults. After these monsters are dealt with, investigate the area with one's Witcher Senses and find some tracks to follow.
Step 3: Follow The Tracks
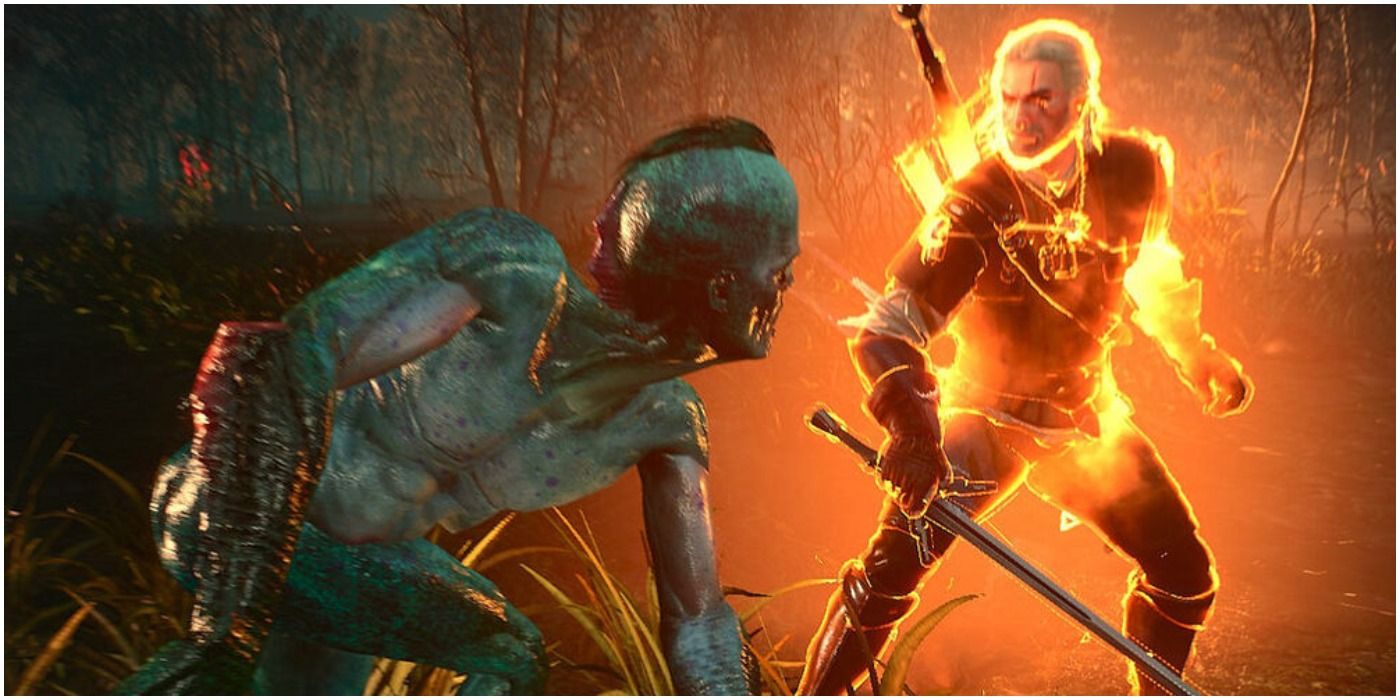
Following the tracks will lead the witcher to an area by the river where one will be assaulted by drowners. As these foes are also necrophages, the oil still on one's silver blade from the recent encounter with the alghouls by the wreck of the Redanian wagons should come in handy. Use this and the Igni sign to make short work of these watery weirdos before continuing to follow the tracks with one's Witcher Senses.
Step 4: Confront The Culprits
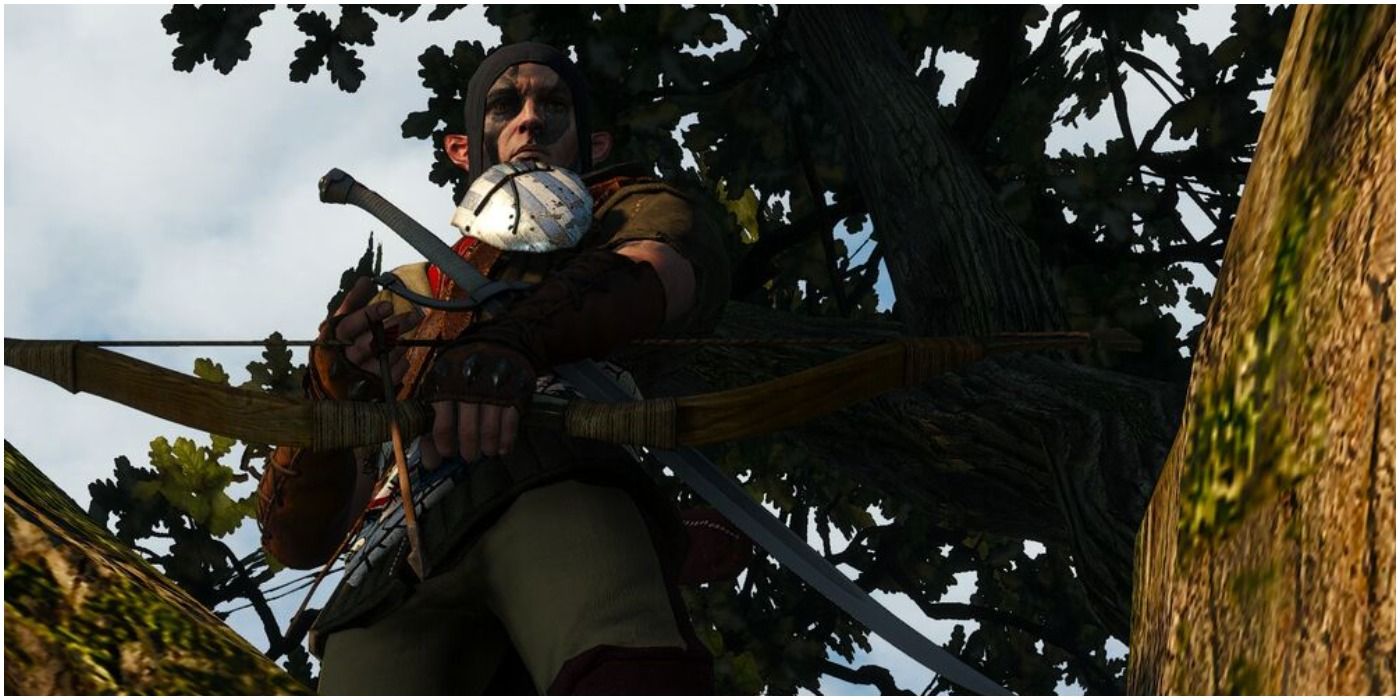
After Geralt follows the tracks for a while, he'll come to a tree and a cutscene will play, revealing Scoia'tael fighters in the foliage demanding that he state his business. Be careful here, as every option besides asking to see their commander will result in the Scoia'tael warriors attacking Geralt. Furthermore, when asked to turn over one's weapons before seeing the commander, if Geralt refuses, the guerilla fighters will attack. It is recommended to cooperate with the non-humans (for now) as this leads to hearing their side of the story, which can influence one's later decisions.
When speaking with the Scoia'tael commander, Vernossiel, she will reveal that they have only been killing soldiers that travel the main roads and have not been targetting civilians. She further explains that the Redanian soldiers have been kidnapping, torturing, and executing Scoia'tael members. After hearing this, the player will have a dialogue option to initial combat, despite being without any weapons.
It is recommended to temporarily side with the elves, as this will result in the dialogue ending and Geralt receiving some sellable items and low-tier armor in addition to all the gear he handed over prior to meeting with Vernossiel. For the optimal gains of this quest, players should re-equip their returned gear and then assault the elves in cold blood, decimating them quickly and efficiently.
Step 5: Turning In The Contract
After all of the Scoia'tael are slain, make one's way back to Border Post and report to the same captain who Geralt spoke with before. If one did not kill the elven fighters and simply says that there was no monster, the captain will only give the player 25 XP. If one did not kill the Scoia'tael and tells the captain about them, he will give 25 XP as well as the letter of safe conduct, though no monetary reward.
However, if one took out the elves plaguing the Redanian forces here, Geralt can give the captain a Squirrel Tail as proof and be rewarded with 25 XP, the letter of safe conduct, as well as 30 crowns.


