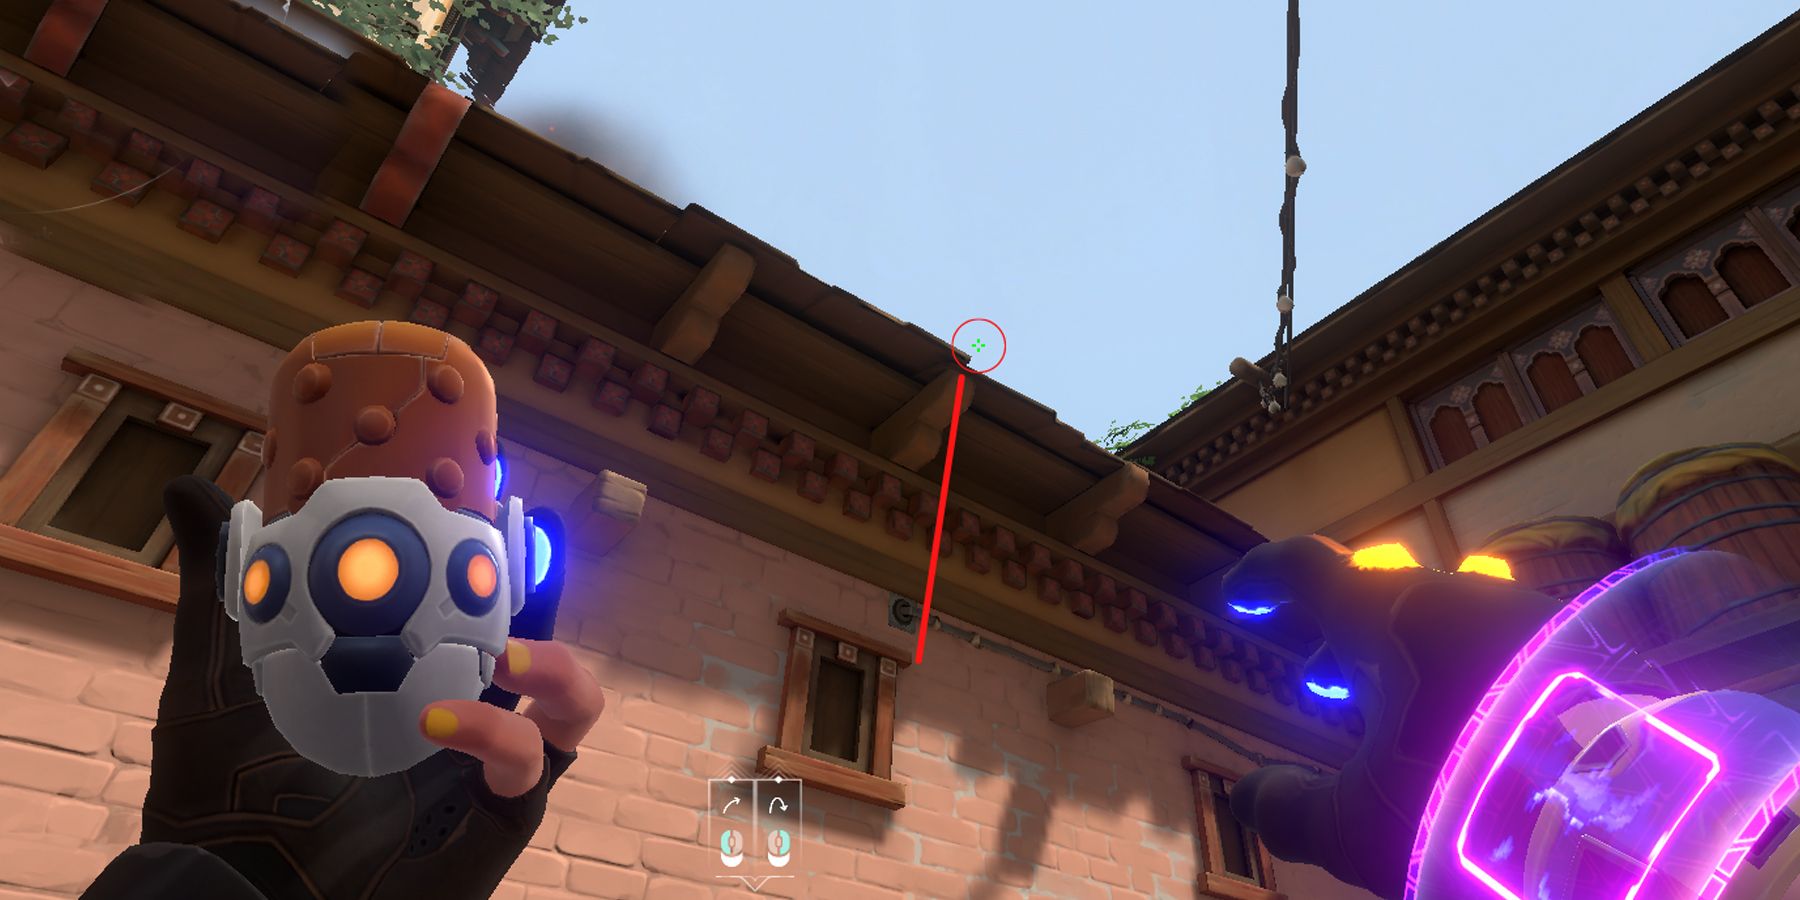
Killjoy of Valorant can literally become a killjoy to the enemies with her arsenal of nifty gadgets. Thanks to her toolkit, players can easily anticipate and counteract various enemy strategies. Her Nanoswarm can dish out a burst of damage, her Alarmbot becomes a mobile seeker, while her Turret serves as a stationary sentinel. And with an Ult that stuns enemies in place, Valorant Agent Killjoy can easily destabilize an enemy’s approach.
Of course, having access to quite a swath of bots can make Killjoy quite a bit overwhelming for beginners. Thankfully, understanding Killjoy’s preferred playstyle can help players maximize her destructive potential.
10 It’s Not Just One Lifebar Now
Contrary to other Agents, Killjoy’s gadgets have varying degrees of vulnerability due to their limited health. In turn, players need to pay close attention to how other Agent gadgets and utilities can potentially damage a gadget before deploying them. For instance, the Turret has 125 HP whereas the Lockdown device has 150 HP. Meanwhile, enemies can destroy both the Nanoswarm grenades and Alarmbots with just a few hits.
As such, it’s advisable for players to avoid deploying Killjoy’s gadgets in open areas unless absolutely necessary. Likewise, players should avoid walls that enemies can shoot with high-penetration weaponry.
9 Alarms Matter More Than Damage
Despite the number of Agents and unique abilities in the game, information still rules the strategic aspect of any match. Any team that can obtain data about enemies without risking death can get a massive advantage in combat. And thanks to Killjoy, her gadgets provide the right reconnaissance her team needs.
At its core, the game prompts Killjoy whenever a gadget engages in combat or gets destroyed. In these situations, a Killjoy on comms can give the team a heads up to either flank the enemy, ambush them, or even proceed to the objective while they’re distracted.
8 Always Take Note Of Chokepoints
Granted, Killjoy can deploy her gadgets almost anywhere and almost always redeploy them. However, a useful tidbit to remember on the get-go is that Killjoy’s gadgets have an inherent area denial ability with them. While they don’t deal massive damage, their ability to stall the enemy’s advance can give Killjoy’s team more than enough time to take care of them.
As such, Killjoy should take note of where chokepoints are on any given map. In Split, this is likely A-Main whereas this can become Sewer/Lower A for Haven. Noting these two points and discovering safe deployment areas can transform Nanoswarm into an initiator.
7 Nanoswarm Excels In Area Denial
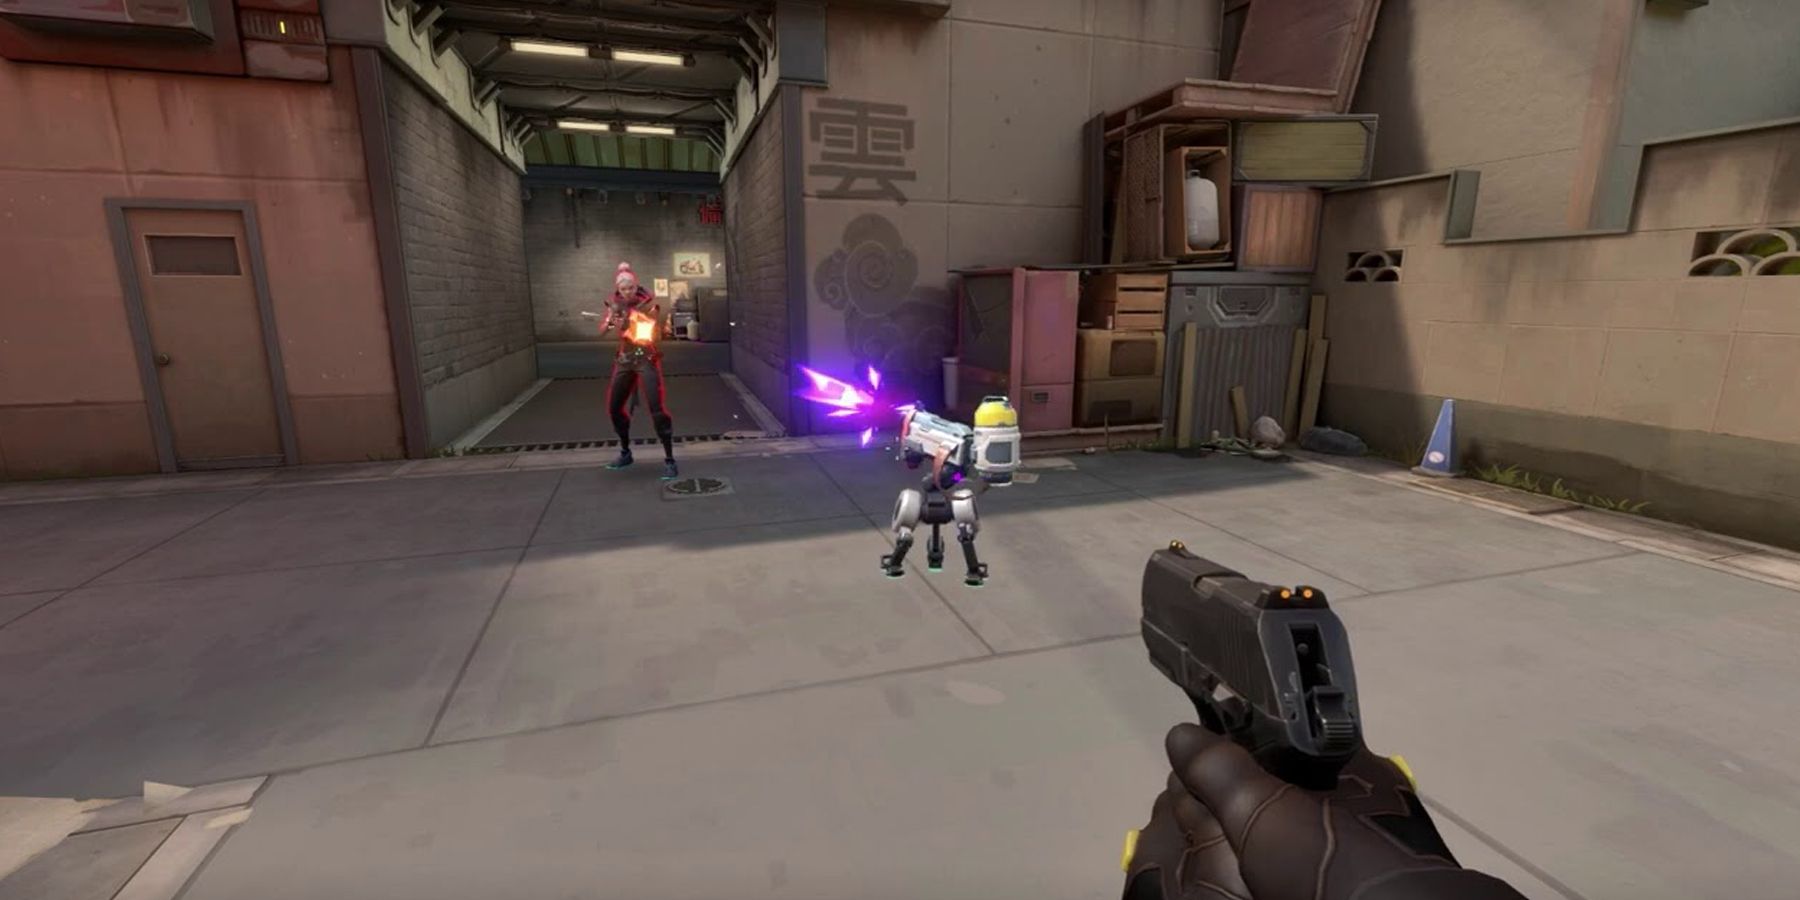
With Nanoswarm (C), Killjoy can deploy a Nanoswarm grenade that goes covert on her demand. When activated, the grenade becomes somewhat of a frag from other shooters and explodes into a swarm. This swarm of damaging nanobots can deal 45 Damage per second to surrounding enemies for four seconds. Since enemies can still destroy a Nanoswarm grenade prior to activation, Killjoy may still need to get creative with placements to avoid wasting grenades.
Aside from area denial in tight confrontations, Nanoswarms are meant to defuse stallers. When deployed in a site, activating a Nanoswarm mid-planting can stall or even kill a defuser. If possible, Killjoy should spam Nanoswarms inside and in the immediate area of the site. With the right timing, these should be enough to secure the Spike.
6 Alarmbot Can Interrupt Pushes
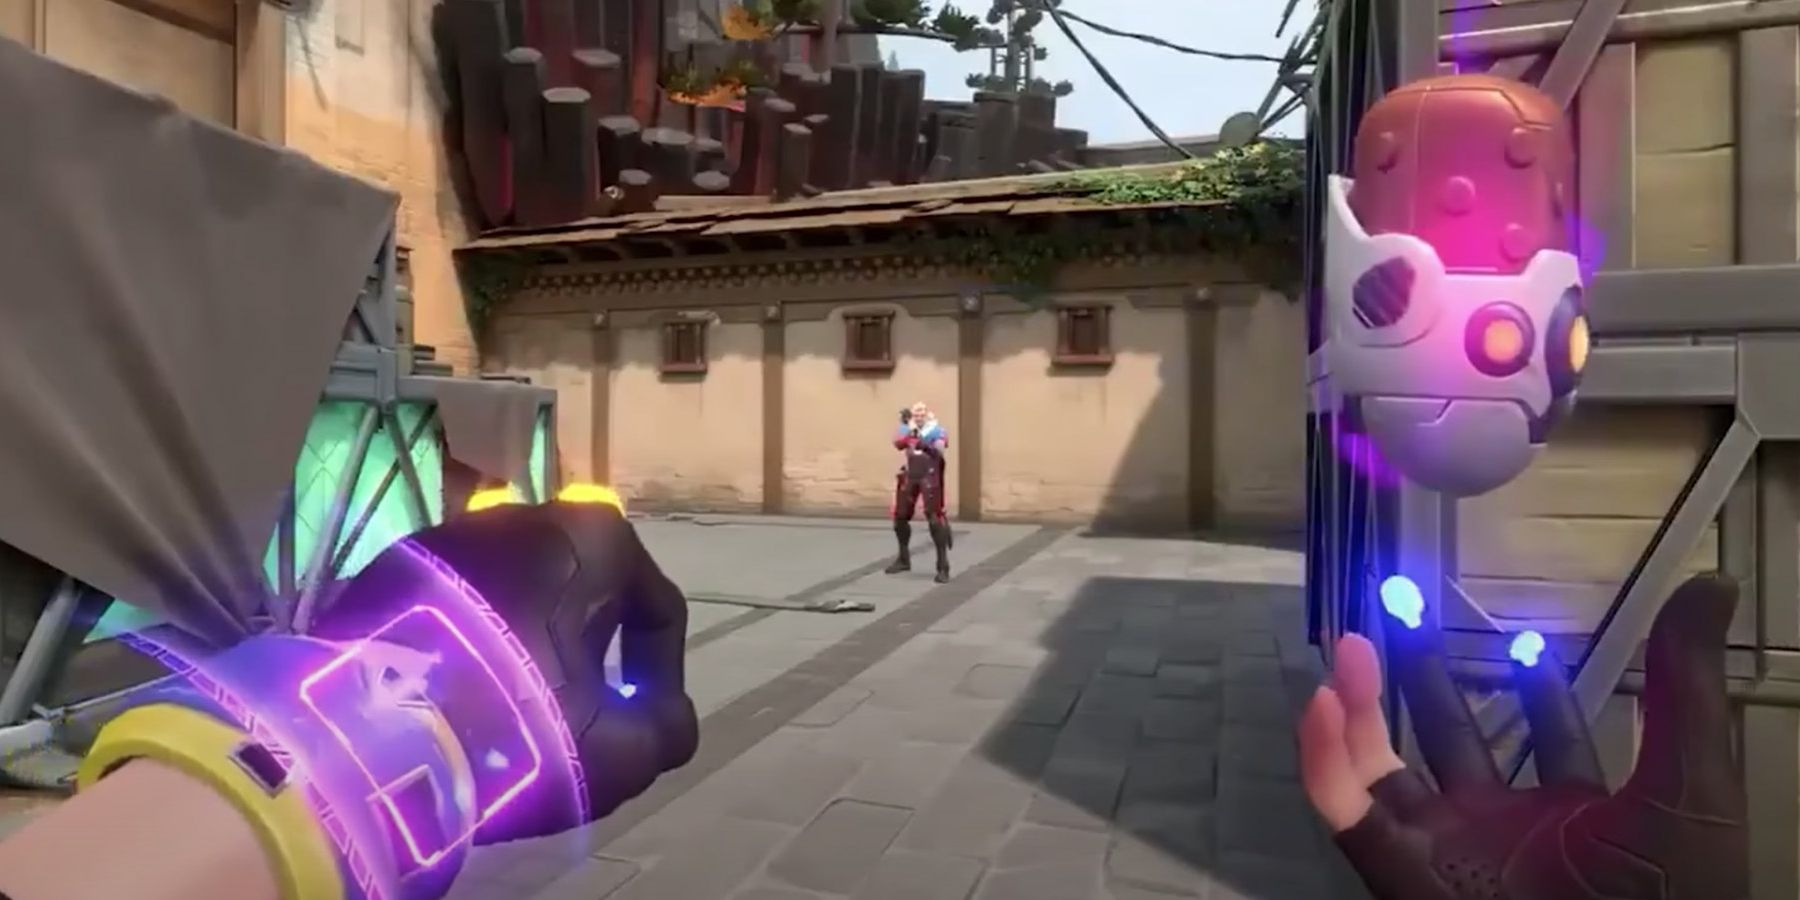
As the name implies, Alarmbot (Q) is a nifty covert bot that hunts enemies that enter its range. When triggered, Alarmbot rushes to its target and explodes in contact. If this happens, enemies suffer a 4-second Vulnerability. With a well-placed Nanoswarm, the Vulnerability and pesky damage can damage a team enough for Killjoy’s team to finish them off. If unlucky, this combo can even wipe opponents.
Alternatively, Alarmbot serves as a great pair with the Turret. That way, the Alarmbot can already deal significant damage to opponents before they get face-to-face with the Turret. On the offensive, Alarmbot can deter flanking attempts. Meanwhile, Alarmbots on defense can help secure unmonitored pathways.
5 Turret Adds Additional Firepower
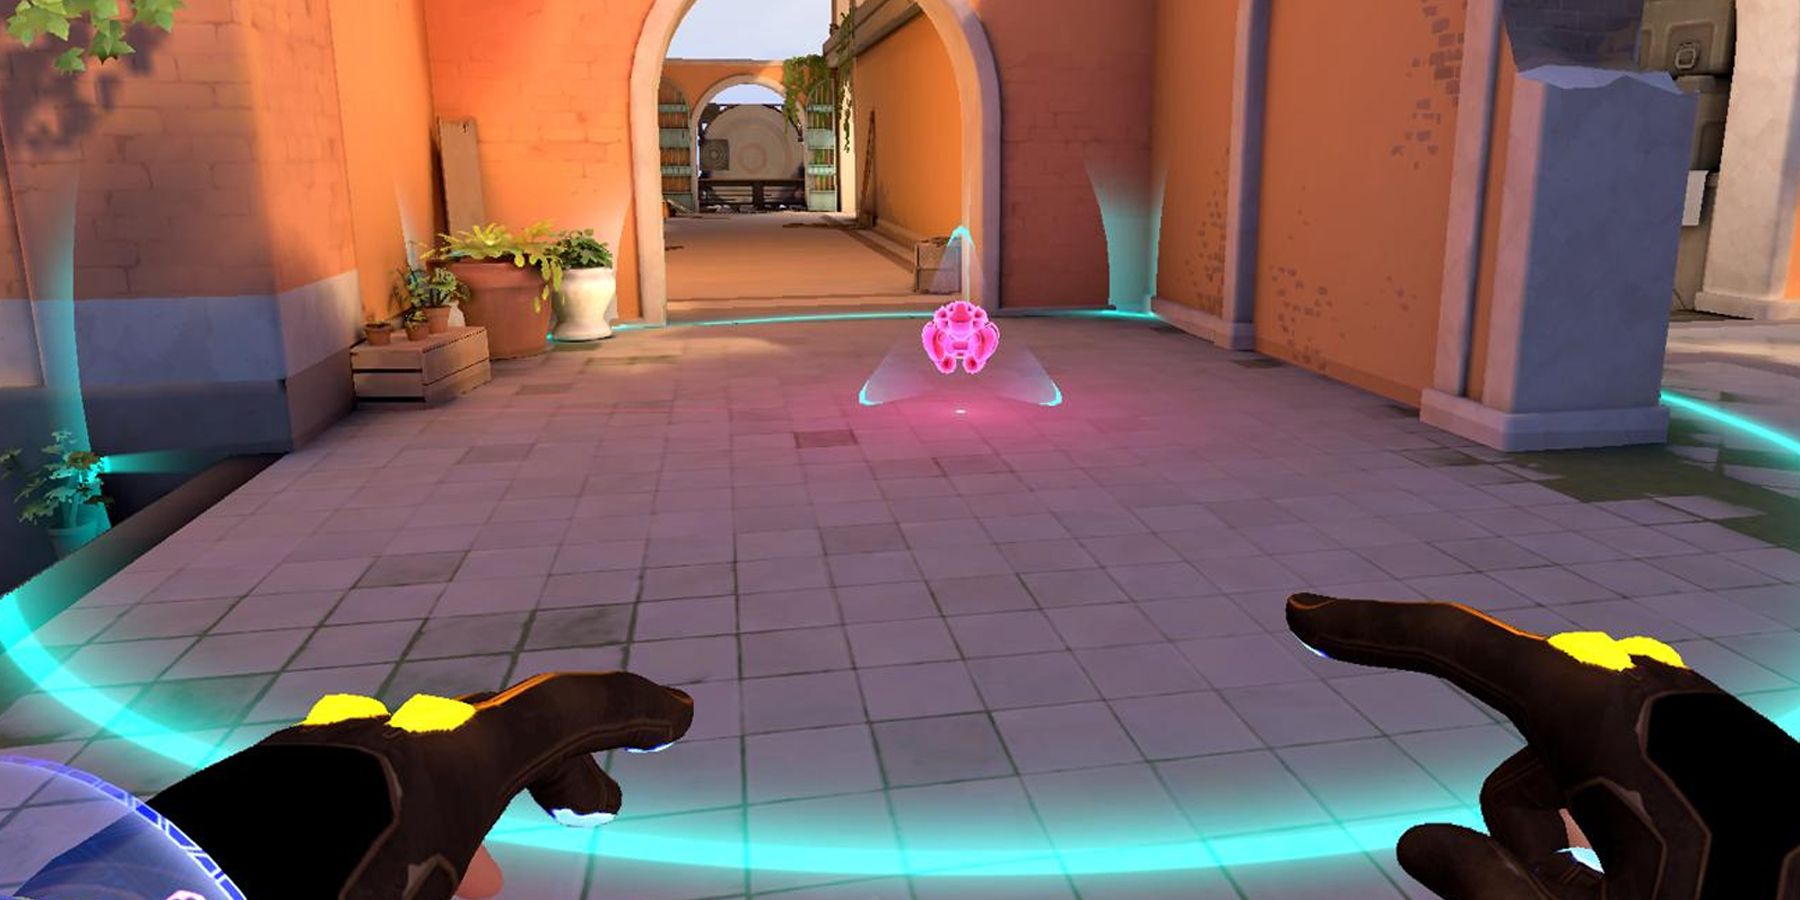
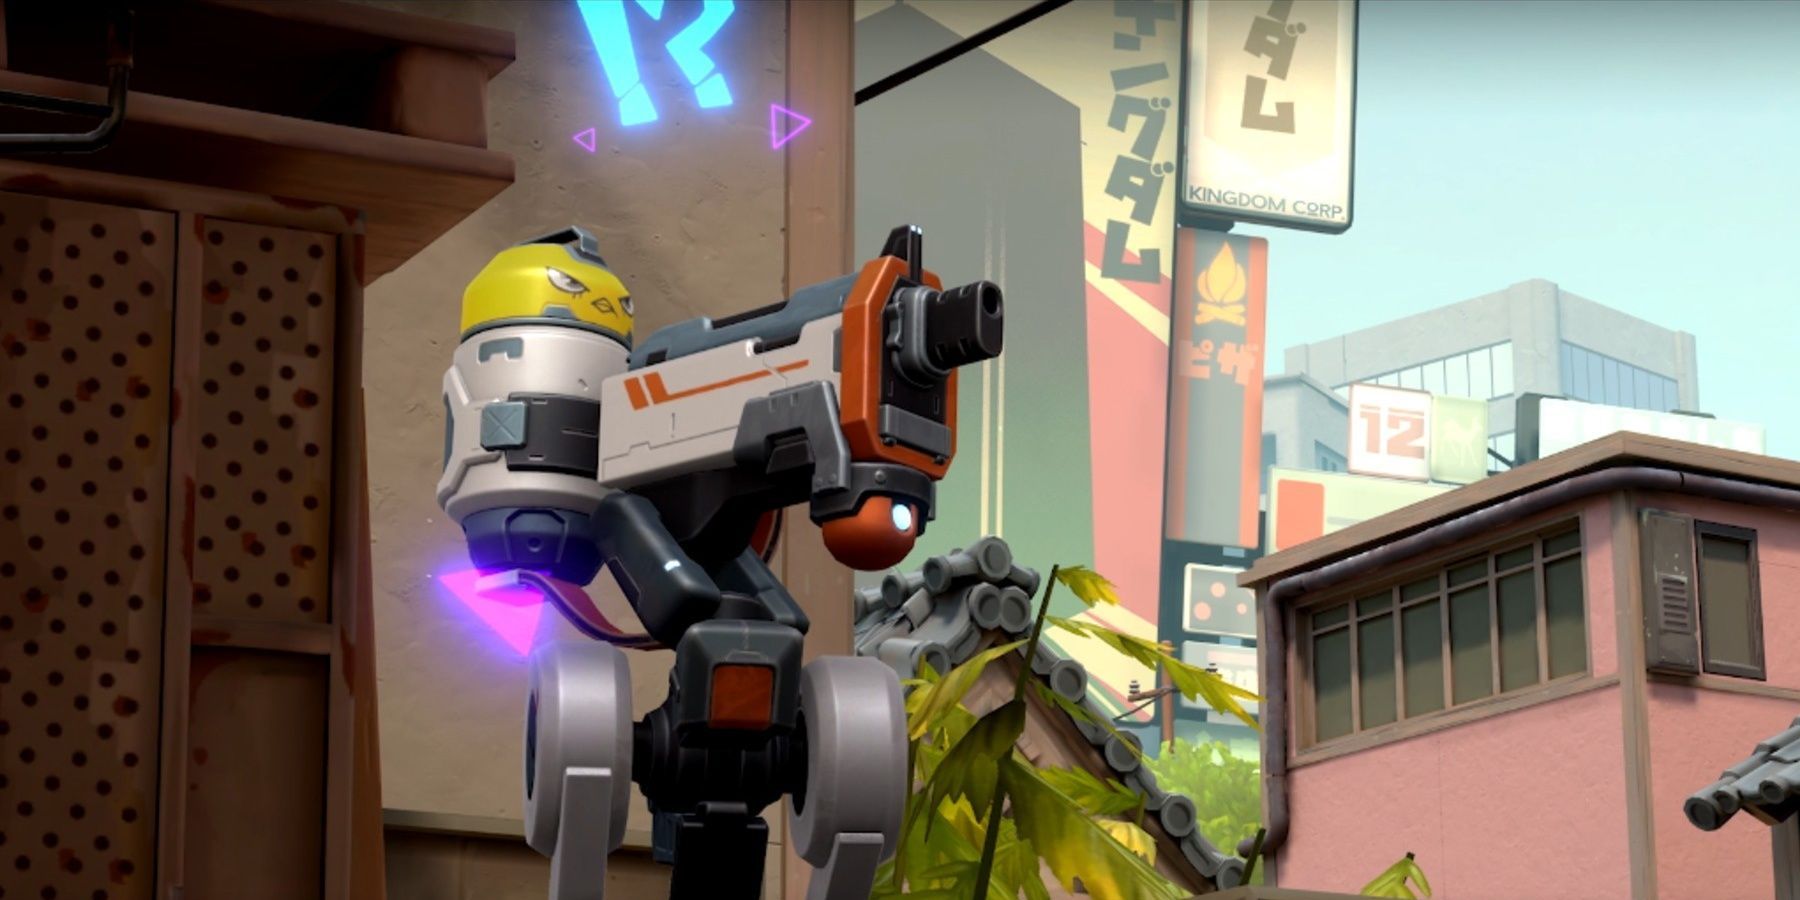
Why buy a gun when Turret (E) gives Killjoy amazing supporting fire? When this ability is activated, a deployed Turret will fire upon all enemies in a 180-degree cone. It boasts 125 HP and can deal bursts of 12 to 24 Damage, depending on the distance.
At its core, players should avoid relying on the Turret to finish foes due to its low DPS. And while enemies can destroy the Turret right away, the fact that it got triggered will give away their position. Enemies hit by the Turret will likely get slowed down, leaving them open for a finisher. On the offense, Turrets can secure the flanks. Meanwhile, defensive plays can cement areas of interest with a protective Turret.
4 Lockdown Disrupts Combat Entirely
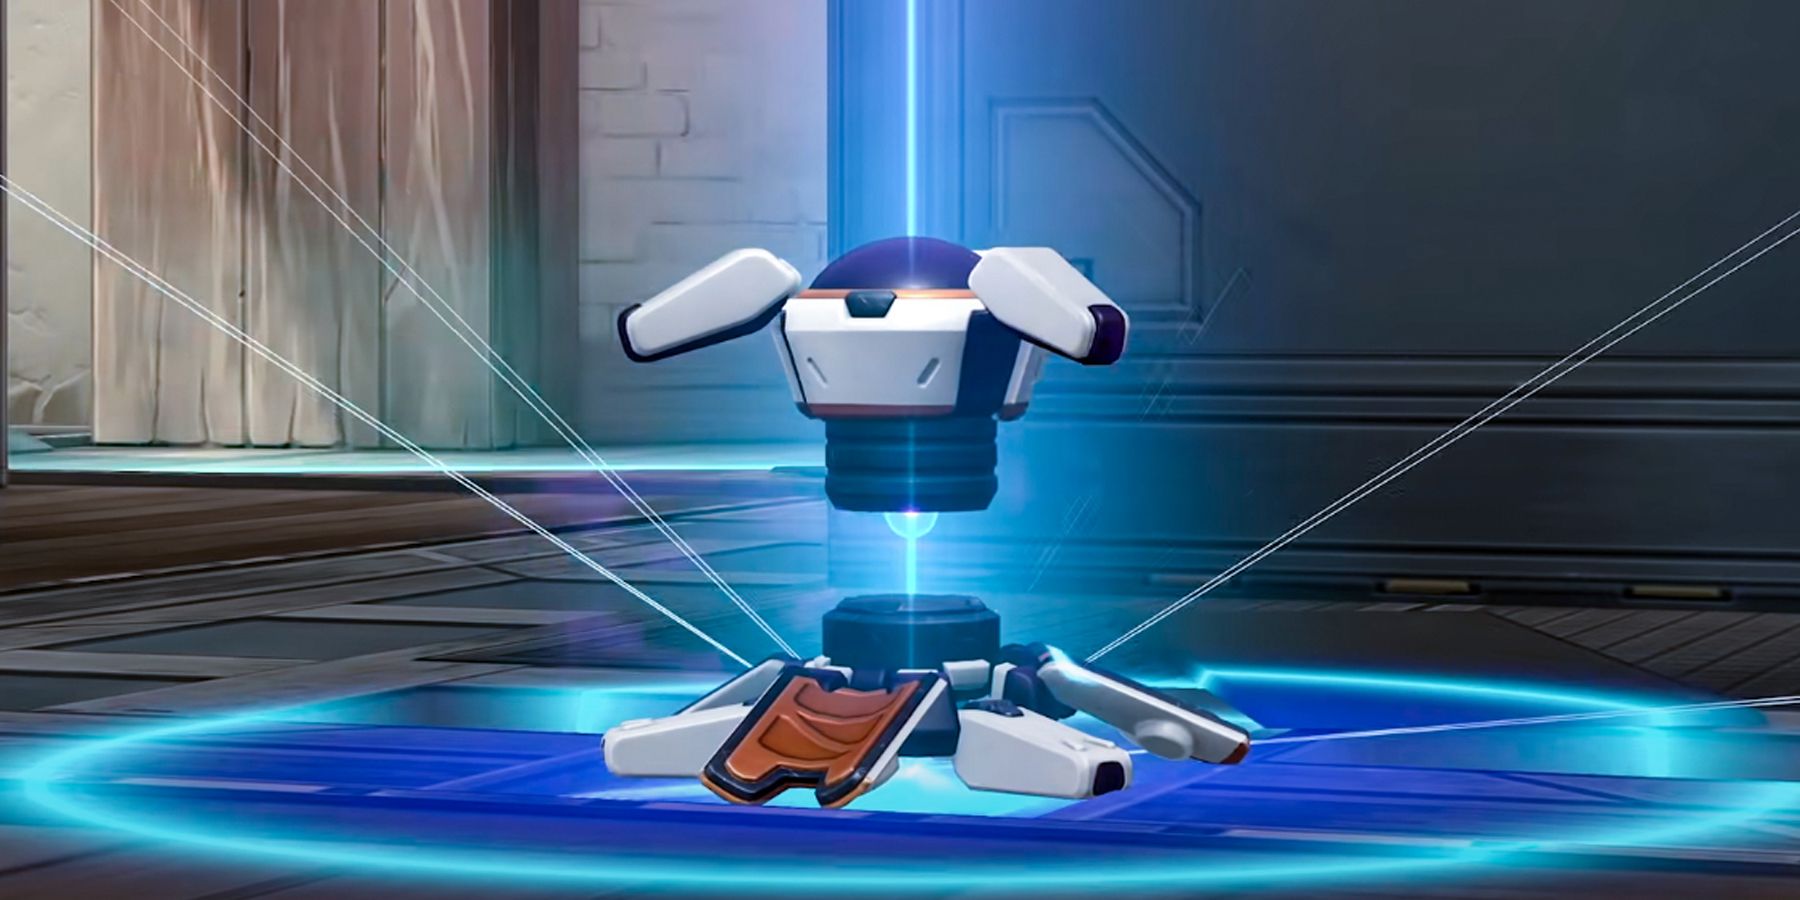
Where Killjoy truly excels is the Ultimate that grants her namesake, Lockdown (X). When equipped, Killjoy can deploy Lockdown after a 13-second windup. However, triggering this would detain all enemies caught in its radius for 8 seconds. Like other Killjoy gadgets, enemies can destroy the Lockdown device, which has 150 HP.
Given its long stun time, Lockdown effectively makes an area useless. Enemies will leave cover to get away from the Lockdown site or rush Killjoy and the team before they get shut down. On the offense, pushing near a Lockdown location can dismantle enemies in a confrontation. Meanwhile, defensive plays can utilize the Lockdown to buy the team enough time to reposition or secure a counterattack.
3 Redeploy According To The Situation
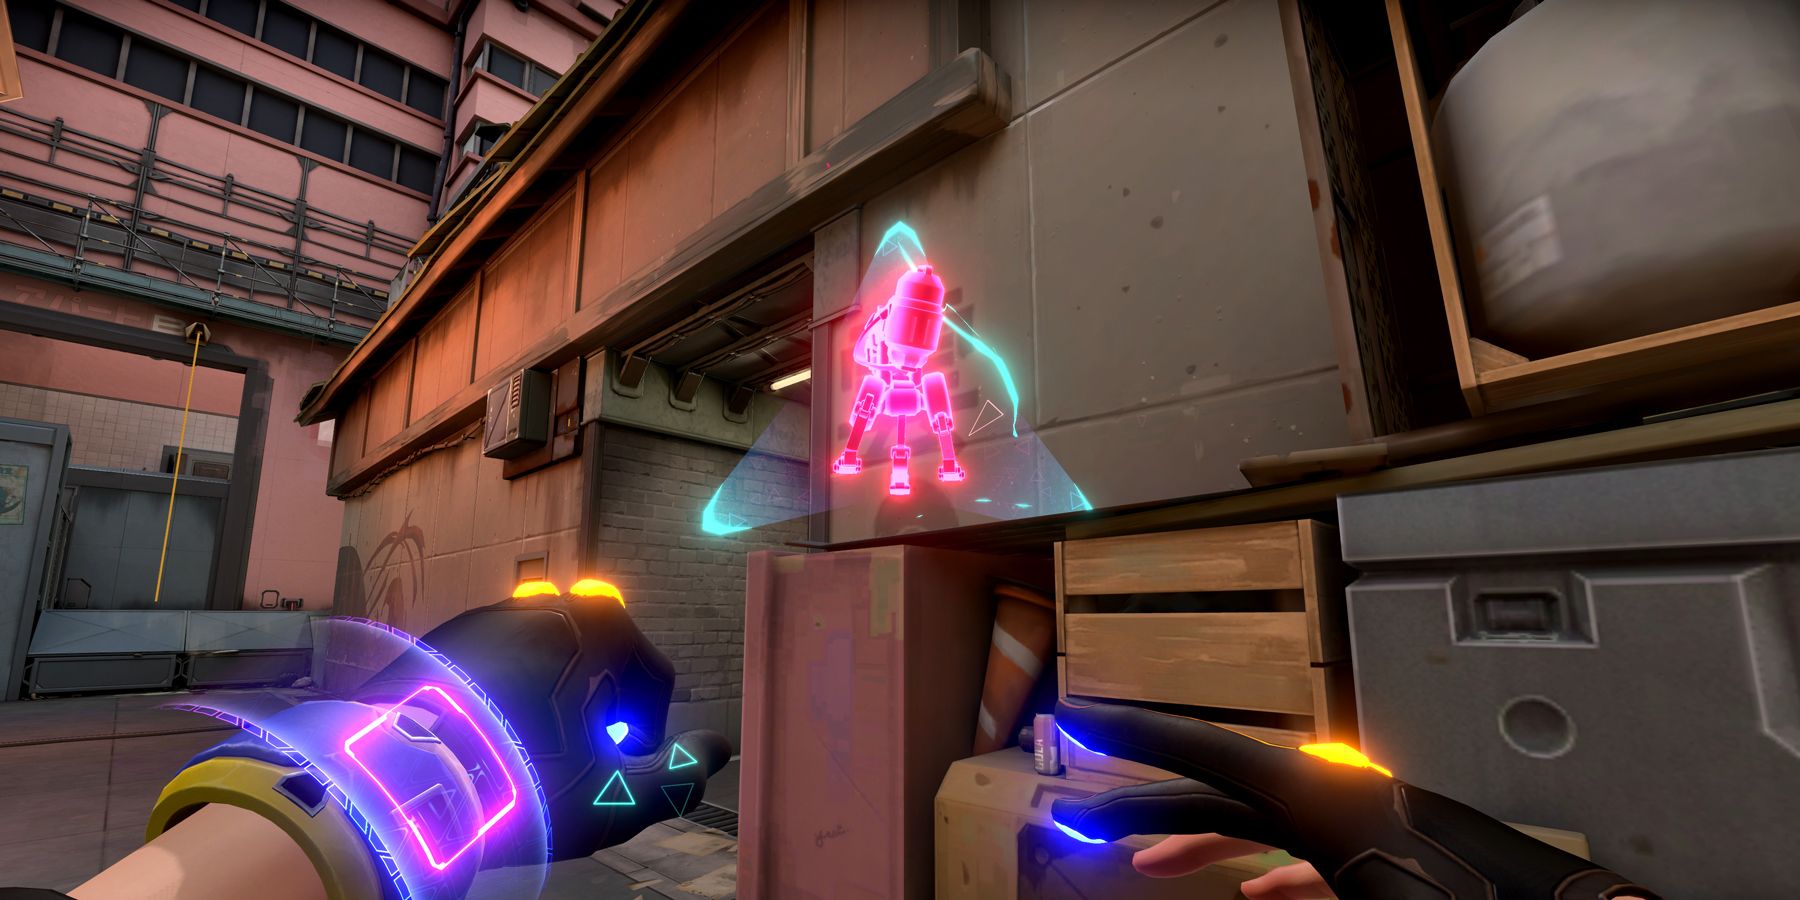
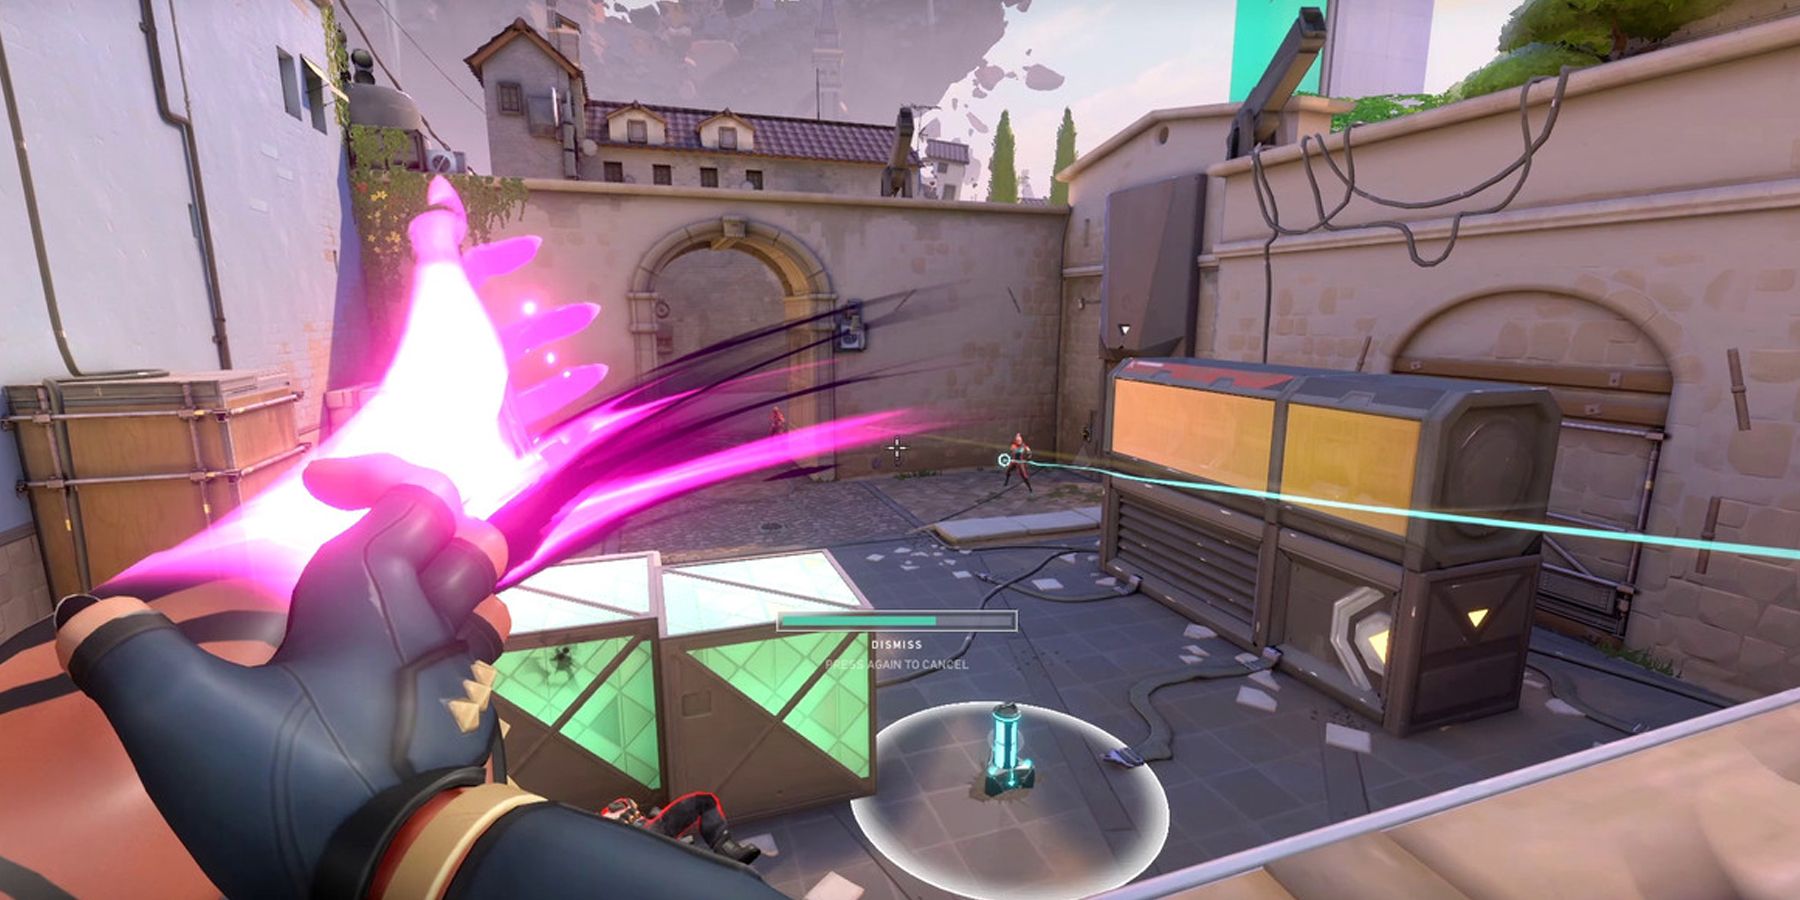
Compared to other Agents, Killjoy can actually redeploy any gadgets she’s deployed throughout the match. Thanks to this feature, Killjoy should tap into her ability to change her playstyle mid-match, especially if she’s placed her gadgets in secure areas.
To maximize these opportunities, it’s advisable for Killjoy to position Alarmbots within line of sight of the Turret to maximize defense. When deployed alone, Killjoy should try to place her Nanoswarms and Alarmbots in unsuspecting locations such as corners or around messy objects.
2 Defense Means Deter Over Destroy
Unlike other Agents, Killjoy’s only best source of protection lies in how she uses her gadgets in combat. Instead of getting on the frontlines like the rest of the team, she should tap into the defensive potential of her skills. At its core, Killjoy should focus on survival to ensure that Lockdown enters the defensive game whenever the team needs it.
Moreover, Killjoy can act as a sub-Controller thanks to the recon ability of her bots. She should signal the team whenever her bots get attacked, or she can lie in waiting and ambush enemies with her gadgets.
1 Offense Means Waiting For The Endgame
Unlike other Agents, Killjoy doesn’t have any abilities that directly affect her performance in combat. In turn, Killjoy isn’t an ideal Agent when it comes to hardcore offense. On the offense, Killjoy should focus on securing the flank or the backline to ensure the enemies can’t ambush her team.
Moreover, Killjoy shines in the offense when defending a bomb site. For instance, Turrets and Nanoswarms can easily populate the immediate area for a neat kill. Likewise, Alarmbots can warn about incoming enemy diffusers. And even a well-placed Lockdown can stall enough time to stop defusers from finishing their objective completely.

