In The Legend of Zelda: Tears of the Kingdom, players can discover over 150 challenging shrines in which they can demonstrate their expertise in Link’s special skills. Successfully completing a shrine will earn them a Light of Blessing, allowing them to increase Link’s health or stamina.
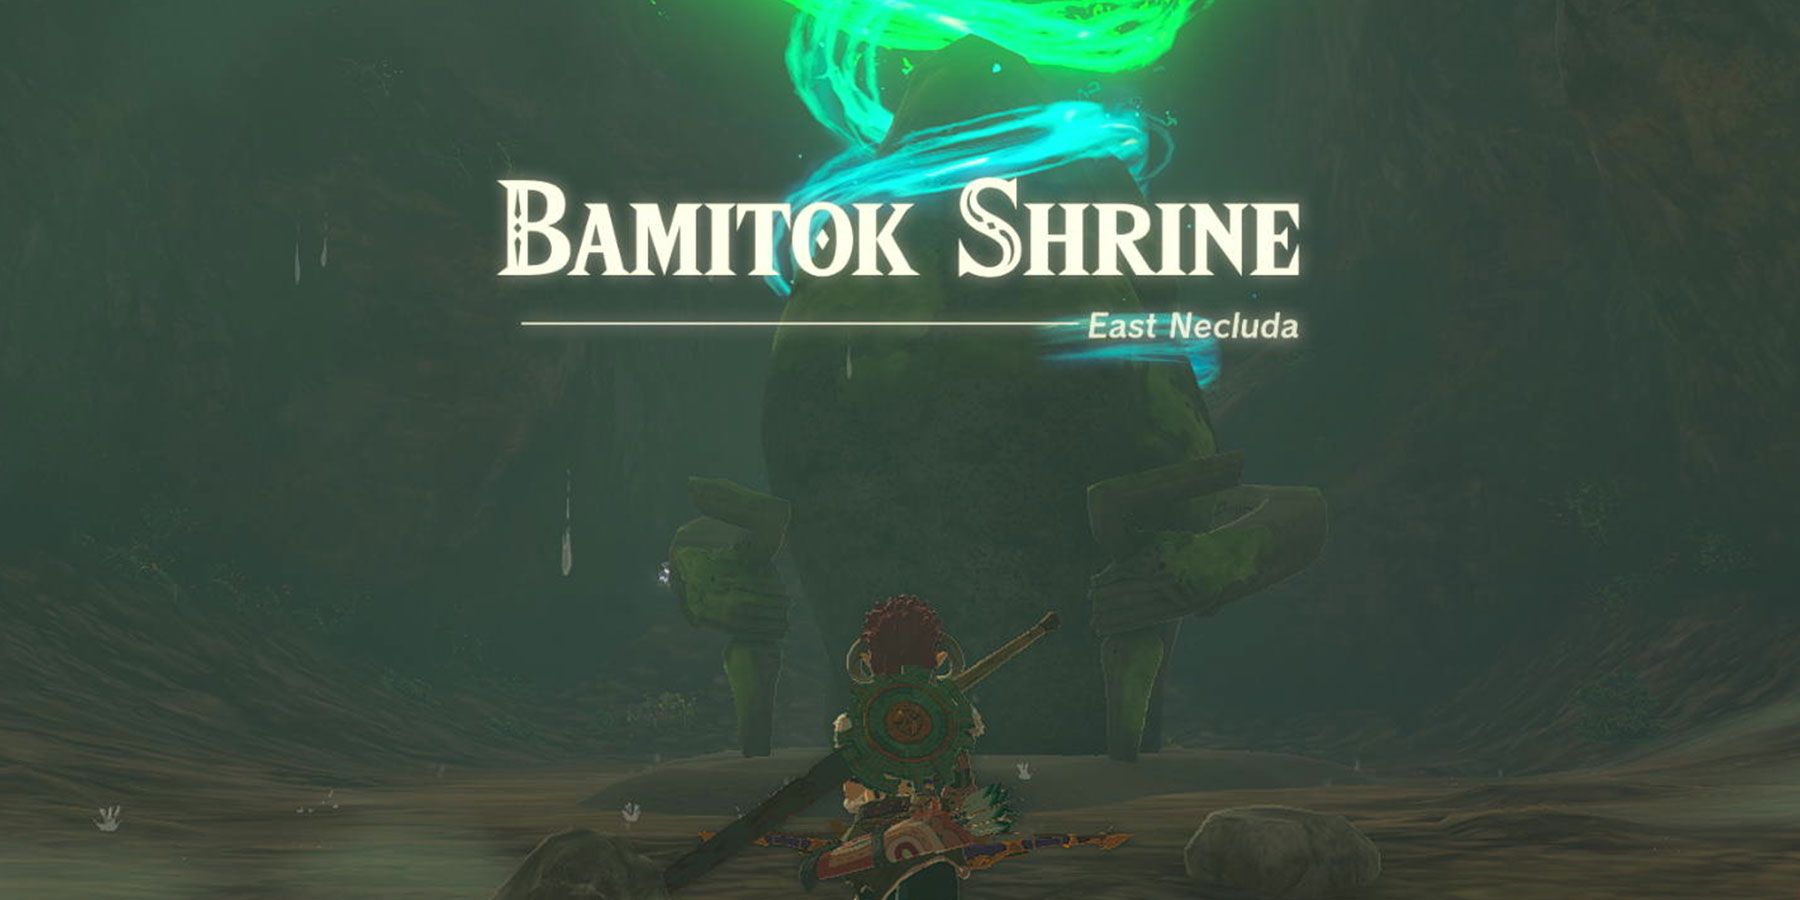
The Bamitok Shrine, located deep inside one of Hyrule’s many caves, is one of a handful of the game’s Rauru's Blessing shrines. These shrines offer a distinctive experience, requiring players to solve puzzles outside the shrine rather than within its confines. Here’s everything players need to know about locating and clearing the Bamitok Shrine in Tears of the Kingdom.
Bamitok Shrine Location
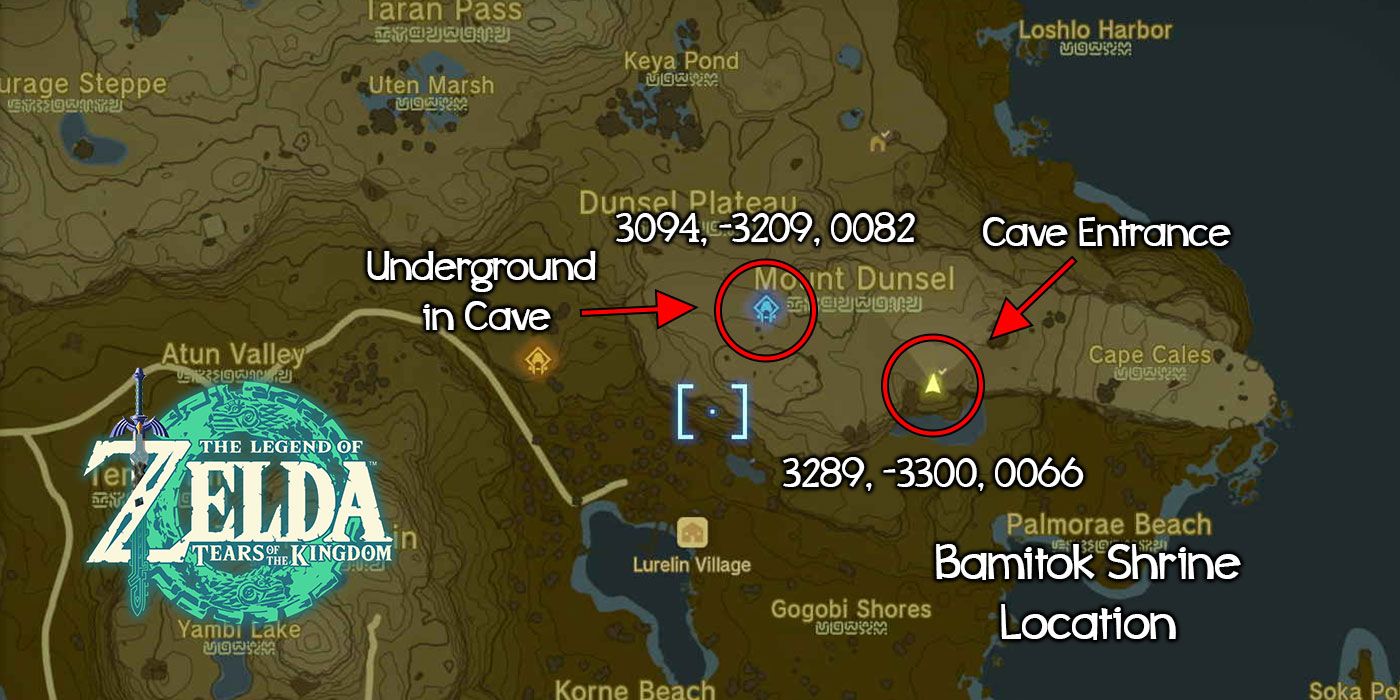
The entrance to the cave containing the Bamitok Shrine is located at coordinates 3289, -3300, 0066, directly east of Lurelin Village. The shrine is located quite far away from the nearest skyview tower, which is the Rabella Wetlands Skyview Tower. If the player has cleared the Kumamayn Shrine, located on the sky island in the East Necluda Sky, this is the best fast travel point as Link can jump off the easternmost island and glide down toward the shrine with ease.
On Hyrule’s surface, the closest shrine is the Sifumim Shrine, located directly west of the Bamitok Shrine.
Bamitok Shrine Walkthrough (Rauru’s Blessing)
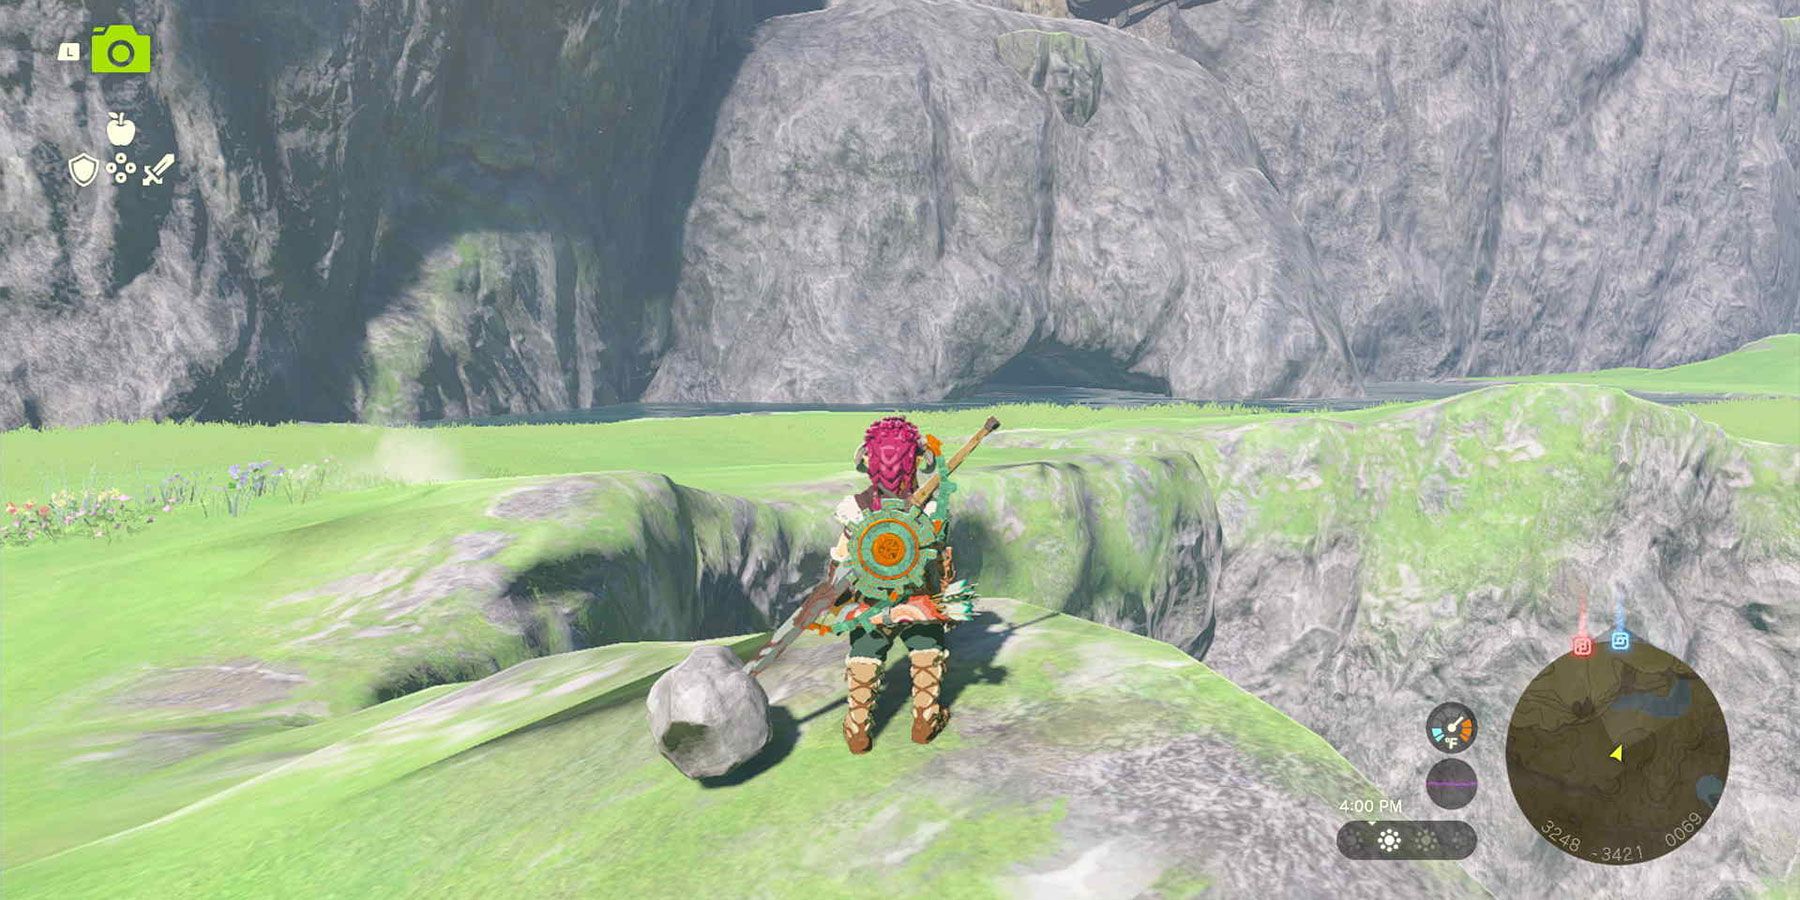
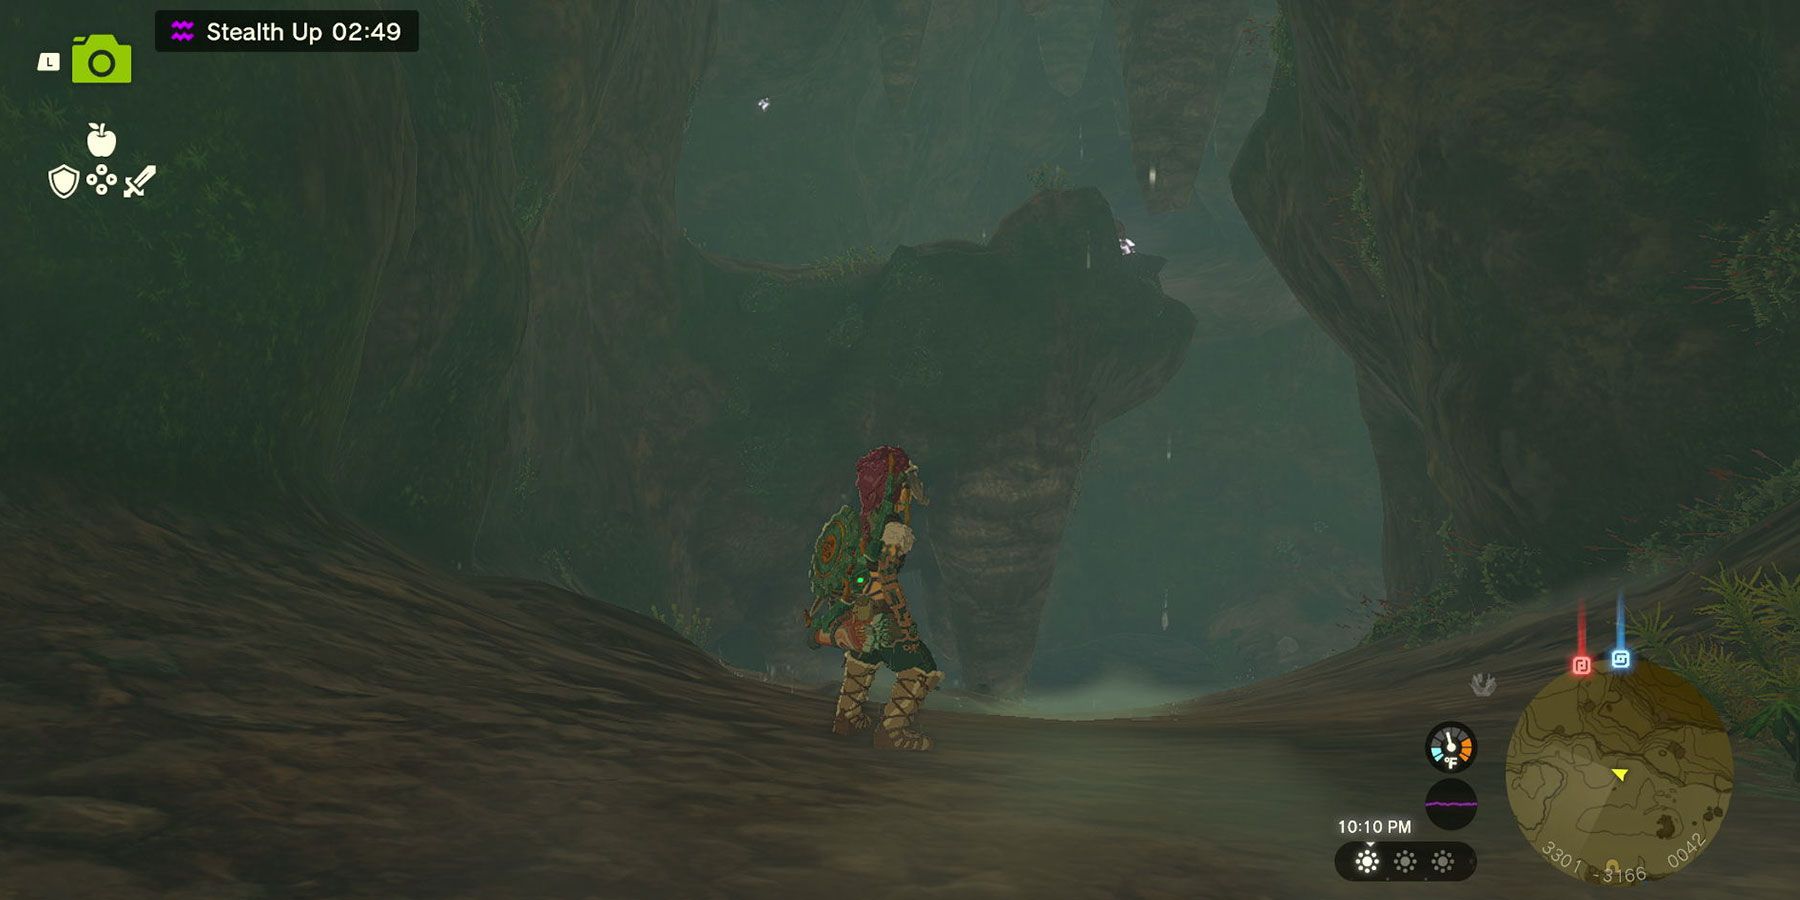
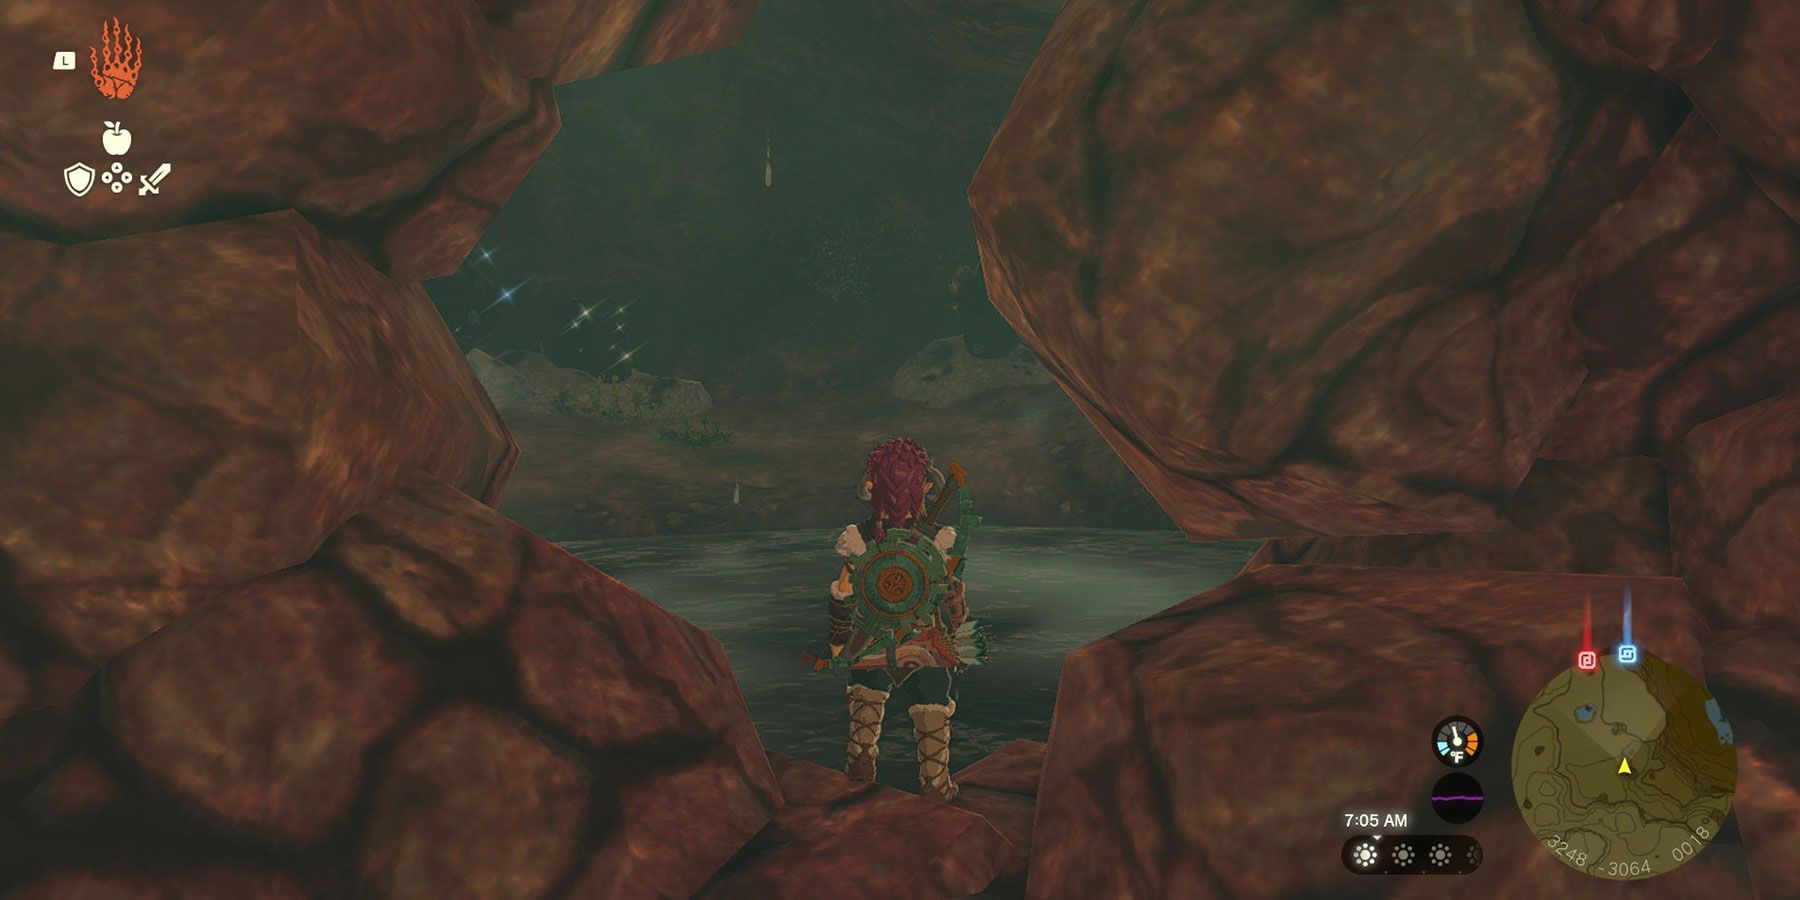
The Bamitok Shrine is located inside a cave found near a small lake at the foot of a cliff, just north of Gama Cove on the map. Link will have to jump into the lake and swim through the cave’s entrance. Link will discover Mount Dunsel Cave upon reaching the shore.
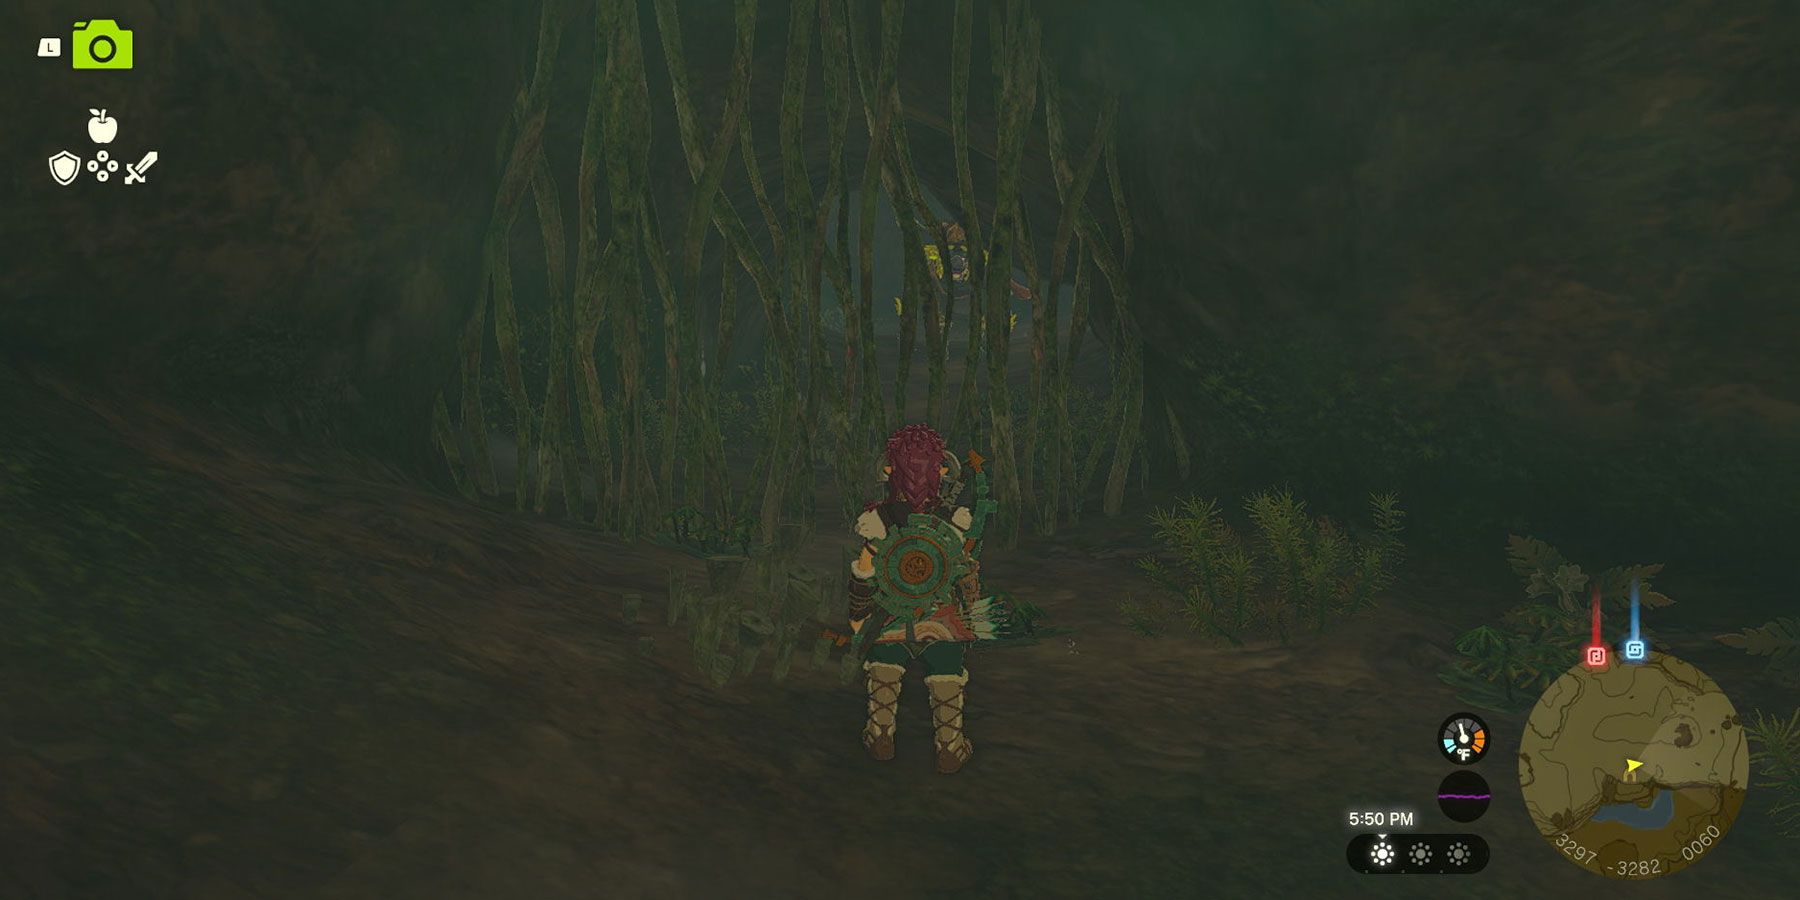
Not far into the cave, the passage will be blocked by vines. Link can quickly and easily clear these with a sharp weapon or by using fire. On the other side of these vines, he’ll encounter a Horriblin.
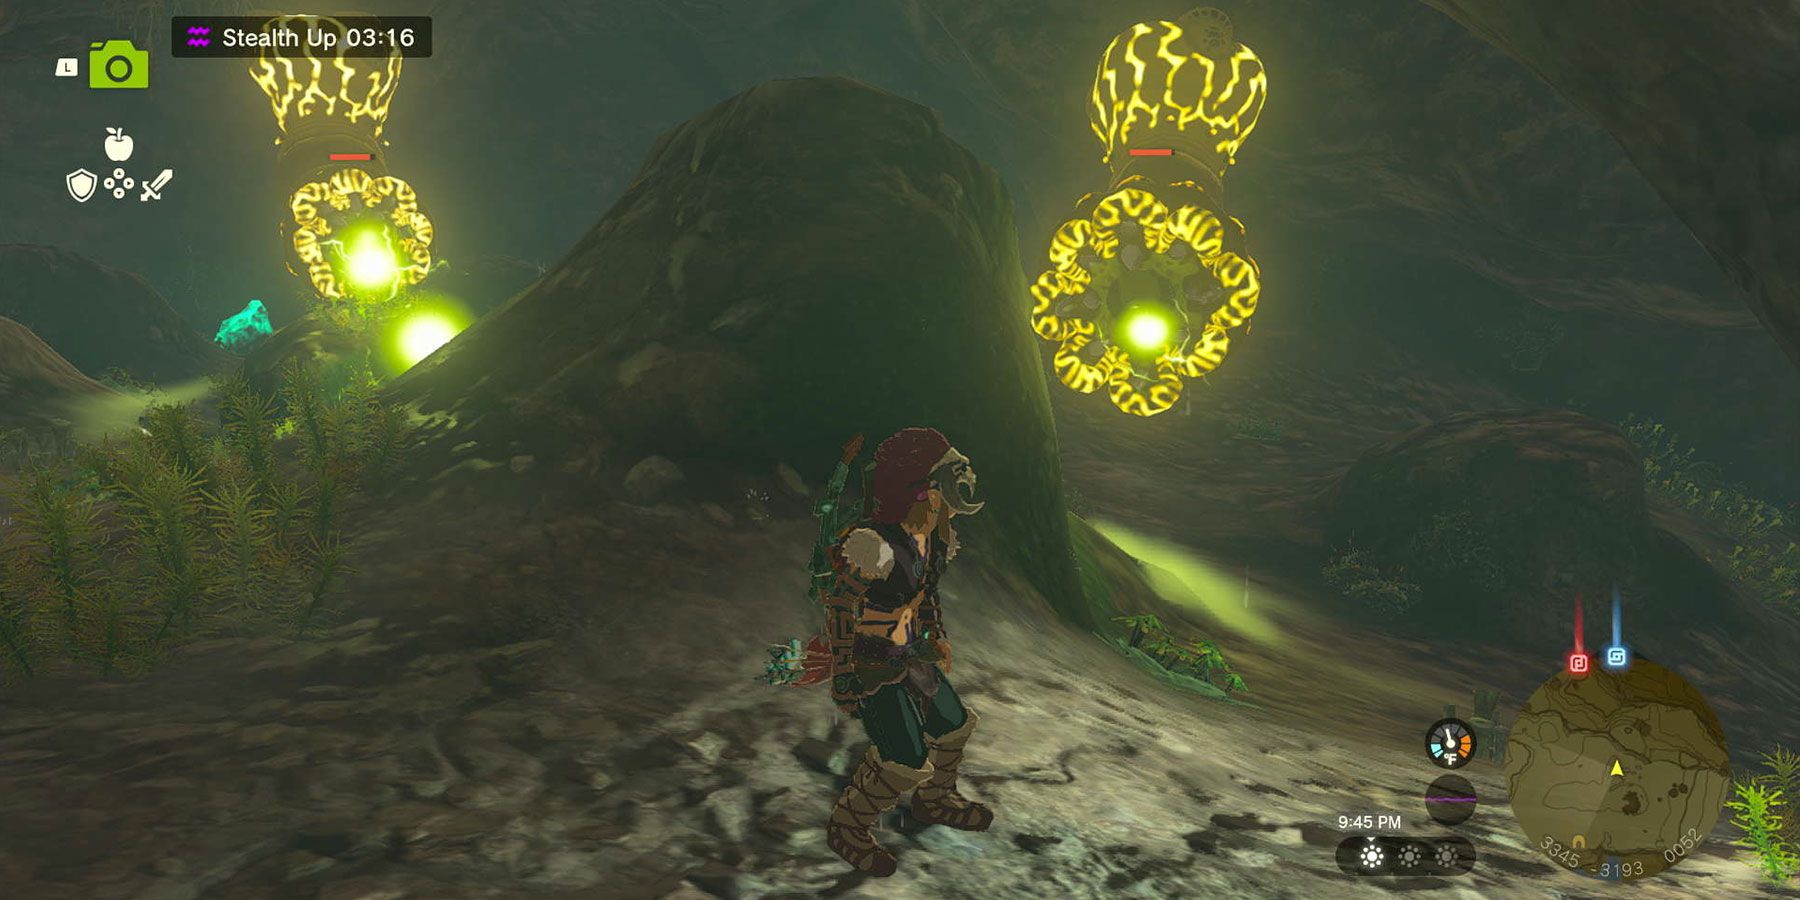
After that, there’s a chest behind some vines to the right that contains a Royal Bow. Clear the vines to the left and enter a room that has two Shock Likes attached to the ceiling.
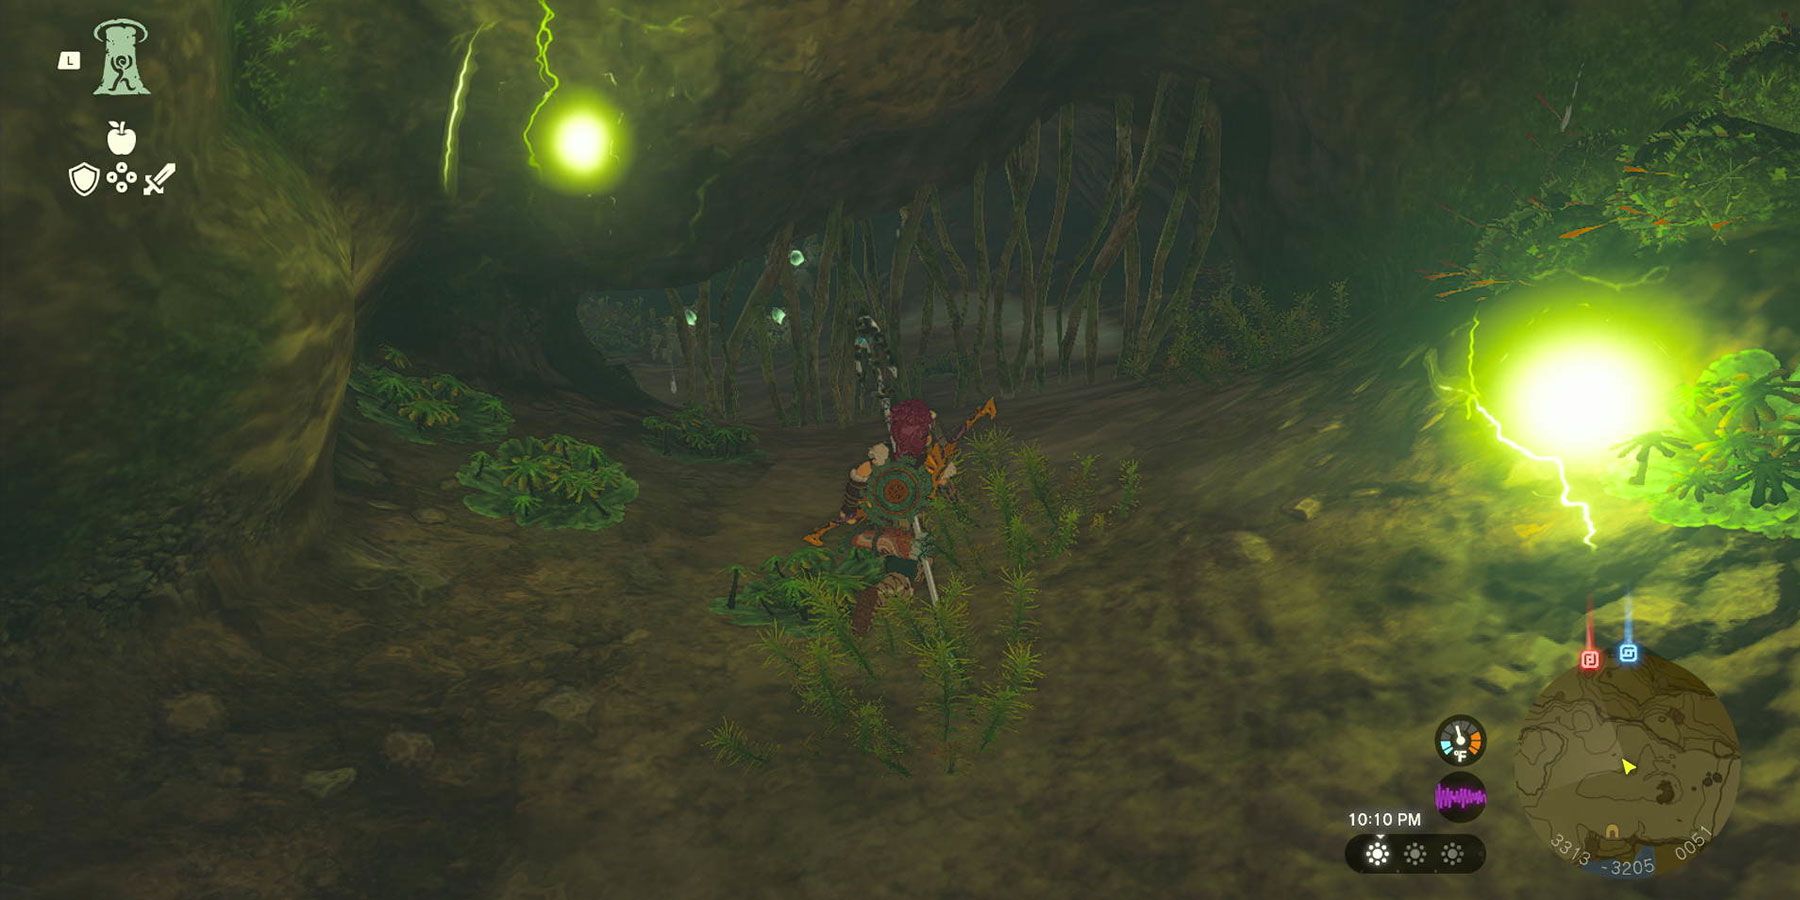
Hug the left wall, and the player will reach a small opening blocked by some vines. Break through the vines and enter a small room containing the cave’s Bubbulfrog. Head back out into the room with the Shock Likes and either defeat them if they want or run past them to the right, making sure to dodge any electric projectiles as they will damage Link and cause him to drop his weapon. Continue ahead into the cave.
In the next room, Link will notice a Brightcap marking a ledge above him. Players should jump down into the water below and swim toward land with a Stalkoblin to defeat. Be sure to grab the Bomb Flowers lining each wall.
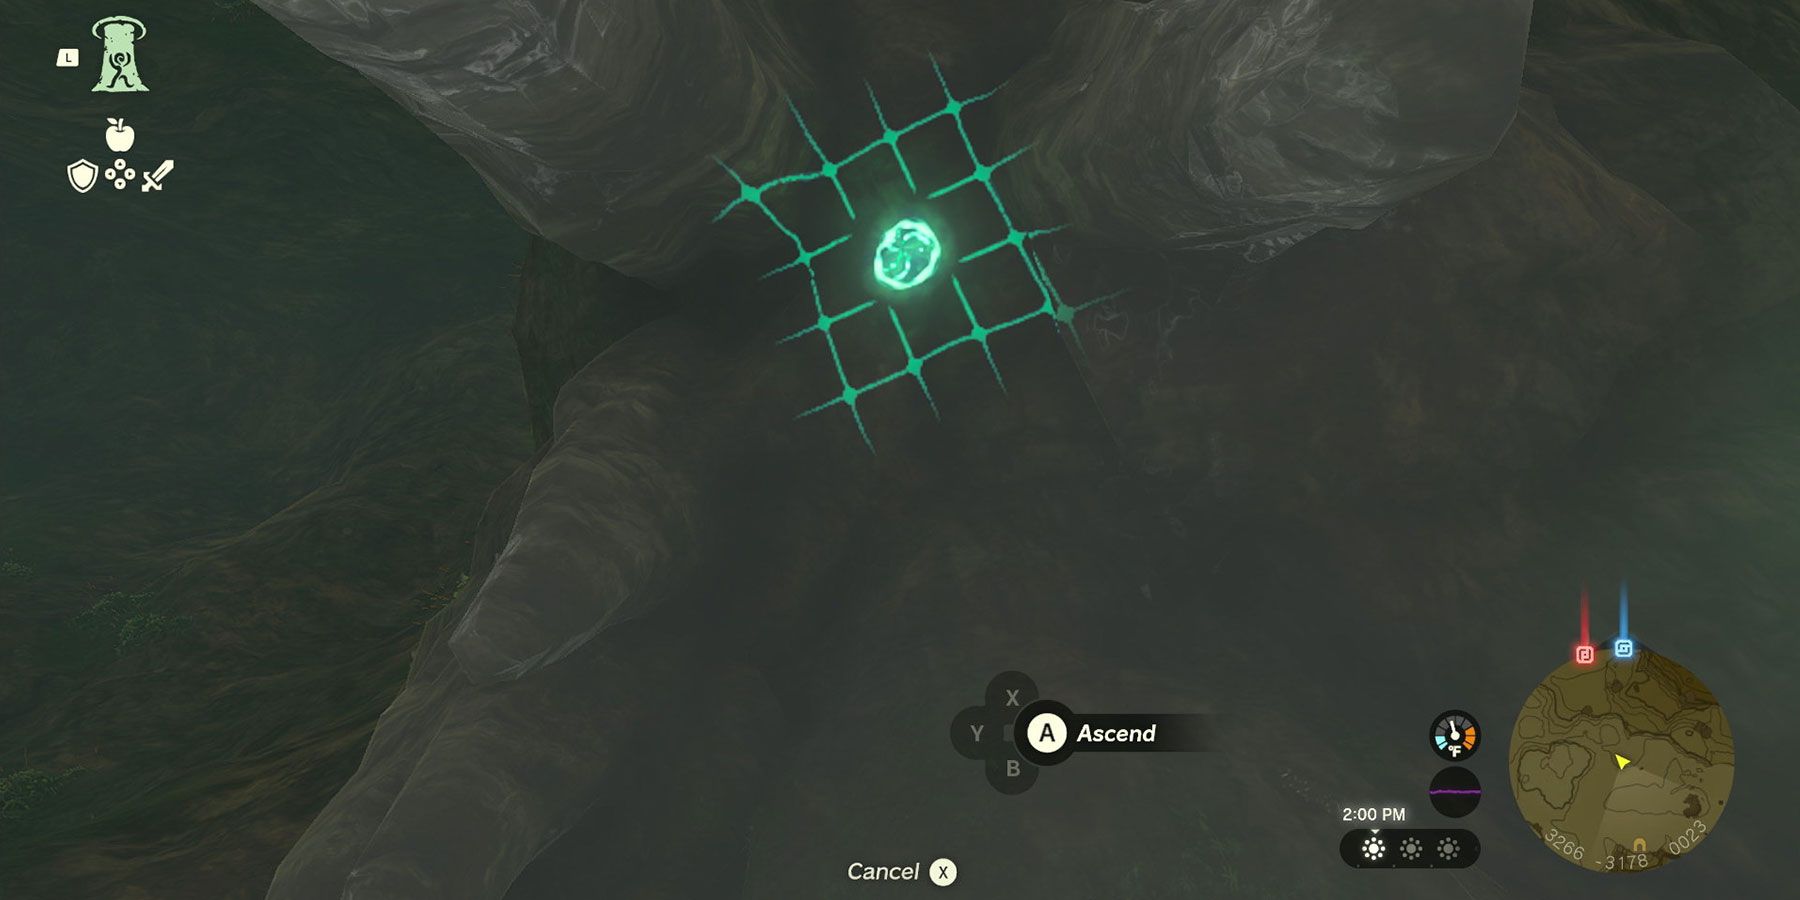
Grab the wooden platform nearby with Ultrahand and turn back around. Place the wooden platform in the water underneath the ledge overhead that has multiple large stalactites hanging down from it. Climb onto the wooden platform and use Ascend to reach that overhead ledge.
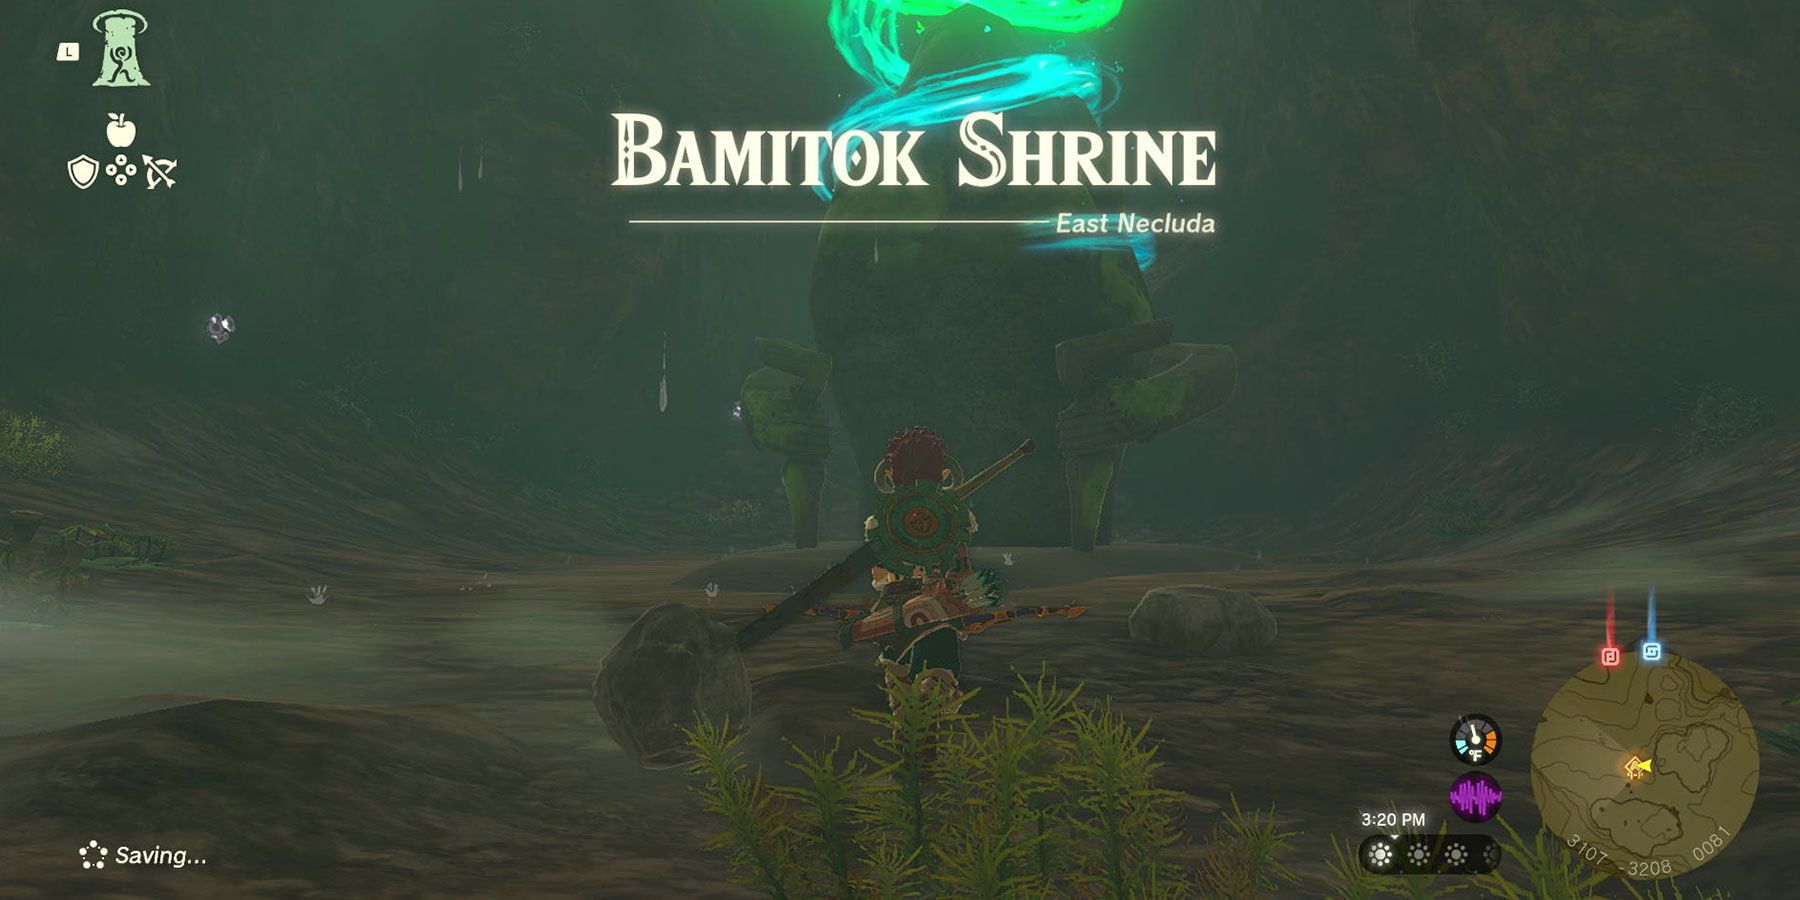
Once up top, Link will find a chest to his right that contains a Royal Shield. Head straight ahead, and Link will encounter two Rock Likes. Dispatch or run past these enemies, making sure to avoid the large boulders they will spit at Link. The Bamitok Shrine is located right behind them at coordinates 3094, -3209, 0082.
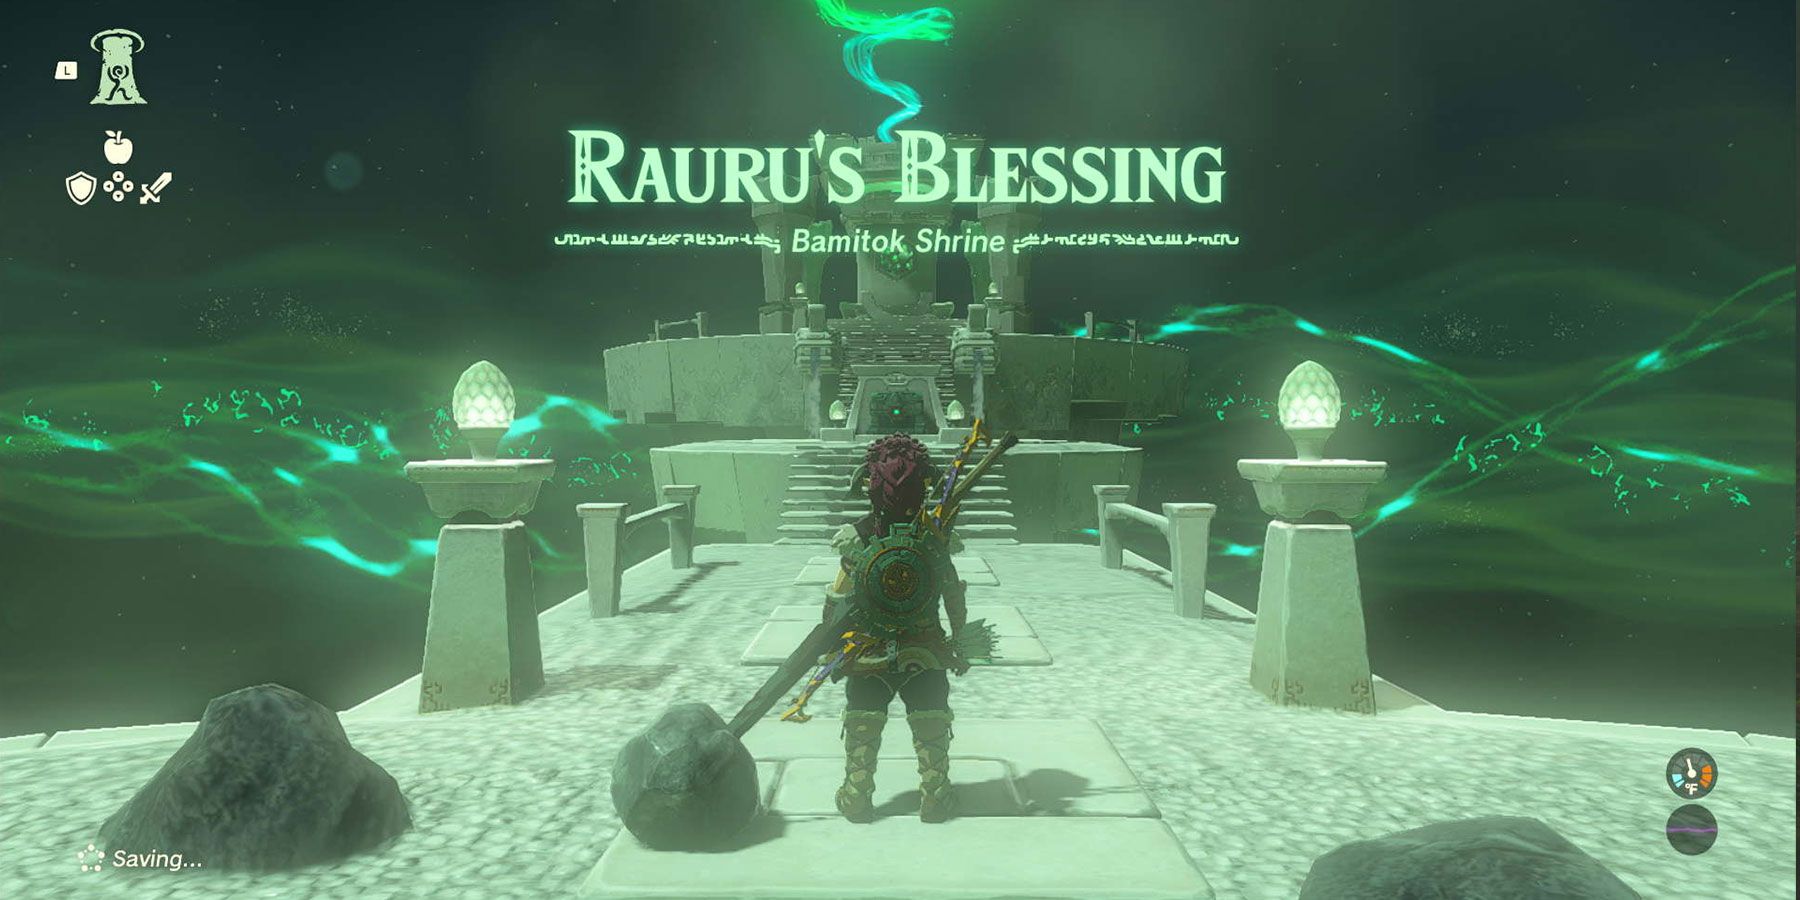
Enter the Shrine and head forward to claim the chest, which contains a Big Battery and the Light of Blessing at the end of the shrine.
Exploring Mount Dunsel Cave
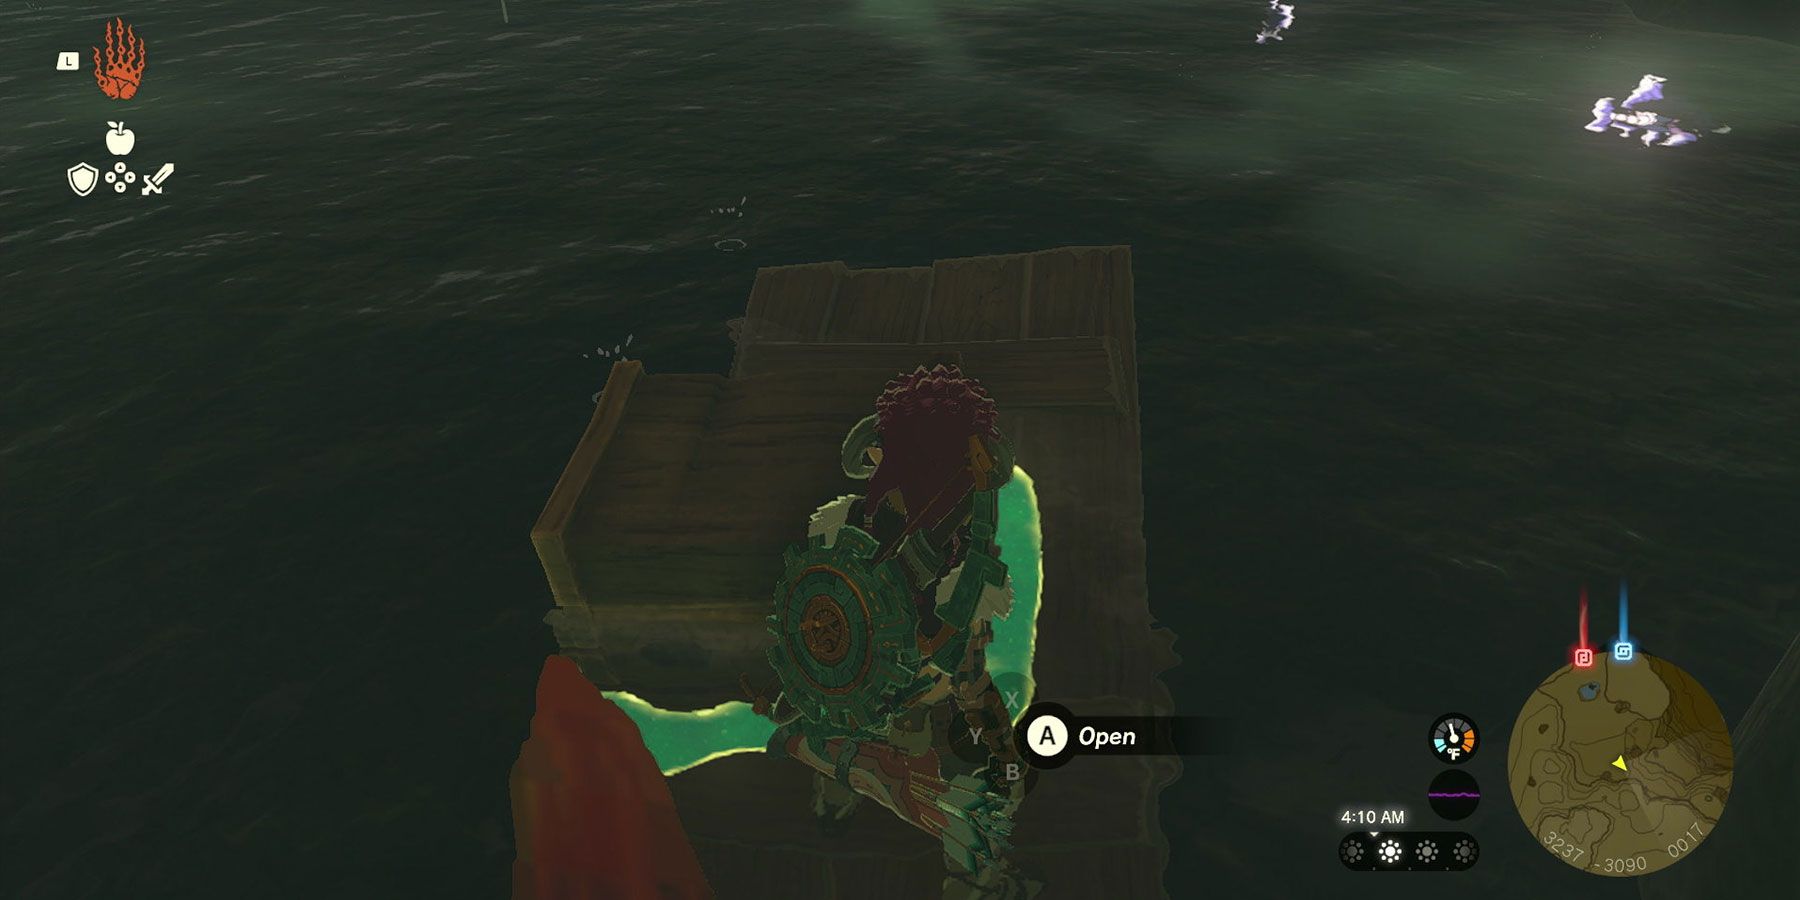
If the player wishes to fully explore the cave, they can head back out of the shrine and back the way they entered. Swim ahead into the next room, stopping on the floating wooden platforms to recover Stamina as needed. On the leftmost wall of the cave, Link can climb onto shore and grab a nearby wooden chest floating in the water using the Ultrahand. Attach the chest to the wooden plank he passed in the water and drag the entire thing over to Link, so he can claim the chest, which contains a Sapphire.
Link may capture the attention of a blue Horriblin above him and should be sure to dodge the rocks it will throw. He can be easily defeated by knocking him down with an arrow, and he will fall into the water. Link will be unable to climb up to the nearby ledge above him due to the walls being wet, causing him to slip.
On the other side of the water, there is a giant breakable wall; it’s time to make use of the Bomb Flowers collected earlier in the cave. Fuse a Bomb Flower onto an arrow and shoot a hole in the wall. This allows access to a small room containing four mineral veins. Inside this room, use Ascend, and Link will come out at the top of the ledge he previously couldn’t reach. There will be a Horriblin which can be quickly defeated, and a short distance away, an exit from the cave.
The Legend of Zelda: Tears of the Kingdom is available for the Nintendo Switch.

