The game Totally Accurate Battle Simulator is exactly what it sounds like. It is a medieval warfare sim that strives for complete and total accuracy in its depiction of units, terrain, and combat. Nothing about the game is embellished or enhanced for comedic effect. Every element is as true to life as possible, because why would a game lie with a title like this one?
In all seriousness, developer Landfall's Totally Accurate Battle Simulator (TABS) takes as much inspiration from games like Gang Beasts and Stick Fight: The Game as it does from the Total War series. The graphics are cartoonish, the physics are out of control, and the combat is comedically unrealistic. That's not to say that there is no strategy to the game. In fact, deploying troops in specific formations and then combining those formations together to make an army is often the only surefire way to win in all-out combat. Outside the game's many mods, here are the best formations players should make a note of.
10 Half Phalanx
A cheap, simple, and relatively effective formation, the Half Phalanx is exactly what it sounds like. A wall of 10 Shield Bearers in front backed up by 10 Sarissas (spear-wielders) in the back.
The strength of this formation is its overall mobility and strength against crowd-control units (given there is very little crowd to control). However, it is weak against Hero units (single, high-strength units) and pincer attacks from the flanks.
9 Full Phalanx
In most cases, as long as the necessary funds are available, players should opt for the Full Phalanx over the Half Phalanx. This formation is literally just two Half Phalanx smushed together. 20 Shield Bearers in two groups of 10, and 20 Sarissas in two groups of 10. Ranged units will struggle to pick off this formation thanks to the shield walls, and melee unit battalions will be shredded by the line of Sarissas that lurk behind the shields.
However, siege units like catapults will feast on the Full Phalanx due to its lack of quick mobility. While enemy Archers can't pierce through the shields, musket shots will with ease, so more advanced ranged units will pose a problem for this formation.
8 Archer Phalanx
Take the Full Phalanx, keep the three front lines the same, but replace the rear line of Sarissas with a line of Archers. This formation retains all the benefits of the Full Phalanx, but adds a ranged component that can take out enemy ranged units and unshielded melee units before they even reach the first shield line.
The weaknesses of the Archer Phalanx are pretty much identical to the Full Phalanx: advanced ranged units, siege units, pincer attacks, and low mobility. However, there is one key component to this formation, which is a slight spacing between the Archers and the Shield Bearers in front of them. Without that spacing, the Archers will end up shooting their shield line the back, which is not ideal.
7 Fire Line
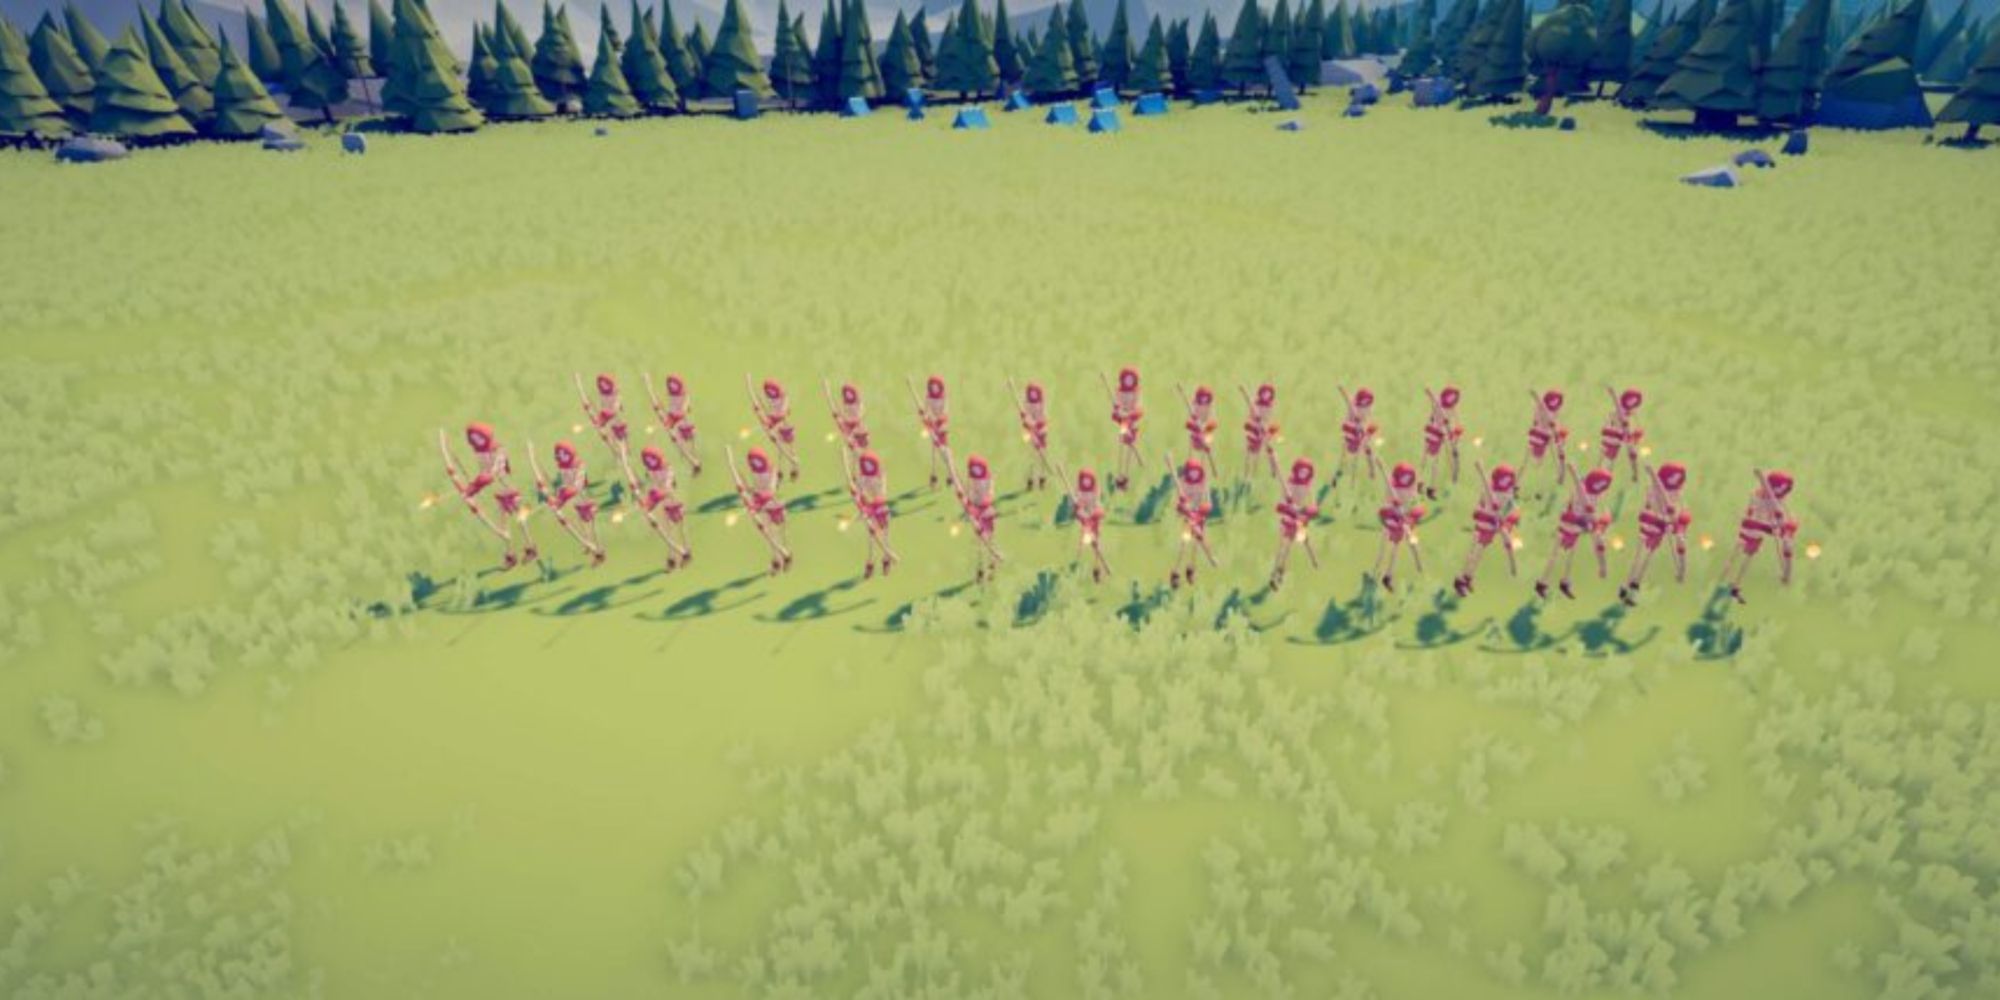
Simple is sometimes the best option. There's nothing fancy about the Fire Line. Just two rows of 10 Skeleton Archers raining fire on their enemies. There isn't a ton of thought required to make this formation effective; just place them at a distance from the enemy and let the fire arrows get to work.
The beauty of the Fire Line is that it can decimate a much more strategic formation with ease. The fire that spreads from the Skeleton Archers' arrows will peel apart a Phalanx (for example) from the inside out. The weaknesses of this formation are obvious. If an enemy battalion gets too close, the Skeleton Archers have no close combat defenses to protect them.
6 Close-Range Archers
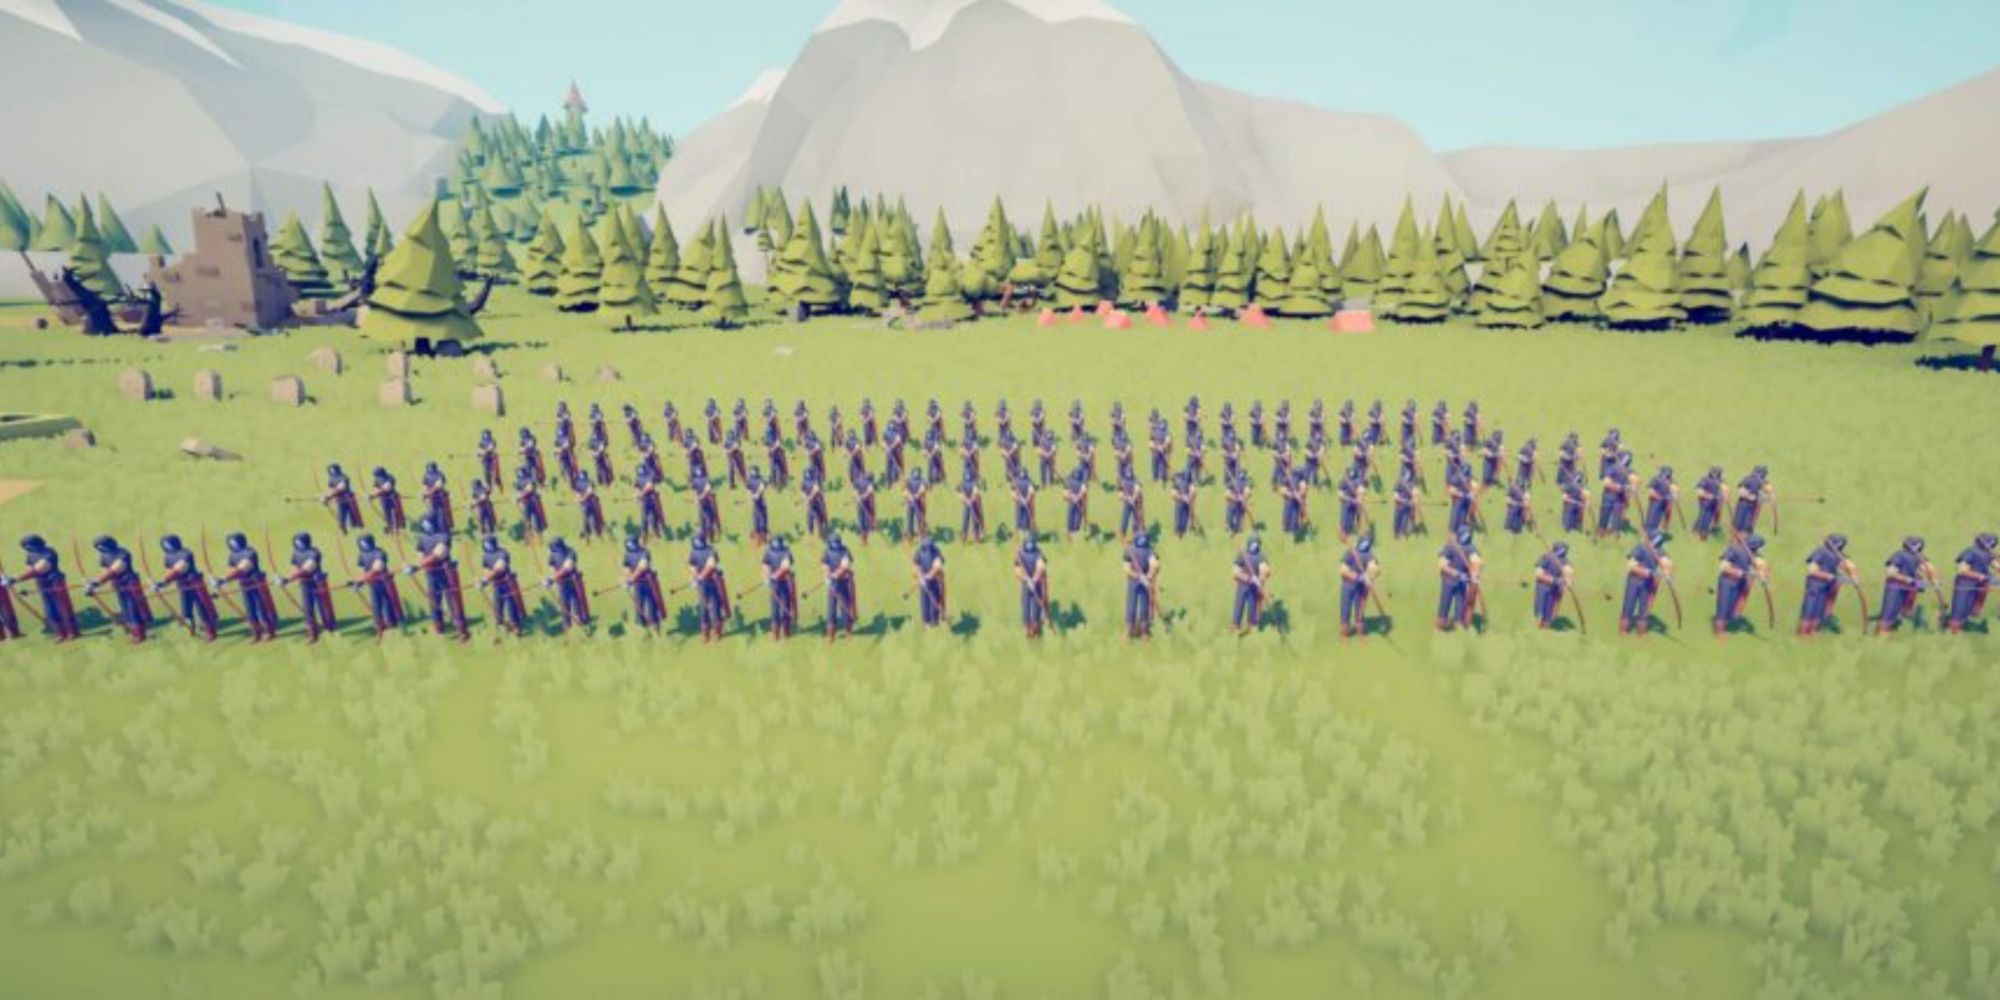
Another "simple but effective" formation, the Close-Range Archer setup takes what would normally be a long-range battalion, loads it up with units (4 rows of 28 Archers each), and places it right in front of the enemy lines. While the entire group won't survive such a deployment, the end result will often see the Archers coming out on top.
This is simply due to the overwhelming numbers that the opponent will face. Given the Archers' tendency to shoot all at once, large groups of melee units and even more advanced ranged units will fall in the face of the wave or arrows that crashes down on them.
5 Pike And Shot
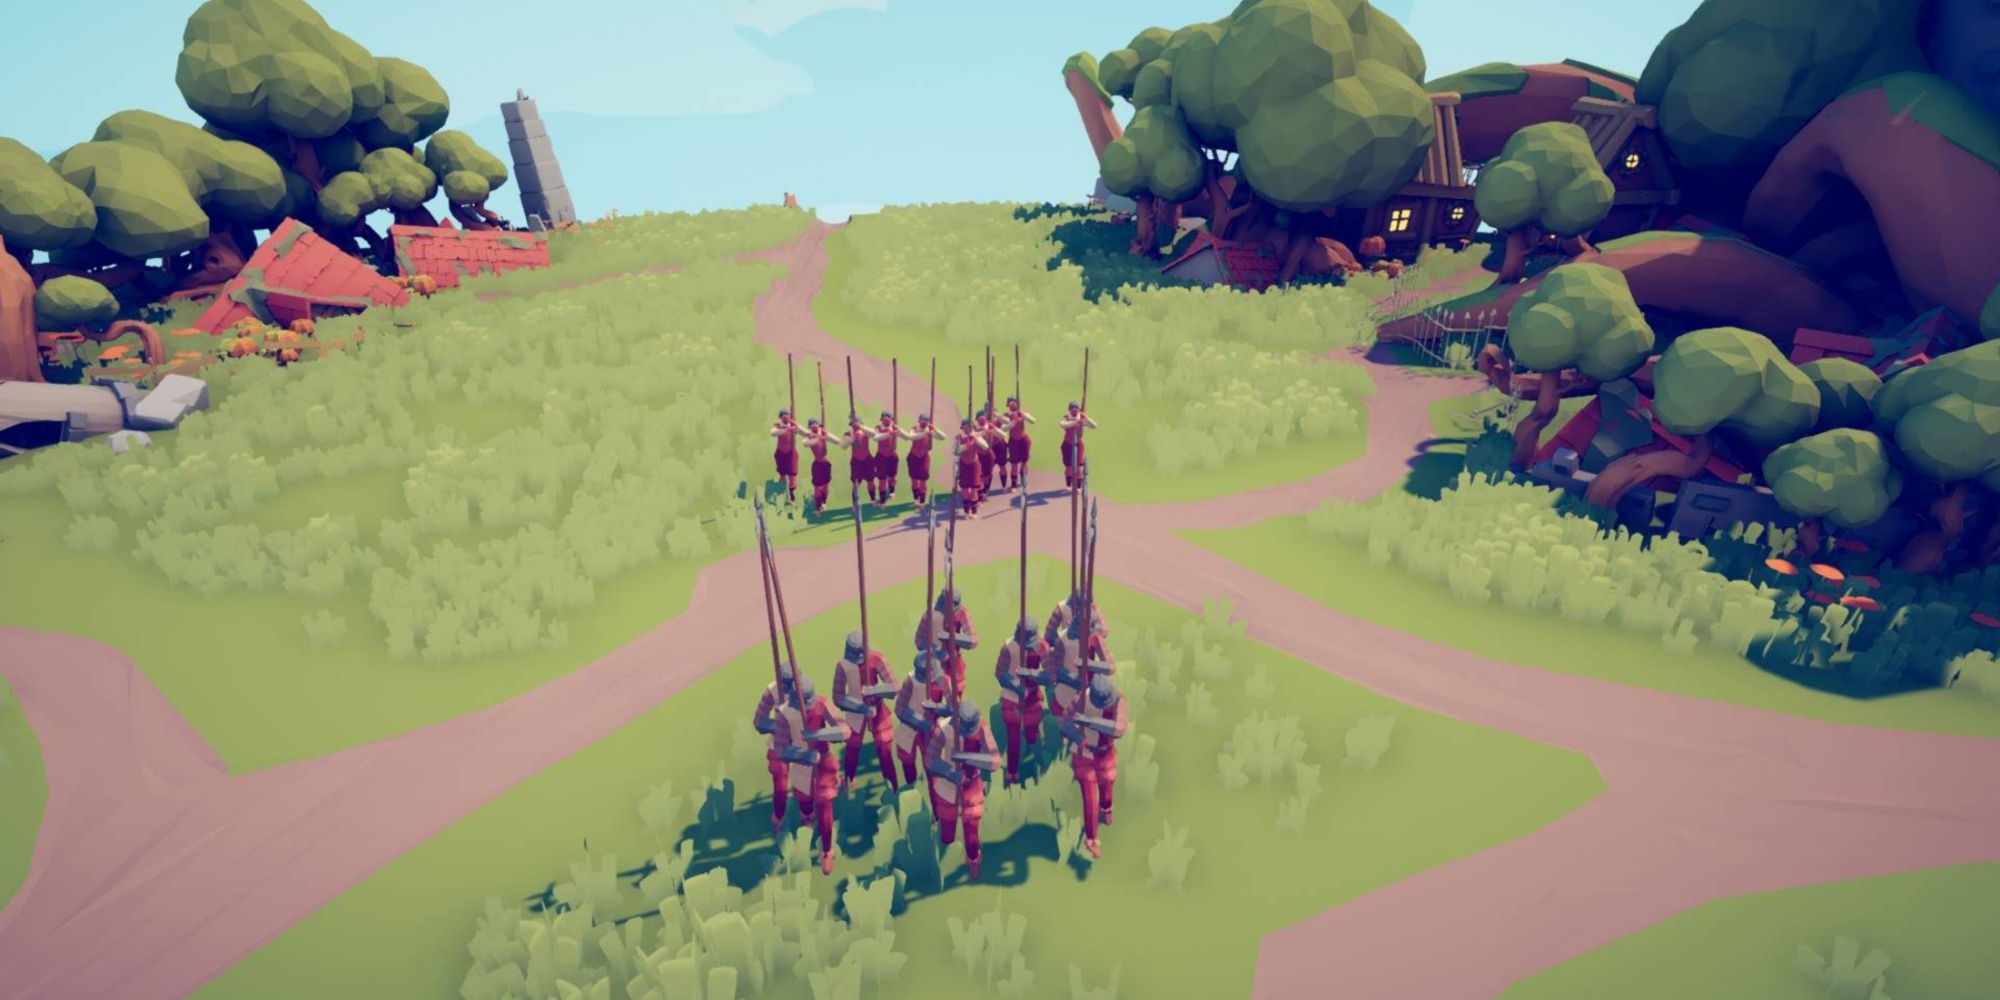
Similar to the Archer Phalanx but dipping its toes into the Renaissance Era, this formation consists of a line of 10 Halberds backed up by a line of 10 Musketeers. The Musketeers can breach through enemy shields, leaving the remaining melee and ranged units unguarded, easy pickings for the Halberds.
However, when up against a strong enough (or large enough) group of melee units, the slow fire rate of the Musketeers can leave the Halberds dealing with more enemies than they can handle, which can lead to a quick defeat.
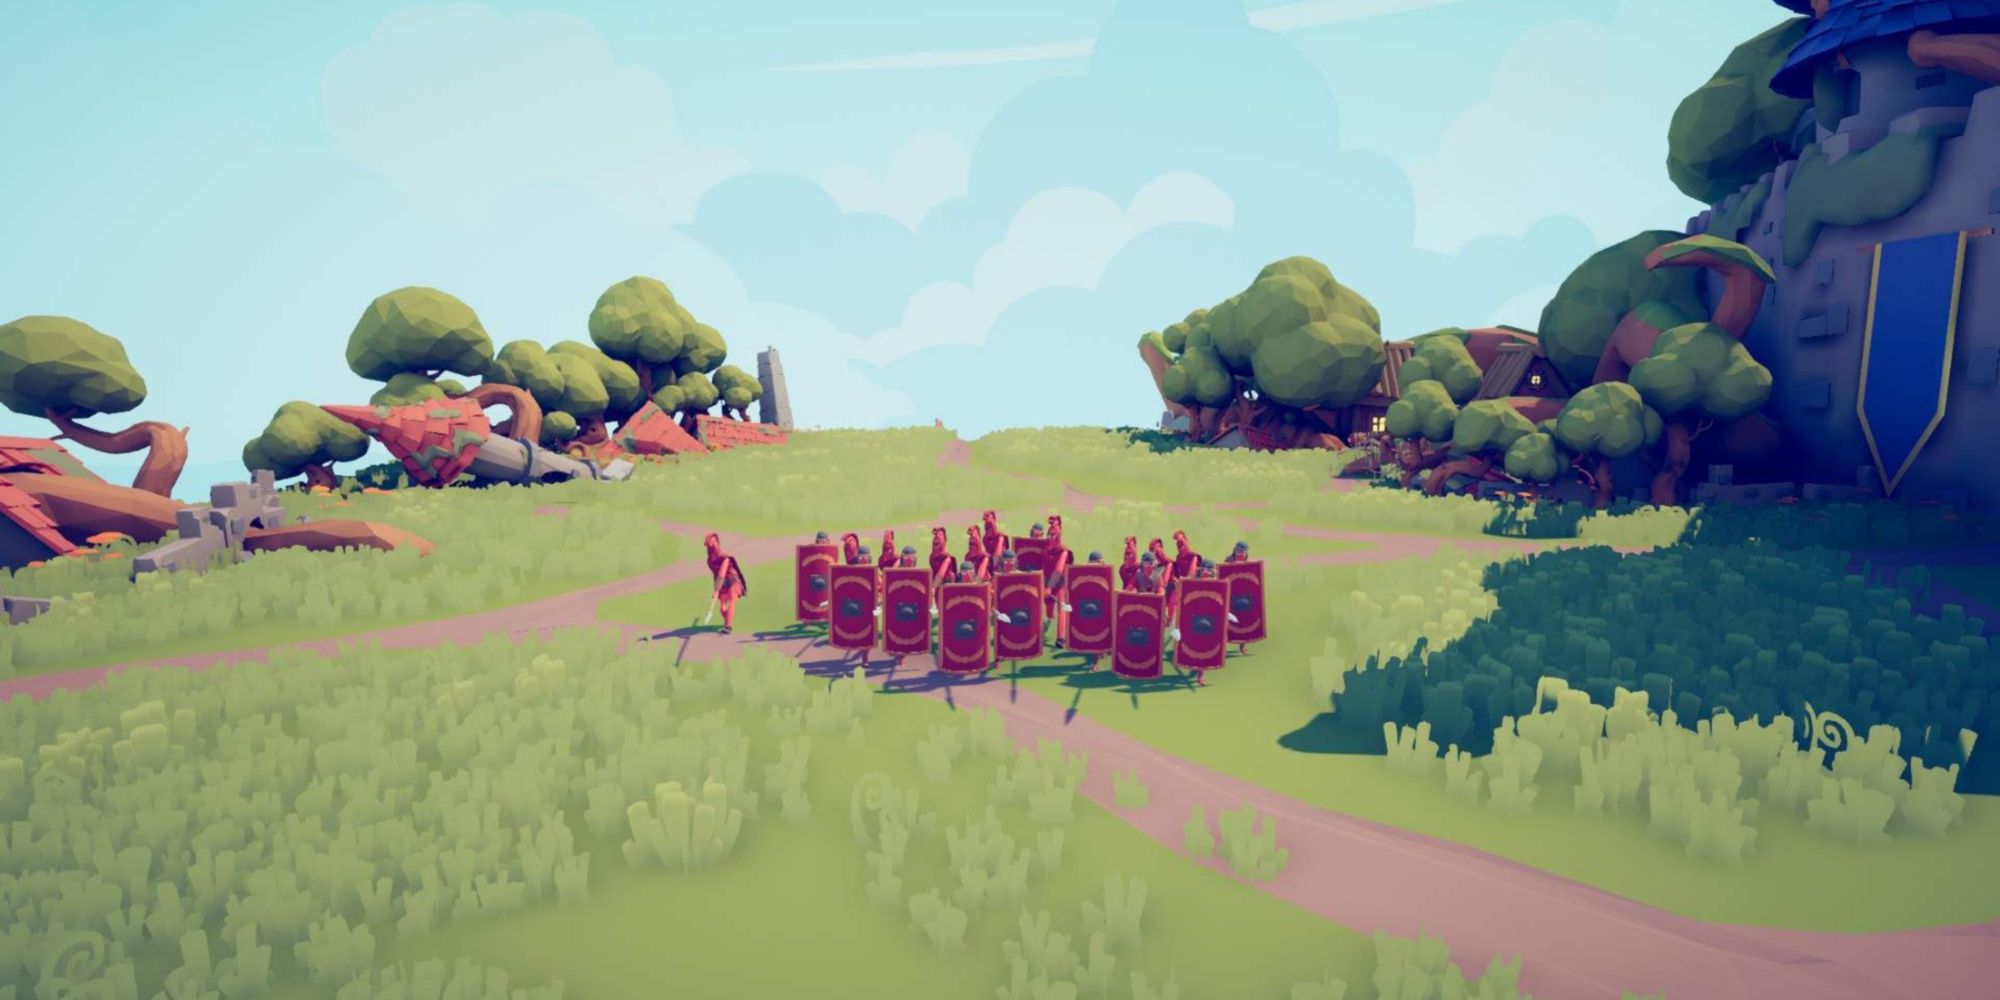
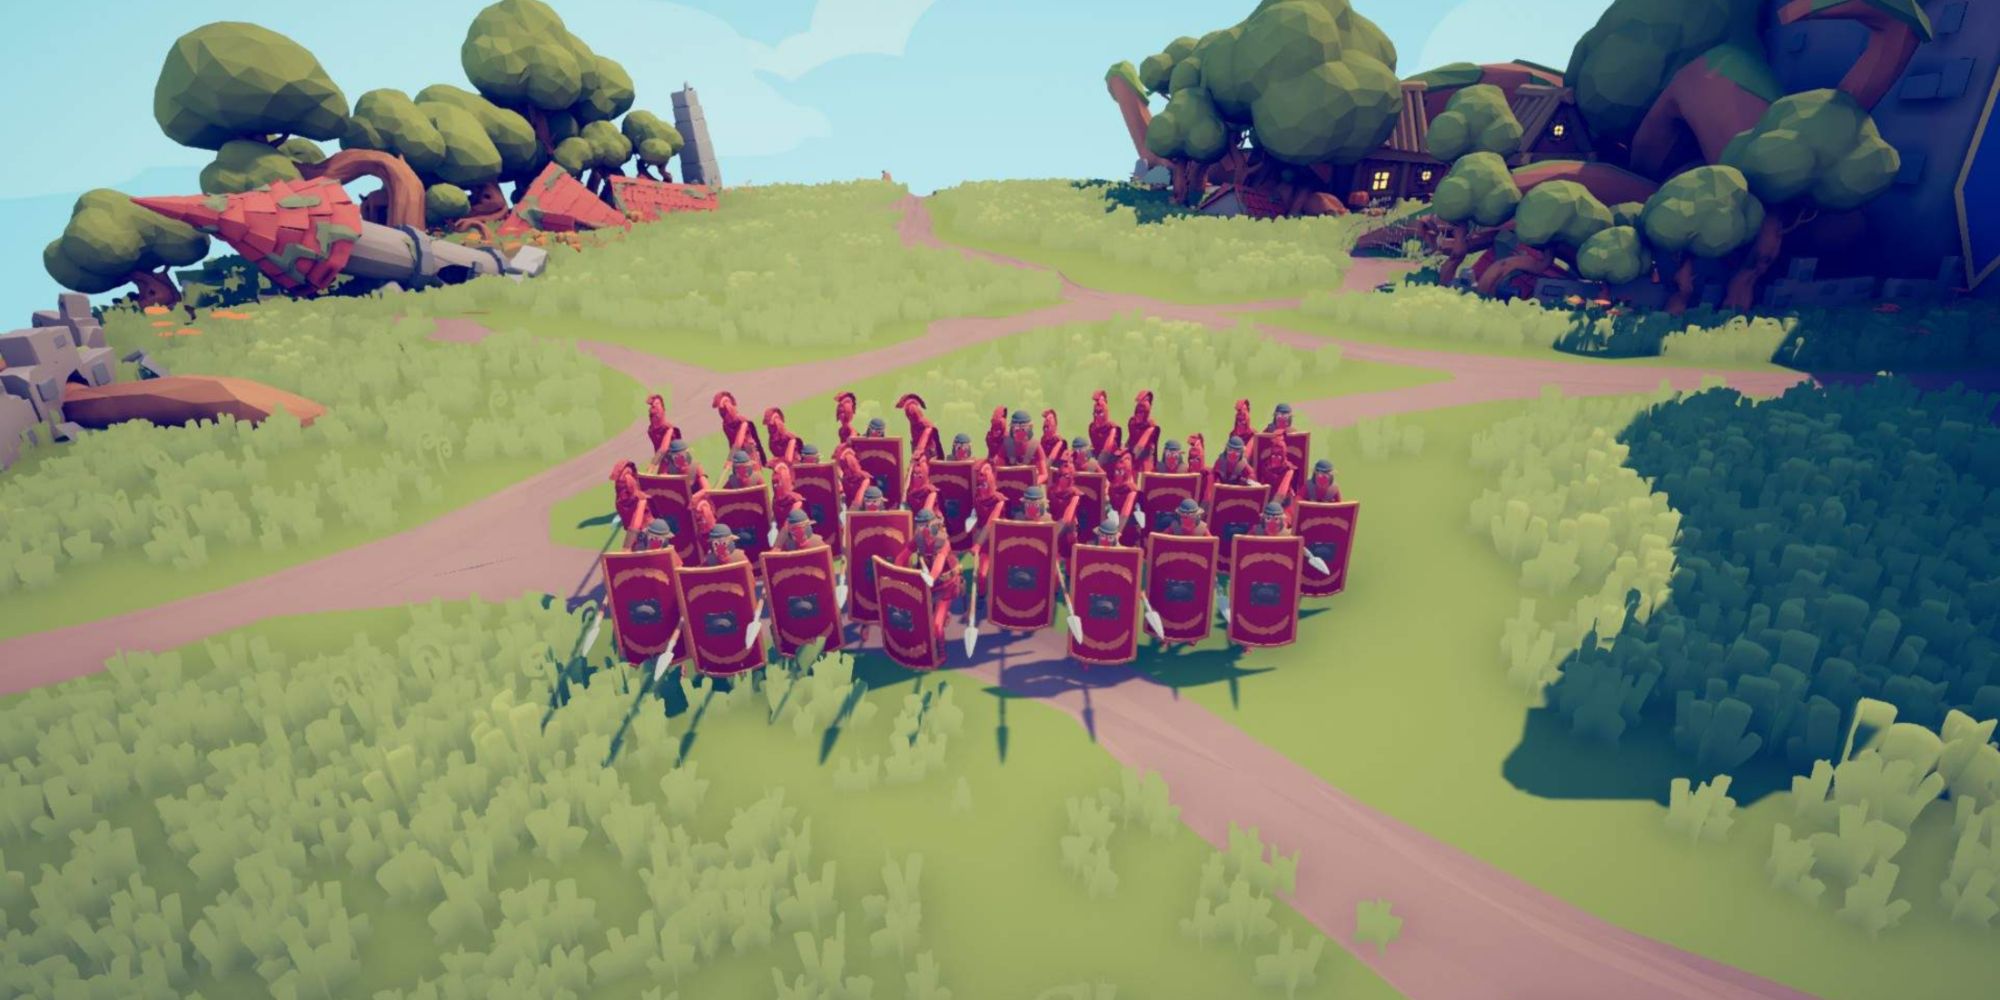
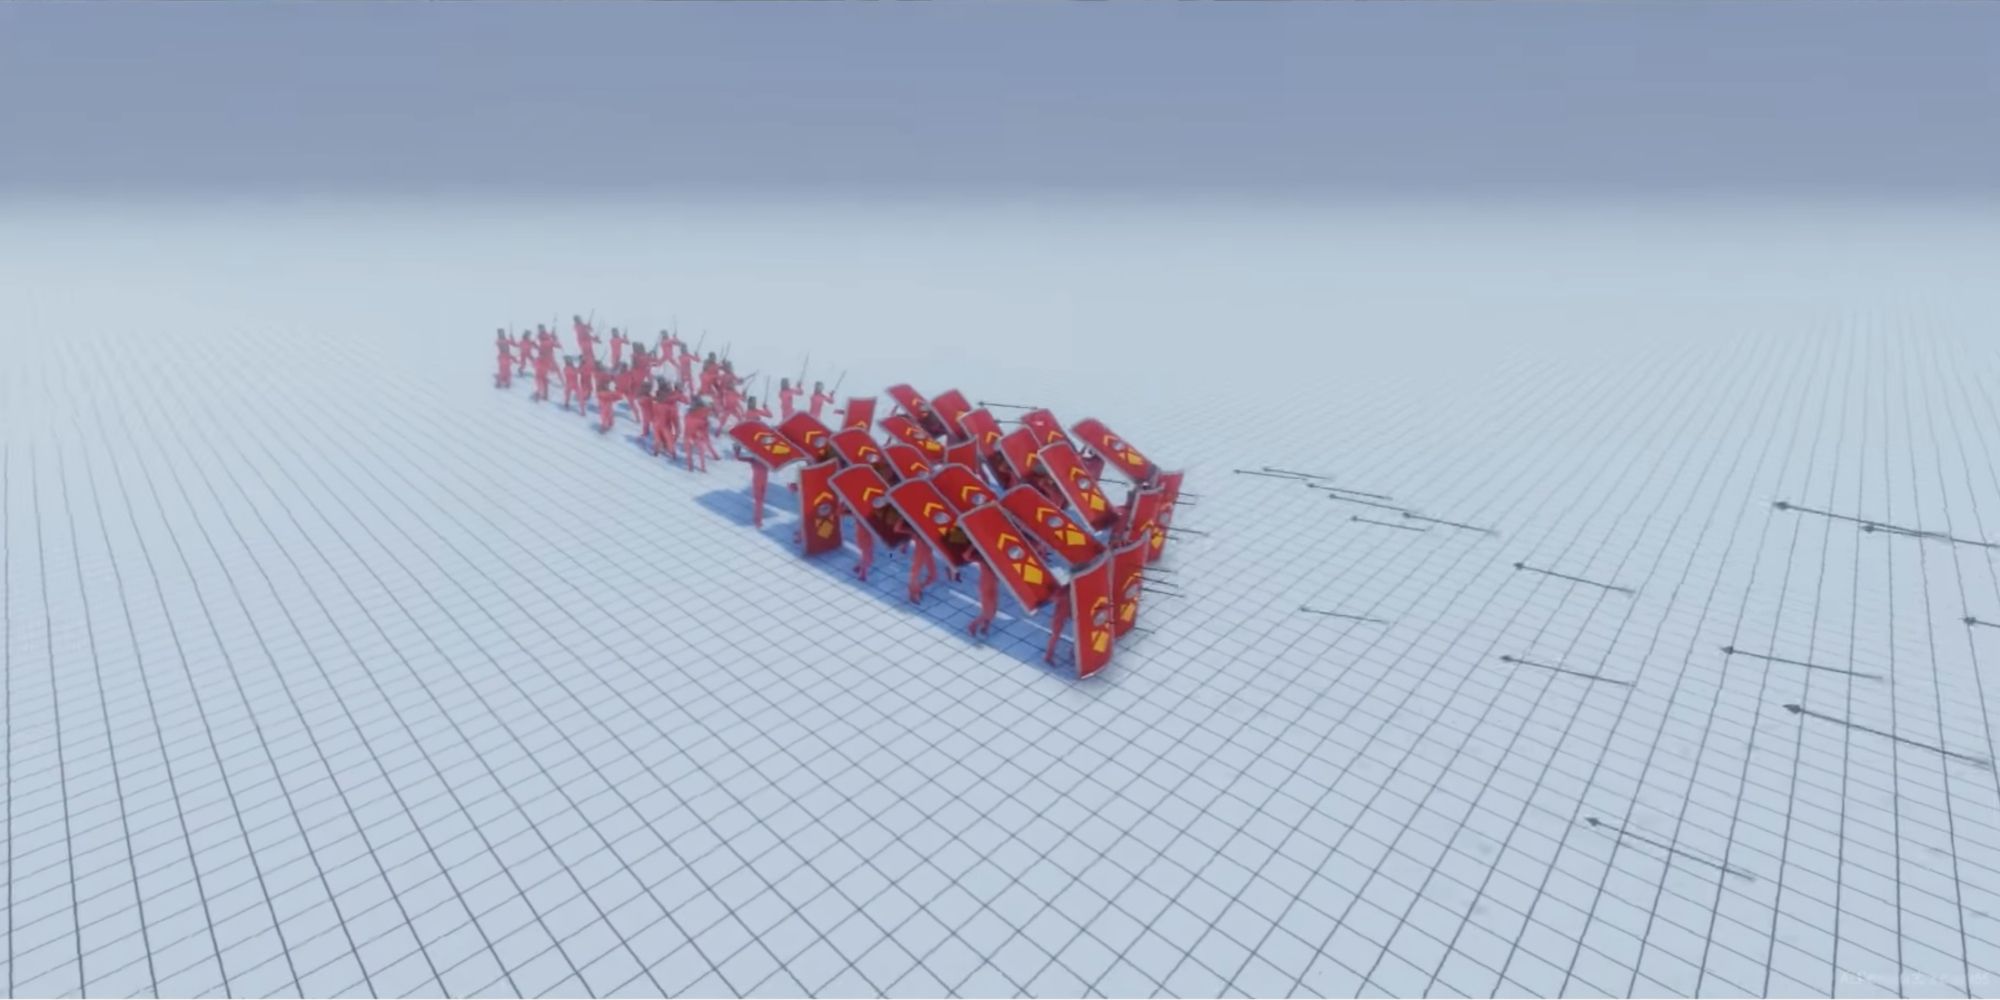
4 Roman Testudo
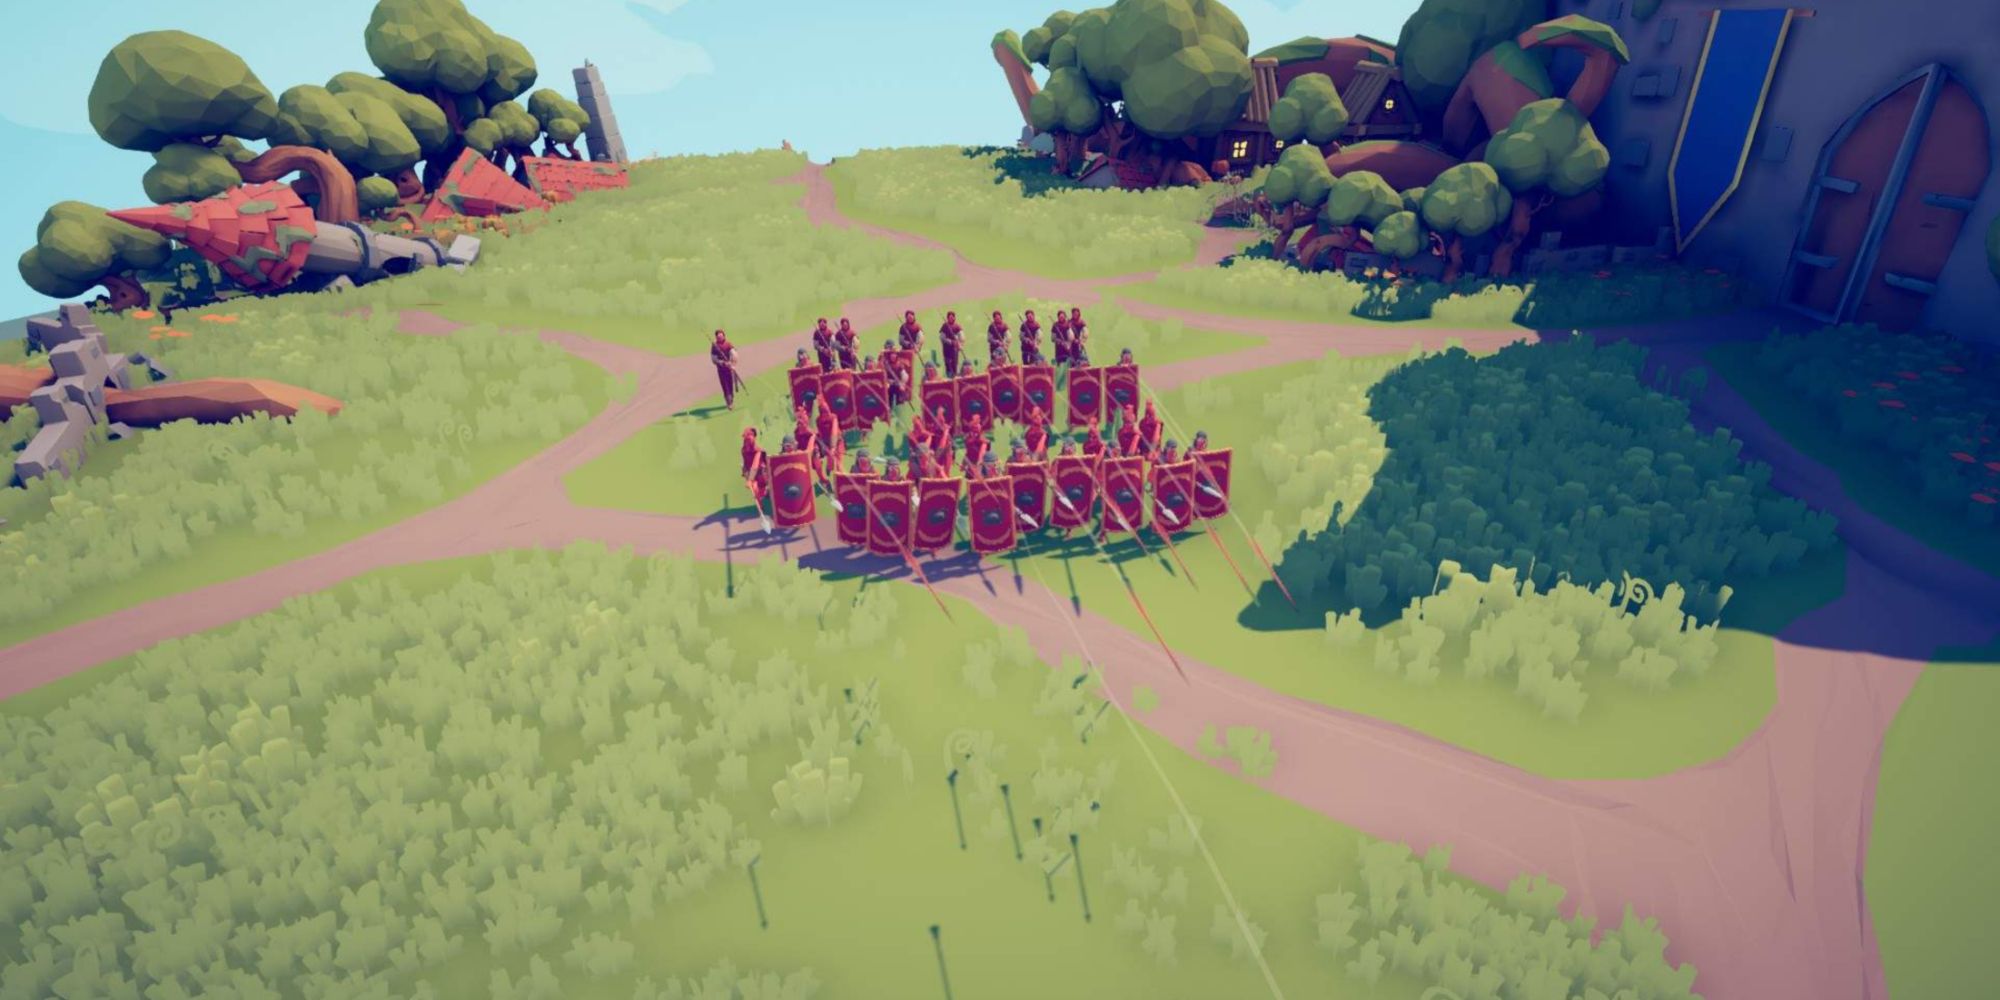
An evolution on the Full Phalanx, the Roman Testudo is a charge formation that places four rows of 4 Shield Bearers ahead of five rows of 4 melee units. The Shield Bearers lead the charge, blocking their melee units from ranged fire and trampling over any enemy melee units in their path. Once they reach the enemy line, the Shield Bearers form a line of defense over which the melee units can attack.
When it comes to pure offense, this formation is hard to beat. It strikes quickly and cannot be whittled down from the front until the battalion is already right on top of the enemy. The issues crop up any time this formation needs to hold position or gets flanked, as the defensive positioning is focused solely on the units ahead of it.
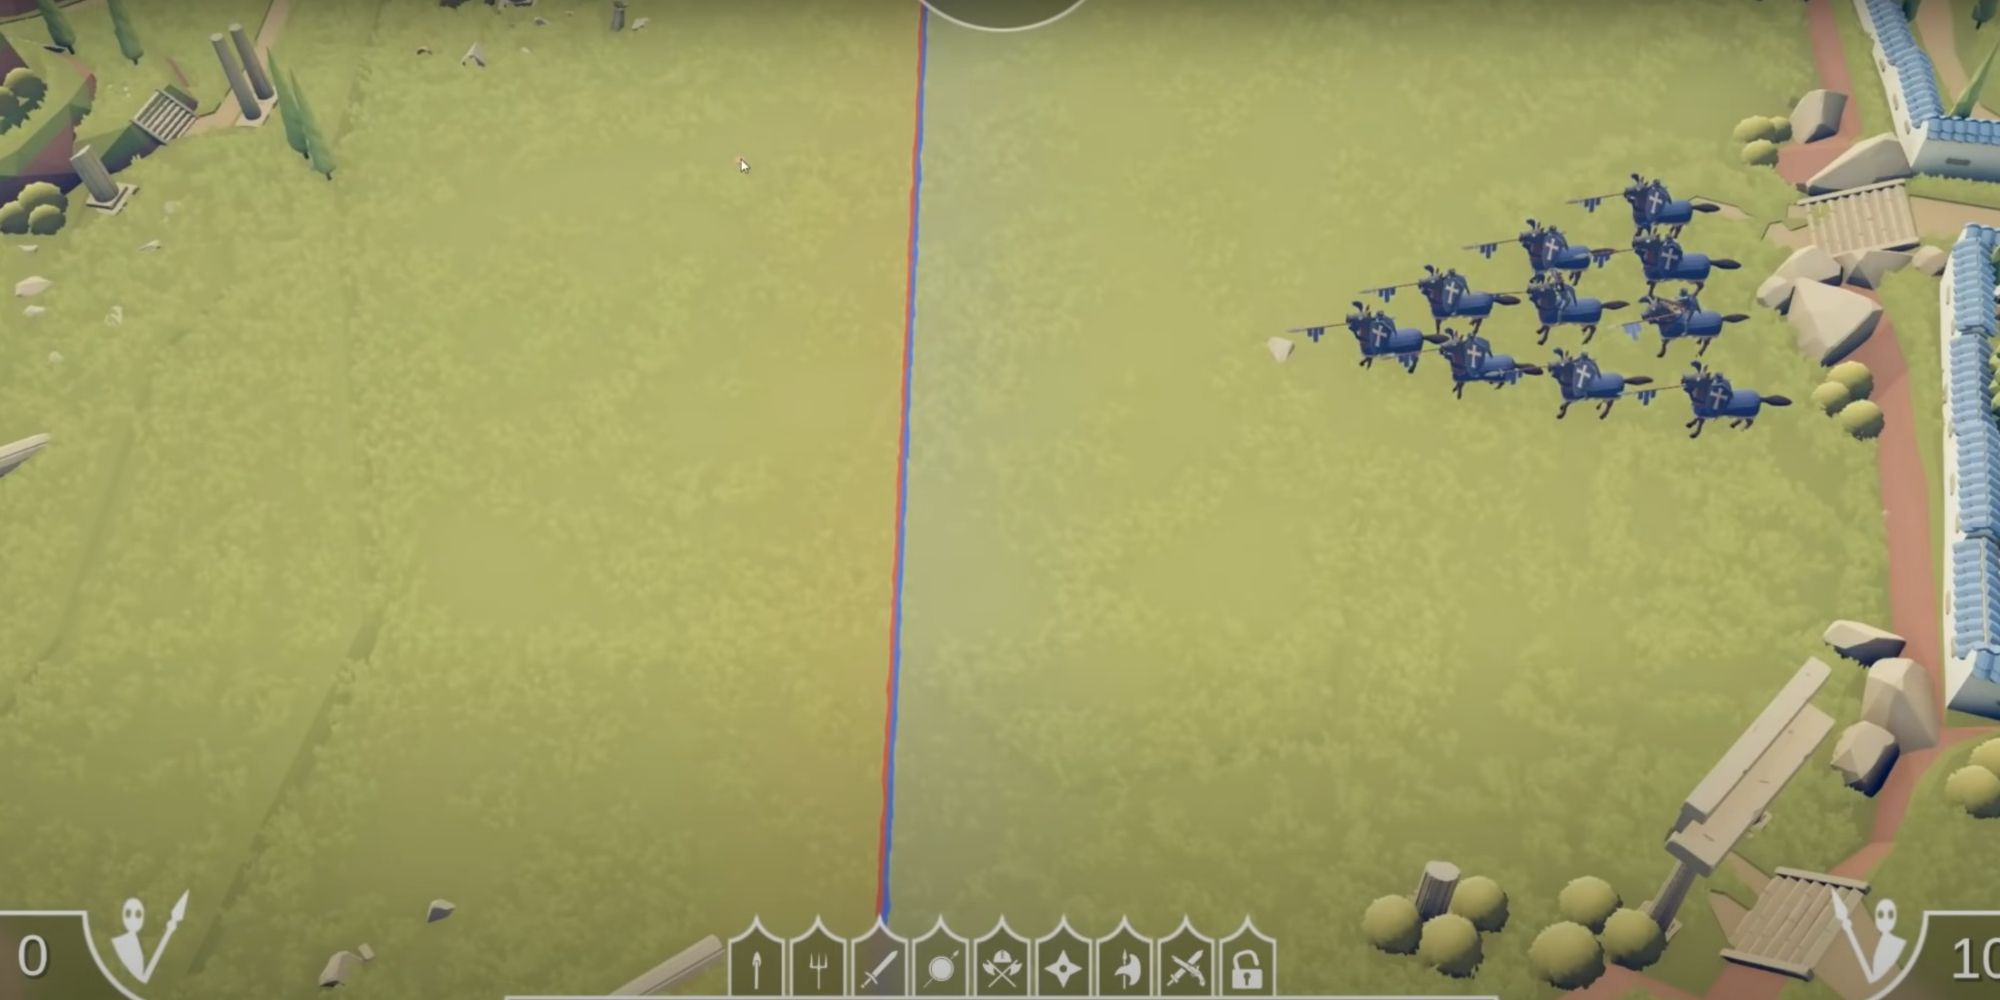
3 Cavalry Wedge
This formation was a major factor in helping Alexander the Great conquer the known world, and it works nearly as well in a goofy video game like TABS. Roll out 10 Cavalry units, and place them in a wedge shape, with one unit at the center, two on either side and slightly behind, then three to the side and behind them, and so on, which will eventually result in a triangle - or wedge-shaped - formation.
This formation will outright trample any non-mounted enemy units. Shield Bearers will get knocked aside, archers will be decimated, and melee units will be separated from their peers. Sarissas do pose a threat with their spears, however. The biggest danger with the Cavalry Wedge is that, while losing units on the fringes won't slow them down, losing units down the middle will divide the formation, allowing them to be picked off more easily.
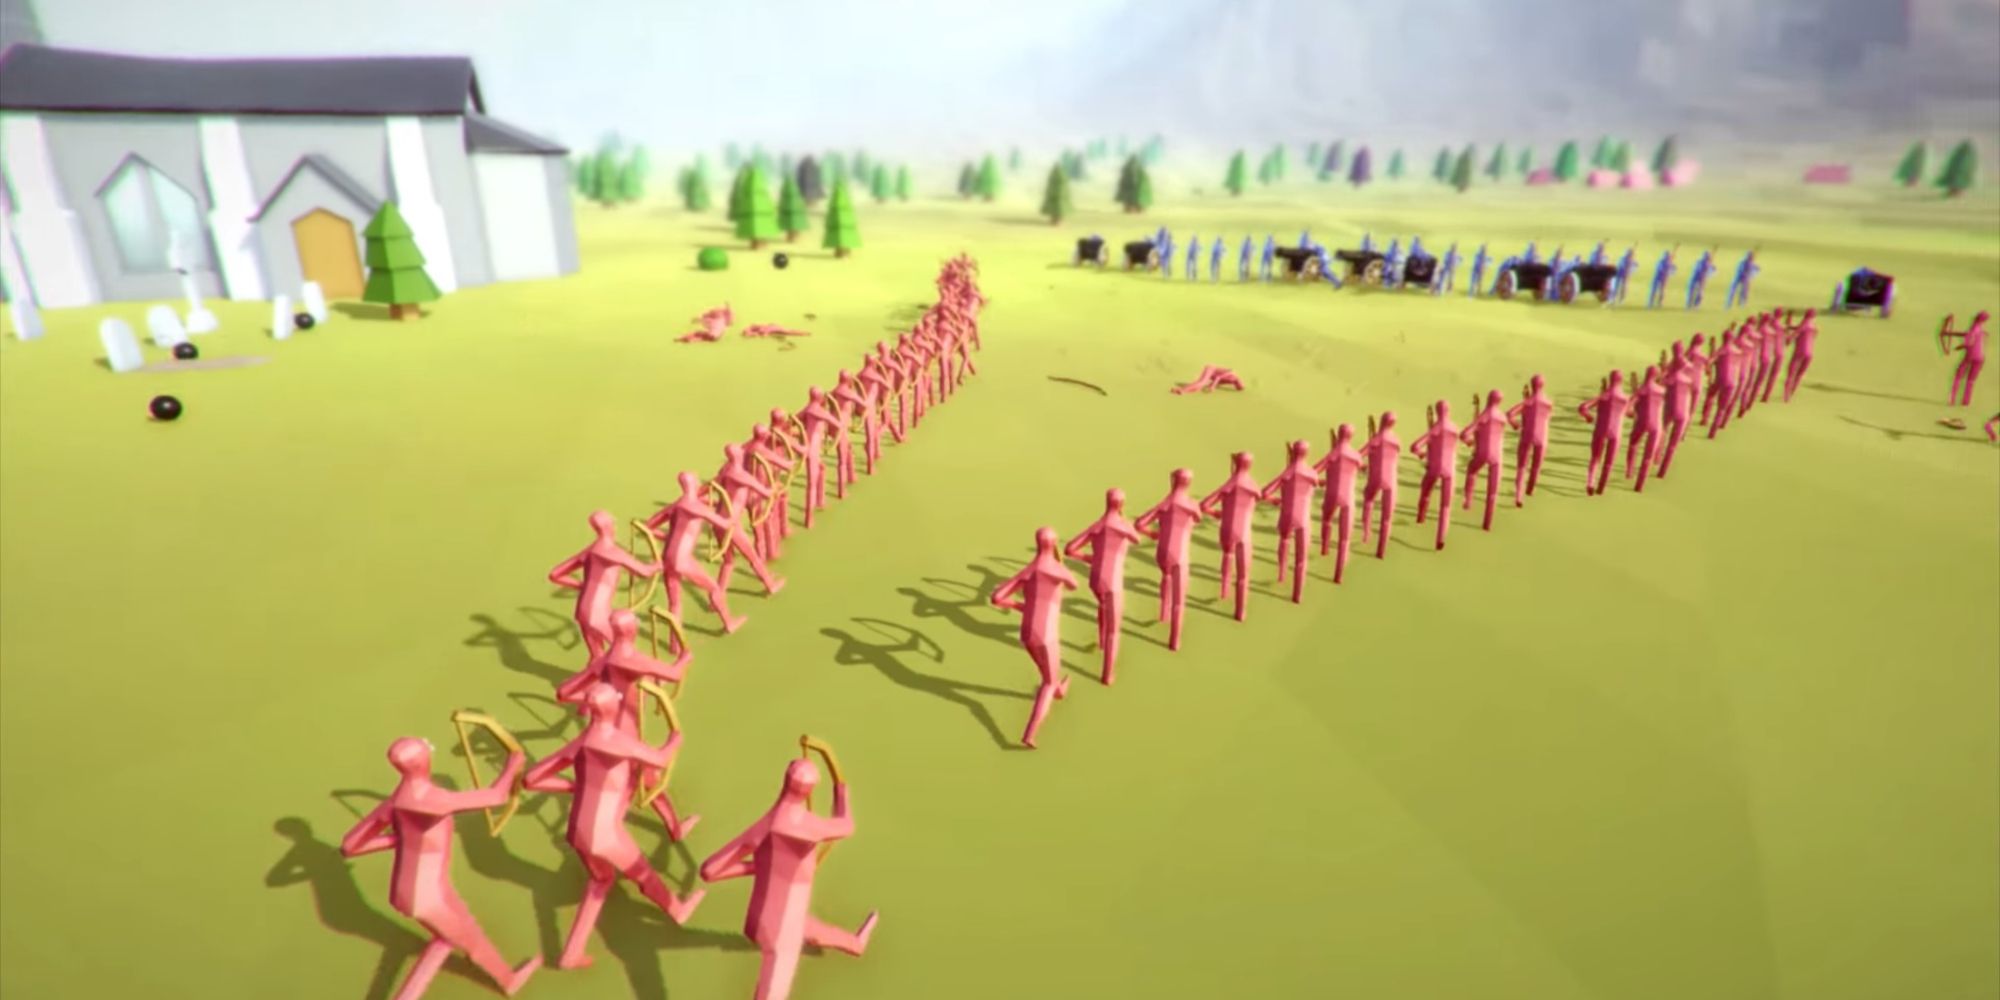
2 Inverted Archer Wedge
Take the Cavalry Wedge, invert it, and then instead of Cavalry units populate it with Archers. That's the gist of the Inverted Archer Wedge, a V-shaped formation that funnels enemy units into a manufactured "kill zone."
There really aren't many units that will survive this formation if they get funneled into the middle properly. Shield Bearers will get hit from the sides, Cavalry will have their flanks picked off. Any on-foot melee units won't be fast enough to reach the Archers before they're shot down. The only danger is if any units manage to get outside the "V-shape," at which point there's very little defense available.
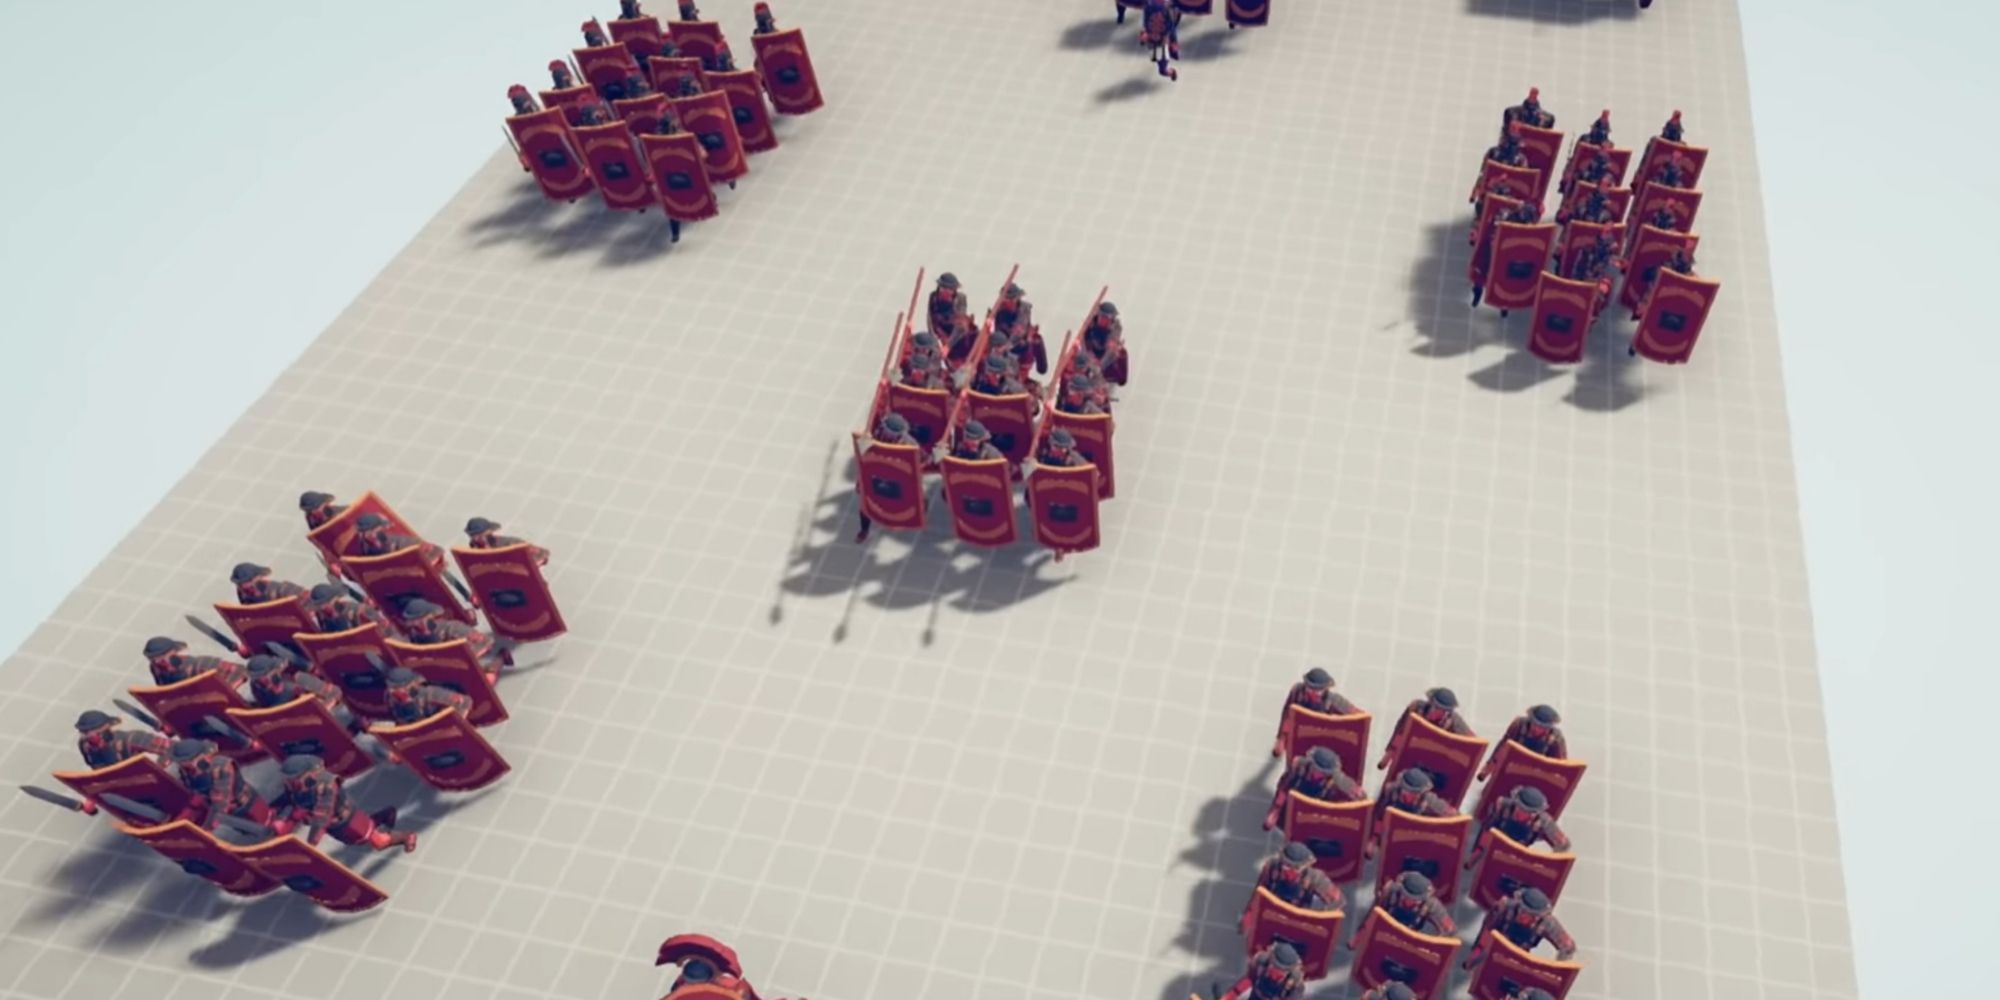
1 Roman Legion
Don't let anyone suggest there's such a thing as too many Shield Bearers. The Romans used these units all the time, and the same tactic can be used in TABS. Groups of nine Shield Bearers arranged in rows of 3, occasionally supported by a line of Sarissas, and using staggered positions like squares on a checkerboard, can handle pretty much anything the enemy throws at them.
The beauty of this formation is that even if one group of units goes down, the groups on either side can fall in to take their place. A Cavalry charge can only power through so many shields before they lose momentum. Archers won't stand a chance, even Musketeers won't be able to shoot through this many shields, and melee units will be surrounded as they fruitlessly bang away against the Shield Bearers' defenses. As with the other Shield Bearer formations, the biggest weaknesses here are siege units, but even then, with the spread of this formation, those units will have to be very accurate.
Totally Accurate Battle Simulator was released on April 1st, 2021, and is available on Xbox Series X/S, Xbox One, Nintendo Switch, PC, macOS, IOS, and Android.


