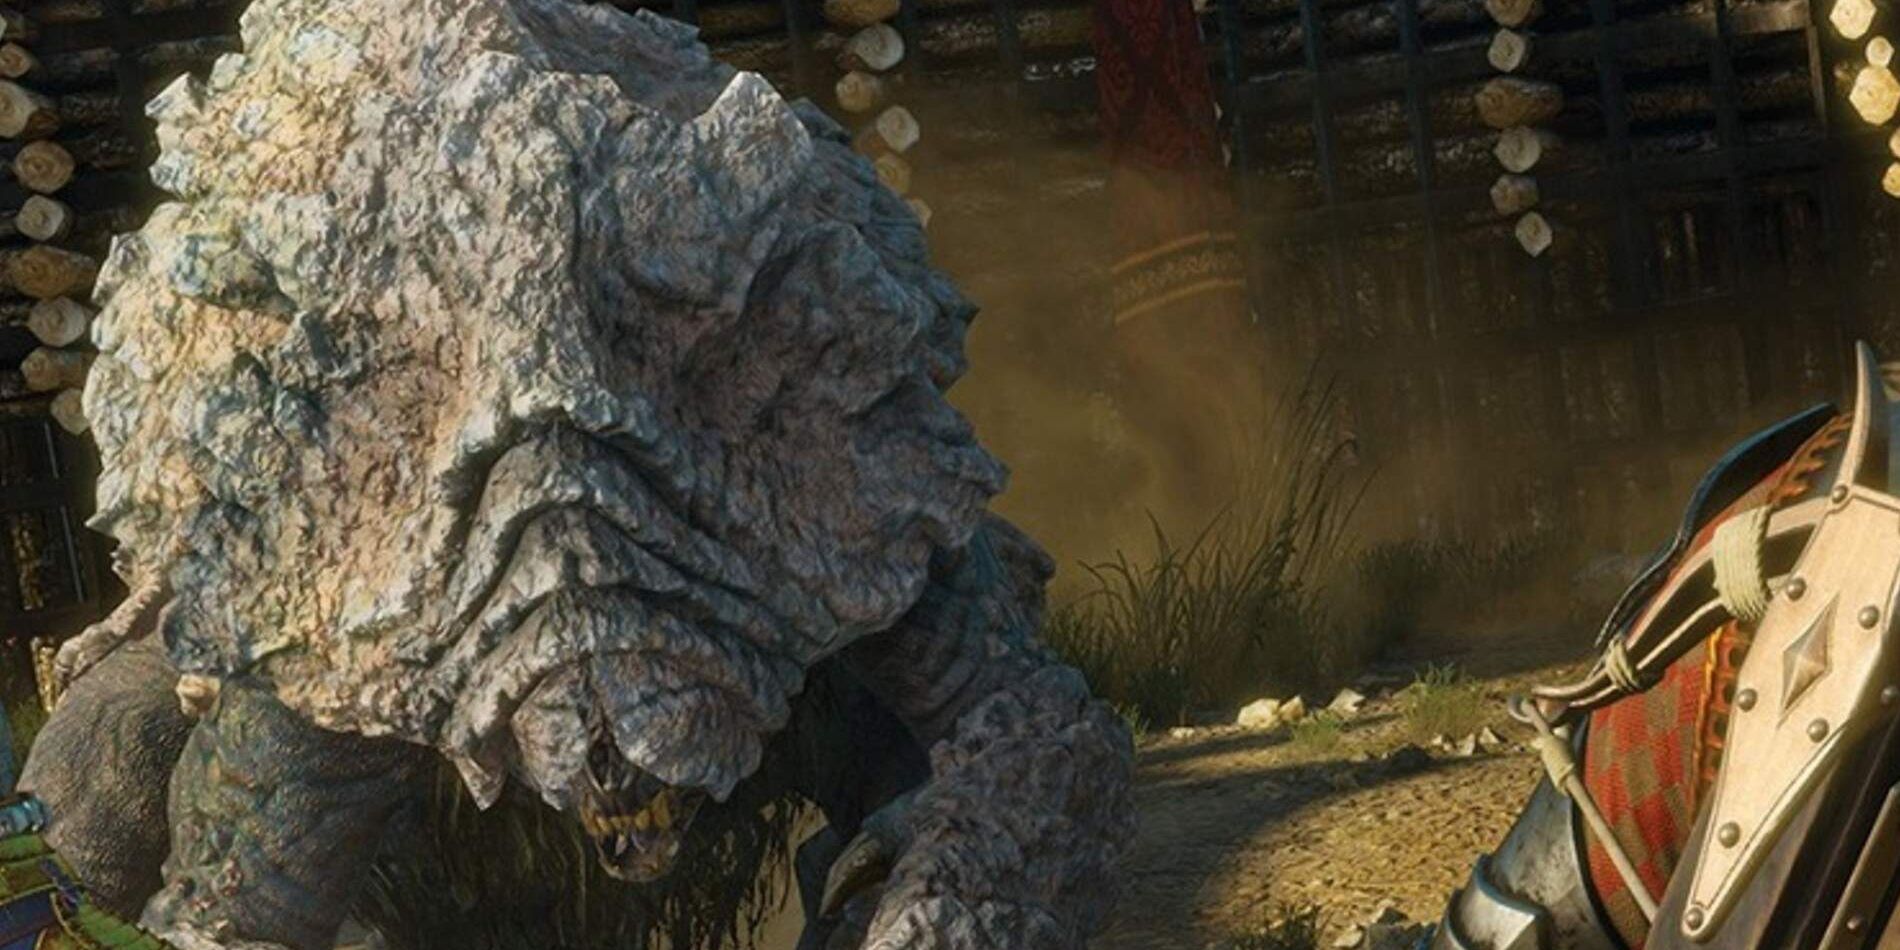
Of all the new enemies that were introduced in the Blood & Wine expansion for The Witcher 3: Wild Hunt, Shaelmaars may be the trickiest to defeat. If Geralt of Rivia jumps into battle with one of these rolling juggernauts without first doing the proper reading, it's likely Dandelion will be writing his eulogy instead of another tale of triumph.
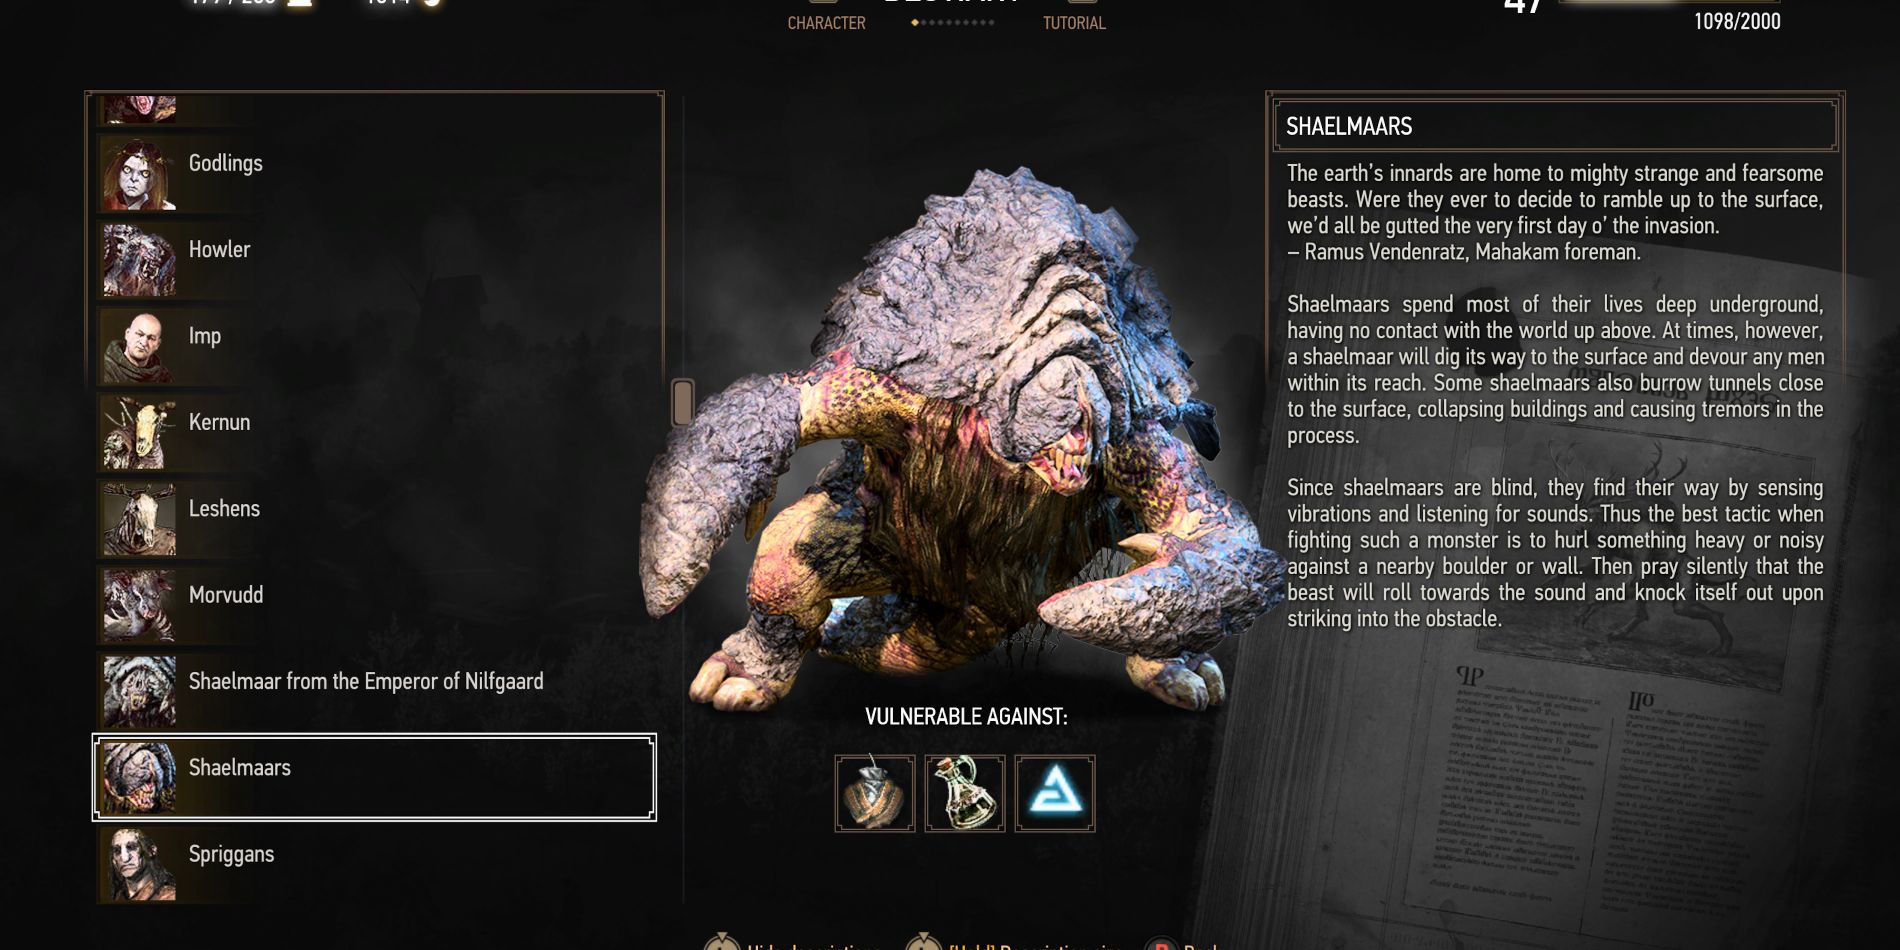
As with any fight in The Witcher 3, the best path to victory lies in preparedness - especially at higher difficulty levels. Cracking open Geralt's trusty bestiary will provide all the information a practicing witcher will need to best any beast, shaelmaars included.
Fighting Shaelmaars in The Witcher 3
One of the first things Geralt will notice when fighting a shaelmaar is that, when attacking with a sword, the beast seems to be completely invulnerable. The creature's extremely tough shell will deflect even the strongest of blows. With this discovery, weaker beings may give up and resign themselves to their fate. Witchers, however, know that where brute force fails, preparation prevails.
Reading the shaelmaar's entry in the bestiary will reveal that, though they have an incredibly acute sense of hearing, they are completely and utterly blind! Using this to their advantage, a witcher can defeat a shaelmaar with the following tactics:
Preparation:
- Read the shaelmaar entry in Geralt's bestiary.
- Before engaging, apply the highest quality relict oil available. Remember to keep an eye on the usage counter beneath Geralt's health bar. Reapply when necessary.
- Make sure Geralt has crafted and equipped loud, explosive bombs such as Samum or Grapeshot.
Fighting:
- Use the shaelmaar's over-reliance on sound to Geralt's advantage. Notice in every battle with a shaelmaar, the arena is walled in. This is exemplified by the literal walls of the stadium in which Geralt first encounters one of these beasts.
- The strategy for victory revolves around getting the shaelmaar to charge in the direction of the wall, smashing into it and flipping onto its back. While on its back, the shaelmaar is vulnerable to all attacks.
- There are two ways to achieve this goal:
- Bomb: From a distance, throw a bomb against the arena wall. This should get the shaelmaars attention, causing it to charge at the wall where the bomb was thrown.
- Aard: Standing near a wall, use Aard to goad the beast into charging, dodging at the last second.
Important Notes:
- When playing on higher difficulties, the shaelmaar can do a tremendous amount of damage. Use Quen to avoid any mishaps while waiting for the right moment to enact the wall strategy.
- Though the beast will remain invulnerable, using Axii will cause it to be briefly stunned.
- Once the beast's health has been reduced by roughly 2/3 - 3/4, it will prepare a large AOE attack. As long as Geralt keeps his distance, he will avoid damage.
The key to fighting shaelmaars is to remain patient. Following these simple steps will transform a once invulnerable foe into something that can be taken out with relative ease.
The Witcher 3: Wild Hunt is available now for PS5, PS4, Xbox Series X/S, Xbox One, Switch, and PC.


