Quick Links
Jacob and Dani ran into a significant setback at the end of the fifth chapter of The Callisto Protocol. Things don't get much better for them in the sixth chapter, and players get to experience a much more different and darker area below Black Iron Prison.
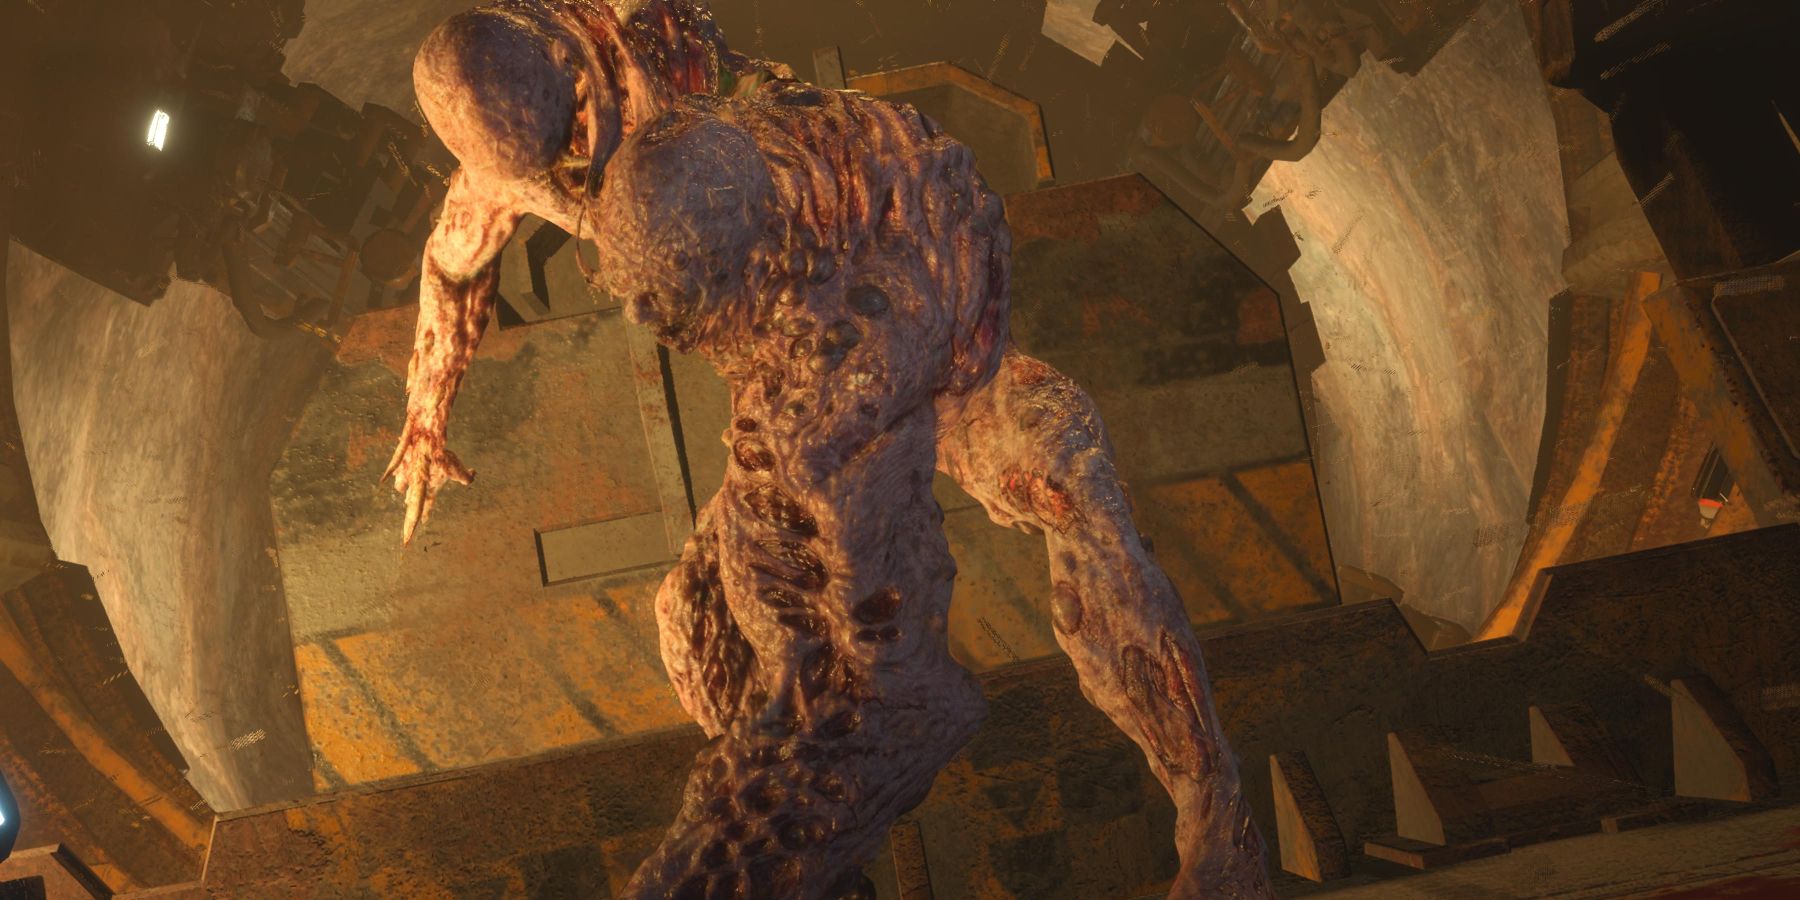
Beneath the prison are ruins of an old, abandoned colony. A new type of Biophage lurks in those darkened hallways, providing players with a new challenge as they seek to find a way back up to the surface. Here is what players can expect to encounter in the sixth chapter of The Callisto Protocol, Below.
This walkthrough contains spoilers, so players should proceed with caution.
Arcas Colony
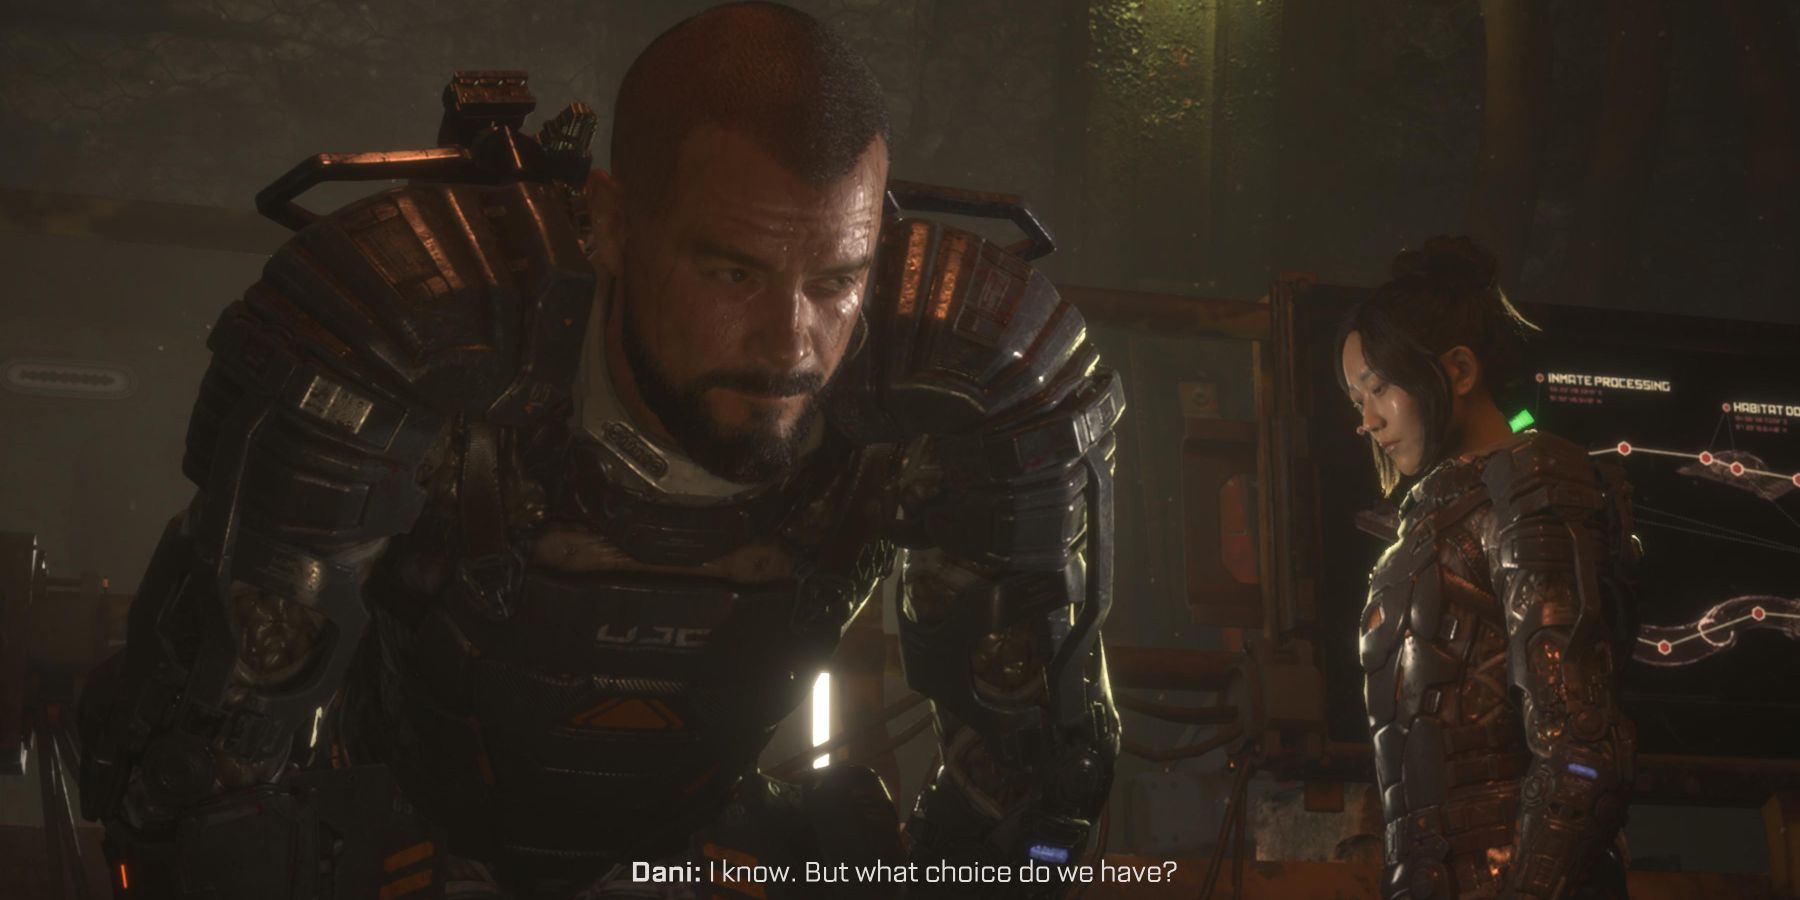
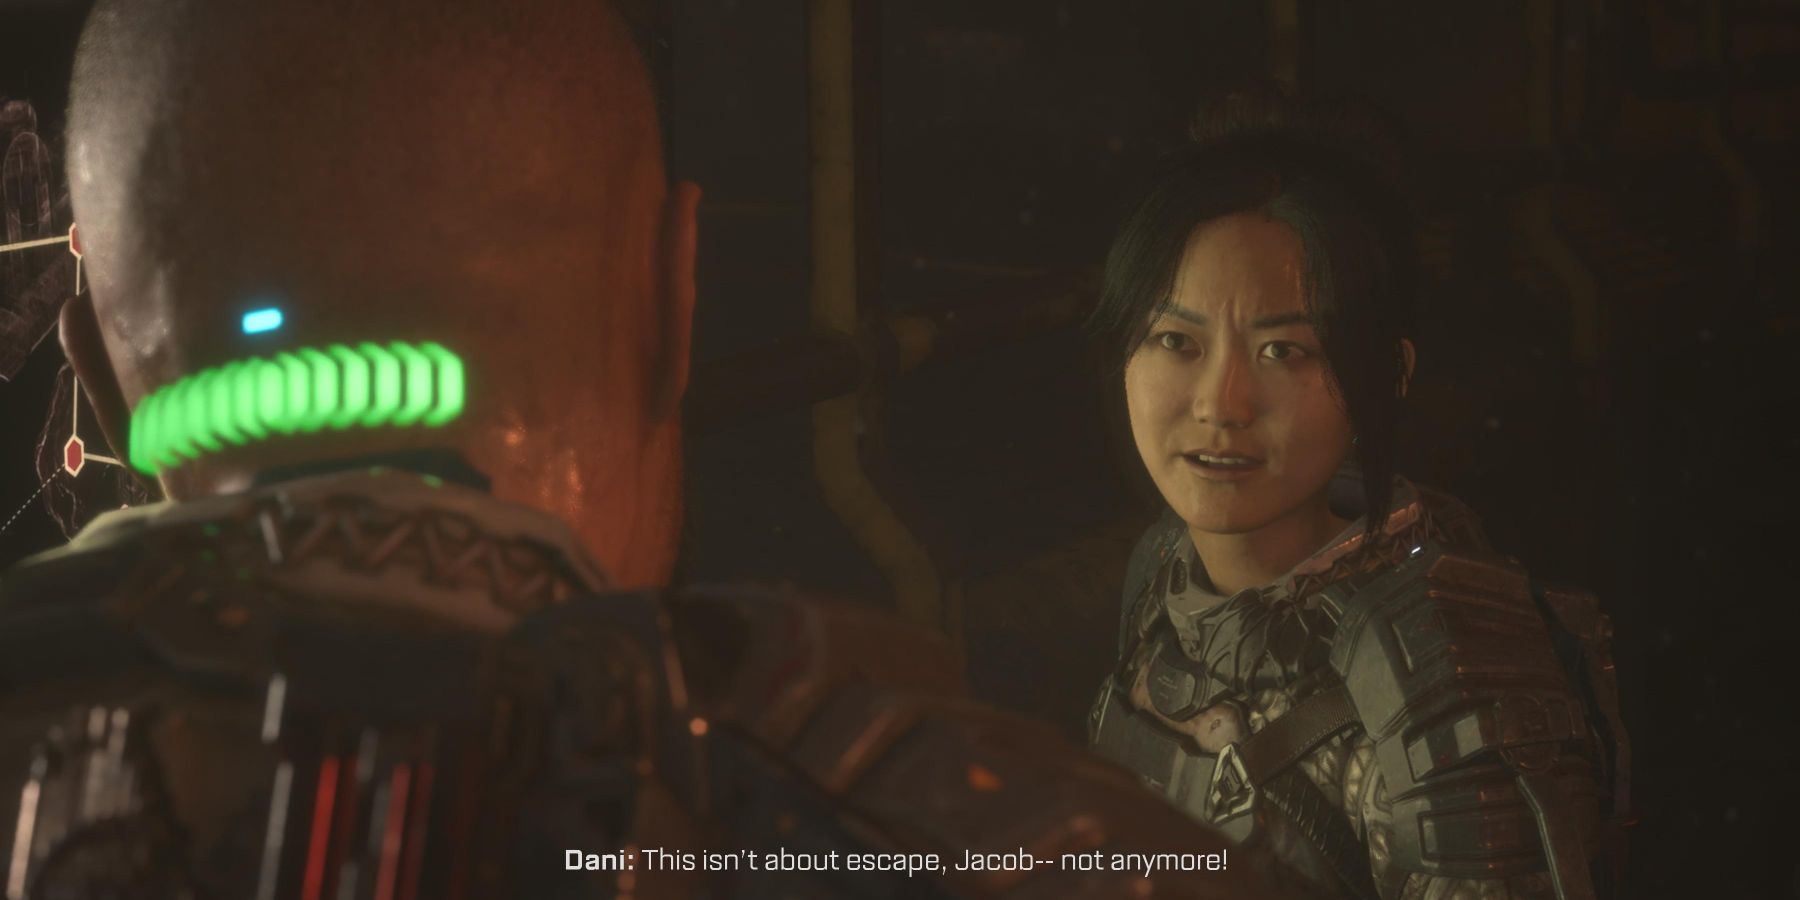
After a couple of cutscenes, follow Dani through the ruins of the old colony. It isn't long into this chapter before players get separated from Dani when part of the floor collapses. Attempting to join her on the other side ends with Jacob falling down the elevator shaft.
Don't Make a Sound
Jacob wakes up hanging upside down at the bottom of the elevator shaft. There, he encounters a Biophage that seems to not see him even though he is in plain sight. Once players are free, the first thing they will want to do is kill the Biophage. Conveniently, there is a large spike covered wall directly behind the Biophage.
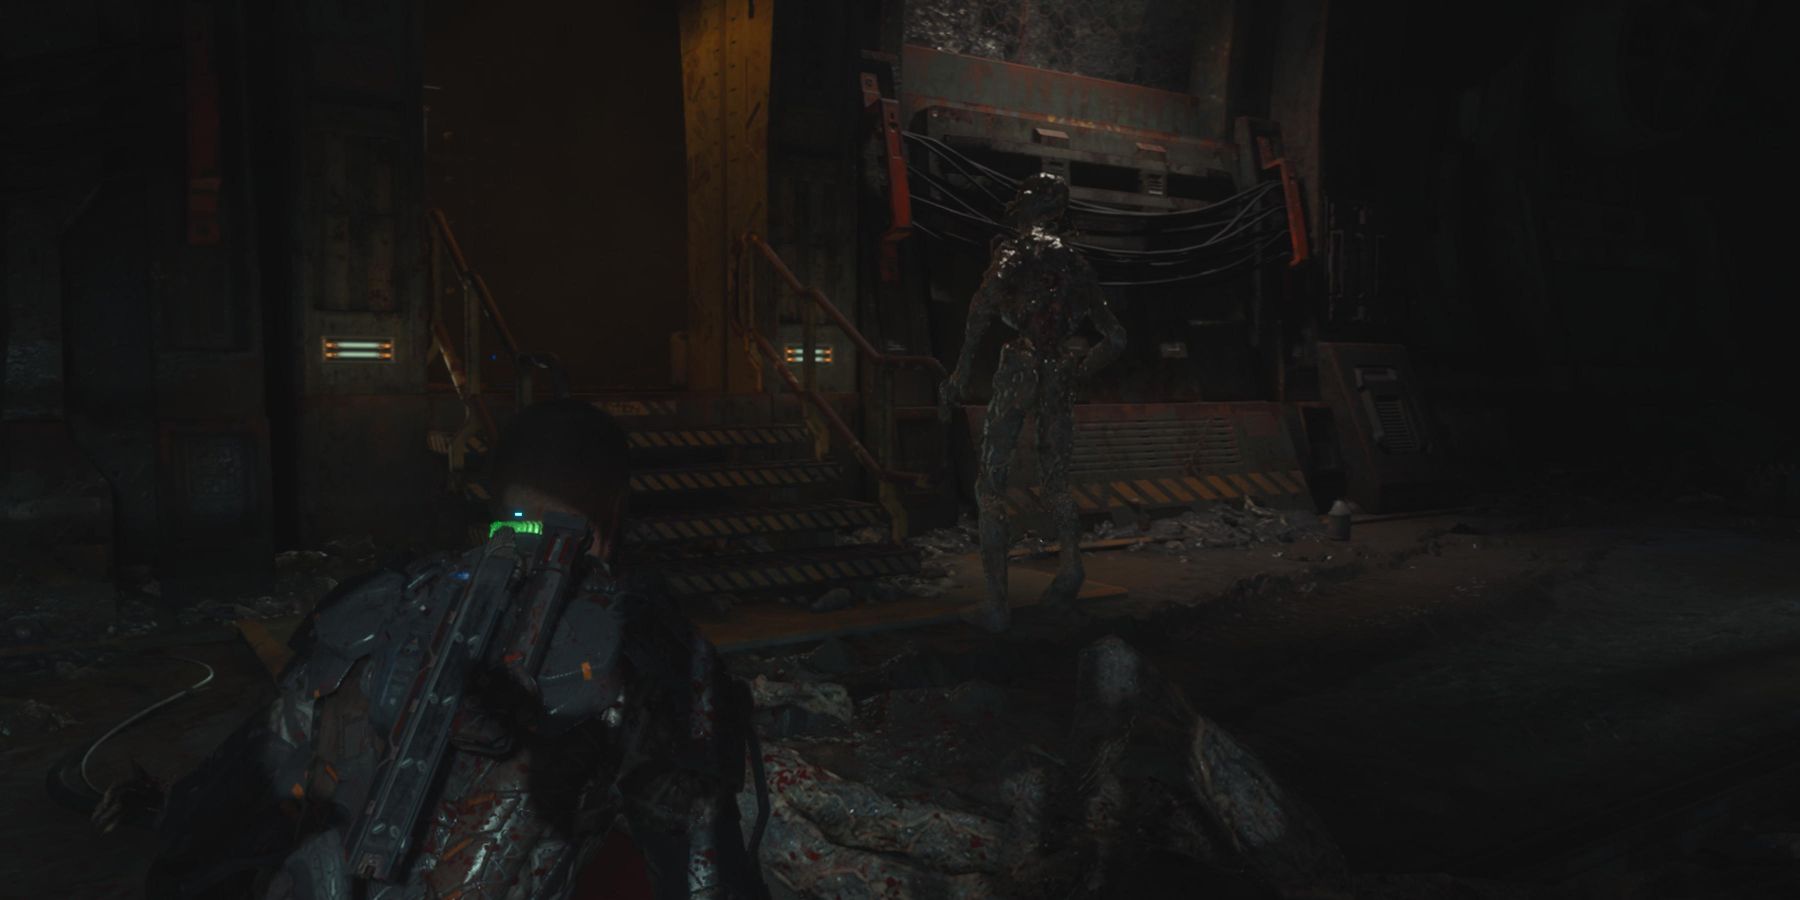
In the nearby hallway, players will see a message painted on the wall that says "Don't Make a Sound". The Biophages in this chapter are different from the ones encountered earlier in the game. They are completely blind and hunt by sound. This essentially means that the best ways to kill Biophages in this chapter is to either stealth kill them, or use the GRP to launch them into an environmental hazard.
Avoid using guns at all cost, as all Biophages in the area will immediately rush toward the sound. These Biophages are very aggressive and mutate more frequently. Do not sprint, as that also draws lots of unwanted attention.
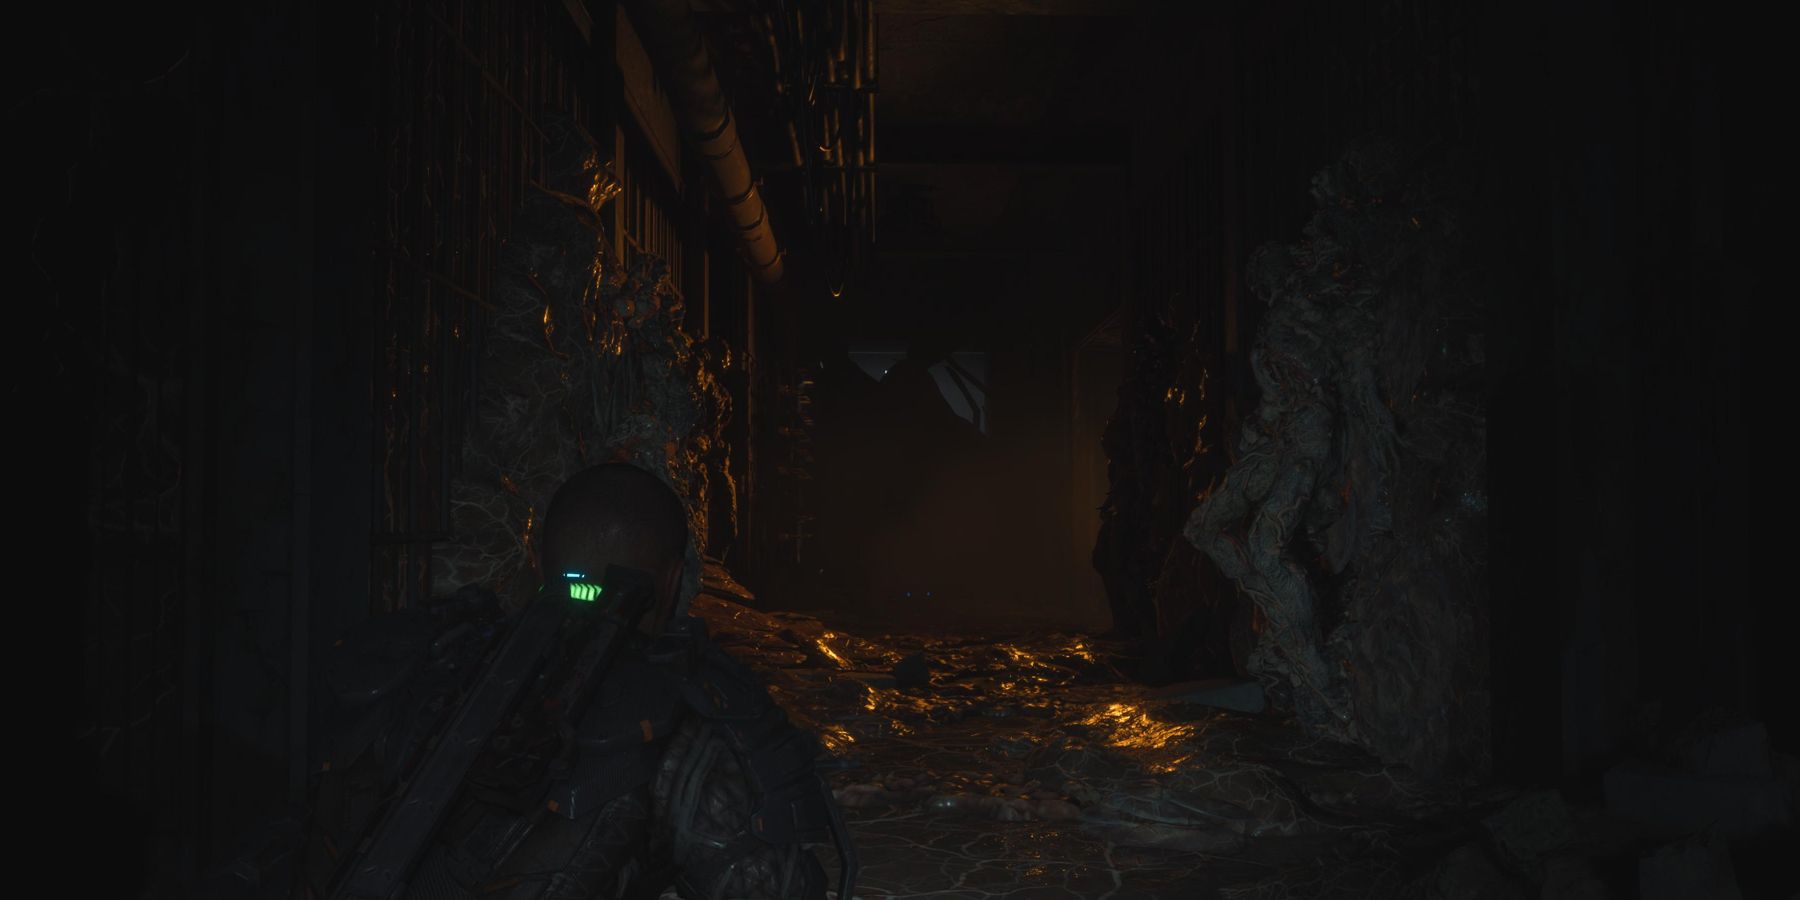
Just ahead of the warning on the wall, there is a narrow hallway with several Biophages seemingly embedded and asleep. Carefully move through the hallway and avoid stepping on the fleshy bubbles on the ground as those can wake up and alert nearby Biophages.
A Series of Dark Hallways
Beyond this area is more small rooms and hallways. As Callisto Protocol players progress through this area, they will come across groups of these blind Biophages. They can easily be stealth killed, and this chapter is a good place to earn the Achievement/Trophy for getting five stealth kills.
One important thing to be prepared for are the annoying Biophages that jump out of the pods and grab players. While these things are easily dealt with through QTEs, a new problem is that they draw attention of nearby Biophages. When this happens, move quickly away to avoid the incoming Biophages.
Further ahead is a tunnel with a door right in the middle. Carefully move through this door after killing any of the Biophages that are in the way. From there, turn right and there will be a rubble platform that provides access to a ladder further ahead.
How to Get Past the Locked Door
Eventually, Callisto Protocol players will enter a large open area that looks like a mine. There are lots of Biophages roaming around in this area. If players make any noise, it will alert all the Biophages and wake up the ones that are asleep on the walls. To make it safer to move across this area, stealth kill as many Biophages as possible. Oddly, stomping on dead Biophages for resources does not seem to draw the attention of nearby Biophages.
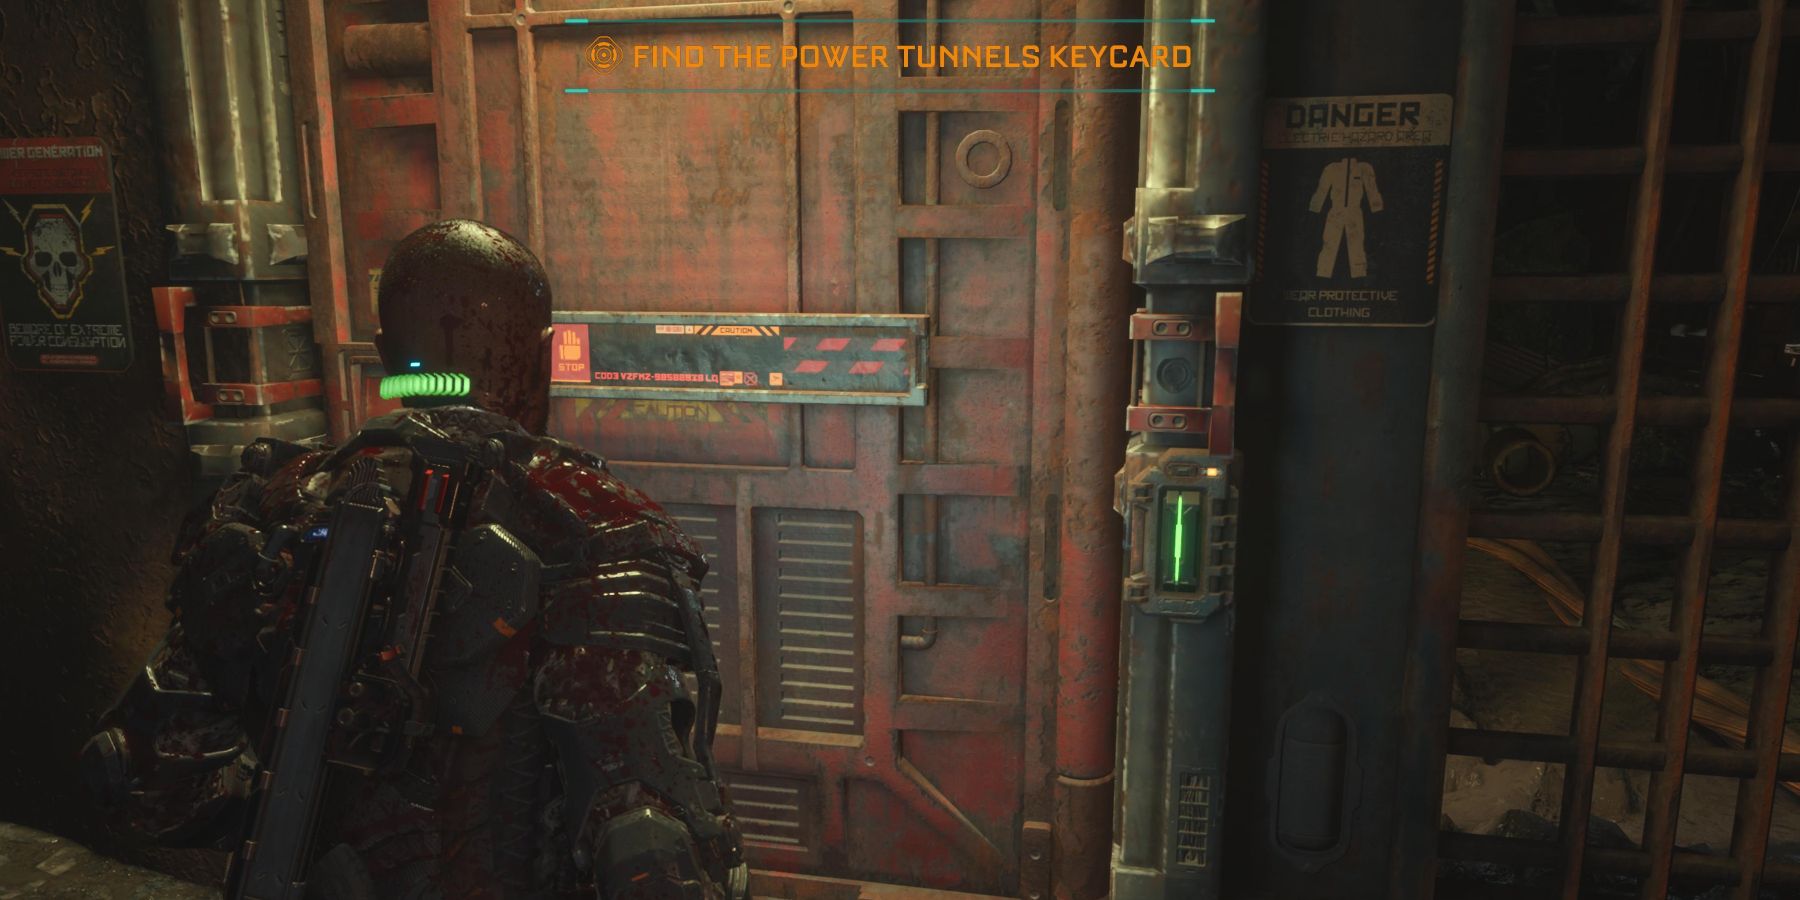
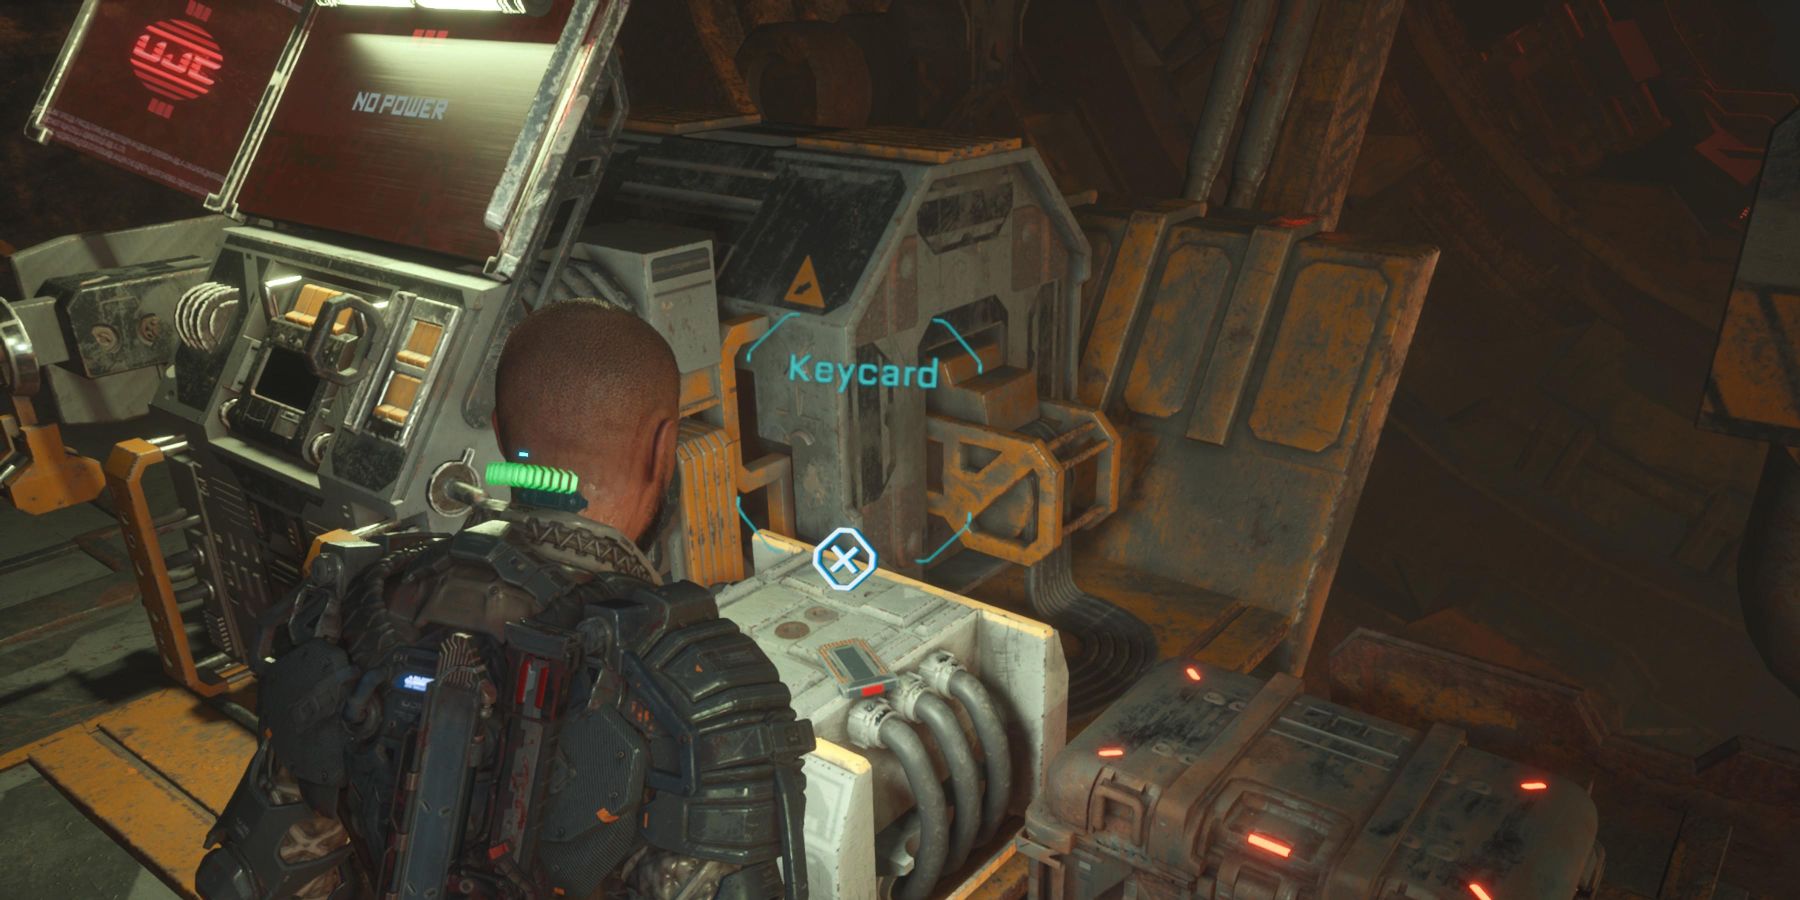
There is a locked door that requires a Keycard. To find the Keycard, turn right and look for the Transport Platform. Crawl through the debris to find a tram and a Reforge station. On the tram, players will notice an unusually large amount of boxes with ammo and GRP Battery Packs inside. At first, players will not have access to these boxes, but they will later on. The Keycard is to the left of one of the locked boxes. Return to the locked door, and the Keycard will unlock it.
Locate the Power Reactor
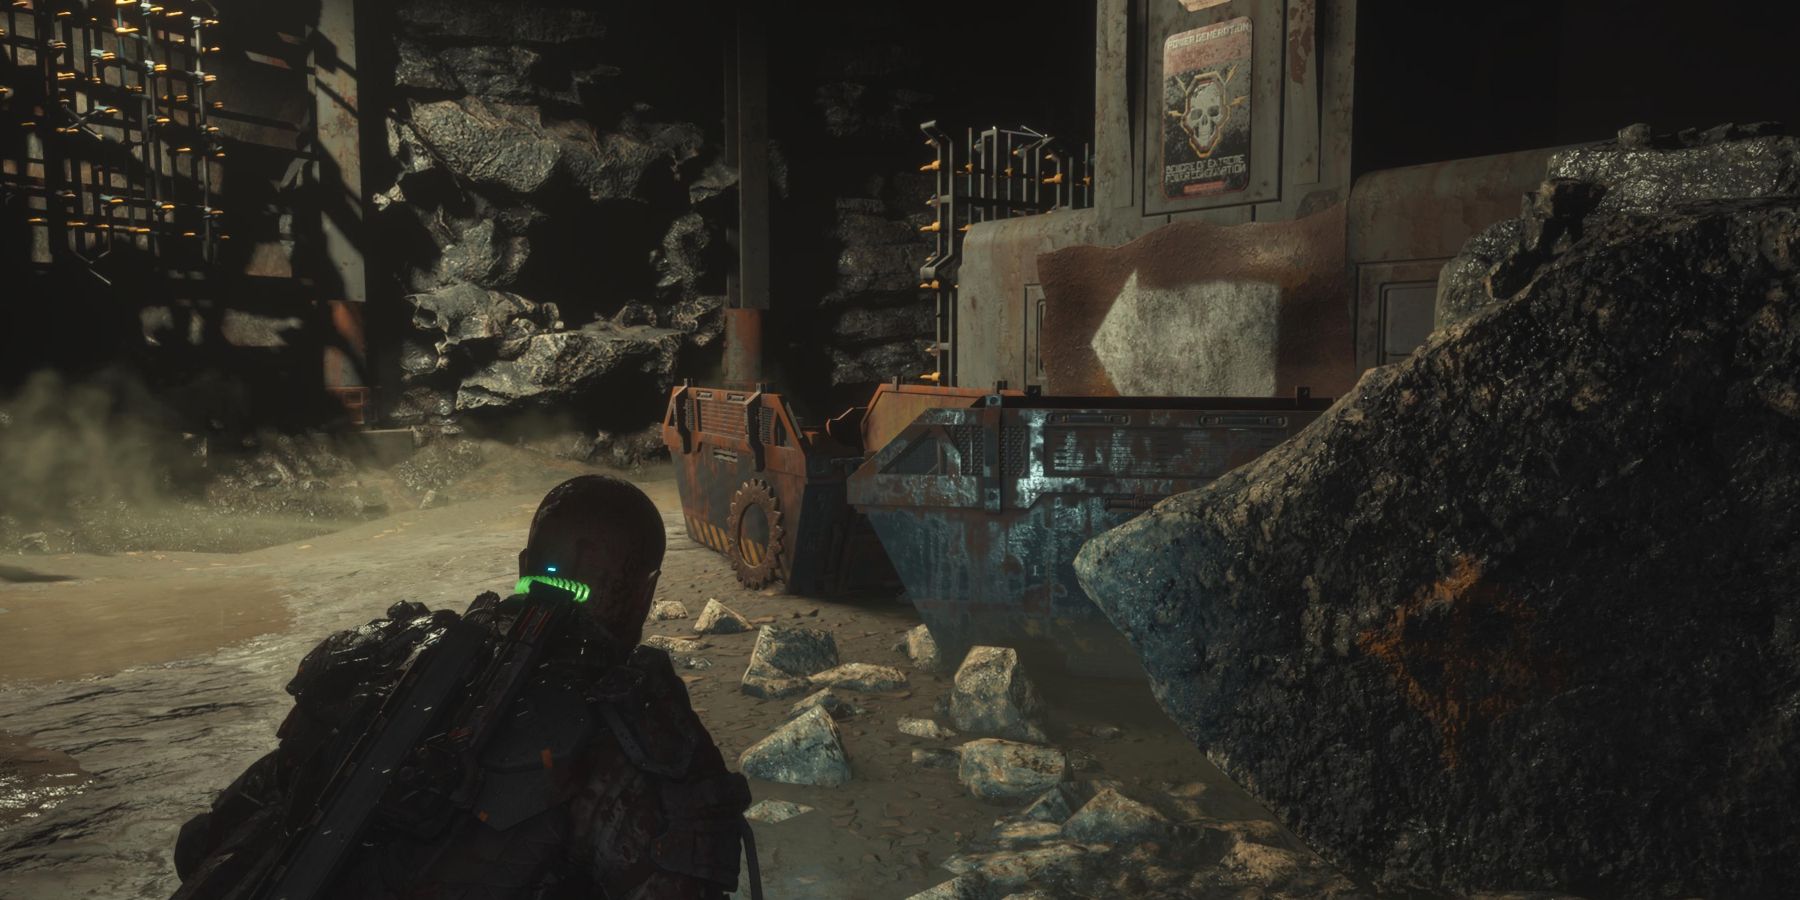
Unfortunately, the tram can't be used as there isn't enough power. To fix that, Callisto Protocol players will need to search for the Power Reactor beyond the locked door. Just like in the fifth chapter, players will encounter arrows pointing them toward the location of the reactor.
One hazard that players will need to watch out for is when a regular Biophage emerges, as it can see players. Do not use the Stun Baton or any guns on it as this will wake all the nearby Biophages. Instead, launch the Biophage into a nearby spiked wall with the GRP. As players get closer to the reactor, they will eventually come across a corner where three blind Biophages are just standing right next to a ramp. Crouch and slowly sneak past this group.
Secret Area
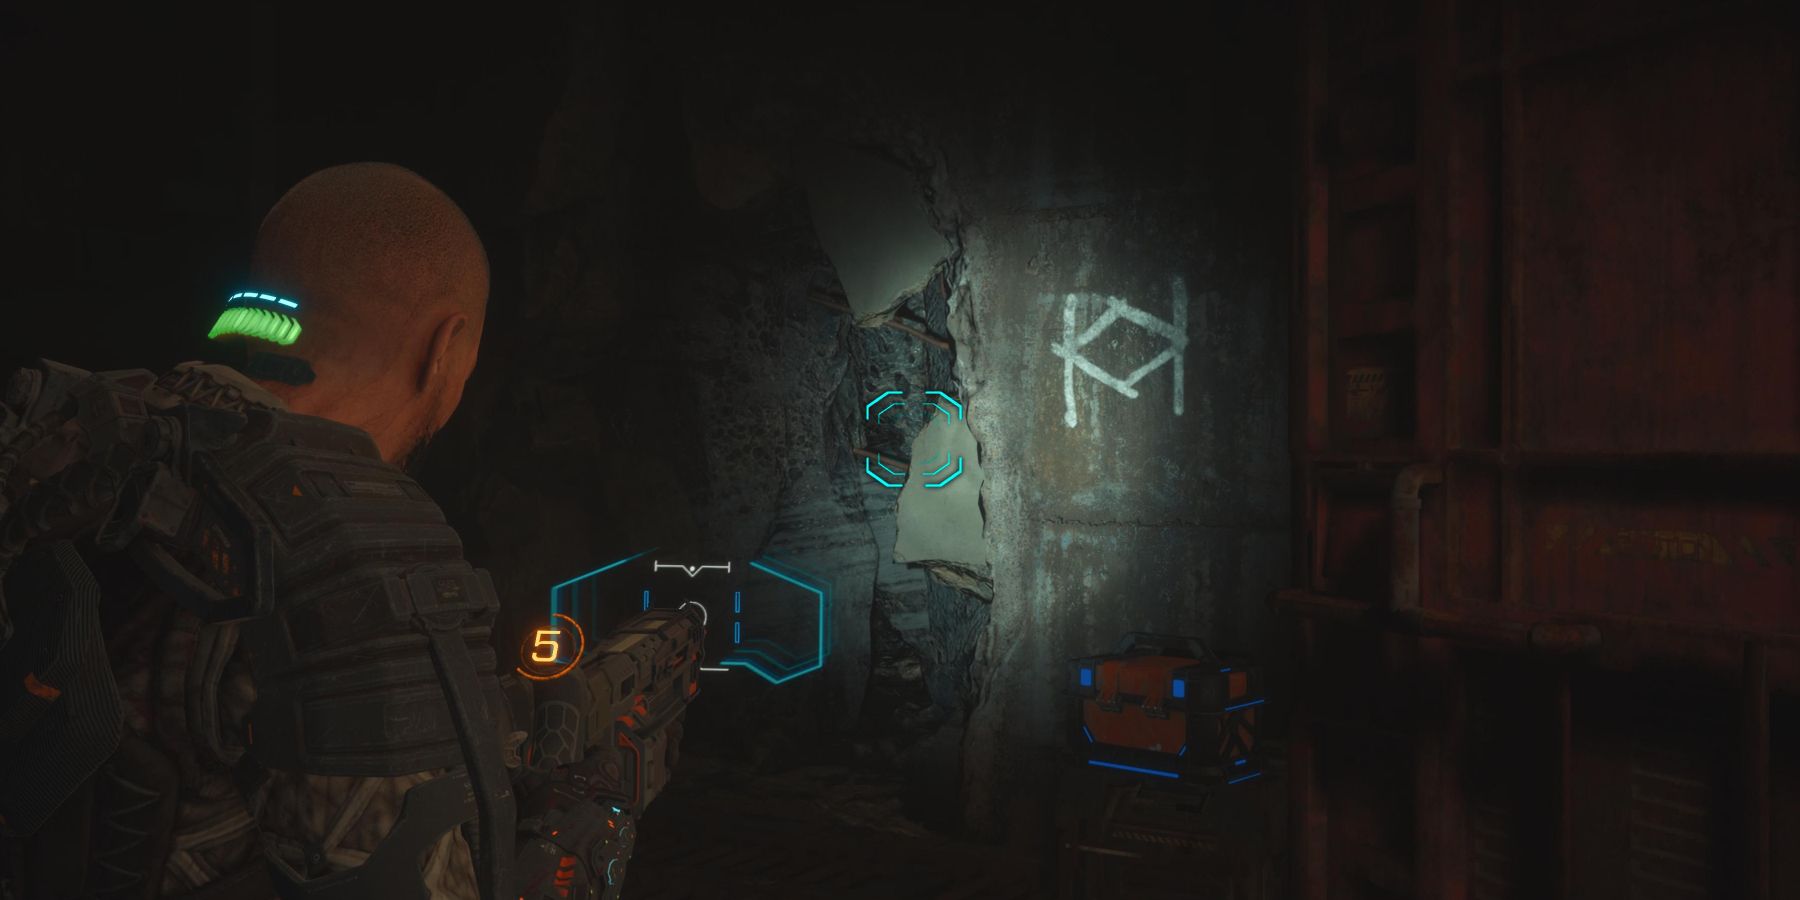
As players get closer to the reactor, they should look along the wall for a large crack with a strange symbol next to it on the right. This optional path leads toward a secret area, just like the one in the third chapter. The path to this secret area is dangerous, as it requires players to crawl through a very narrow tunnel with several blind Biophages sleeping on the walls. Some of them wake up on their own, and often they will mutate almost immediately.
If players found the first secret area, they will unlock an Achievement/Trophy the moment they enter the second secret area. There is a stairway nearby that leads out of the secret area and back up to where players need to go to advance the story.
Reset the Breakers
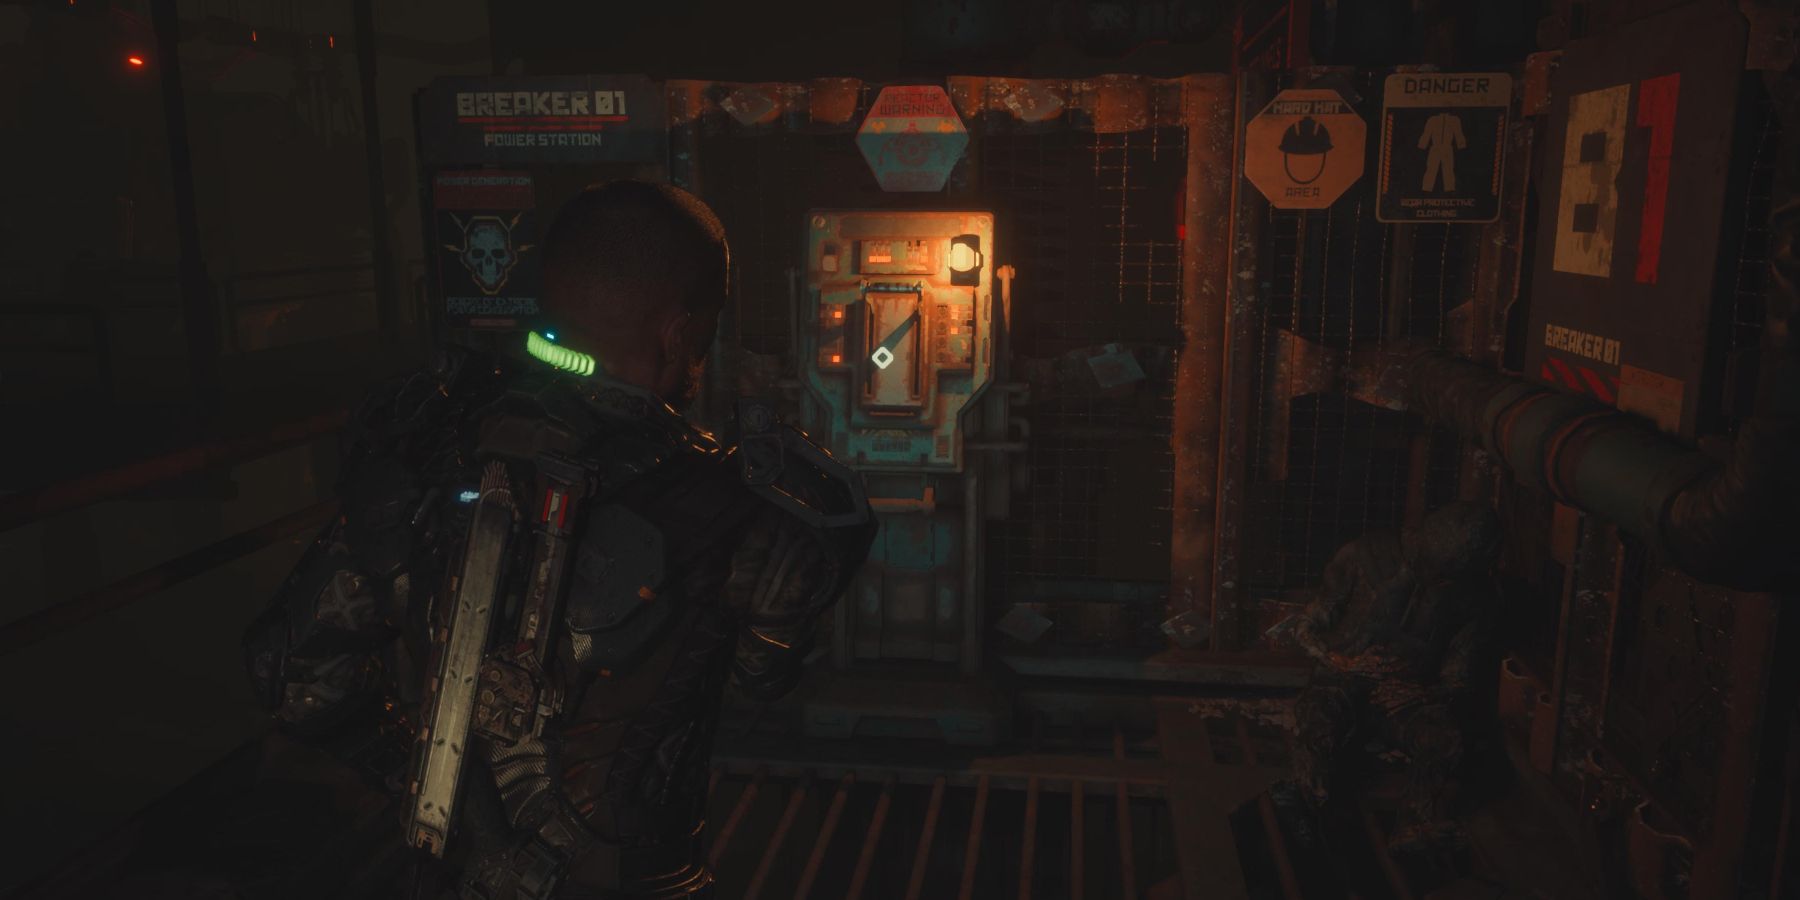
After finding the Power Reactor, the next step will be to locate all three breakers and reset them. When activating the breakers, Callisto Protocol players should be prepared to deal with blind Biophages as the sound of the breaker does attract attention.
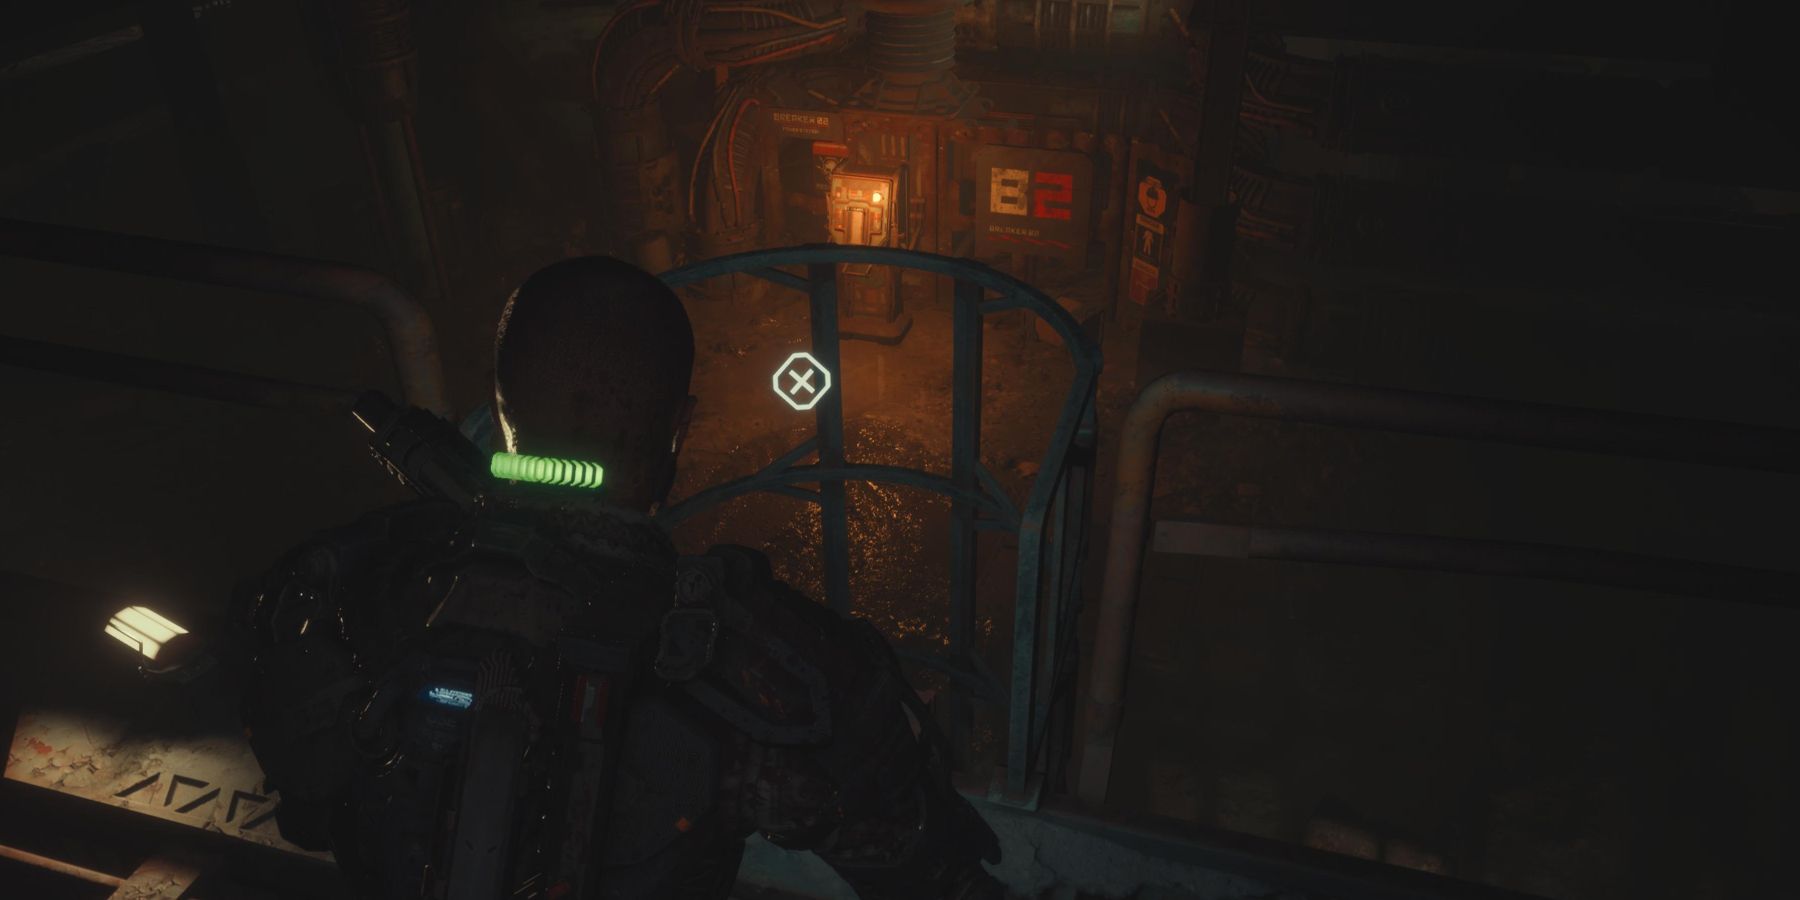
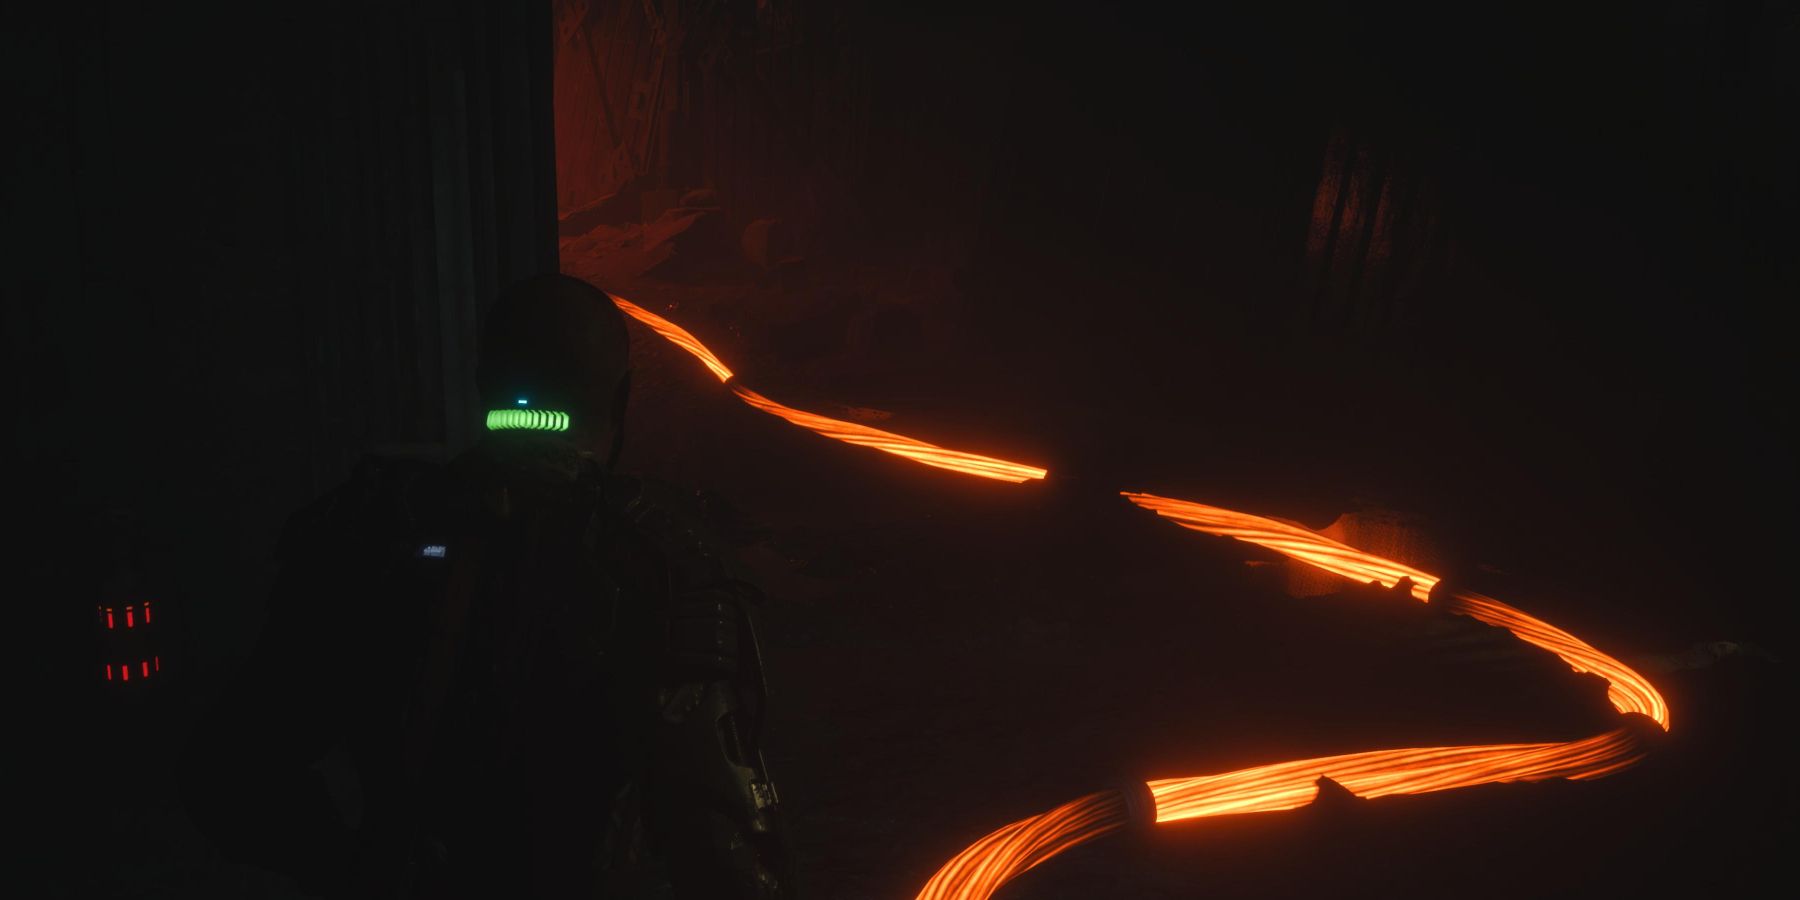
After activating the first breaker, look for a nearby ladder to go down toward the second breaker. Once the second breaker is activated, a nearby door will open and several Biophages will wander out of it. Sneak past them or stealth kill them, and then go through that door to reach the third and final breaker. Once all the breakers have been activated, a bunch of lights will turn on and a series of pipes will begin to glow orange.
Return to the Transport Platform
Follow the glowing pipe to get back to the Transport Platform, just like with the red pipe in the fourth chapter. All the noise will attract the nearby Biophages, so stealth kill or use the GRP on any that are in the way and keep moving. Once Callisto Protocol players reach the Transport Platform they will be unable to backtrack, so make sure to be ready before proceeding onto the tram.
How to Beat Two-Headed Boss
Once the platform begins to move back toward the colony, players will need to be ready as a large wave of mutating Biophages will jump onto the platform. Fortunately they can easily be dealt with by launching them off of the platform with the GRP. Try to conserve ammo as much as possible, because the real challenge awaits at the end.
After killing several waves of enemies, a large two-headed Biophage will jump onto the platform. This is the first boss fight in The Callisto Protocol. In order to beat this boss, shoot it until it drops to the ground. While the boss is stunned, hit it several times until one of its heads fall off. Shoot it again until it falls to the ground a second time. Hit it with the Stun Baton several more times until the boss dies.
While this may sound easy, this boss is extremely difficult. On lower difficulties it can kill players in two hits, and on higher difficulties it can one-shot players. As a result, this boss fight is very punishing and expects nothing less than complete and total mastery over the dodge mechanic. Trying to stay out of melee range of the boss doesn't work for long as it gets faster after losing a head. Once the boss is dead, the platform will arrive at the station. The chapter ends when players walk through the nearby door.
The Callisto Protocol is out now for PC, PS4, PS5, Xbox One, and Xbox Series X.


