Quick Links
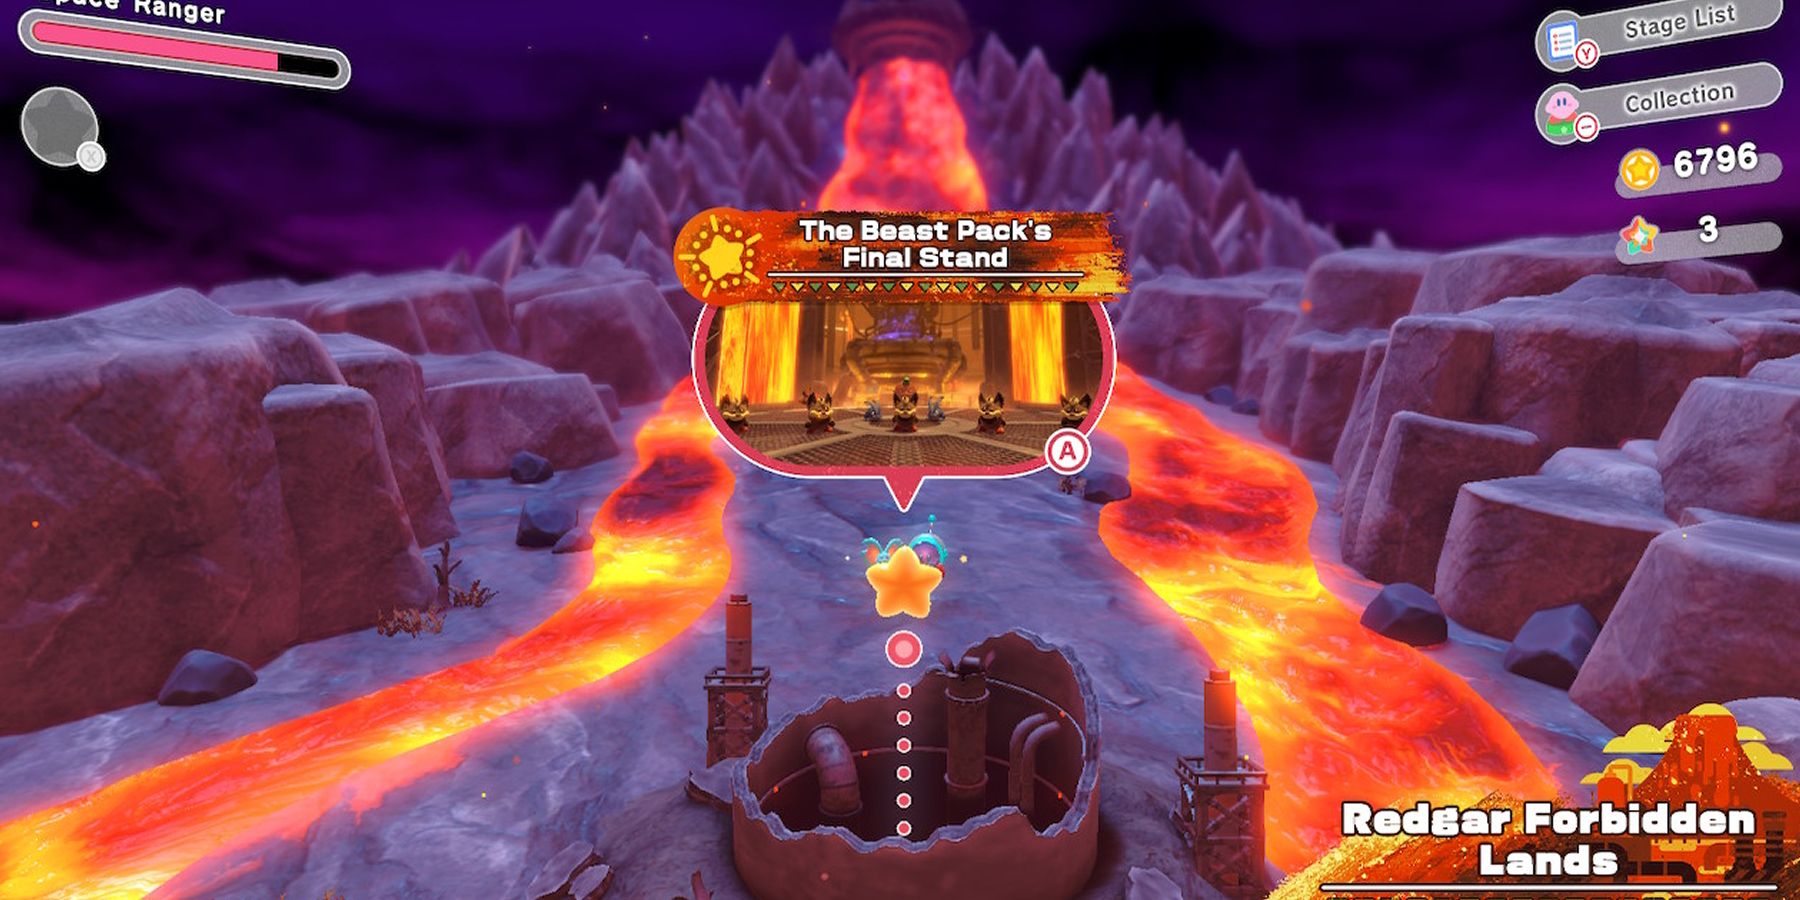
Fans are almost through with the main story of Kirby and the Forgotten Land once they reach the level titled "The Beast Pack's Final Stand." After fans have torn through the Beast Council in the form of a boss rush in the last level, this level sees Kirby facing an onslaught of enemies to save the last of the Hidden Waddle Dees along with the missing Elfilin. For fans that need help during this treacherous level, this guide has all the Hidden Waddle Dee locations and completed missions for the Beast Pack's Final Stand.
Defeat all the Beasts in the Starting Area
This mission is rather simple as the "starting area" means the area that opens up once players exit the mechanical elevator at the beginning of the level. There are beast enemies waiting there for Kirby in the form of a few Primal Awoofies and even a Balloon-Meister.
Kirby and the Forgotten Land players should defeat all six of them to clear the mission, and they'll know when it's cleared by the pile of Star Coins that will appear in the center afterwards.
Wanted Poster 1
At the end of the circular path beyond the starting area players need to follow, just before they move onto the next path, the Wanted Poster can be found on the wall to the left of Kirby.
Hidden Waddle Dee 1
Halfway through the Scissor-Lift section, a small platform requiring players to raise Kirby's height to reach with a Sir Kibble and a Primal Awoofy will have the first Hidden Waddle Dee in a corner.
Toy Capsule 1
After freeing the first of the five Hidden Waddle Dees this level asks players to find, a Toy Capsule awaits players further down the Scissor Lift path for those brave enough to try and grab it amongst all the lava balls.
Hidden Waddle Dee 2
At the end of the area dealing with Poison Croakoms, once players use the Water Balloon Mouthful Mode ability to beat the final giant frog, the circular platform it was on will rise. This will make the Hidden Waddle Dee up in the air in the player's reach.
Wanted Poster 2
After the circular platform is raised, players should look at the left wall. On that wall is the next wanted poster fans need to tear down.
Hidden Waddle Dee 3
As Stair Mouth Kirby further into the level, players should head to the far left of the screen. There will be a place where fans can spit the stairs out to reach a high platform with the next Hidden Waddle Dee.
Wanted Poster 3
After freeing the third Hidden Waddle Dee, a path will appear. Players should follow it for a handy shortcut. Fans should head to the right, but follow the Buffahorn's charging path to find the third wanted poster on the side of the cliff.
Players should jump off the ledge, quickly attack the poster, and then hover back up to find themselves with only two more wanted posters to find.
Wanted Poster 4
Once players reach a section that requires Ring Mouth Kirby, they'll be led back to the big Gnawcodile at the start of the area.
When the camera goes back to Kirby, players should look to the right of the screen to find the fourth wanted poster.
Hidden Waddle Dee 4
When fans reach the end of the waterway as Ring Mouth Kirby, they need to Blast Boost through the cracked concrete to break through and attack the Gnawcodile in the center.
With the large enemy gone, the circular platform in the area will rise, giving players easy access to the next Waddle Dee.
Toy Capsule 2
As players fly using Arch Mouth Kirby, they'll need to activate windmill switches to open the doors in front of them. One of these switches near the end will open a small section to the left with a Toy Capsule at the end.
Hidden Waddle Dee 5
Shortly after getting the second Toy Capsule, fans will encounter a windmill switch in the middle of the path. Players need to Spin Tackle it to make two more switches appear that they need to hit quickly.
The switches can be found (counting the first switch) to the middle, the right, and left. This will make the fifth Hidden Waddle Dee of this level appear after some Star Coin rings.
Wanted Poster 5
The final wanted poster can be found to the left of the cone fans need to use Mouthful Mode on in the last area. It sits on a pillar just above a Tortuilding.
Don't Fall in the Lava as Cone Kirby
After players inhale the cone they need to beat the level, they should carefully watch their steps and actions. When Kirby uses Mouthful Mode abilities, he can no longer hover like he normally does, meaning one wrong step can cause players to fail this mission and have to restart the stage to try the mission again.
Considering players need to use a falling pillar as a platform to progress, they should carefully follow the Star Coins laid out for them to jump into the Big Red Tortuilding once the final coin is collected.
Fans should be aware that they won't clear the mission until they free the Waddle Dees in the golden cage, as even the lava around the platform the player lands on after defeating the big tortoise enemy can cause them to fail.
Kirby and the Forgotten Land is out now for the Nintendo Switch.


