Terraria is a 2D sandbox game with an emphasis on exploring different biomes and battling the memorable variety of bosses lurking there. The recent 1.4.4 update has altered pre-existing content and also added in a few more bosses, which means reaching the endgame poses an even bigger challenge.
The following strategy guide lists each main boss that Terraria players will need to face off in a standard playthrough, plus advice on how to defeat them. Terraria's side bosses are not in this list, since defeating them doesn't immediately progress the game despite useful reward drops.
Players should note this guide is based on the 1.4.4 PC and console version of Terraria; variations may be present between previous versions and platforms. There are also preexisting articles dedicated to specific Terraria builds and strategies, so not every viable tip will appear here.
15 Pre-Hardmode Bosses
1.4.4 now boasts three separate difficulties: Normal, Expert and Master. In Expert Mode, Terraria boss AI can enter into more difficult battle phases and use different attacks, whereas Master Mode pushes the health and damage levels higher.
This guide accounts for both Normal and Expert boss phases, since players attempting a 'Master Boss Run' are likely experienced players already. Therefore, newer players would benefit from exploring the entire game world in between boss encounters to have a suitably strong loadout for defeating the tough bosses.
Examples of 'practice' bosses include Eye of Cthulhu, King Slime, or Skeletron, all of which are technically unnecessary for unlocking Hardmode. Ultimately, it is up to player choice depending on how many non-main bosses they decide to battle before exploring the Underworld.
On a standard playthrough, a world seed will be randomly generated for players to explore to their heart's content. Terraria makes a distinction between worlds that have a Corruption biome and a Crimson biome, since both Brain of Cthulhu and Eater of Worlds will not naturally spawn in the same world.
14 Brain of Cthulhu - Phase One
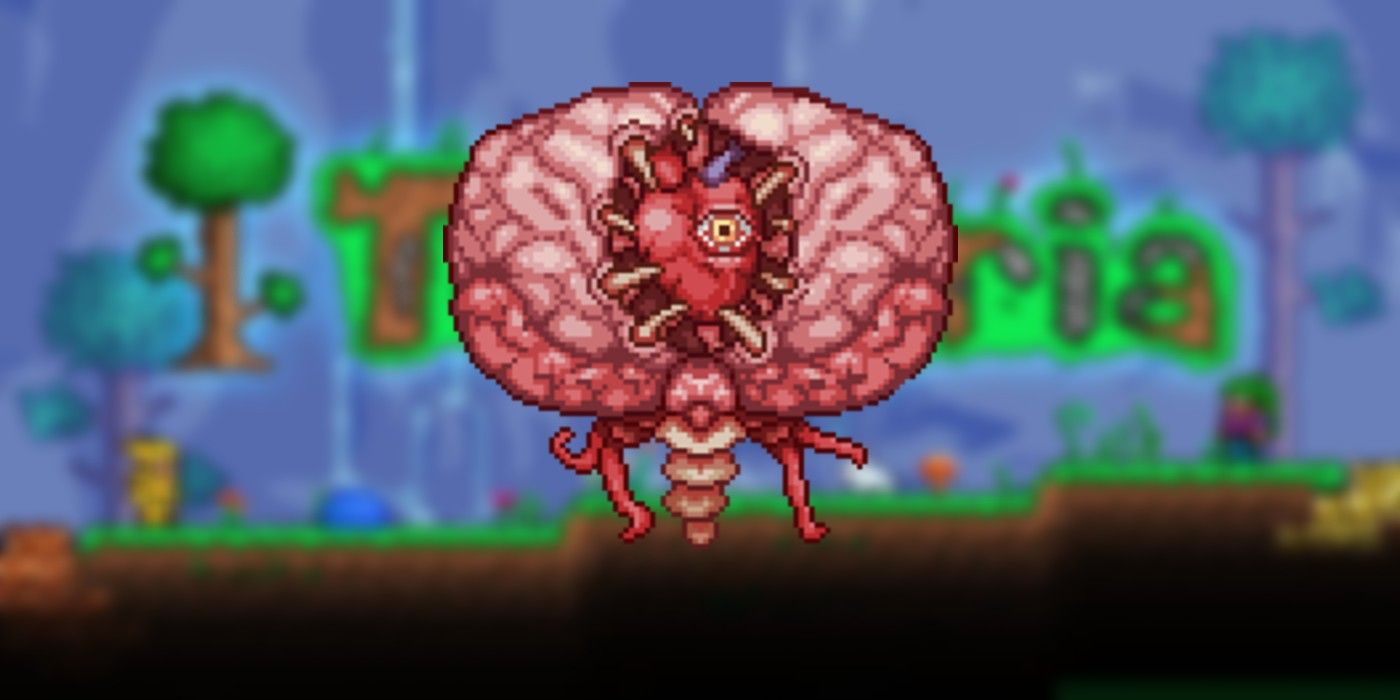
Assuming this is the first boss that players are attempting to tackle, and their Terraria map has generated a Crimson biome, Brain of Cthulhu (BoC) serves as a good wake-up call to test players. After avoiding attacks from pesky Crimson monsters, players have to destroy three Crimson Hearts in order to spawn the BoC.
The BoC is impervious to attack during Phase 1, meaning players first need to focus on destroying the Creeper minions that surround it. Weapons with the On Fire! debuff are a useful choice for this battle, as Creepers are susceptible to damage from early game weapons such as Molotov Cocktails and Flaming Maces.
Destroying a Crimson Heart and other Crimson crates also gives a 20-25% chance of dropping the Rotted Fork weapon, which is very effective during both BoC battle phases. Another useful strategy against defeating the Creepers is getting the Demolitionist to move into the Terraria world, which allows the player to buy grenades from the Demolitionist.
Using fiery/explosive weapons allows the Creepers to be taken out in quick succession, especially if the player decides to craft Sticky Grenades using Slime gel. The Creepers also have a 50% chance to drop a Heart if the player is below full health, so healing during battle is made easier no matter the difficulty setting.
13 Brain of Cthulhu - Phase Two
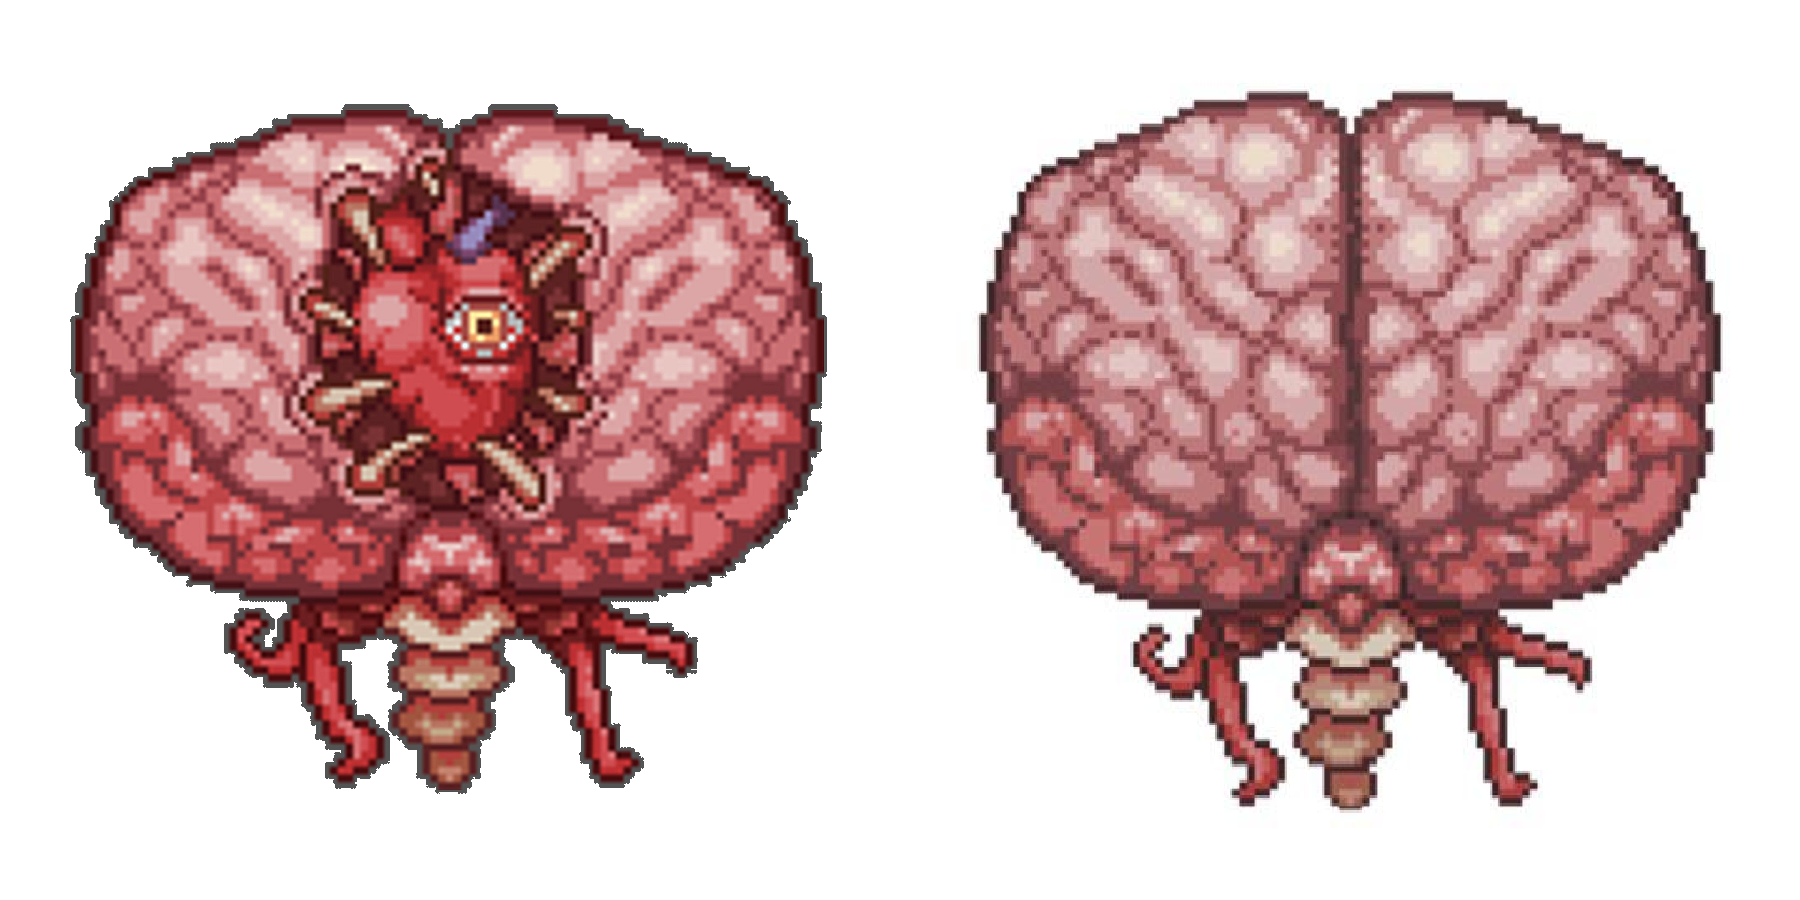
After destroying all Creepers and triggering Phase 2, the BoC will attempt to ram the player and teleport in random directions, which makes targeting and attacking it more difficult. The aforementioned Rotted Fork and explosive weapons are also useful for dealing effective damage to the BoC, with combined knockback and fiery debuffs allowing the player to keep clear from ramming attacks.
In Expert Mode, the BoC will spawn three mirror images of itself which become less distinct as the boss loses health. However, while they can all deal damage on contact, only the real one will possess a visible health bar.
Observant players will notice several impactful changes to the BoC compared to previous versions. As well as a notable HP increase, it no longer has a map icon during Phase 2 and Expert/Master illusions now become opaque much faster than before. Thankfully, there is also a safe teleportation range around the player during Phase 1, preventing BoC from teleporting directly onto the player.
With enough preparation, the Brain of Cthulhu can be defeated by the player early on and yield useful early game loot for progress. This includes Crimtane Ore, Lesser Healing Potions, and potential trophies with a lower drop rate. Crimtane Ore, much like its Corruption counterpart, is a vital step to progression.
12 Eater of Worlds
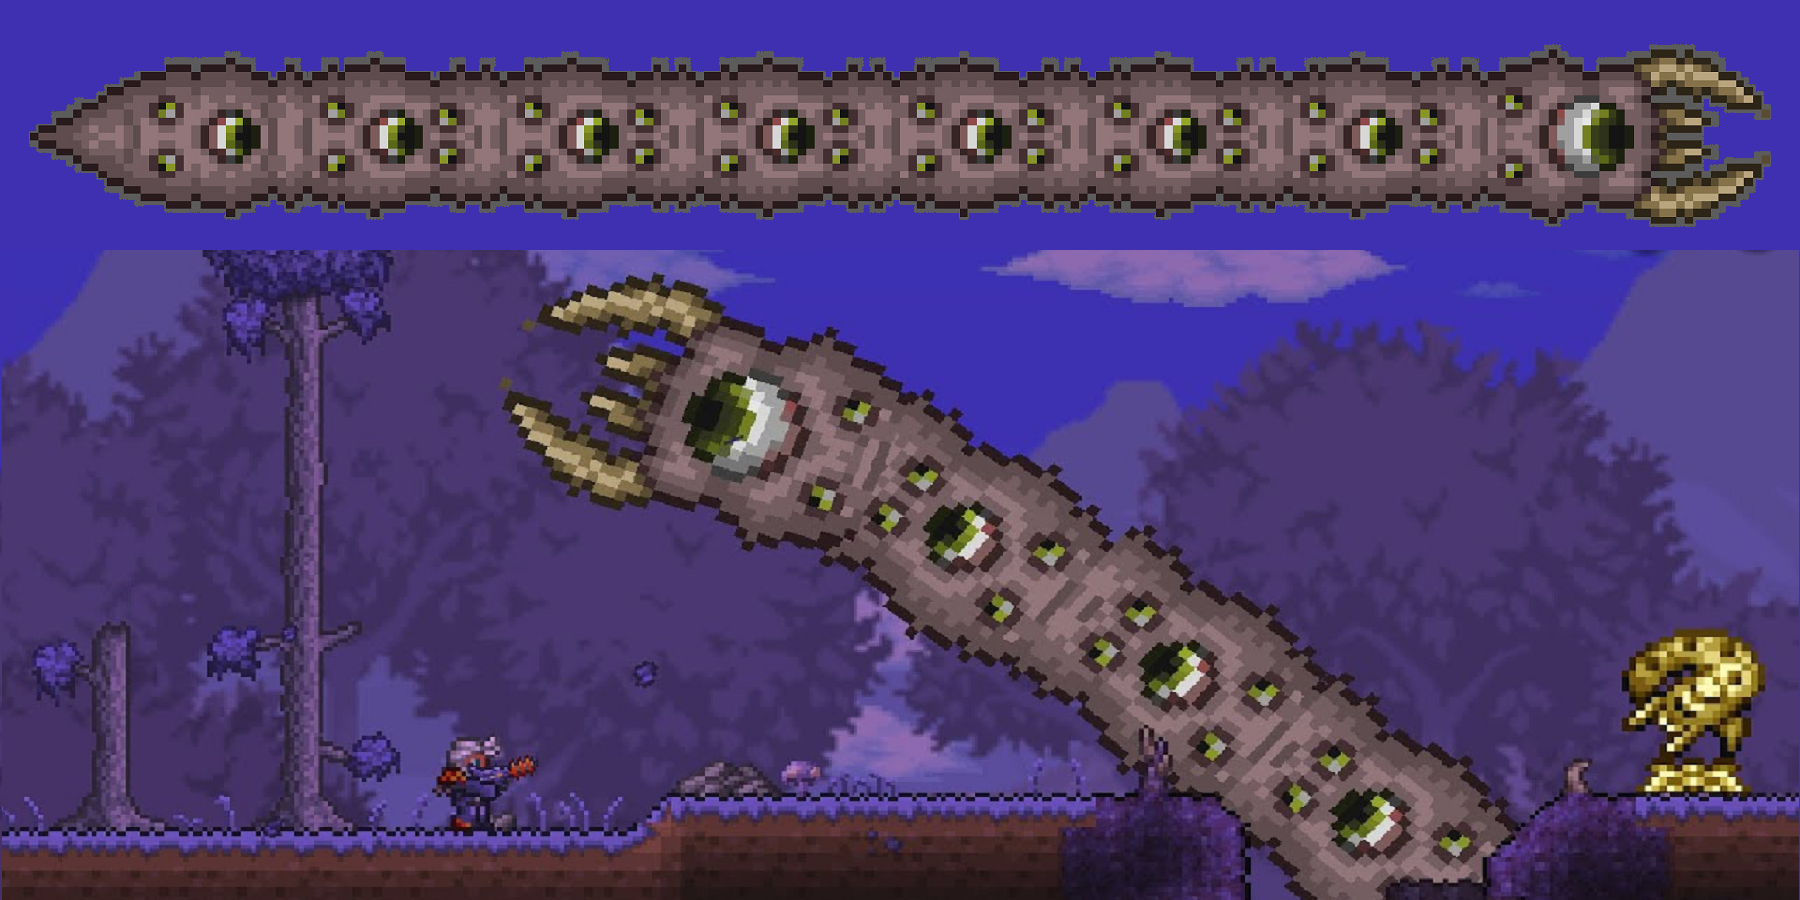
If the Terraria world seed doesn't spawn a Crimson biome, it will instead spawn a Corruption biome, with its own unique layout and boss. Unlike Brain of Cthulhu, the Eater of Worlds (EoW) boss boasts a high health bar and much larger body, but beating EoW can be achieved with a bit of arena preparation.
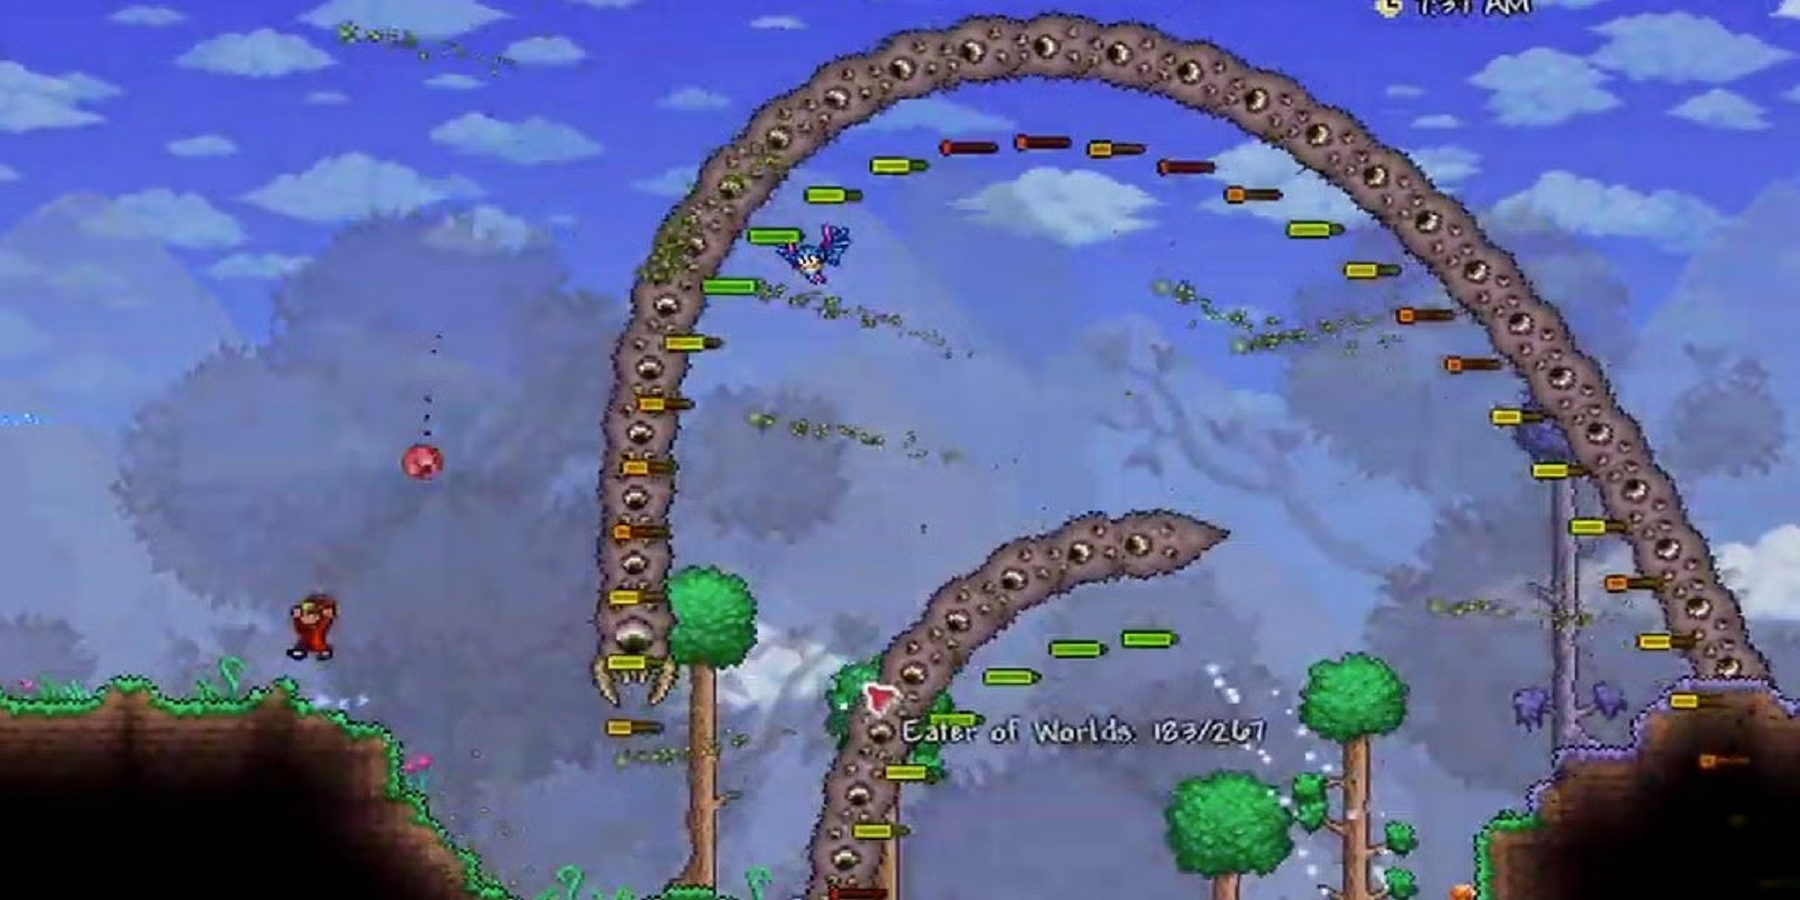
The EoW may seem daunting due to its size and large health bar, but this is because it is made up of multiple body sections that all have a small amount of health. Its AI is also somewhat simplistic and therefore easy to exploit even in early game, provided the player has patience to hollow out parts of the Corruption for this purpose.
The EoW spawns after three Shadow Orbs have been destroyed, tunneling through the ground and occasionally re-emerging in order to attack the player. Destroying a Shadow Orb also has the chance to drop a Vilethorn, a magic piercing weapon which is extremely useful for battling EoW from a distance.
Since the EoW boss doesn't have phases, players can focus on building platforms or a terrain loop in the Corruption to lure it above the ground but out of reach from the player character. This technique works regardless of difficulty as it causes EoW to loop above and below ground periodically, but players should be mindful of Vile Spit attacks on Expert Mode and above.
Destroying the head or tail also reduces speed, which means using arrows and other ranged weapons like flails can damage the head and body sections in a row. It is recommended to attack EoW in a straight line rather than its midsection, as this can cause it to split into multiple worm bodies and harder to beat as a result.
Every Eater of Worlds section that is destroyed drops a few Demonite Ore and Shadow Scales. Note that it isn't necessary to completely destroy the boss to progress, but the more Demonite Ore that is collected will yield more crafting and selling opportunities.
11 Wall of Flesh
Those seeking the endgame will need to activate Terraria's 'Hardmode' by killing the Wall of Flesh. This is technically the only pre-Hardmode boss that needs to be defeated, but doing so is almost impossible without the Deathbringer Pickaxe or the Nightmare Pickaxe (hence the pre-requisite for defeating Brain of Cthulhu/Eater of Worlds).
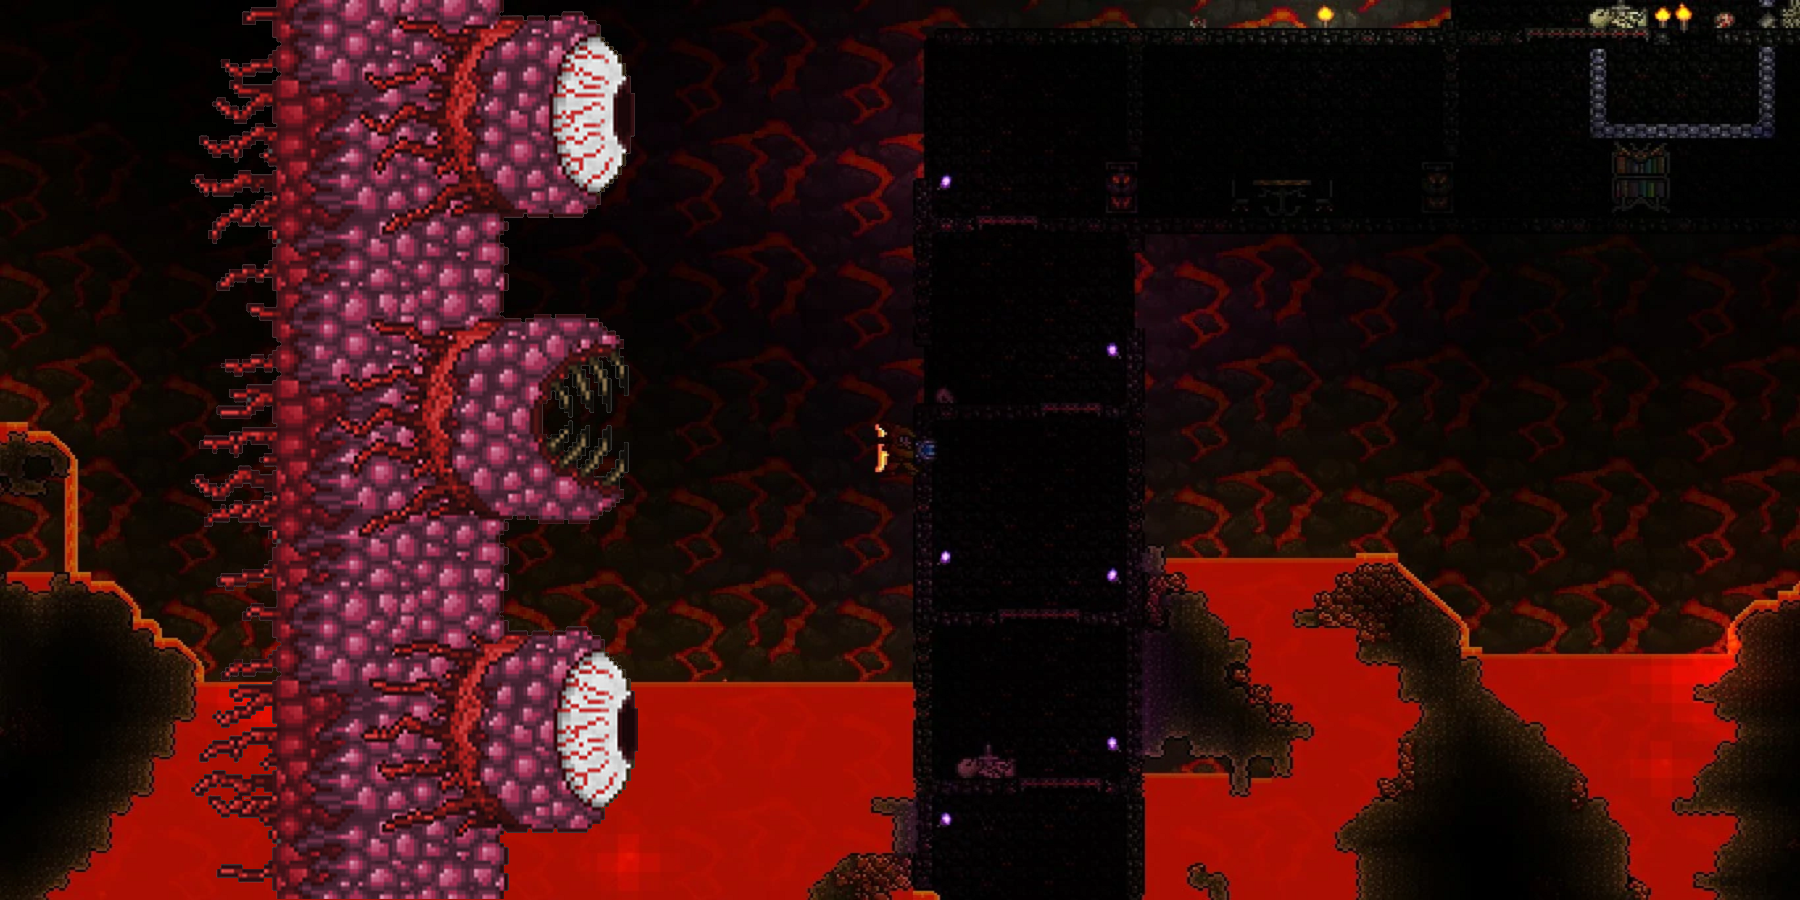
Using these pickaxes, the player can journey deep beneath the surface to fight the Underworld enemies and mine out Hellstone. This becomes an important step for successfully battling the Wall of Flesh (WoF) on any difficulty; the boss design ensures that a pre-built arena path is almost a requirement.
Starting from one side of the Underworld, players should build a long wooden platform path several blocks above the lava, and mining out the Hellstone blocks in the vicinity where necessary. Placing passive regenerative health items (i.e: Heart Lanterns, Campfires) at frequent points can make the battle more bearable, especially with the random Hungry attacks protruding from the WoF.
The WoF boss battle is triggered by a Guide Voodoo Doll being dropped into lava, which is obtained from Voodoo Demons in the Underworld with a 100% drop rate. As a result, players should be careful about killing Voodoo Demons before they are ready to battle the WoF, as well as ensuring the Guide is alive before attempting to take on the boss.
In battle, the WoF can only be damaged by attacking either of the eyes or the mouth, meaning weapons with a ranged attack and high piercing ability are recommended. Examples include the Sunfury flail (which can be found in Shadow Chests in the Underworld to keep the Hungry at bay) and the Molten Fury bow with Jester's arrows (both of which can be crafted with relative ease after reaching the Underworld.)
While play styles vary, a combination of powerful weapons and lots of healing items plus a spacious arena will make the Wall of Flesh an easier foe to defeat for many players.
10 Hardmode Bosses
After beating the Wall of Flesh, Terraria's Hardmode will activate, giving the player access to stronger weapons and emblems. This also means the game can be beaten, but not before progressing through a series of tougher bosses that are unlocked sequentially.
It is highly recommended that players make good use of time exploring biomes and crafting more defense items to match the increase in attack/defense stats from boss monsters. For example, the Hallow biome spawns after WoF has been defeated, and killing Hallowed enemies can result in useful but rare item drops for powerful weapons (e.g: Unicorn Horn and Pixie Dust for crafting Holy Arrows).
Depending on the chosen play style (Melee, Ranged, Magic, Summoning), the wide selection of armor and weapons allows for the player to experiment with what they find most effective. The next step in reaching Terraria's endgame requires all three of the following mechanical bosses to be destroyed: The Twins, The Destroyer and Skeletron Prime.
These bosses can appear in any order, so players should make good use of making space for battles, regardless of enemy type. It is also highly recommended to explore the Jungle biome after defeating one of the mechanical bosses to obtain Life Fruit, which offers a permanent health boost.
9 The Twins - Phase 1
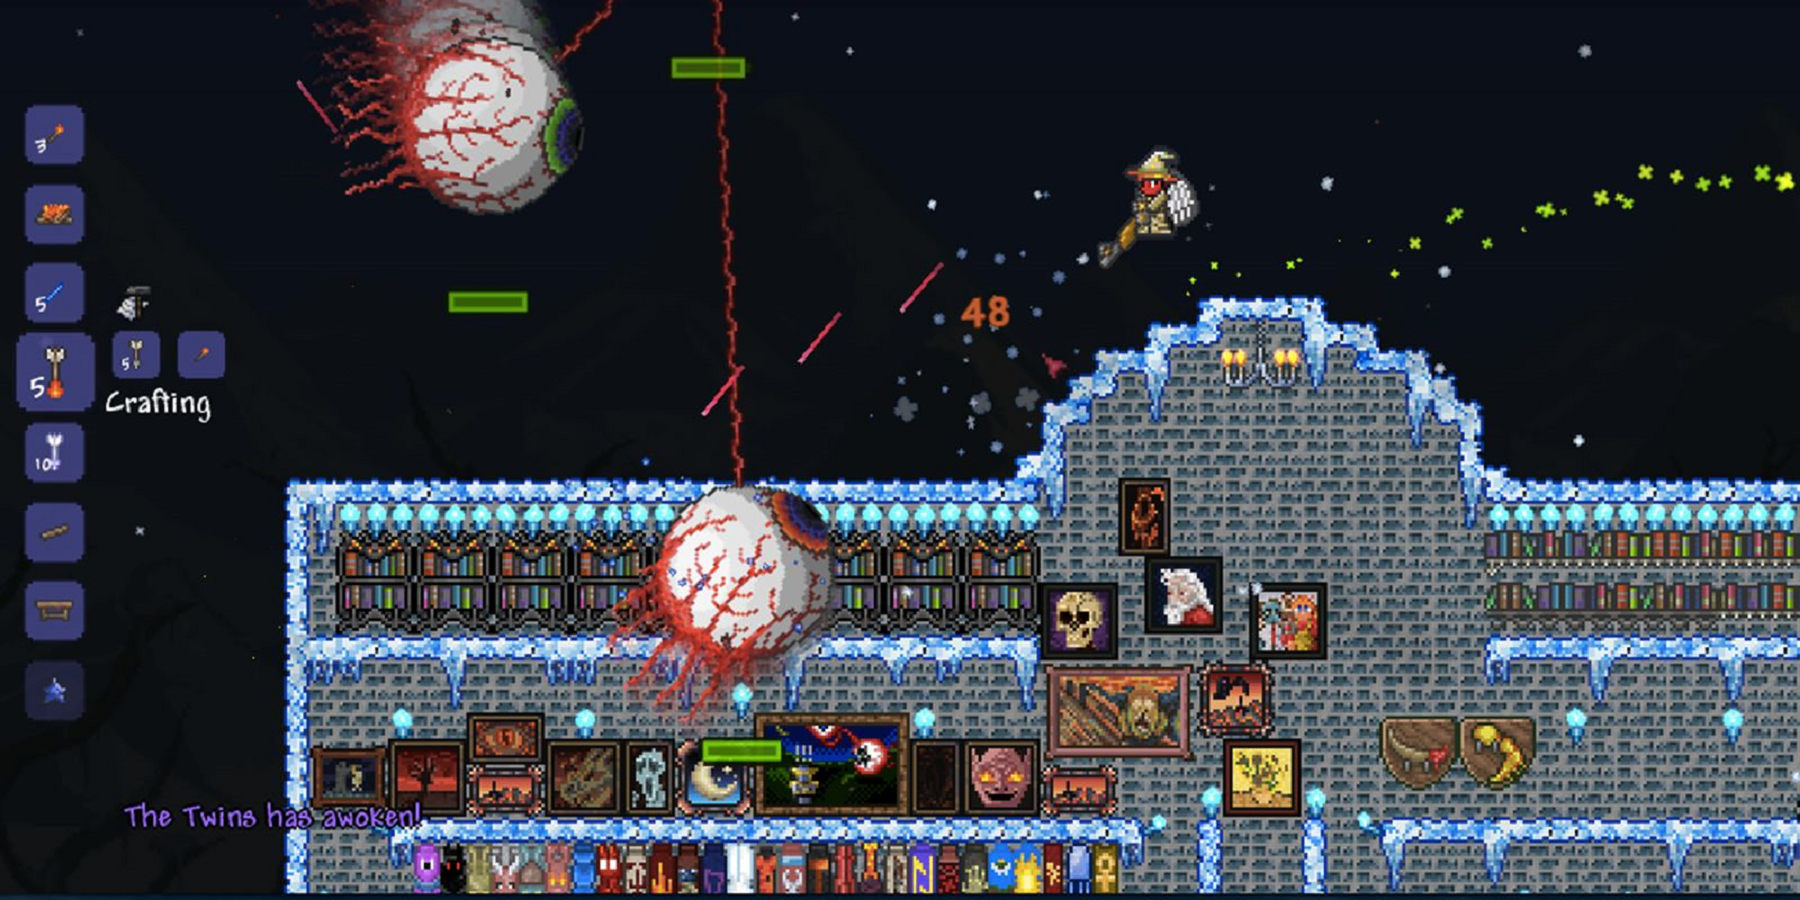
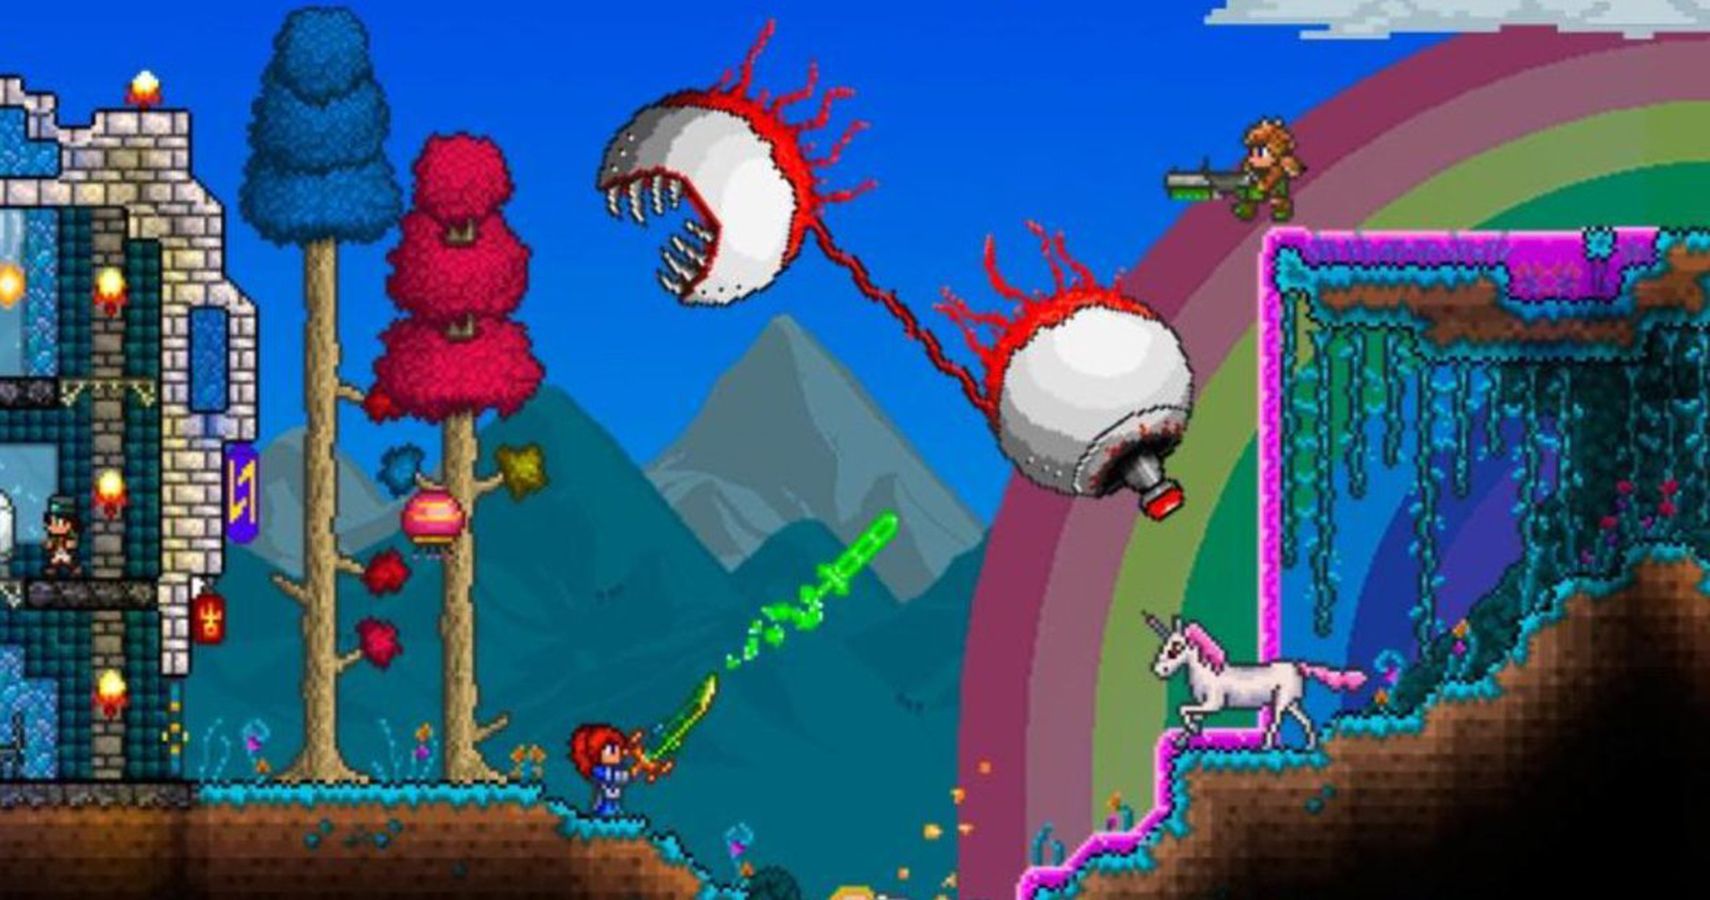
The Twins consist of two separate eye-shaped monsters that will attack the player in combination. They have a 10% chance of spawning at nighttime if a Demon/Crimson altar is destroyed (depending on Corruption/Crimson biome generation) and have two phases similar to the Eye of Cthulhu.
The Twins are named Retinazer and Spazmatism, differentiated by their respective red and green irises: Retinazer shoots lasers at the player, while Spazmatism fires green Cursed Flames. As well as increased health and attack powers, The Twins possess rapid-fire attacks and charges that can be difficult to dodge.
Due to the speed and flying height that The Twins can reach, mobility items such as Lightning Boots and Wings are a must for rapid movement and dodging attacks. Farming for potions is a useful tip for any boss, but with the Twins in particular Swiftness and Archery potions are recommended for keeping your distance while dealing high damage.
It is recommended when fighting these bosses to focus purely on one eye first rather than battling both simultaneously. This is because Phase 2 begins once Retinazer and/or Spazmatism reach roughly 40% of their health, causing their forms to change and become even tougher to defeat.
8 The Twins - Phase 2
In the second phase, both Twins will speed up and attack with more sporadic patterns. Retinazer shoots more lasers which deal greater damage, while Spazmatism charges rapidly like the Eye of Cthulhu's second phase. Even with a high-tier collection of items, the Phase 2 speed of both Twins can catch players off guard.
Tricks like the 'Retinazer Cheese' strategy can make the second phase easier, but it does require focusing attacks on Spazmatism first (preferably during Retinazer's Phase 1) to leave only Retinazer behind. Since Retinazer doesn't charge attack in either phase, the player can build a protective later of blocks around them to easily deflect lasers and use magic summons to kill instead.
7 The Destroyer
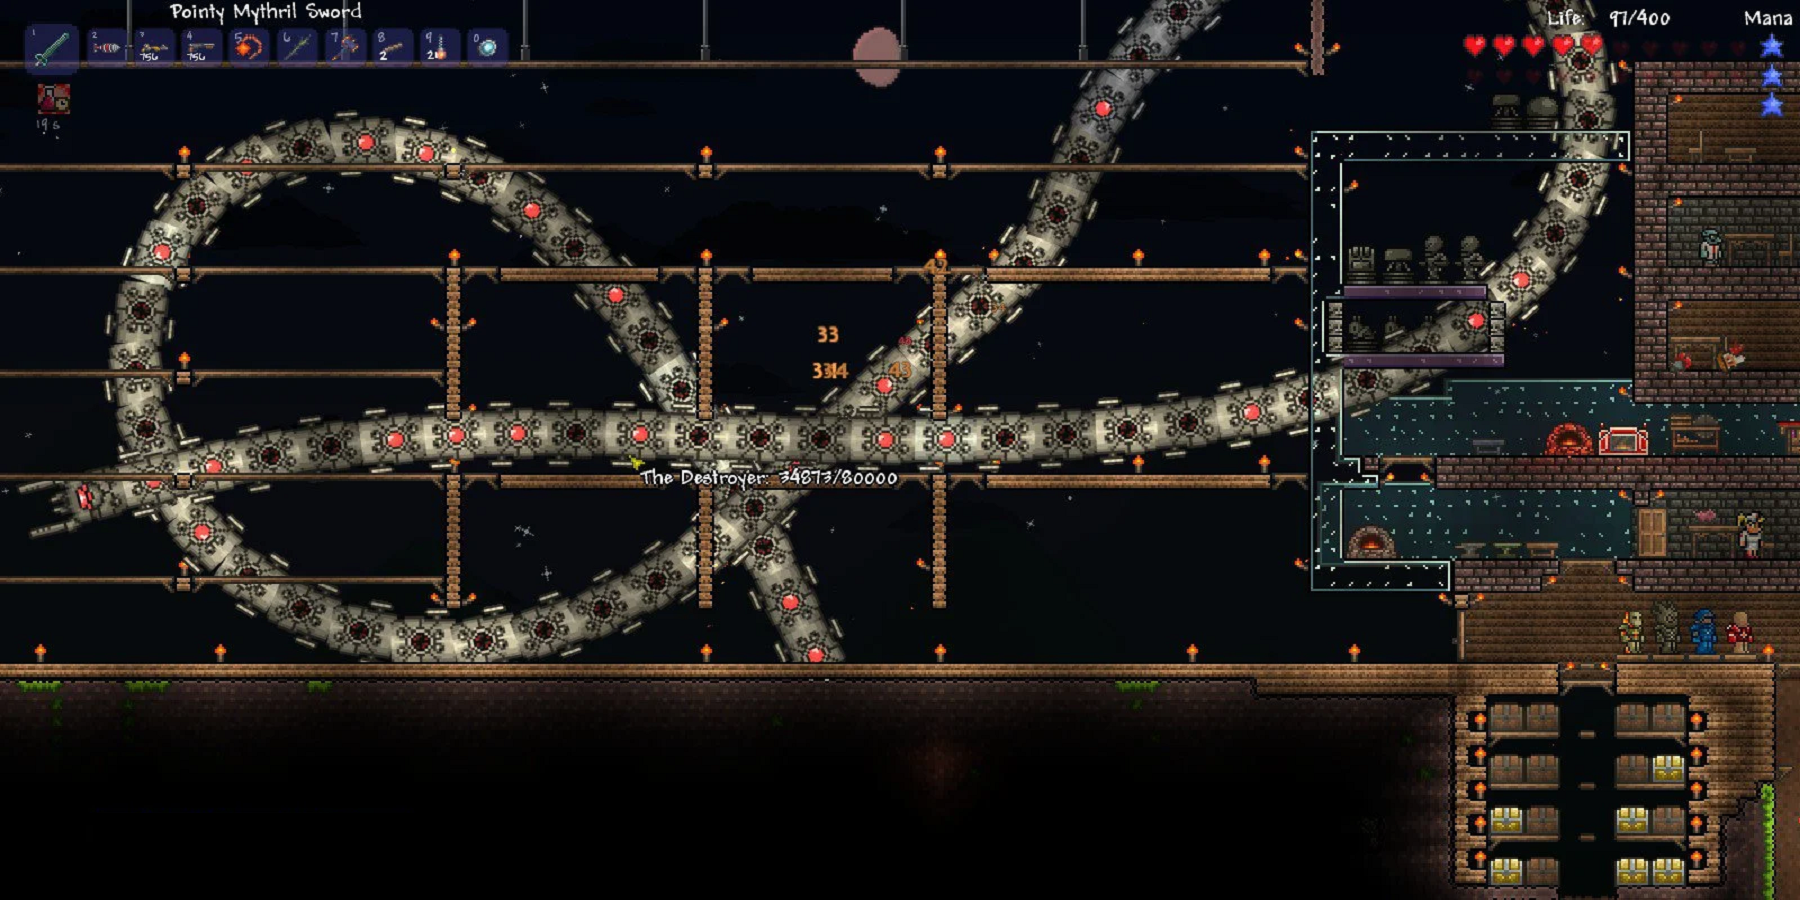
The Destroyer resembles the Eater of Worlds, except it is much longer and mechanical. Trying to use similar tactics on the Destroyer boss offer limited success, as the Hardmode variety comes with increased difficulty parameters.
The Destroyer is immune to all debuffs (apart from being stunned by Heart Arrows), so it is recommended to equip weapons that do multiple piercing attacks instead such as the Daedalus Stormbow or the Star Cannon. This is also beneficial for taking out the probes which appear during the battle, which also have a 50% drop rate of Hearts to assist players.
Keeping your distance is vital in this battle; therefore it is advised that players build a minimum of two long platforms that they can easily jump/hover/fly between when fighting the Destroyer. In order to reduce risk of NPCs getting damaged, these battle platforms should be built above ground and far away from any buildings.
Other optional battle bonuses include a teleporting device such as a mirror to get distance from the Destroyer, because it won't despawn until the player kills it. Ensuring players can overcome the speed of attacks and deal continuous damage, the Destroyer can go down easier than the other mechanical bosses.
6 Skeletron Prime
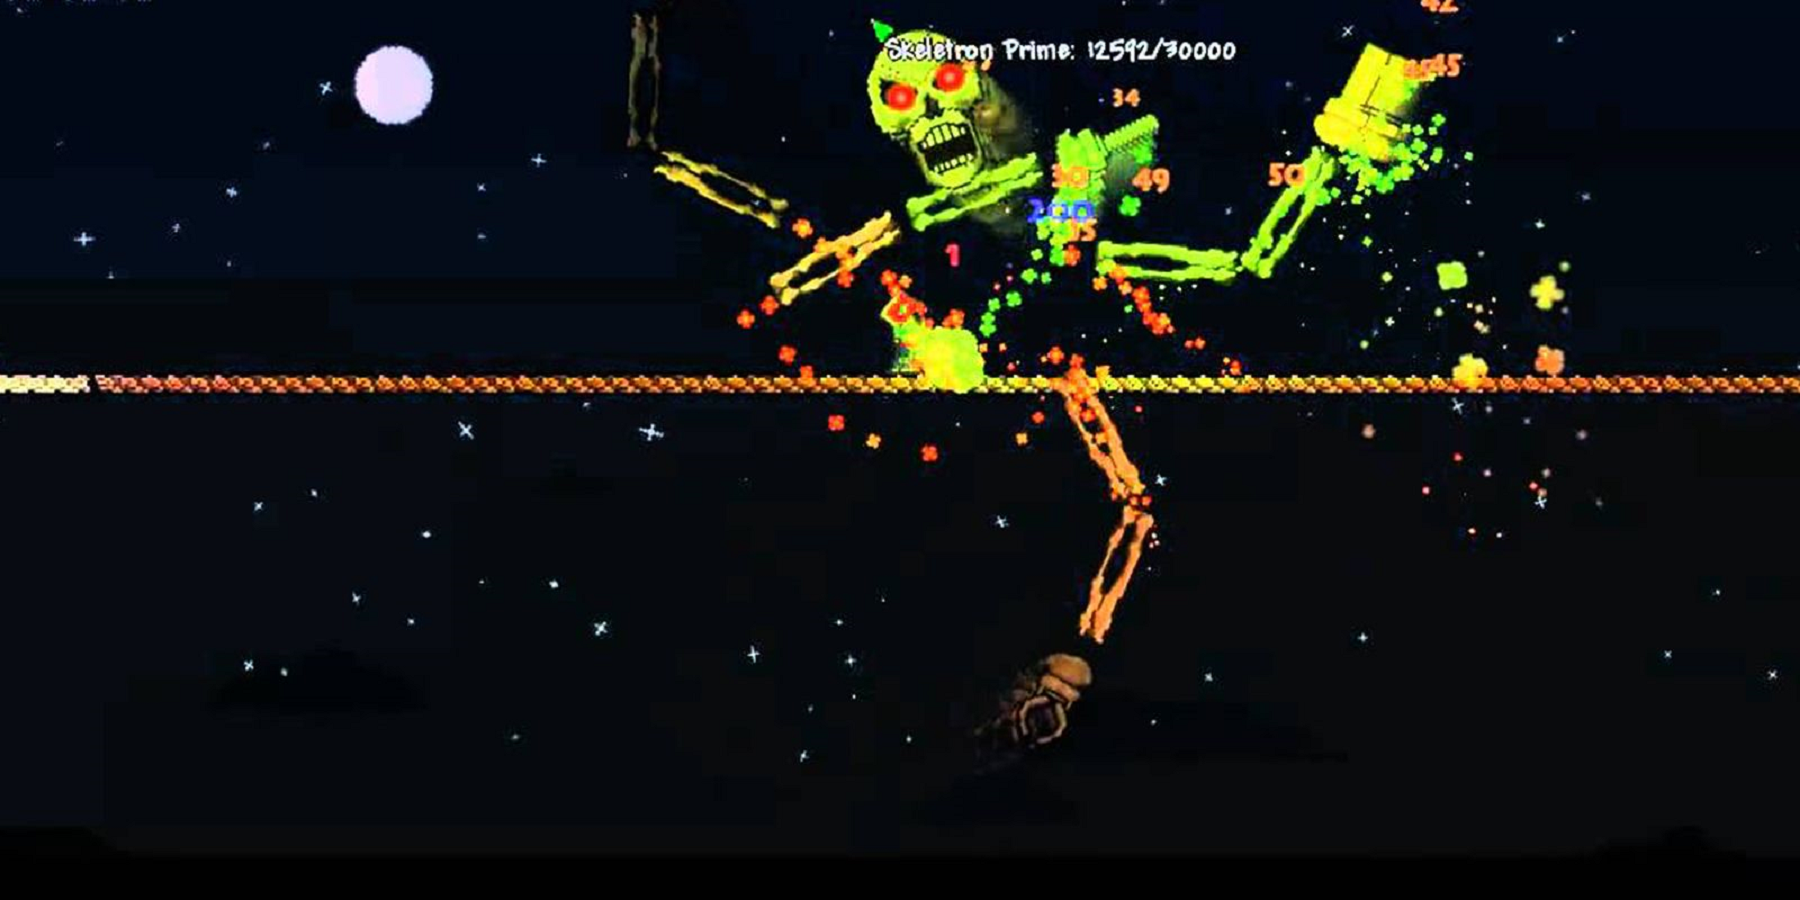
The Skeletron Prime battle can be considered the most demanding mechanical boss for first time players, but beating it can be done with patience and a good stockade of Ichor weapons. This battle factors into a similar way to the pre-Hardmode Skeletron; despite technically being one of the side bosses, newer players may benefit from getting practice before handling Prime.
As well as using Ichor weapons periodically for the debuff, Summon weapons are incredibly useful for consistent ranged attacks thanks to the targeting function. Focused attacks on one arm at a time are beneficial, because random un-targeted attacks can result in wasted ammo and missed attack opportunities; splash damage weapons are a good secondary contender if players are not experienced with targeting.
Another important factor is the order that players attempt to destroy Skeletron Prime in. Beginning with the Prime Laser arm first is doubly useful for removing the speedy laser projectiles quickly, and ensuring the head has less defense in battle.
It is not necessary to destroy all four arms before battling the head, but it is advised to remove at least the Prime Laser and Prime Vice arms for the best chance of attacking Skeletron Prime's head at a rapid pace. With sufficient arena space and healing items, Skeletron Prime should be easy enough to take down with the rest of the Mechanical Bosses.
5 Plantera
After the previous mechanical bosses have been defeated, a Plantera bulb will spawn in the Jungle biome automatically. Attacking the bulb will cause Plantera to spawn, so it is obviously recommended that prepare for the sudden boss battle.
With the 1.4.4 update, minor changes to the Plantera battle means the player can explore an increased distance before the despawn timer begins ticking down dramatically. Furthermore, upgrades to weapon range and certain debuffs means players have a slightly better chance of success when attempting a 'main boss' run.
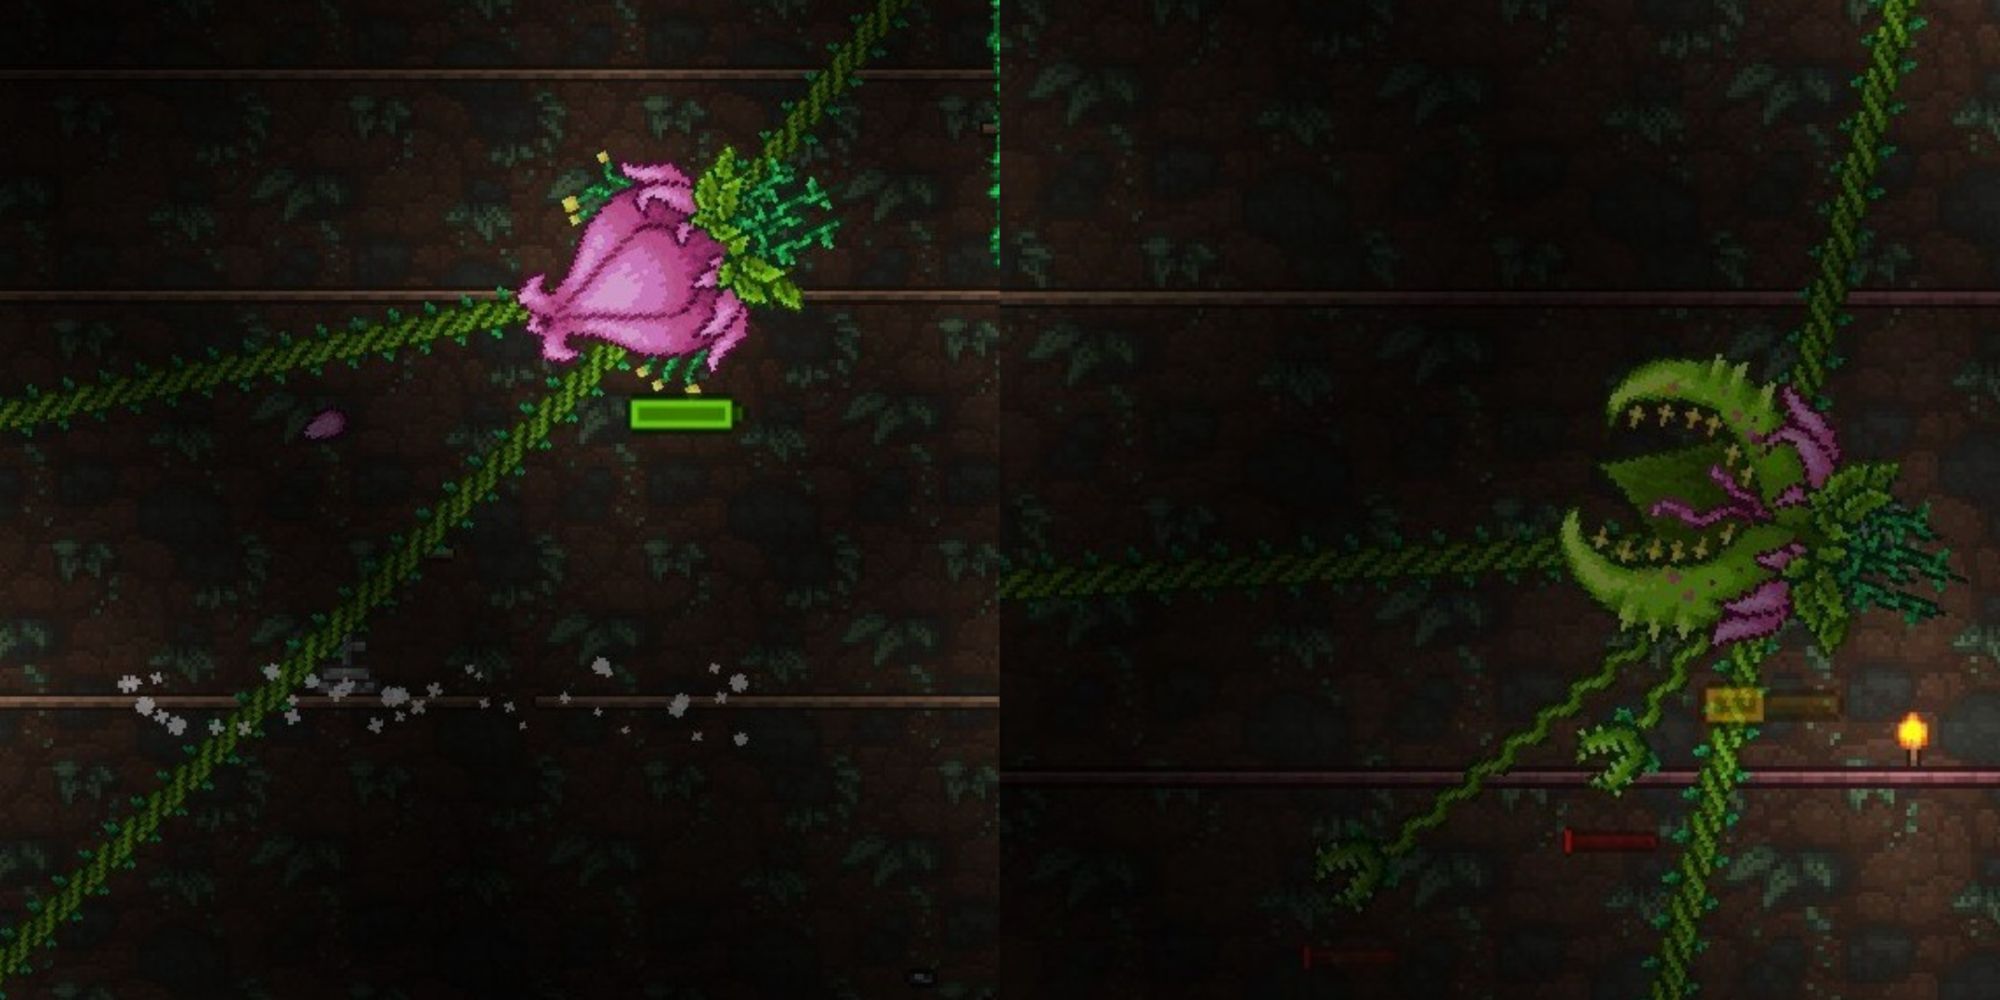
Phase 1 of Plantera's battle is range-based, using invincible hooks to grab terrain and stay distanced from the player. Phase 2 sees Plantera move at a rapid pace and extend out multiple tentacles in an effort to deal contact damage to the player.
For both phases, it is recommended to mine out a wide underground expanse for easy mobility, but also with narrow passageways connecting to it. This is because Plantera cannot easily maneuver through tight gaps in either phase, so removing background walls and surrounding blocks makes Plantera more manageable in combat.
Furthermore, it is recommended to source weapons that can deal damage through walls since Plantera will try to hide behind the environment for protection. Blades such as the Chlorophyte Spear and Mushroom Spear are very useful against Plantera for this reason.
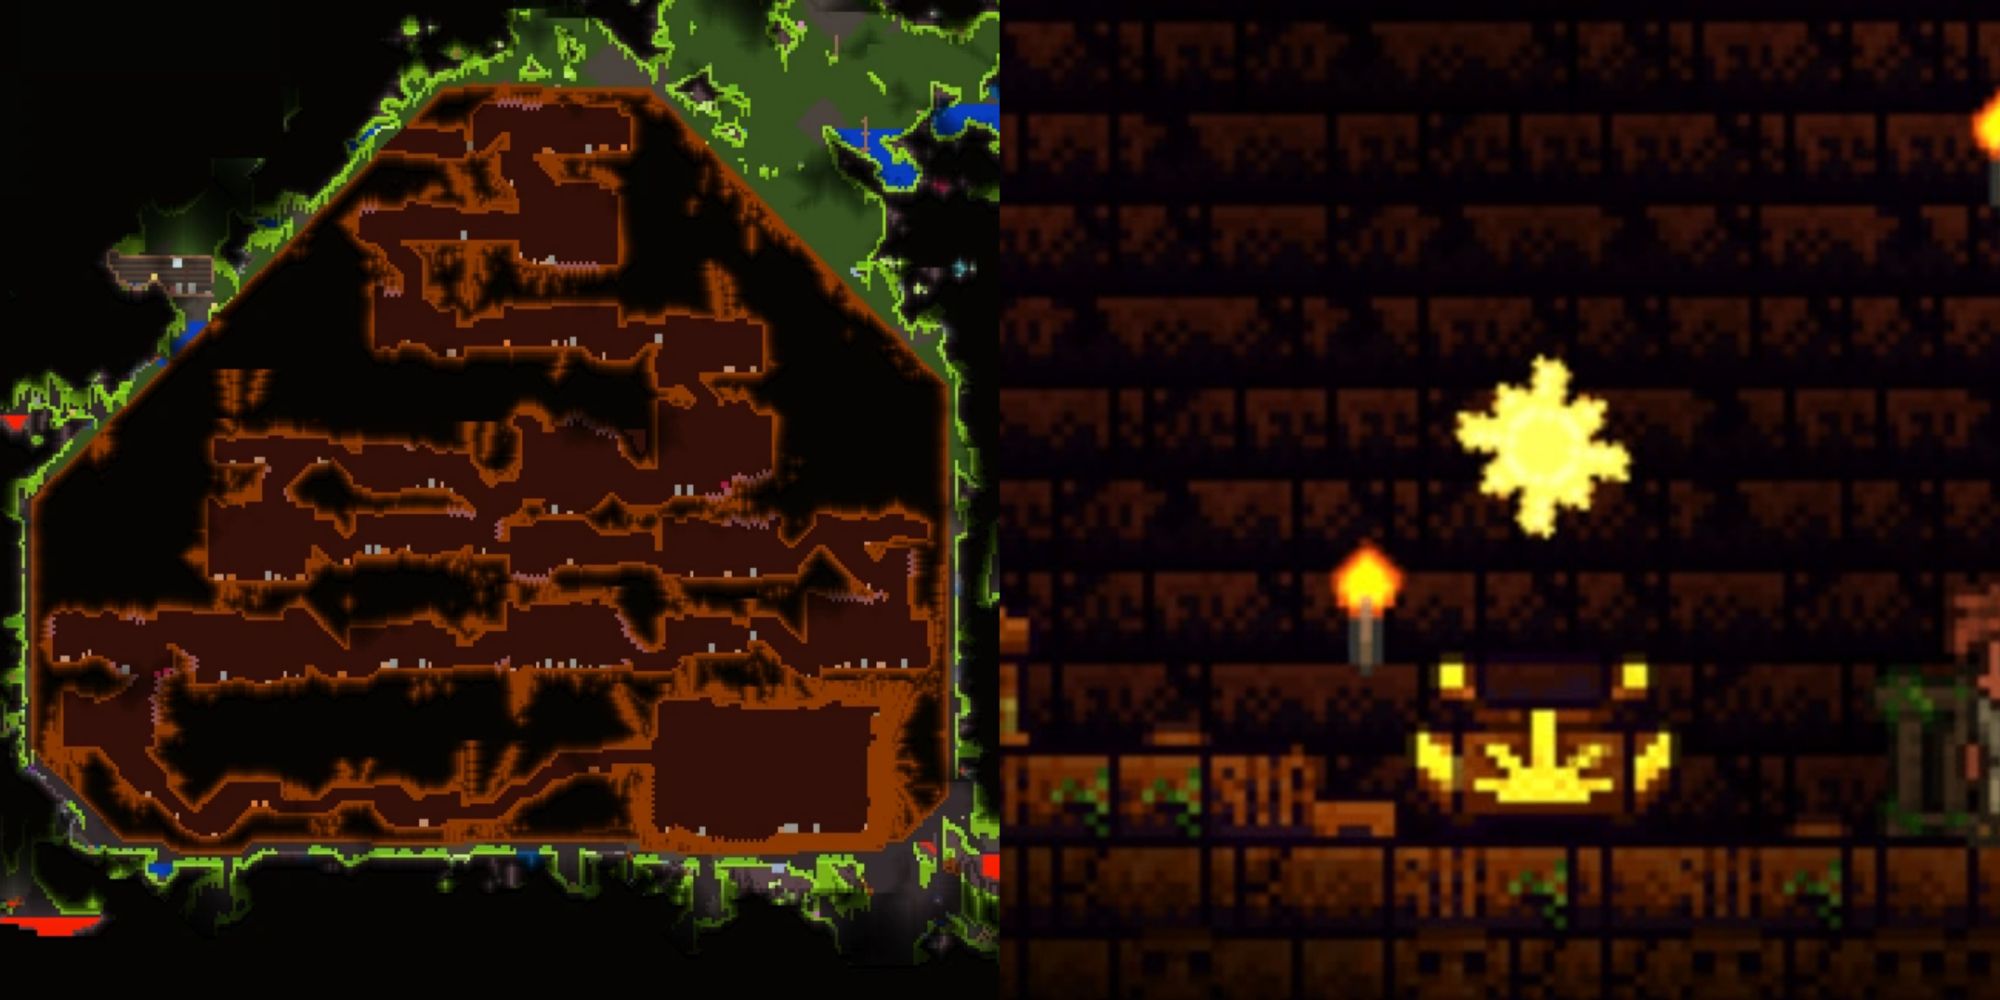
After beating Plantera, the Temple Key is among the dropped items. This is used to access the Temple where Golem resides, as it is the next main boss on the list.
4 Golem
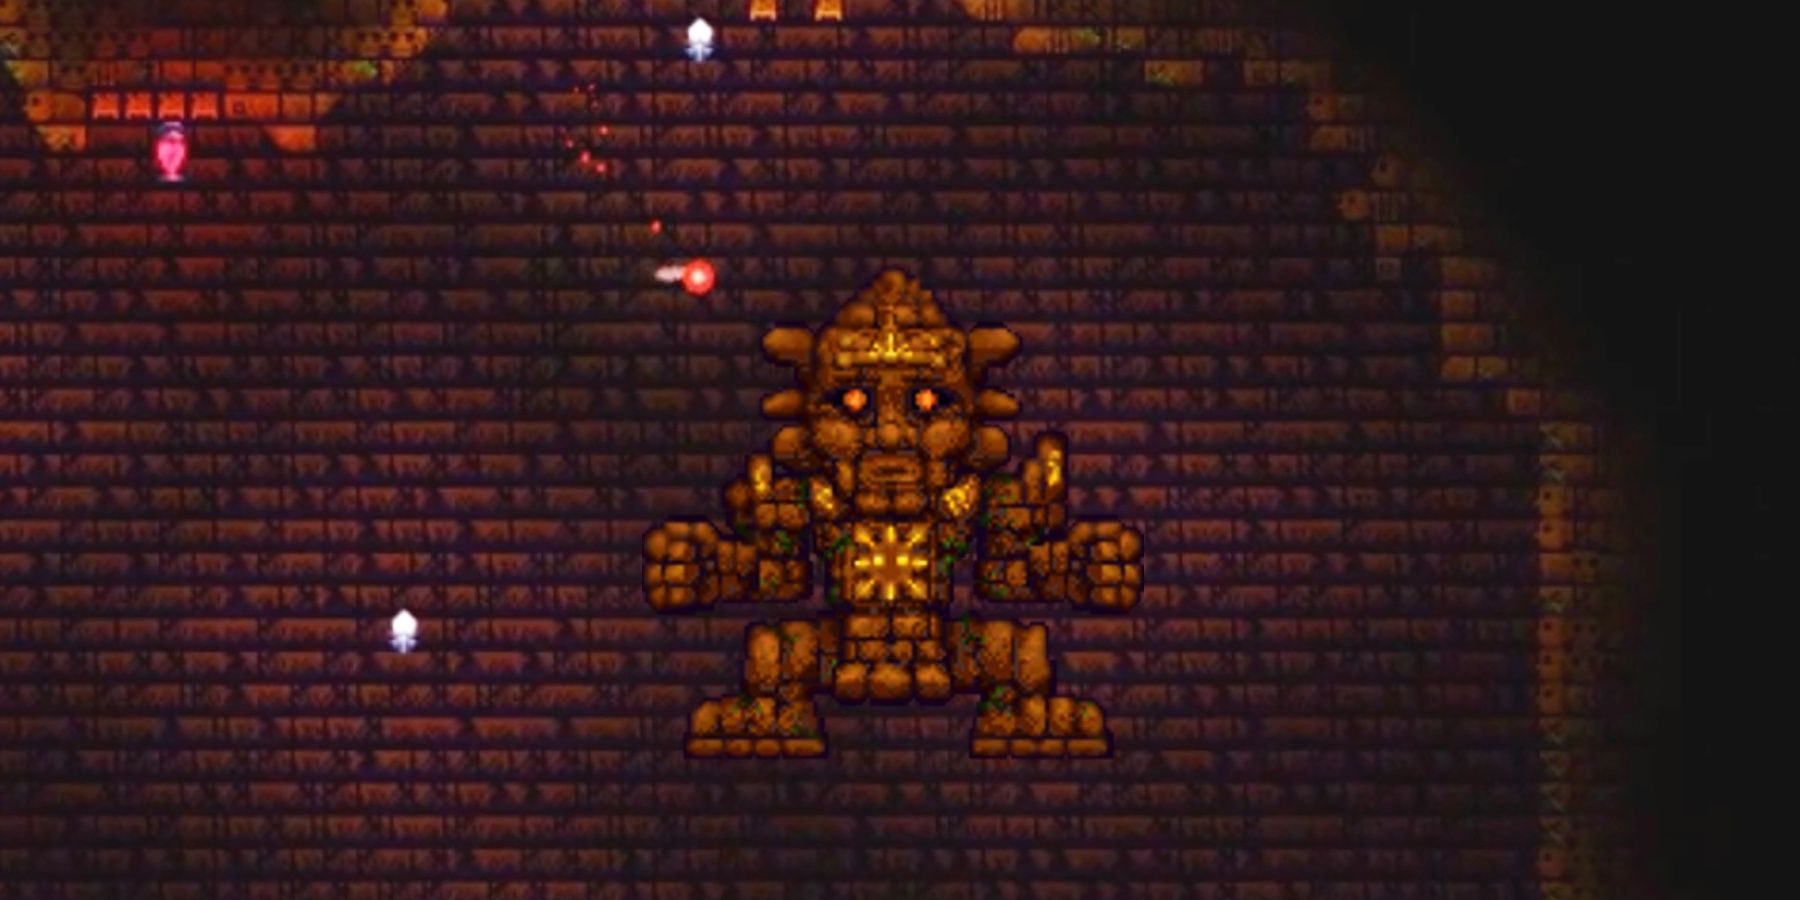
Golem was already a tough boss to contend with, but the 1.4.4 update has given more max health to each section. Along with removing knockback so that Golem's fists cannot be deflected, the current health levels are:
- Body health increased from 9000 to 15000
- Golem Head health increased from 16000 to 25000
- Golem Fists health increased from 7000 to 10000
This may sound intimidating, but defeating Golem is still doable thanks to the somewhat fair layout and certain useful exploits. Unlike Plantera, Golem's enraged behavior is not noticeable until reaching the end of its first form, when it begins jumping around and firing lasers at a faster rate.
Only the Golem Head and Body are necessary targets for beating Golem, but leaving the arms undamaged makes the battle a lot tougher in the third and fourth phases. Along with the punch attacks that stretch over the course of the arena, Golem's head frequently spews two fireballs that bounce speed and dodging attacks is key due to the arena. At half health, the head will begin to fire lasers that increase in frequency as HP lowers, and the body's main attack is a jump attack.
Arena preparation is advised to counter these attacks where possible. On an initial playthrough Jungle Temple blocks cannot be removed without the use of actuators, so adding blocks instead is the recommended strategy.
In the 1.4 update, dividing the arena is not a viable tactic since Golem can circumvent walls.The best way to avoid contact with Golem's body during attacks is to place a row of platforms about 25-30 blocks from the ground, as Golem is still unable to jump that high. By this point in the game, players should already be using Wings for ease of mobility during boss battles and general combat due to the increased attack and defense of enemies.
Melee players are advised to equip Chlorophyte armor as the minimum, but ranged players would benefit from Shroomite armor for its highest available strength at this point. Magic users should equip the Spectre armor outfit for passive offensive abilities instead.
Along with the platform technique (or using a Static Hook to cling to high walls), Explosive Bunnies/Bunny Cannon is a very useful weapon to use against Golem. Set it up in an area Golem cannot reach and fire away. By calculating Golem’s health and dividing by the bunny cannon’s damage (350), players can work out the rough number of explosive bunnies to use.
After defeating Golem, the Dungeon is now inhabited by the Lunatic Cultist, who is summoned after the regular Cultists are killed.
3 Lunatic Cultist
The Lunatic Cultist is a tough battle due to frequent teleporting moves and a high HP value, but killing him and beginning the road to the endgame is possible with preparation.
Lunatic Cultist spawns after 4 regular Cultists are killed, which means during this time players would do well to prepare the surroundings in the usual manner before doing so. Depending on the difficulty selected, Lunatic Cultist's health has been scaled up with Version 1.4.4 from 32k/40k/51k to 32k/48k/61k, so more firepower will be required. Once the Lunatic Cultist is damaged enough, he adds a fourth attack, which summons in two spreads of five destroyable Ancient Light projectiles.
Either Phantasm Dragon or Ancient Vision projectiles will spawn if a Phantasm Dragon is already present. Two duplicates will also start attacking besides him, occasionally shooting a projectile. If the real Lunatic Cultist is damaged, neither of these two powerful minions will spawn in.
Summoners and Ranged attack players will likely have an easier time due to minions and homing attacks focusing on the real Cultist during the duplication attack. Pinpointing the Ancient Light projectiles no longer instantly kills them, as the 1.4.4 versions actually take some damage to kill, and will be targeted by homing projectiles.
Other useful strategies include fighting the Cultist at night, not only because of the time bonus but also the fake cultists will glow. Cultists have a semi-readable attack pattern, which players can affect with ranged attacks moreso than melee. Possessing a high defense armor set is therefore very useful as a result.
Successfully dispatching the Lunatic Cultist will cause the Celestial Pillars to spawn into the Overworld, so it is wise for players to have prepared their base and inventory for all four battles.
2 Celestial Pillars
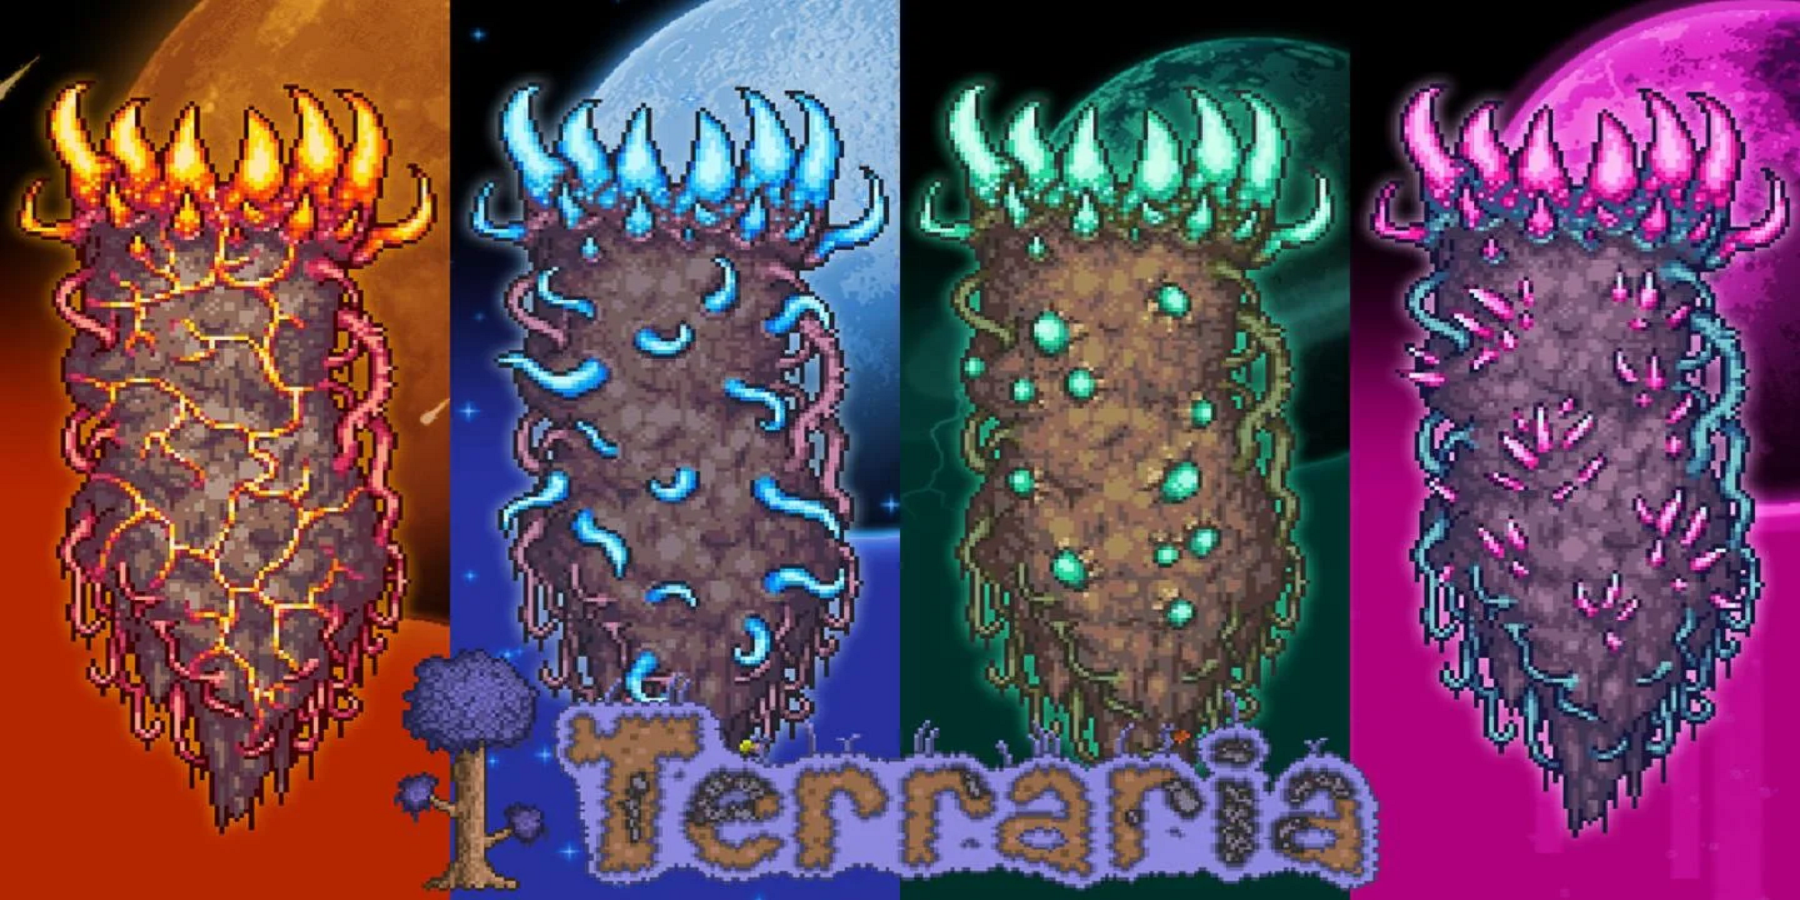
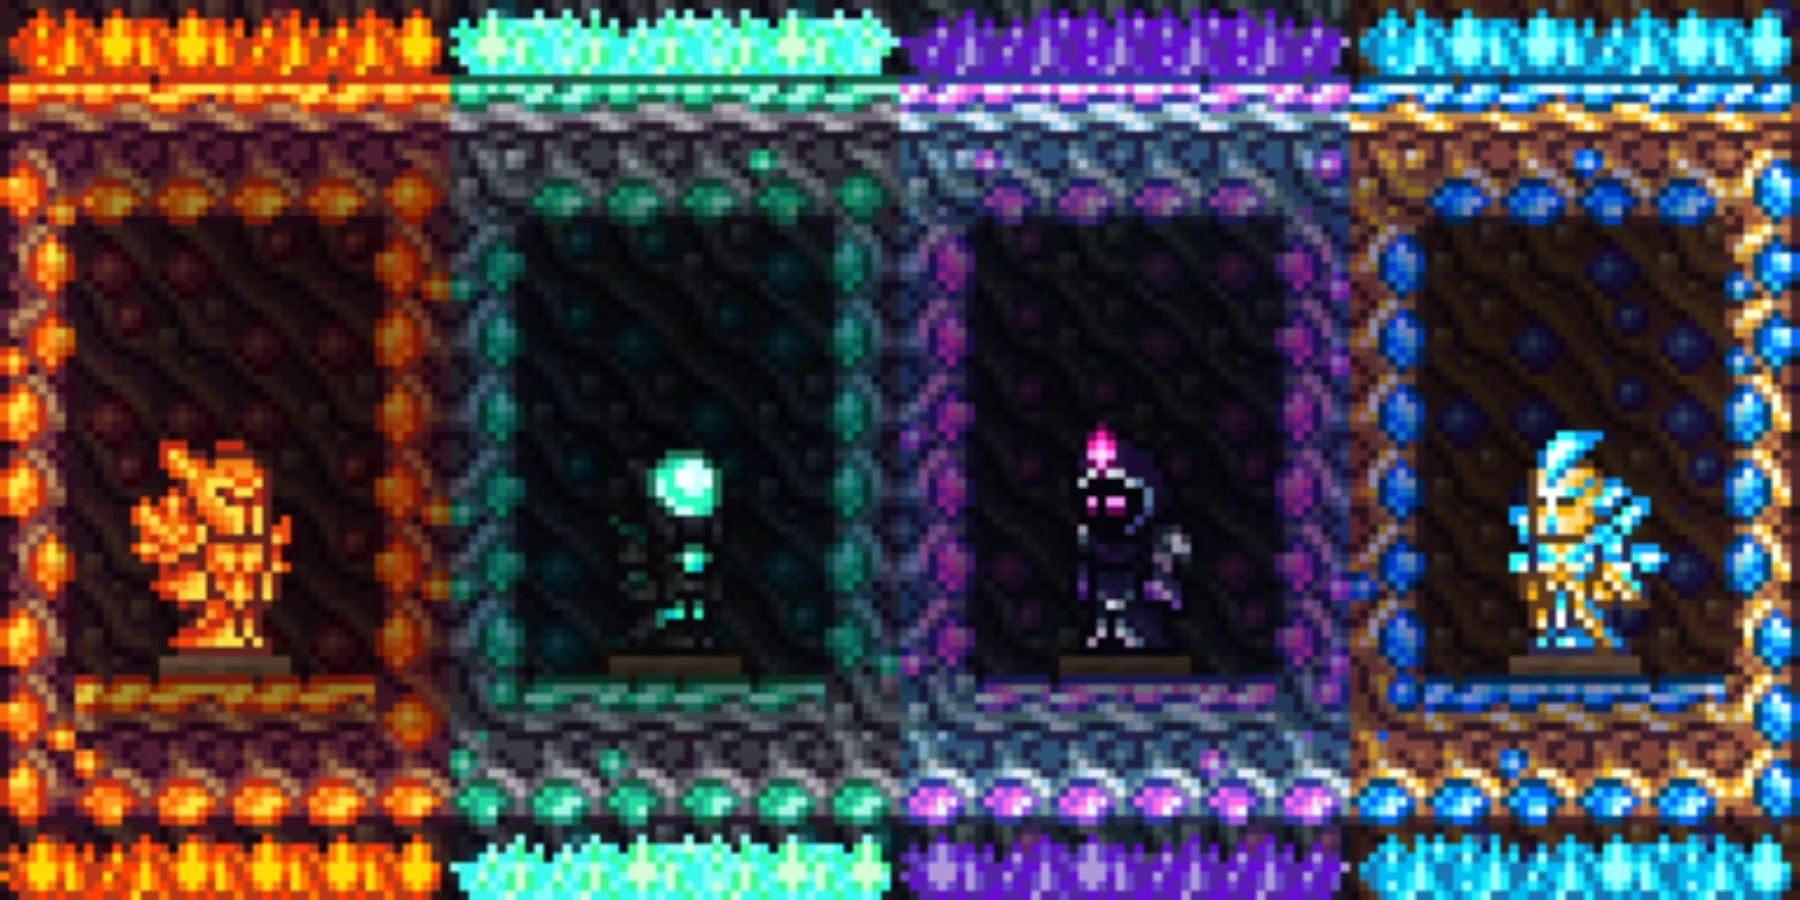
The Celestial Pillars consist of four static towers surrounded by forcefields and different types of tough enemies. All four need to be destroyed in order to spawn the final boss, which means multiple playstyles may need to be utilized if players are to fight them successfully.
In order to remove the force field, the player needs to defeat 100 enemies that correspond to that particular pillar. For example, enemies surrounding the Solar Pillar mostly require melee attackers, whereas the Nebula Pillar consists of magic-themed enemies.
After doing that, the force field will lower and the pillar can be damaged. Enemies will still spawn for the rest of the duration until the pillar is destroyed.
The best weapons for taking on the Celestial Pillars are mainly dropped from special events such as the Frost Moon and Martian Madness areas, but the increased DPS from weapons already available can be a sufficient level.
Recommended armor sets for each type of pillar consist of:
- Melee users - Chlorophyte armor / Valhalla Knight armor bought from the Tavernkeep
- Ranged users - Shroomite armor
- Magic users - Spectre armor
- Summon users - Spooky armor
Recommended weapon sets for each type of pillar consist of:
- Melee users - Terra Blade crafted from multiple in-game swords / Eye of Cthulhu yoyo and Yoyo Bag
- Ranged users - Xenopopper from Martian Madness drop / Chain Gun from Frost Moon event
- Magic users - Primary: Razorblade Typhoon from Duke Fishron / Blizzard Staff from Frost Moon drop - Secondary: Nimbus Rod and Magnet Sphere
- Summon users - Xeno Staff from Martian Madness drop / Staff of the Frost Hydra from Frost Moon event
The North Pole is effective against the celestial events, as it is against all events. It is particularly good for taking down the pillars themselves once the forcefield is removed. Melee users would also benefit from Turtle shield or higher by this point in addition to high defense armor.
The Shiny Stone is also a very effective healing accessory in Expert Mode, especially when used in tandem with flying accessories / mounts to get out of range quickly. Teleportation items such as the Rod of Discord or the Magic Conch help greatly when fighting the pillars.
Players should ideally start with the pillar best suited to their playstyle, but the Stardust Pillar is a good starting point because of the useful weapons that can be crafted from the drops. Conversely, the Solar Pillar can be the most difficult for uninitiated players, since Selenians can reflect projectiles when spinning, and Crawltipedes quickly kill players in the air.
After the fourth Celestial Pillar is destroyed, the player has sixty seconds before the Moon Lord automatically spawns
1 Moon Lord
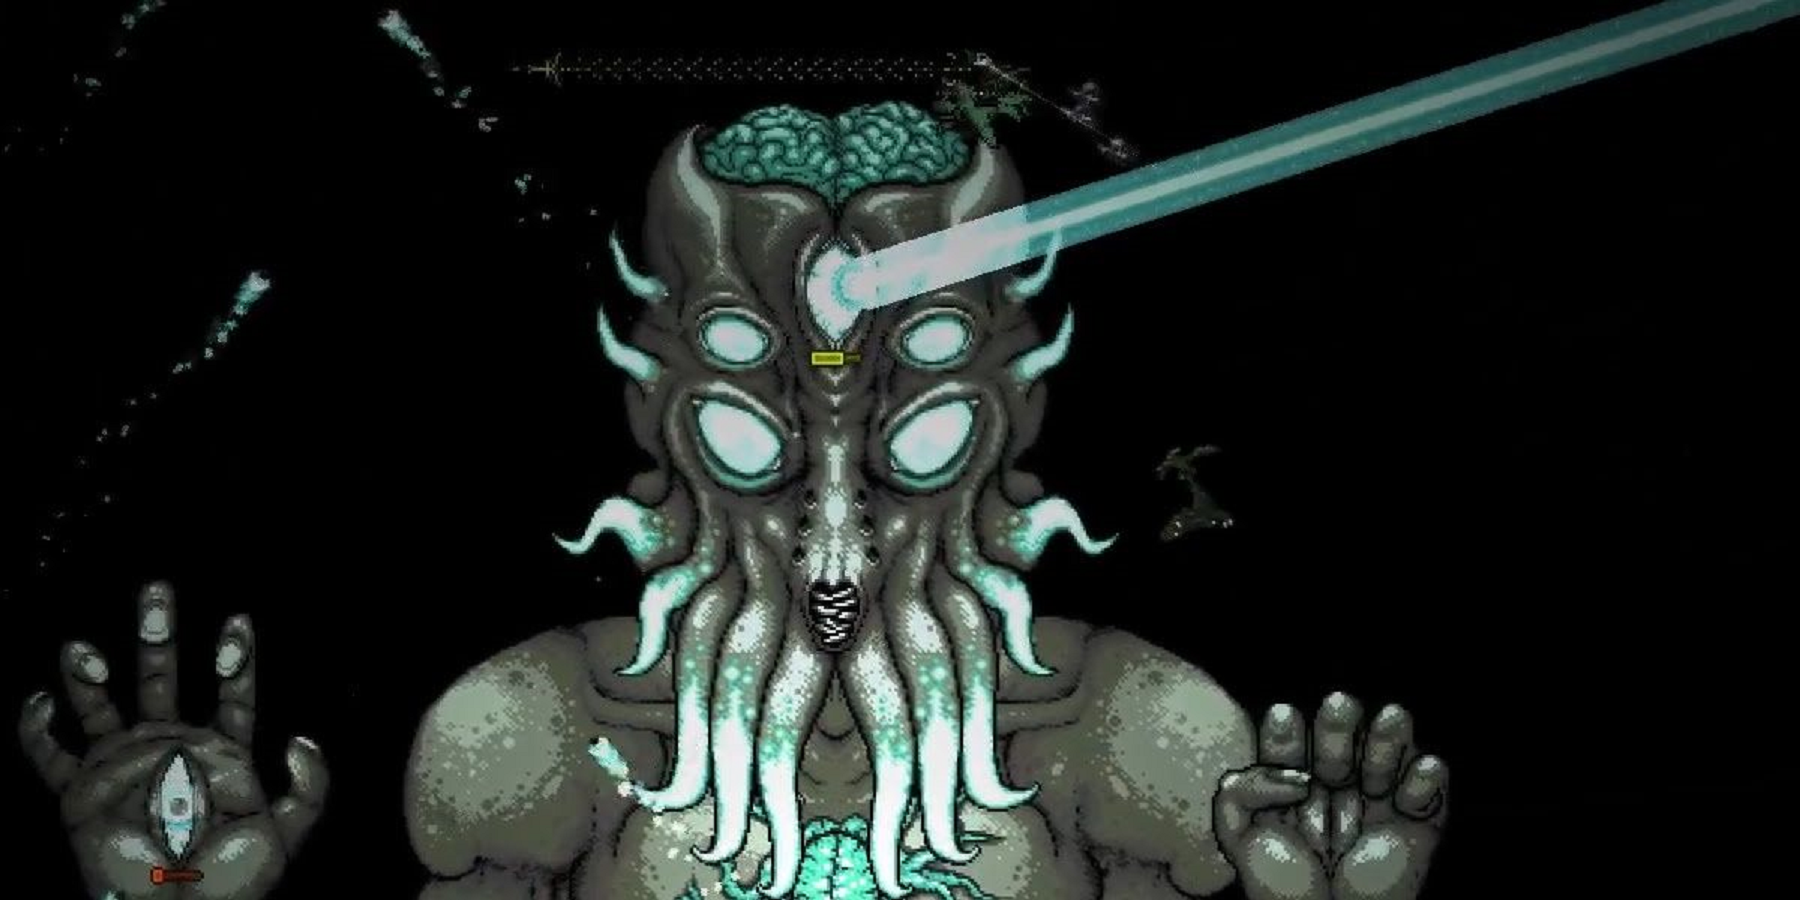
Moon Lord signifies the final Hardmode boss before the endgame, combining a high HP and tough attack strategy with a myriad of techniques for success. The 1.4.4 update has made small but effective changes in order to scale the climactic battle, but the challenge is doable with good strategies.
Moon Lord fires projectiles known as Phantasmal Spheres; the 1.4.4 update sees damage reduced by 20% and their hitbox size reduced, meaning players should have considerably less difficulty when battling them. Most other details are left intact, however, so the previous strategies for player classes are equally good against the Moon Lord:
- Magic - Nebula Blaze / Blizzard Staff, with Spectre armor
- Melee – Solar Eruption, with Beetle armor / Chlorophyte Mask / Valhalla armor
- Ranged – Vortex Beater / Shroomite armor
- Summoner – Stardust Dragon Staff / Spooky armor
Strategy-wise, players would do well to remember the very short time limit before the Moon Lord spawns where the player is, so getting as far away from NPC hubs and enclosed areas is highly recommended. Moon Lord's attacks go through blocks, so preemptively having a wide open area to fight in is useful.
Like with some previous open-air battles, a 'skybridge' is very effective for speedy movement and distance from the boss. Using a minecart or a very fast mount for transport can speed up travel times, as well as assist in outrunning Moon Lord's projectiles or teleport attacks. However, this can be negated if the player already has some form of infinite flight mount or wings in their inventory.
Other strategies involving the Nurse and Dryad NPCs for healing mid-battle are still possible, but the 1.4.4 update means it is considerably more expensive to do so. Players who have not saved up lots of gold for continuous healing will likely need to farm for gold or use a less passive tactic for healing from the Nurse.
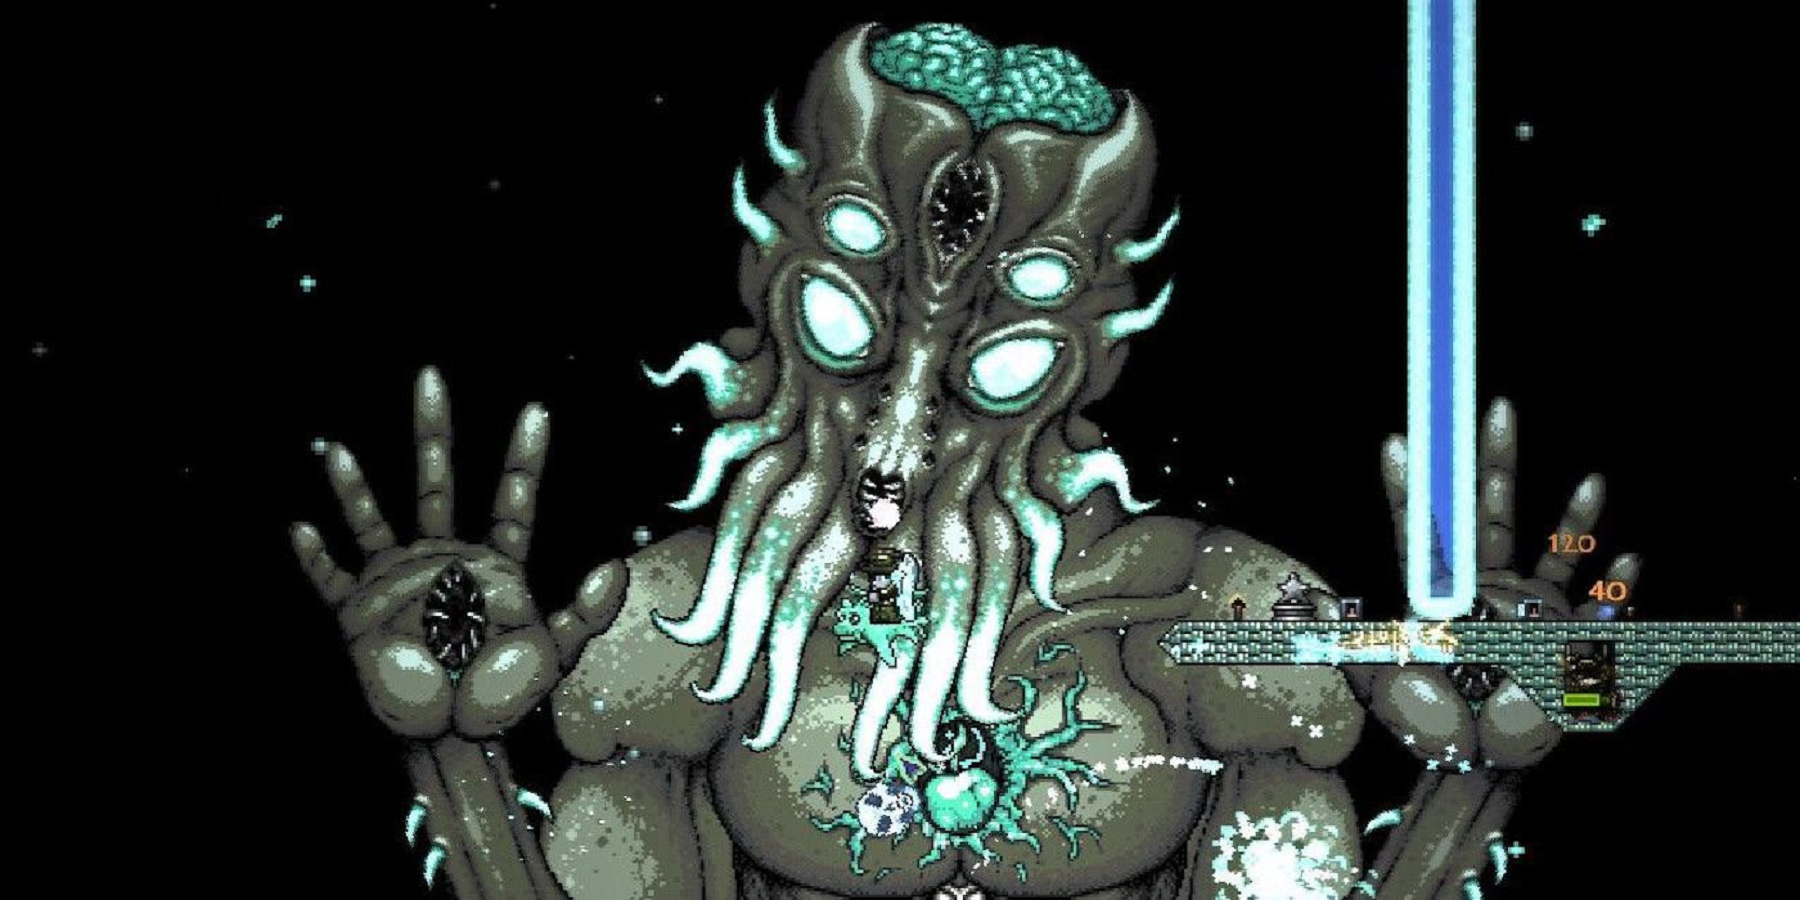
Also of use is the Rod of Discord, which allows the player to more easily dodge the Phantasmal Deathray attack which deals heavy damage on any difficulty. This is only emitted from the eye located in Moon Lord's forehead, which means players should focus their attacks on the forehead eye first to prevent sudden Deathray attacks from ruining their progress.
Once all three of the Moon Lord's eyes have been destroyed, the Moon Lord's Core will be revealed. This also causes the True Eyes of Cthulhu to spawn and attack. To avoid being swarmed, players should run from their attacks as quickly as possible due to the True Eyes' Deathrays having a shorter reach.
After the Core is destroyed, the credits will appear while the song Journey's End plays. After the credits scroll, Moon Lord drops can be picked up, including Luminite so that end-game materials can be crafted. The update also means that 2 non-identical weapons will always drop from the Moon Lord, which encourages replayability and farming for more Terraria rewards.
Terraria 1.4.4 is available to play on Mobile, PC, PS4, PS5, Stadia, Switch, Xbox One, and Xbox Series X/S.

-1.jpg)
.jpg)
