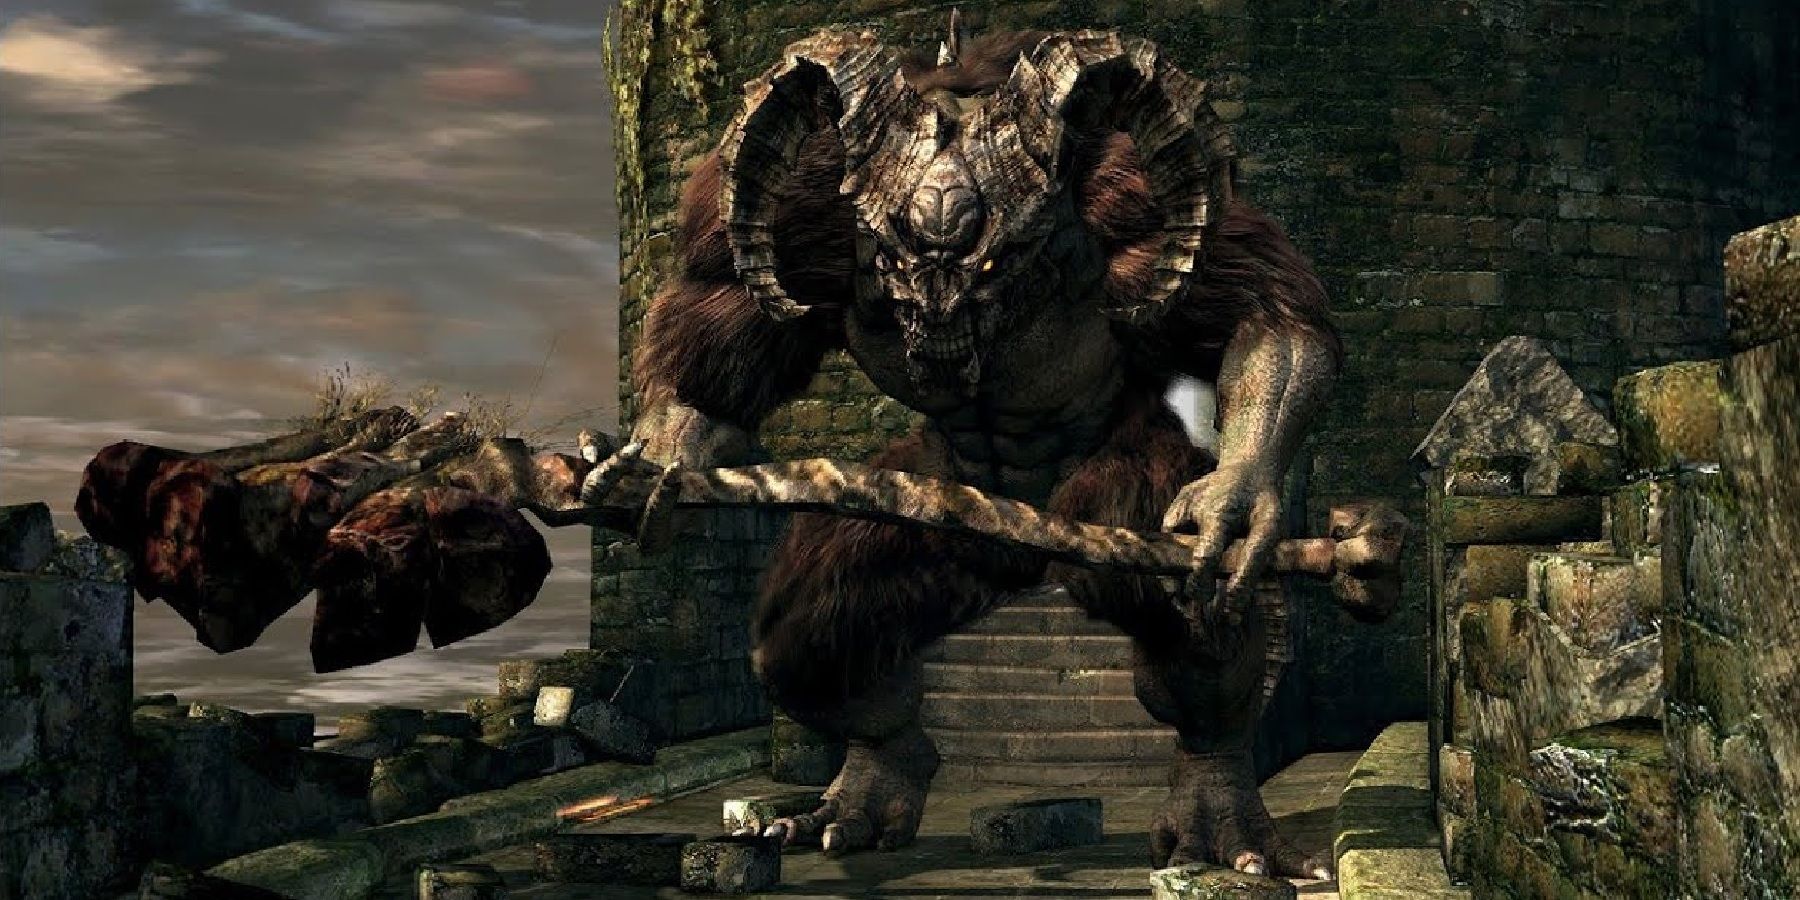
The first real boss that most players encounter in the original Dark Souls after the initial tutorial with the Asylum Demon is the Taurus Demon. This fight can be daunting for first-time players and trivial for longtime fans, but it acts as a teaching tool of its own by putting player choice front and center with the boss, arena design, and some crossbow-wielding hollows.
Much of this stellar design for the Taurus Demon almost acts like it's setting up for a trend in Dark Souls, although few bosses manage to give quite the same experience. Due to the early encounter being designed to catch the player off-guard in multiple ways, it ends up giving a wider variety of combat options than most fights in the franchise.
Taurus Demon Perfectly Uses the Castle Structure of Lordran
The first thing to note about the fight against Dark Souls’ first difficult boss is that before the enemy even appears, there is already an opportunity for the player to get caught unaware by the archers at the start of the arena. After dispatching them, the Taurus Demon itself doesn’t even appear until walking down the ramparts and dropping directly onto the player.
From here, the player has two options, to either face the Taurus Demon head-on or head back to the battlement that previously housed the archers for access to a wider arena. Reaching the battlement offers up yet another choice, though, with players then having the opportunity to deal a plunging attack that had already been shown to be powerful against the Asylum Demon, nearly killing one of FromSoftware's toughest enemies in a single hit. In this case, every moment of the fight grants the player more opportunities to take advantage of previous knowledge in order to make the fight easier.
In most cases, the safest option would be to head to the battlement and wait for the Taurus Demon to follow up to the higher platform. Here, players have more area to dodge and are much less likely to be pushed off the edge by the Taurus Demon’s powerful attacks of the massive Dark Souls boss. However, fighting the boss head-on can be much faster, and the plunging attack can actually be taken advantage of twice in order to shred through the boss’ health.
This Design Continues Through Anor Londo
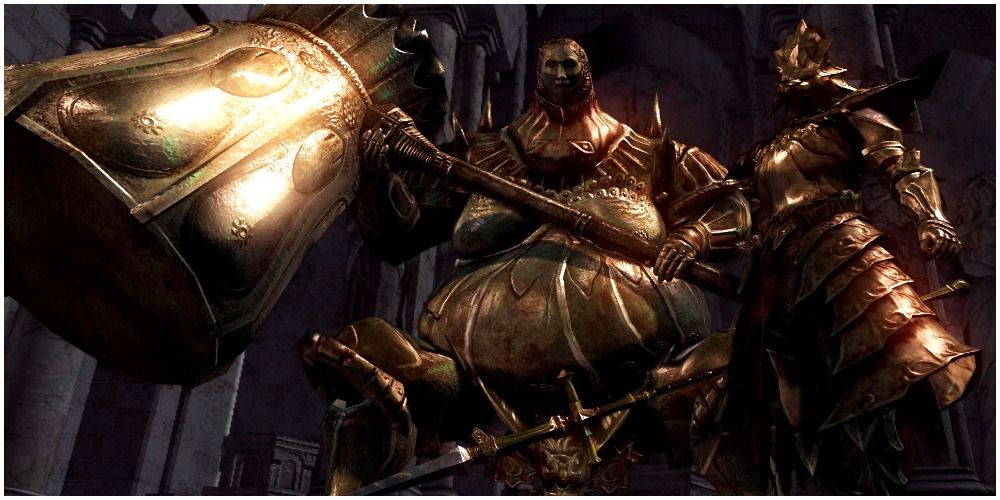
There aren’t many bosses who give players the type of choice that the Taurus Demon does, with three avenues of attack right at the start of the fight. That being said, this design philosophy doesn’t completely disappear in the later sections of the game, and even helps to make the Ornstein and Smough encounter work so well. In the case of the dynamic duo at the end of Dark Souls’ iconic Anor Londo, the choice is not at the start of the fight, but at the approach of the second phase. Players can choose which of the two to kill first, and which to fight a powered-up version of.
An earlier example of this same design of choice can also be found in the Depths, which reprises the concept of having an additional enemy like the archers shooting from afar. This would be during the Gaping Dragon fight, who can be assisted by one of the Channelers. While this does require more exploration throughout the level to find, it’s still an example of giving players the ability to adjust Dark Souls' difficulty based on their play style. It’s a lesson that the Taurus Demon instills in players early on and can help shape the way many discover the quirks of FromSoftware’s unique builds or emphasize the benefits of proper exploration.
Dark Souls is available now for PC, PS3, PS4, PS5, Switch, Xbox 360, Xbox One, and Xbox Series X/S.

