After countless hours and scores of powerful bosses defeated, Tales of Arise players will finally find themselves on Rena. Armed with the information they learned in the Forbidden Zone and on Daeq Faezol, not to mention Alphen's flaming sword, they now have everything that they need to take down the Great Astral Spirit. Unfortunately, however, they'll first need to make their way through a section of the game that's teeming with incredibly powerful Zeugles before they can do so.
The final dungeon in Tales of Arise is broken up into two parts, the second of which is actually an upside-down version of the first. As well as powerful monsters, Gegham Halgarahi and Tarfhal Helgarahi contain some of the game's best armor, which will come in pretty handy for the final few boss fights. Navigating both areas will take a fair amount of time, so those hoping to do so in a single sitting should make sure to set at least one hour aside.
Quick Links
Rena
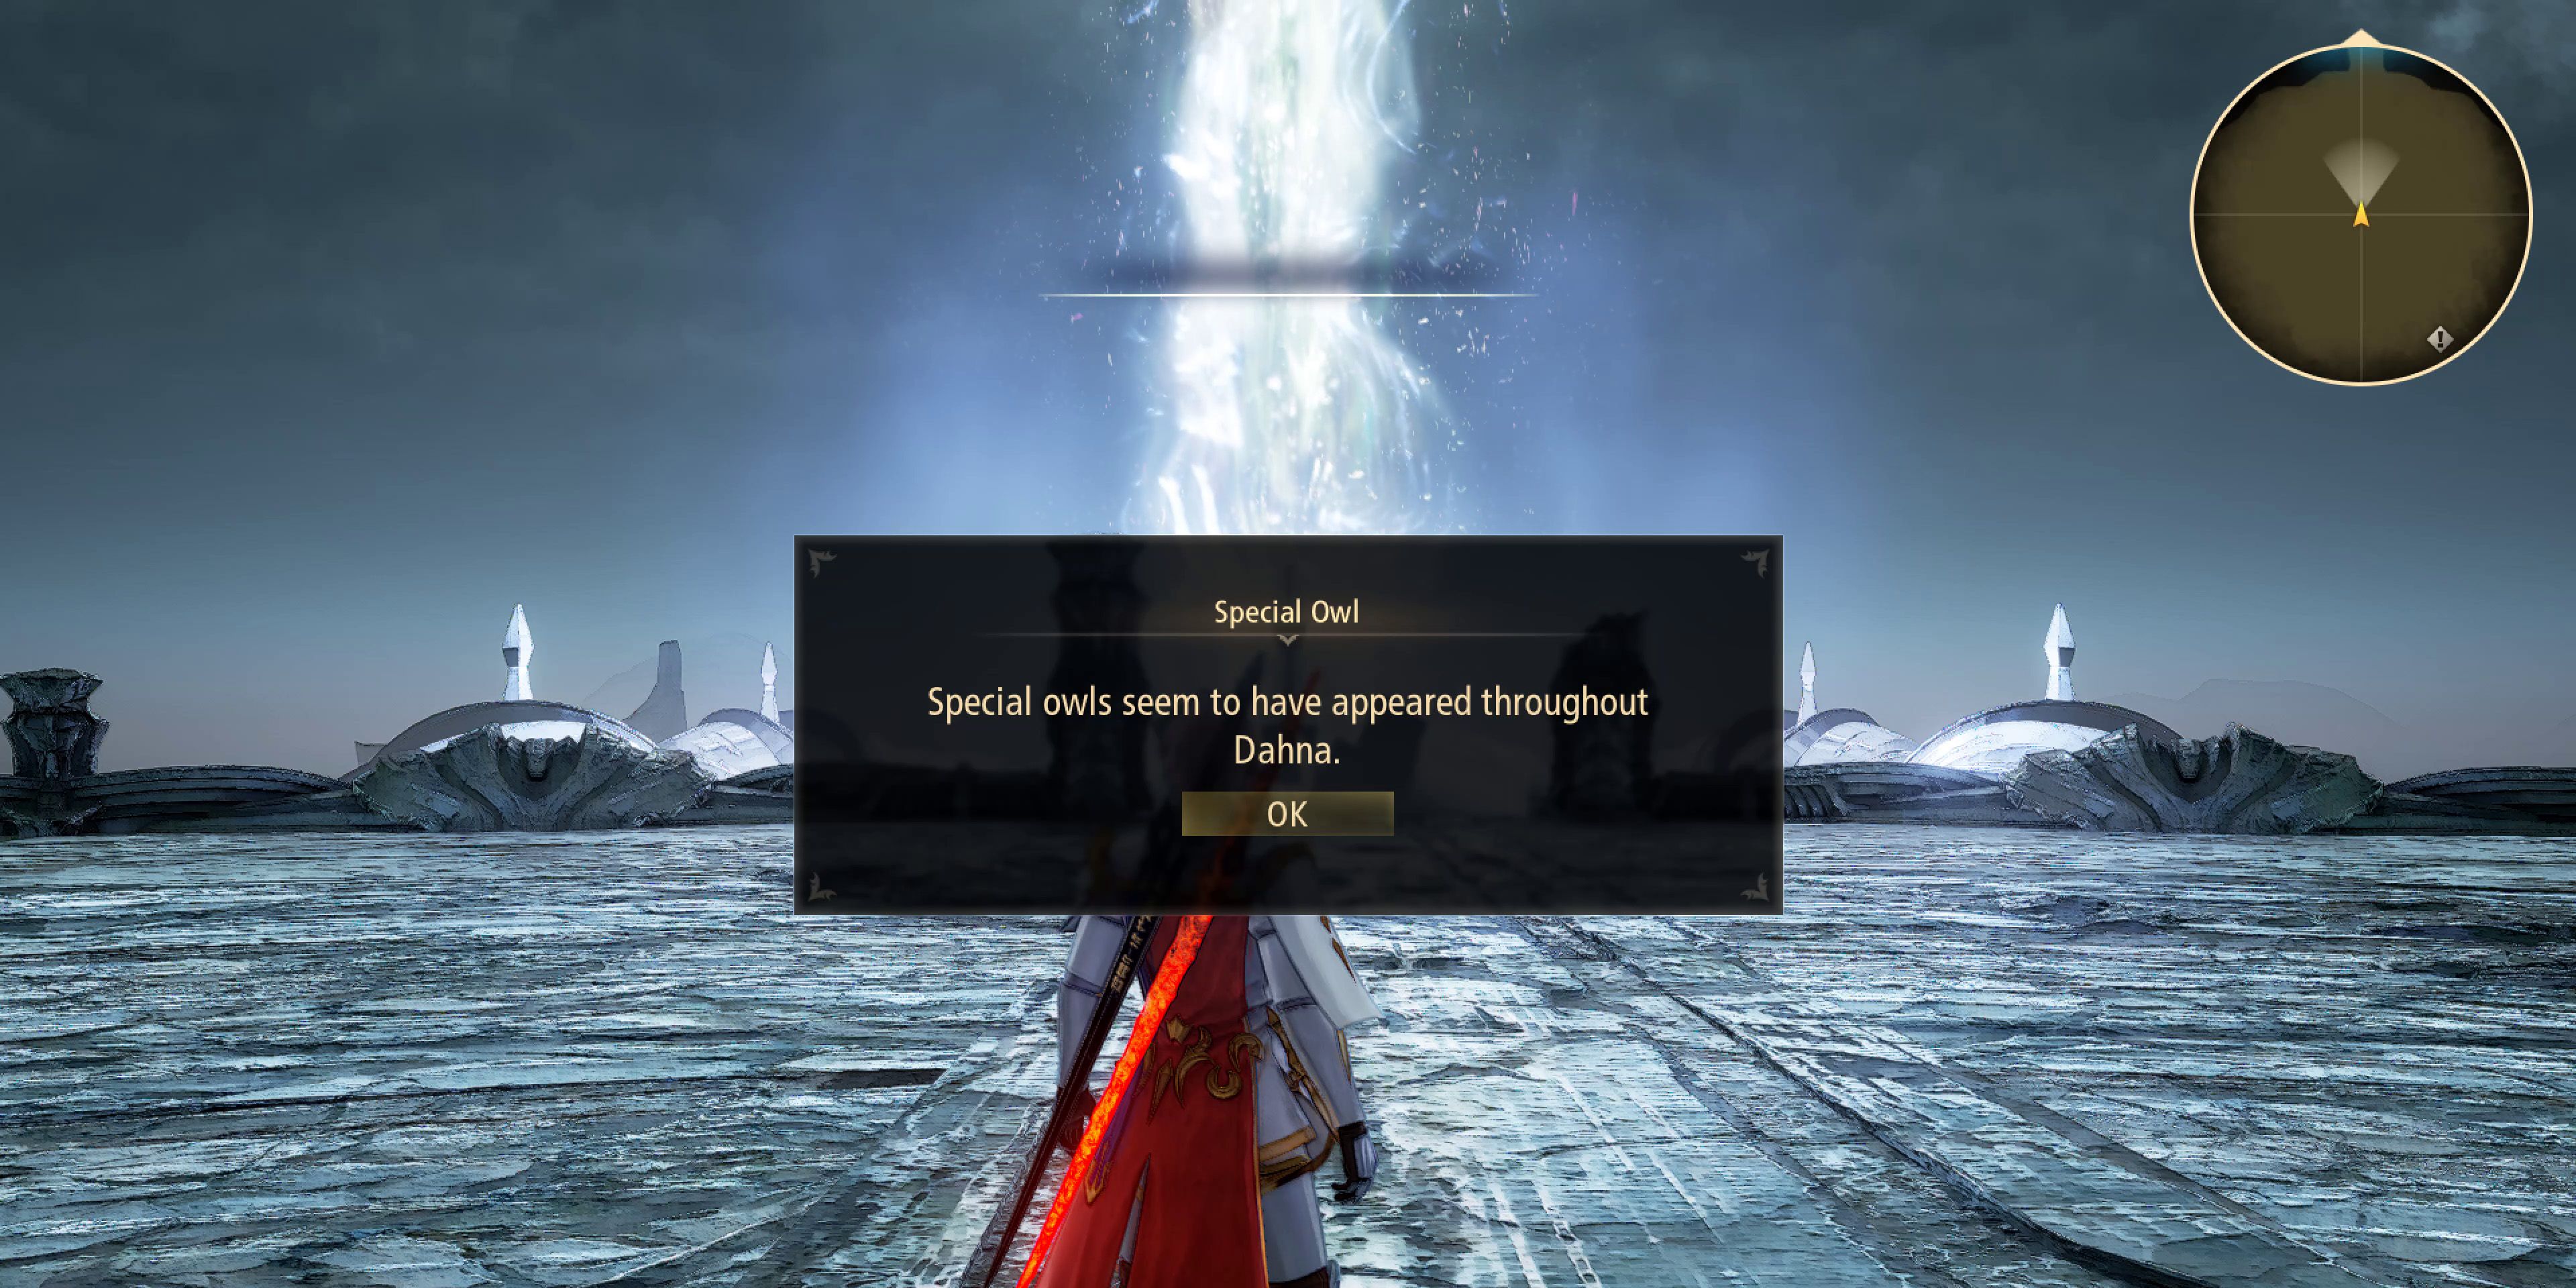
After arriving on Rena, players will finally be able to head back to Dahna, so those with tasks left to complete should probably take the opportunity to do so now. Assuming that players have already found the first 32 owls, the final six needed for the Owl Homecoming trophy/achievement will now be available, as too are numerous new sub-quests and locations. There will be other opportunities to head back before the end of the game though, so there's no real harm in continuing forwards in the meantime. Whenever they're ready to do so, players should head to the blue teleporter over to their left.
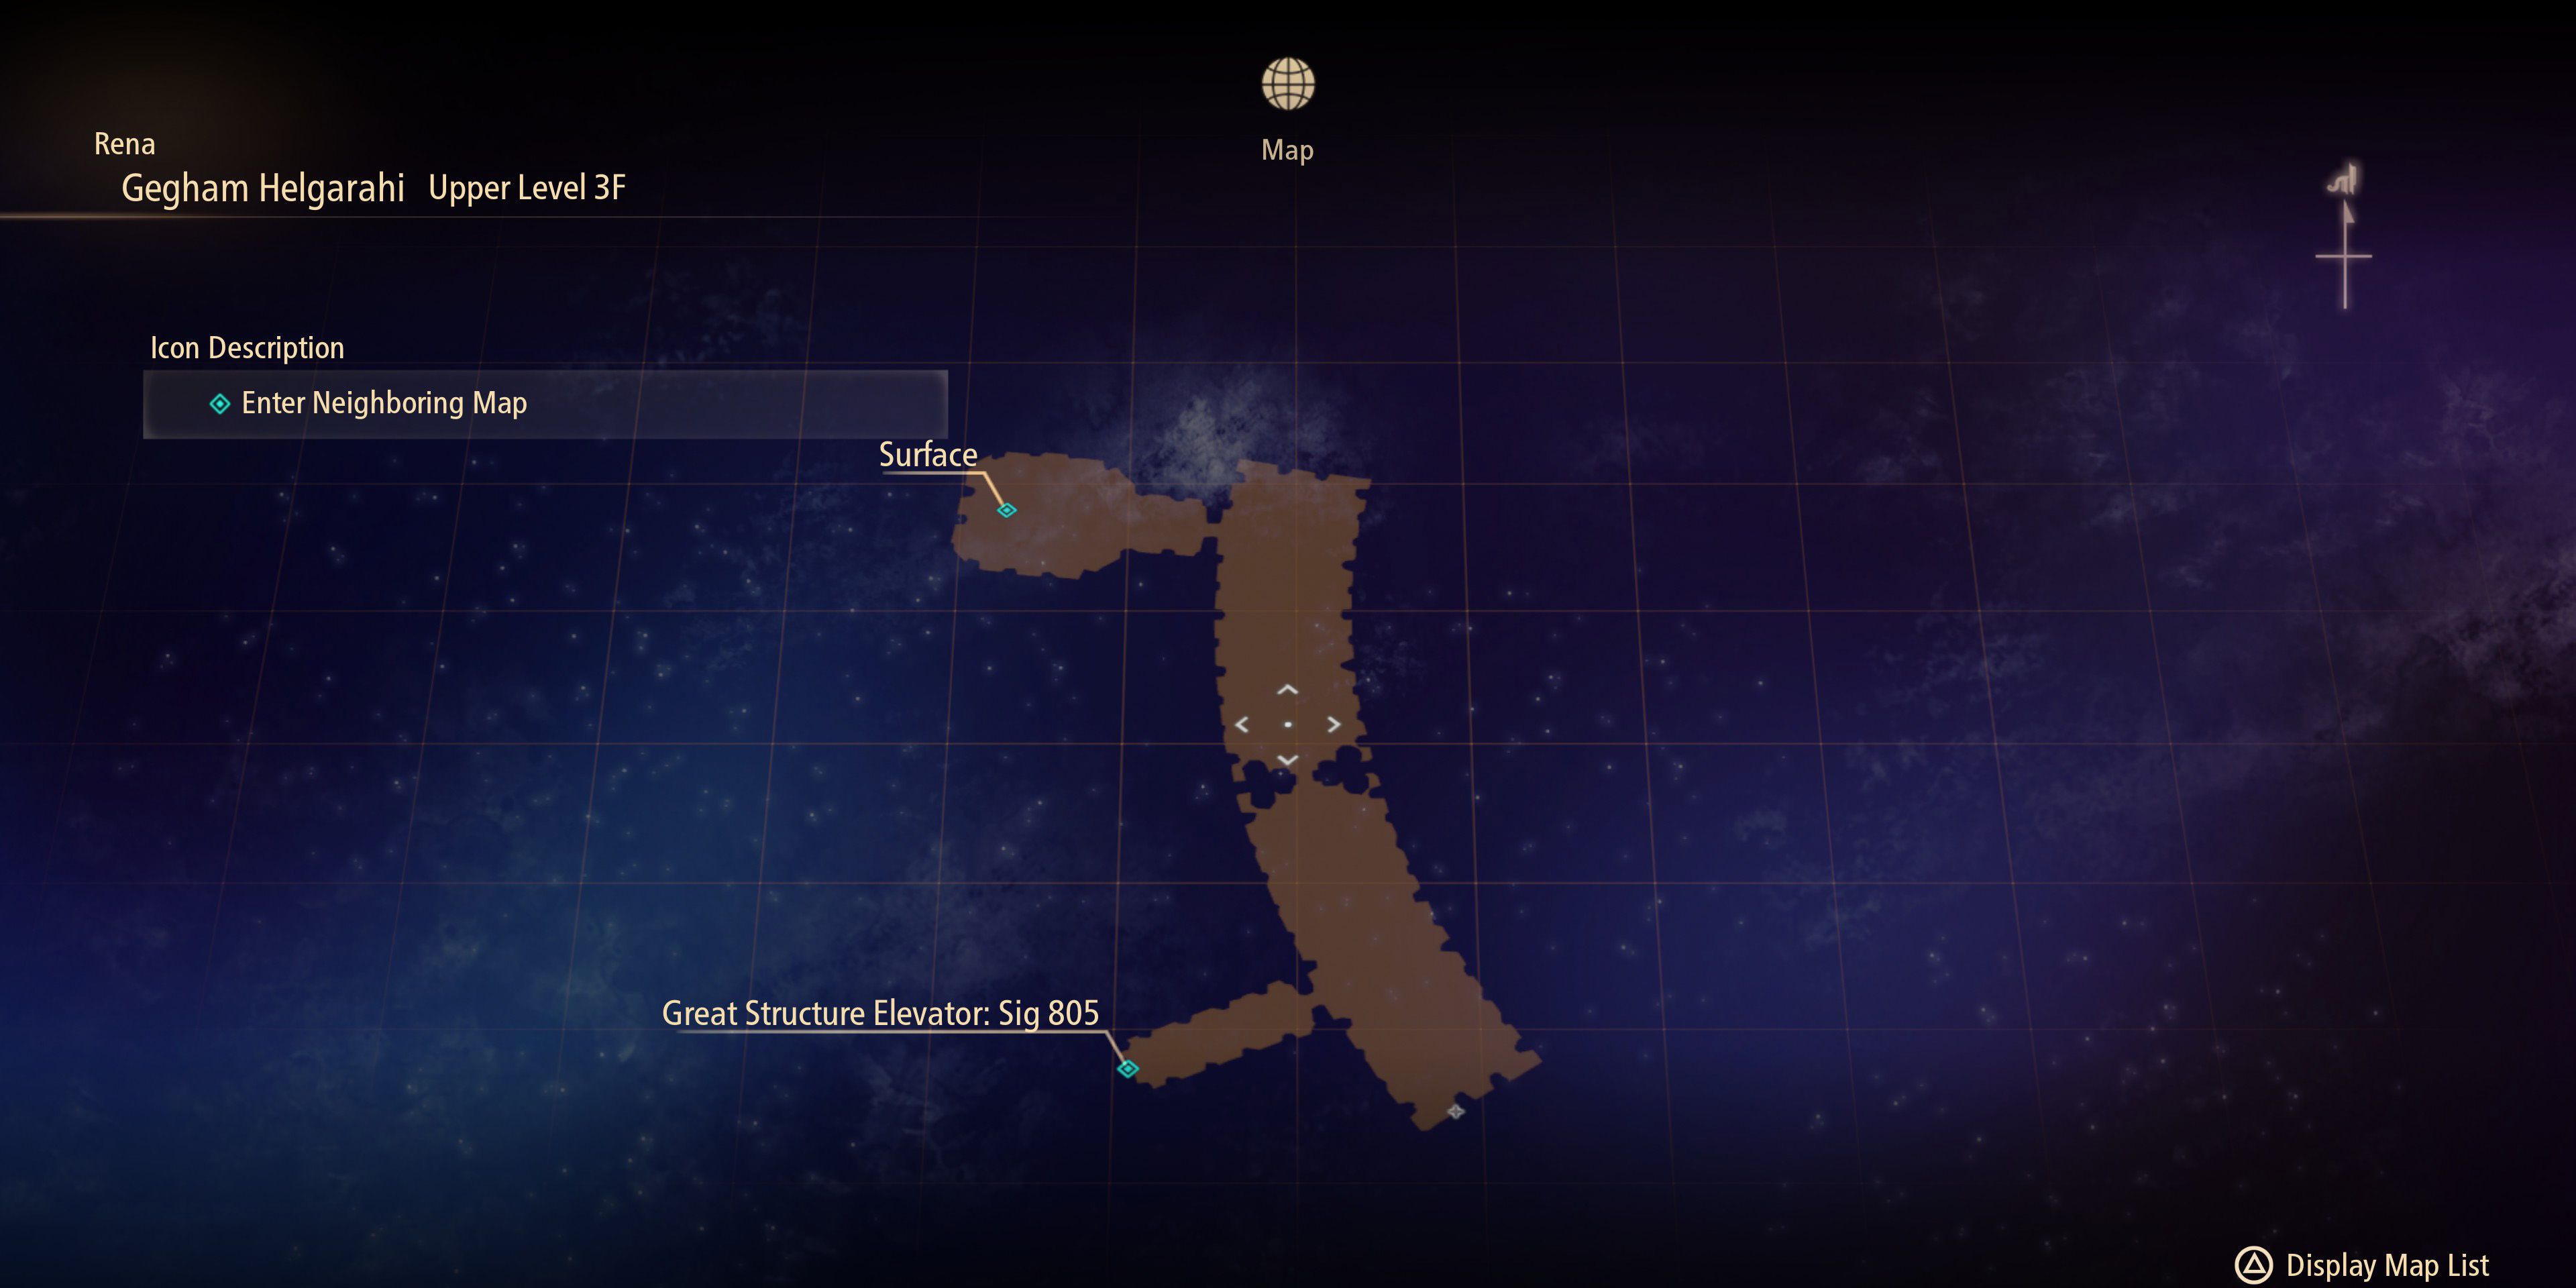
Upper Level 3
After dealing with the large group of Helganquils players should head to the end of the corridor, where they'll find some Grape Gel in a small chest. Continuing onward will lead to a large elevator and another big battle, though none of the enemies should be all that challenging. After defeating them all and leaving the elevator, the party will find themselves in a short corridor that leads to the next area.
Upper Level 2F Corridor
Before dropping down to the lower level, players should head through the door to their left, through which they'll find a red chest containing Law's Canine Vest armor. After heading back outside, they should now drop down near the ladder icon, being sure to pick up the Pineapple Gel at the end of the walkway before heading through the door to the next area.
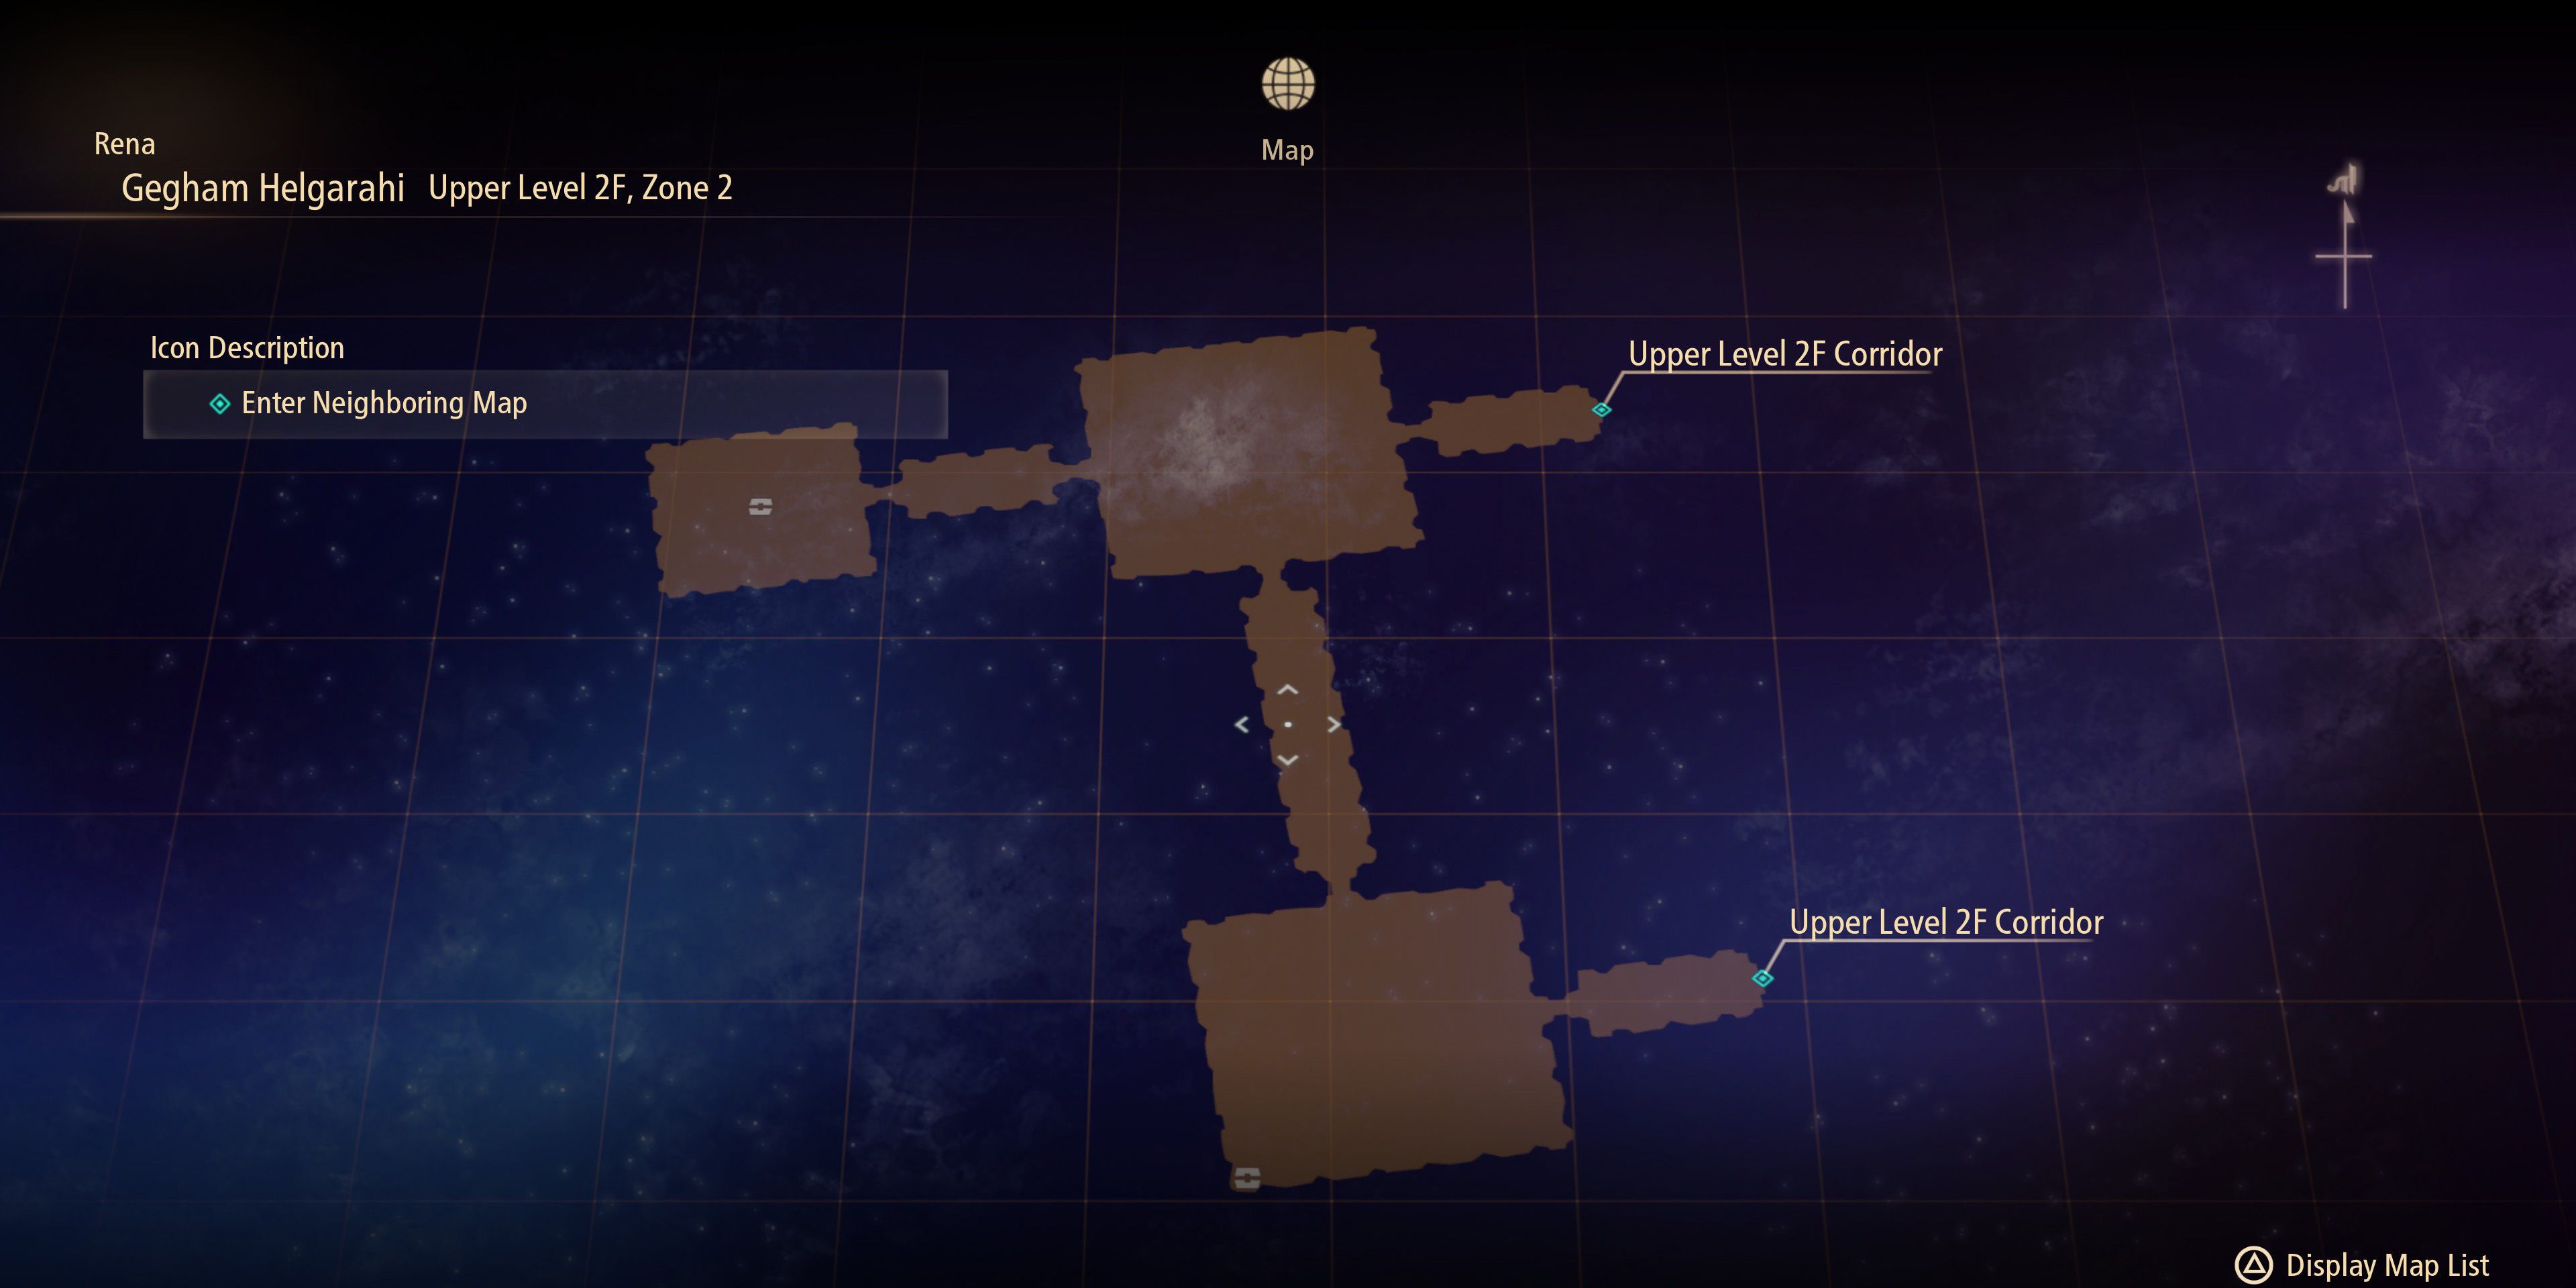
Upper Level 2F Zone 2
The first room in this new area has a blue chest containing 23,000 Gald in the far left corner. Continuing onwards, players will face another group of Helganquils and should then take a left upon reaching the next room. Behind some thorns (56 CP), they'll find another red chest containing Rinwell's Holy Cloak armor.
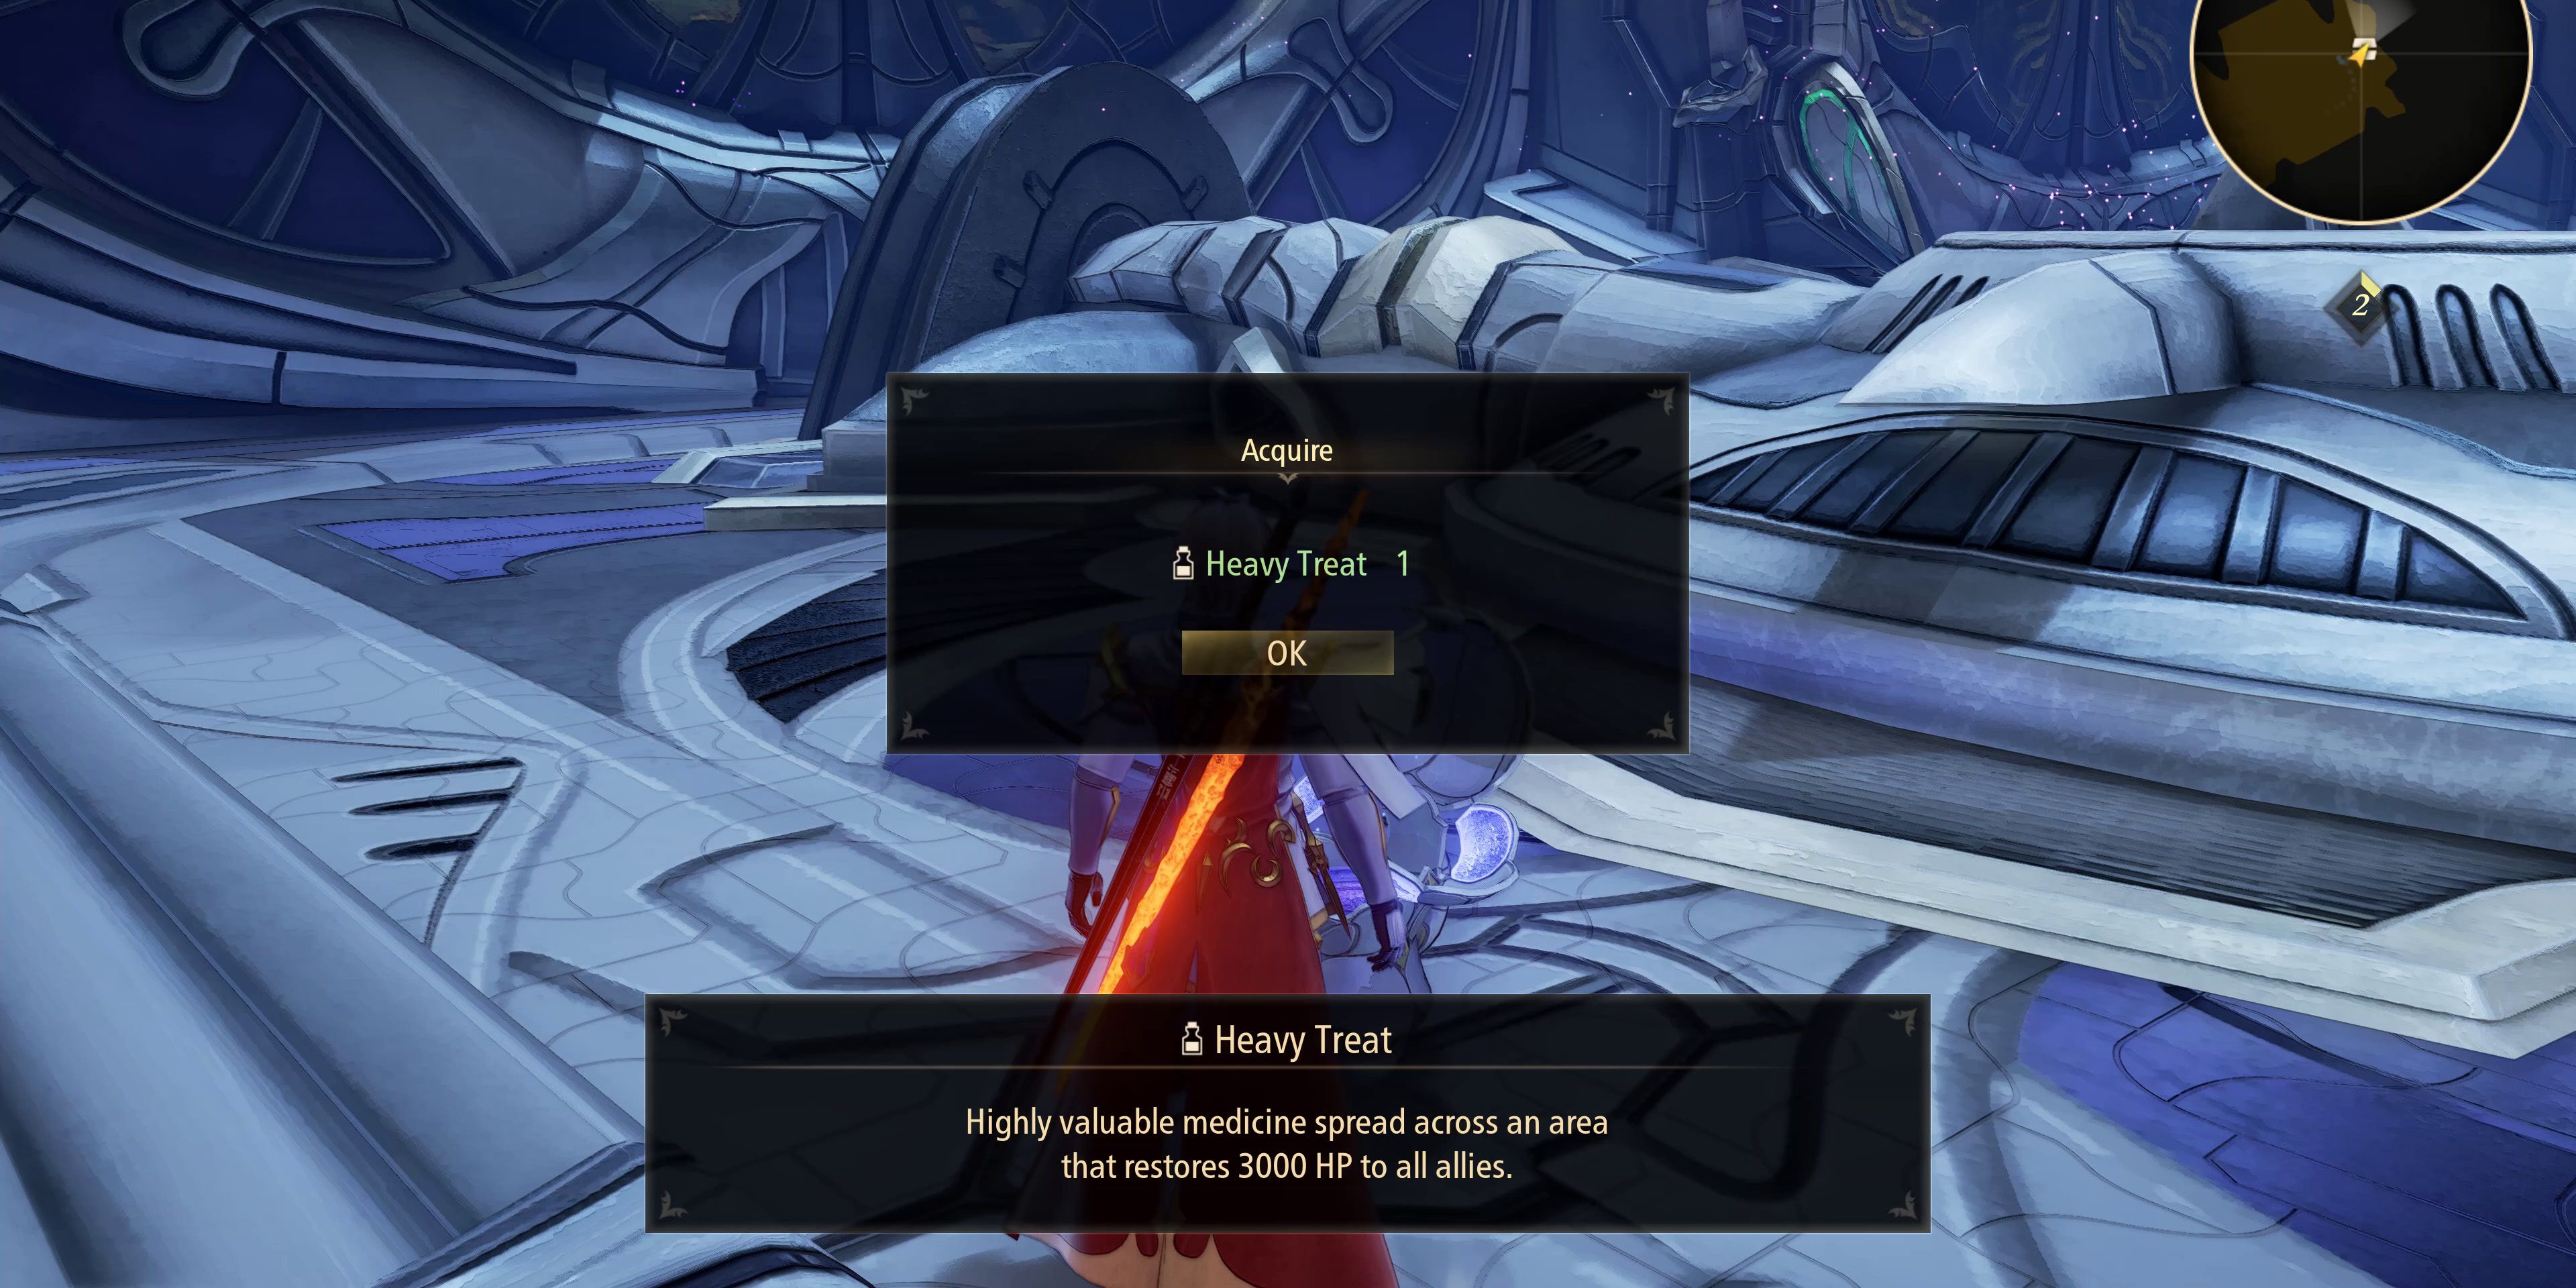
After collecting the armor, players will need to defeat a Chrome Gazer and then head through the door leading back out onto the Upper Level 2F Corridor. Here, they can find a blue chest containing a Heavy Treat at the end of the walkway. They'll then need to head through the door, defeat some more Helganquils, and then use the blue teleporter in the room directly in front of them.
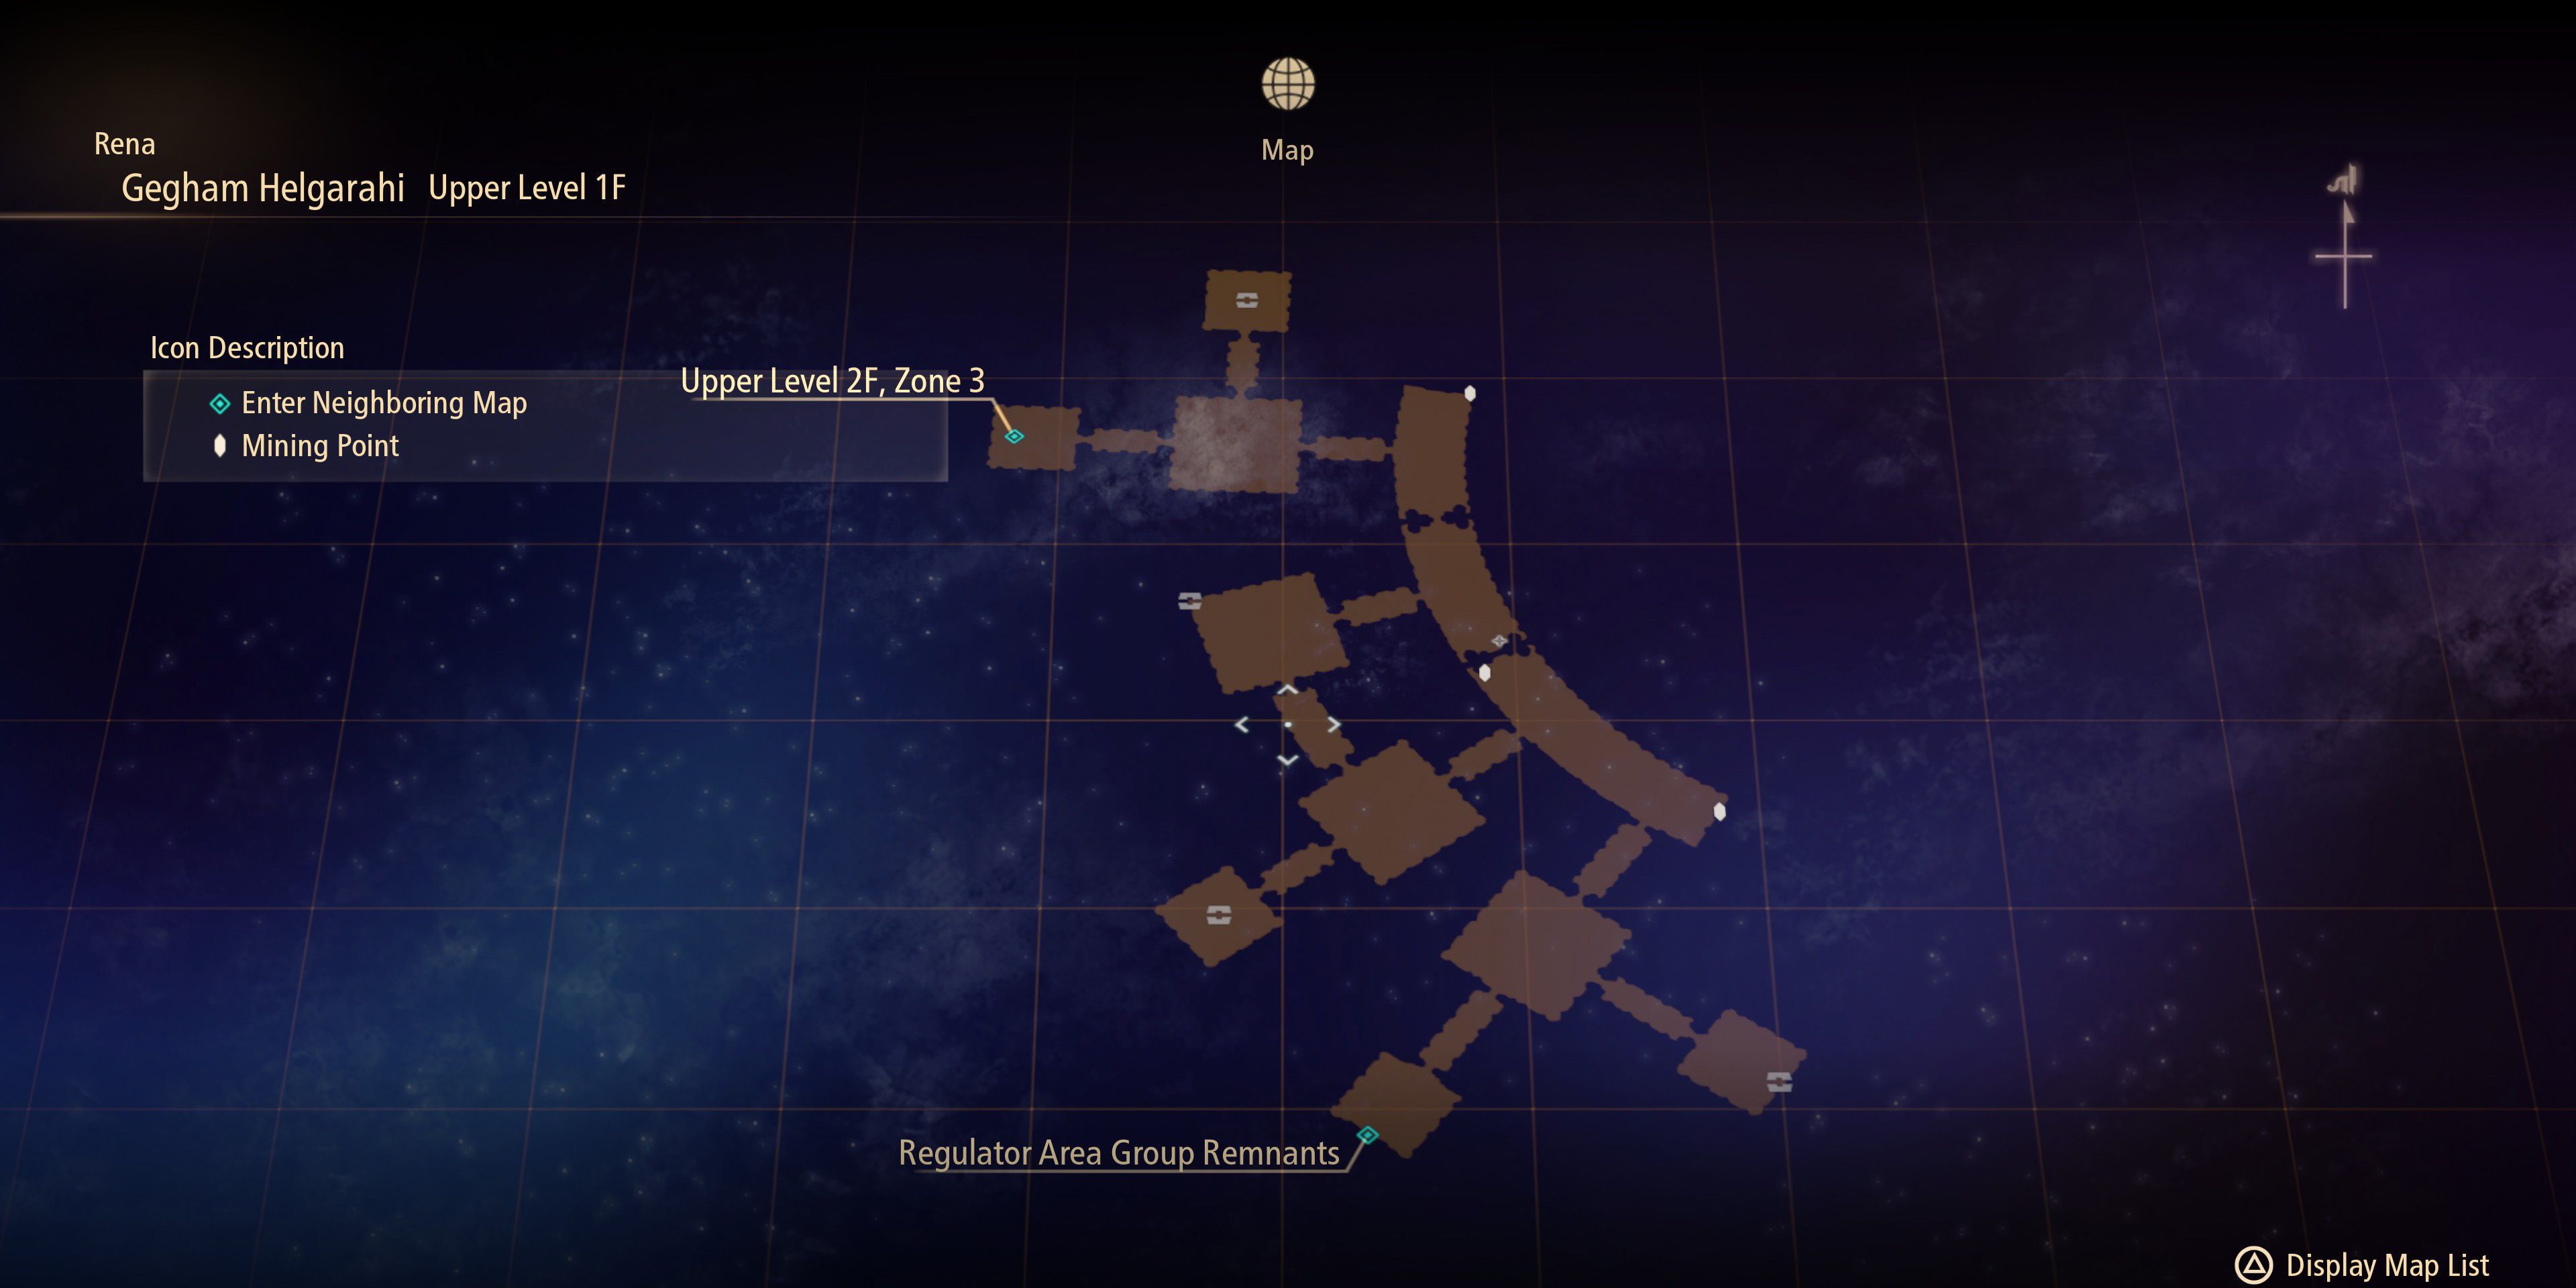
Upper Level 1F
Taking a left at the start of this new area will need to another wall of thorns (56 CP), behind which is a red chest containing a Lucky Bangle accessory. The other direction is being guarded by a Rending Mantis, which players will need to defeat before they can progress. Once that's been taken care of, players can find some Red Chamomile growing in a corner behind a pack of wolves. The room immediately after this has a blue chest in the corner containing some Dragon Blood.
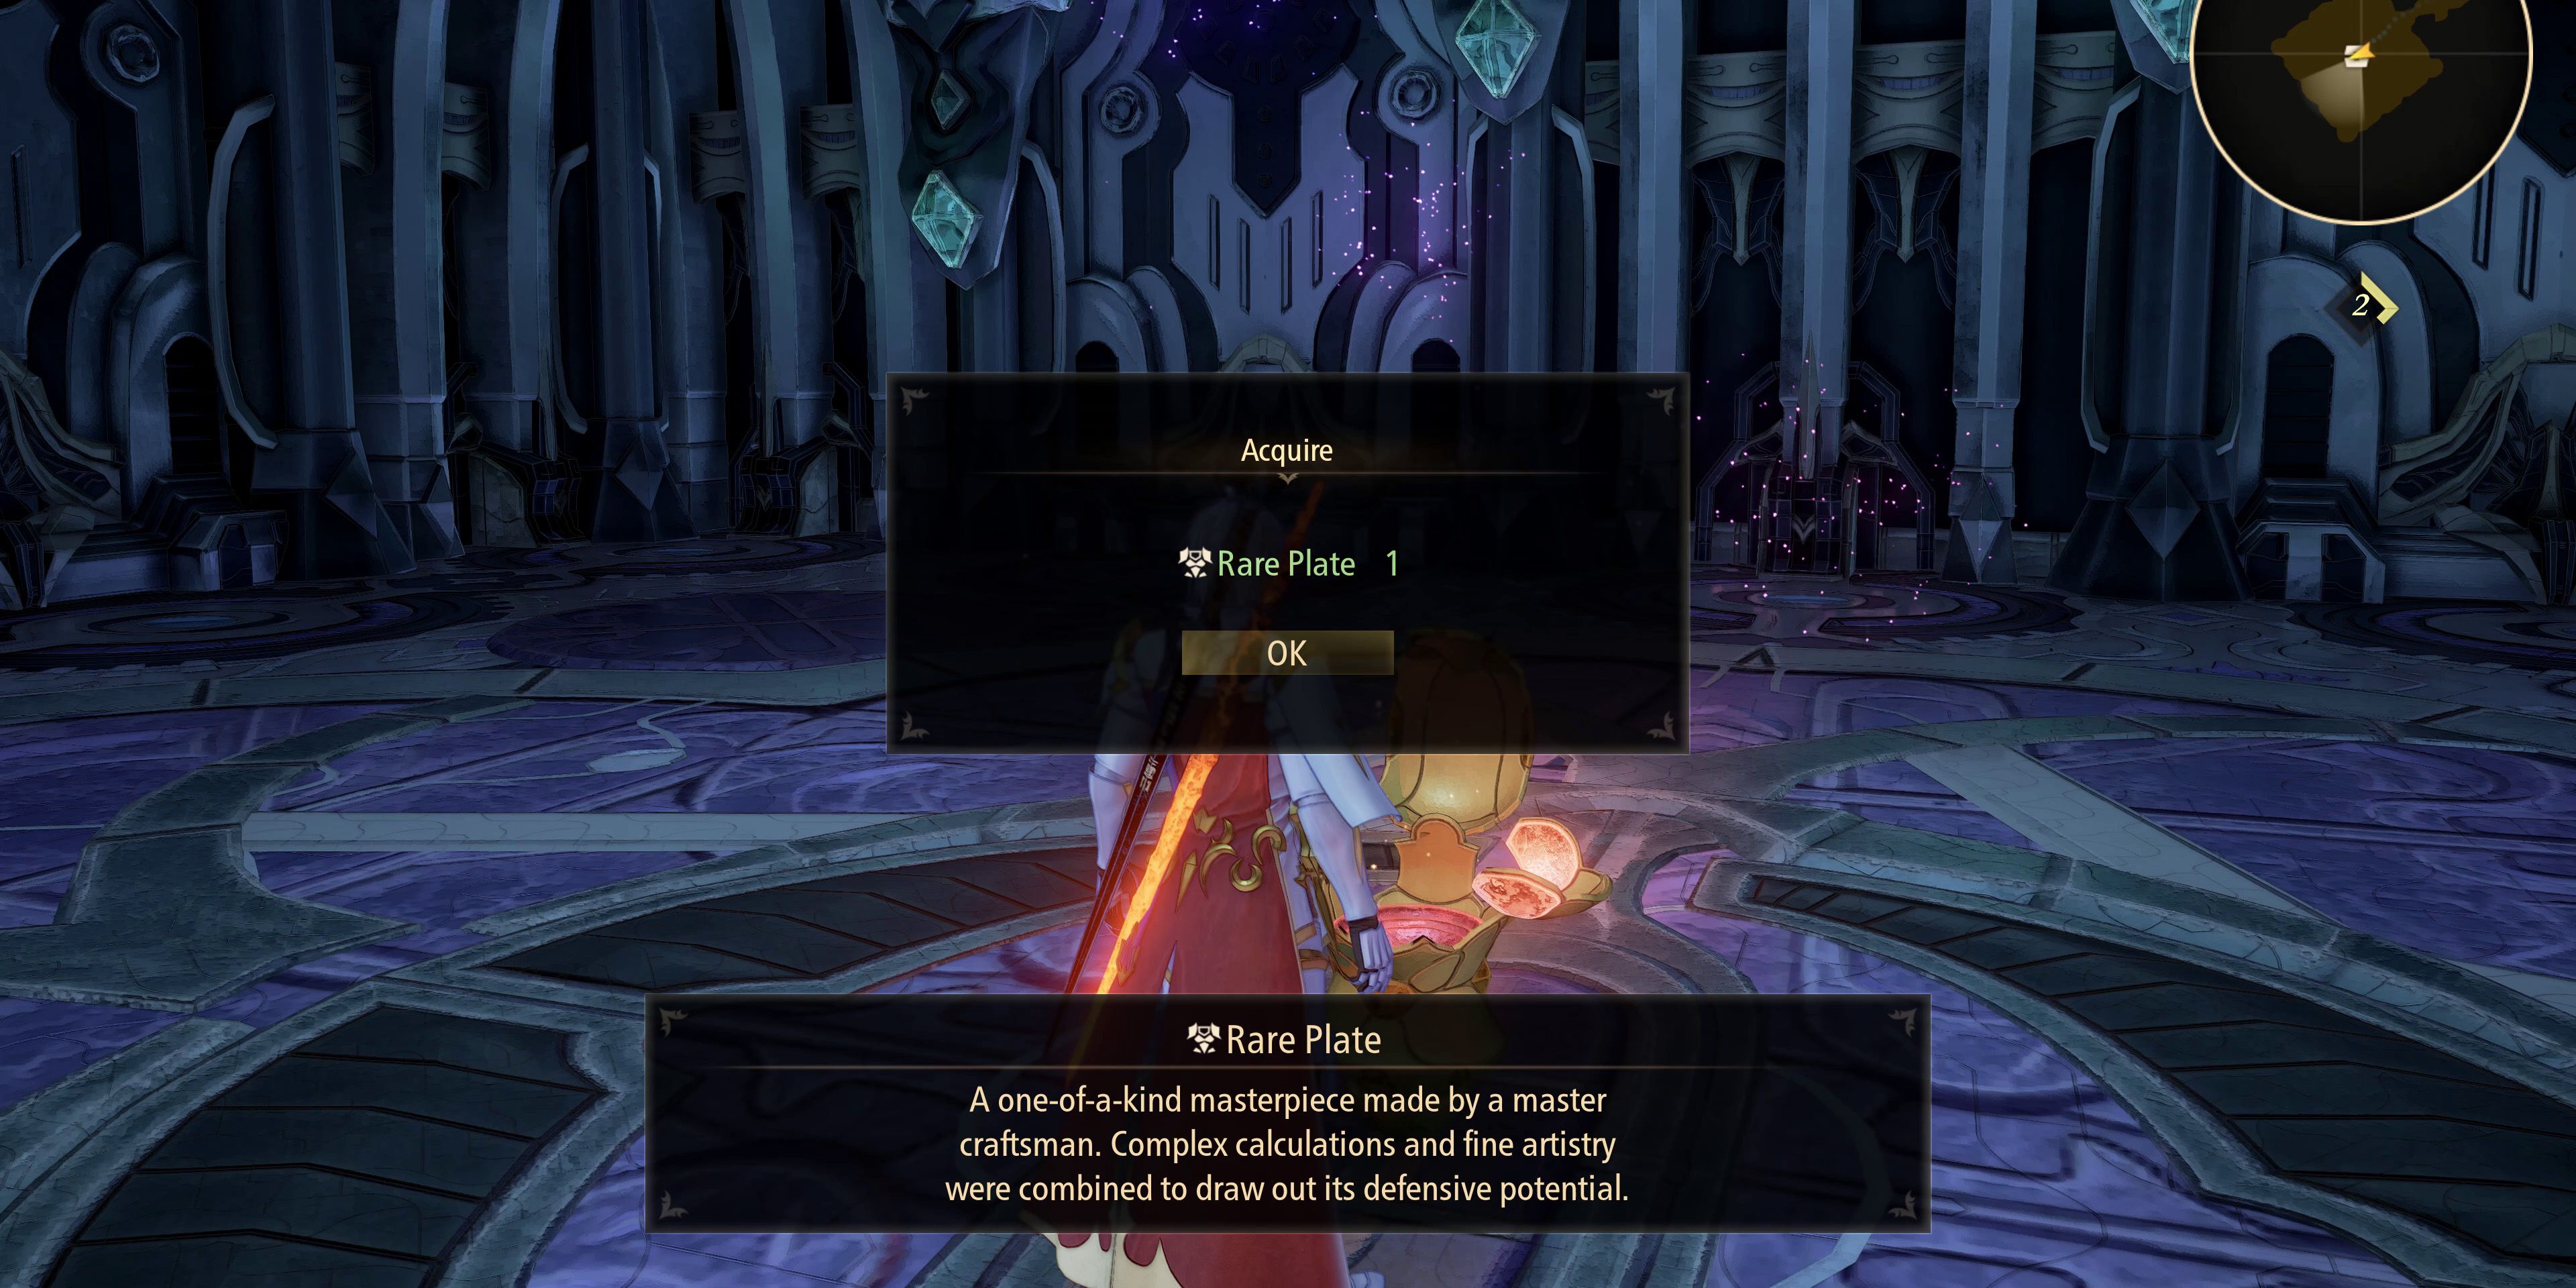
After taking care of some more enemies, players will find themselves in a square room with three exits. If they take a right here, they'll find another wall of thorns (56 CP) and, behind it, a red chest with Kisara's Rare Plate armor inside. The other exit, which is being guarded by a Polycontrus, will take players to a long, rectangular-shaped room where they can find another herb growing in the far corner.
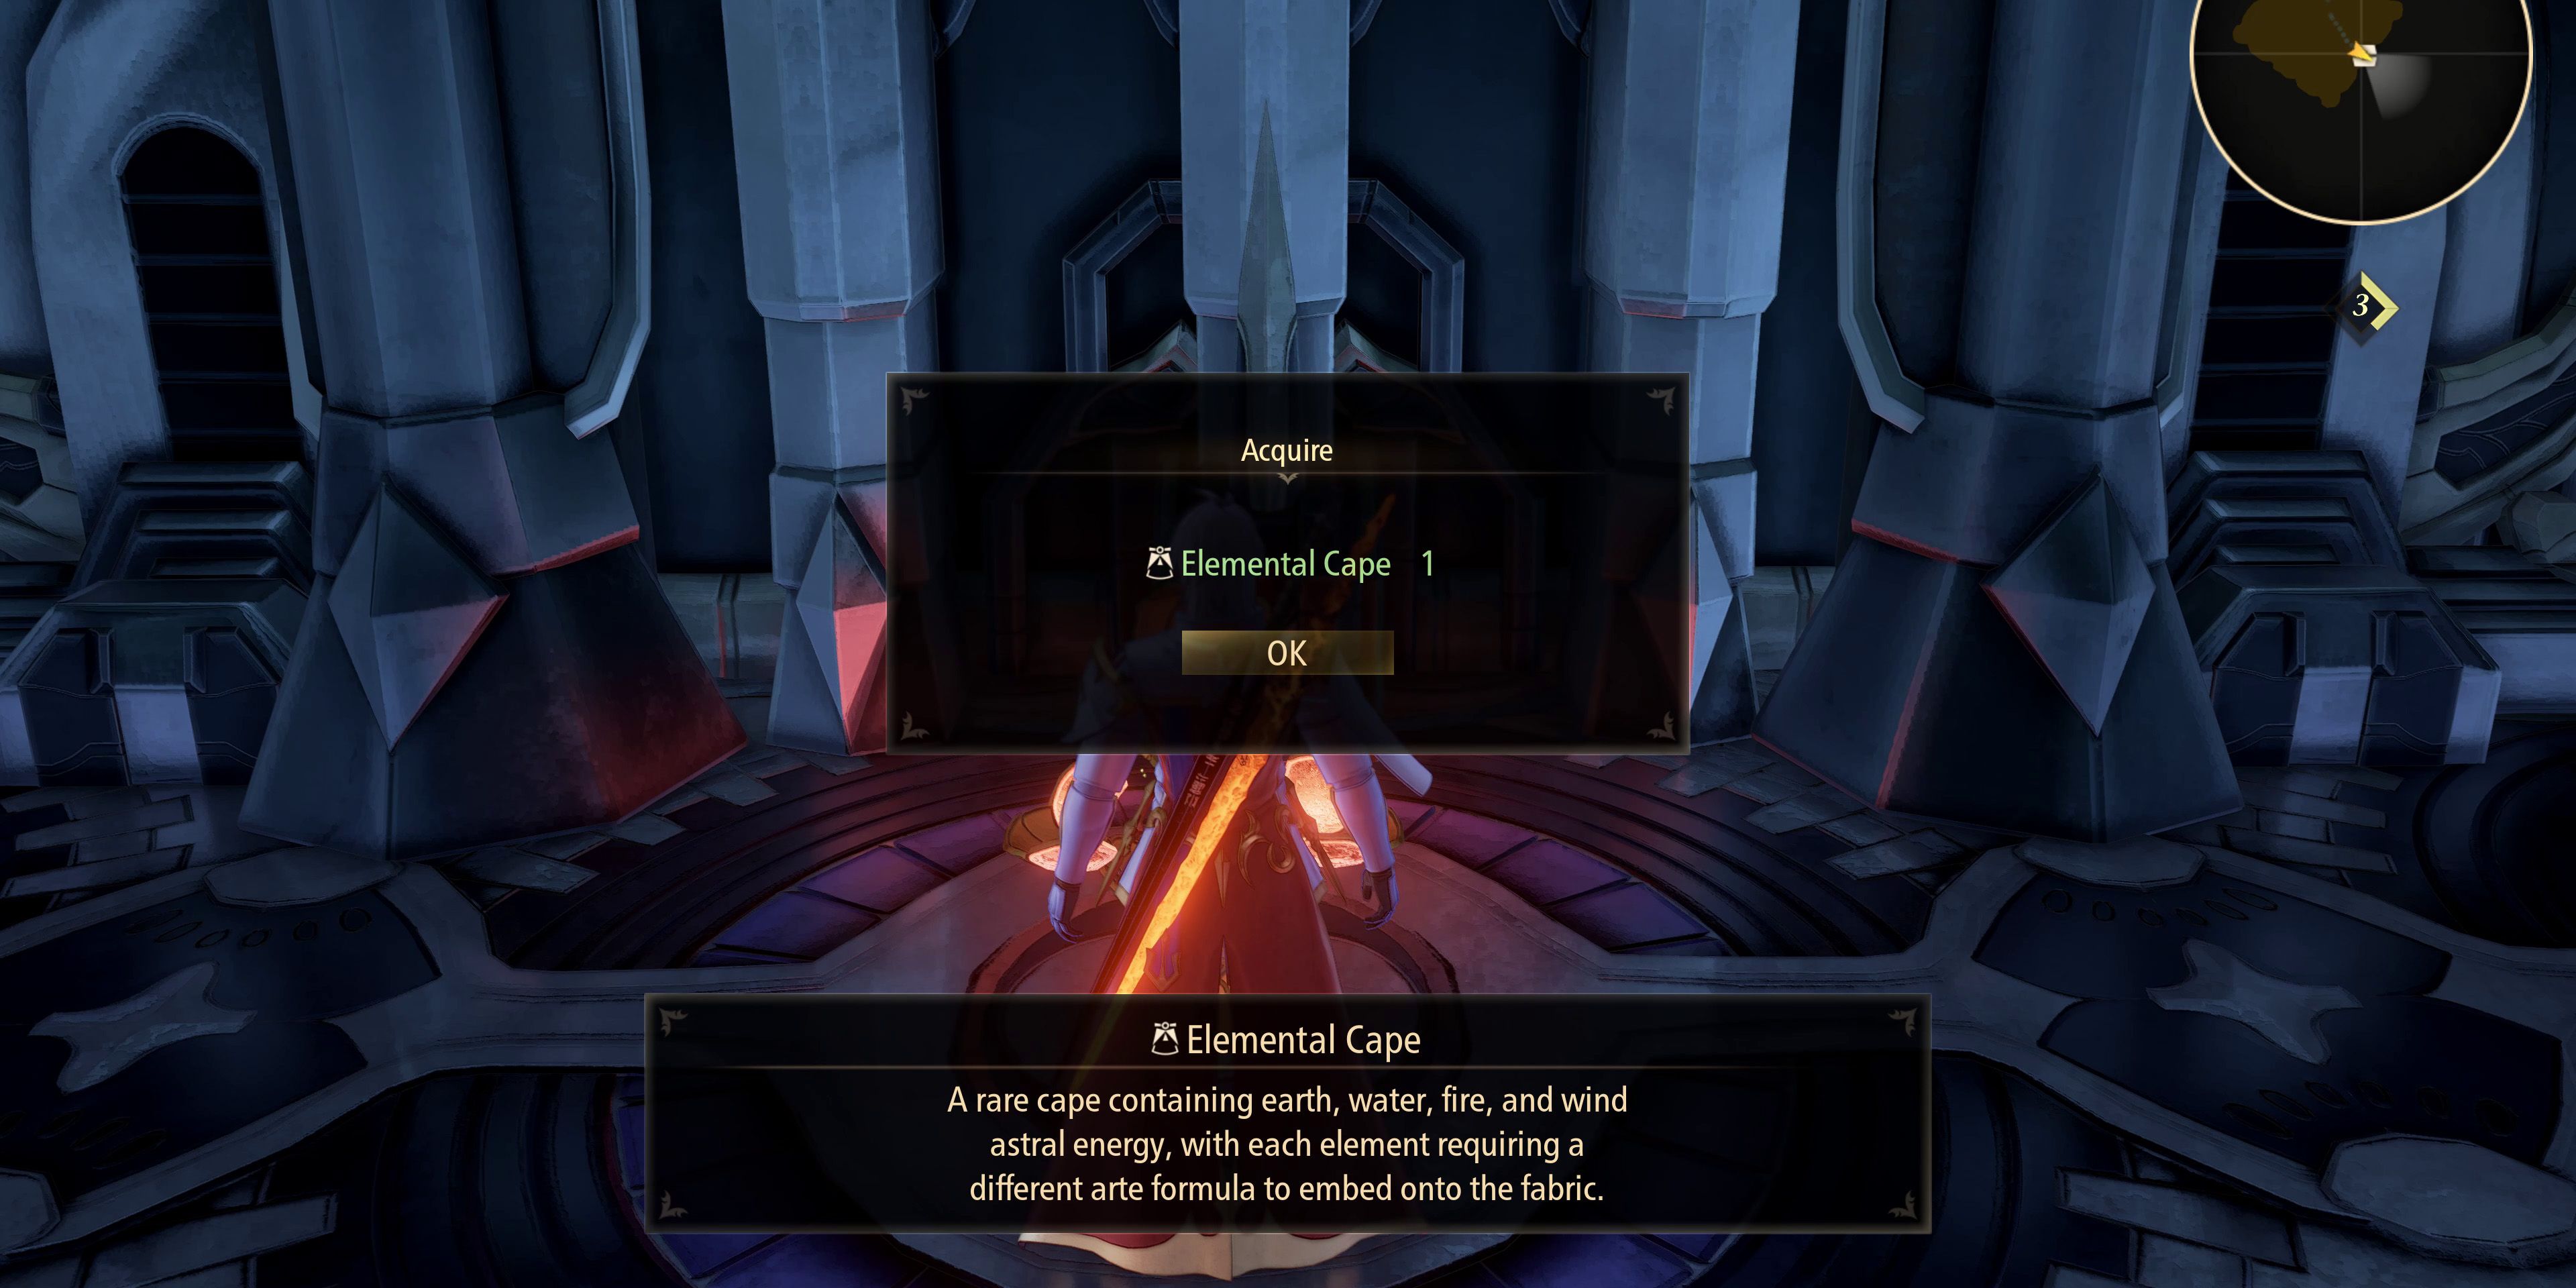
Taking a left in the next room will lead to another red chest that's being guarded by a Rending Mantis and some Bees. It contains Dohalim's Elemental Cape armor, so is definitely worth the effort. After opening the chest, players should continue onward, defeating some more enemies and then refilling the party's health at the Healing Light before heading through the door.
Valclynimus Boss Fight
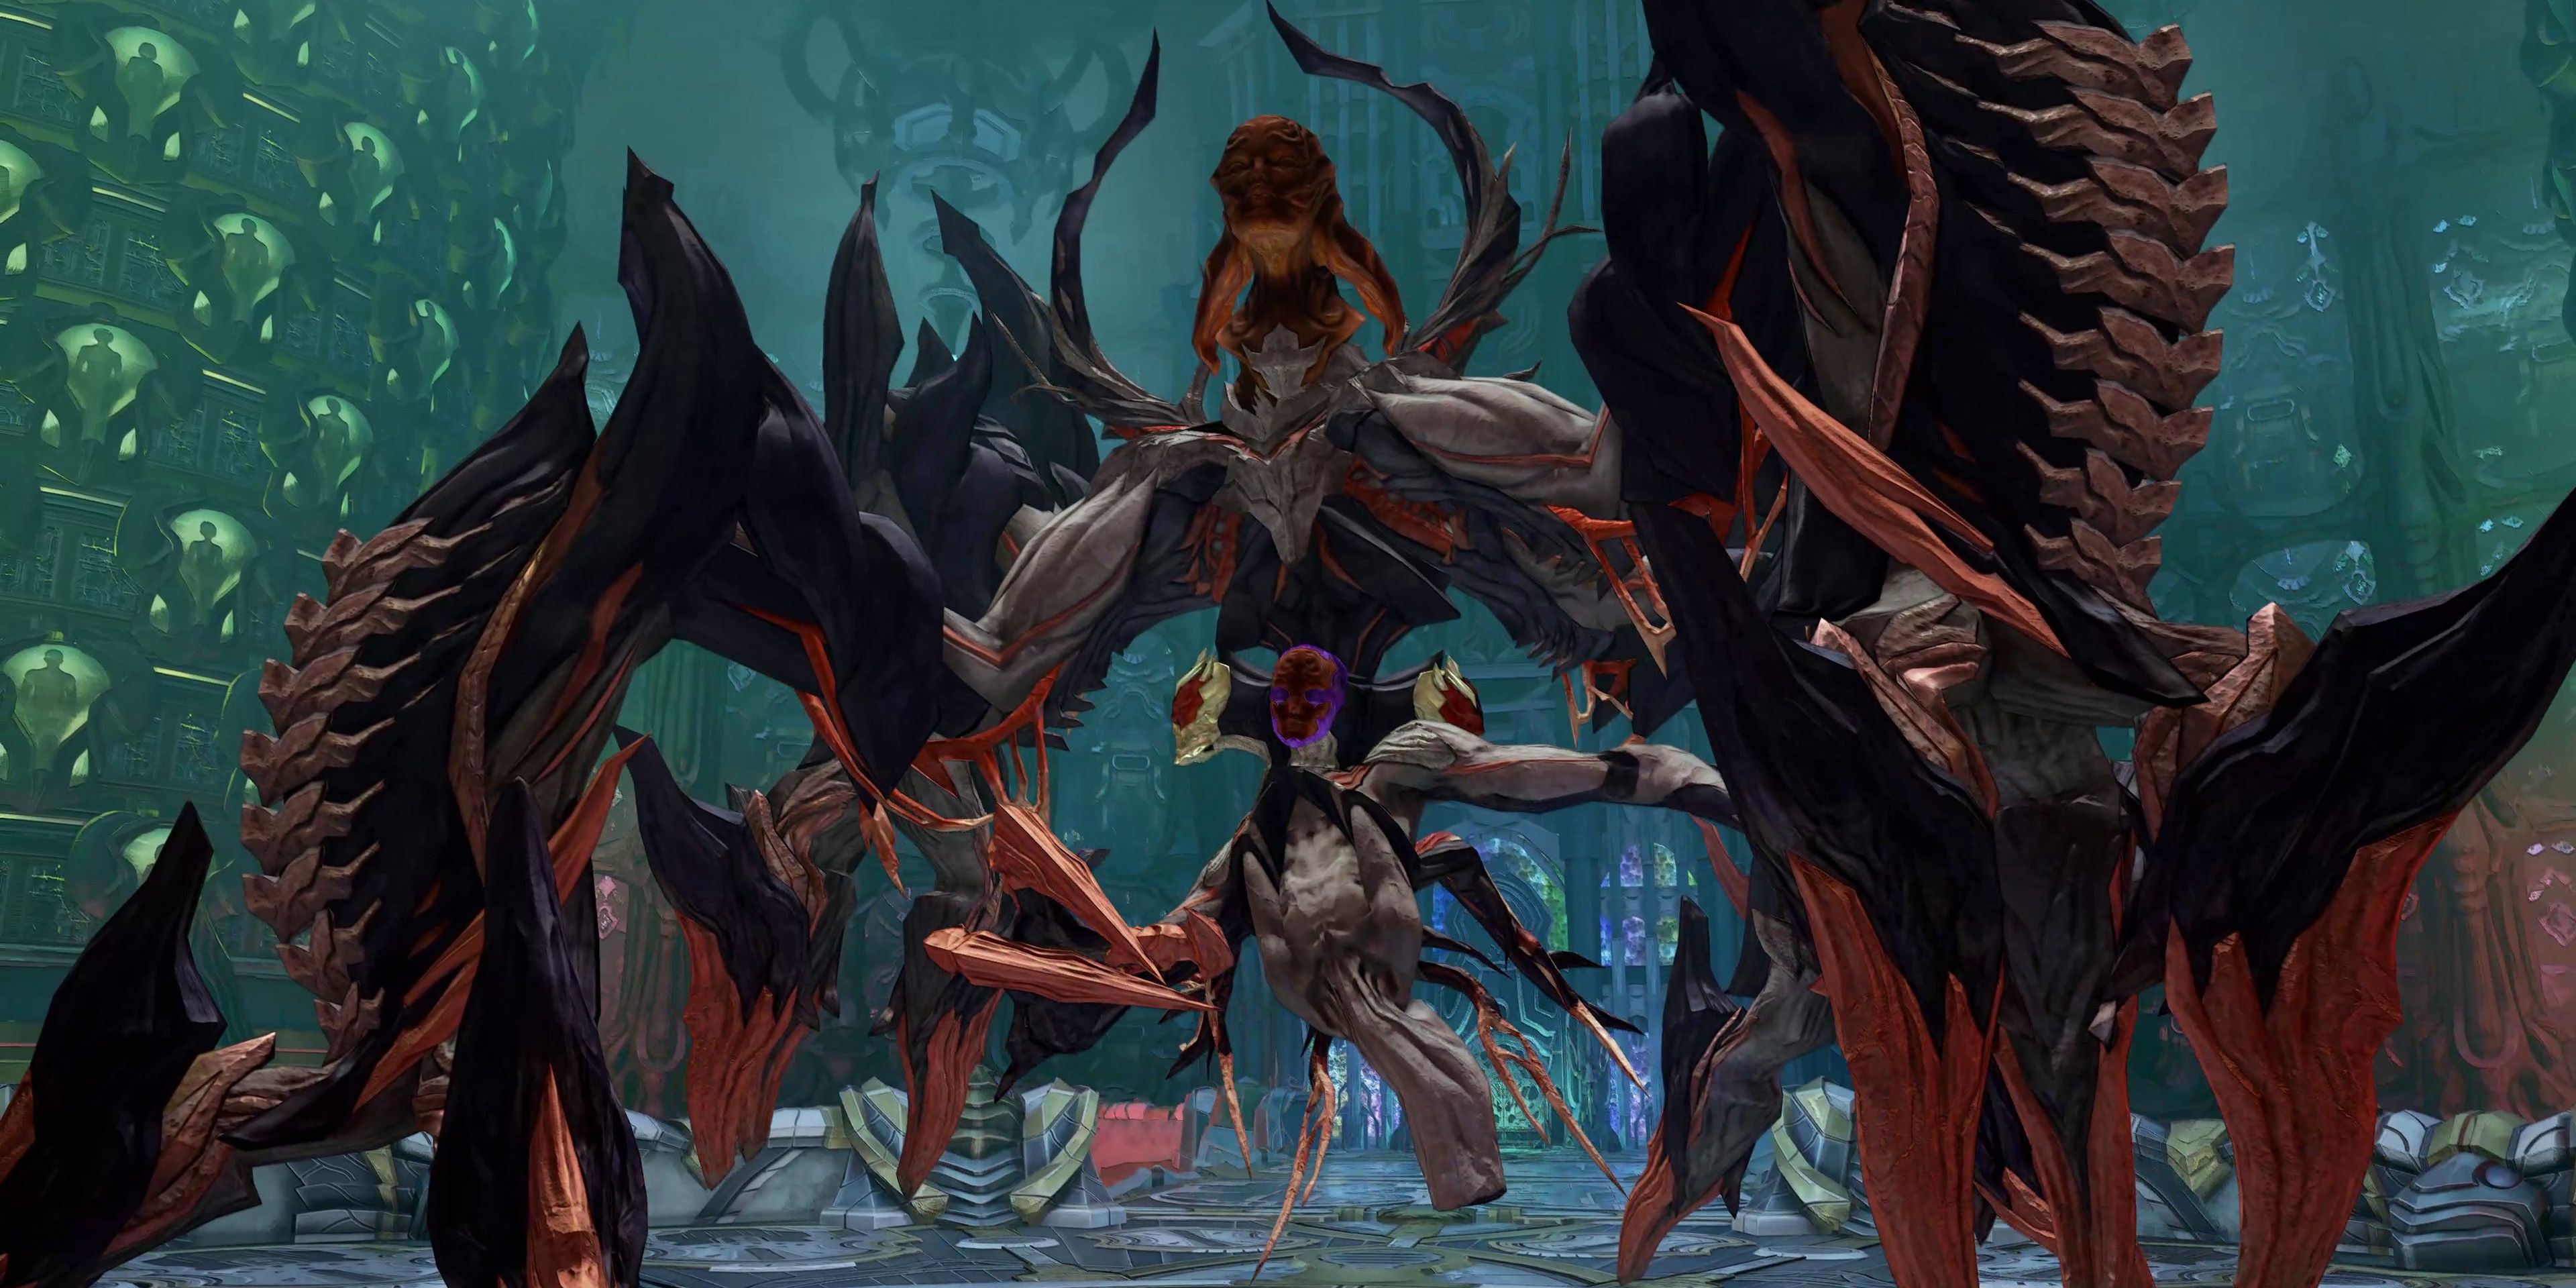
Upon watching another cutscene and then taking a few steps forwards, players will find themselves up against the Valclynimus mini-boss (level 55). It can be difficult to break its cores due to how many it has and the fact that they are constantly spinning, but it's also incredibly easy to dodge its attacks thanks to its slow movement speed.
Boss Tip: Alphen's Boost Strike is incredibly effective when it comes to breaking cores and can also inflict damage to multiple parts of the boss. |
After depleting its HP, there'll be another cutscene and a few more skits before players regain control. If they head round to the right of the giant doorway in front of them they'll find a chest containing some Pineapple Gel. Other than that, there's nothing to be done here other than head through the door and stepping into the teleporter.
Regulator Area Group Remnants
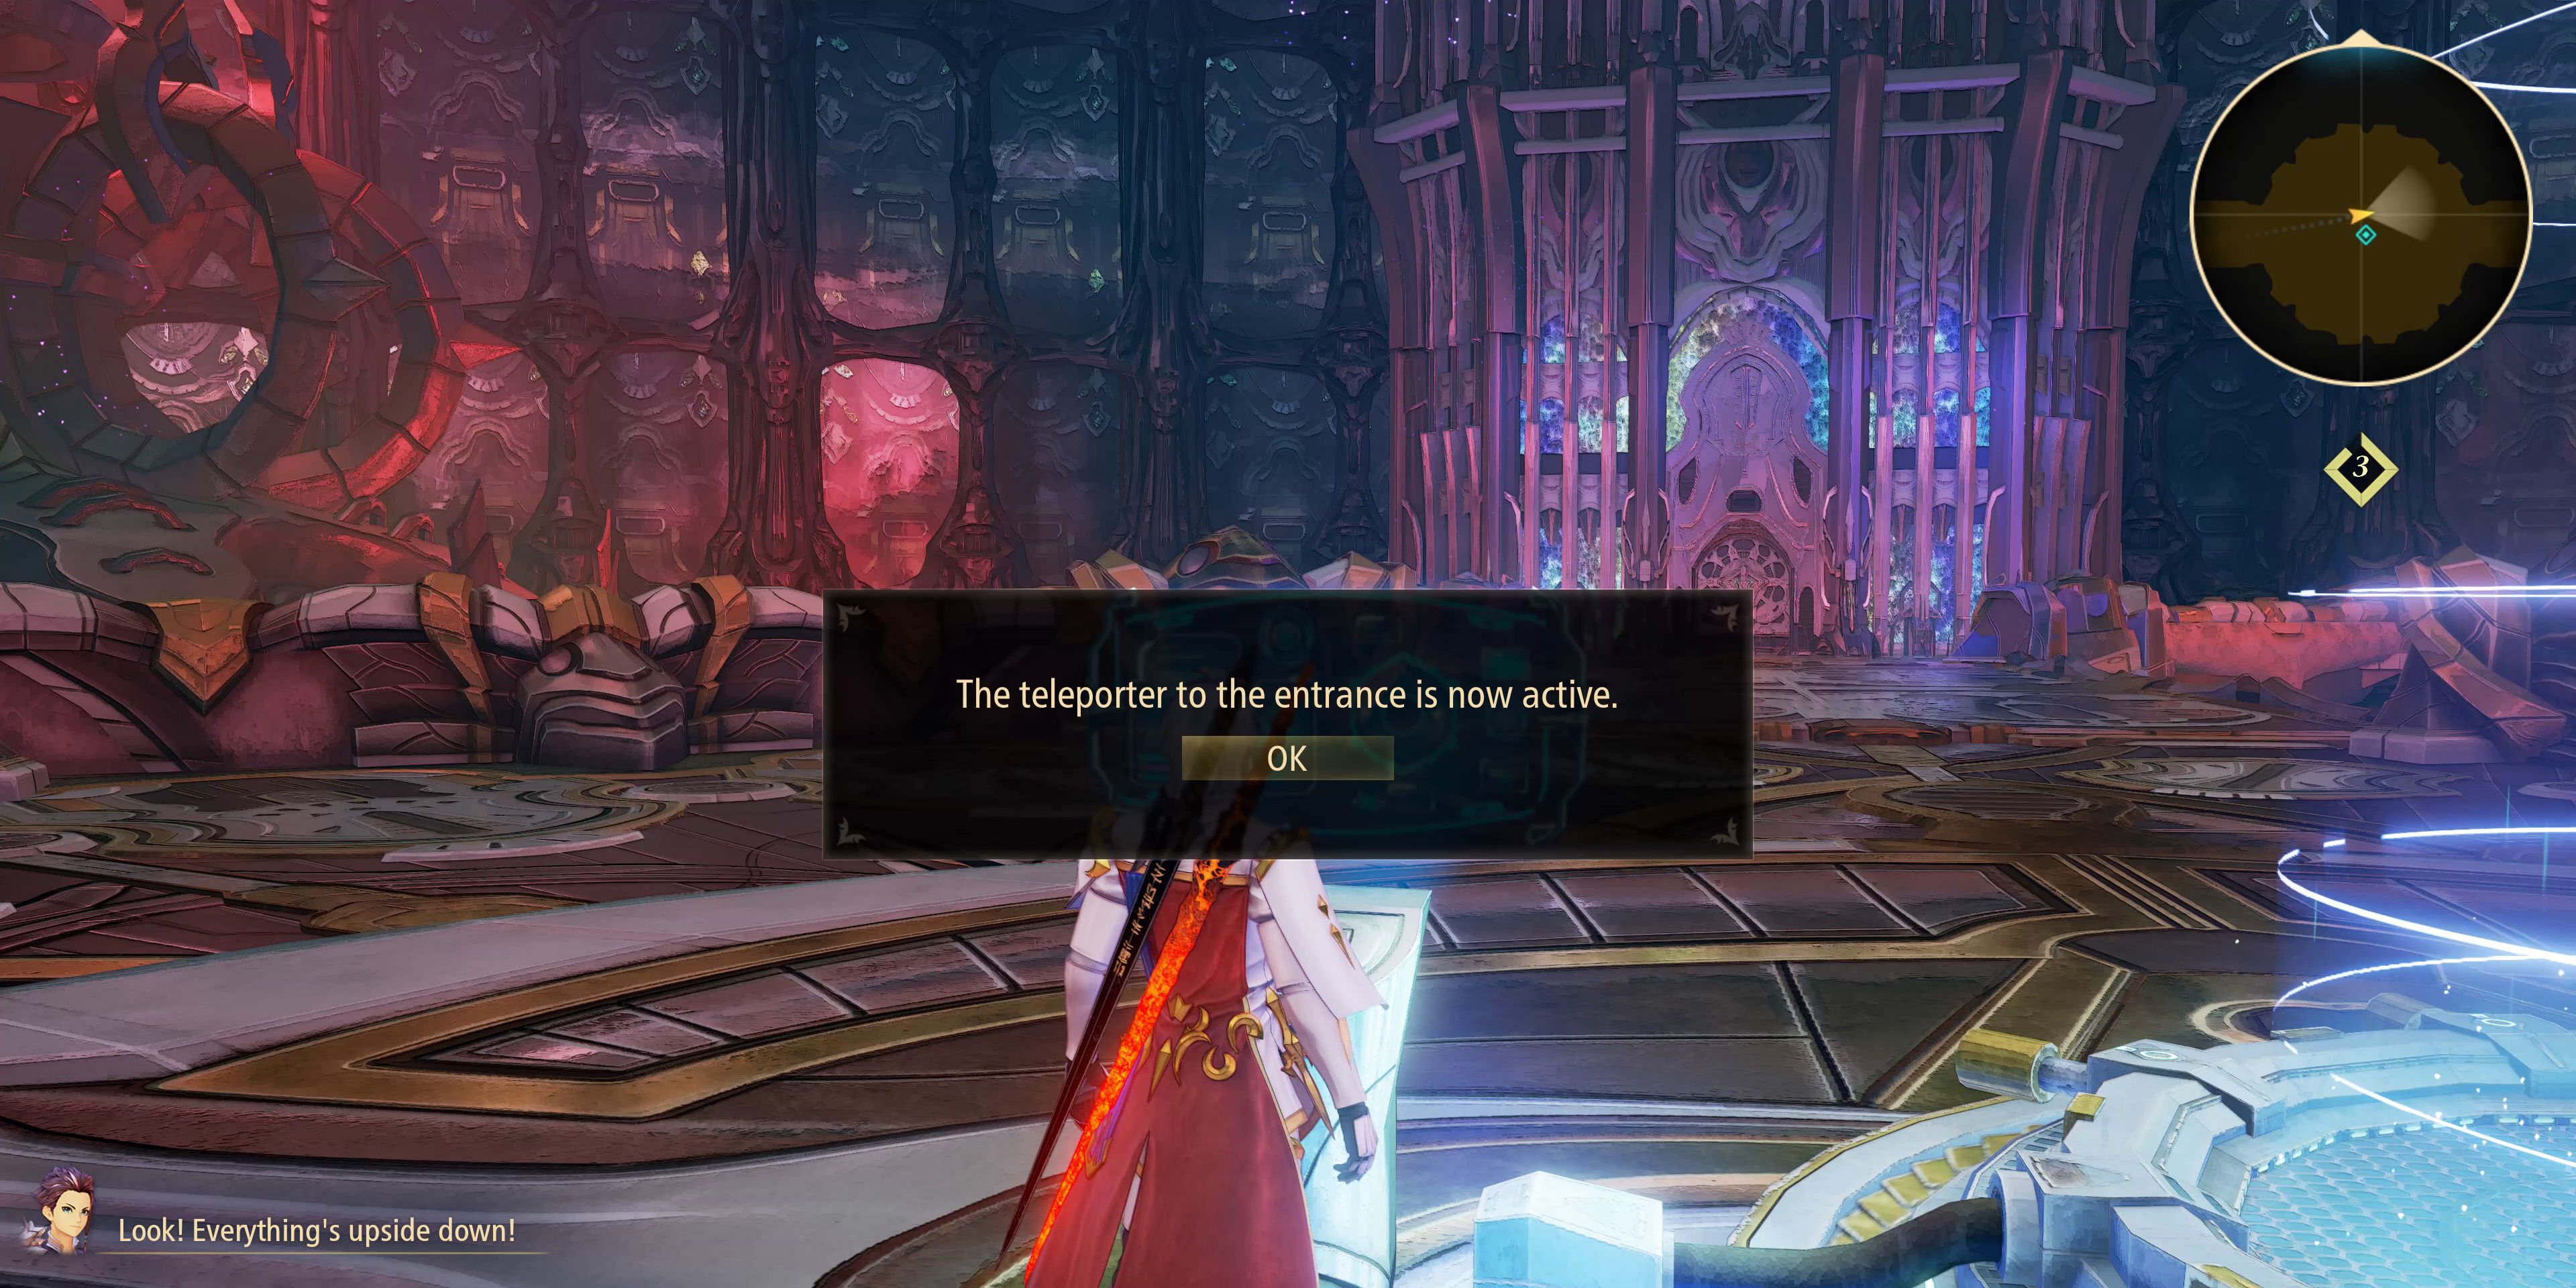
Interacting with the teleporter will cause the entire area to be flipped upside down. Players will now be able to find another teleporter upon heading through the door, which will take them back to the area where the ship is docked. Even if players don't plan on using it, it's worth activating the teleporter so that they can easily return to this point later on if they need to. After that, it's time to head back through the door and explore the flip side of the previous areas.
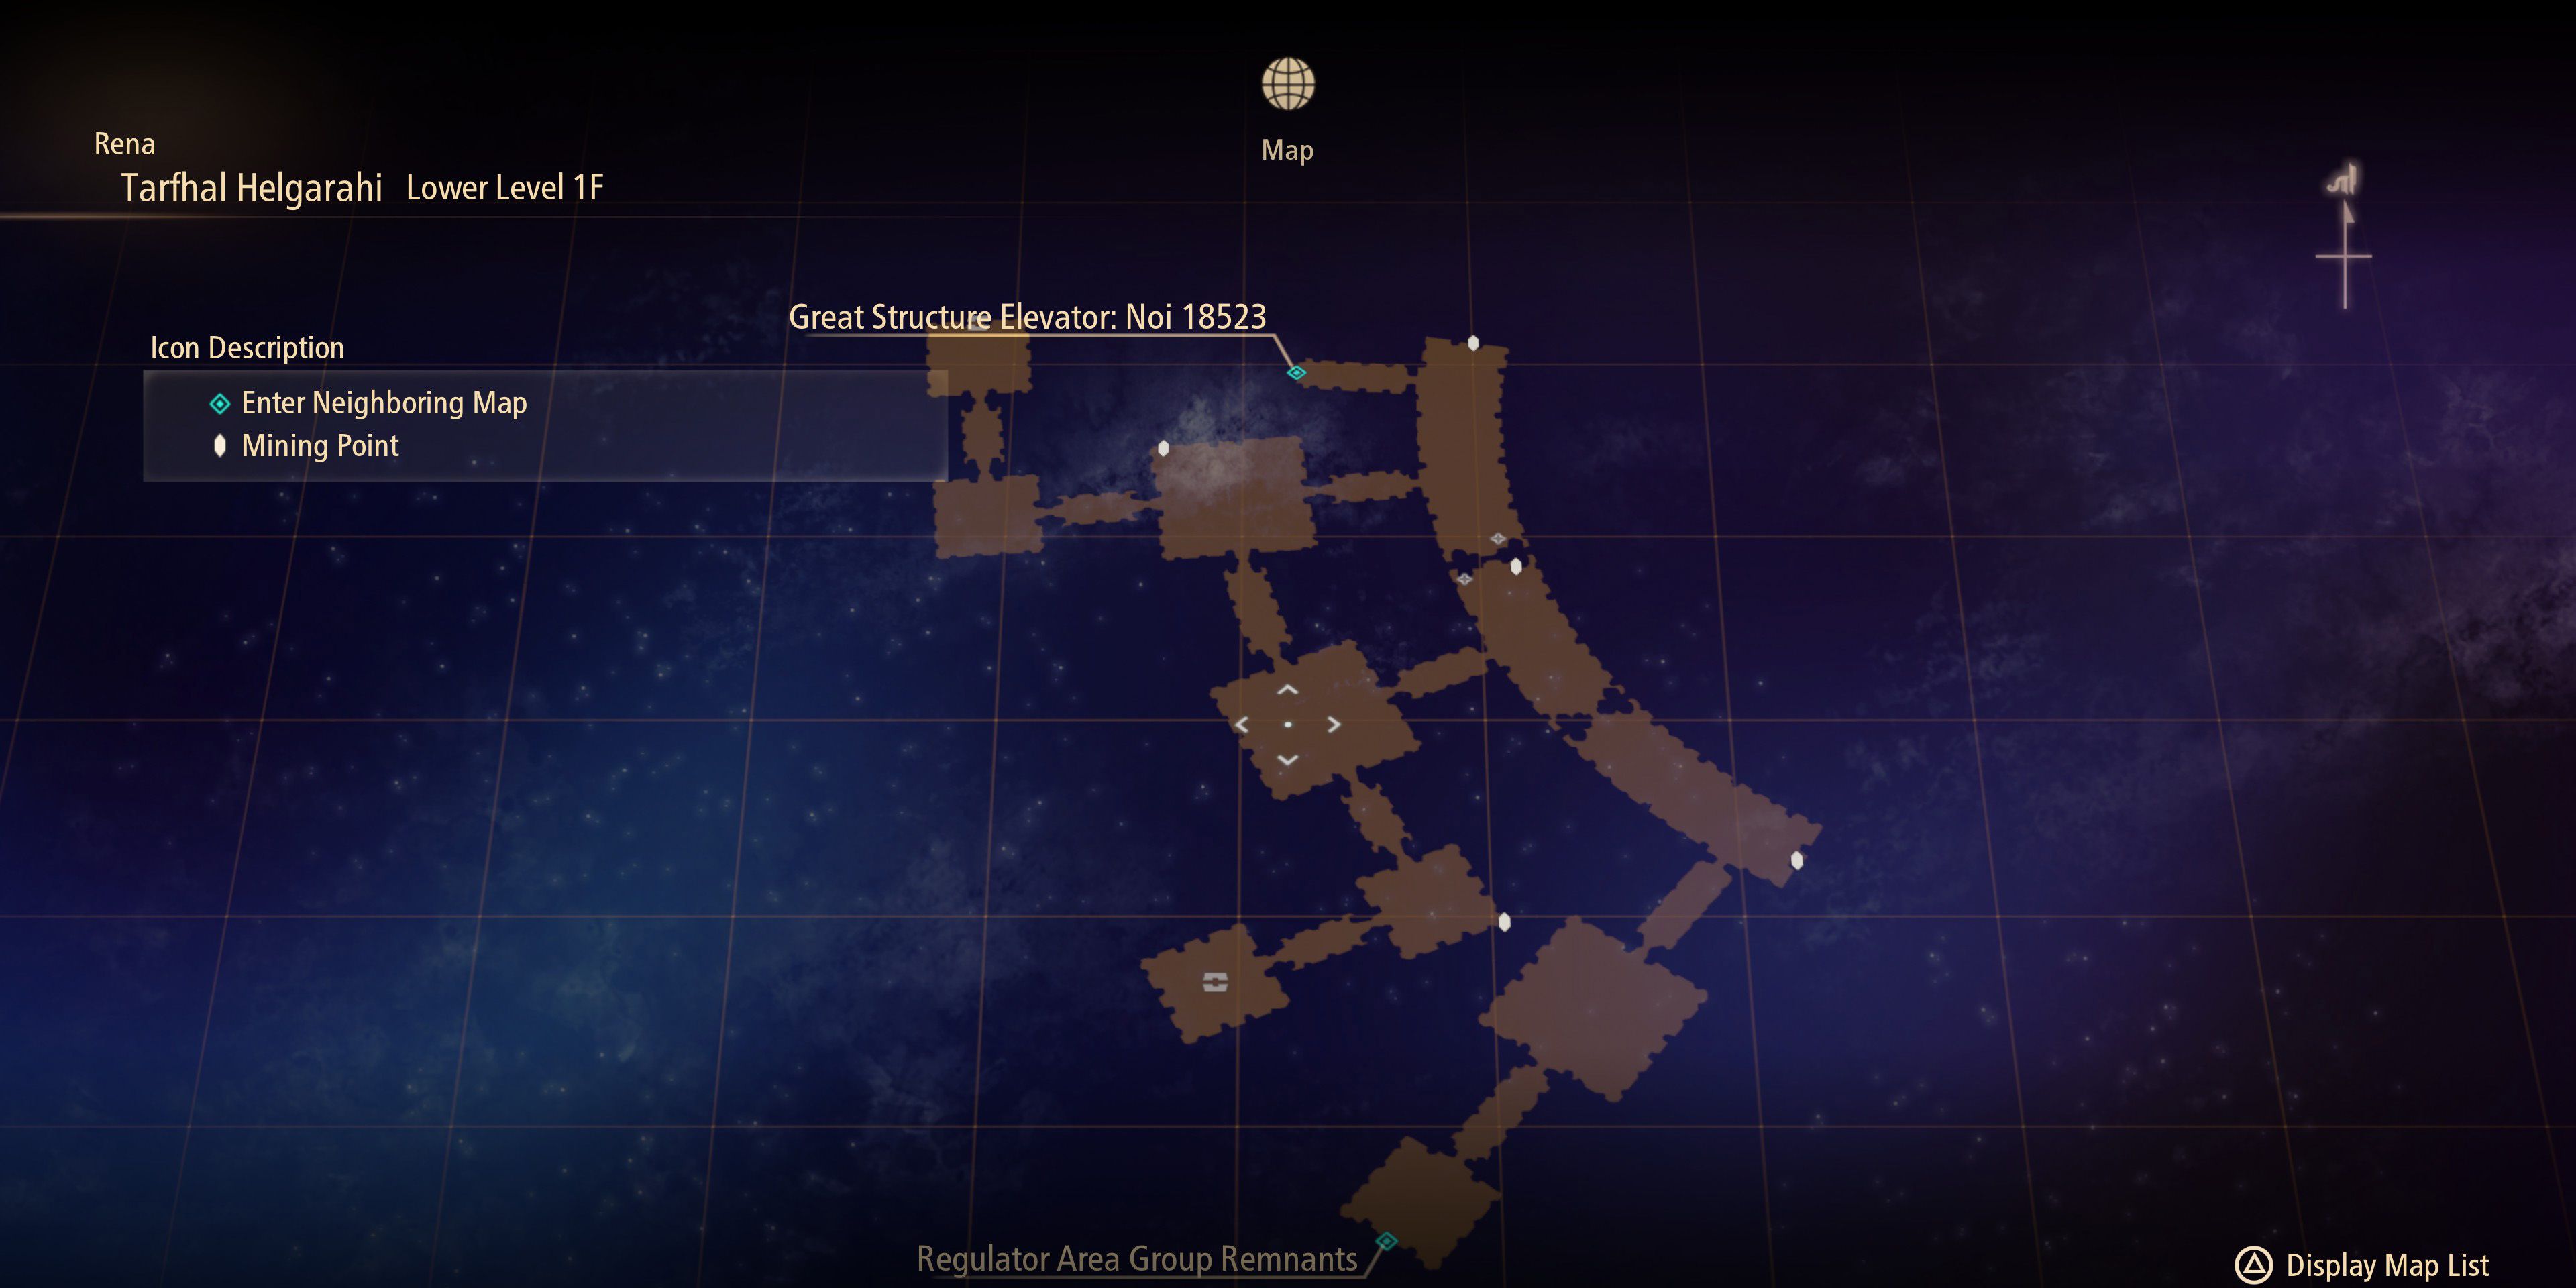
Lower Level 1F
Upon entering the Lower Level, players will need to defeat an Astral Doubt in order to progress; the first of many Astral enemies that they'll face before reaching the final boss. As with the others, breaking its core is the best way to take it down, though brute force can often be just as effective. There are some Astral Sloths just up ahead, as well as a chest containing some Pineapple Gel.
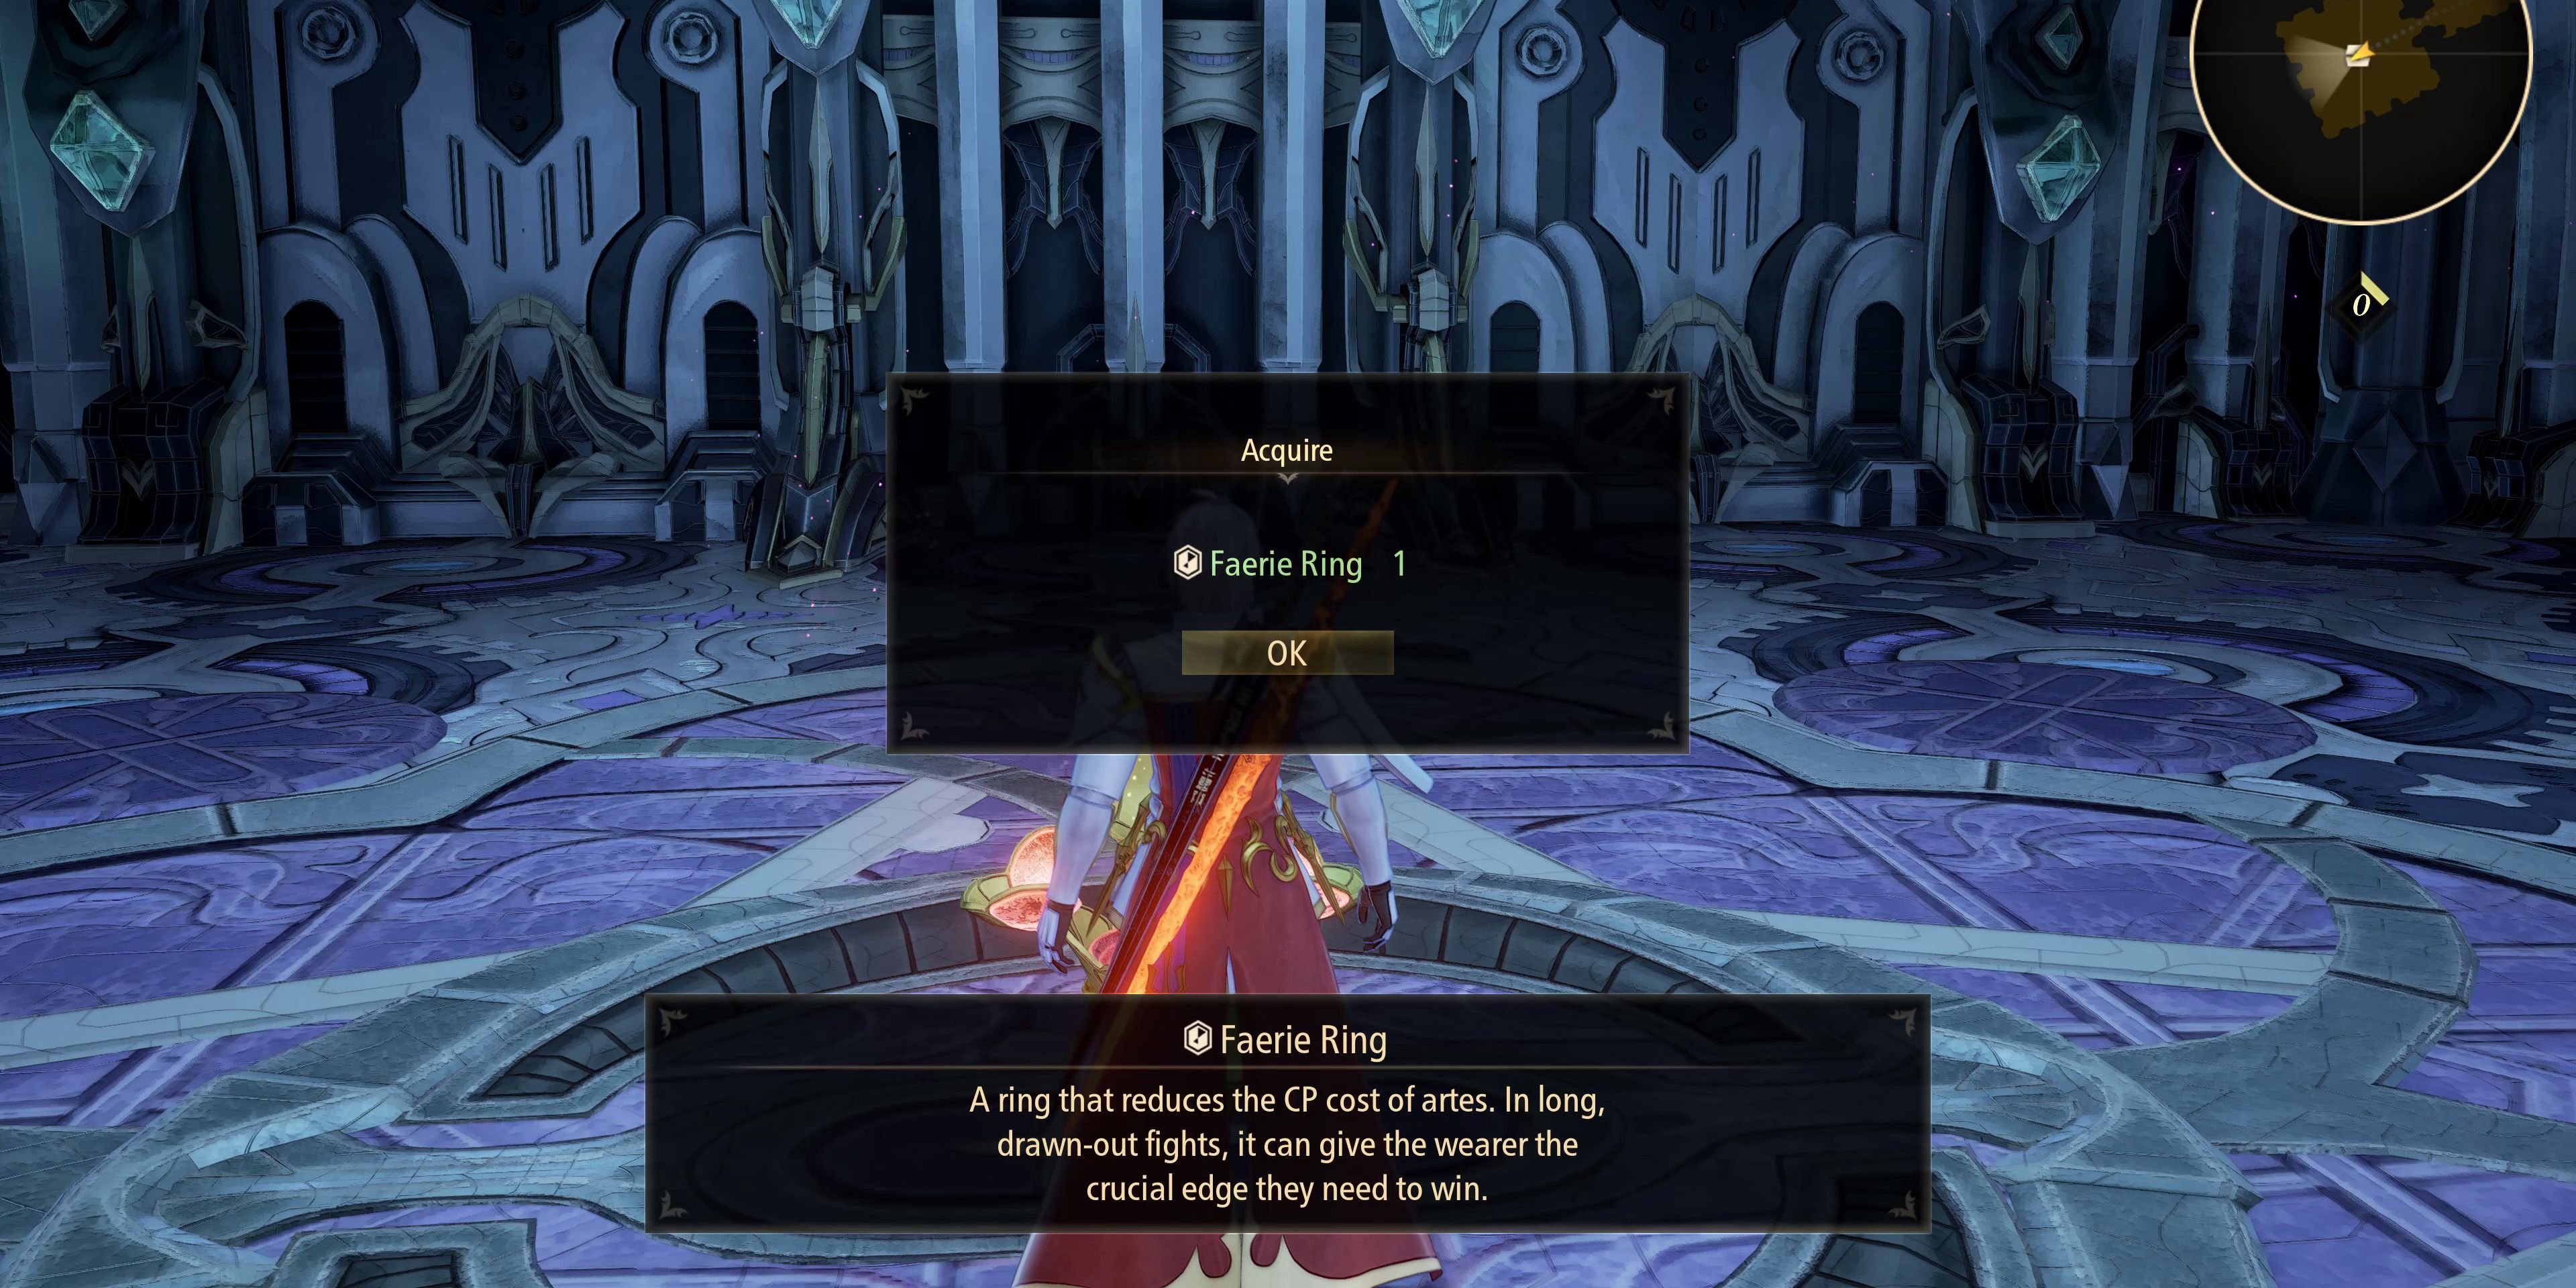
In the next square-shaped room, players should take a left past another Astral Doubt and then a right in the following room. They'll find themselves faced with another thorn wall (57 CP), behind which is a red chest containing a Faerie Ring accessory. They'll then need to backtrack a little, heading straight when they reach the room they were in earlier to reach another square-shaped room.
Taking a left here will eventually lead players to a red chest containing a Mystic Crest accessory. The other direction will lead to an elevator, though players should be sure to stop to pick up the Orange Gel before entering. There'll be another long battle as the elevator ascends, after which players will find themselves on the second floor of the lower level.
Lower Level 2F Corridor
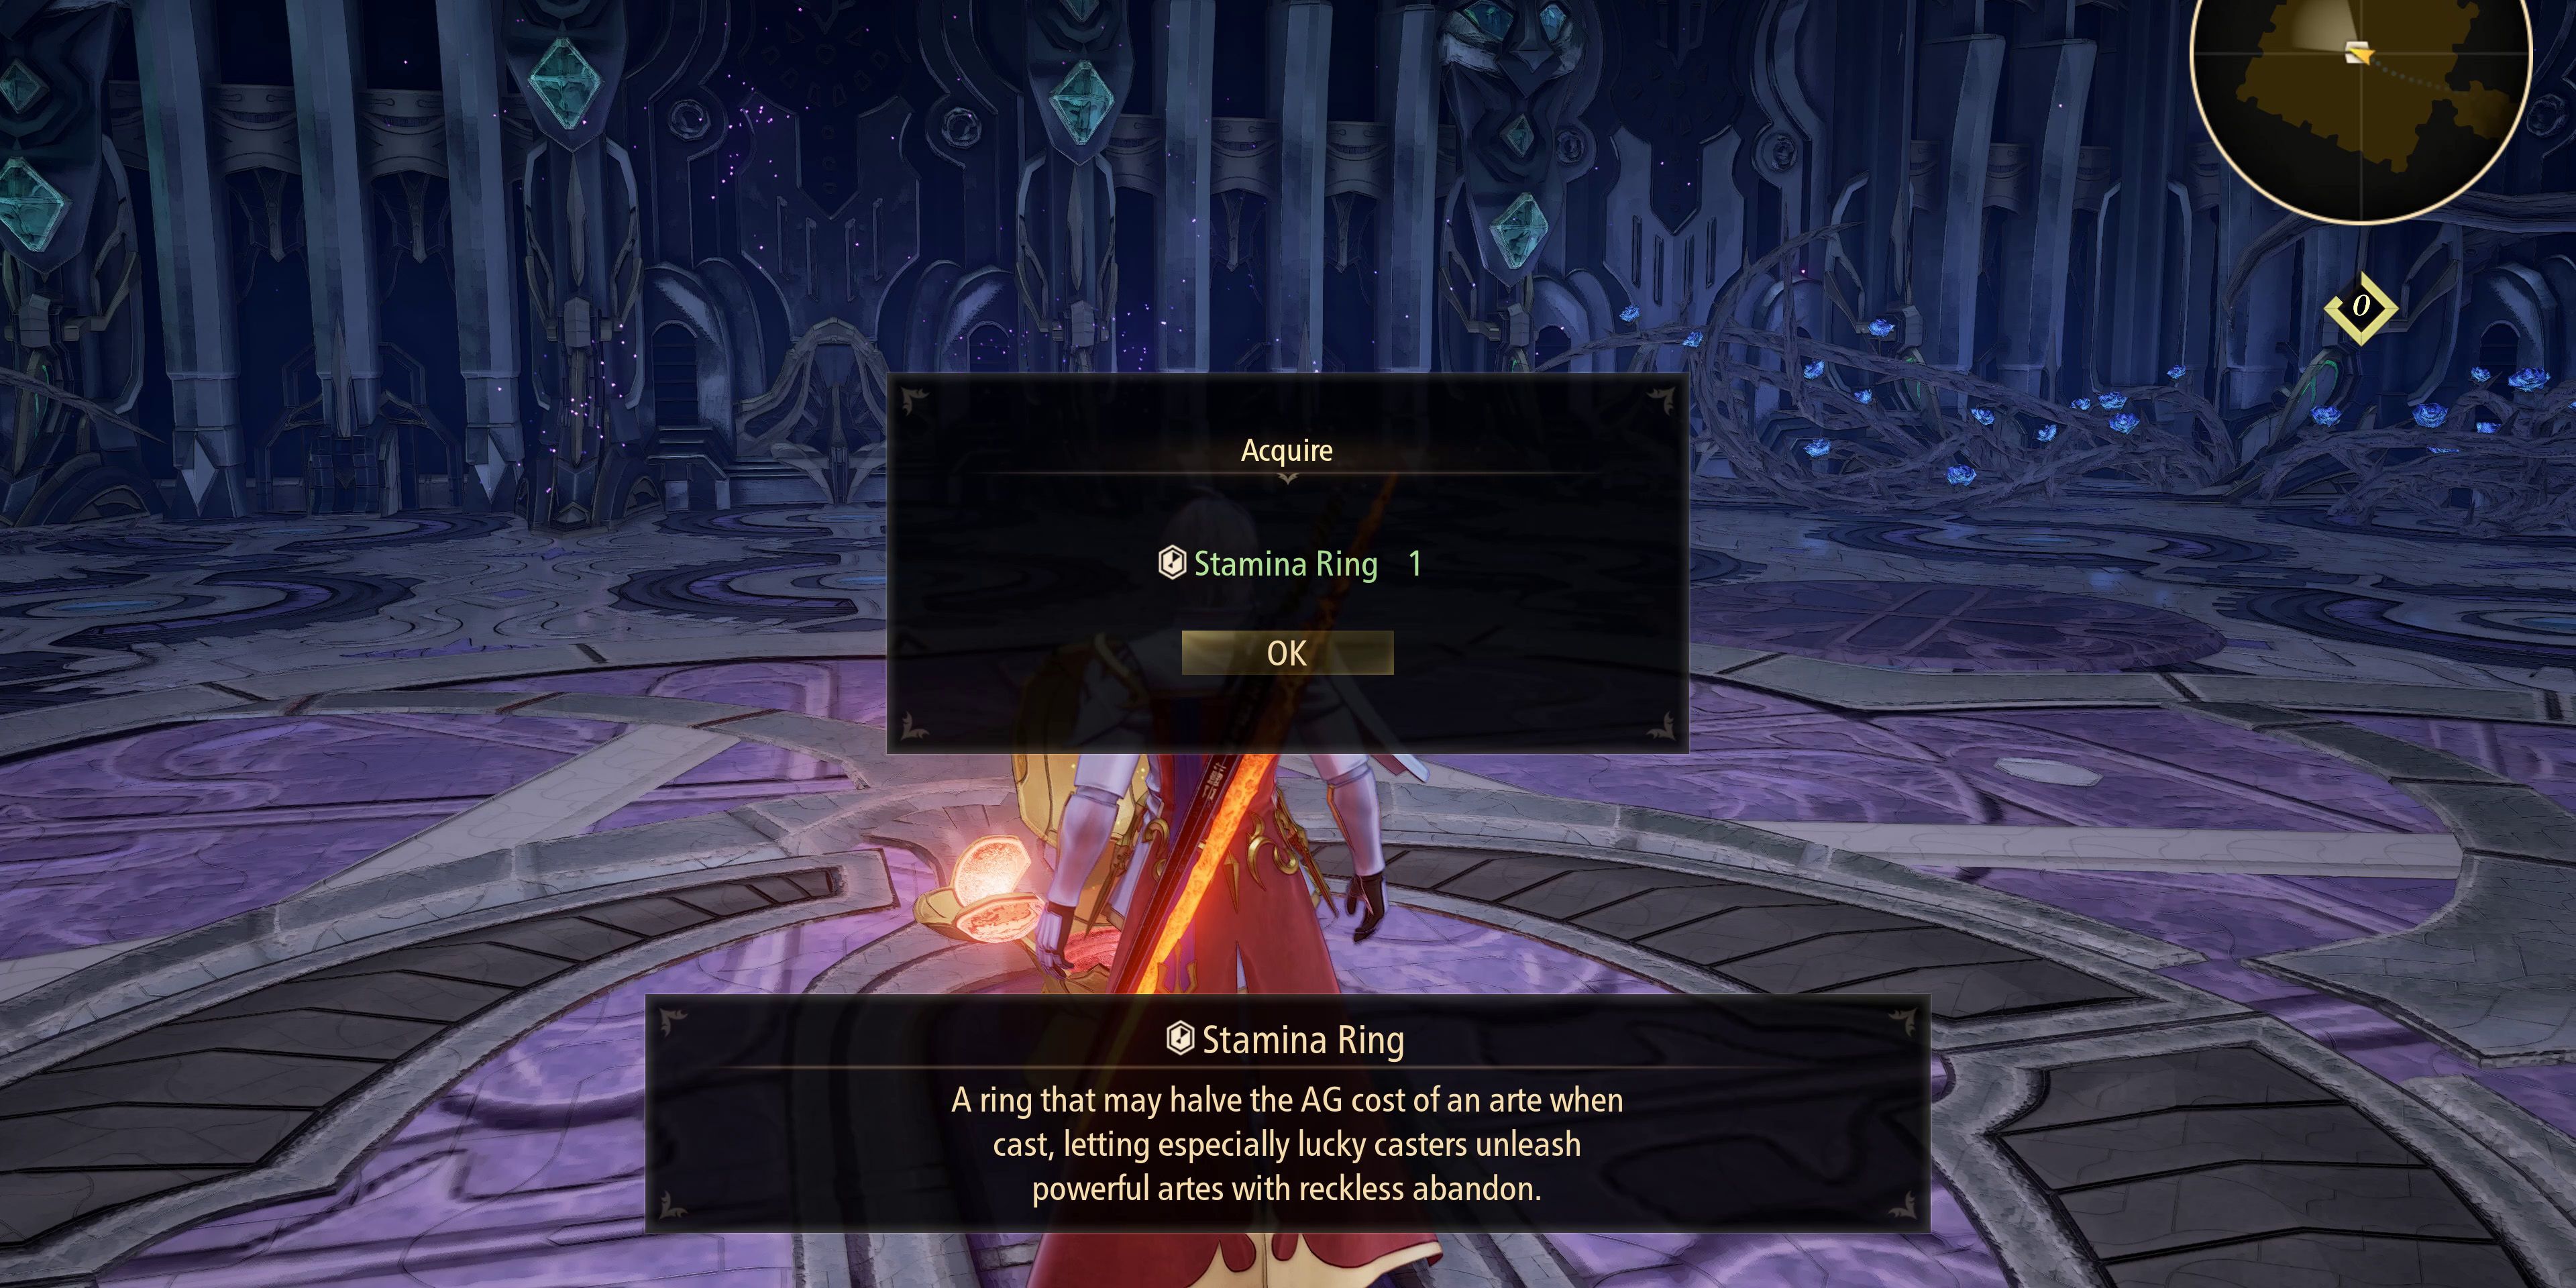
Immediately after entering the next area, players should take a left and open the blue chest for a free Elixir. They'll then want to head inside the door to their right, where they'll be faced with more enemies and another wall of thorns (57 CP). After taking the thorns out with the flaming sword, players will find a red chest containing a Stamina Ring accessory. They'll then need to head back outside and climb some thorns before heading through the door on the upper level.
Lower Level 2F Zone 2
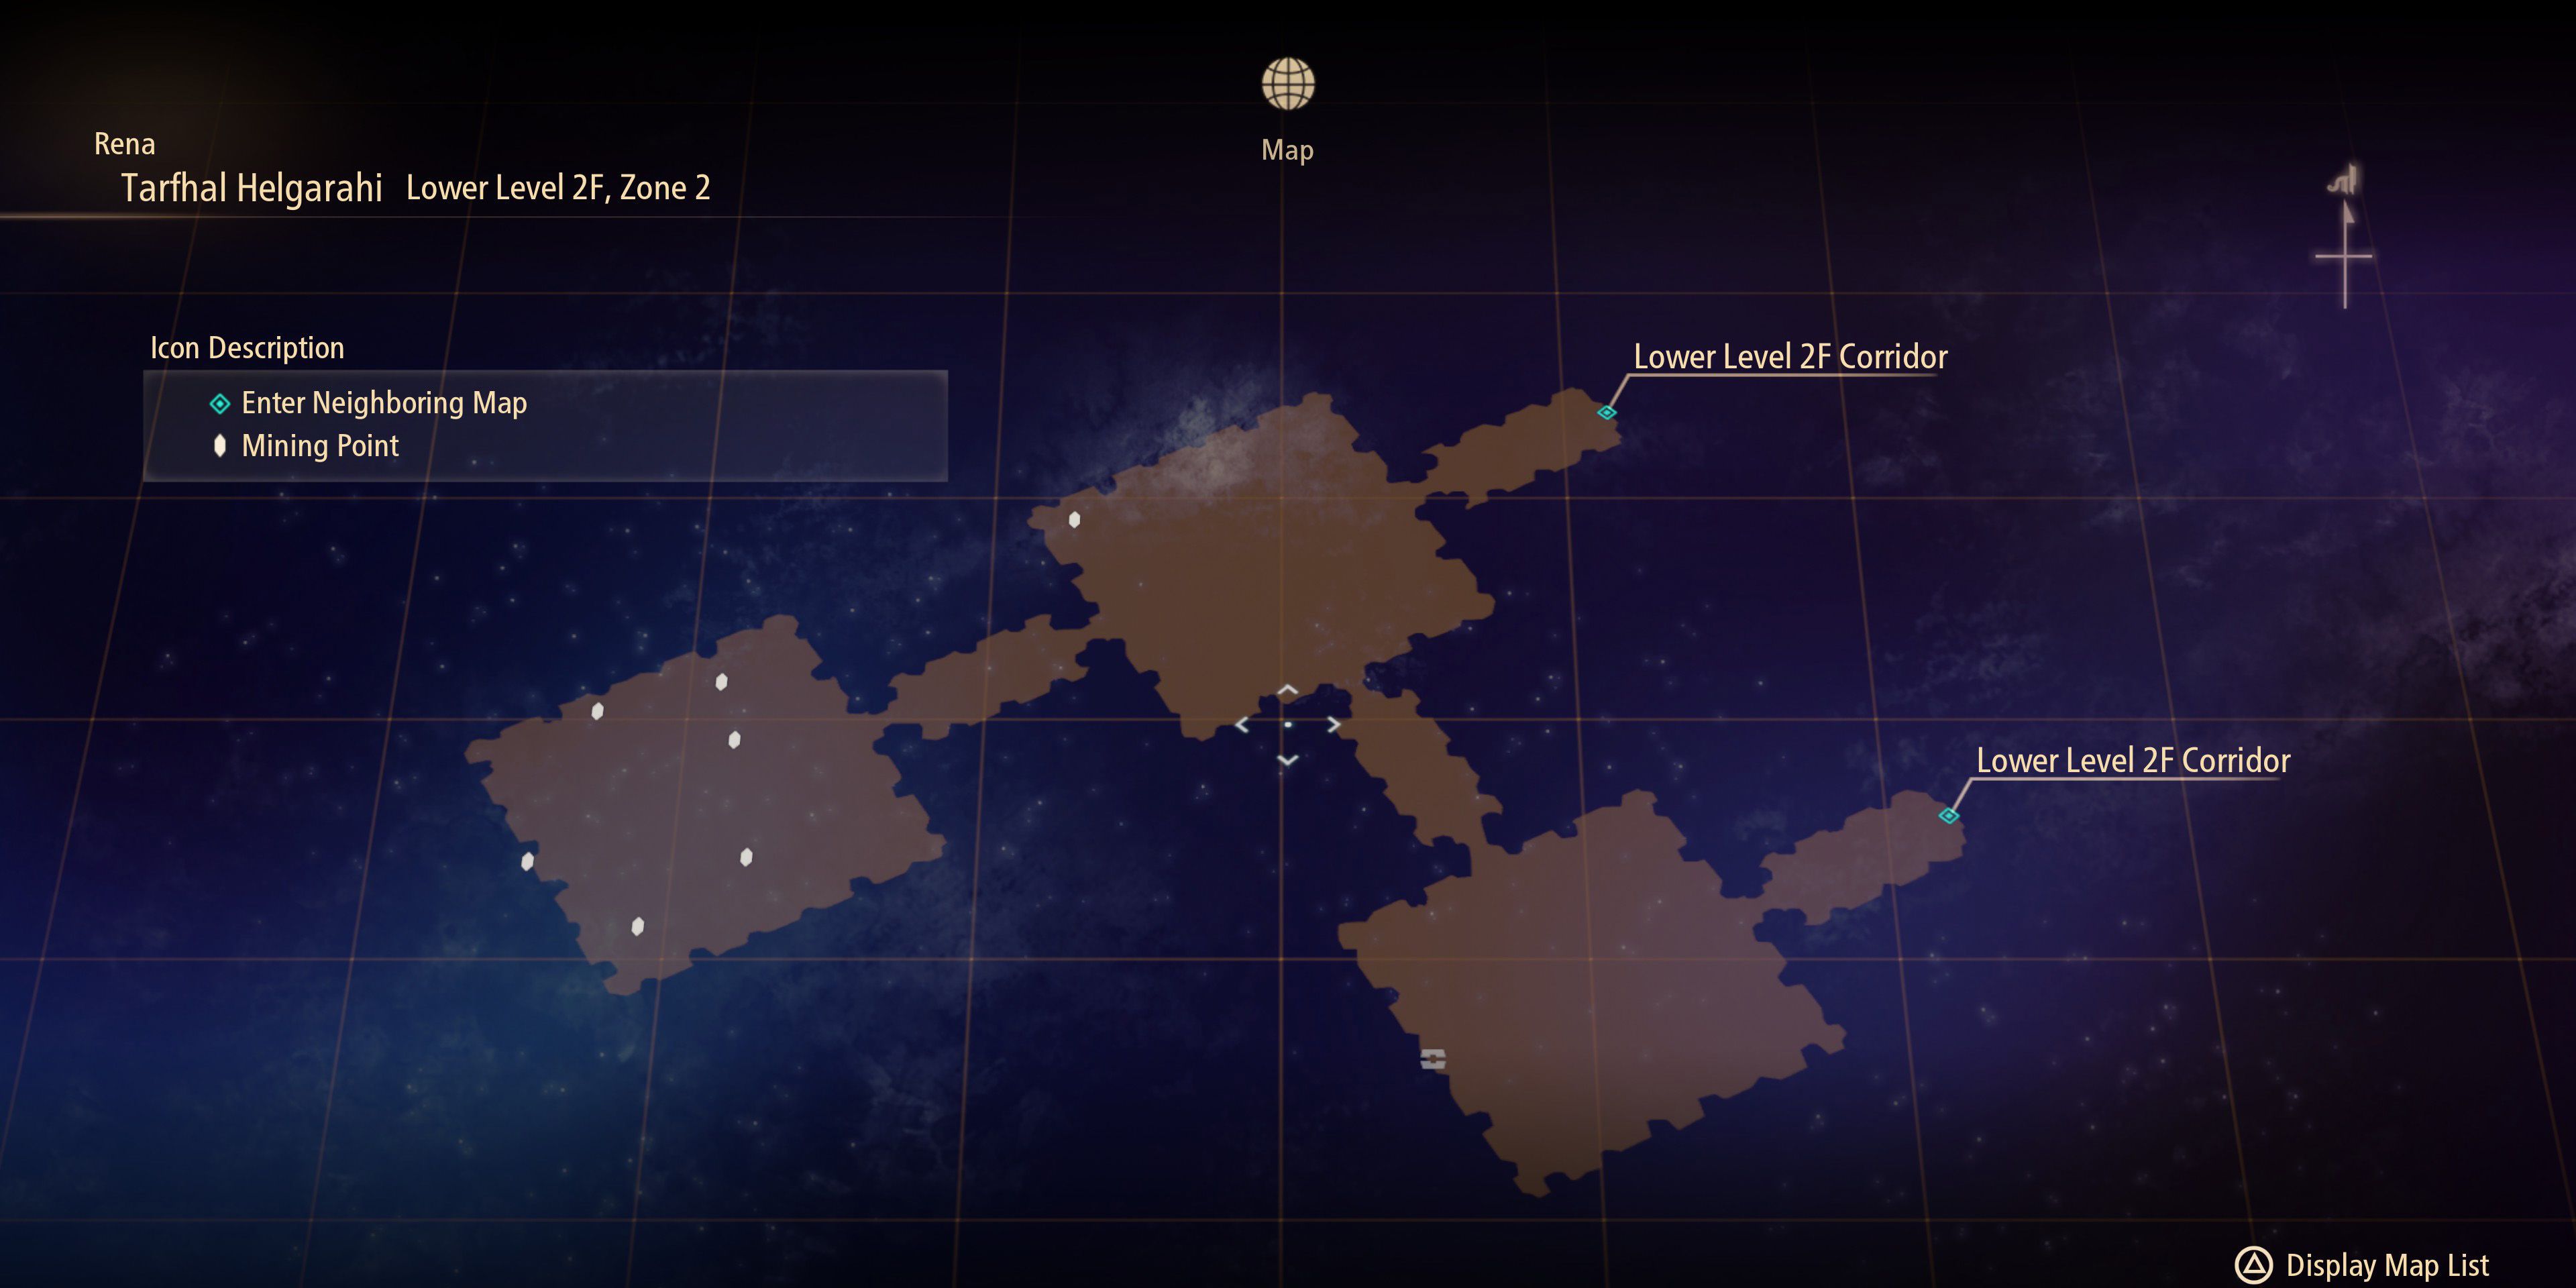
Going straight in this area will lead to another wall of thorns (57 CP), though players may want to save their CP as all they'll get for their troubles is a room full of mining points. The next room contains a blue chest with some Adamantine Tendon inside and a door leading back to the outside area. There'll be a few cutscenes here, after which players can head through the door to the next area.
Lower Level 2F Zone 3
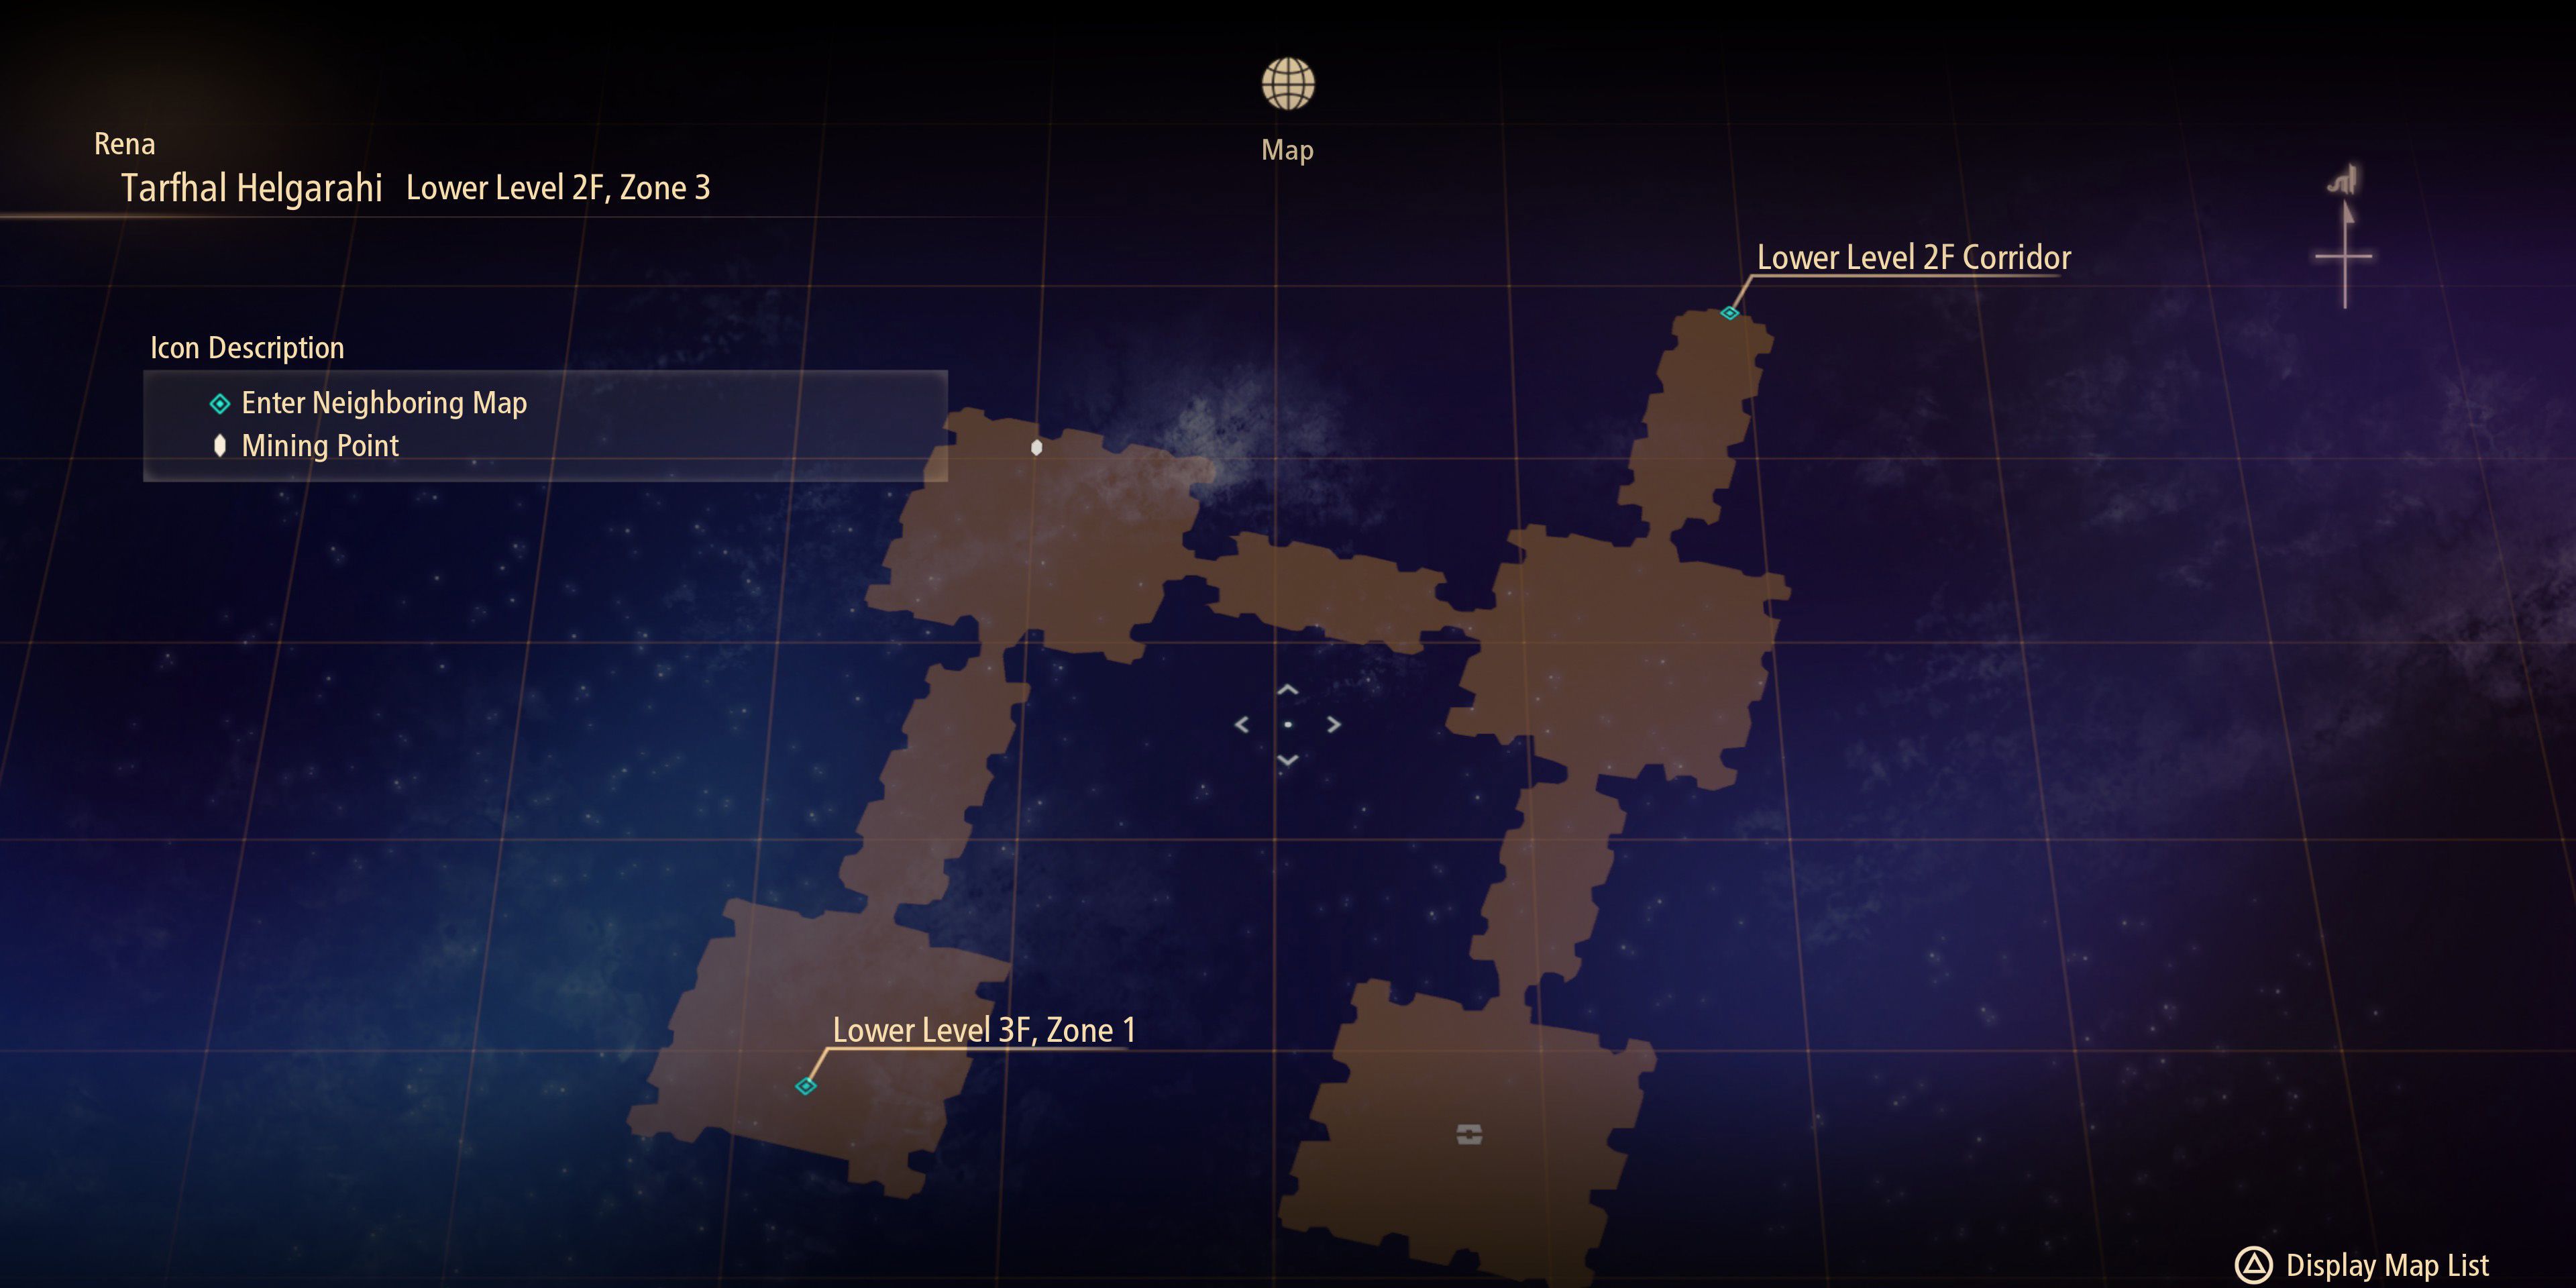
Heading straight will again lead to a thorn wall (57 CP), though this one is actually guarding something useful. The blue chest behind it contains an Omega Elixir, which should come in hand for the post-game content in Tales of Arise, if not some of the final story battles. The other direction leads to an Astral Isolation, which is guarding the path to another blue teleporter.
Lower Level 3F Zone 2
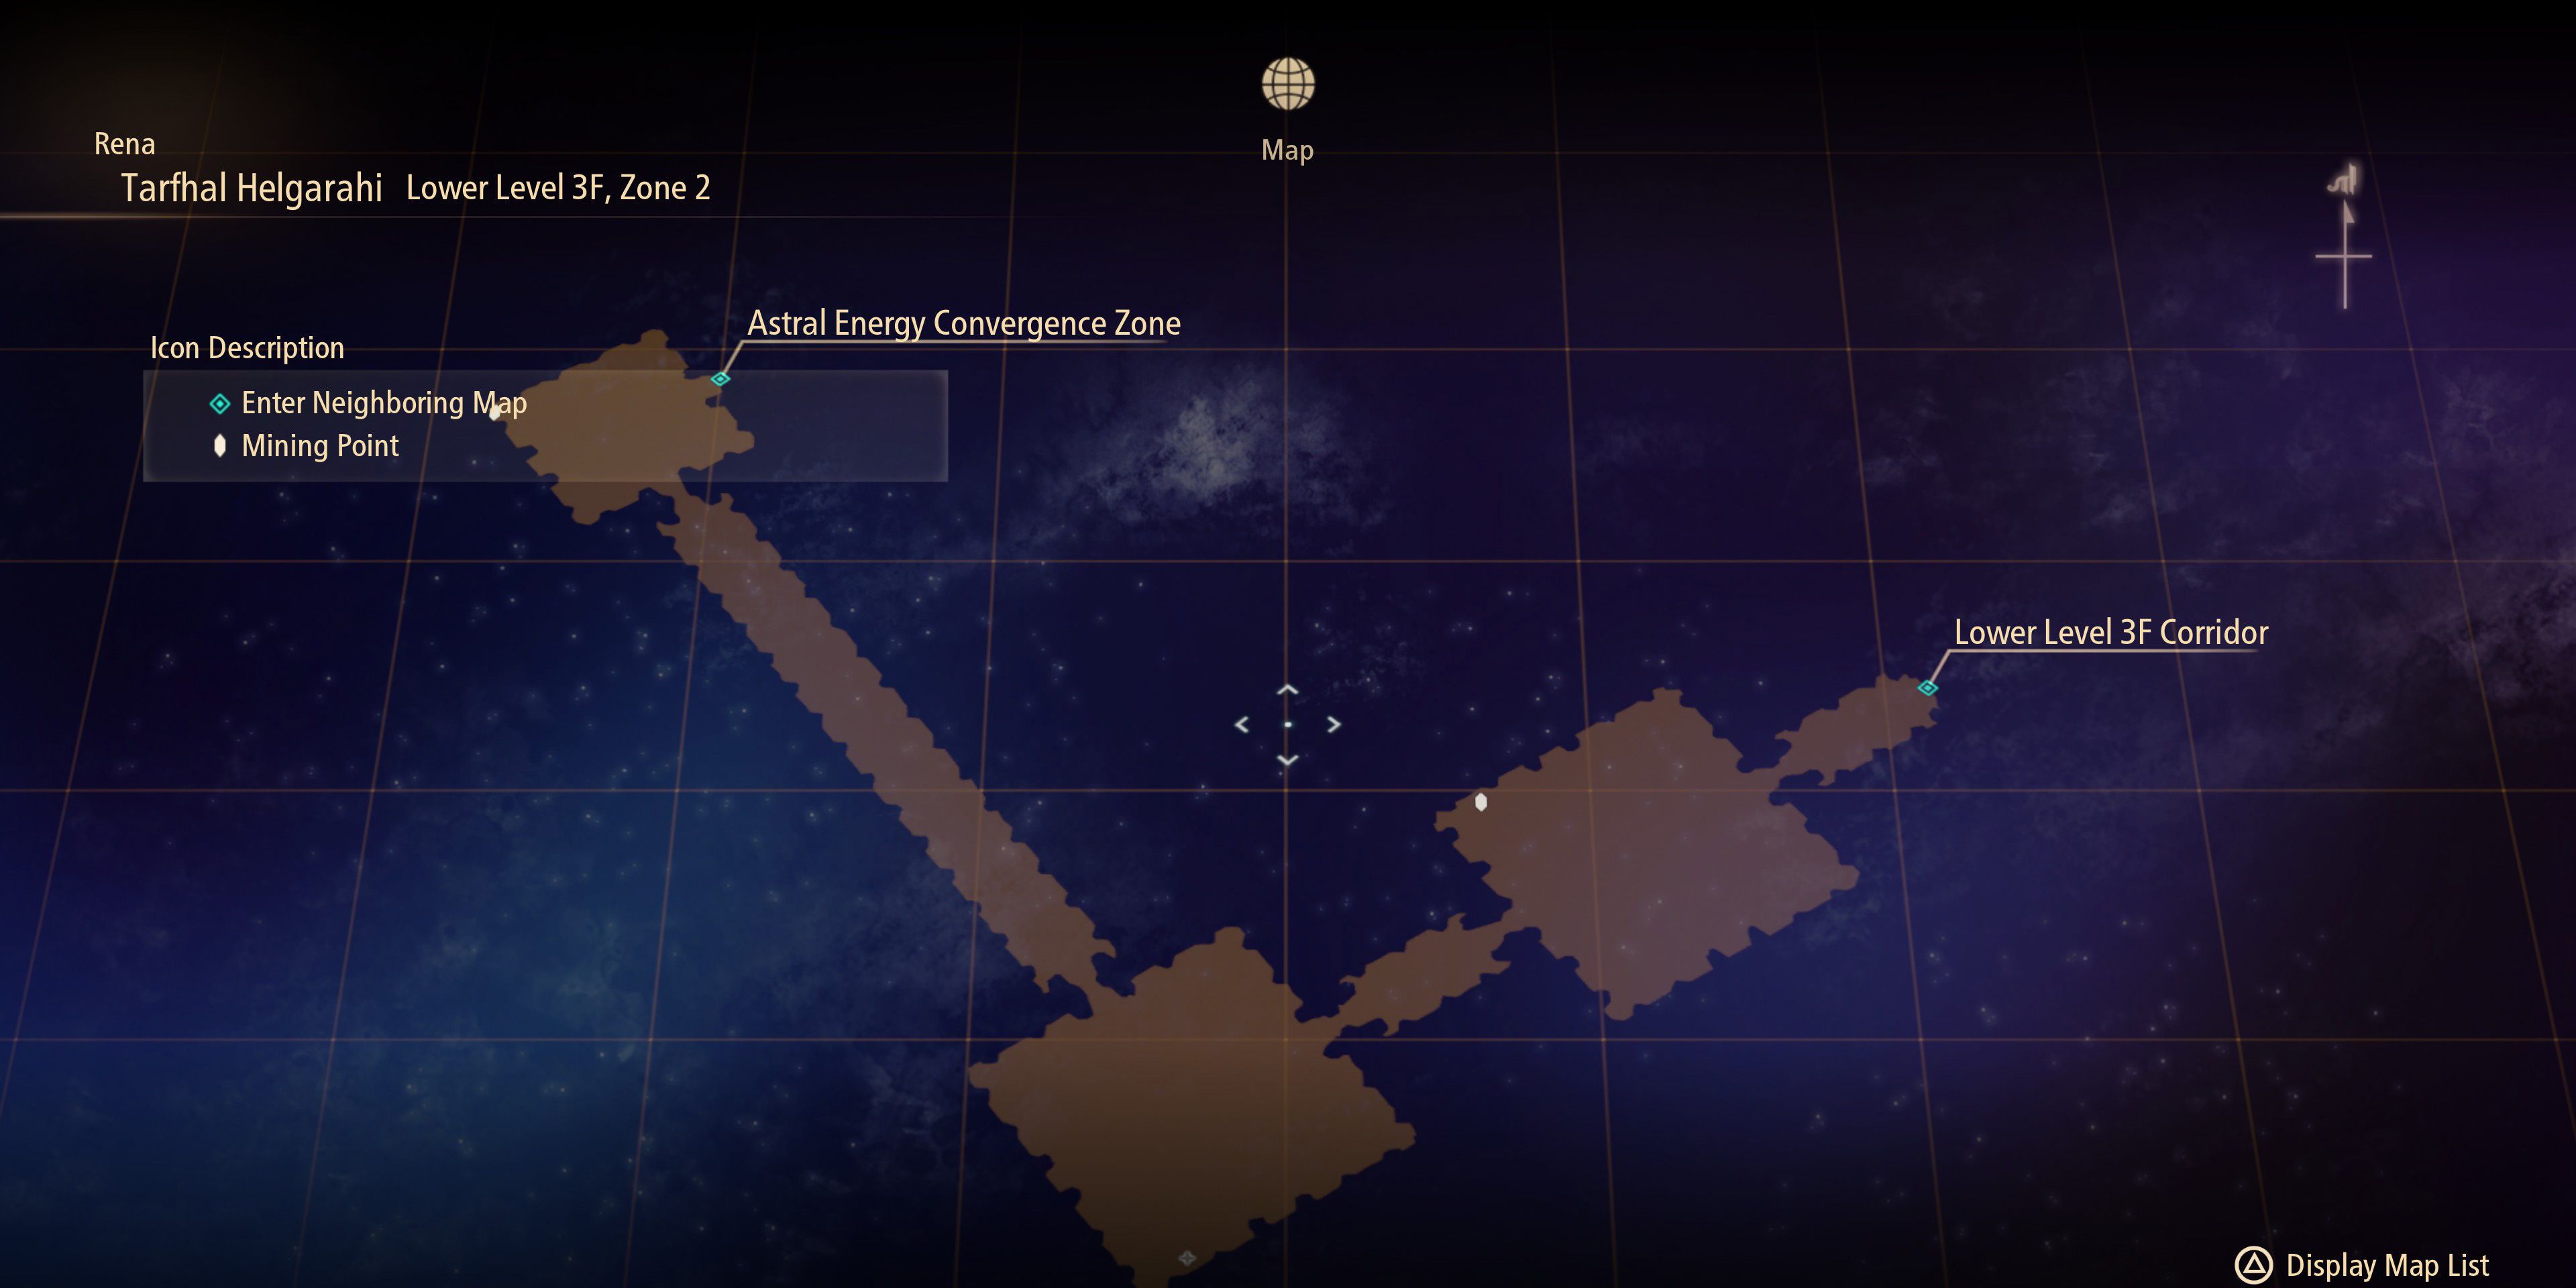
The next section is all quite linear, with very little scope for exploration. That said, players will be able to find some Red Verbena growing in the corner of one of the rooms, though it's being guarded by an Astral Agony and a couple of Astral Laments. After defeating the Astral Fury and Astral Hatred guarding the next doorway, there'll be a few more battles before players arrive at the door leading to the next area.
Astral Energy Convergence Zone
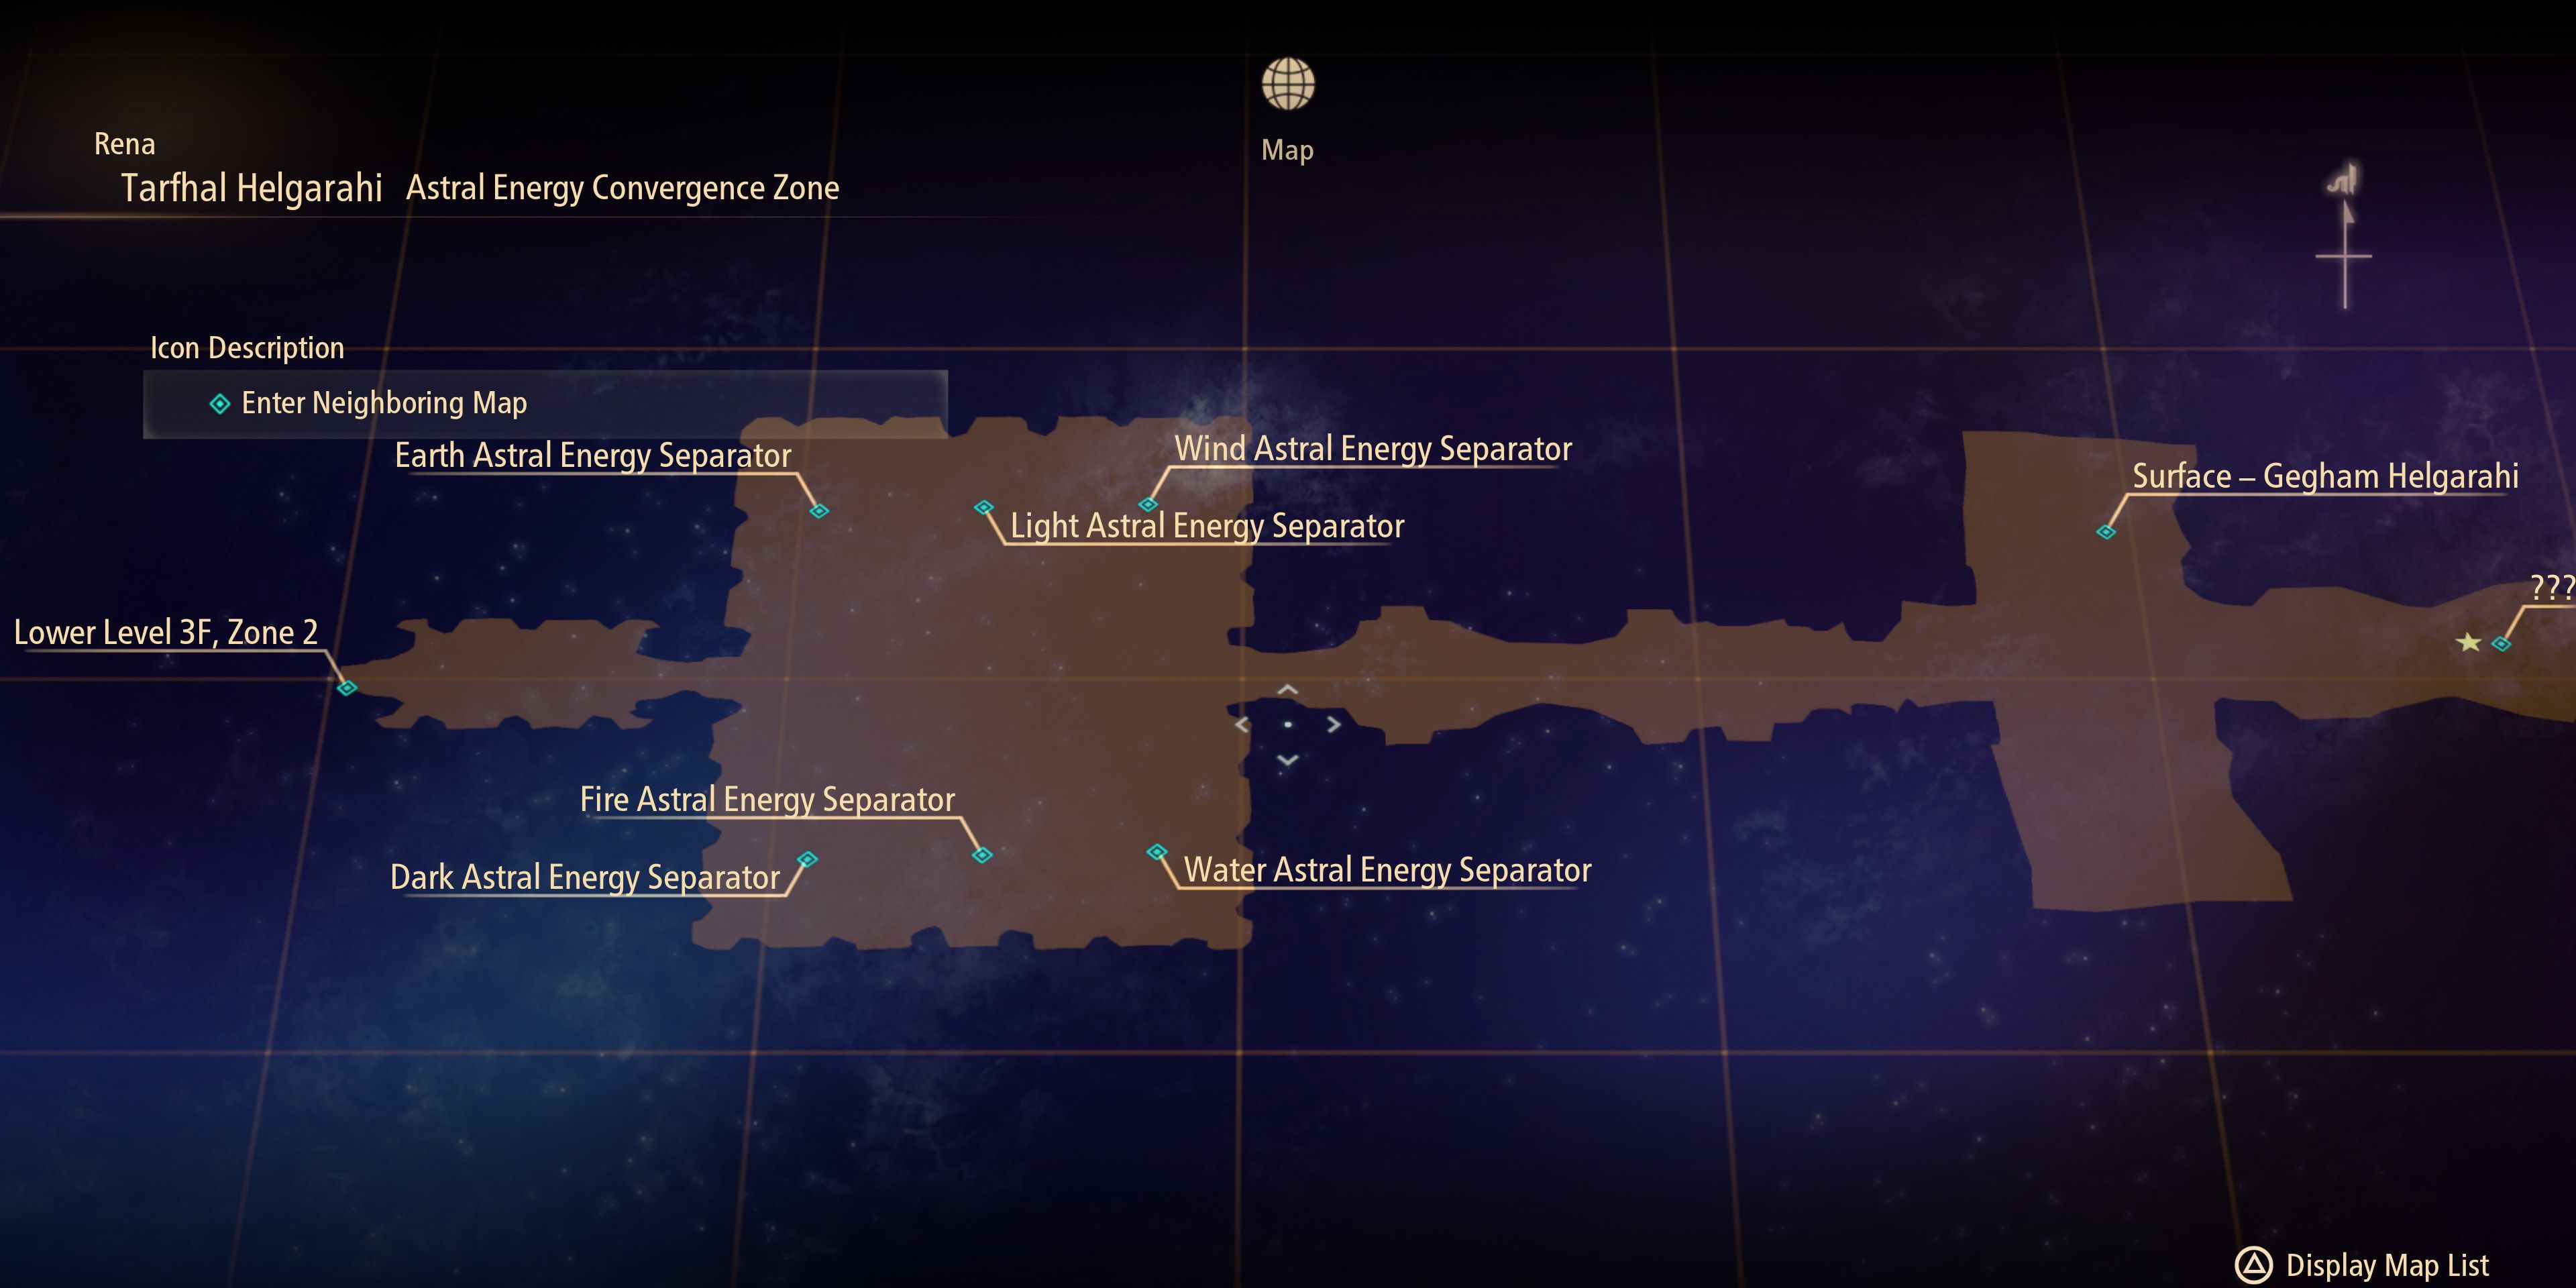
The Convergence Zone has six blue teleporters, each one leading to an Astral Energy Separator based on one of the six types of Astral Energy. All of these separators have red chests inside containing some of the best armor in the game for all six party members. Unfortunately, however, the chests are being guarded by Zeugles, so players will have to fight if they want to get their hands on all of the treasure.
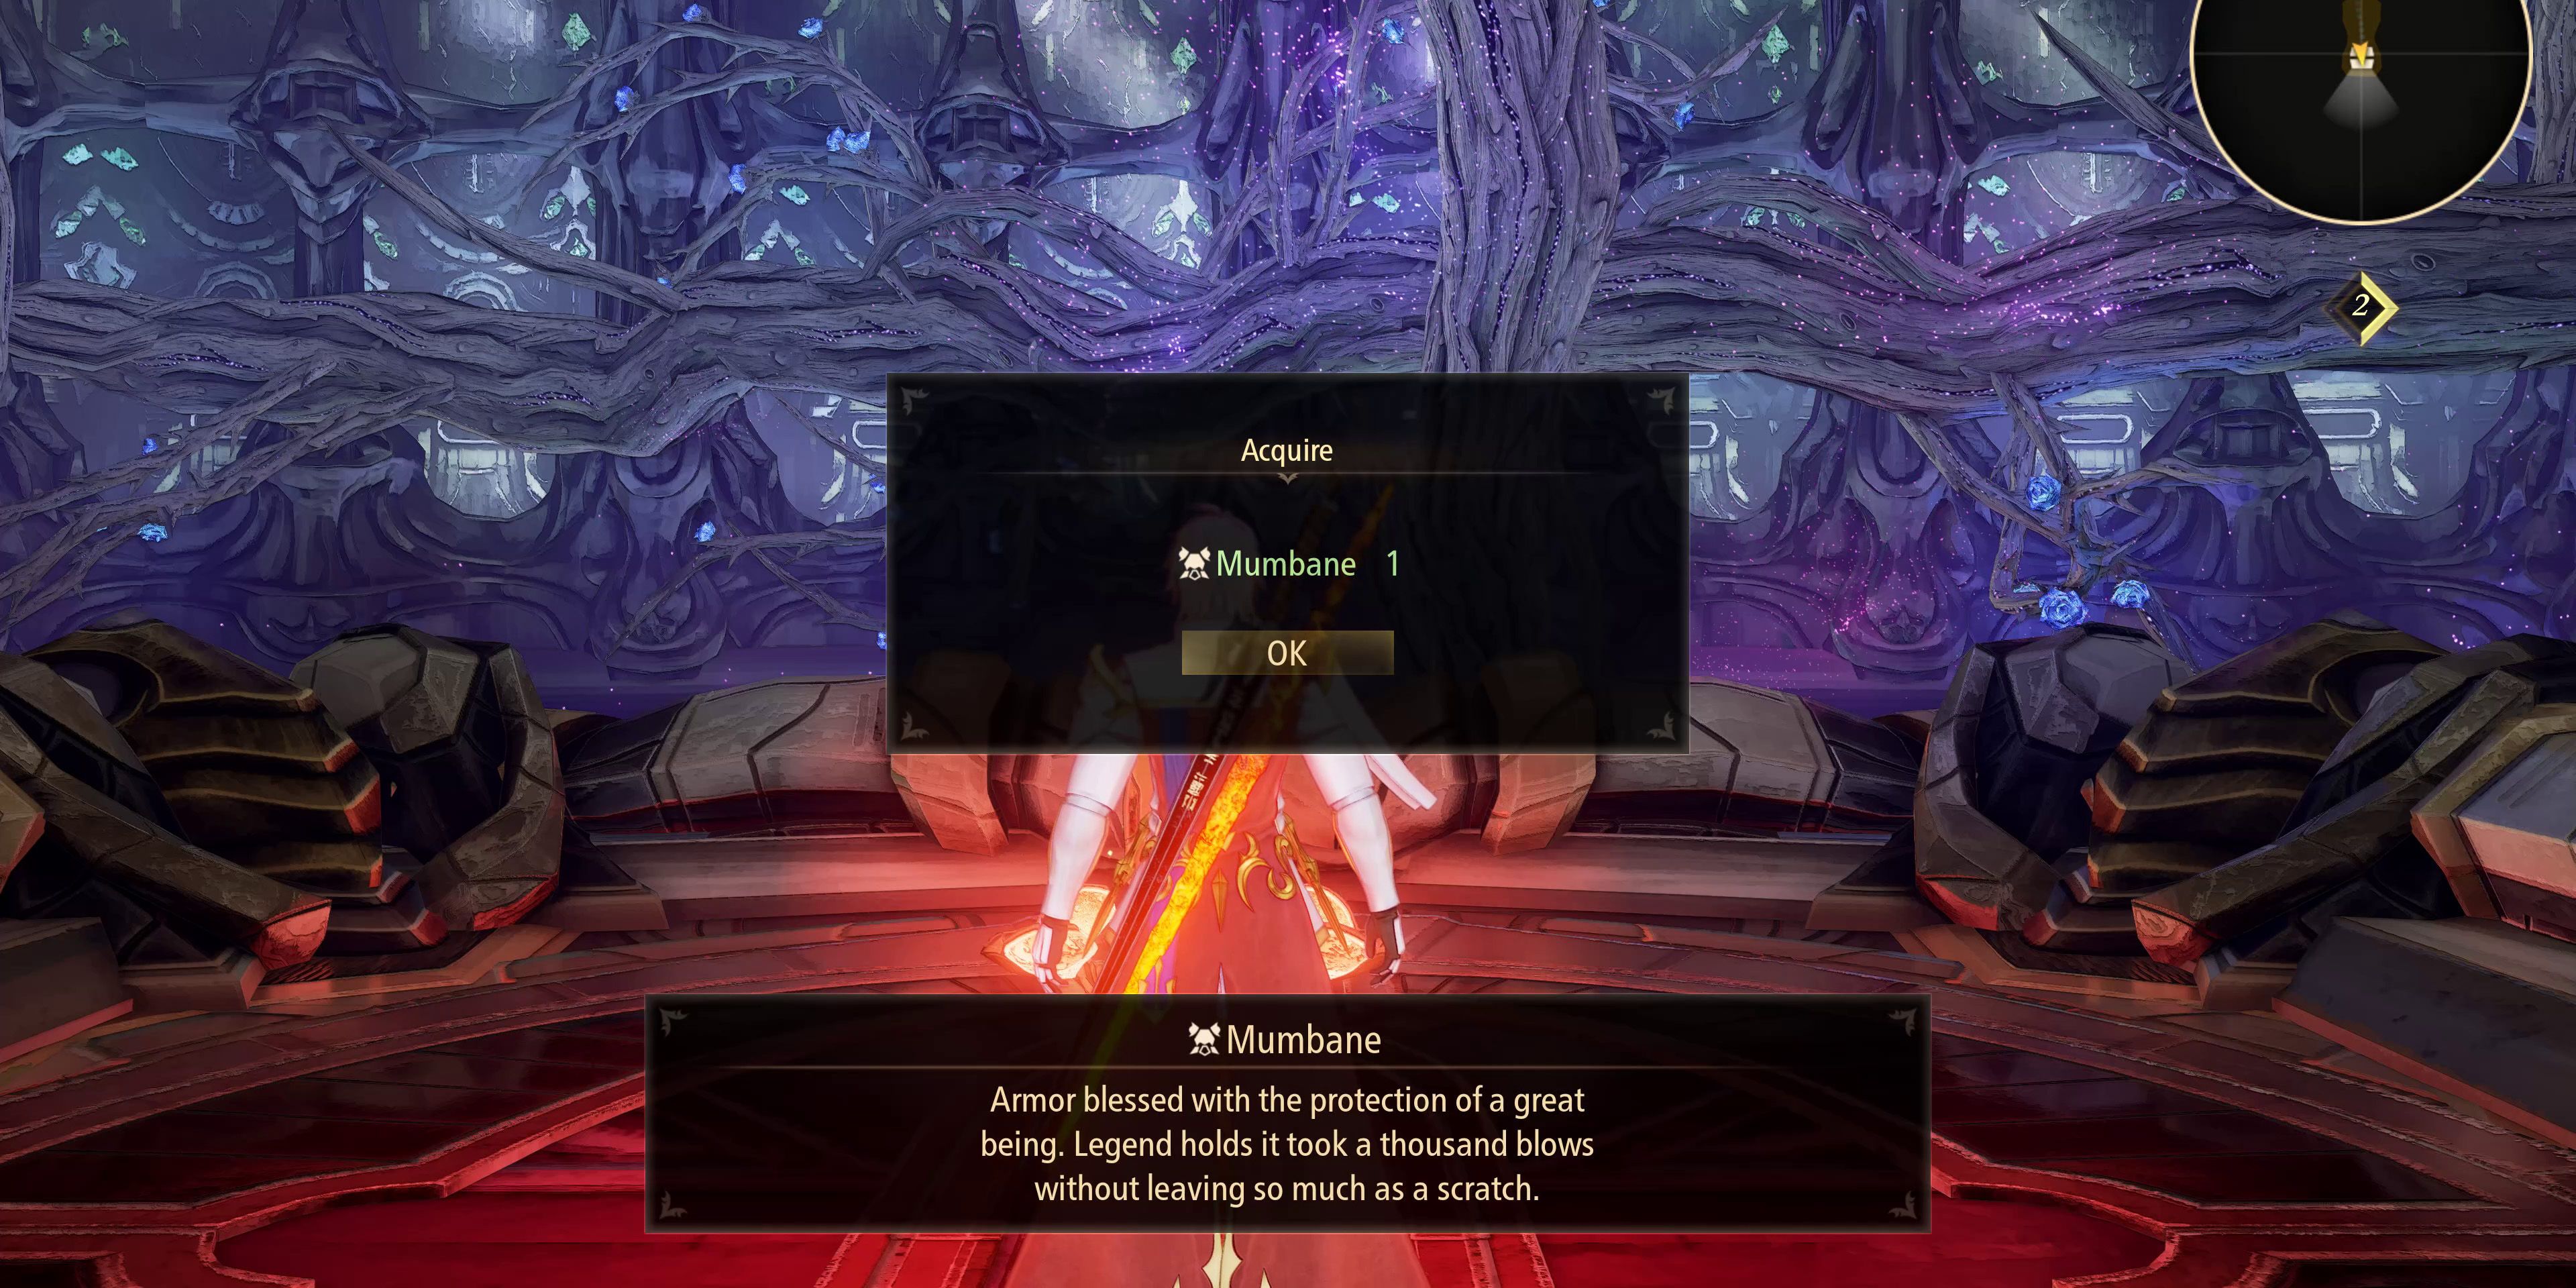
Alphen's Mumbane Armor is in the Fire Astral Energy Separator, Shionne's Wedding Dress armor is in the Water Astral Energy Separator, Rinwell's Spirit Robe is in the Wind Astral Energy Separator, Law's Prismatic Jacket is in the Light Astral Energy Separator, Kisara's Fortress Armor is in the Earth Astral Energy Separator, and Dohalim's Duality armor is in the Dark Astral Energy Separator.
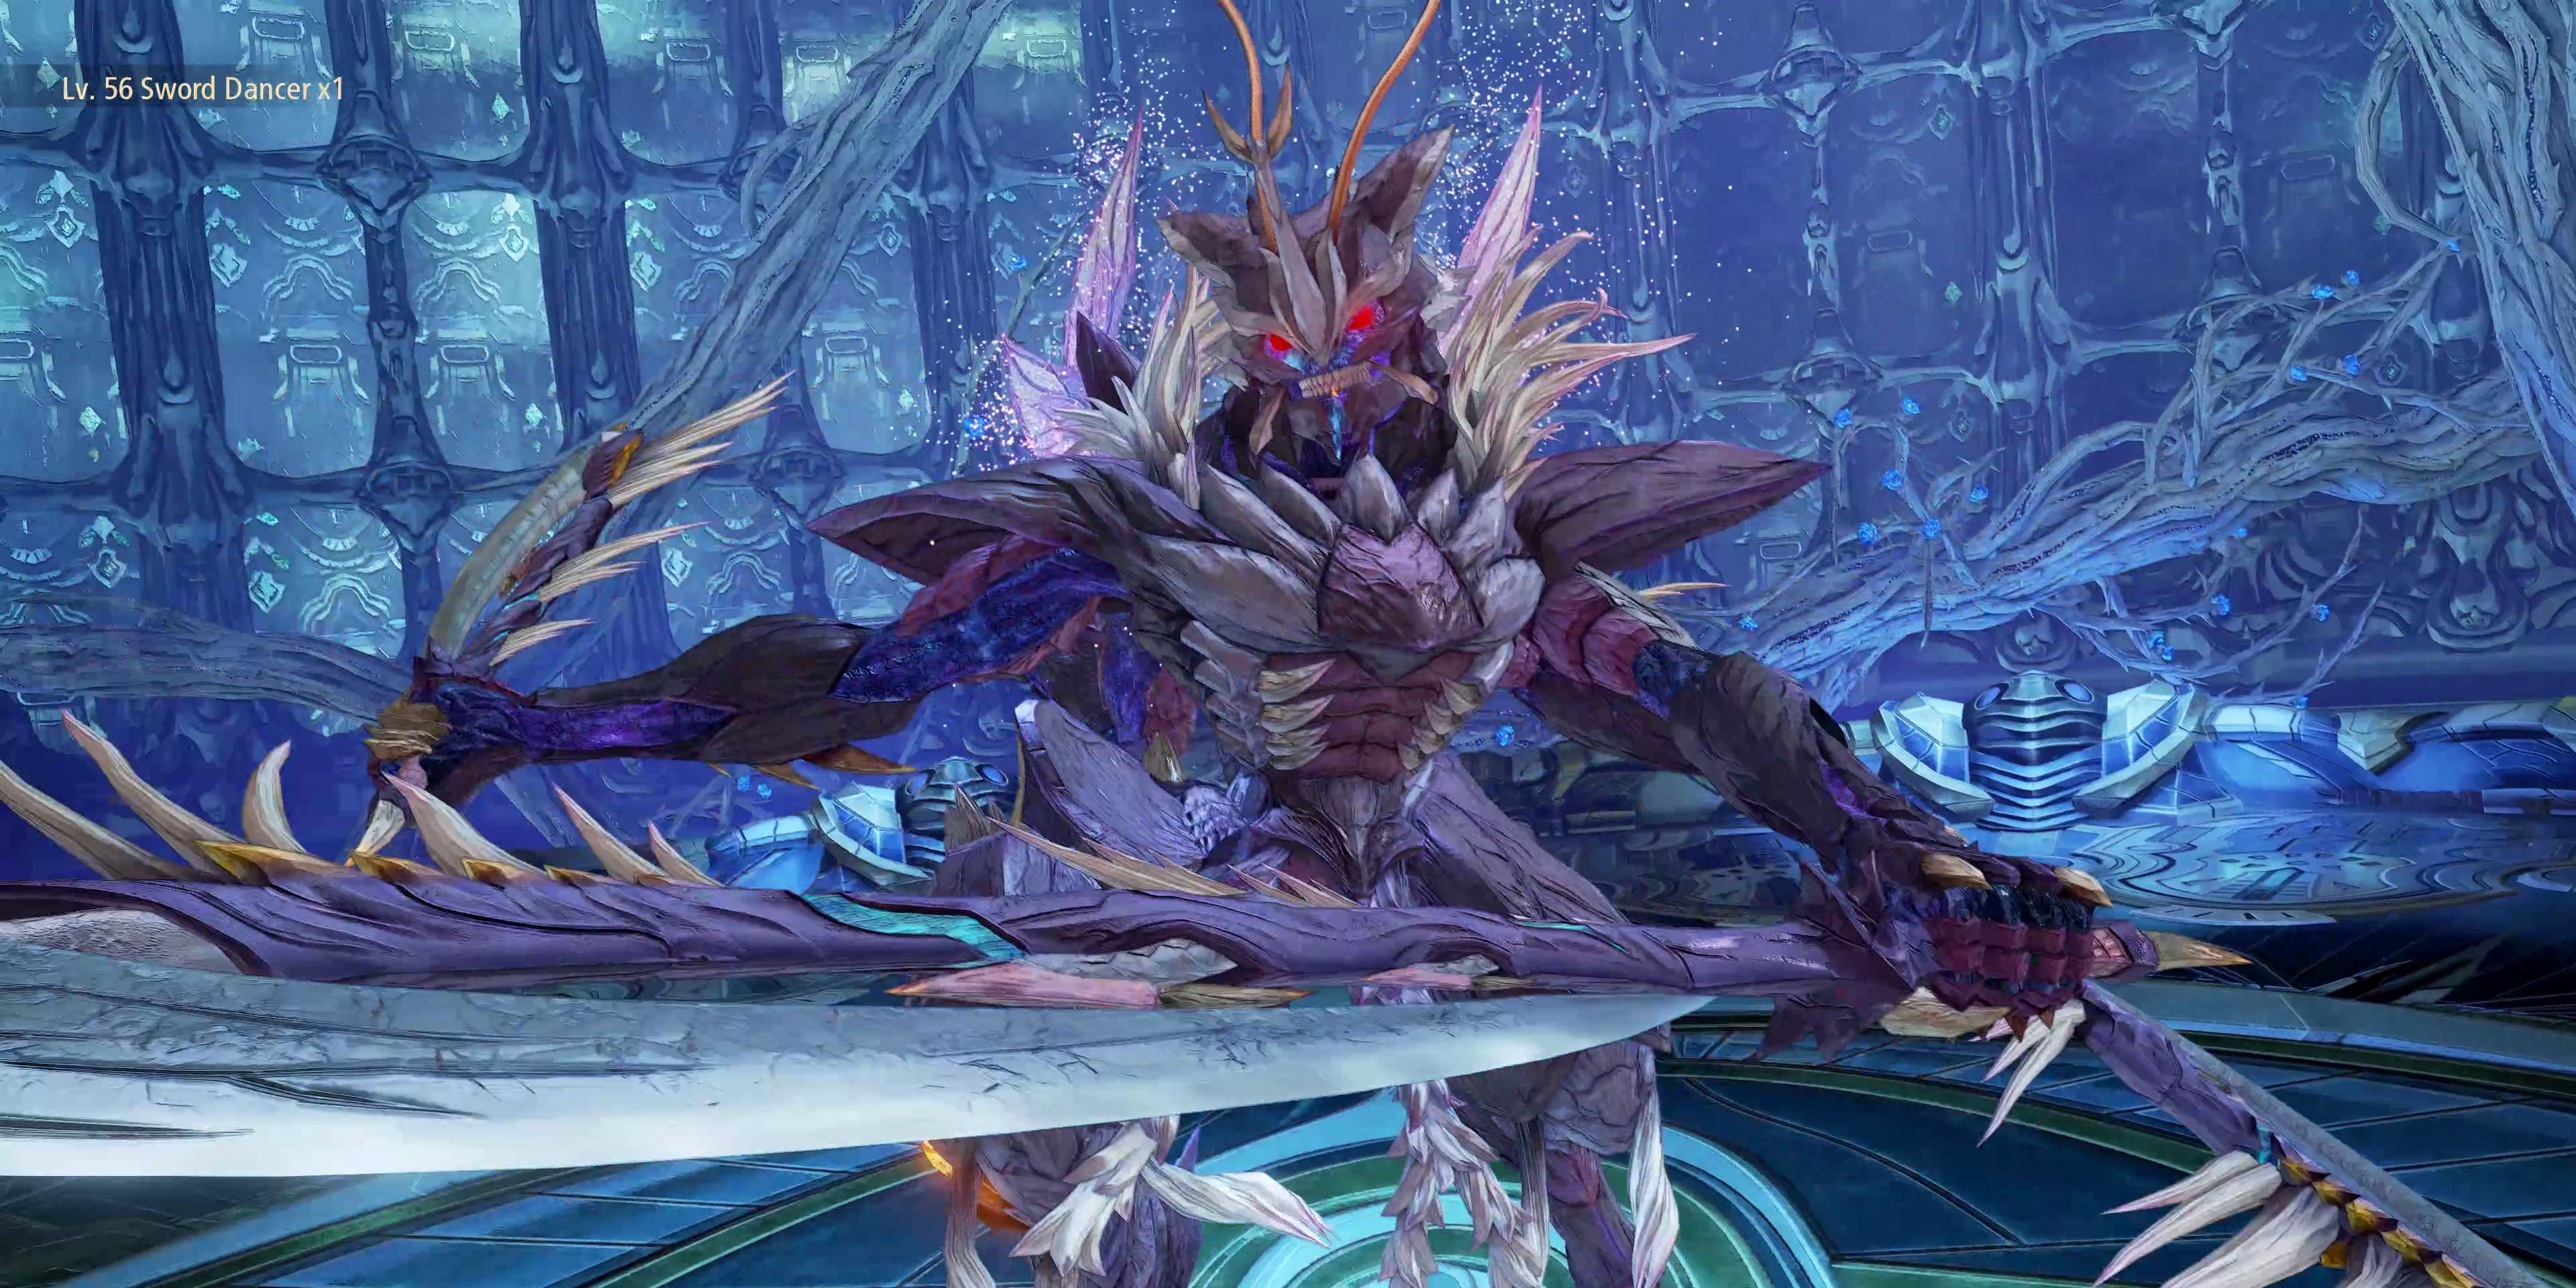
It's worth noting that players will only need to enter one of the six separators in order to progress, though, given the quality of the armor on offer, it's highly recommended that they clear all six. Players can also find the Sword Dancer Gigant Zeugle (level 56) in the Water Astral Energy Separator, so those hoping to unlock the Big Game Hunter trophy/achievement will definitely need to visit the area at some point.
The Point Of No Return
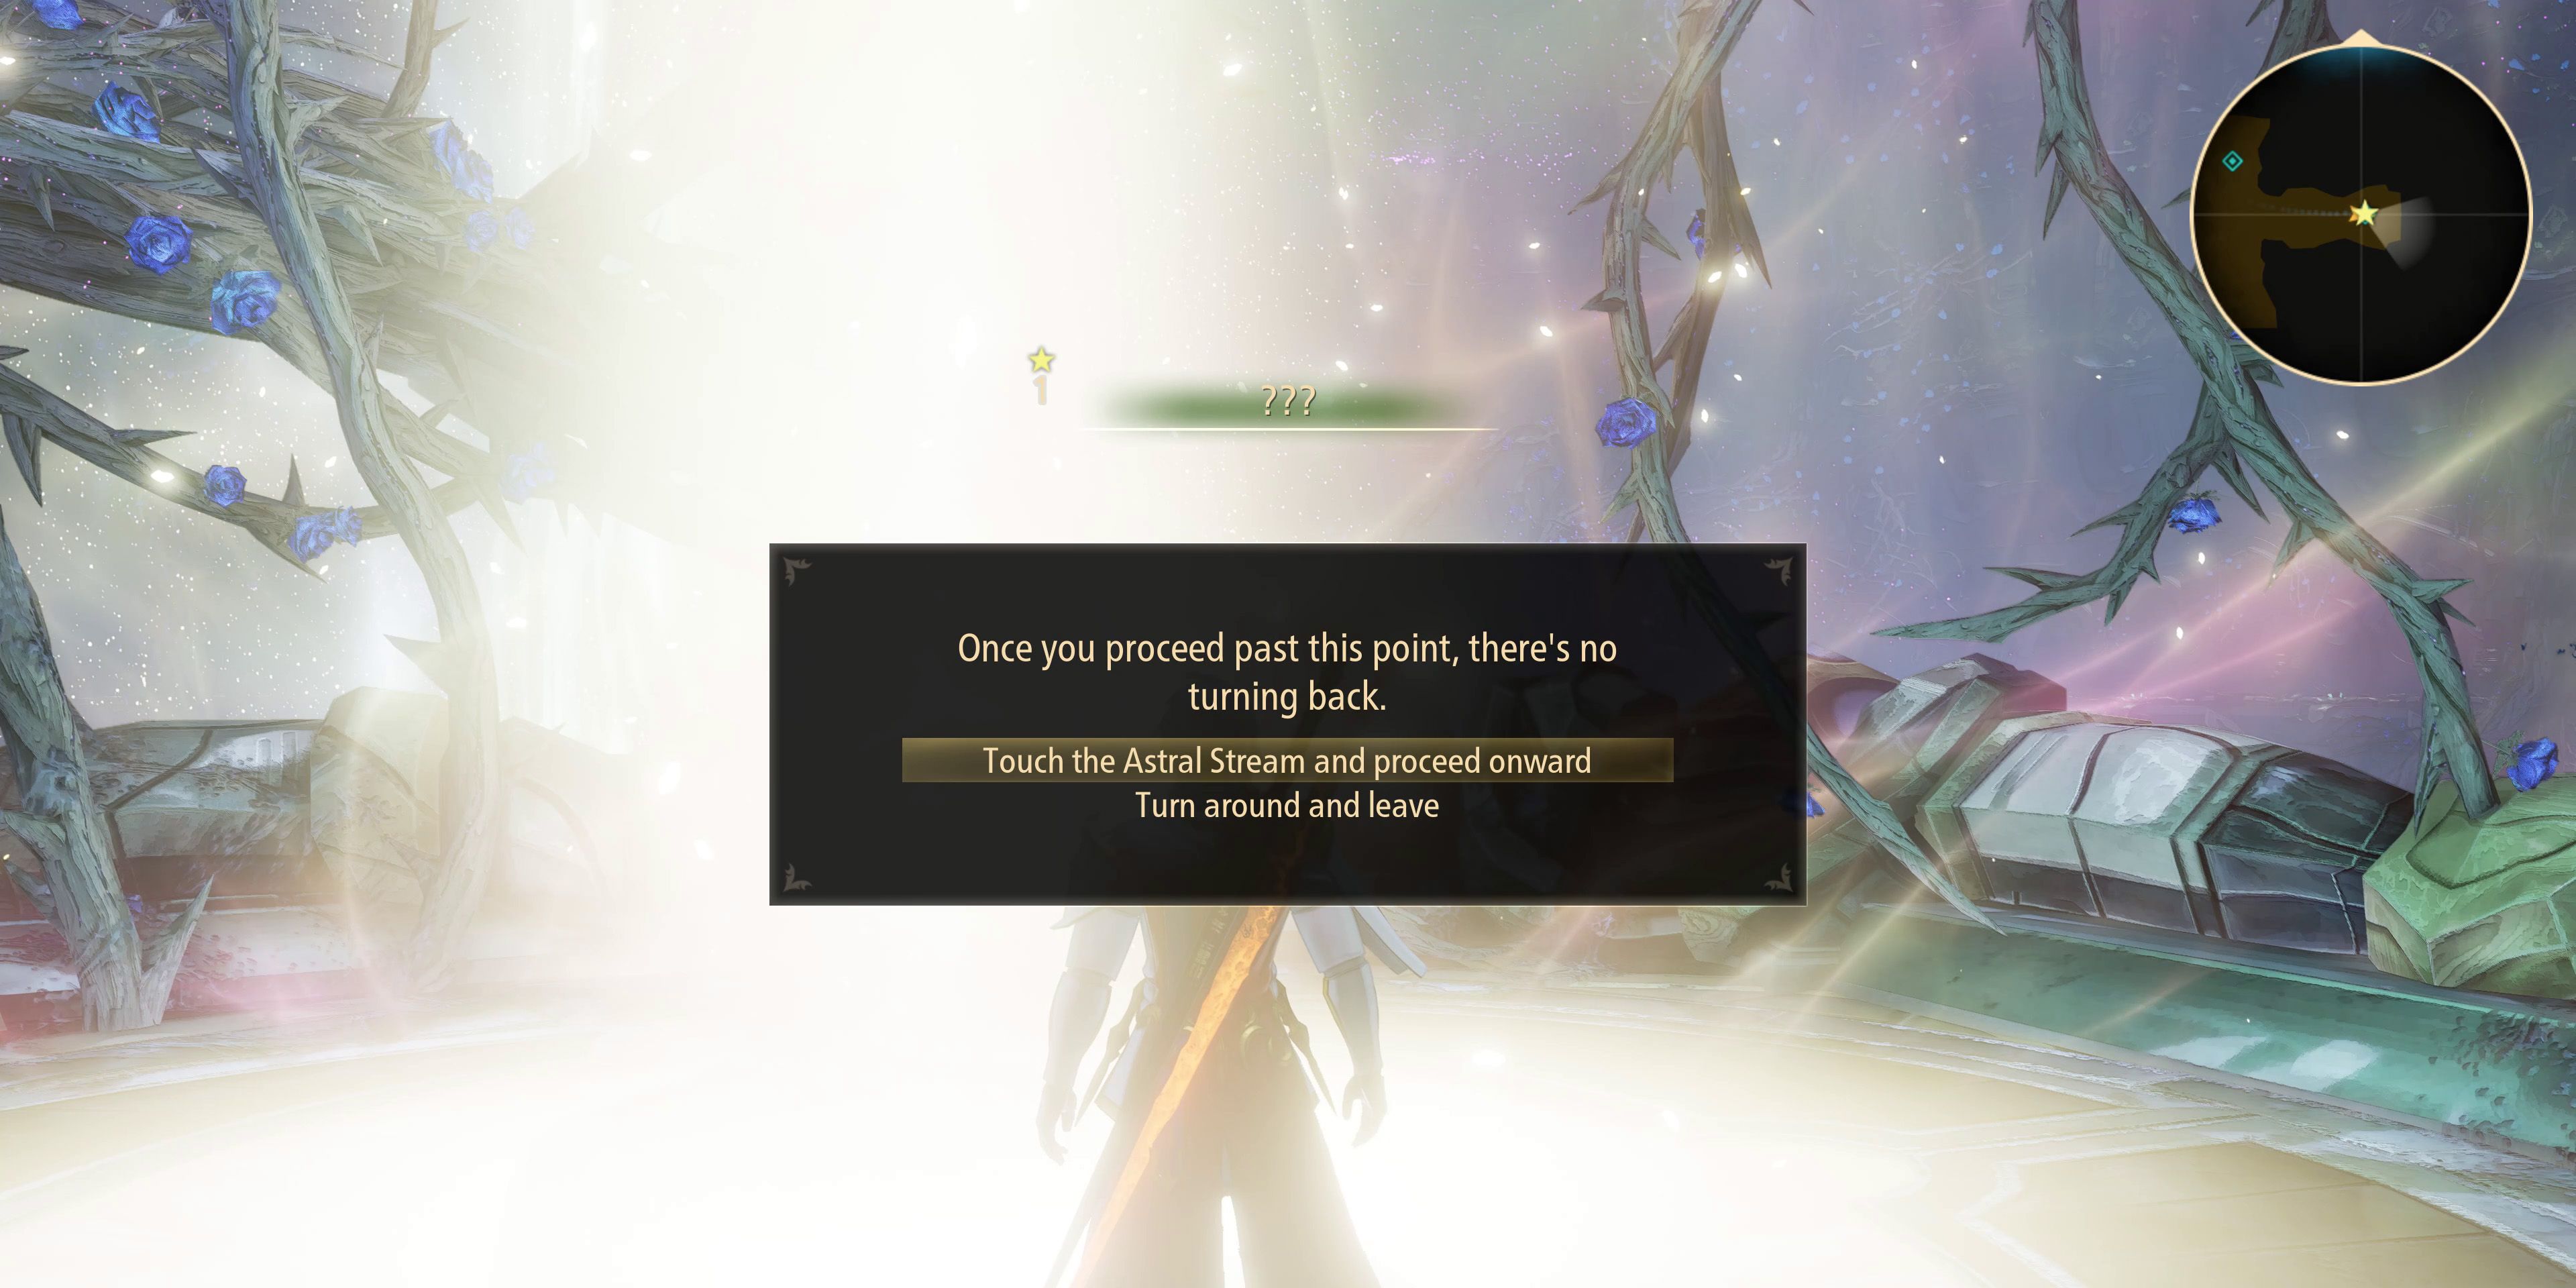
Upon leaving the Astral Energy Convergence Zone, players will find themselves in an area with nothing but a broken teleporter and a mysterious beam of light. If players cleared all six Astral Energy Separators, they'll be able to turn on the teleporter to provide a route back to the ship and will be free to come and go as they please until they're ready to face the final boss. If players step towards the light, there'll be a short cutscene before players are warned that if they go any further, there'll be no turning back.
Great Astral Spirit Boss Fight
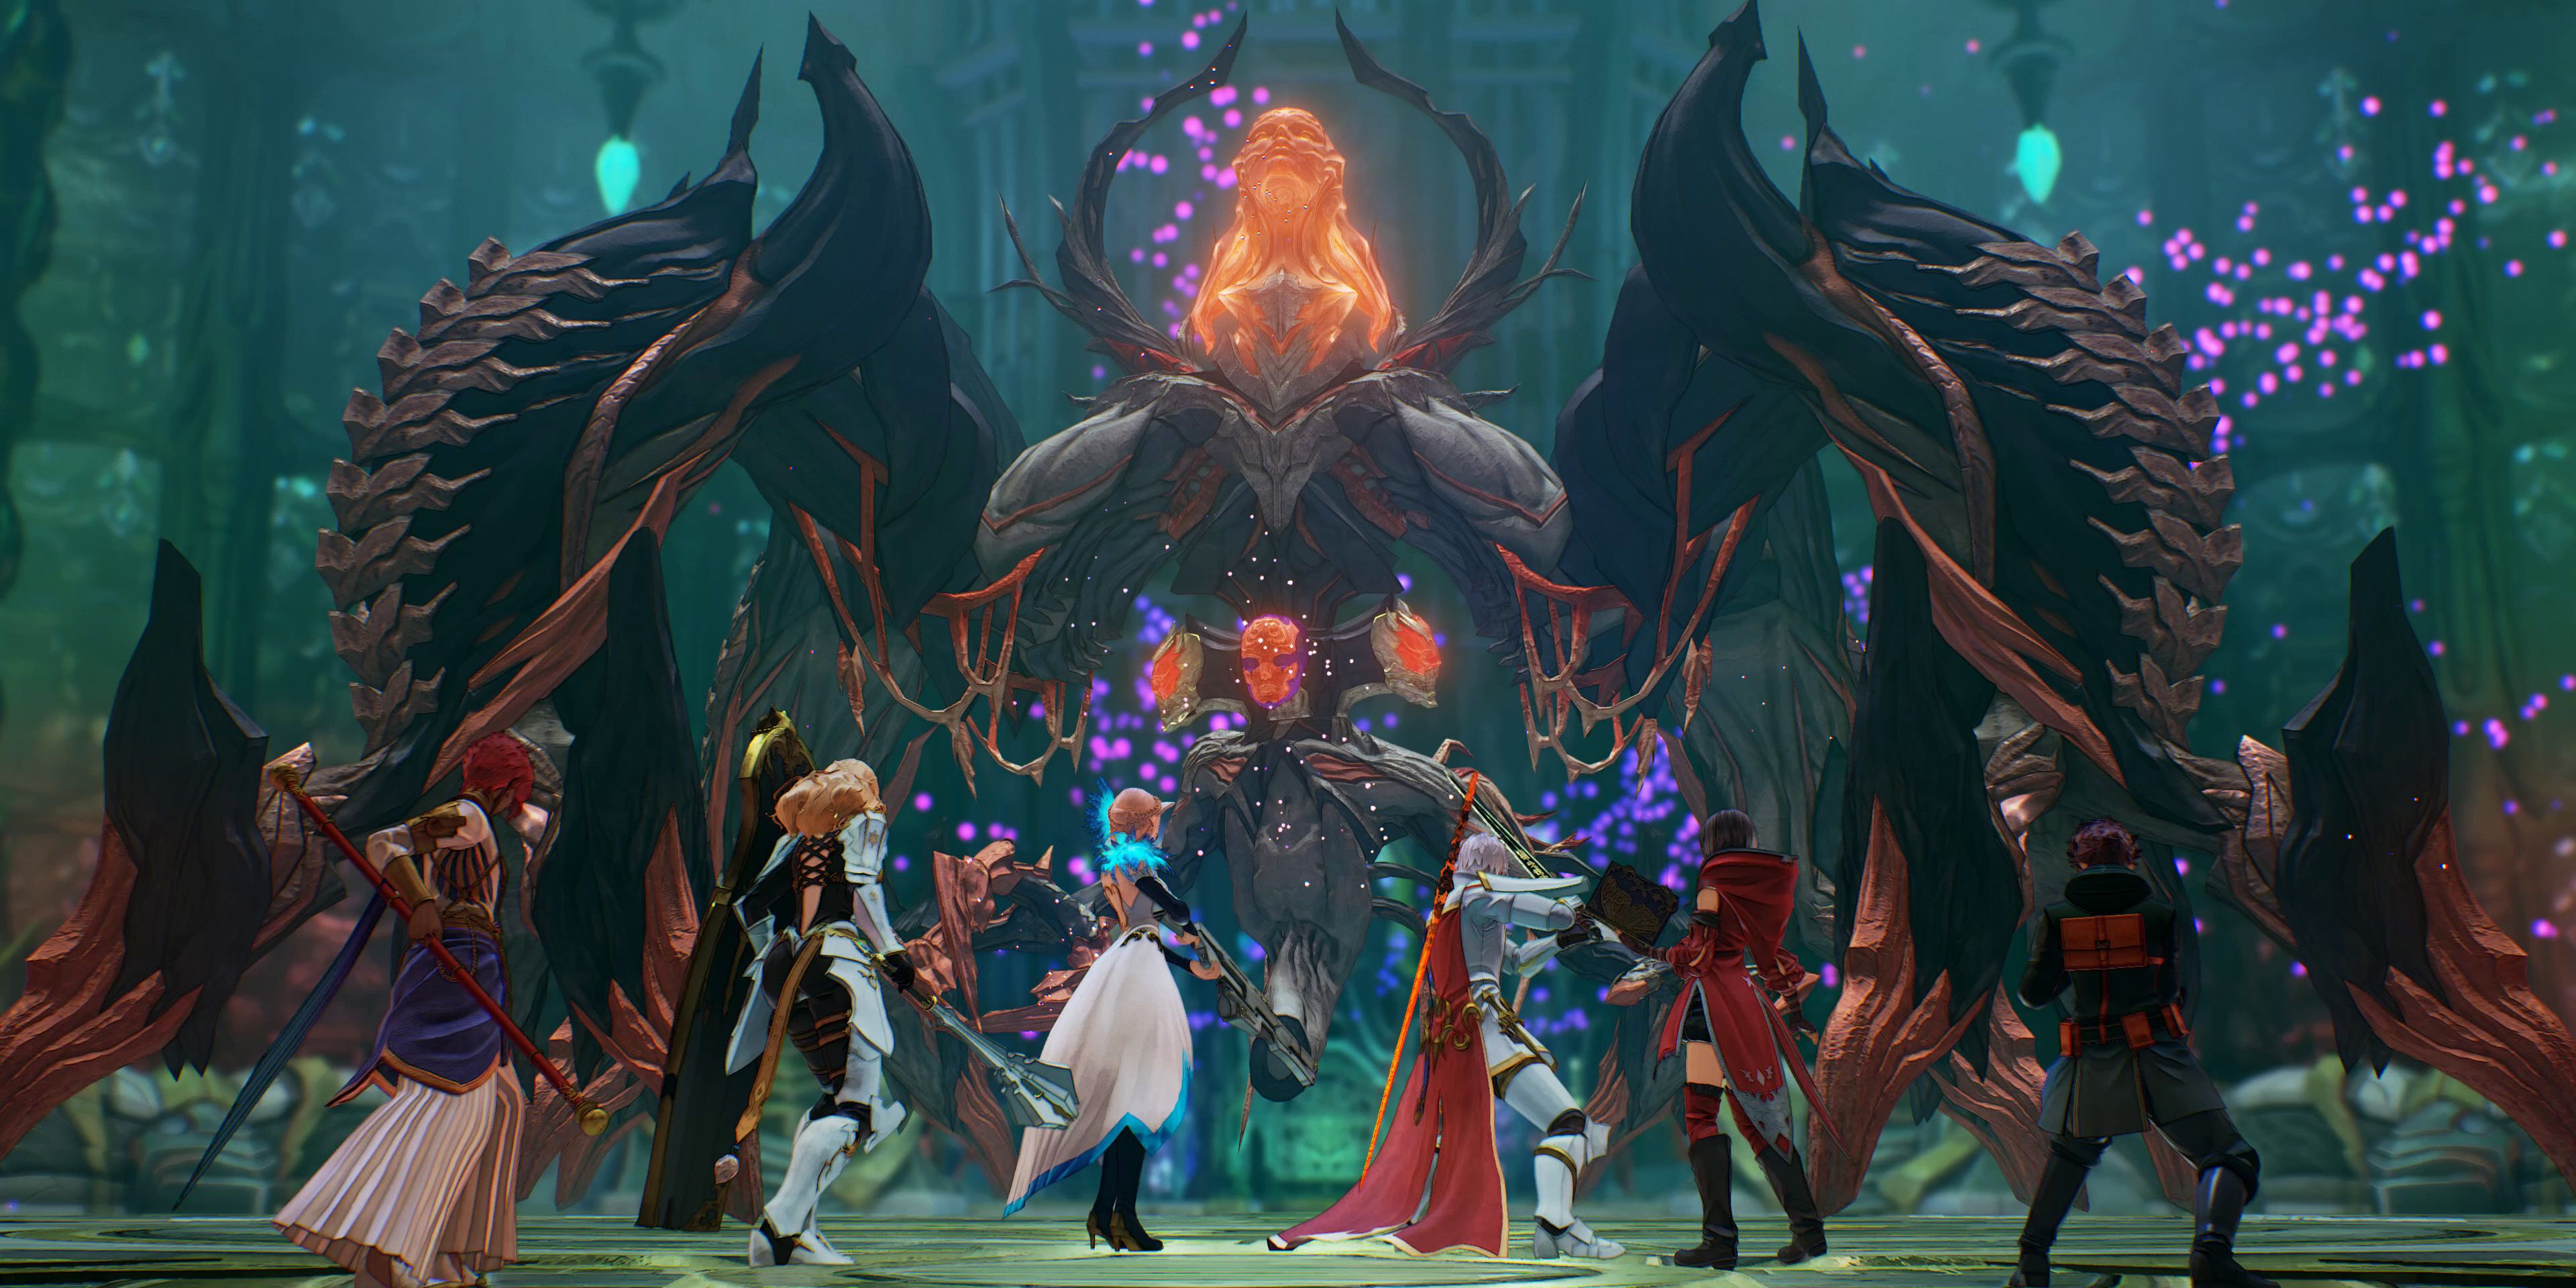
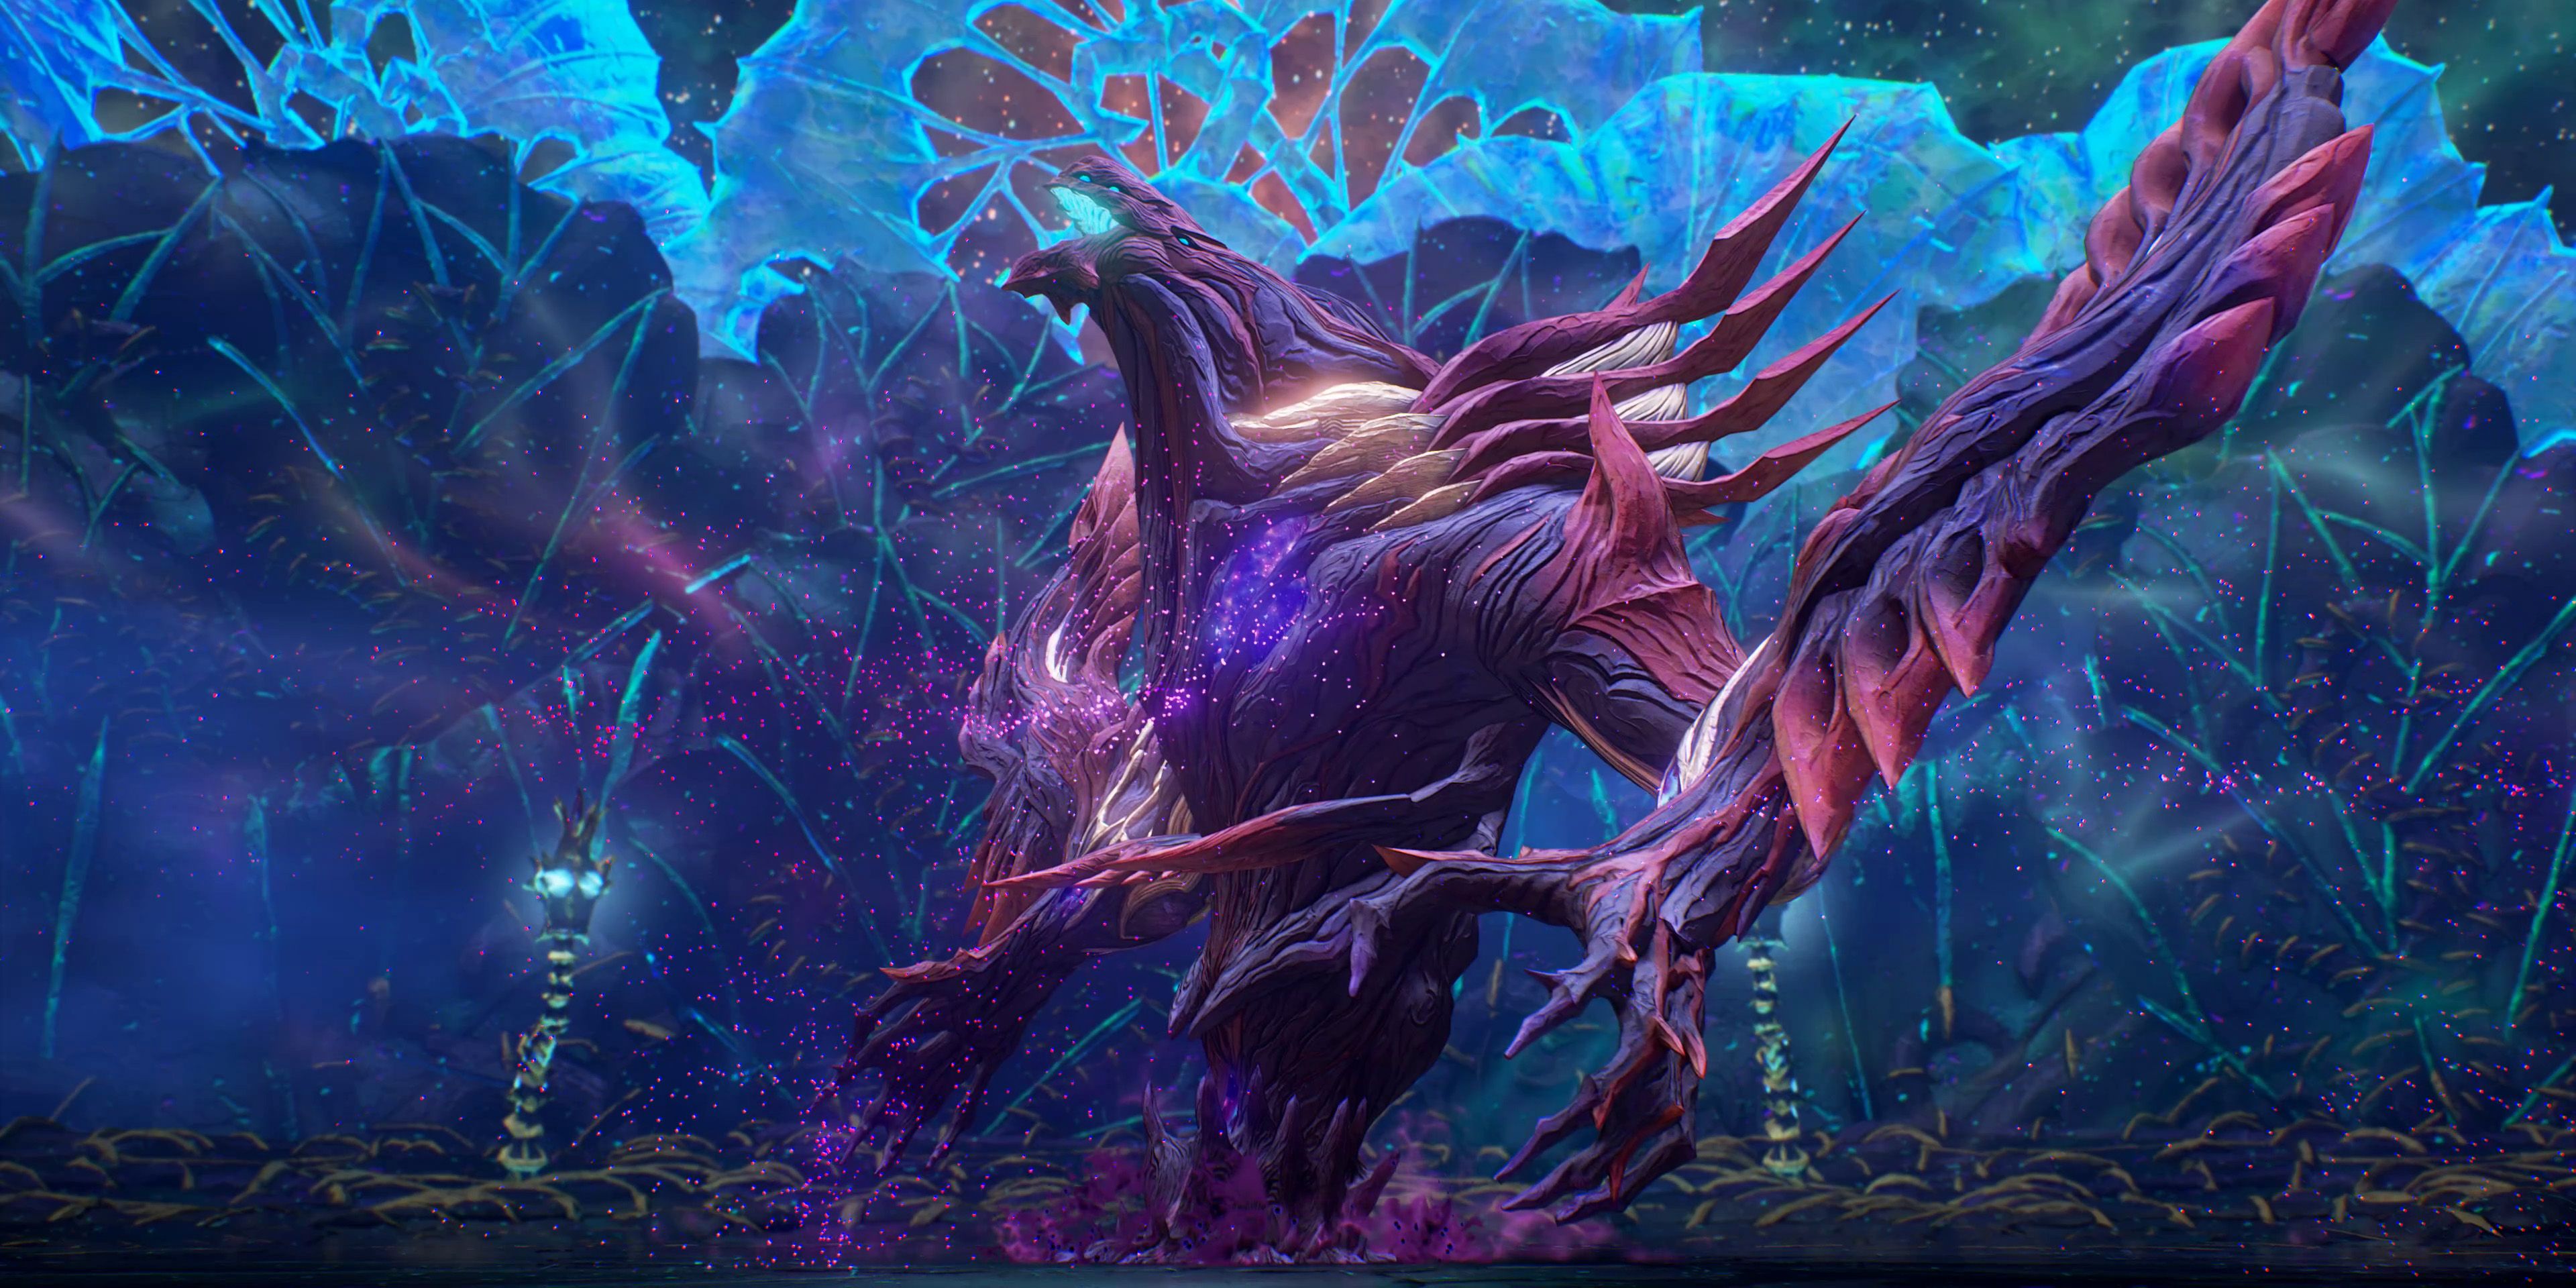
After watching a few more cutscenes, players will finally find themselves up against the Great Astral Spirit. Though it does have some pretty powerful physical attacks, its elemental Artes pose a much greater threat, so players should equip accessories to minimize the effects of dark Astral Energy. Players should also keep an eye out for its miniature black hole attack that follows the active party member around and be sure to take out the elemental orbs that it summons as quickly as possible.
Boss Tip: Though it does have legs, the Great Astral spirit isn't the most mobile of bosses, so players should aim to get behind it as often as possible. |
Due to the spirit's weakness to light attacks, Rinwell is probably the best choice for dealing damage. Her Divine Streak Arte is particularly effective, as too is her Holy Lance attack. If players don't plan on controlling her themselves, they should disable all of her other Artes to make sure that she's using these two as often as possible. Other than that, it's simply a case of chipping away at the spirit's HP until its health bar is depleted.
Subsumer Boss Fight
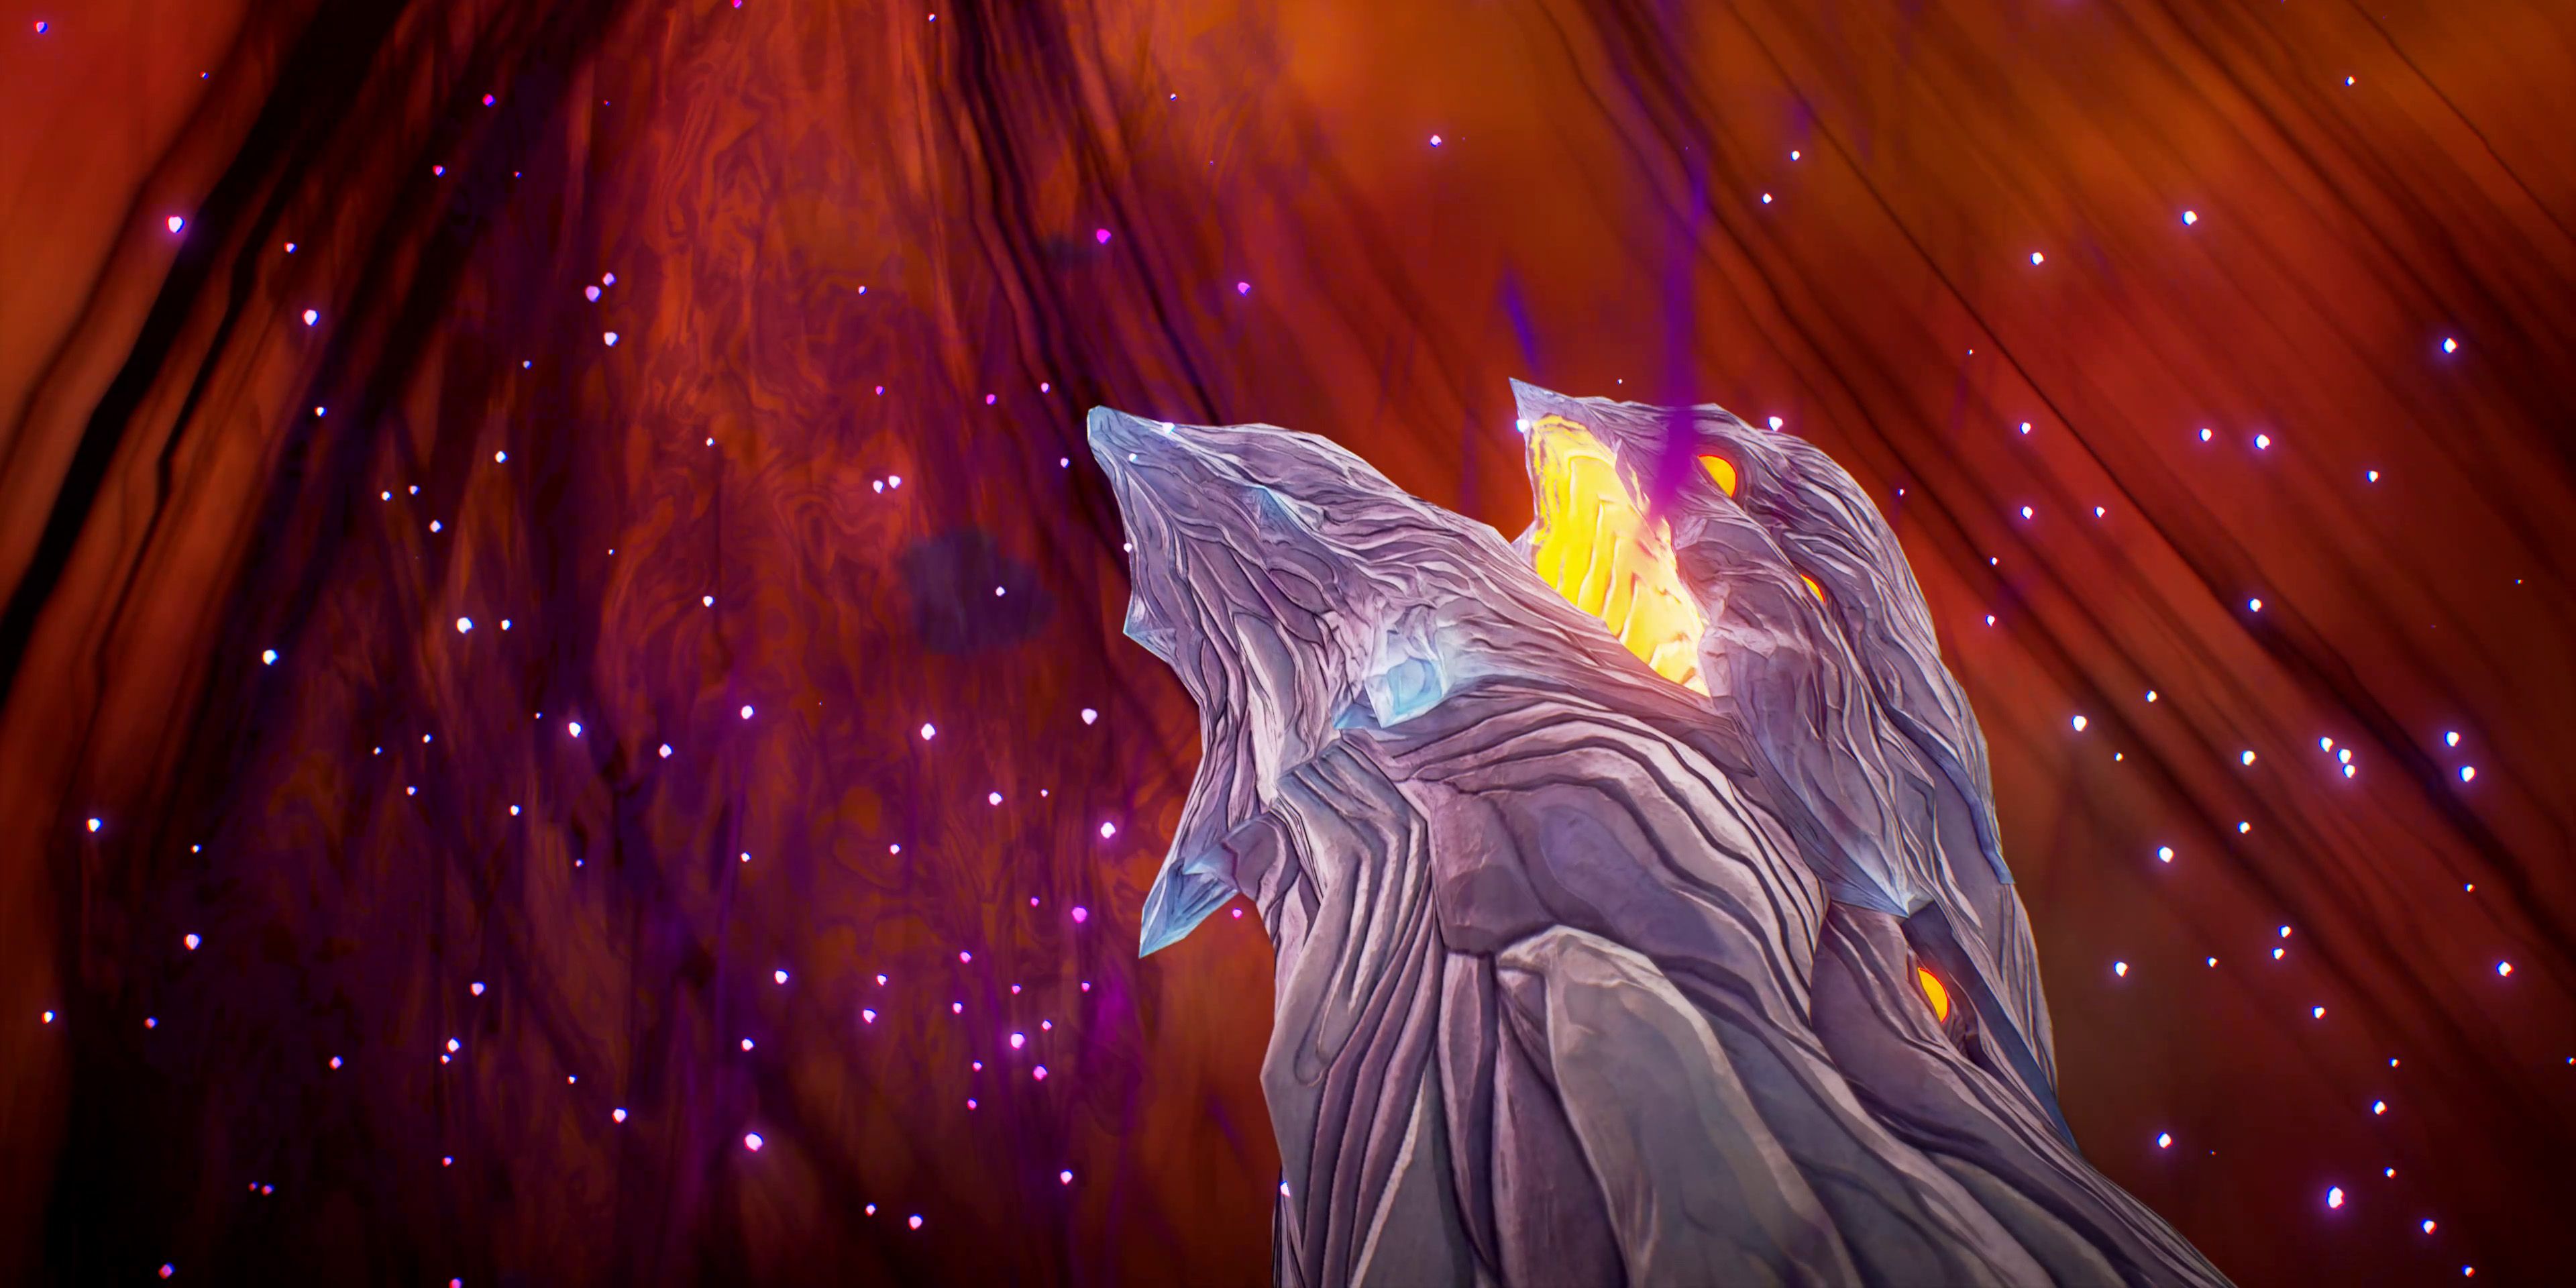
Once the battle is over, there'll be a few more cutscenes before the spirit takes on a brand new form. The Subsumer is effectively just a more powerful version of the previous boss, though the strategy for defeating it is slightly different. Players will need to destroy the crystals on each of its hands and then take out the one in the center of its chest.
Boss Tip: A lot of the Subsumer's most devastating attacks are close-range, so players should consider using Rinwell to attack the boss from distance using light elemental Artes. |
Rinwell is again the best person for the job here, though, as always, Alphen's Reigning Slash Arte is effective as well. The only thing that players really need to watch out for is the Subsumer's black hole attack, although this can be avoided fairly easily by dodging/rolling away from the point where it shows up. With a little bit of time and patience, the Great Spirit will go down a second time and more cutscenes will follow.
Vholran Igniseri Boss Fight
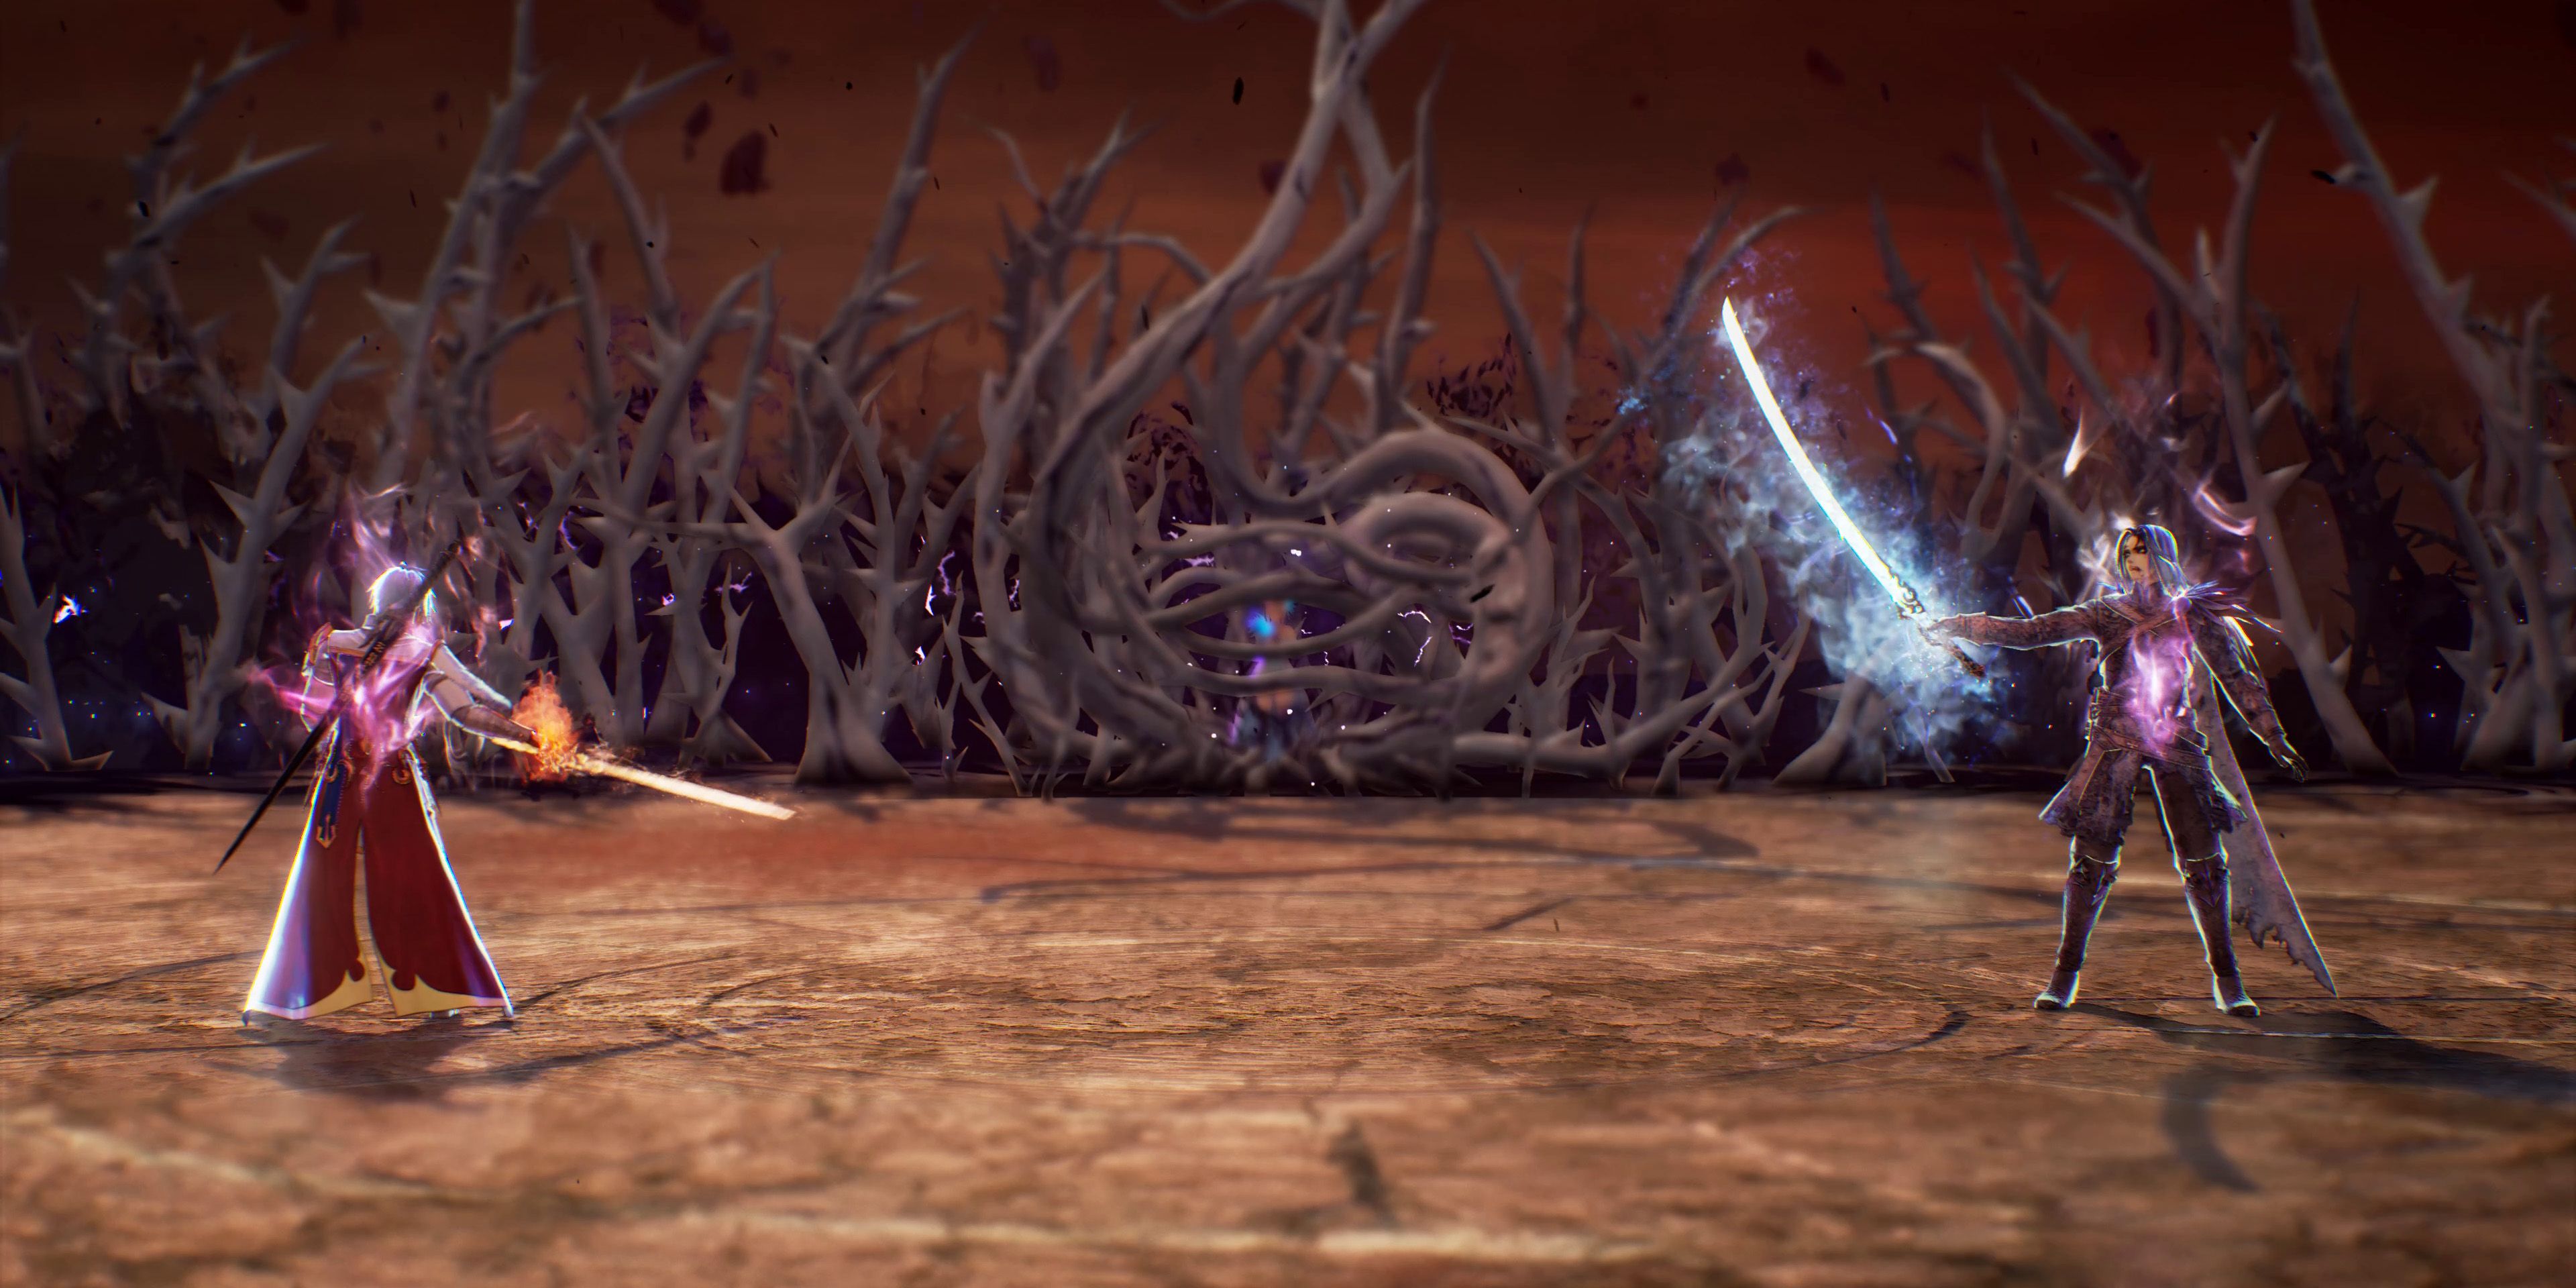
In a twist that will likely surprise no one, Vholran shows up once again and challenges Alphen to a duel. The whole thing is incredibly reminiscent of Final Fantasy 7's ending, though this may just be down to how similar Vholran is to Sephiroth. As with previous battles against him, patience is key, with players needing to utilize the game's counterstrike mechanic in order to stay alive.
Boss Tip: Alphen will not die in the second half of the battle even if his HP falls to zero. If he dies in the first half, players will be able to restart the fight rather than having to play the whole section over. |
Once Vholran is down to half HP, Alphen will activate his sovereign powers, at which point he effectively becomes invincible. From here on out, it's impossible to lose, so players can simply hack away until Vholran is defeated if they so wish. Otherwise, dodging and countering remains the optimal strategy.
Eventually, Alphen will use a new Mystic Arte called Blazing Pillar and the battle will come to an end. At this point, players can set their controllers down and sit back and enjoy the ending. After the credits have finished rolling, they'll be given the option to save their progress, which will unlock the new game plus mode on the main menu. Reloading this save will place them back at the point of no return, with three new post-game sub-quests unlocked.

