


Quick Links
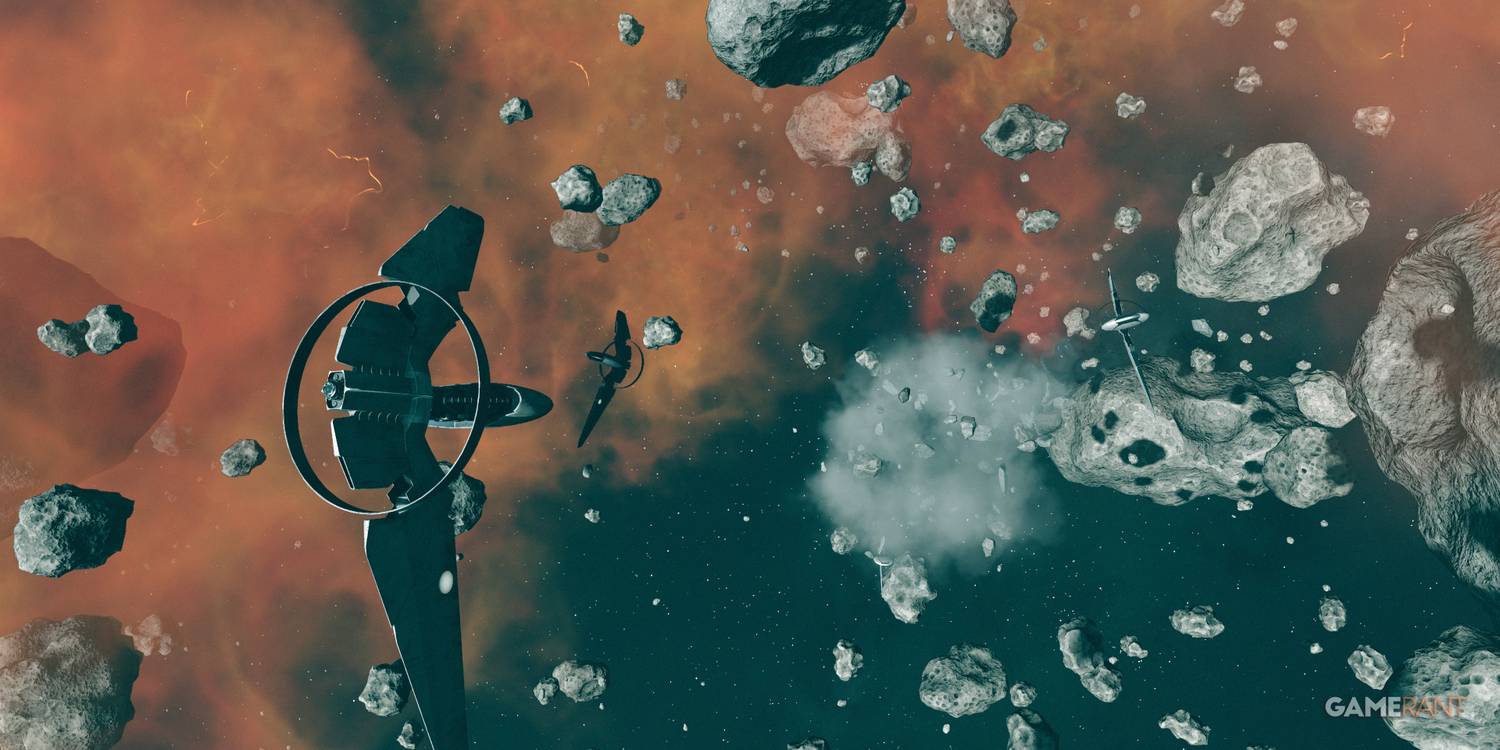
Above the planet of Masada-III, Starfield's second-to-last mission plays out like a violent symphony. Cosmic energy crackles ominously inside clouds of red gas. Starborn and Ecliptic ships fly by at speed, all prepared to stop the player from reaching Starfield's final Artifact.
"Revelation" is, in many ways, the last real mission of Starfield. Players will face what is likely the game's biggest combat challenge, with multiple waves of enemies between them and their goal. Heading into the Buried Temple blind can be incredibly difficult. Luckily, this guide will help players along, every step of the way, ensuring that the final step of this long journey is victorious.
How to Start Revelation

Once players have completed the previous missions, and collected the final Artifacts that can be found in the wild, "Revelation" will begin automatically, sending players to the skies above Masada III.
Key Mission Objective: Go To Masada III

Even as players approach the end-game, they may not have enough fuel to reach Masada III in a single jump. Follow the line when Masada III is highlighted. The system can be found near the eastern edge of Starfield's universe.

Upon arriving in Masada III, players will have one last meeting with the Hunter and the Emissary. Depending on which choice the player made in "Unearthed," the following outcomes will occur:
- Emissary Was Chosen: The Helix will help the player defeat the Starborn ships over Masada III, then team up the rest of the mission.
- Hunter Was Chosen: The Scorpius will help the player, and then the Hunter will team up.
- Neither Was Chosen: The player is on their own for the entirety of the mission. They are still allowed to bring a normal companion.
Regardless of the choice the player makes in the final dialogue over Masada III, the choice they made in "Unearthed" will play out here. As soon as the dialogue ends, "Revelation" will begin in earnest.
Defeat the Starborn Ships
Before the player can head to the surface, they must first take care of at least two Starborn Guardian ships. If they chose to go it alone, without the help of the Hunter or the Emissary, they will face them as well. This can be a daunting task. Use the following tips to emerge victorious:
- First and foremost, try not to stay still. Unless the player feels extremely confident in their shields, sitting still will be a recipe for disaster. Stay moving to stay alive, even if it seems to take longer.
- Stock up on Ship Parts. The Starborn ships can be devastatingly effective, make sure to keep a supply of Ship Parts for repairs. Keep an eye on the repair window, it can go down incredibly fast once the shields are down. Make sure to press RS before It's too late.
- Defeat the Hunter, Emissary, or Both - First. They seem to have better aim, and do more damage than they basic Starborn ship. Focus on one or both before taking out the generic.
The Outer Temple - Part I (Head to the Temple)

Key Mission Objective: Land at the Buried Temple
The first step in this long mission will be to land on the surface of Masada III and make preparations for a protracted assault. At this time, if the player chose a Starborn to pair with, they will arrive and join the team.

From the moment player's arrive, there will be multiple areas with considerable loot. If there is any doubt whether the player has enough aid items or ammo, take the time to loot the area thoroughly.
This atmosphere on Masada III is freezing, and will cause the Frostbit status affliction . While players can use Heal Gel, or any aid item with the orange flame to cure the effect, the Frostbite affliction sets in extremely fast. Because of this, aid should only be used if the status is severe enough.

Continue looting as much as possible until reaching the point in seen in the image above. Entering this section will begin the quest's first true combat test.
The Outer Temple - Part 2 (Defeat Six Starborn)

Key Mission Objective: Defeat the Starborn
As the player gets directly under the large beams and posts of the large bridge, six Starborn will appear. While it can seem overwhelming at first, there is a relatively simple strategy that can make the combat both intense, and fairly quick. The strategy is:
- Use a powerful, close range weapon: In the images for this guide, a Refined Big Bang is used, which is a mix between an energy and ballistic weapon. Any weapon that can stagger seems to have a powerful effect on the Starborn, causing them to flinch. High-damage weapons at close range can defeat them in 3–5 shots,
- Use Reactive Shield: Use the Reactive Shield power. This comes fairly early in the chain of temples, so most players following "Power From Beyond" should have it. This can use the enemies weapons against them, while protecting the players. Make sure to use Quantum Essence to keep the power meter recharging fast.
- Always Stay Close: Keep the pressure on the Starborn, and let Companions worry about long-range shots. Charge the enemy with a shotgun, and bring plenty of healing items. The segment will be over in a flash.

Before moving on to the next section, players who feel it necessary can find First Aid Kits on the bottom of each post that holds up the structure. This is a great way to make sure the player has enough aid items to make it through the remaining sections.
Buried Temple - Part I (Outer Ecliptic Base)

As players continue on from the bridge, they will head into a tunnel that leads through a construction site. Eventually, the player will reach the area seen in the above image. Heading in any further will begin the next combat set piece.
Key Mission Objectives: Defeat the Ecliptic Soldiers, Defeat the Starborn

There is a single, powerful Starborn named Guardian Athaliah that is capable of rasing dead Ecliptic mercenaries. They will begin to attack the player, but they are not the target. After killing several Ecliptic, the Starborn will get tired of waiting and reveal themselves.

The strategy here will be the same as the bridge, once the Starborn is revealed, rush them. This time, they will have the ability to switch places with one of the Ecliptic, but stay focused, wait for the quest marker to appear, and charge again.

When the Guardian Starborn is dead, they will leave behind a key to the next door that will need to be opened. It drops in the exact spot they fall. The key will lead to the nearby red door marked with the quest marker. Past the door, players will find another door that leads into the inner section of Ecliptic Base.
Buried Temple - Part 2 (Inner Ecliptic Base)

Key Mission Objective: Enter the Anomaly

Head through the base until a set of plastic gates is found, and on the other side sits an Anomaly. Head into the anomaly to go through a series of encounters with past events.

- Anomaly Event 1: Lin and the Player in the game's opening moments. This event can essentially be sprinted through entirely. Stick to the obvious route and enter the anomaly again.

Coming out of the anomaly, the player will enter another combat encounter with two Starborn Guardians. The player should be more than prepared now to handle this event. Guardian Tueta and Rinn will summon all the electronic defenses in the area to pummel the player. Don't panic, let the Companion help, as well as the Starborn on the player's team (if they chose one). Tueta and Rinn will go down incredibly easily with the 'Close Range' strategy.

One of the Guardians will drop the Ecliptic Base Key, which will be used to open the locked door on the second floor. It can be a little tricky to find, so head up the stairs in the image above, and it will be clearly visible.

Once through that door, head straight down the corridor to find another door with stairs leading down on the right, There is some loot on the right, but players want to go straight through the door. There will be blood trails leading to a body to mark the correct path, which leads to another anomaly.
- Anomaly Event 2: The player returns to the crazy junk collector from earlier in the game, Petrov. As soon as possible, simply kill Petrov, loot everything on his body, run through the door behind him and into the anomaly.
As players return from the anomaly, they will be at the entrance of an underground cave. Go straight ahead until an elevator is reached. This marks the beginning of the final section of "Revelation."
Buried Temple - Part 3 (Final Chamber)

- Anomaly Event 3: While on the elevator, players will enter the final anomaly, which replaces a key Constellation member death scene from earlier in the game with the death of the player themselves. Vlad holds the player's body, and is then shocked to see them watching over the scene. Once the dialogue ends, simply turn around and enter the anomaly to exit.

After exiting the elevator, players will be presented with a massive loot cache, the last the player will encounter before the mission's final combat sequences. It is recommended that players use it.Pay specific attention to the weapon case in the back, as it usually carries an upgraded heavy weapon.
From the loot cache, there is only one path the player can follow, and it leads directly into the path of Starfield's Guardian Fionn. Take a moment to heal any wounds, prepare any preferred powers, and set the favorites to include plenty of aid items. Then, once ready, forge ahead.
Guardian Fionn creates endless clones of the player - weapon included, so it is imperative to destroy them quickly. There are several worthy strategies, but one constant is the need for serious protection. Consider using Battlestim, Boudicca, Heal Gel , or any other aid item that bolsters Damage Resistance.
Tips for Defeating Guardian Fionn:

- Fionn likes to emerge near the back of the chamber, so it is helpful to head to rear, wait until the quest marker pops up, take an extreme damage enhancer like Frost Wolf, and let them have it as quickly as possible.
- Use Reactive Shield to mitigate the strength of cloned player weapons. Also has a chance to deflect shots back at the enemy.
- Stay on the move. Standing still in this fight is a one way ticket to defeat.
- The Close-Range method seems to work for all Starborn. Give it a try here. Most of all, have fun creating a personal experience.

Inner Chamber - How to Defeat the Emissary and the Hunter

After Fionn is defeated, a chamber door that is exactly like the doors to the temples that contain Starfield's powers, is revealed. Head inside to face the final challenge of "Revelation." There are several options for how the Inner Chamber will turn out. The most likely is that the player and their chosen Starborn will fight the second Starborn. It is also possible to fight both, though when both are present, it is also possible to try and use Starfield's Persuade skill to avoid fighting at all, but that is a difficult proposition.
The fight itself takes place in several anomalies, mostly places the player has visited. How many places is determined by how quickly the player can lower the enemy's health.
The Hunter and the Emissary:

Of the two, the Hunter is actually the easier fight. He creates an exact copy of himself that is every bit as powerful. However, once that clone is killed, only the Hunter remains. The Emissary creates multiple copies, and seems to be a much more intelligent fighter, healing himself far more often. The Emissary also has a tricky teleport maneuver that can be extremely frustrating when using a slow weapon.

The strategy for fighting either, or both, is very straight forward: pummel them with overwhelming force. The best option so far appears to be the Micro Gun. The UC distribution center carries an upgraded version, and though it is near 40,000 credits, it will chew through either Starborn boss. Using this gun with Frost Wolf or Squall will decimate their health bars in seconds. There are several other possible strategies, both those looking for a faster time of it, or are struggling to get through, should go with this route.

Make sure to pay very close attention to the player health bar, as certain attacks can wipe it out very fast. Stick with the strategies mentioned for all the previous combat encounters in "Revelation" and it will be very hard to lose.

To close out the mission, the player with be presented with the bodies of whichever Starborn they fought. Here, the player can loot the remaining artifacts, and collect the weapon of either the Hunter or the Emissary. In some rare cases, players will be able to loot their armor as well.

The final act, will be to take the last artifact from its resting place, and when the player wakes up, they will be back at their ship, ready to complete the Armillary. The reward for this mission, aside from the amazing weapons, is 5000XP. Usually enough for at least one, sometimes two skill points.
Starfield is available now on Xbox Series X/S and PC.