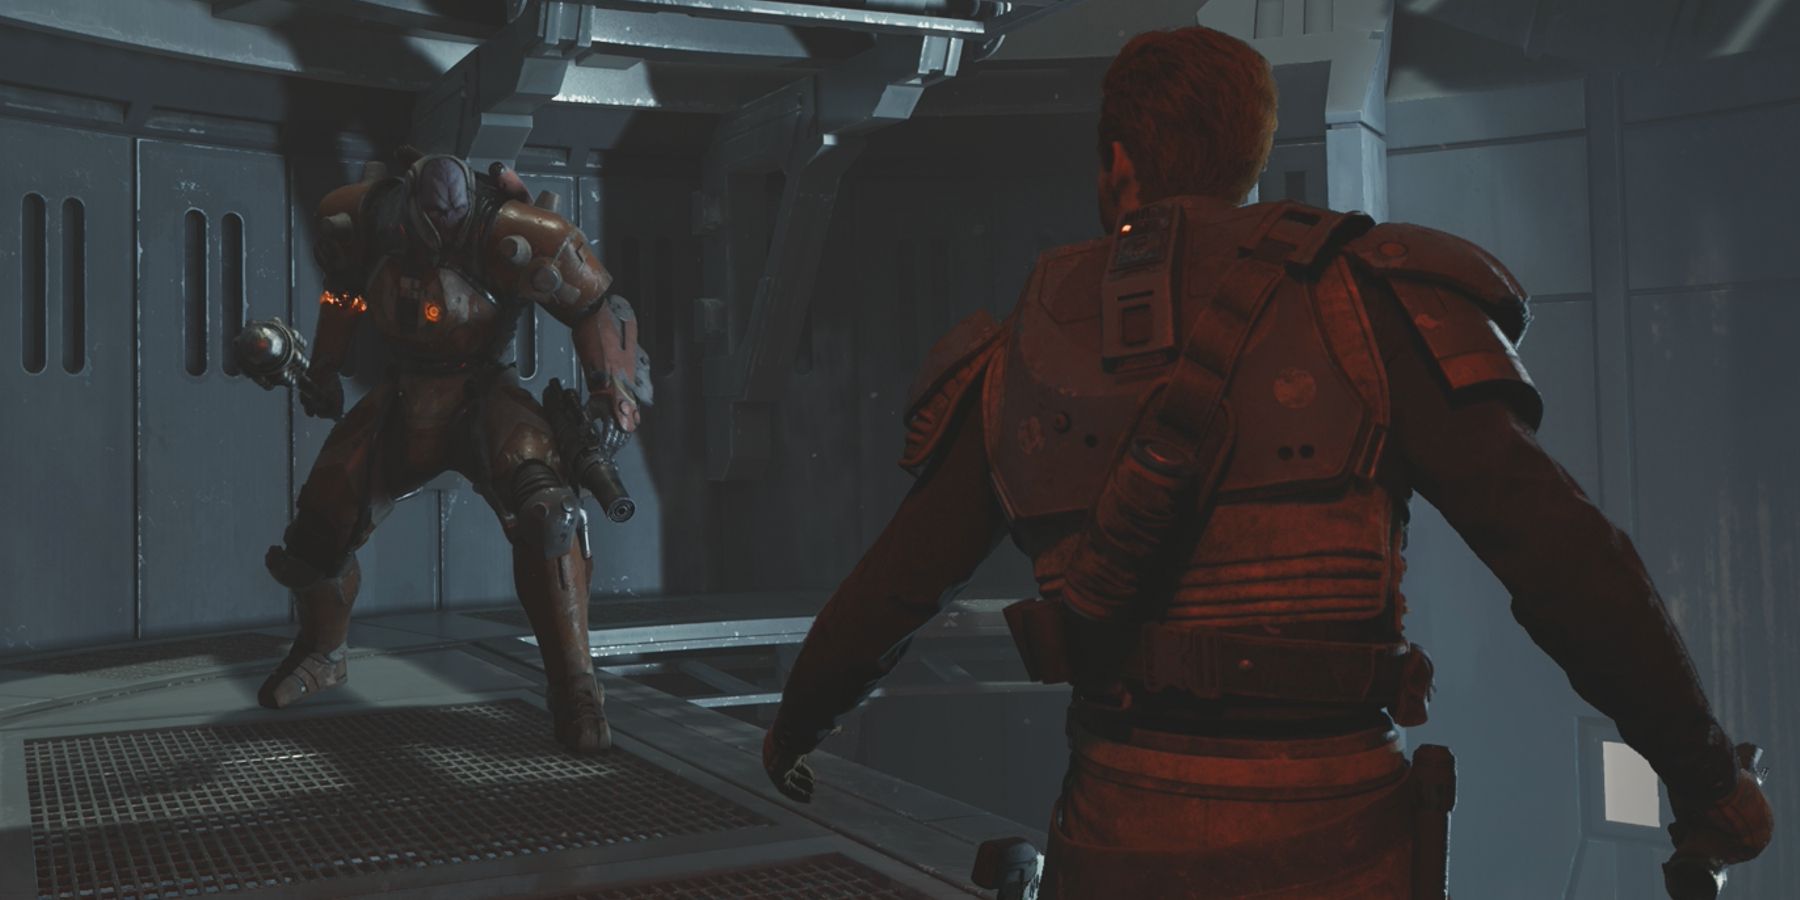
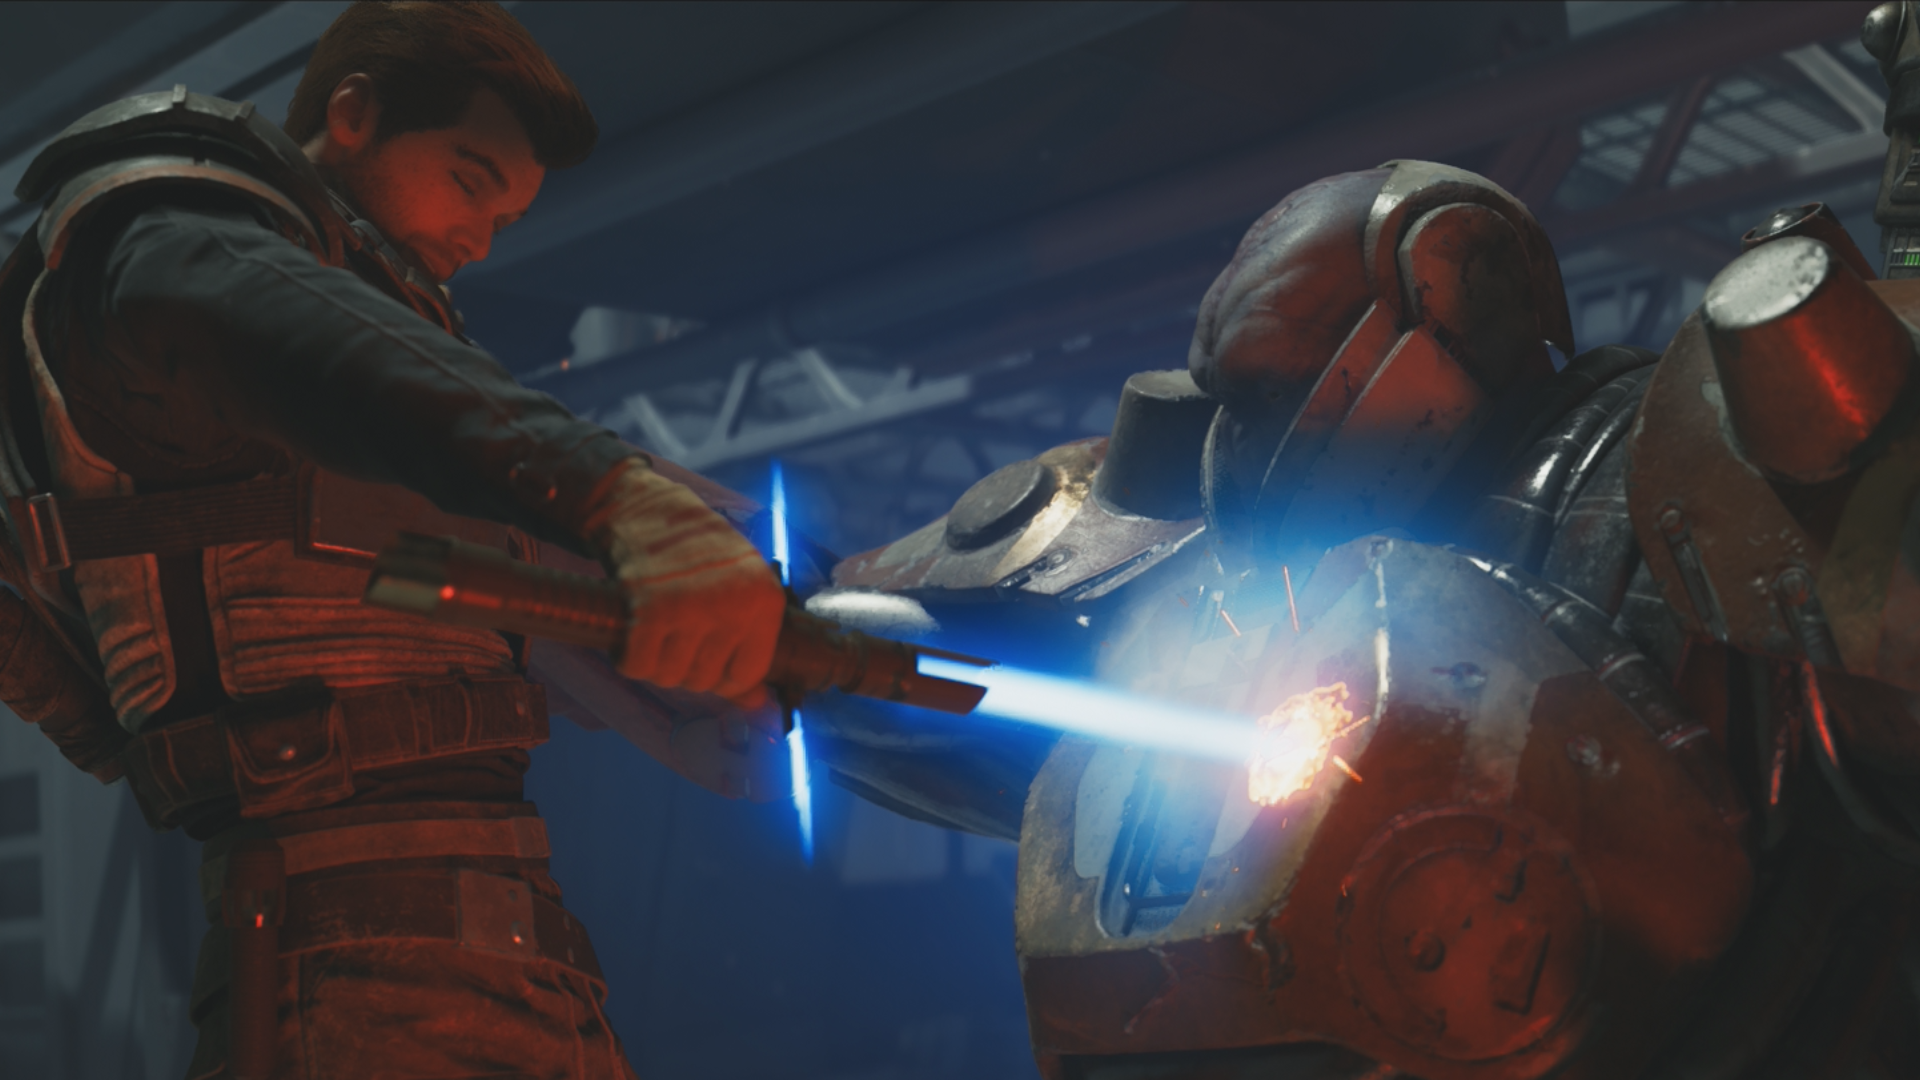
Like any great Soulslike, Star Wars Jedi: Survivor prides itself on several cinematic boss fights that progression through the narrative is tied to. Fans who had played Star Wars Jedi: Fallen Order could attest to it having the same Soulslike formula, pitting players against bosses such as the Second Sister, Ninth Sister, and Taron Malicos. The Star Wars Jedi franchise is not defined solely by its Soulslike characteristics, but it is difficult to deny how apparent they are, especially with Star Wars Jedi: Fallen Order and Star Wars Jedi: Survivor’s combat difficulties affecting parry timing.
Parry-heavy combat is a foundational part of Sekiro: Shadows Die Twice more than any other FromSoftware-developed Soulslike, and Star Wars Jedi: Fallen Order was right to include a parry of its own with how integral a lightsaber would be for its playable protagonist. Star Wars Jedi: Survivor provides many more options for players in combat than Star Wars Jedi: Fallen Order, especially right away in the narrative, but Rayvis’ boss fight ensures that players know how to nail parry windows in order to deplete their opponent’s block meter.
Star Wars Jedi: Survivor Combat Emphasizes Stances and Force-Ability Mastery
Star Wars Jedi: Survivor’s stances all offer a unique playstyle for fans to consider, whether players prefer to stand toe-to-toe with singular opponents or deal AoE damage with a focus on crowd control. Either way, the player’s combat expertise is incomplete until they have learned how to consistently parry attacks on their desired difficulty setting. Parry timing is different for every enemy, and it takes time to learn how slow or quick an enemy’s attacks land, as well as how many openings an enemy will have between attacks.
Players can get by enemies relatively easily if they are able to parry blaster bolts at a distance, deflecting them back at the ranged enemy, while encountering multiple melee enemies at once will always incur the ‘buddy system’ between them. Thankfully, Star Wars Jedi: Survivor’s Cal Kestis has options for ranged combat himself, such as any number of Force-related abilities, let alone the blaster stance.
Combined altogether, fans should have all they need to make their way through most encounters, though there are several rooms throughout the game that spit waves of tremendously difficult enemies at them. In any case, parries are essential if players want to get their backs out of the corner or indirectly damage an enemy’s block meter, which is the most reliable way to defeat Star Wars Jedi: Survivor’s Rayvis.
Star Wars Jedi: Survivor’s Rayvis Demands That Players Know How to Parry
Indeed, Rayvis’ first phase is an ordinary boss fight where players deplete his entire health bar, giving players the false impression that he may only have one phase. Rayvis then sheds a bit of his armor and reveals tendrils beneath, and because he is capable of regenerating his flesh, Star Wars Jedi: Survivor implements that into gameplay by having his health slowly replenish throughout the second phase. This means that players have no leniency in the second phase and being idle or passive is no longer an option.
Rayvis has tons of unblockable attacks in the second phase that are embedded in three-to-four attack combinations that are incredibly fast, but if players are able to successfully parry these strings and dodge when necessary, they can hack at his block meter and health bar at the same time to deplete his health faster than it can replenish. One wrong parry timing can result in a hasty demise on harder difficulties, but this particular Star Wars Jedi: Survivor boss is incredibly rewarding to defeat once his attacks are properly telegraphed.
Star Wars Jedi: Survivor is available now on PC, PS5, and Xbox Series X/S.

