Aside from new weapons and armor, one of the most exciting aspects of Elden Ring: Shadow of the Erdtree is all the new Talismans that Tarnished will have access to. SotE takes an exciting new approach with the new additions, with many of them boosting unique aspects of gameplay, encouraging players to step out of the comfort zones established in the base game. This guide will show players where to find all 39 new Talismans in Shadow of the Erdtree, and explain exactly how they work.
There are 14 new Sorceries in the SOTE. Here's a breakdown of them all.
Where to Find Every Talisman in Gravesite Plain
There are 11 new Talismans in Shadow of the Erdtree's starting region, Gravesite Plain. There are many Talismans here that can be incredibly useful, and should be collected as soon as possible.
Abandoned Ailing Village: From the Greatbridge, North site of grace, head north to reach the village. At the northern end of the village, you'll find a small hut that is separate from the rest. There is a large wooden platform off the side, with the Ailment Talisman sitting right at its edge. Be careful when you grab it, as several Fly-Men will ambush you from behind.
Prospect Town: On your way to Belurat, Tower Settlement, you will cross under a massive rock arch. After crossing, from the western side, look back, and you'll see a small cliffside path that leads up to the area above the Western Nameless Mausoleum. There is a settlement here called Prospect Town. Similar to the Scorched Ruins, there is a clear path you can follow up the buildings, then to the top of the settlement, where you will find the Outer God Heirloom in a chest.
Church of Benediction: From Prospect Town, continue east and then south on the plateau to the structure that is visible at the southern tip. The Blessed Blue Dew Talisman is on the ground in front of a statue in the center of the church.
Belurat, Tower Settlement: From the Small Private Altar site of grace, head out the north exit and follow the Horned Warrior. Not far up the stairs, you'll see a small alley on the right. Turn in there and follow it around. Watch out for several hidden enemies along the path. Make a left along the sewer canal, then turn right to enter the building. Take the ladder up, then make a right after the exit. At the top of the stairs, make a left and follow the path until you reach a ruined building. Make a right, and you will hear the sound of several scorpions dropping. Many small scorpions will approach. Take care of them, then head toward the arch doorway. However, just before the arch, turn right and climb over the ruins to find a hidden door. Enter the chamber, but be careful, a Fly-Man will latch on to you as soon as you enter. Get rid of all the Fly-Men, and make your way through the chamber. At Miquella's Cross, make a right, then a left after exiting. You'll see the Dried Bouquet sitting at a small altar.
Belurat, Tower Settlement: Using the Well Depths Key, make your way down to the southern edge of the poisonous pool. There, you will fight an Ulcerated Tree Spirit. Upon defeat, the spirit will drop the Immunizing Horn Charm +2
Belurat, Tower Settlement: After defeating the Divine Beast Dancing Lion, take the Remembrance to the Twin Maiden Husks at Roundtable Hold. There you can choose between an Ash of War, or the Enraged Divine Beast Talisman.
Castle Ensis: From the Castle Front site of grace, ride northwest and jump down to the path that passes under the bridge that leads to Castle Ensis. Ride down the path until you see a brick structure built into the rock wall on the left. Spelldrake Talisman +3 is inside the room.
Ellac River: From the Ellac River Cave, ride north up the river until you reach the Rivermouth Cave. Slightly northeast of the cave, you'll find a waterfall that you can ride through, finding the Two-Headed Turtle Talisman inside. It is also possible to reach this talisman from the cliff just south of the Temple Town Ruins in Rauh Base. There is a series of protruding tombstones, which can be seen on the map, that lead directly down to the waterfall.
Enhances attacks executed after maintaining the same stance for a while.
Location
Castle Ensis: From the Castle Ensis Checkpoint site of grace, head along the main path until you reach an old chapel. Inside, you'll find a spirit kneeling at an altar. Rellana's Cameo is found at the altar.
Elder's Hovel: There is a small sliver of land that is found right on the edge of Gravesite Plain and Scadu Altus. This area is where players can make their way into Scadu Altus early if they wish. You'll want to head east from the Castle Front site of grace, stay left at the fork and then ride into the massive ravine that leads to this sliver of land. The Elder's Hovel is found just past the blocked Spiritspring that leads into the back of the Fort of Reprimand, and the Talisman of the Dread is found inside the small shack.
Where to Find Every Talisman in Scadu Altus
There are 16 new Talismans in Scadu Altus. If following the main path, players will have access to the Scadu Altus after defeating Rellana, Twin Moon Knight.
However, if there is a talisman you are looking to get as soon as possible, there is a way to skip Rellana and reach the Scadu Altus early. The Scaduview area beyond the Shadow Keep will be included in this section.
Fort of Reprimand: Inside the fort, you will encounter a small group of enemies with a large stack of cages behind them. You can climb one section of the cages, and find the Flamedrake Talisman +3 in a chest on the other side.
Shadow Keep: From the Specimen Storehouse First Floor site of grace, make your way into the chamber that has the lever that lowers the bookshelf, opening a shortcut. There are two large wooden blocks in the room. There is a dead body at the end of one of the blocks that holds the Boltdrake Talisman +3 .
15. Pearldrake Talisman +3
Effect
Boosts non-physical damage negation by the utmost.
Location
Shadow Keep: As you make your way through the Specimen Storehouse, you will notice several statues that hang in the center of the chamber. One of the statues has an item floating below its head, and it will seem at first that there will be no way to get it. However, when you reach the higher levels of the storehouse, you will find a lever that moves the entire center structure, allowing access to the floating item from the second floor balcony. This item is the Pearldrake Talisman +3 .
16. Lacerating Crossed-Tree
Effect
Enhances dash attacks.
Location
Highroad Cross: If you choose to help Needle Knight Leda invade the Hornsent, she will reward you with this talisman upon returning to her at Highroad Cross site of grace.
17. Retaliatory Crossed-Tree
Effect
Enhances attacks after rolling or backstepping.
Location
Shadow Keep: Over the course of Sir Ansbach's quest, you will find him in the Specimen Storehouse library. After you give him the Secret Rite Scroll , you will then have the opportunity to either help Needle Knight Leda invade him, or help Sir Ansbach against Needle Knight Leda. The summon signs will appear in the storehouse library. Do get the Retaliatory Crossed-Tree, you must side with Leda, and invade Sir Ansbach.
Highroad Cross/Ancient Rauh Ruins: Use the Imbued Sword Key portal in the area above Castle Ensis. You can get to it from the Highroad Cross site of grace. Simply ride west across the river and you'll find the portal. It will take you to an isolated section of the Ancient Ruins of Rauh. There is a single Divine Bird Warrior standing in the center of the garden pools. The Verdigris Discus is found under the overhang, behind the waterfalls.
Moorth Ruins: From the Moorth Ruins site of grace, head east until you see a ruined building with a clear entrance. Head into the building and exit out the large hole in the back onto the roof below. Turn left and follow the rubble around the site of the building. You'll find the Shattered Stone Talisman on a dead body.
Ruined Forge of Starfall Past: As you make your way through the forge, you'll come to a room with numerous Fire Blobs falling from the ceiling. The Smithing Talisman is with a dead body against the back wall.
Bonny Gaol: There is a large hole in Bonny Gaol that you must jump down, leading to a long, subterranean tunnel. Head east, and you will encounter a ladder that leads to a closed-off chamber. The Stalwart Horn Charm +2 is found against the back wall.
Shadow Keep: After defeating the Golden Hippopotamus, make your way along the main path until you reach the Messmer Soldier that jumps out and stomps the ground in front of you. There is a small courtyard beyond the chamber he came from that has a golden tree in the center. The Talisman of Lord's Bestowal is at the base of the tree.
23. Beloved Stardust
Effect
Shortens casting speed for spells and incantations by the utmost, but increases damage taken.
Location
Cathedral of Manus Metyr: Speak to Count Ymir to begin his quest. Beloved Stardust will be the reward for completing the first stage of the quest.
Finger Ruins of Dheo: The second map given by Count Ymir takes players to this ruin on the northeast edge of the map. Ring the bell at the center of the ruins to receive the Cerulean Seed Talisman +1 .
Albinauric's Shack - Scaduview: After defeating Commander Gaius in the rear of Shadow Keep, you'll find a large open space with a massive tower before the Scadutree Chalice. Off to the side, you'll find an Albinauric archer riding a wolf, and a small shack behind her. The Sharpshot Talisman is found in the shack.
26. Golden Braid
Effect
Boosts holy damage negation by the utmost.
Location
Shaman Village - Scaduview: To reach this area, you'll have to use the O Mother gesture at the statue of Marika near the Shadow Keep Back Gate. Instead of heading out to face Commander Gaius, turn right into the small church area. You'll find the statue in the back. This will open a secret entrance to the Hinterland region. Shaman Village is found on the small plot of land south of the Hinterland Bridge. Head to the end of the village to find the Golden Braid at the base of a dead tree.
27. Arrow's Soaring Sting Talisman
Effect
Increases the effective range of bows and raises attack power of arrows and bolts.
Location
Fog Rift Fort: Although the fort is technically in Gravesite Plain, the only way to reach it is through Scadu Altus. Head to the Scadu Altus, West site of grace, use the rock platforms to fall to the first tower. After fighting Black Knight Garrew, head to the second tower to find Arrow's Sting Talisman in a chest.
Church of the Crusade: Enter the church and Fire Knight Queelign will invade you. This should be the second invasion, with the first taking place at Belurat, Tower Settlement. Defeat Queelign to get the Crusade Insignia . Technically, you can miss the first invasion at Belurat. If the Church of Crusade is your first encounter with Queelign, then head to the Small Private Altar site of grace at Belurat, then, instead of heading in the same direction as the Horned Warrior, turn right and cross the rubble. You will end up in a large courtyard. You'll begin to hear Queelign speak as you make your way through the courtyard, and he'll eventually invade you. This Iris of Grace & Iris of Occultation quest.
29. Viridian Amber Medallion +3
Effect
Boosts maximum stamina by the utmost.
Location
Darklight Catacombs: After getting off the elevator, approach the first railing and look over. You'll see a slender path below that you can drop to. Once on that, take the path around the corner, and when you reach the break, drop to the next path. You'll see a chamber you can enter, which contains the Viridian Amber Medallion +3 .
Where to Find Every Talisman in the Ancient Ruins of Rauh
The Ancient Ruins of Rauh feature 6 new Talismans. Here is a full list, including those found at Rauh Base.
Boosts all non-physical damage negation while guarding.
Location
Rauh Base: Just northwest of the Ancient Ruins Base site of grace, you'll find a small Messmer Soldier camp. Under the canopy you'll see a stack of boxes. Go behind the boxes, and you'll find a chest containing the Pearl Shield Talisman.
Rauh Base: At the far western end of Rauh base you'll find the Temple Town Ruins. At first, it'll appear that there is no way to get through the walls that surround the ruins. However, walk around the outside, and you'll find a small opening that you can creep through. Much like Prospect Town and the Scorched Ruins, you'll need to climb the ruins to reach a chamber at the very top that contains the Two-Handed Sword Talisman .
32. Cerulean Amber Medallion +3
Effect
Boosts maximum FP by the utmost.
Location
Rauh Base: Defeat the Death Knight boss in the Scorpion River catacombs. To reach this location, head north from the Temple Town Ruins site of grace, then follow the river west to reach the catacombs and get the Cerulean Amber Medallion +3 .
Ancient Ruins of Rauh: From the Rauh Ancient Ruins, West site of grace, head up both sets of stairs, then make a left at the first corner. This will lead to an elevator. Take an immediate left after exiting the elevator, and you'll reach the edge of a cliff. Look down to see several stone beams that you can travel across. Head southeast across the beams until you see a patch of land on the left. Jump to the ledge and go up the small set of stairs. You'll see a square hole in the wall that you can enter, then into the chamber that it leads to, make a left into the next square opening. The Talisman of All Crucibles is found in a chest in the next chamber.
34. Mottled Necklace +2
Effect
Vastly raises immunity, robustness, and focus.
Location
Ancient Ruins of Rauh: Near the Rauh Ancient Ruins, West site of grace, you'll find a blocked Spiritspring. Once that Spiritspring is available, use it to jump east and land on a small plot of land with an L-shaped path. The Mottled Necklace +2 Talisman is at the top of the stairs, among the vegetation, in a chest.
Ancient Ruins of Rauh: From the Rauh Ancient Ruins, East site of grace, head north and enter the large chamber filled with vegetation and Fly-Men. Head all the way to the back of the first chamber, then make a right. Continue along the path until it begins to rise. It will lead to a chamber with large branches. Ride to the top of the branches to find the Fine Crucible Feather Talisman on a dead body.
Where to Find Every Talisman in the Southern Shores
There are 3 new Talismans in the Southern Shores region, which includes the Cerulean Coast.
36. Clarifying Horn Charm +2
Effect
Vastly raises focus.
Location
Lamenter's Gaol: In the gaol, you'll find yourself in a subterranean tunnel. Follow it northeast until you hit a great that cannot be passed. Clarifying Horn Charm +2 will be found to the left of the grate.
37. Crimson Seed Talisman +1
Effect
Greatly boosts HP restoration from the Flask of Crimson Tears.
Location
Finger Ruins of Rhia: During Count Ymir's quest, he will send you to these finger ruins with the first map. Sound the bell at the center of the ruins to earn the Crimson Seed Talisman +1 .
38. St. Trina's Smile
Effect
Sleep in the vicinity increases attack power.
Location
Garden of Deep Purple: Make your way through the Stone Coffin Fissure and defeat the Putrescent Knight. You will then have access to St. Trina and Thollier in the Garden of Deep Purple. When trying to speak with St. Trina, you will only have the option to 'Imbibe Necter.' Do this over and over until you hear everything St. Trina has to say. Then, speak to Thollier. Pass along St. Trina's words to cause Thollier to invade you. When you defeat Thollier, you will receive St. Trina's Smile .
Abandoned Church: From the Abandoned Church, the location right next to the map pillar, head west along the bottom section of the river. You'll eventually come across several messages warning you to turn back, then to avoid combat. Continue on until you see the first Aged One walking in the river. You'll want to make sure you have a shield capable of parrying. The Buckler is your best bet. When the Aged One raises its staff to attack and lock you the Madness hug, parry it. This will make it vulnerable going forward. Once you kill it, you will get the Aged One's Exultation Talisman.


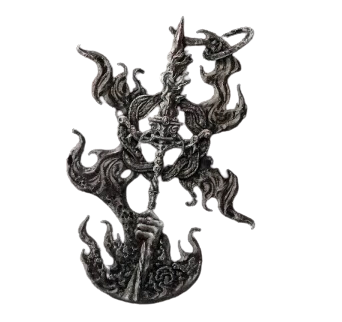
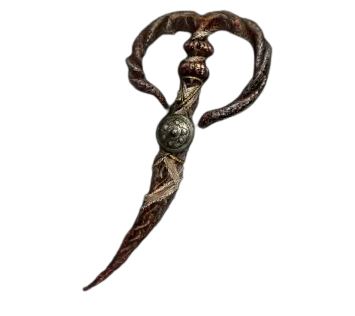 Blade of Mercy
 Ailment Talisman
 Outer God Heirloom
 Blessed Blue Dew Talisman
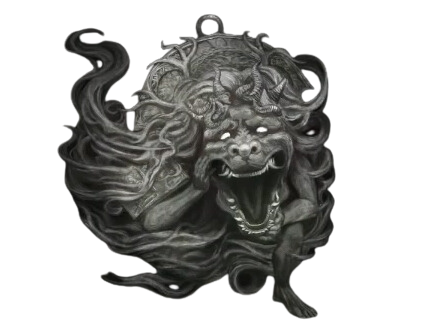 Enraged Divine Beast
 Two-Headed Turtle Talisman
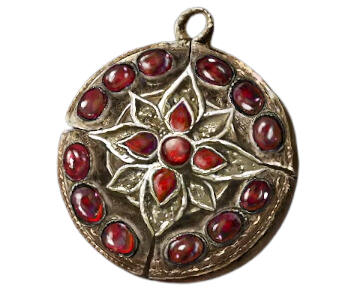 Crimson Amber Medallion +3
 Talisman of the Dread
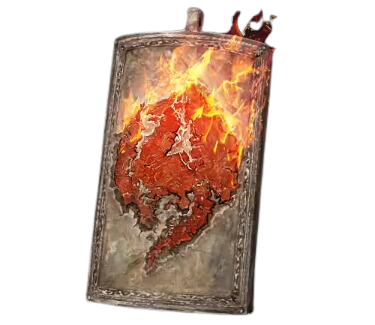 Flamedrake Talisman +3
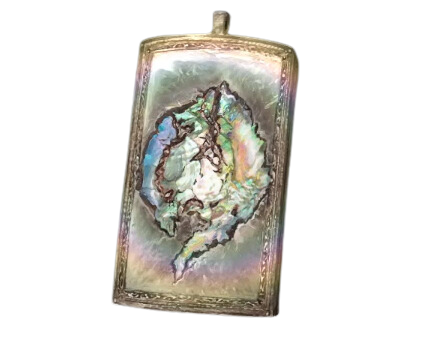 Pearldrake Talisman +3
 Secret Rite Scroll
 Verdigris Discus
 Shattered Stone Talisman
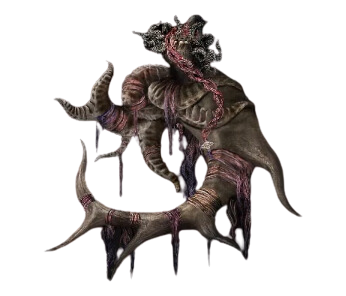 Stalwart Horn Charm +2
 Talisman of Lord's Bestowal
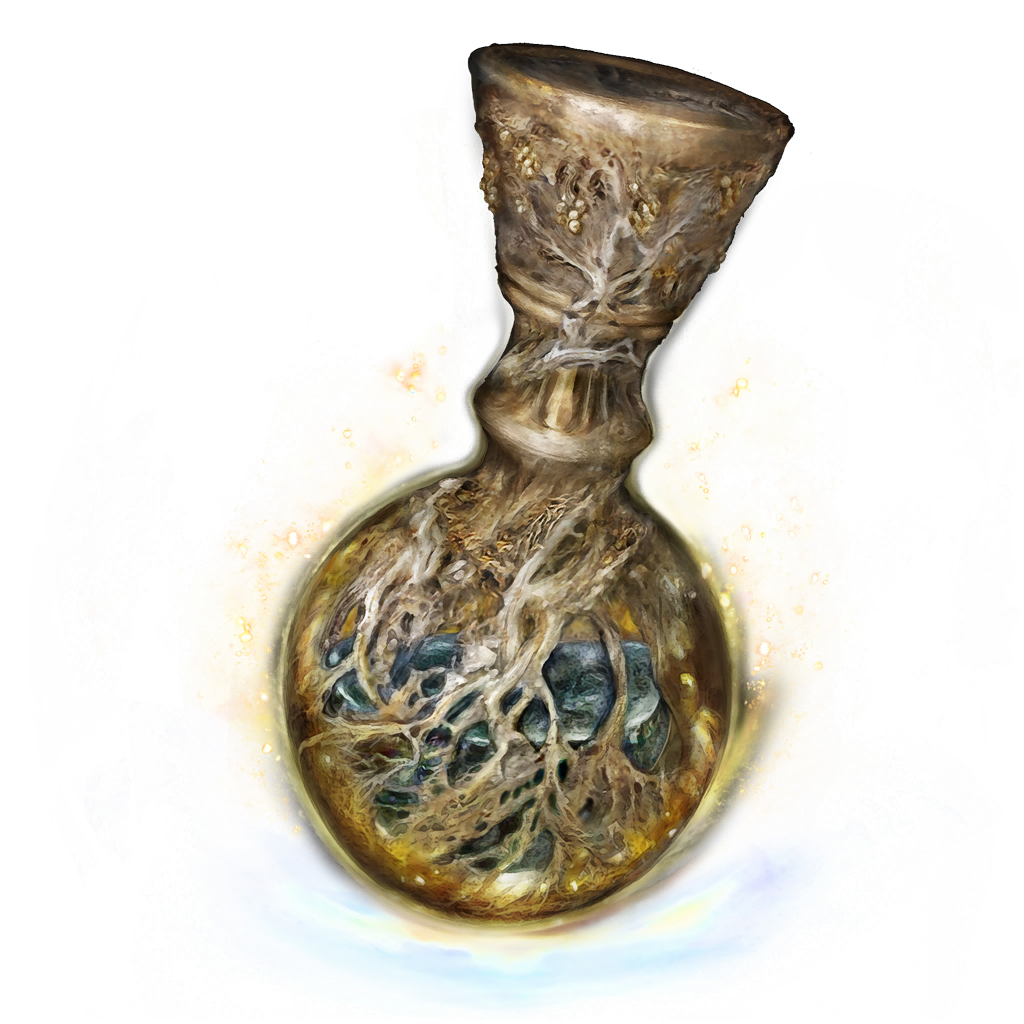 Flask of Cerulean Tears
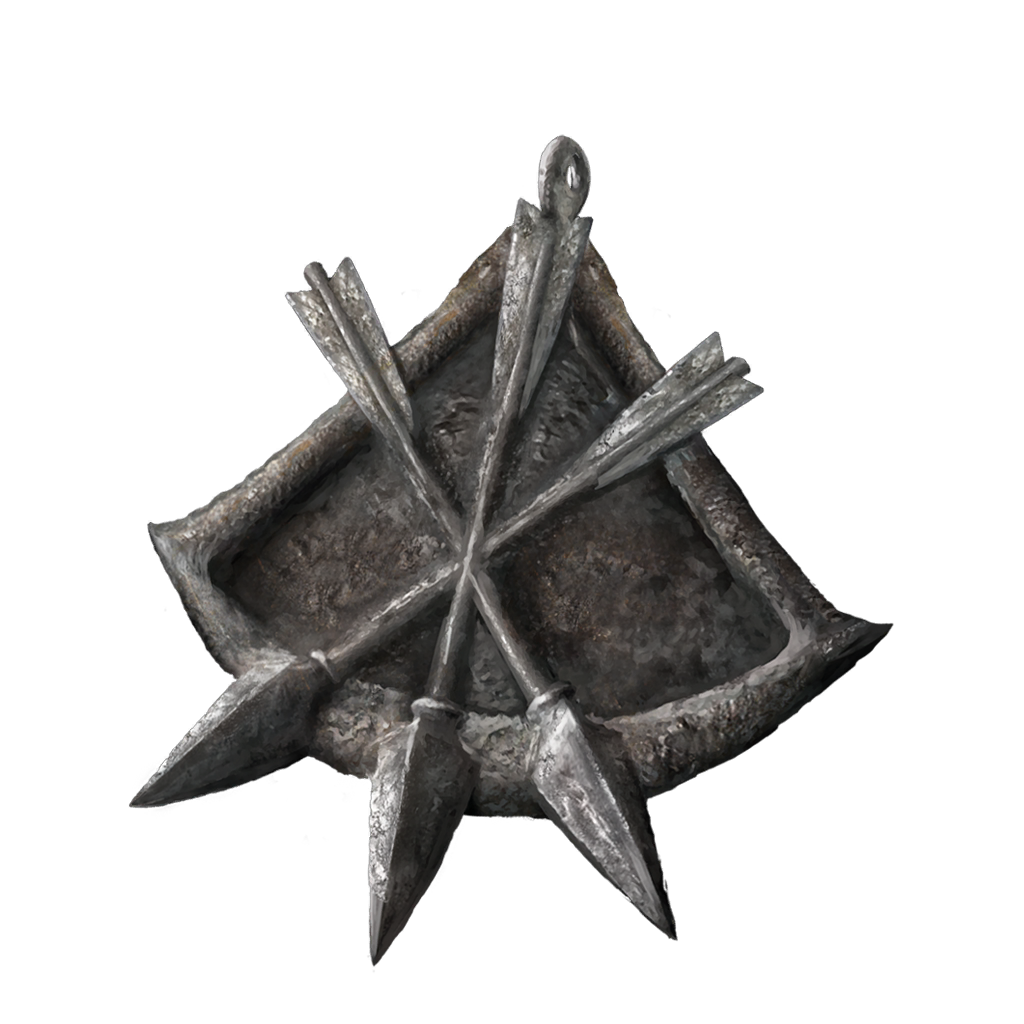 Arrow's Sting Talisman
 Crusade Insignia
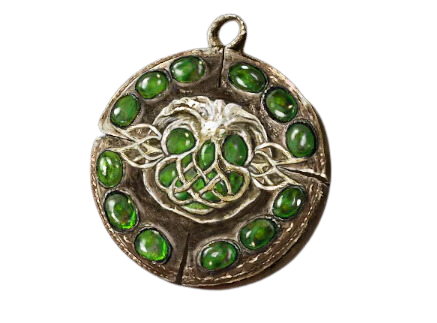 Viridian Amber Medallion +3
 Two-Handed Sword Talisman
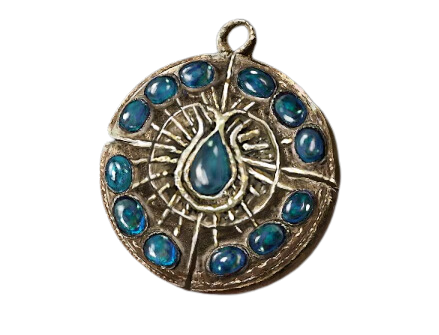 Cerulean Amber Medallion +3
 Fine Crucible Feather Talisman


 Buckler