The short adventure inSenua’s Saga: Hellblade 2 is mostly a linear one, but the game allows you to explore off the beaten path occasionally. In these areas, you will find the game's collectibles. There are two types of collectibles in the game, and the guide below covers one of them: Lorestangir, similar to Lorestones from the first game.
All Lorestangir are made of long rectangular wood with markings, along with a skull and some feathers fixed on top. Dialogues will begin once you interact with them using LT/RT on Xbox or the key E on PC. There are a total of 18 Lorestangir in Senua’s Saga: Hellblade 2, and they can all be acquired in a single playthrough.
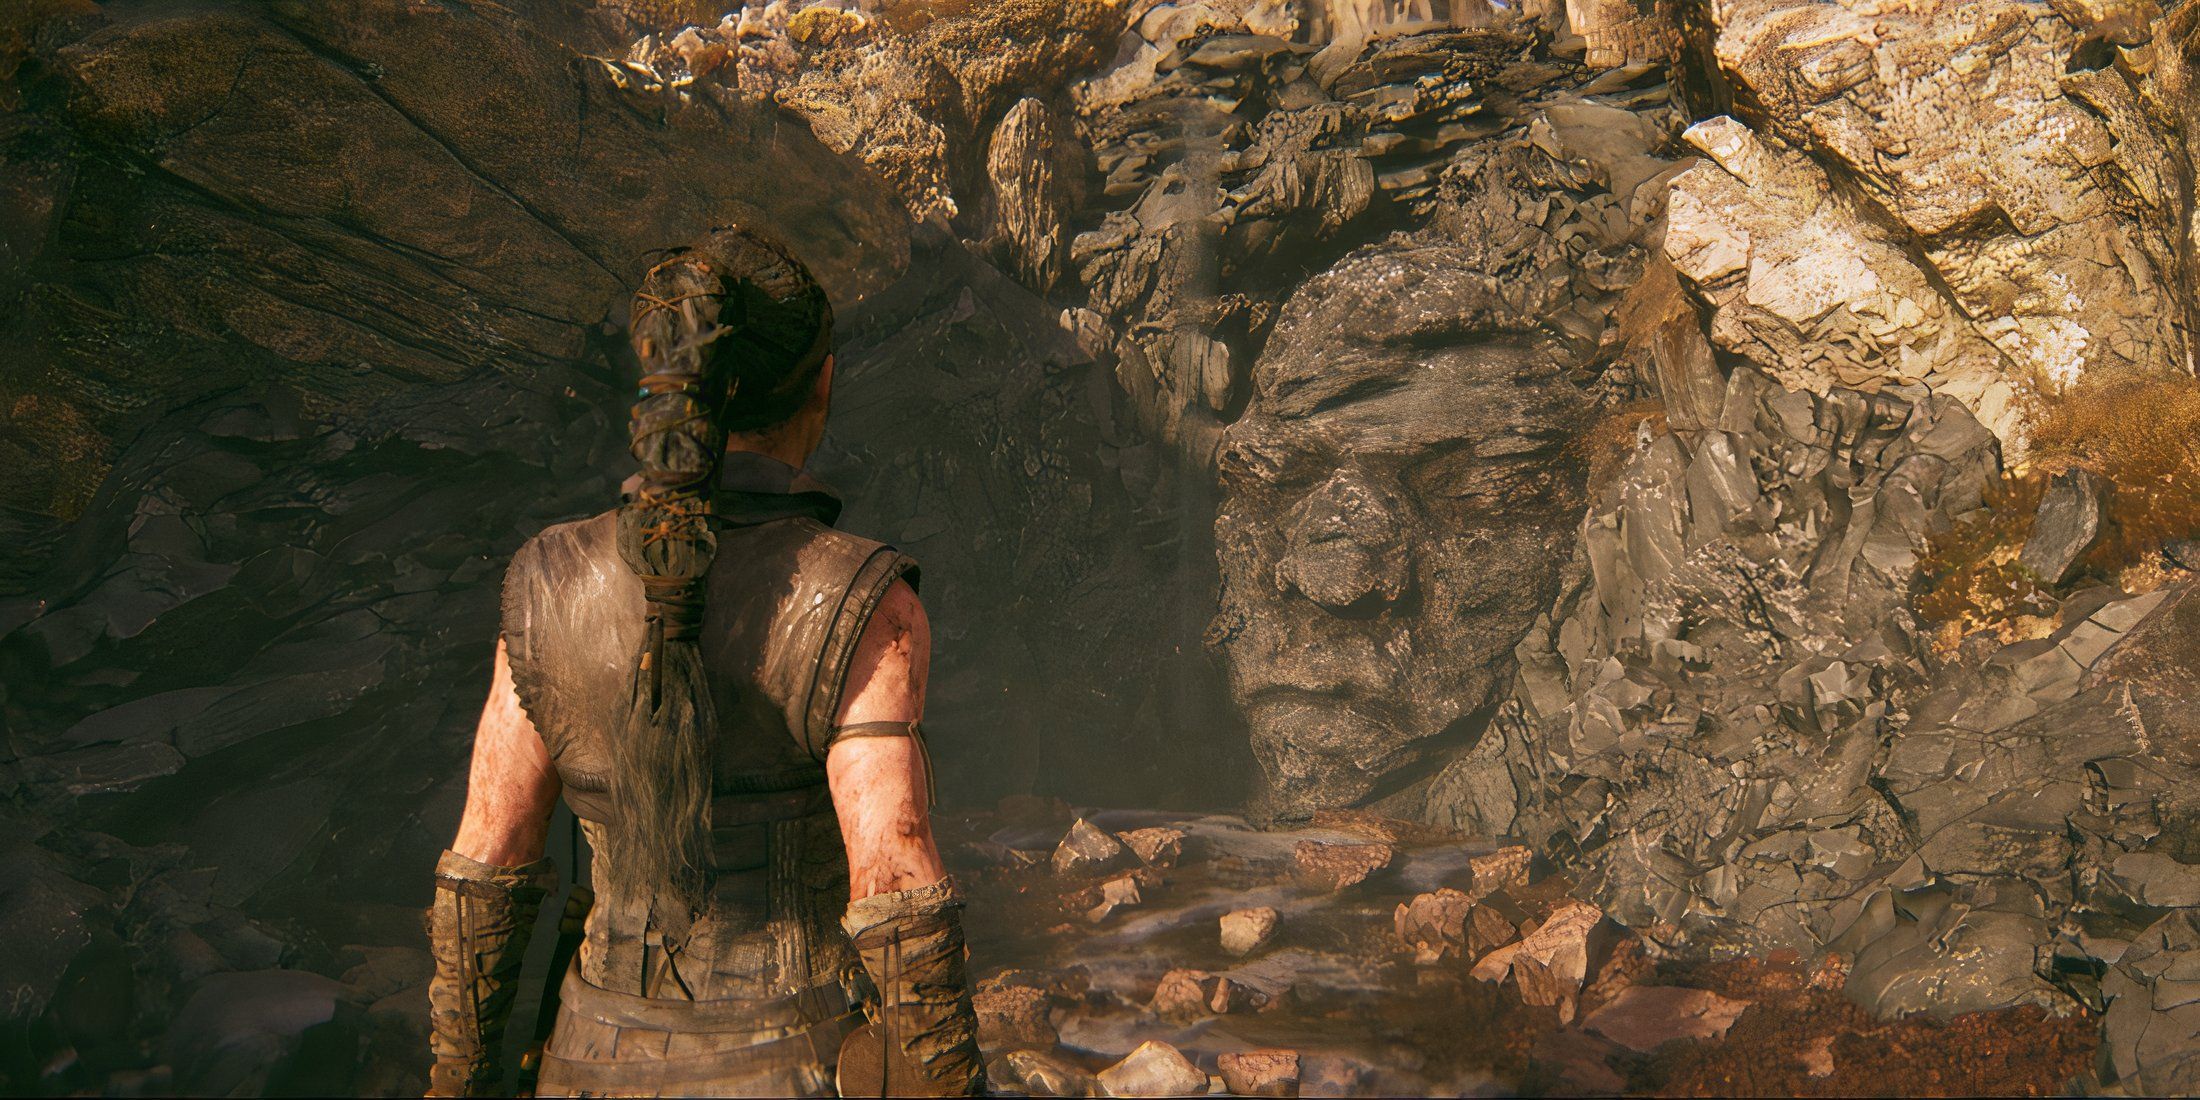
Senua's Saga: Hellblade 2 - All Face Locations (Hidden Trees)
The stone faces in Senua's Saga: Hellblade 2 house a number of trees that contain Norse lore. Here are the locations of each.
All Reykjanestá Lorestangir Locations (Chapter One)
Lorestangir One - Shore of Slaves
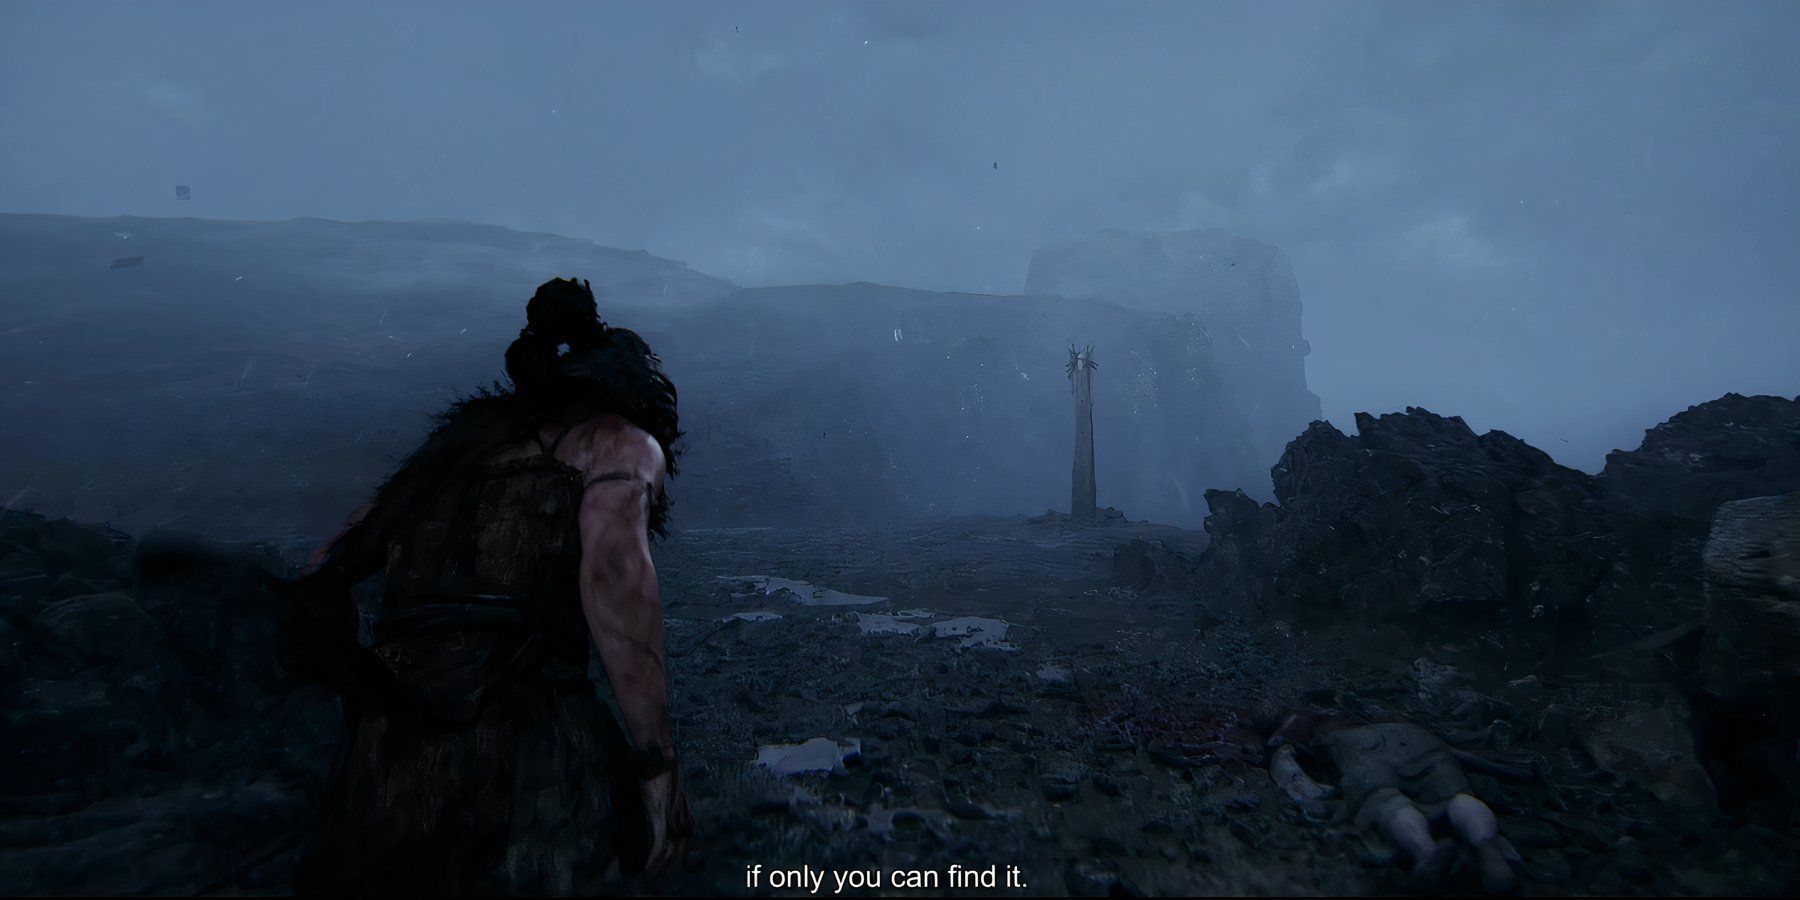
The first Lorestangir is pretty hard to miss as it’s practically handed to you at the start of the game. After you climb up a wall from the beach, follow the path, and the first totem will be in front of you. The voices in Senua’s head will even talk about it. Focus on the pole with it to “collect” it.
All Freyslaug Lorestangir Locations (Chapter Two)
Lorestangir Two - Freyslaug Sighted
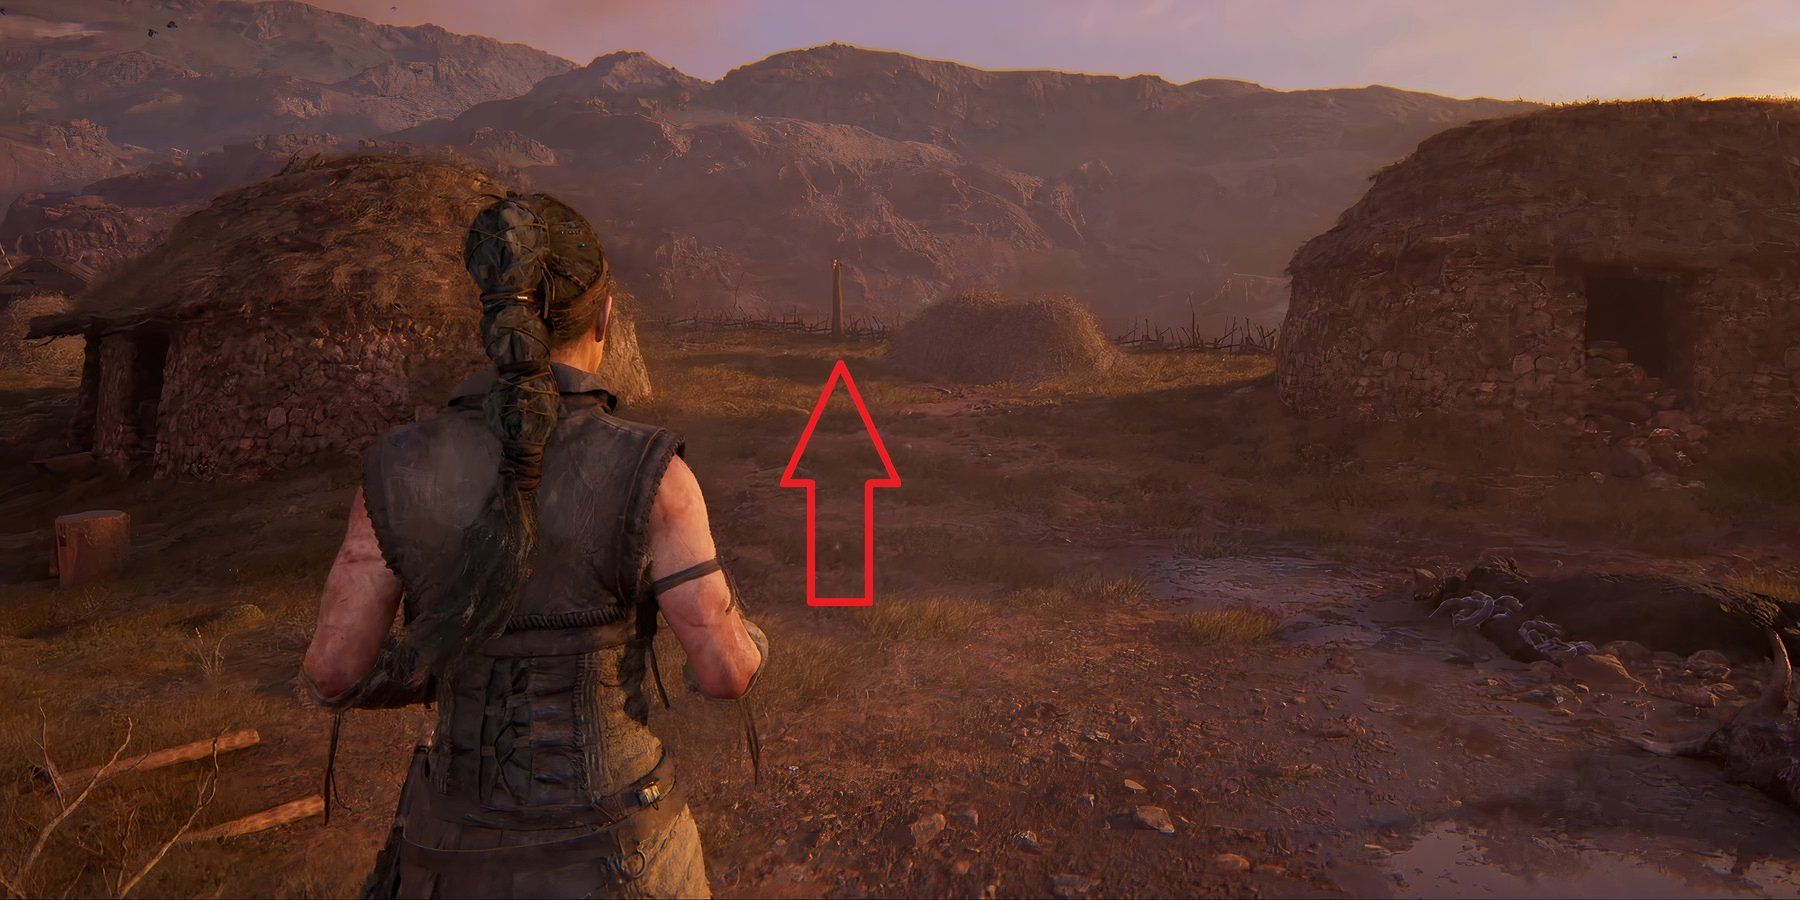
The second Lorestangir is acquired during the early minutes of Chapter Two. Once you enter an open field with the slaver, head right, as the totem is located behind the first round hut you see on your right.
Lorestangir Three - Return Home
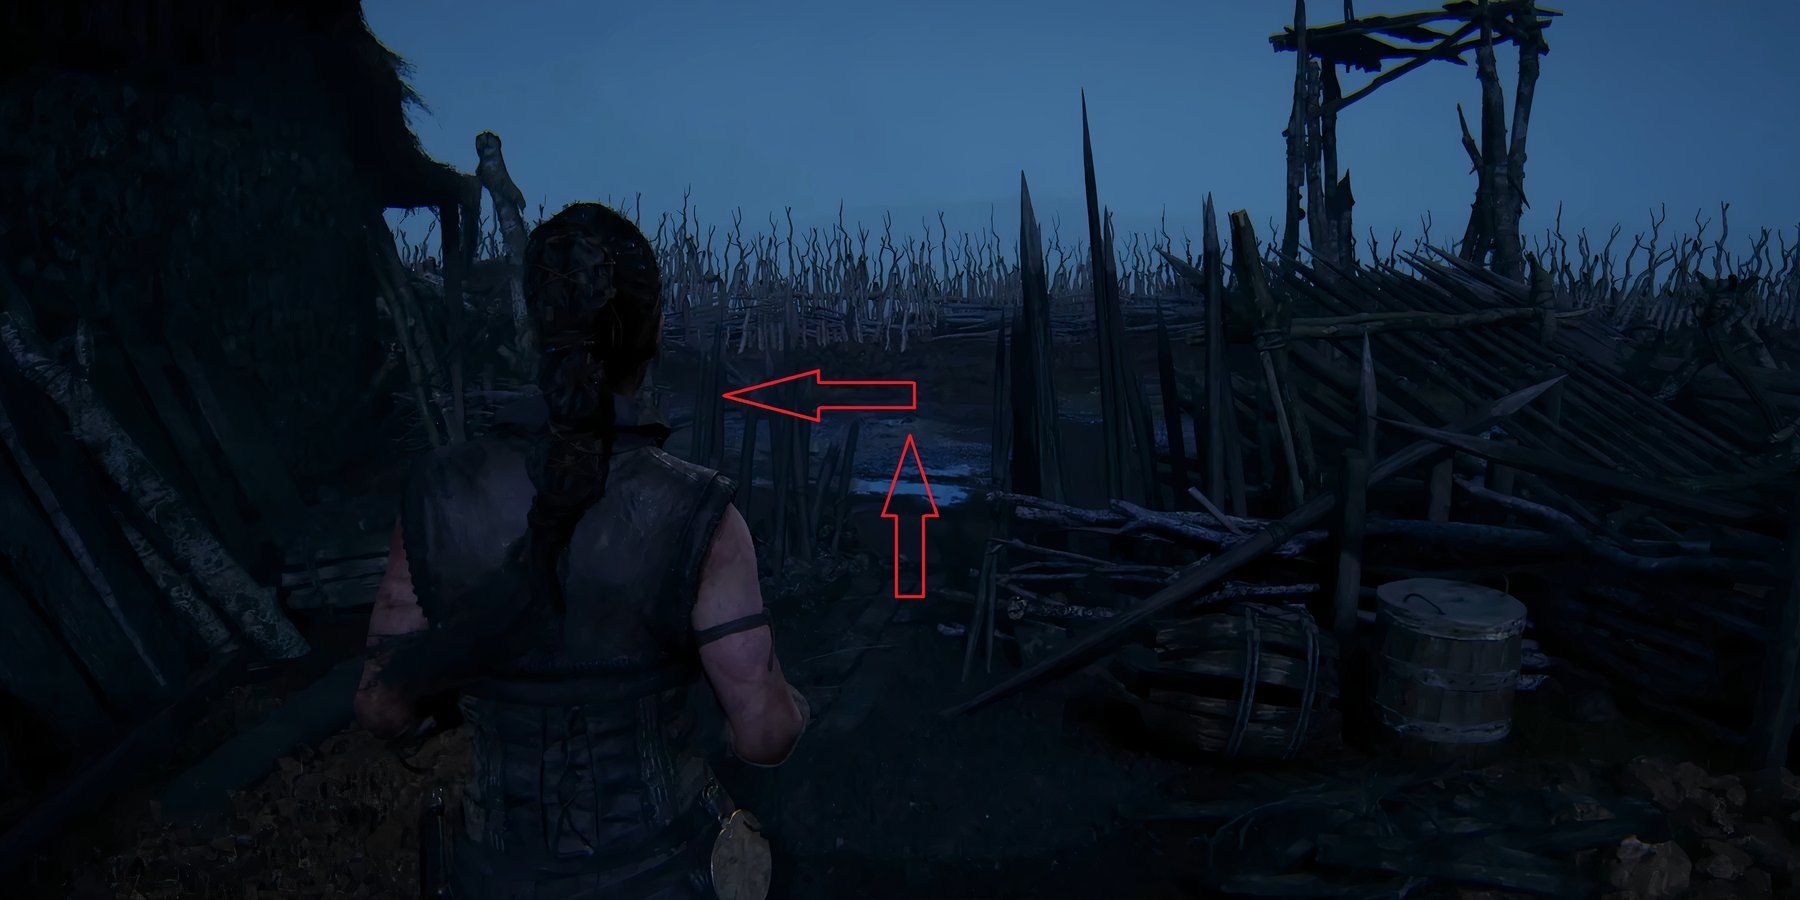
The third Lorestangir is found in the Return Home subchapter. After you exit the barn with the hanging man, head to the left until you reach a round muddy area. Once again, head left and crouch under the wooden debris; you should see the totem on your right.
Lorestangir Four - Draugar Ceremony
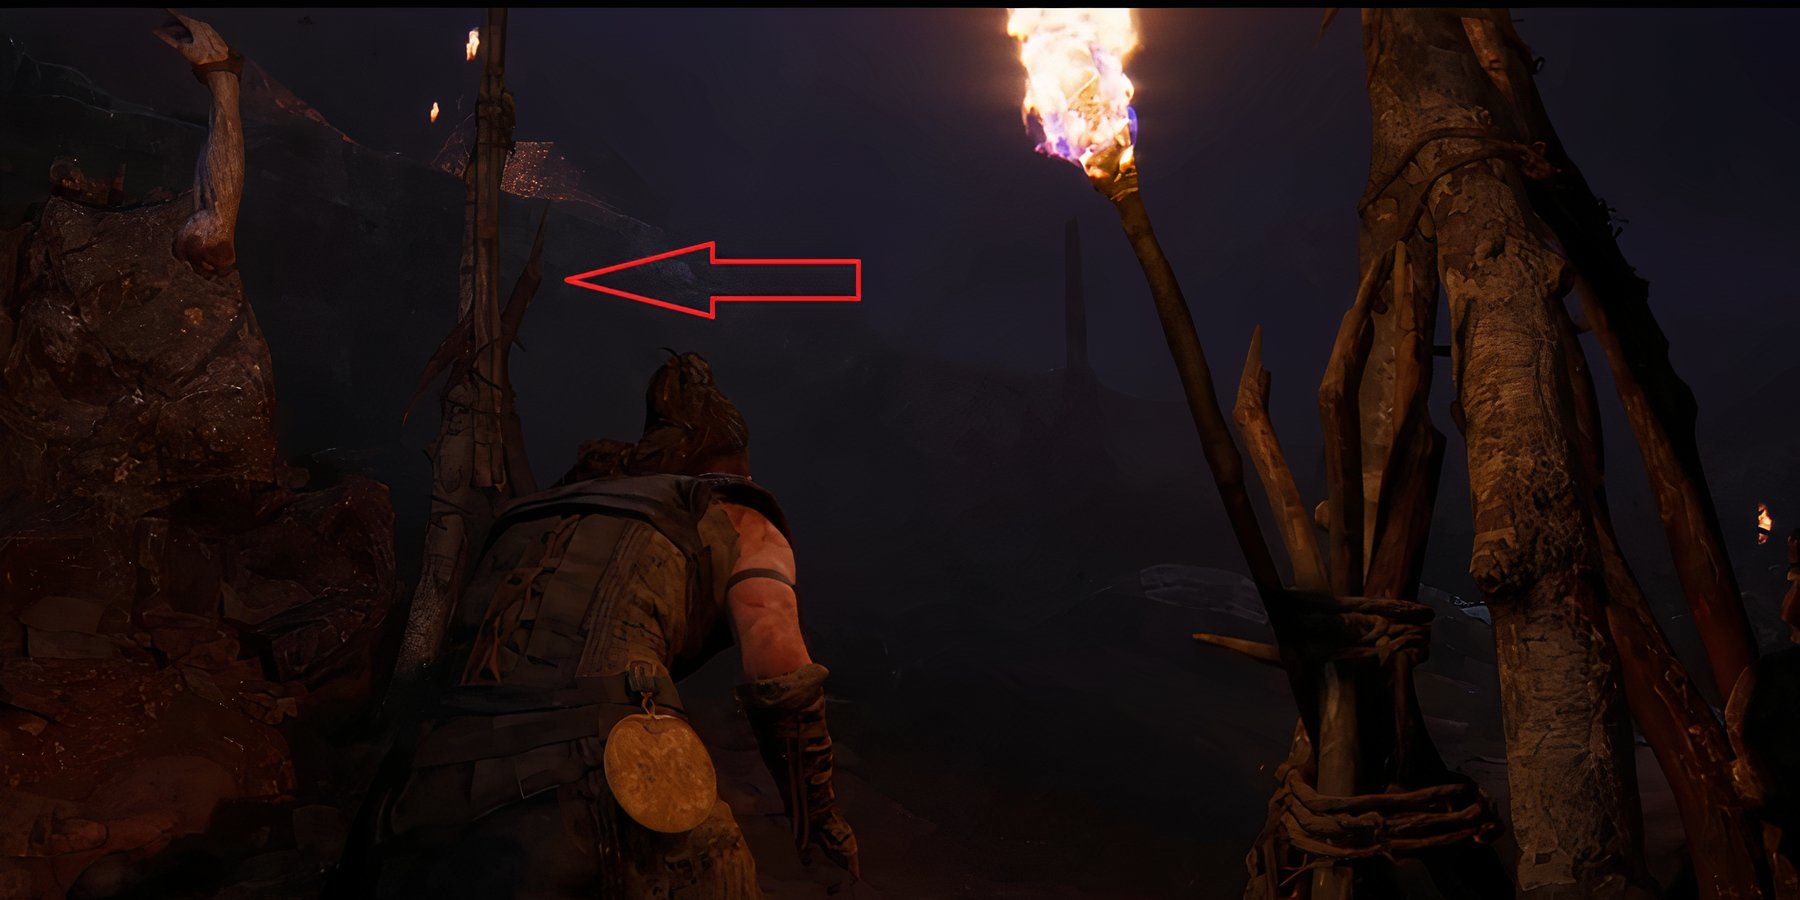
During the subchapter called Draugar Ceremony, there will be a part where you carefully traverse a ledge on the mountainside. Drop down, but instead of going straight, turn left and go up the ladder. Then head right, vault over the rocks, and just a few steps onward, you should see the fourth Lorestangir. Interact with it to begin the dialogues.
Lorestangir Five - Meeting the Stranger
After you have rescued a man from the stakes during the Meeting the Stranger subchapter, he will ask you to come to his village. Instead of going down with him, follow the rocks to your left and then turn right. You should see the fifth Lorestangir here.
Senua's Saga: Hellblade 2 Burning Questions Answered
For those who are looking to learn more about Senua's Saga: Hellblade 2, here are all the essentials they need to know.
All Rauðhólar Lorestangir Locations (Chapter Three)
Lorestangir Six - Red Hills
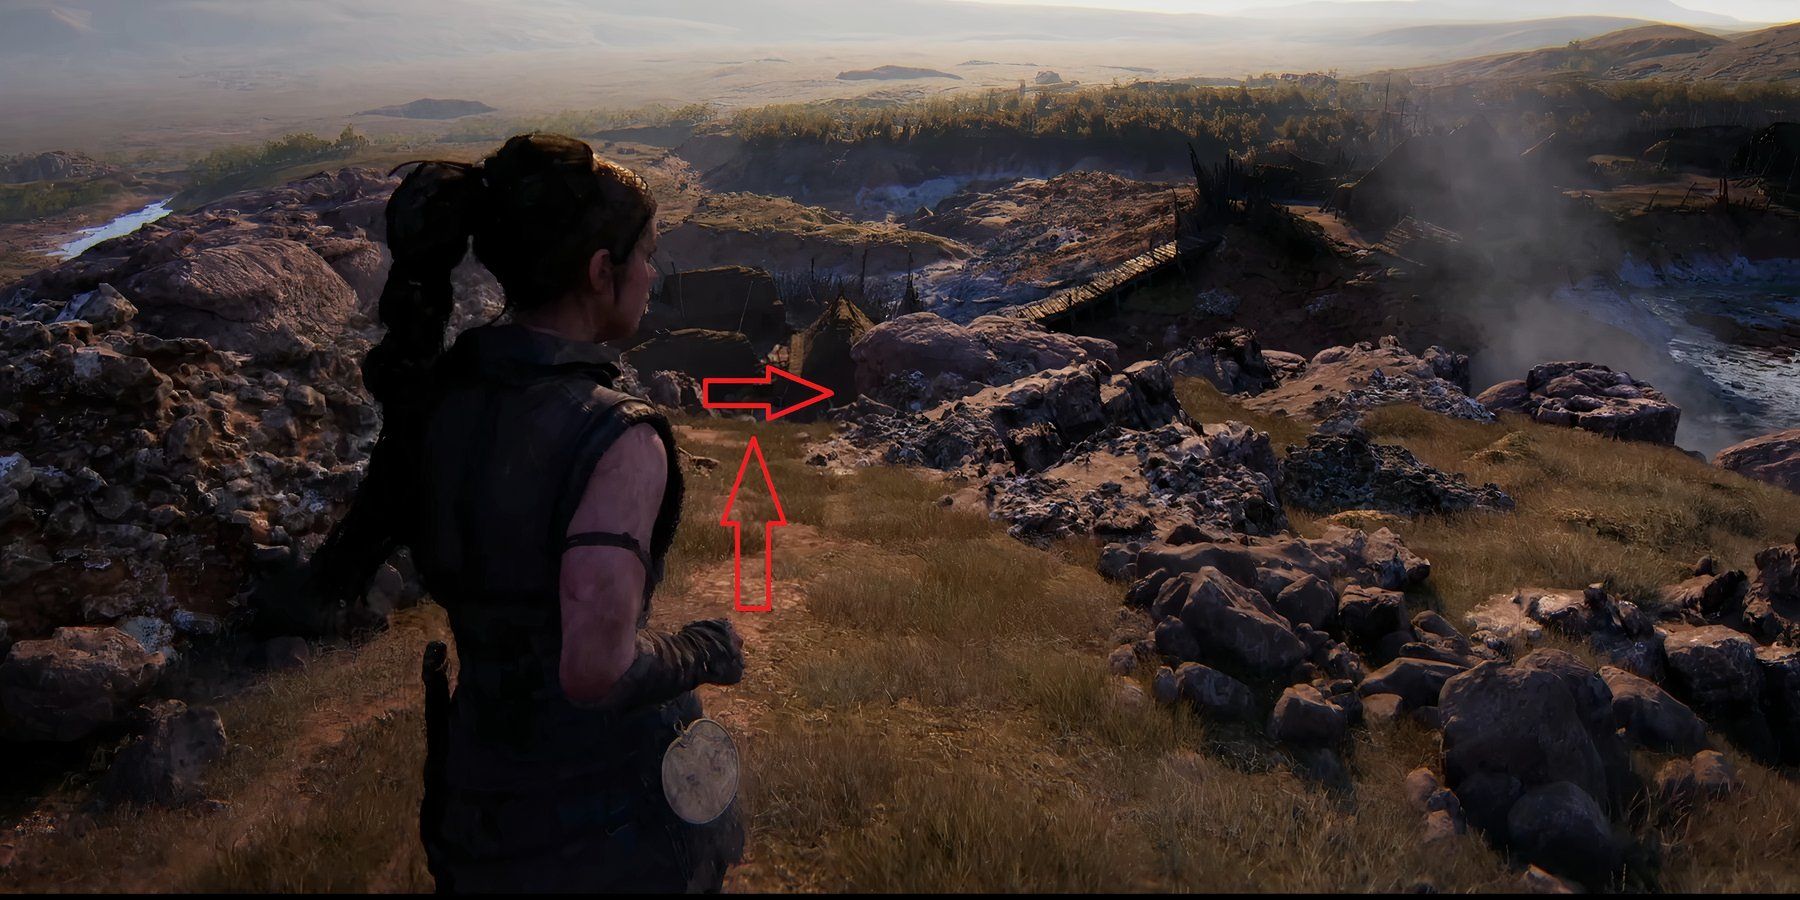
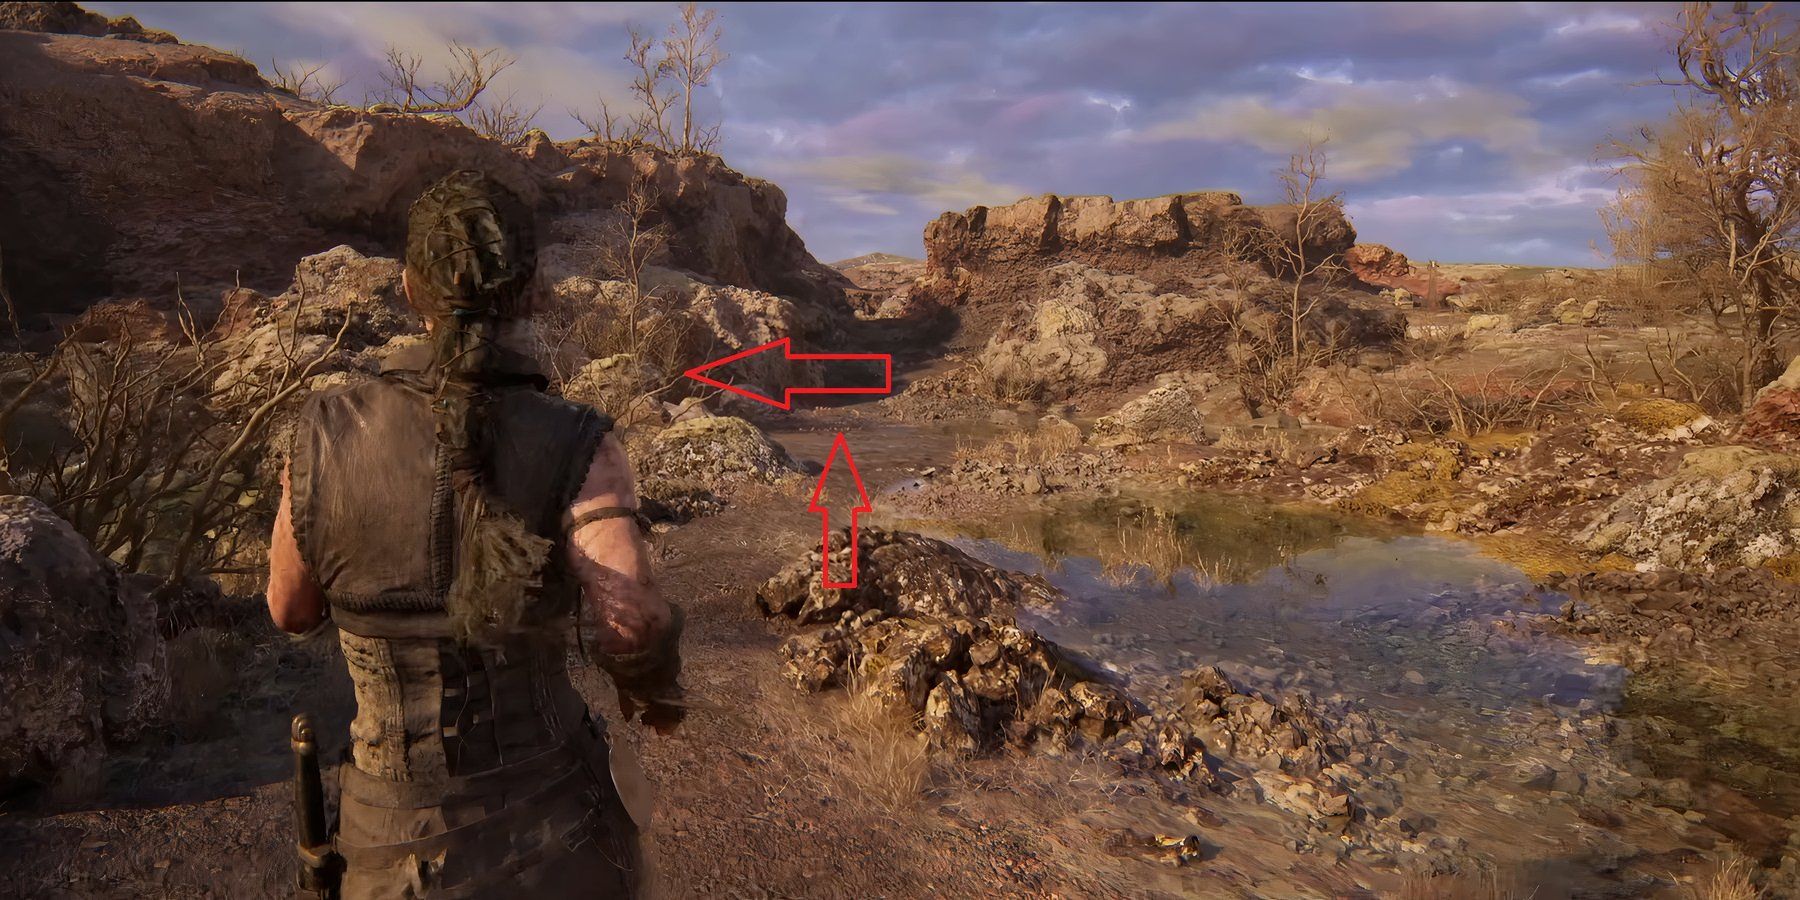
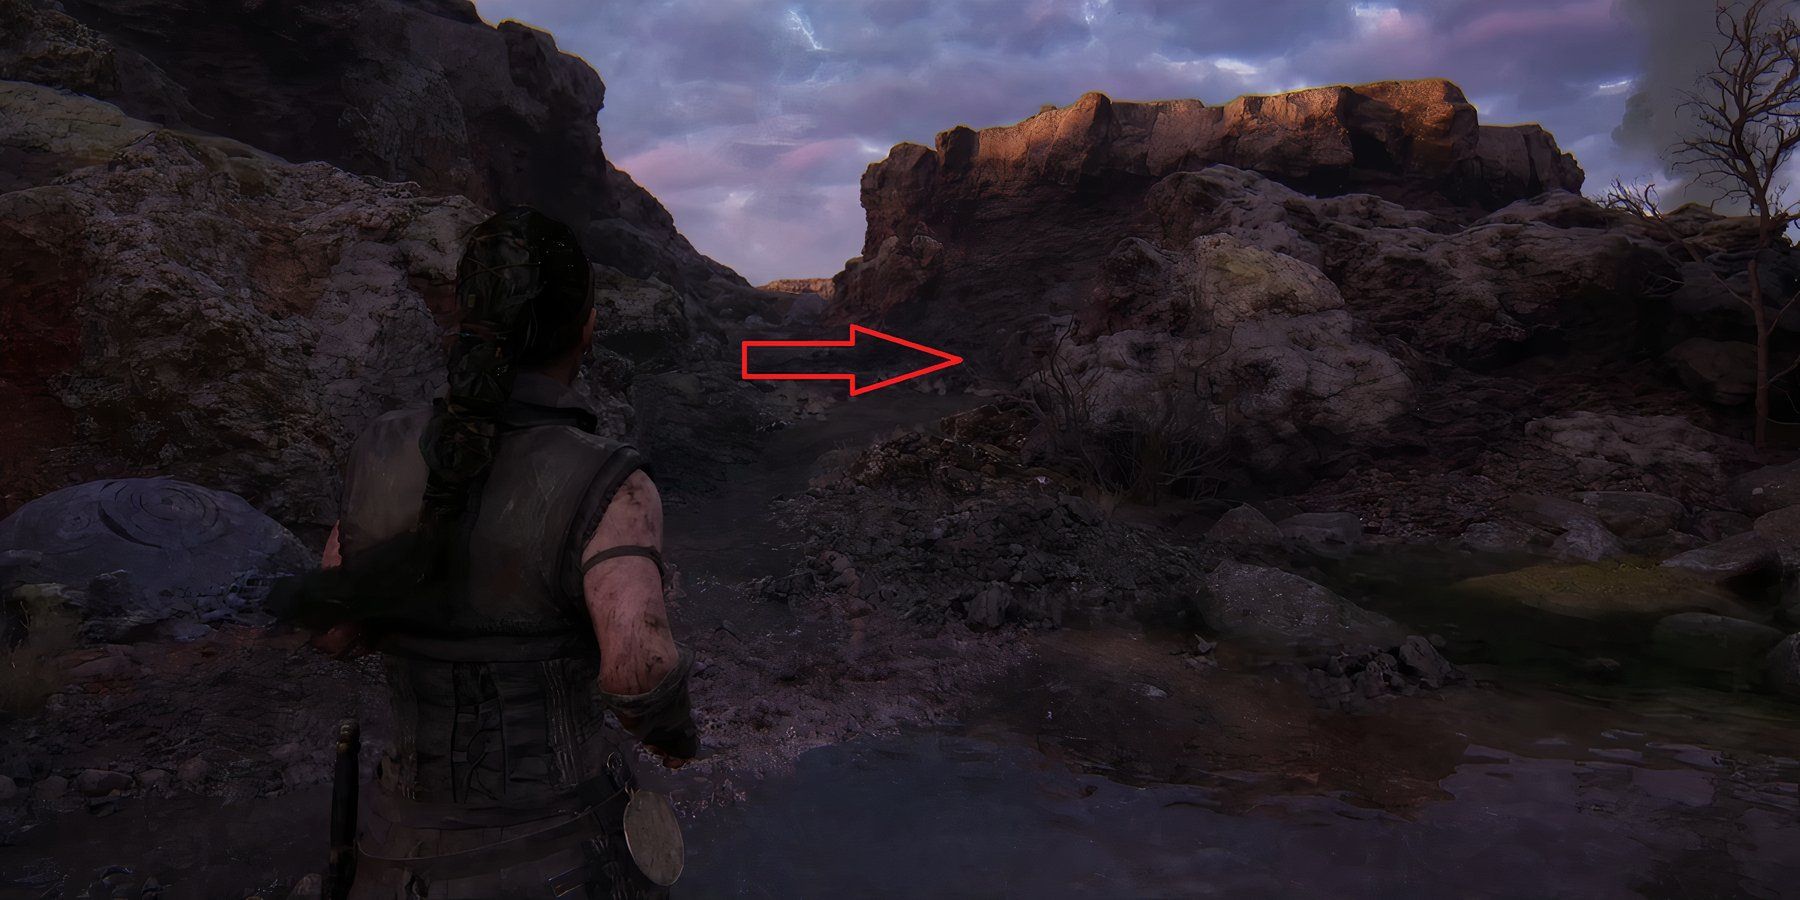
At the start of the subchapter Red Hills, you will be walking downhill alongside the slaver and the man you rescued. When you reach an open area, head to the left, and you should see a totem past the destroyed house. Look carefully, as rocks and bushes can obscure its location.
Lorestangir Seven - On The Hill
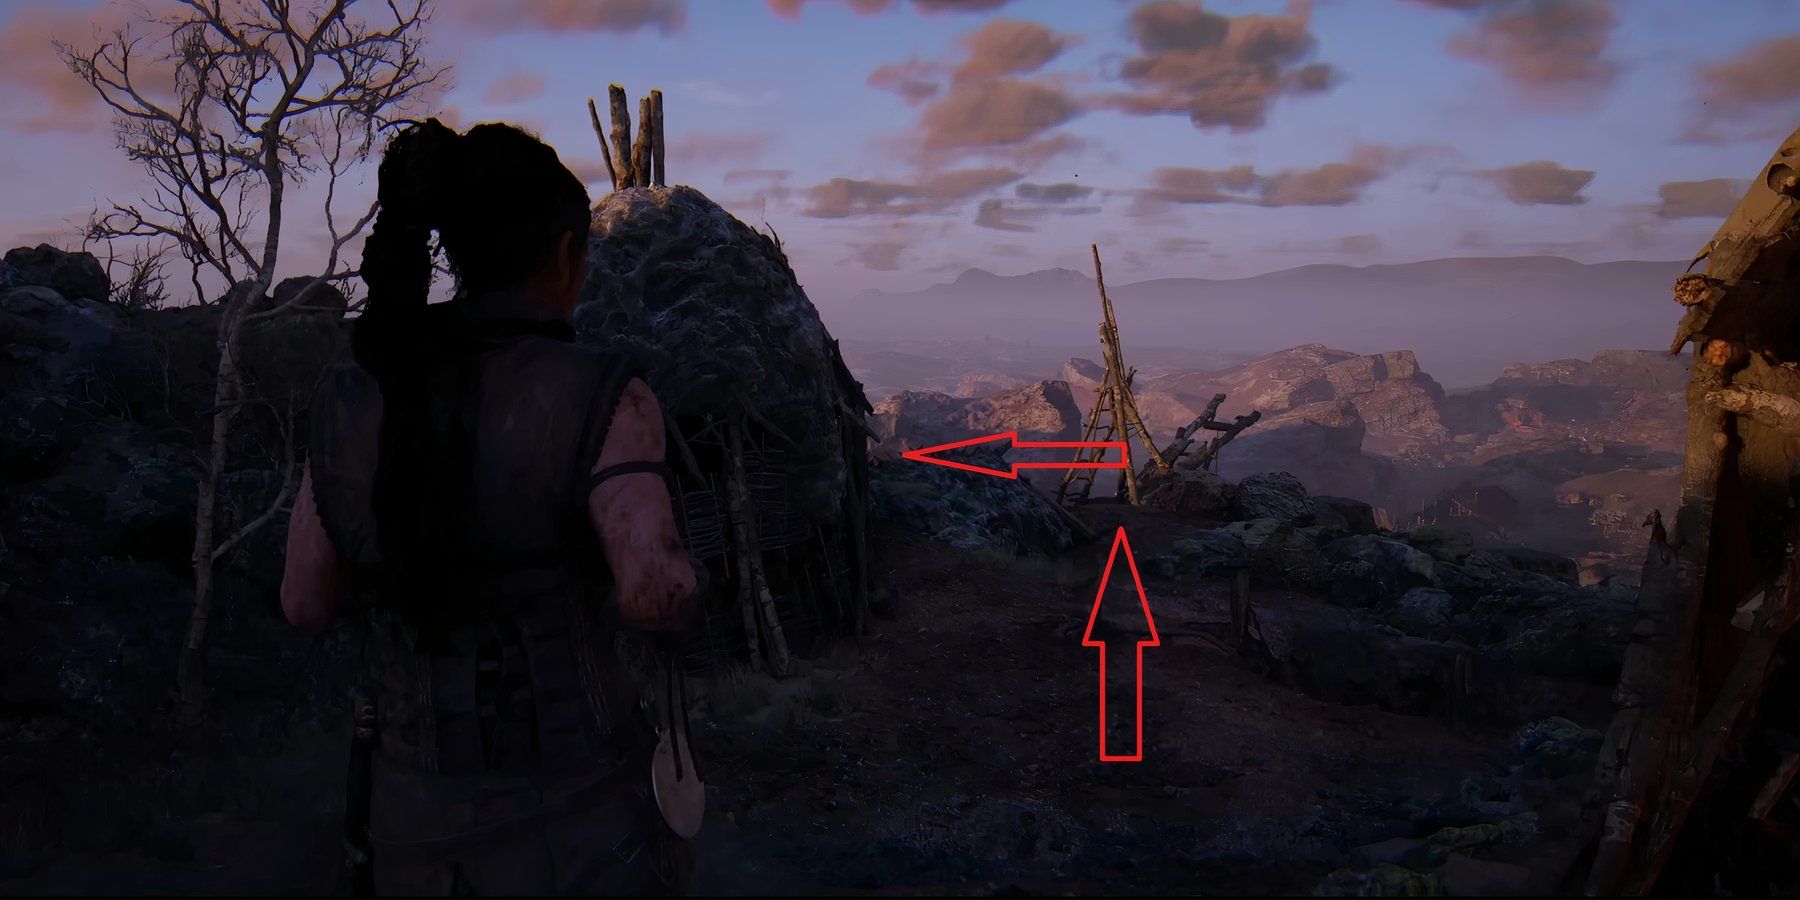
When you are at the top of the hill in the aptly named On the Hill subchapter, turn around after the cutscene ends and go straight between the two faraway huts. Keep going, and you should see a wooden structure at the side of the hill; this is your cue to turn left and proceed upwards. At the very top, you will see your totem. A bigger hut will be situated behind it.
Lorestangir Eight - On The Hill
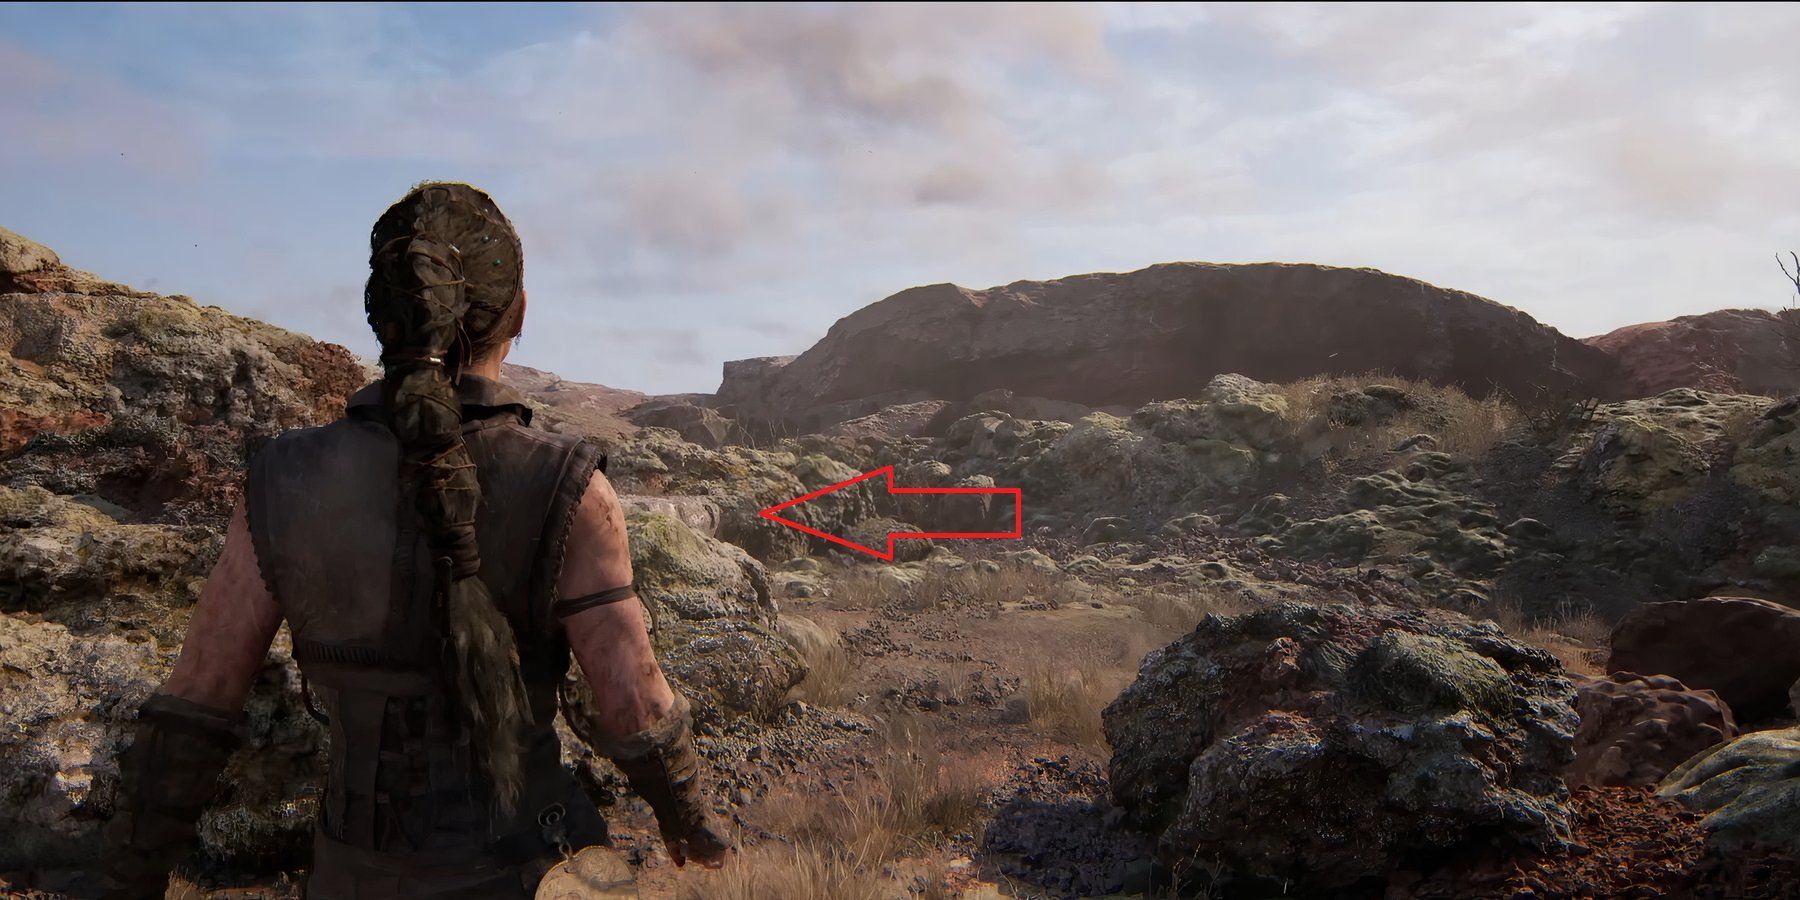
The eighth Lorestangir, also the second one in the On the Hill subchapter, can be found after you have placed the two stone balls on a pedestal. After the new path has opened up, follow it and turn left. Climb the rocks and shimmy across the small gap, and the totem should be in front of you.
Lorestangir Nine - On The Hill
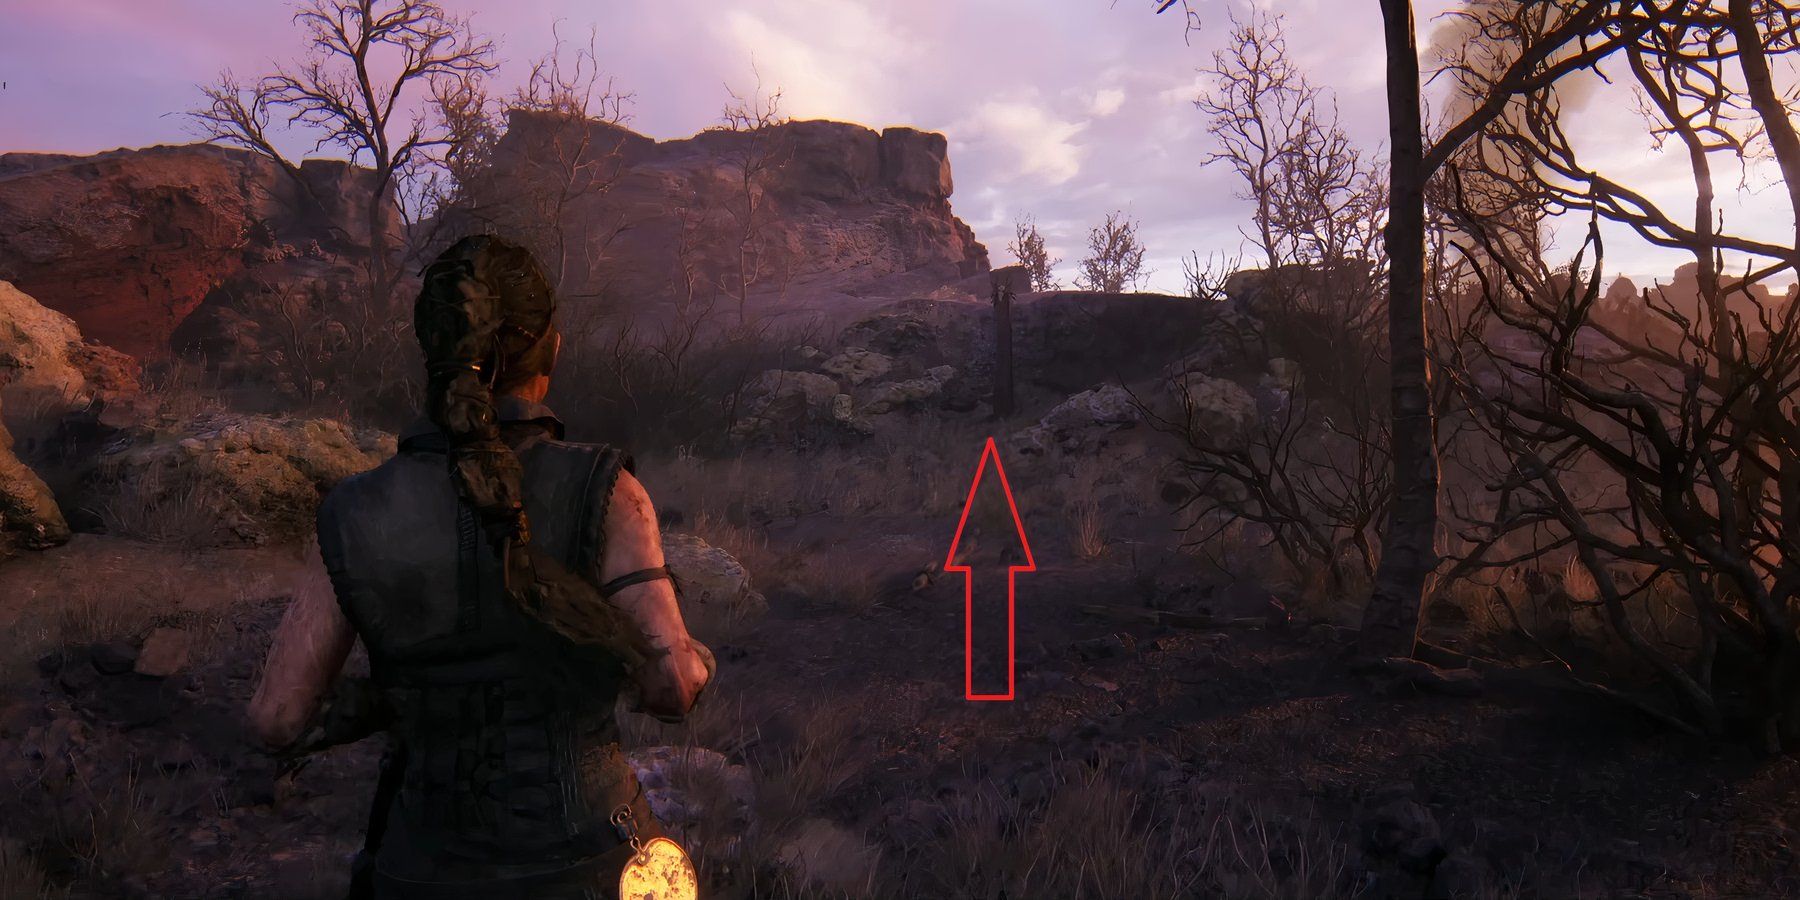
After you complete the three-ball pedestal puzzle, drop down and head past the first water puddle, but stop just before the second one. Look to your left, and you will see a small gap between rocks through which you can shimmy. Head there and keep following the straight path, and you will see the ninth Lorestangir in no time.
Lorestangir 10 - On The Hill
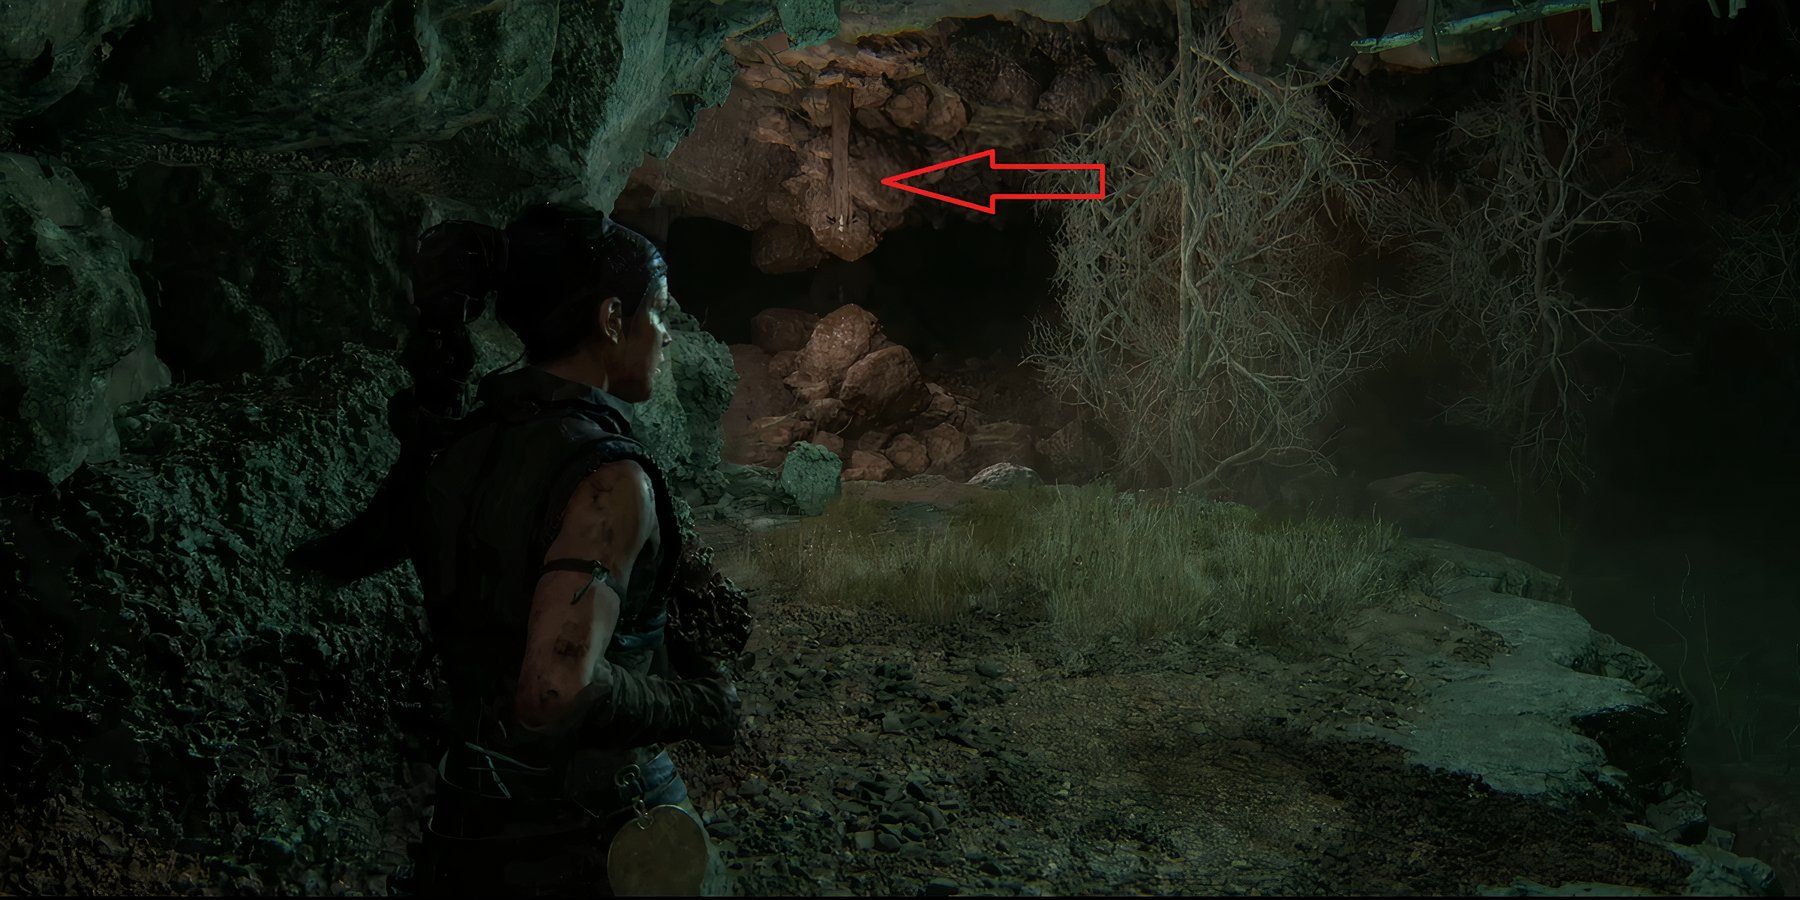
After you have collected the prior Lorestangir, drop down via the ledge situated slightly to your left. Now, turn left again and keep going straight. This time, ignore the previously traversed small gap between the rocks and go straight. On your right, there should be a small cave. Head inside, and the tenth totem will be in front of you.
Lorestangir 11 - Find the Hiddenfolk
When you are solving the three-ball pedestal puzzle in the Find the Hiddenfolk subchapter, go back to the third ball location. You should see the totem upside down on the roof just behind your position.
Senua's Saga: Hellblade 2 Review
Senua's Saga: Hellblade 2 is a feast for the senses, offering a visually impressive cinematic experience with exceptional sound design.
All Huldufólk Lorestangir Locations (Chapter Four)
Lorestangir 12 - Enter the Caves
During the opening sequences of the Enter the Caves subchapter, you will drop down into a puddle of water. Once there, follow the path to your right and climb up the ledge. Keep heading straight, and you will find the tucked-away totem.
Lorestangir 13 - Enter the Caves
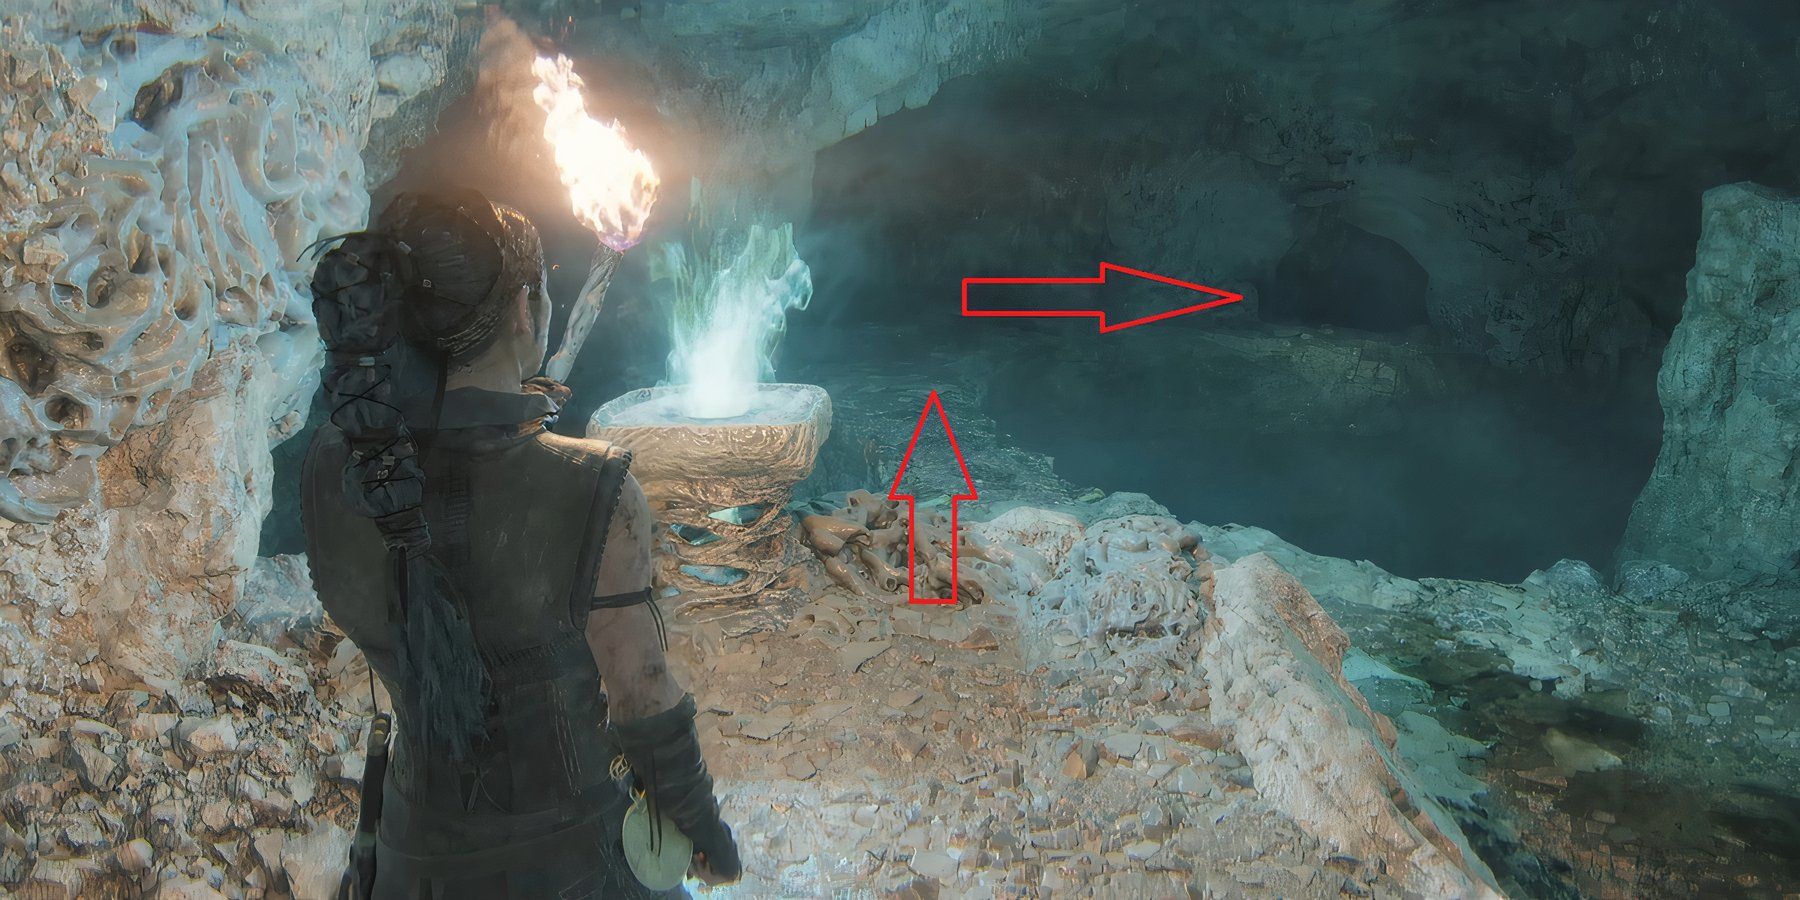
After you have interacted with a pedestal emitting a white light, drop down to your right and cross the bridge. Now, enter the tunnel to your right. Keep heading straight and stop when you see the totem a few meters away to your right. There should be a hidden floor below you. Jump down and head towards the totem to interact with it.
Lorestangir 14 - Act of Sacrifice
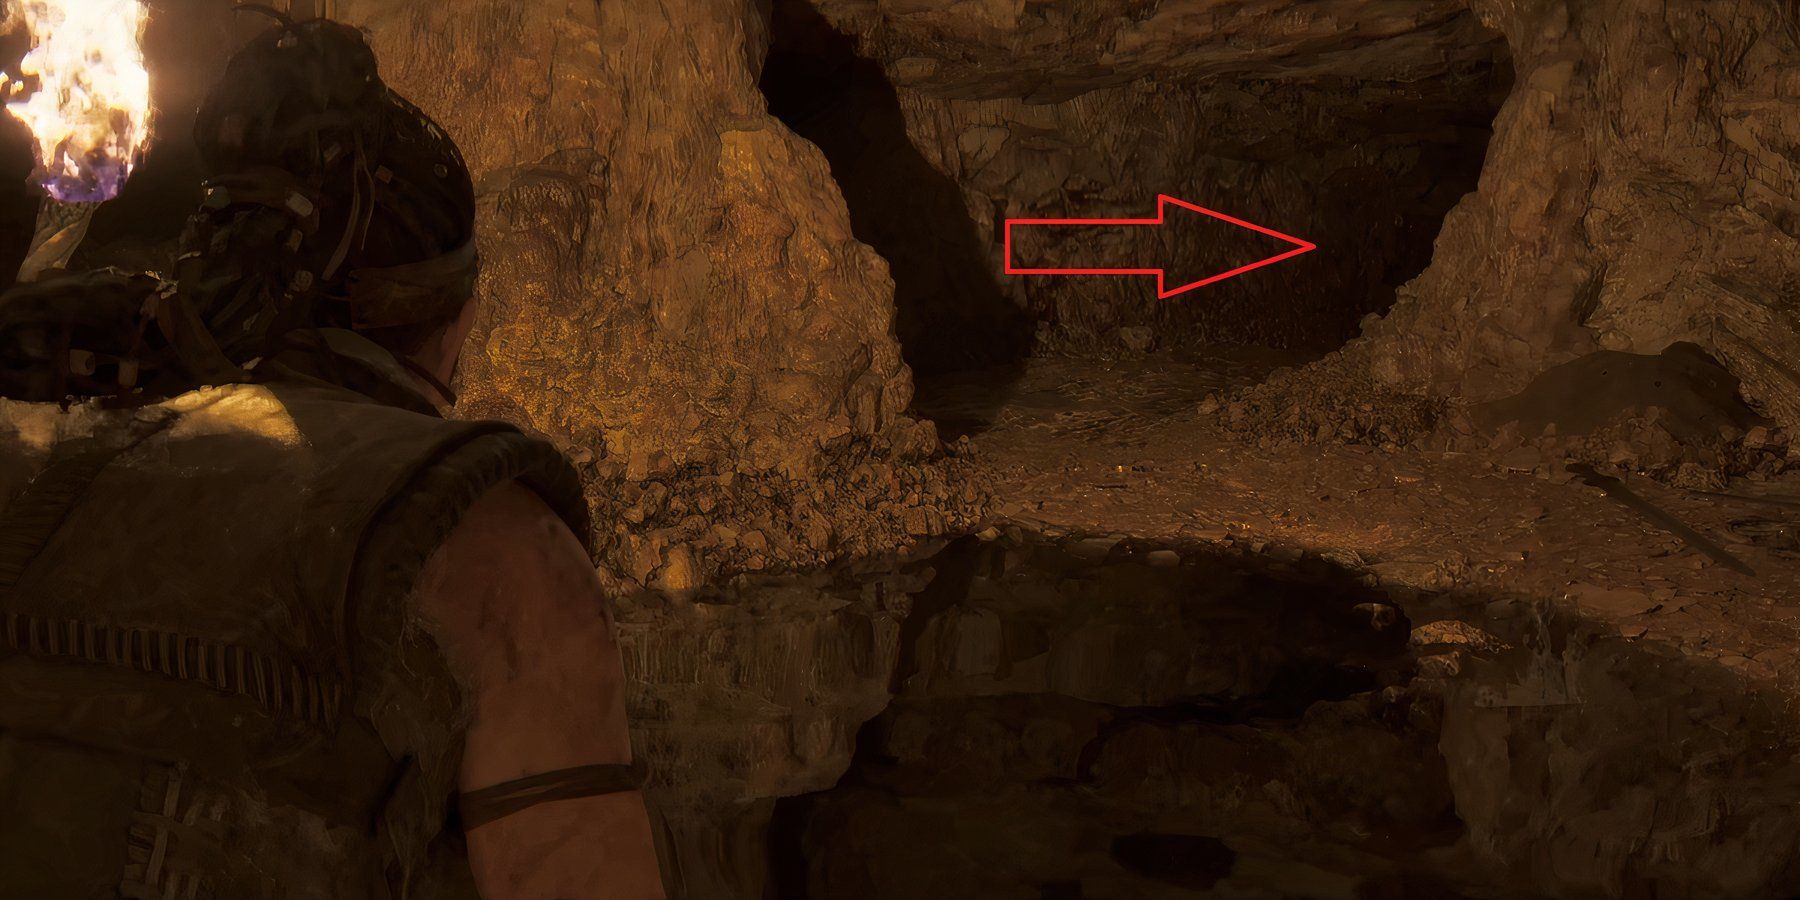
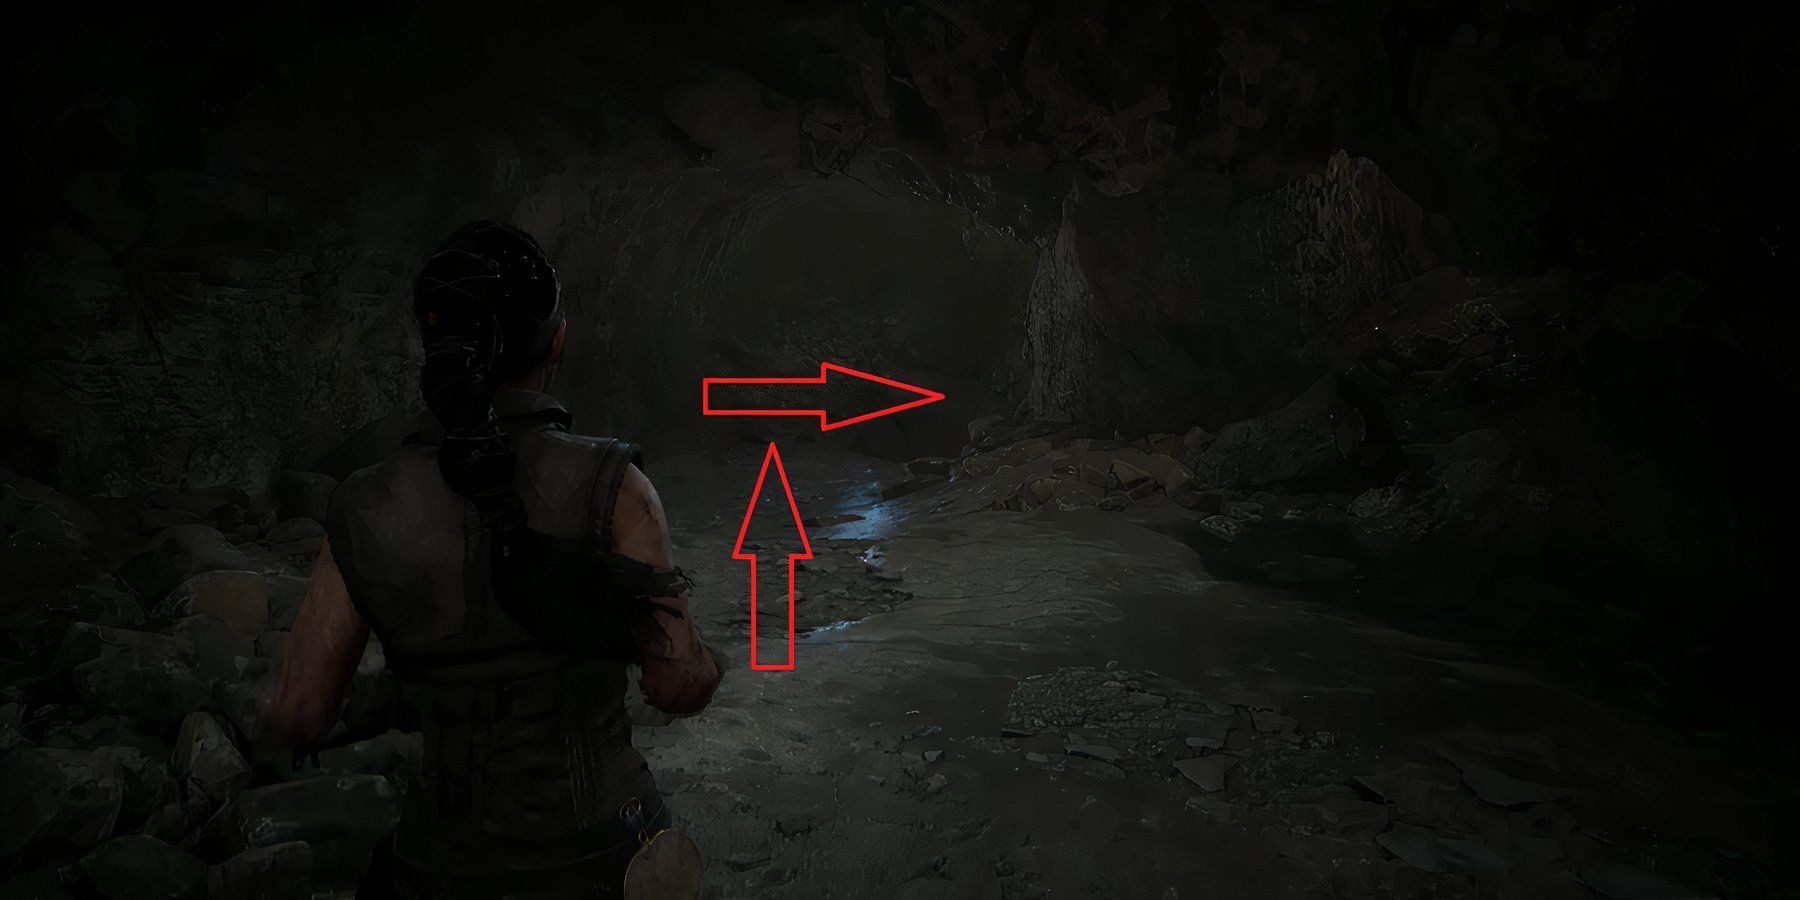
During the Act of Sacrifice subchapter, after you escape the monster, you will reach a cave filled with light and some floating rocks. Keep following the straight path and jump down into the darker cave. Continue straight ahead, and there will be a cave to your left. Ignore it and take a few steps forward; you will see another cave hidden to your right. That’s where the fourteenth totem is placed.

Hellblade 2 Devs Have a Message for Fans Just 1 Day Before Launch
Ninja Theory's studio head shares a heartfelt message with fans and developers on the day before Senua's Saga: Hellblade 2 releases worldwide.
All Bárðarvik Lorestangir Locations (Chapter Five)
Lorestangir 15 - To the Sea
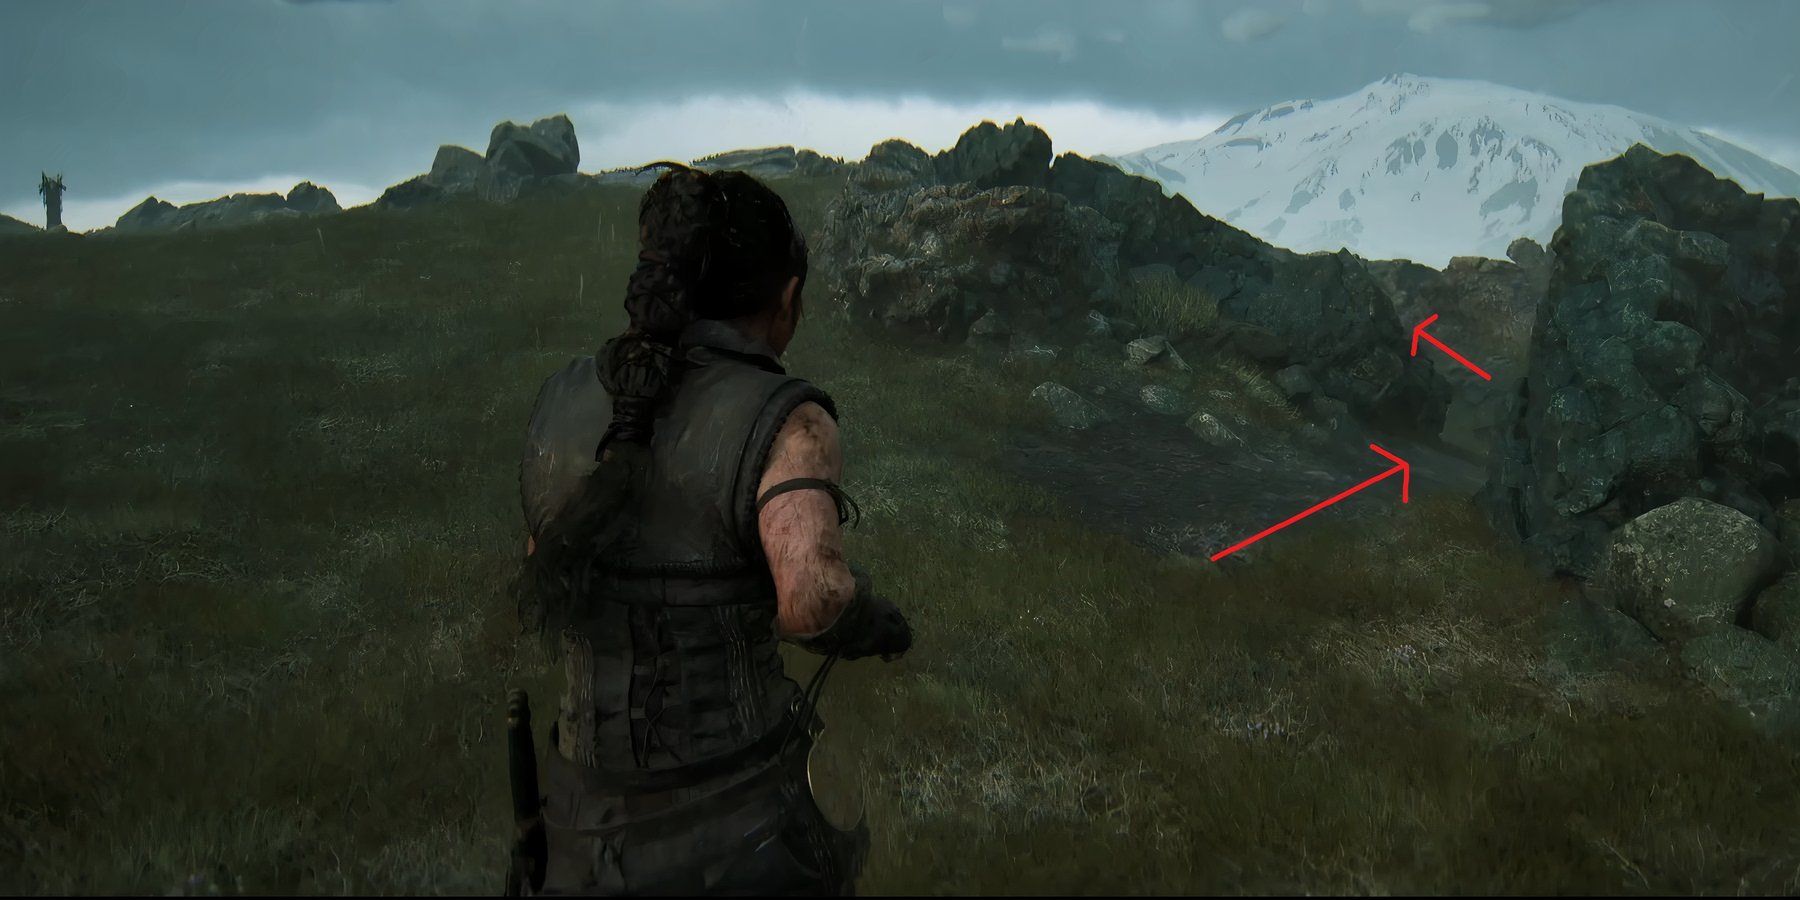
In the early stages of the To the Sea subchapter, when you encounter a path that slopes downward before immediately ascending, with a narrow stream running through its center, continue upward and move sharply to the right. Proceed straight, and you will see a path covered with rocks; although it may seem impassable, you would be wrong. Push through and follow the stream of water in front of you. There lies the fifteenth totem.
Lorestangir 16 - Sjávarrisi
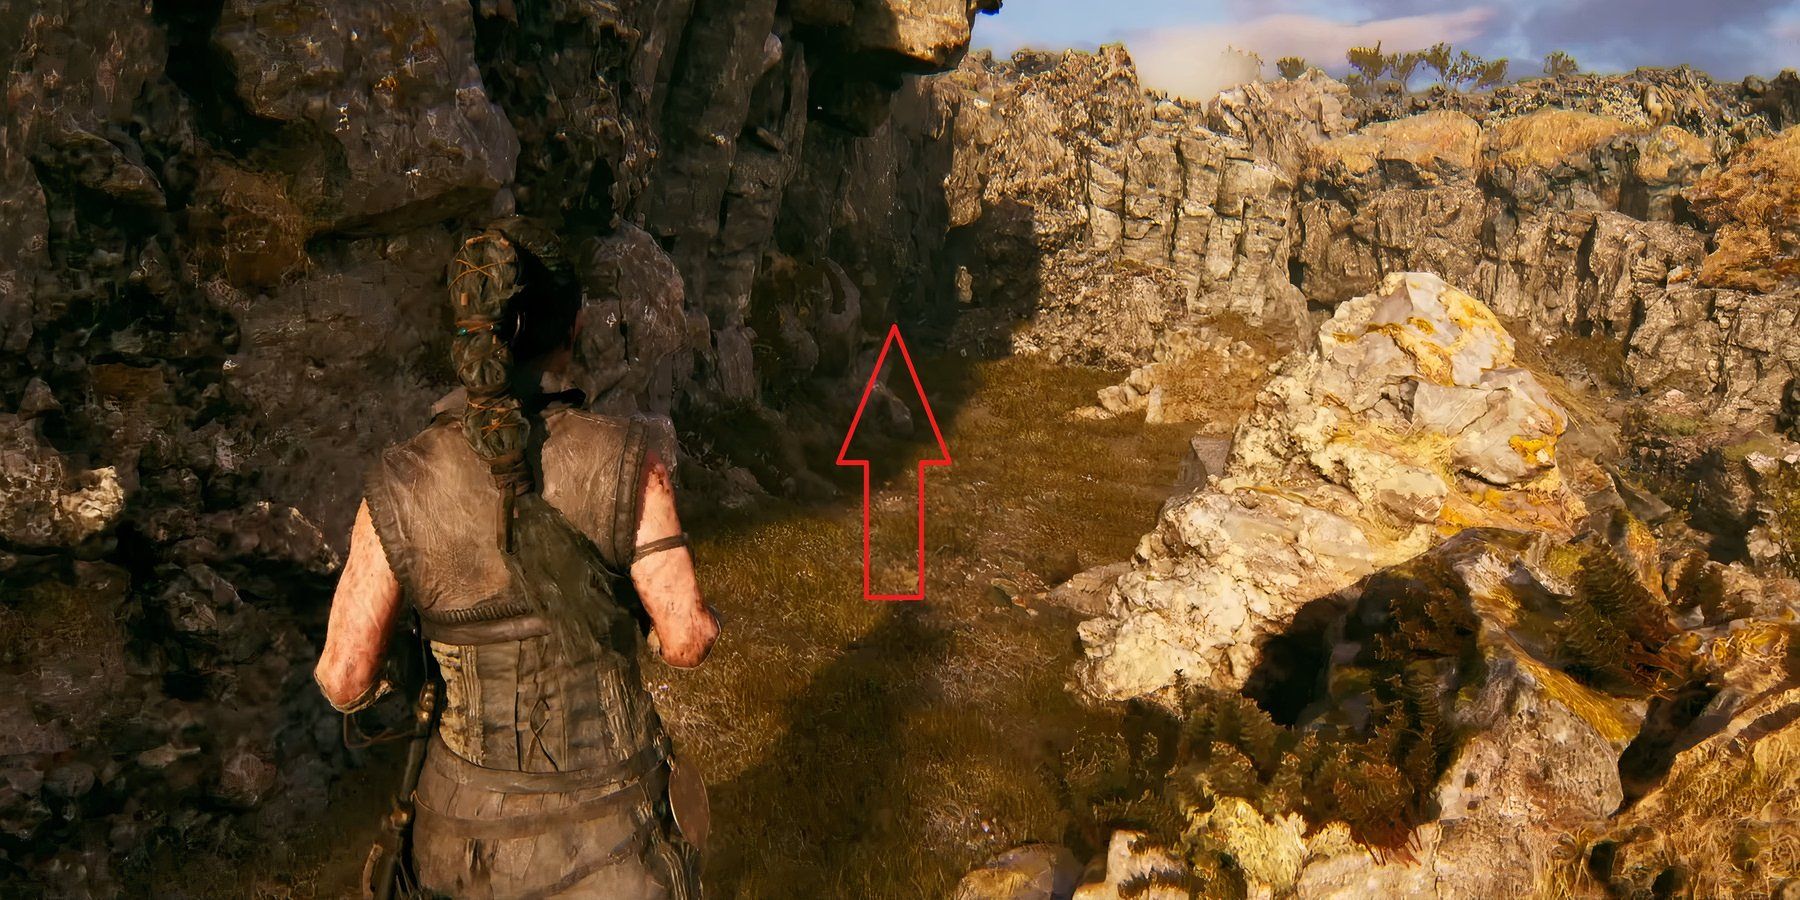
In the Sjávarrisi subchapter, as you walk alongside a woman sharing stories of her loved ones, you'll navigate through the terrain, including climbing over some rocks. Upon reaching an open area, instead of continuing with her, turn your attention to the rocks on your immediate right. After a few steps, you will come across a small opening between rocks. Head through it, and you will find your next totem there.
Lorestangir 17 - Another Question
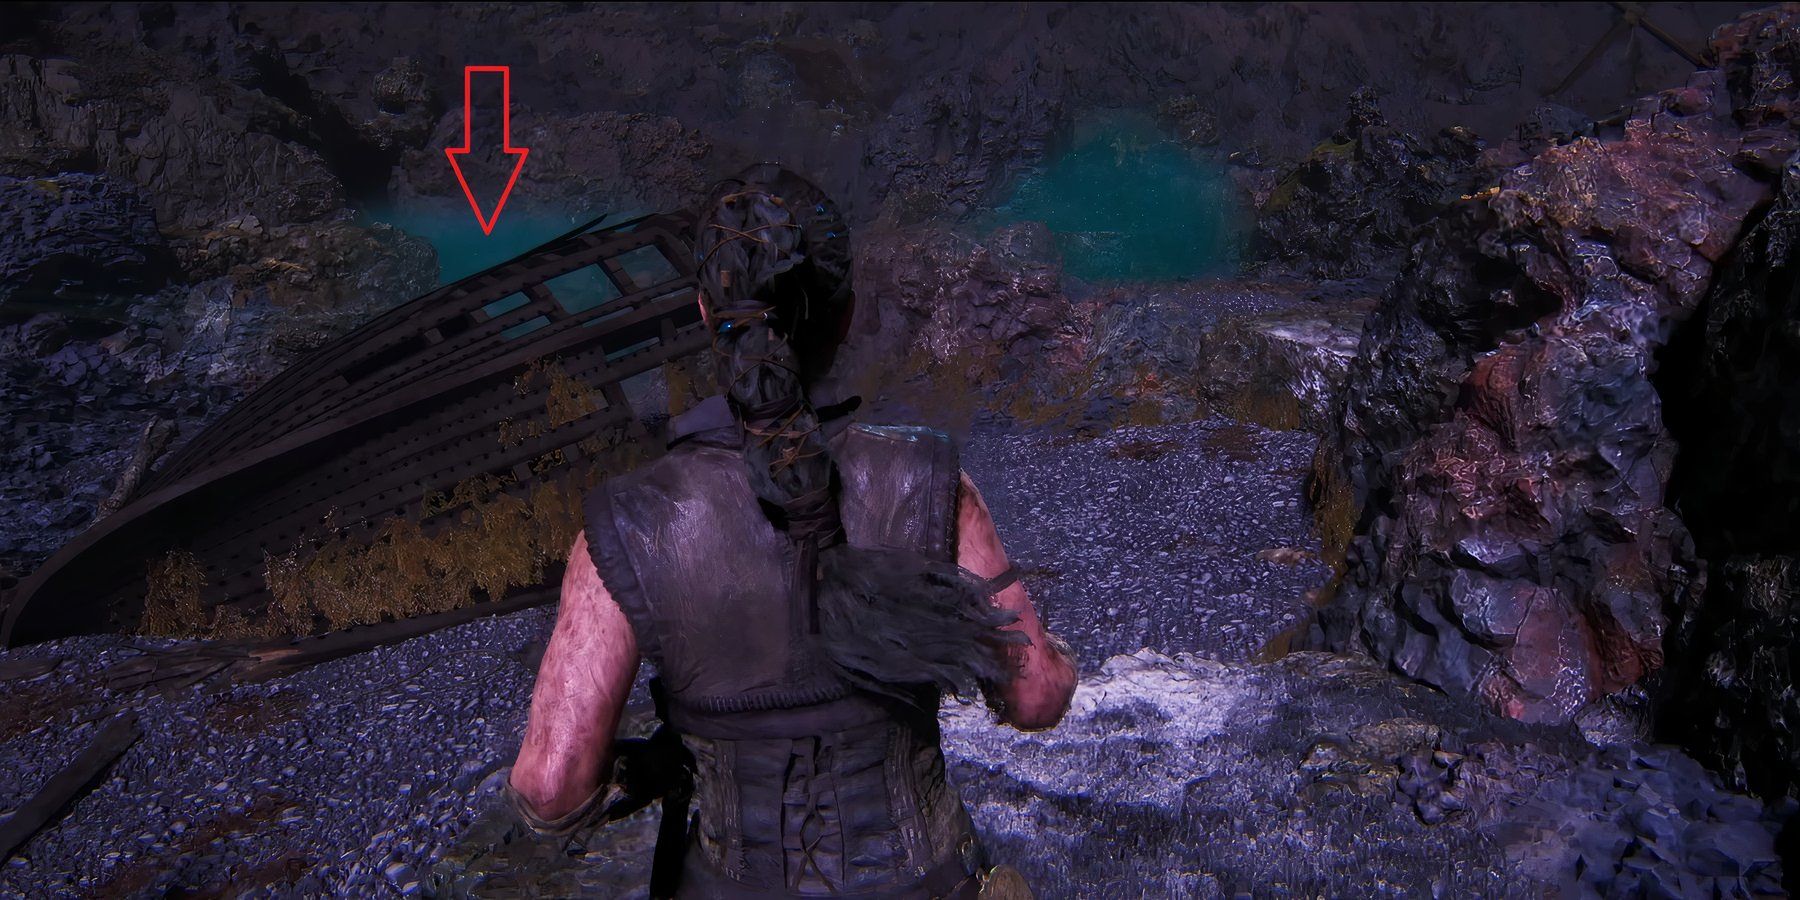
When you are on the beach during the Another Question subchapter, you will need to find the three glyphs again. After you have found the middle one, which resembles a trident, you will reach an area with some broken ships. Head inside the green dust, which is situated behind a small shipwreck. You will need to squeeze your way in through a small gap. Once you are at a new location, follow the right path, and the second-to-last totem will present itself.
Lorestangir 18 - Another Question
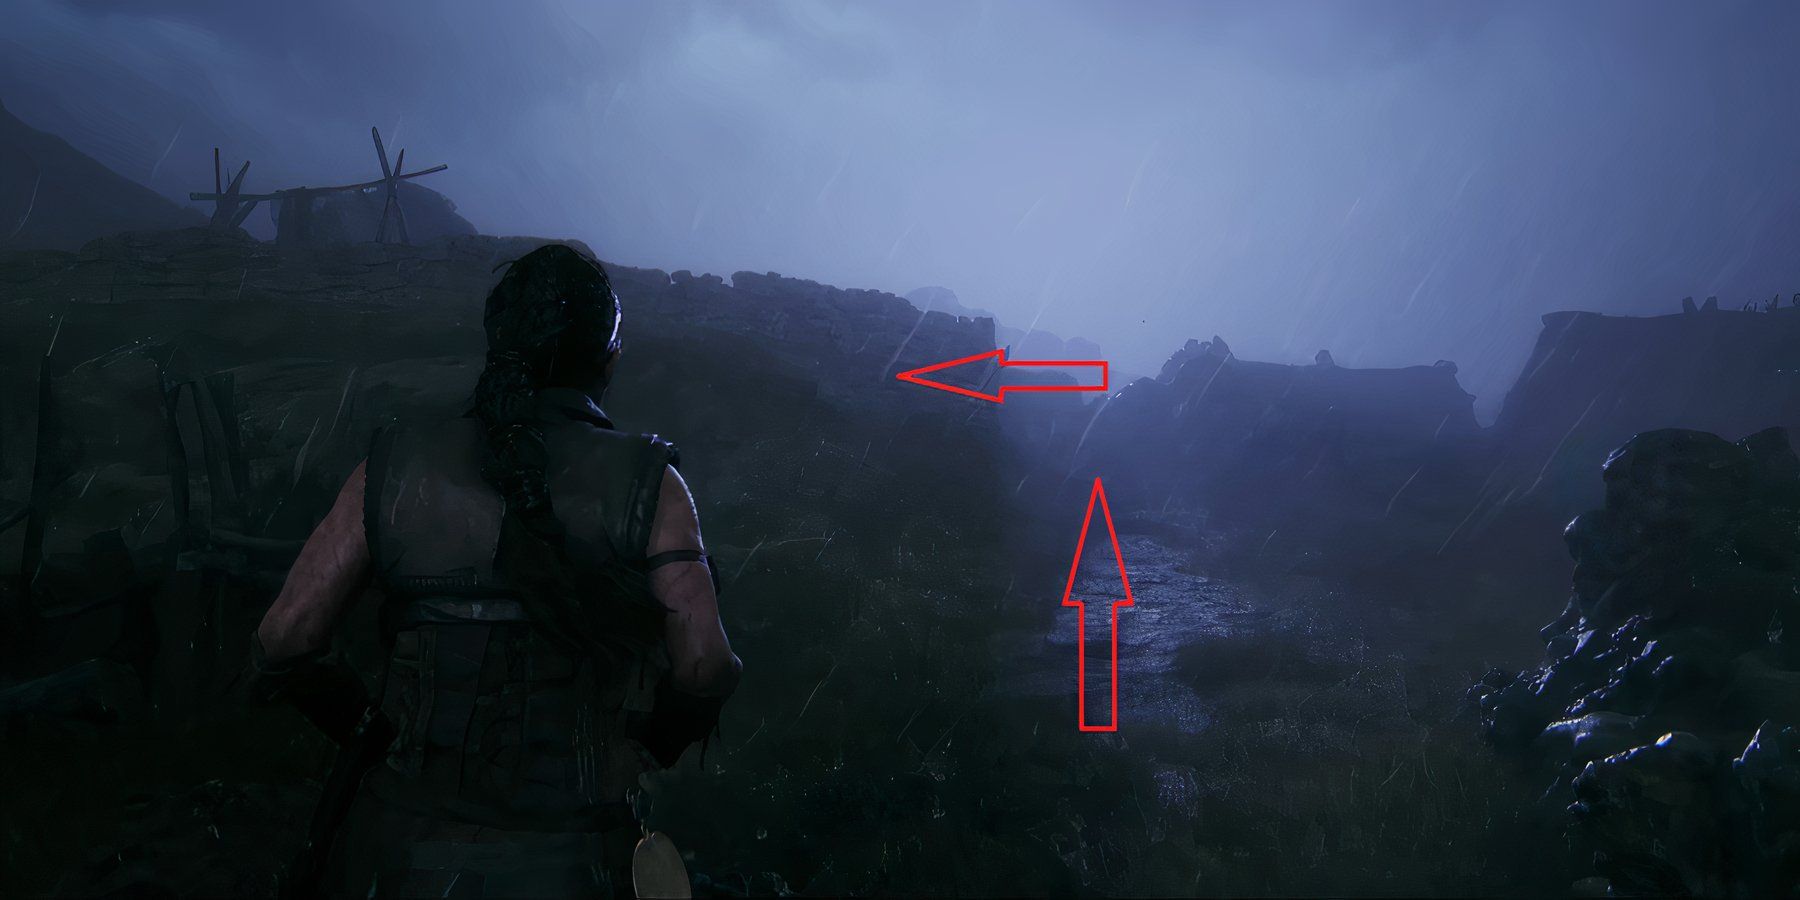
The last Lorestangir is also situated in the Another Question subchapter. After you have cleared the underwater main story section, you will reach the village that is experiencing a strong thunderstorm. Keep heading straight and take the left route. Look for a hut located on the upper side. The eighteenth totem should be in its backyard.
There are no Lorestangir in Chapter 6, not even faces. So, enjoy the chapter at your own pace.
If you happen to miss some Lorestangir along the way, there's no need to worry, as restarting your entire game isn't necessary, although you should definitely experience Hellblade 2 once more. The game offers a convenient Chapter Select feature, allowing you to revisit chapters and collect any missed Lorestangir. You can even choose to revisit specific subchapters if needed. Plus, each chapter includes a tracker indicating whether you've obtained the collectible or not, making it easier to keep track of your progress.
Interacting with all 18 Lorestangir will unlock the Tales of Midgard achievement and the third Narrator option you can choose after finishing the story, bringing you one step closer to completing the game 100%.

Senua's Saga: Hellblade 2
- Platform(s)
- PC , Xbox Series X , Xbox Series S
- Released
- May 21, 2024
- Developer(s)
- Ninja Theory
- Publisher(s)
- Xbox Game Studios

