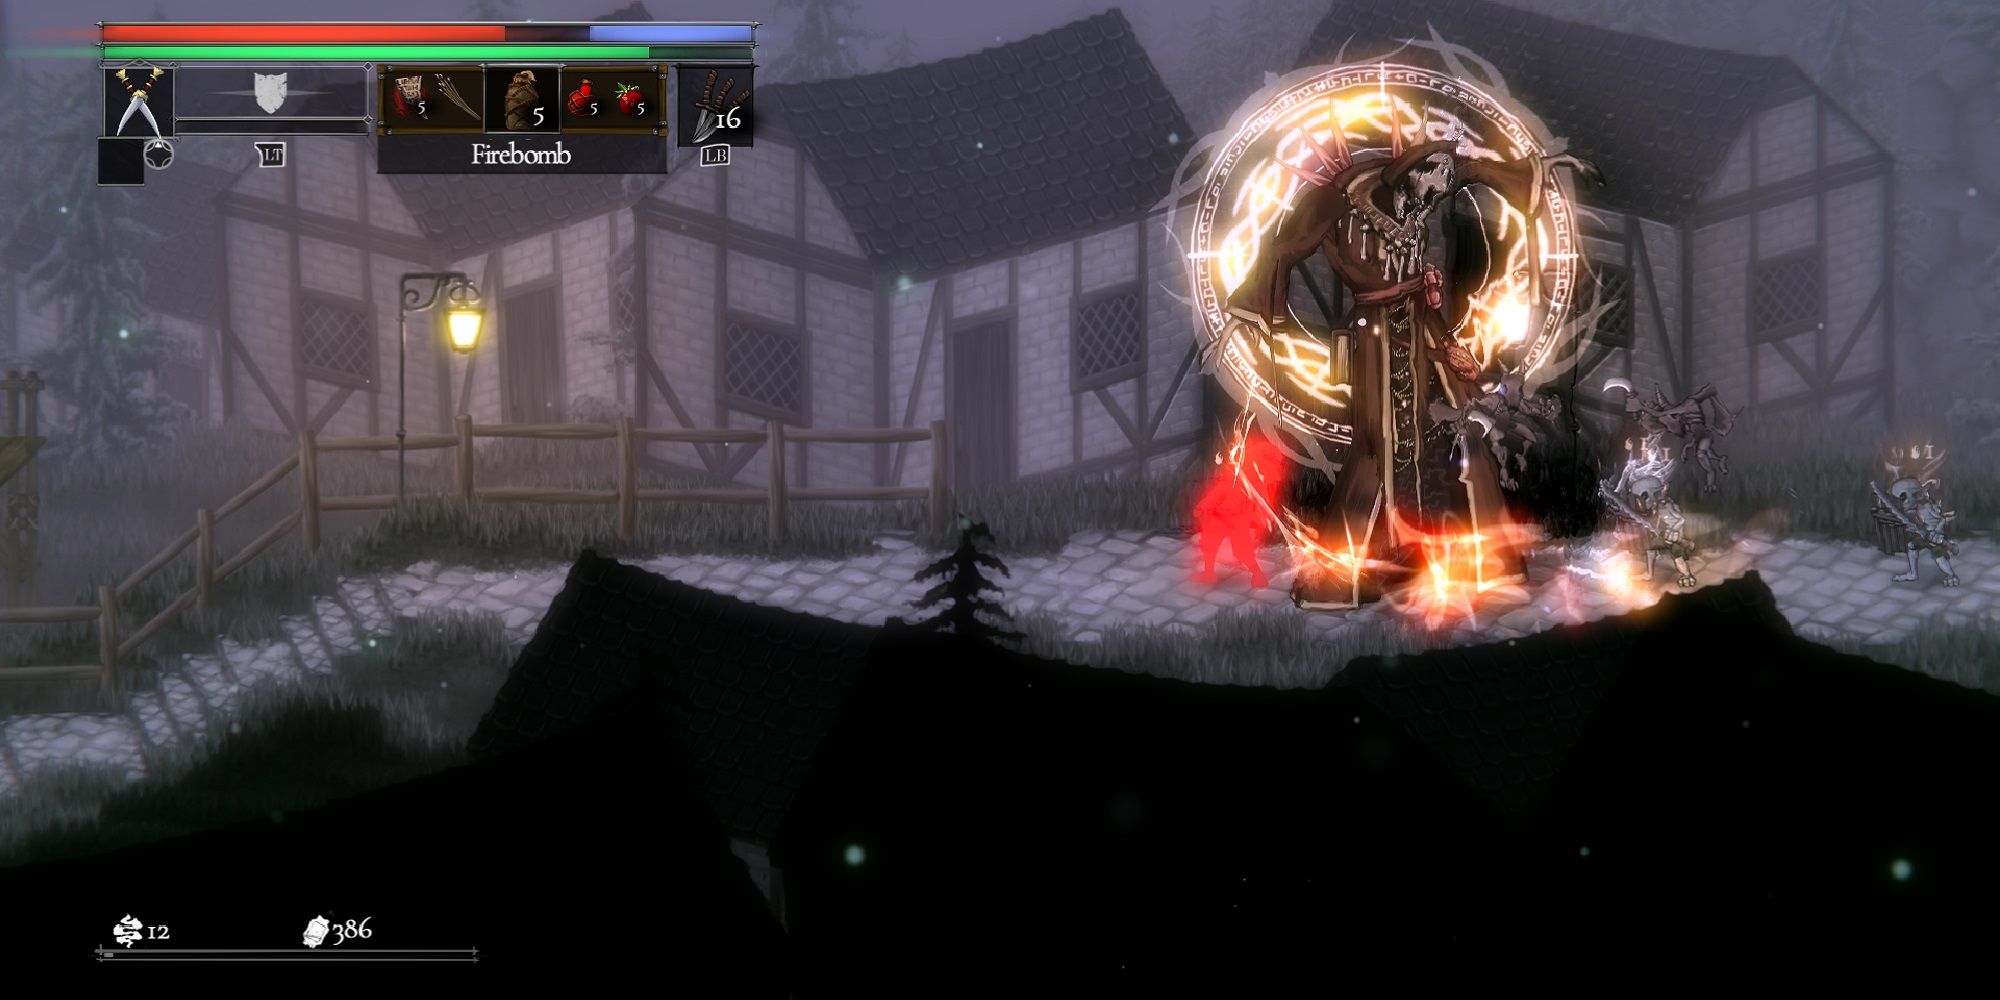
As in much of the Souls-like genre which makes up half of its DNA, Ska Studios’ latest Metroidvania-RPG Salt and Sacrifice can be a little overwhelming for players setting out to hunt their first mage. Much like the first game in the series, Sacrifice’s menus are deliberately (and sometimes frustratingly) opaque, there’s no mapping system, and characters have an impractical tendency to talk in vague riddles with references to obscure pieces of lore.
Lucky, then, that this article contains a few choice words of advice for a plucky Inquisitor-in-training. From where to find edible berries to the best way to deal with a Skallin at fifty yards, these tips should make the first few hours of any quest run a little more smoothly.
10 Use ALL Health Items
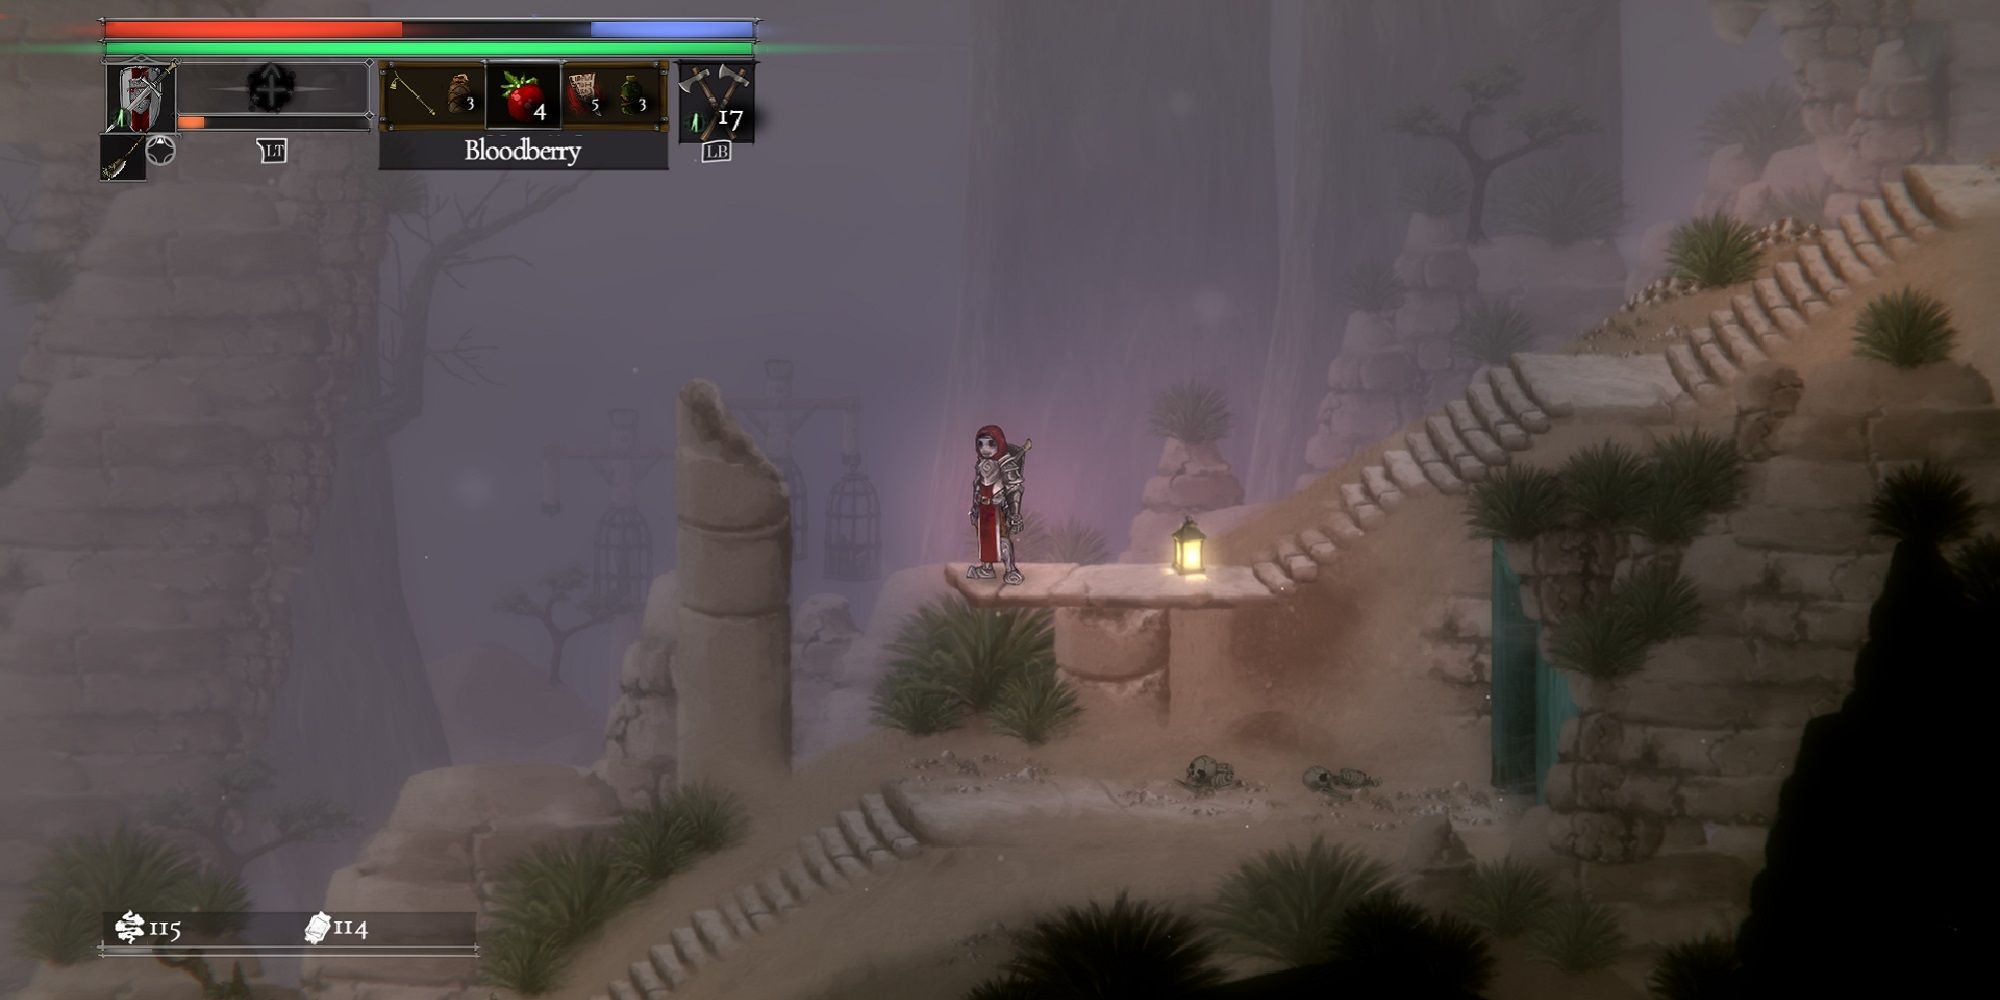
Hearthen flasks will be a player’s primary source of healing on the go, but Inquisitors in need of a top-up in a pinch should look no further than the humble Bloodberry. They’ll often be found while foraging for Valley Herbs, and they’re ubiquitous enough that most inventories will end up with a full stack of five sitting in them almost by accident.
Though they restore fewer hit points at a slower rate than their medicinal cousins, they can be a literal lifesaver if a character is found flaskless after a tricky encounter.
9 Look After Those Ranged Weapons
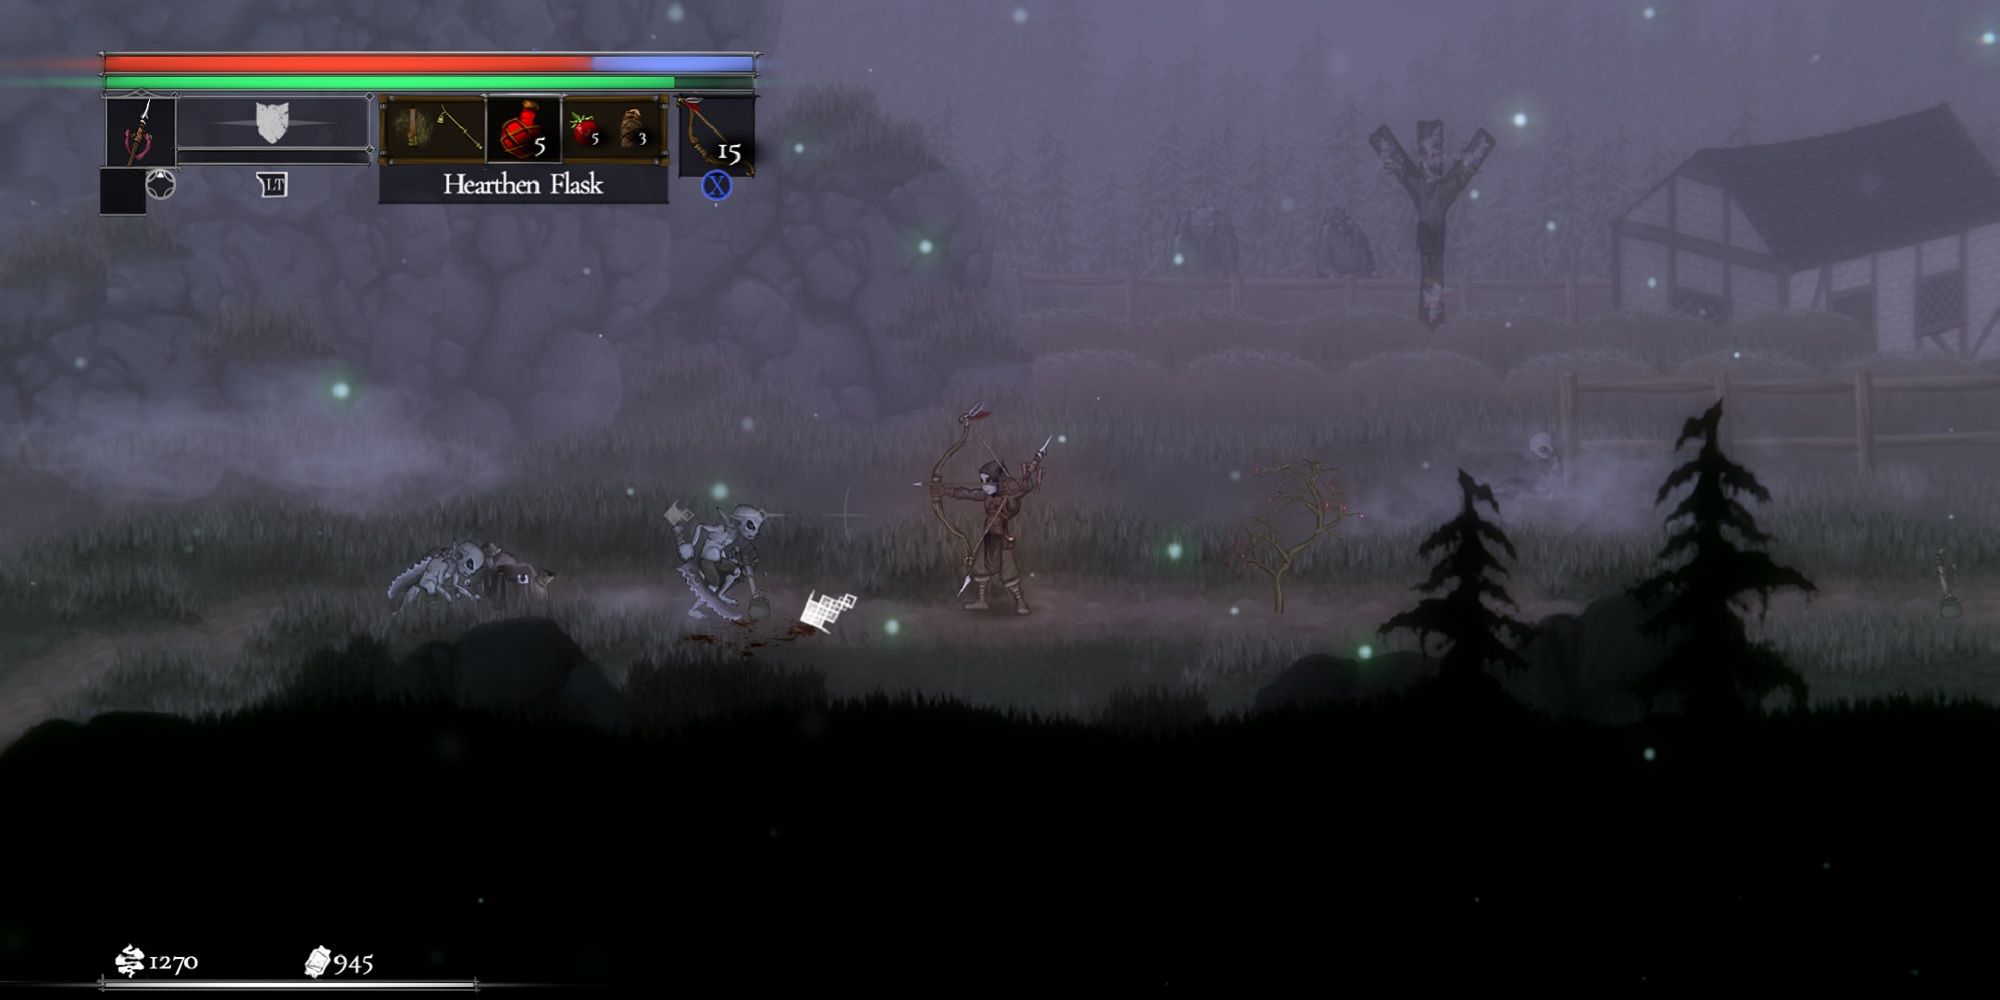
It’s easy to underestimate the usefulness of ranged weapons, even for melee-focused classes like the Paladin. Every class starts with a projectile launcher which scales off of one of their primary characteristics, and after gaining a few levels, these humble hand-axes can start to deal some impressive damage to early foes.
What’s more, resting at an Obelisk converts Irona Ore into ammunition, so even the most gung-ho Inquisitor will rarely be left high-and-dry for long. Players should be on the lookout for items like firebombs, too, where, unlike Dark Souls, these can deal some impressive damage over time to several kinds of enemies.
8 Make The Most Of Artifacts
Each Inquisitor can equip up to three Artifact slots at a time (Offensive Artifacts, Defensive Artifacts and Utility Artifacts) on top of two Rings, an Amulet, and a Charm. These trinkets range from pieces of jewelry to mysterious idols that provide bonuses to everything from melee attack power to resistance to different magic types.
Mistakes To Avoid In Salt And Sacrifice
It’s not always completely clear whether a new item is a powerful stat-factory or just a piece of junk, so it’s important to check the inventory often to avoid missing out on some invaluable bonuses. Players can even farm-specific mages to turn their enemies' entrails into more useful trinkets, so don't be too hasty to use all those materials on some funky-looking weapon types.
7 Don’t Hang About
While it can be tempting to spend time lining up the perfect shot to take out that lurking Skallin, if a player character spends too long in the vicinity of even the most docile-looking enemy, chances are the scoundrel will seize the opportunity to pounce.
Instead of aiming, the smarter choice is usually to dive in guns/longbows blazing, firing off quick shots to get the drop on foes before they have a chance to respond. The best defense really is a good offense.
6 Money Doesn’t Grow On Trees
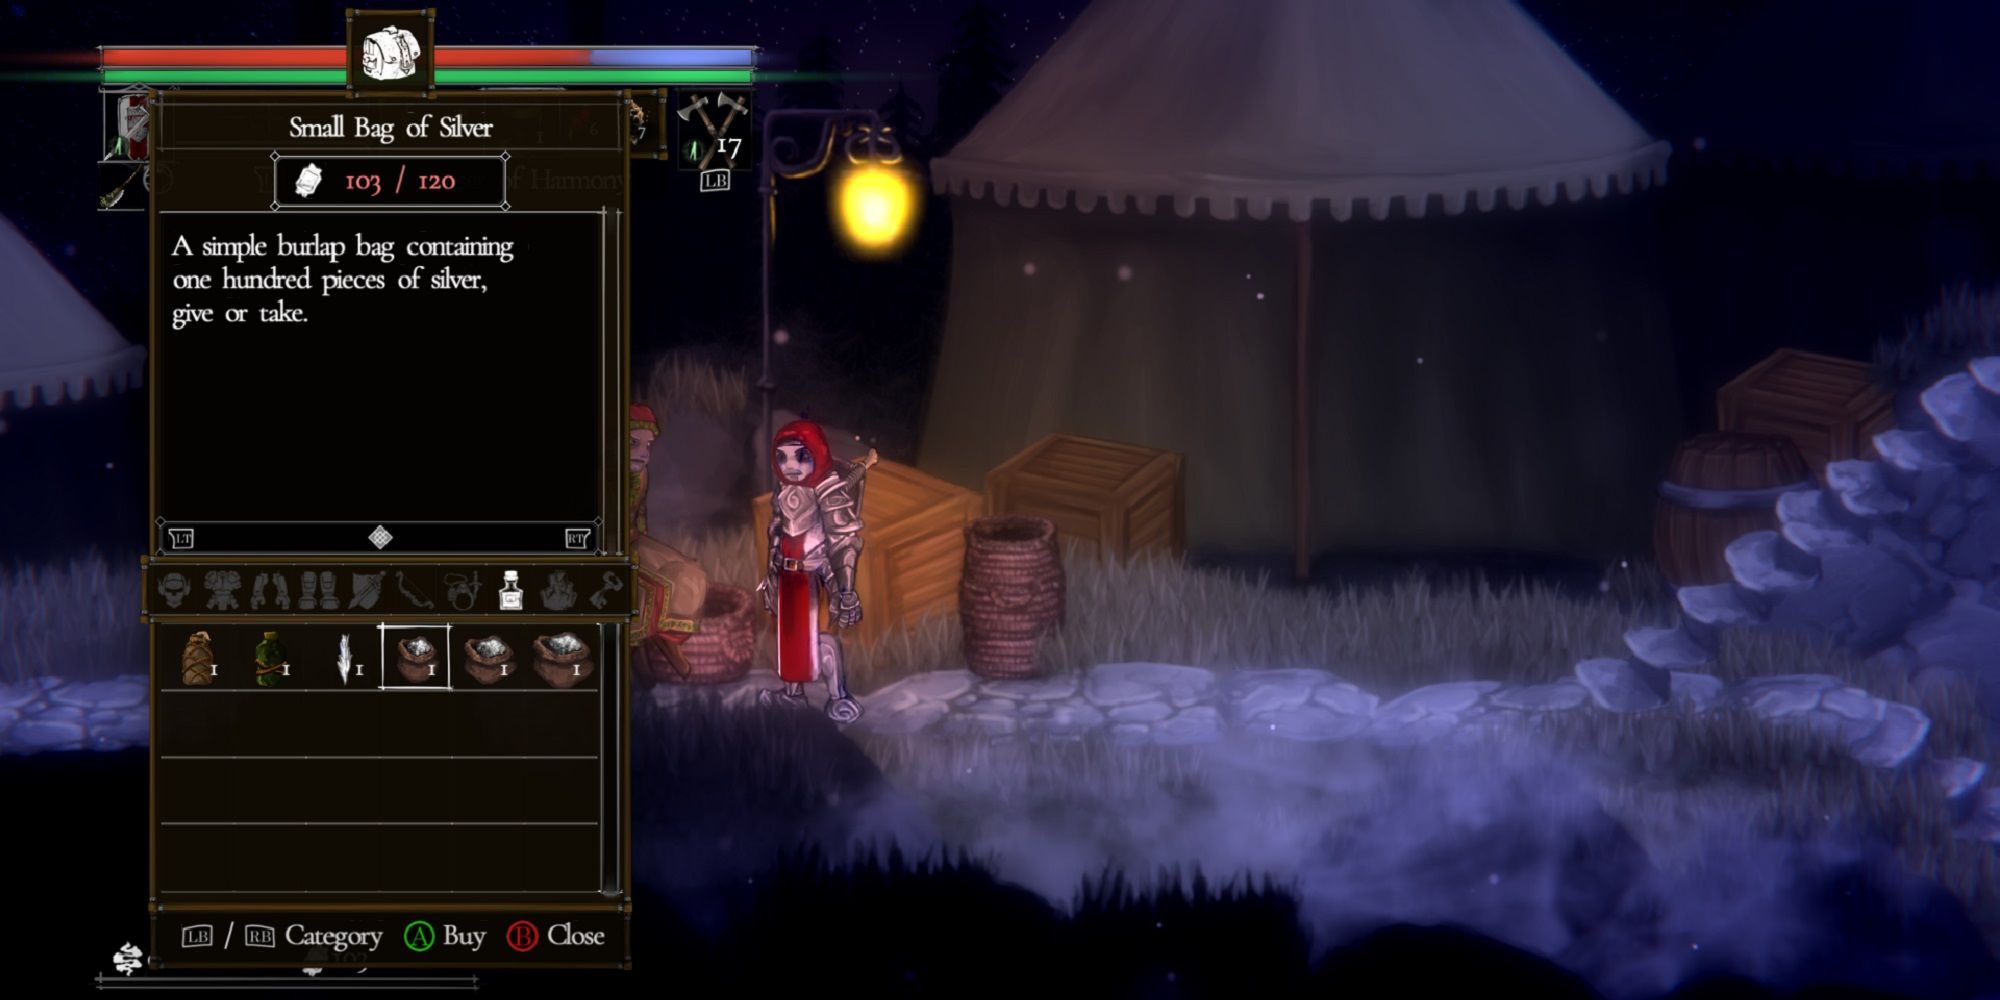
While Salt and Sacrifice’s measure of experience, Salt, is returned to the player on their return to where they last died, any precious silver lost to the wilderness stays that way. With no obvious banking system in the early game, it’s up to the friendly Merchant to save an Inquisitor’s hard-earned bacon.
Bags of silver containing roughly 100, 500, or 1000 pieces can be bought at a slight markup, then sold when a player has enough money for a new weapon or armor set. Silver stored like this won’t be lost on death, leaving Inquisitors free to leap head-first into danger without fear of financial ruin.
5 Look Out For Shimmering Buds
Salt and Sacrifice can be a frustratingly tricky game at the best of times, made all the more difficult by a lack of cost-free healing. Shimmering Buds are incredibly useful items which Verdantvoice Trista, found in the Pardoner’s Vale, can use to increase the number of times a Hearthen Flask can be consumed between Obelisks.
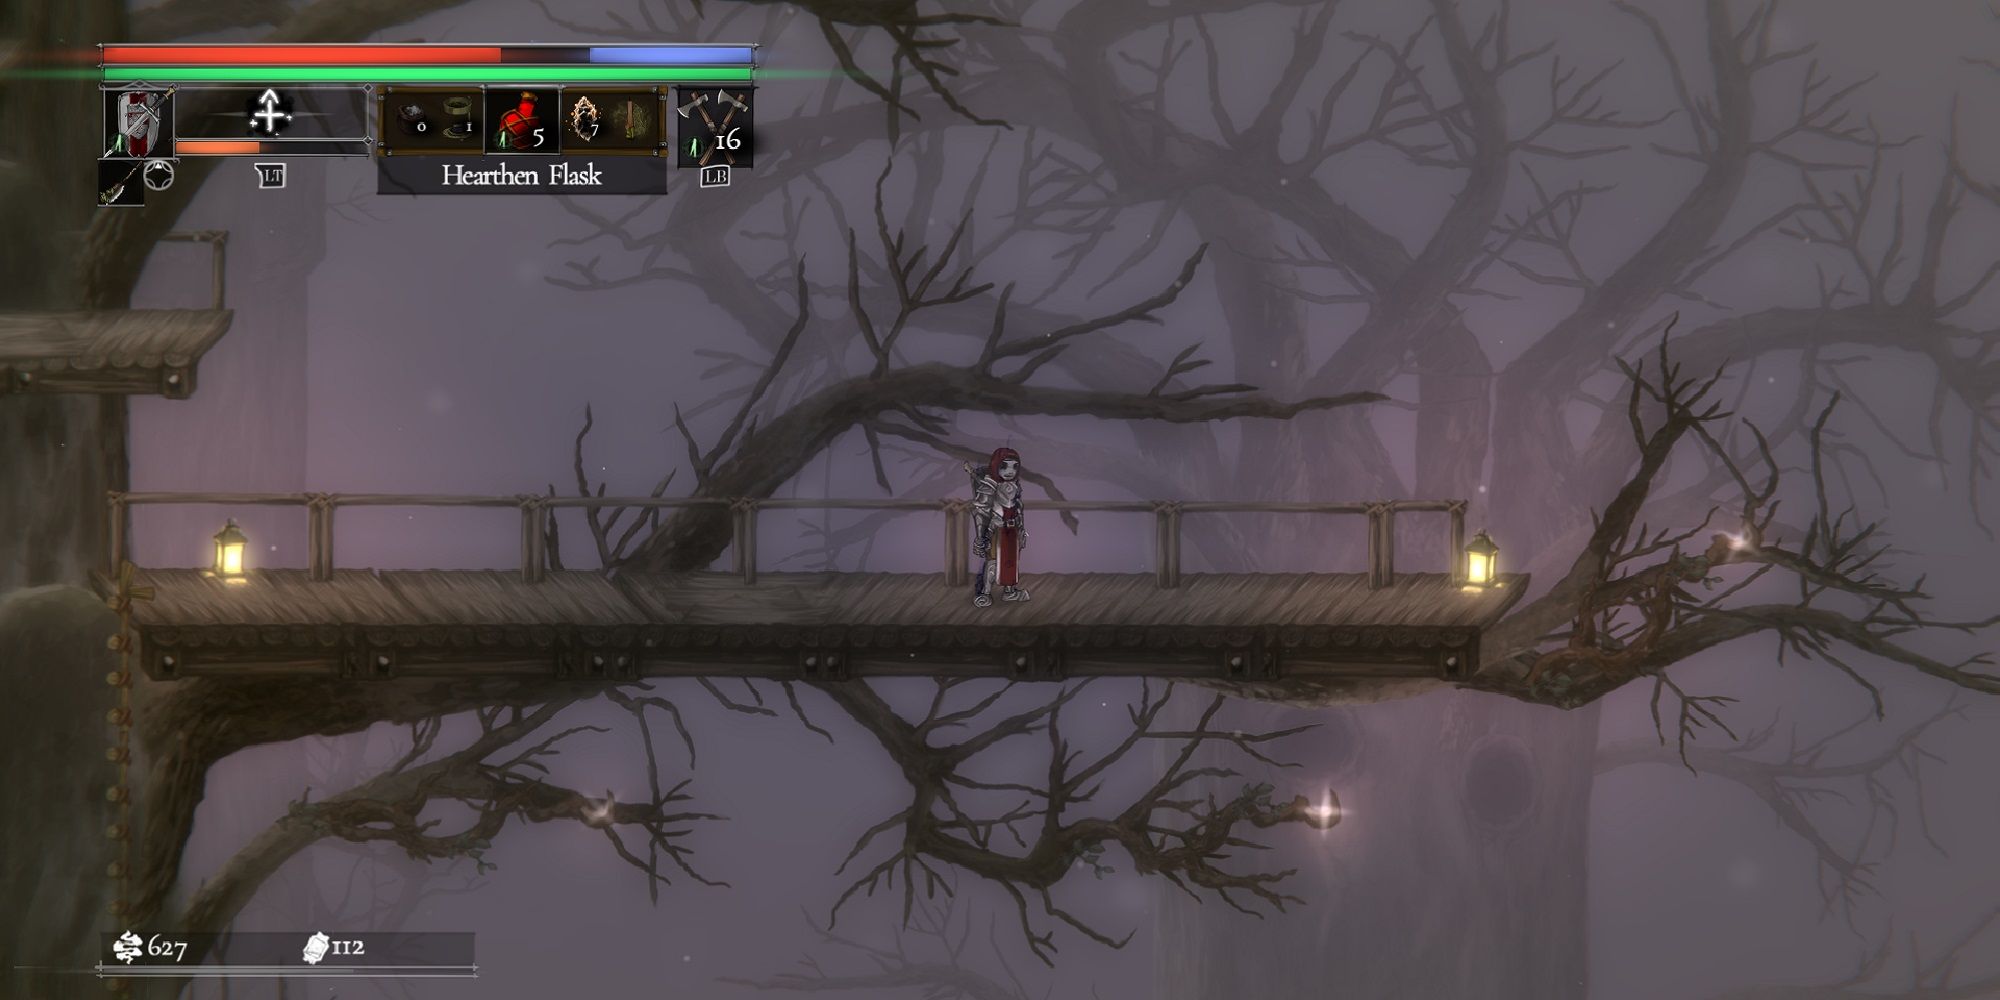
One such bud can be found easily quite early on once Bol Gerahn becomes available, up a series of staircases to the right of the first Obelisk stands a huge, dead tree. At the top of the tree sits a Shimmering Bud, unguarded save for a few basic enemies, which should make any Inquisitor’s journey a heck of a lot easier.
4 The Enemy Of My Enemy Is My Friend
During Mage Trials, enemies summoned up by the fleeing magic-user flicker with a ghostly-blue hue, marking them out as Hazeburnt. Hazeburnt foes don’t get along with regular enemies, and the latter will often make a beeline for their conjured companions rather than attacking the player outright.
Canny Inquisitors can make the most of the ensuing confusion to down a Hearthen Flask or two, but they still need to be careful: Hazeburnt opponents are usually much more powerful than regular foes in the same area, and once these villains are dead, they’ll soon turn on any mage-hunters in the vicinity.
3 Try Out Different Attacks
While Salt and Sacrifice’s combat system may be a deceptively simple light-heavy-block-dodge affair, each weapon has a slew of combos and special attacks with which to batter the denizens of its sparsely-populated worlds. Dashing forward before striking with the Vanguard, for example, will launch smaller enemies across the map, creating vital breathing room to deal with trickier foes.
The Best Combat Systems In RPGs, Ranked
Meanwhile, the Greatblade’s heavy combo ends with a powerful uppercut, stunning opponents, and giving ample time to pile on the damage to enemies all on their lonesome.
2 Skill Points Can Be Re-Allocated
Salt and Sacrifice’s skill tree can be intimidating at first, but players looking to experiment with their stats shouldn’t be put off by the plethora of options available.
Leveling up always provides Inquisitors with Black Starstone, used to unlock new skills, but every few levels produce Grey Starstone, which can be used on any branch of the tree to recall the Starstone spent on it. This means characters can unlock new weapons on the skill tree without worrying about the long-term consequences of investing in a sidearm they’ll no longer use.
1 Spend That Salt
It won’t be long after the first Skallin-skull hits the floor that a player will have enough Salt to gain a level or two, but the game has little time for hand-holding once that stage is reached.
To offload some of that hard-earned exp, return to Pardoner’s Vale, head left past Champion Hera, and keep going until an ascending staircase heads back on itself. Taking the stairs up to the statue of a winged deer-type creature grants access to the game’s skill tree, where the lifeforce of defeated creatures can be exchanged for some tasty stat upgrades.


