There are many different bosses in Rotwood, each of which has its own behaviors and attack patterns. While the first boss has a predictable attack pattern, others behave a lot more erratically to keep players on their toes. Each boss has a lot of character in its design and personality, making for memorable encounters.
Players should go through all the weapons and armors that they have available in their arsenal after their first run-in with a boss, as some of them can be pivotal in countering some bosses' base strategies. Once a player has defeated a boss, they can play through its location on the map at a much more challenging difficulty curve.
Rotwood: 5 Tips & Tricks For Beginners
Not everything is apparent from the start of a new game, so a helpful list of tips is always welcome to help get your barings.
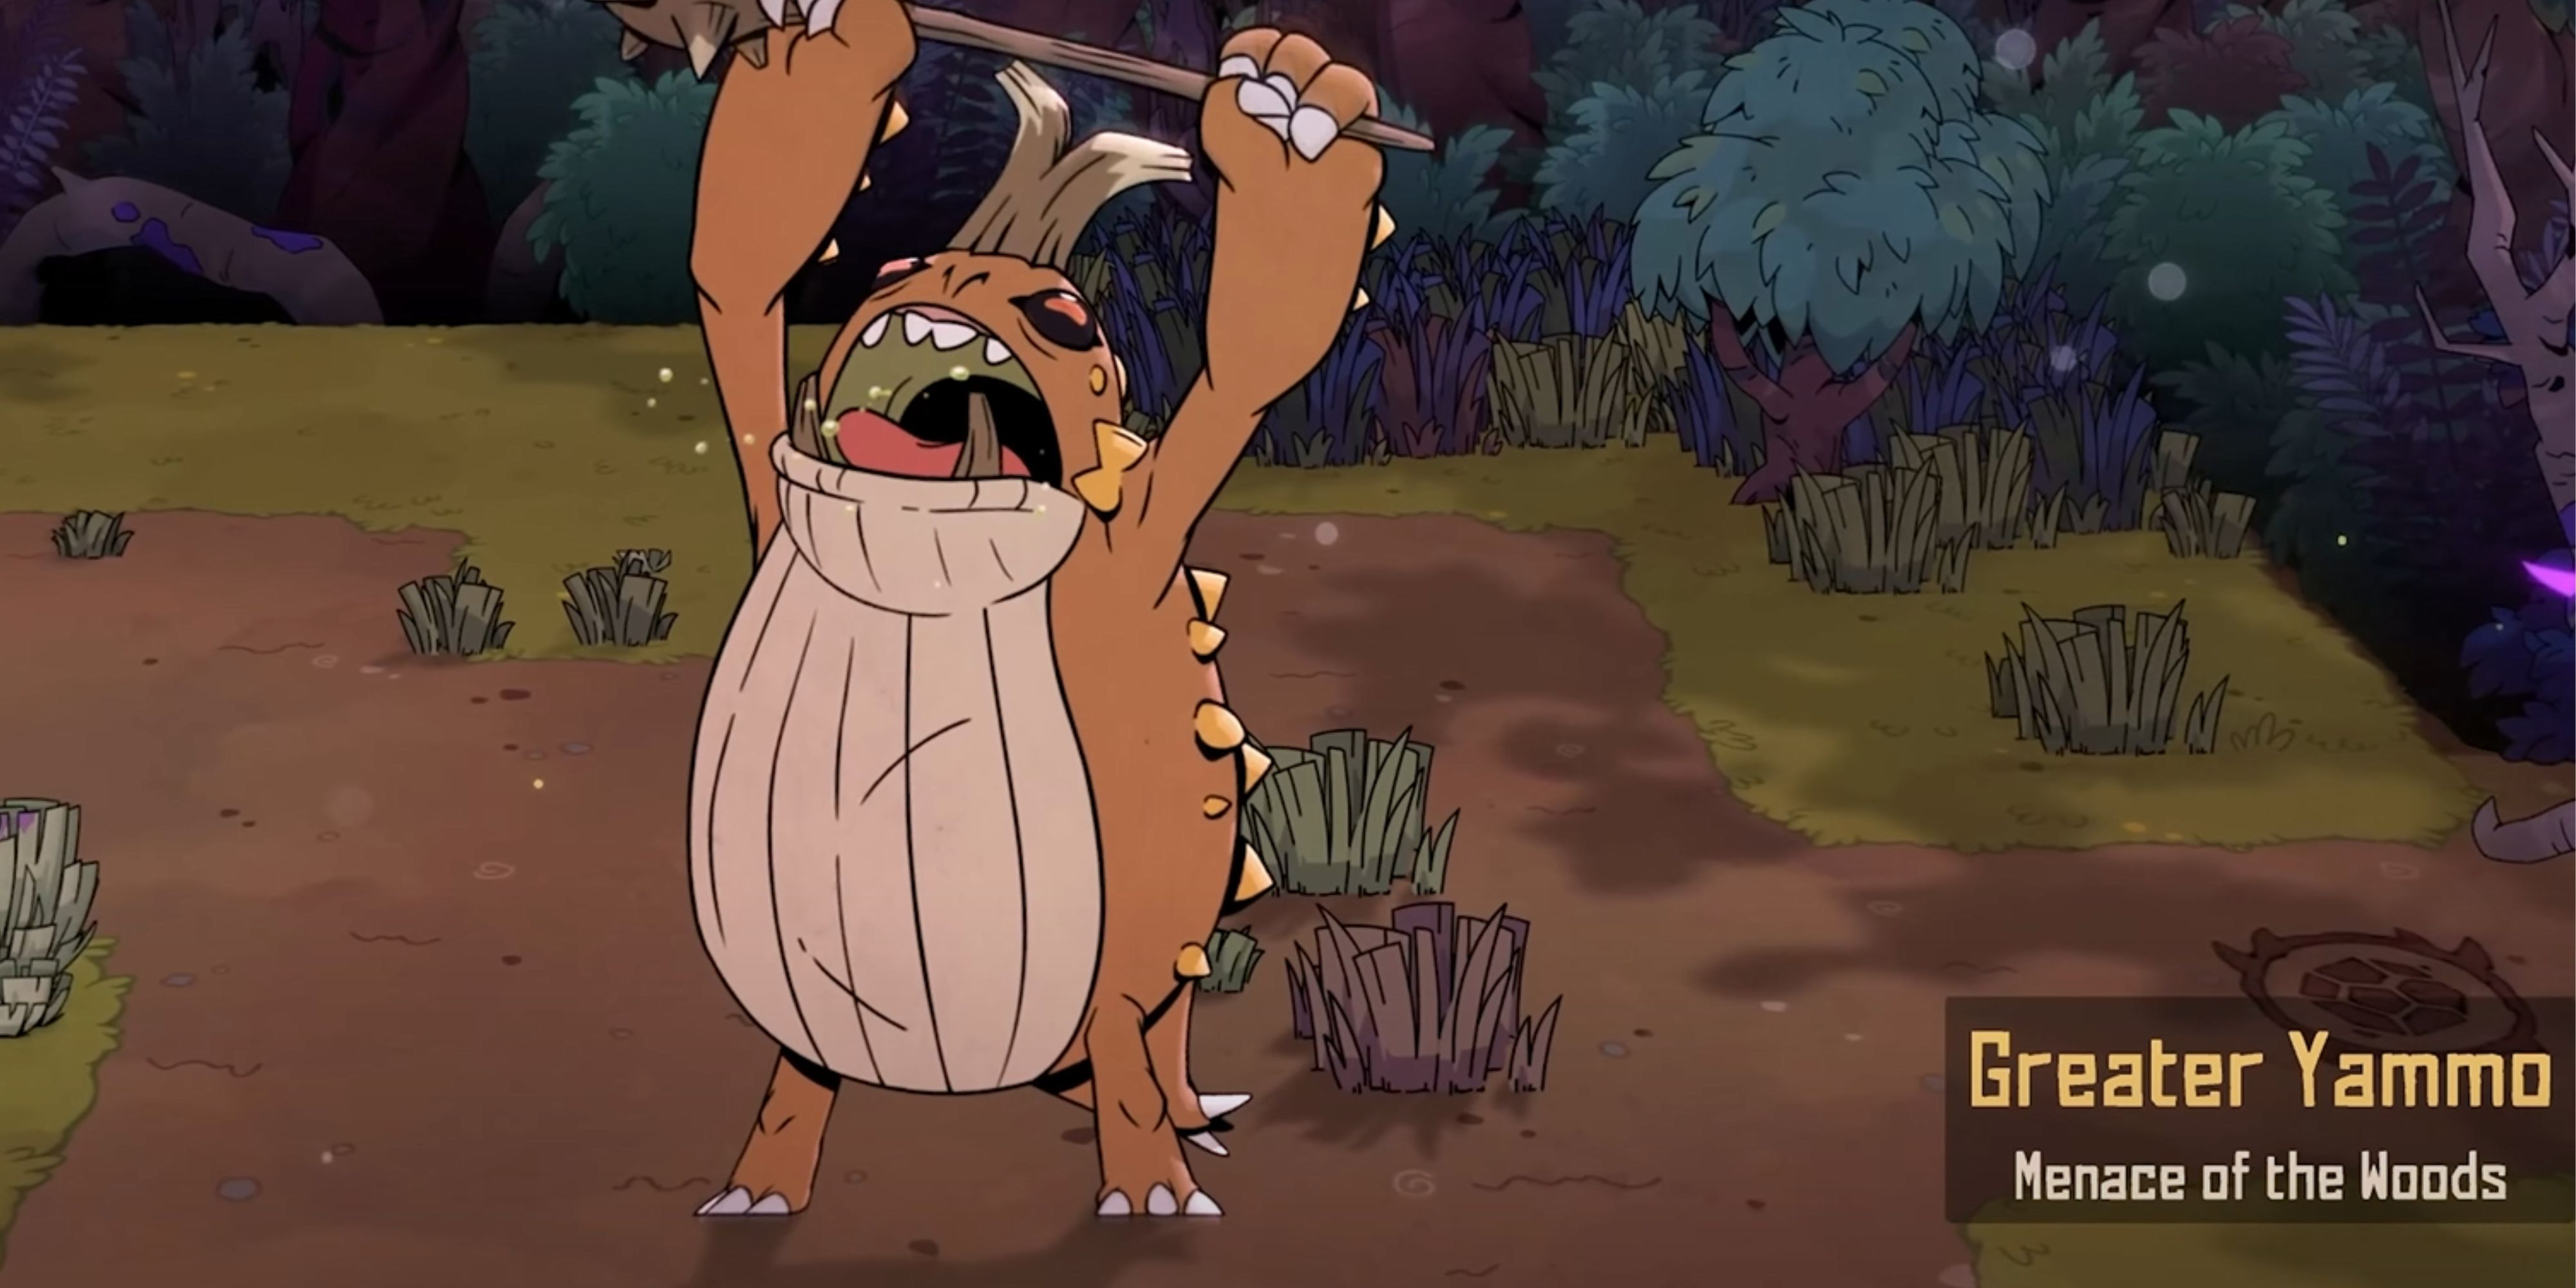
8 Greater Yammo: Menace Of The Woods
Heavy Hitting Mid-boss Of The Great Rotwood Forest
This is the first Mid-boss of the game, and players will encounter it in the Great Rotwood forest. This boss area will have a constant supply of smaller enemies spawning from the center, so focusing on them will slow the fight down. These smaller enemies only have a melee attack and can be hurt by the Mid-boss.
Greater Yammo has long wind-ups, meaning players can avoid damage the entire fight by running around without even needing to dodge. This boss hits very hard, so players will see a sizable chunk of their health disappear if they do get hit. The Spear and Strikers are some of the best weapon options for this fight, since they allow players to deal increased damage while keeping their distance.
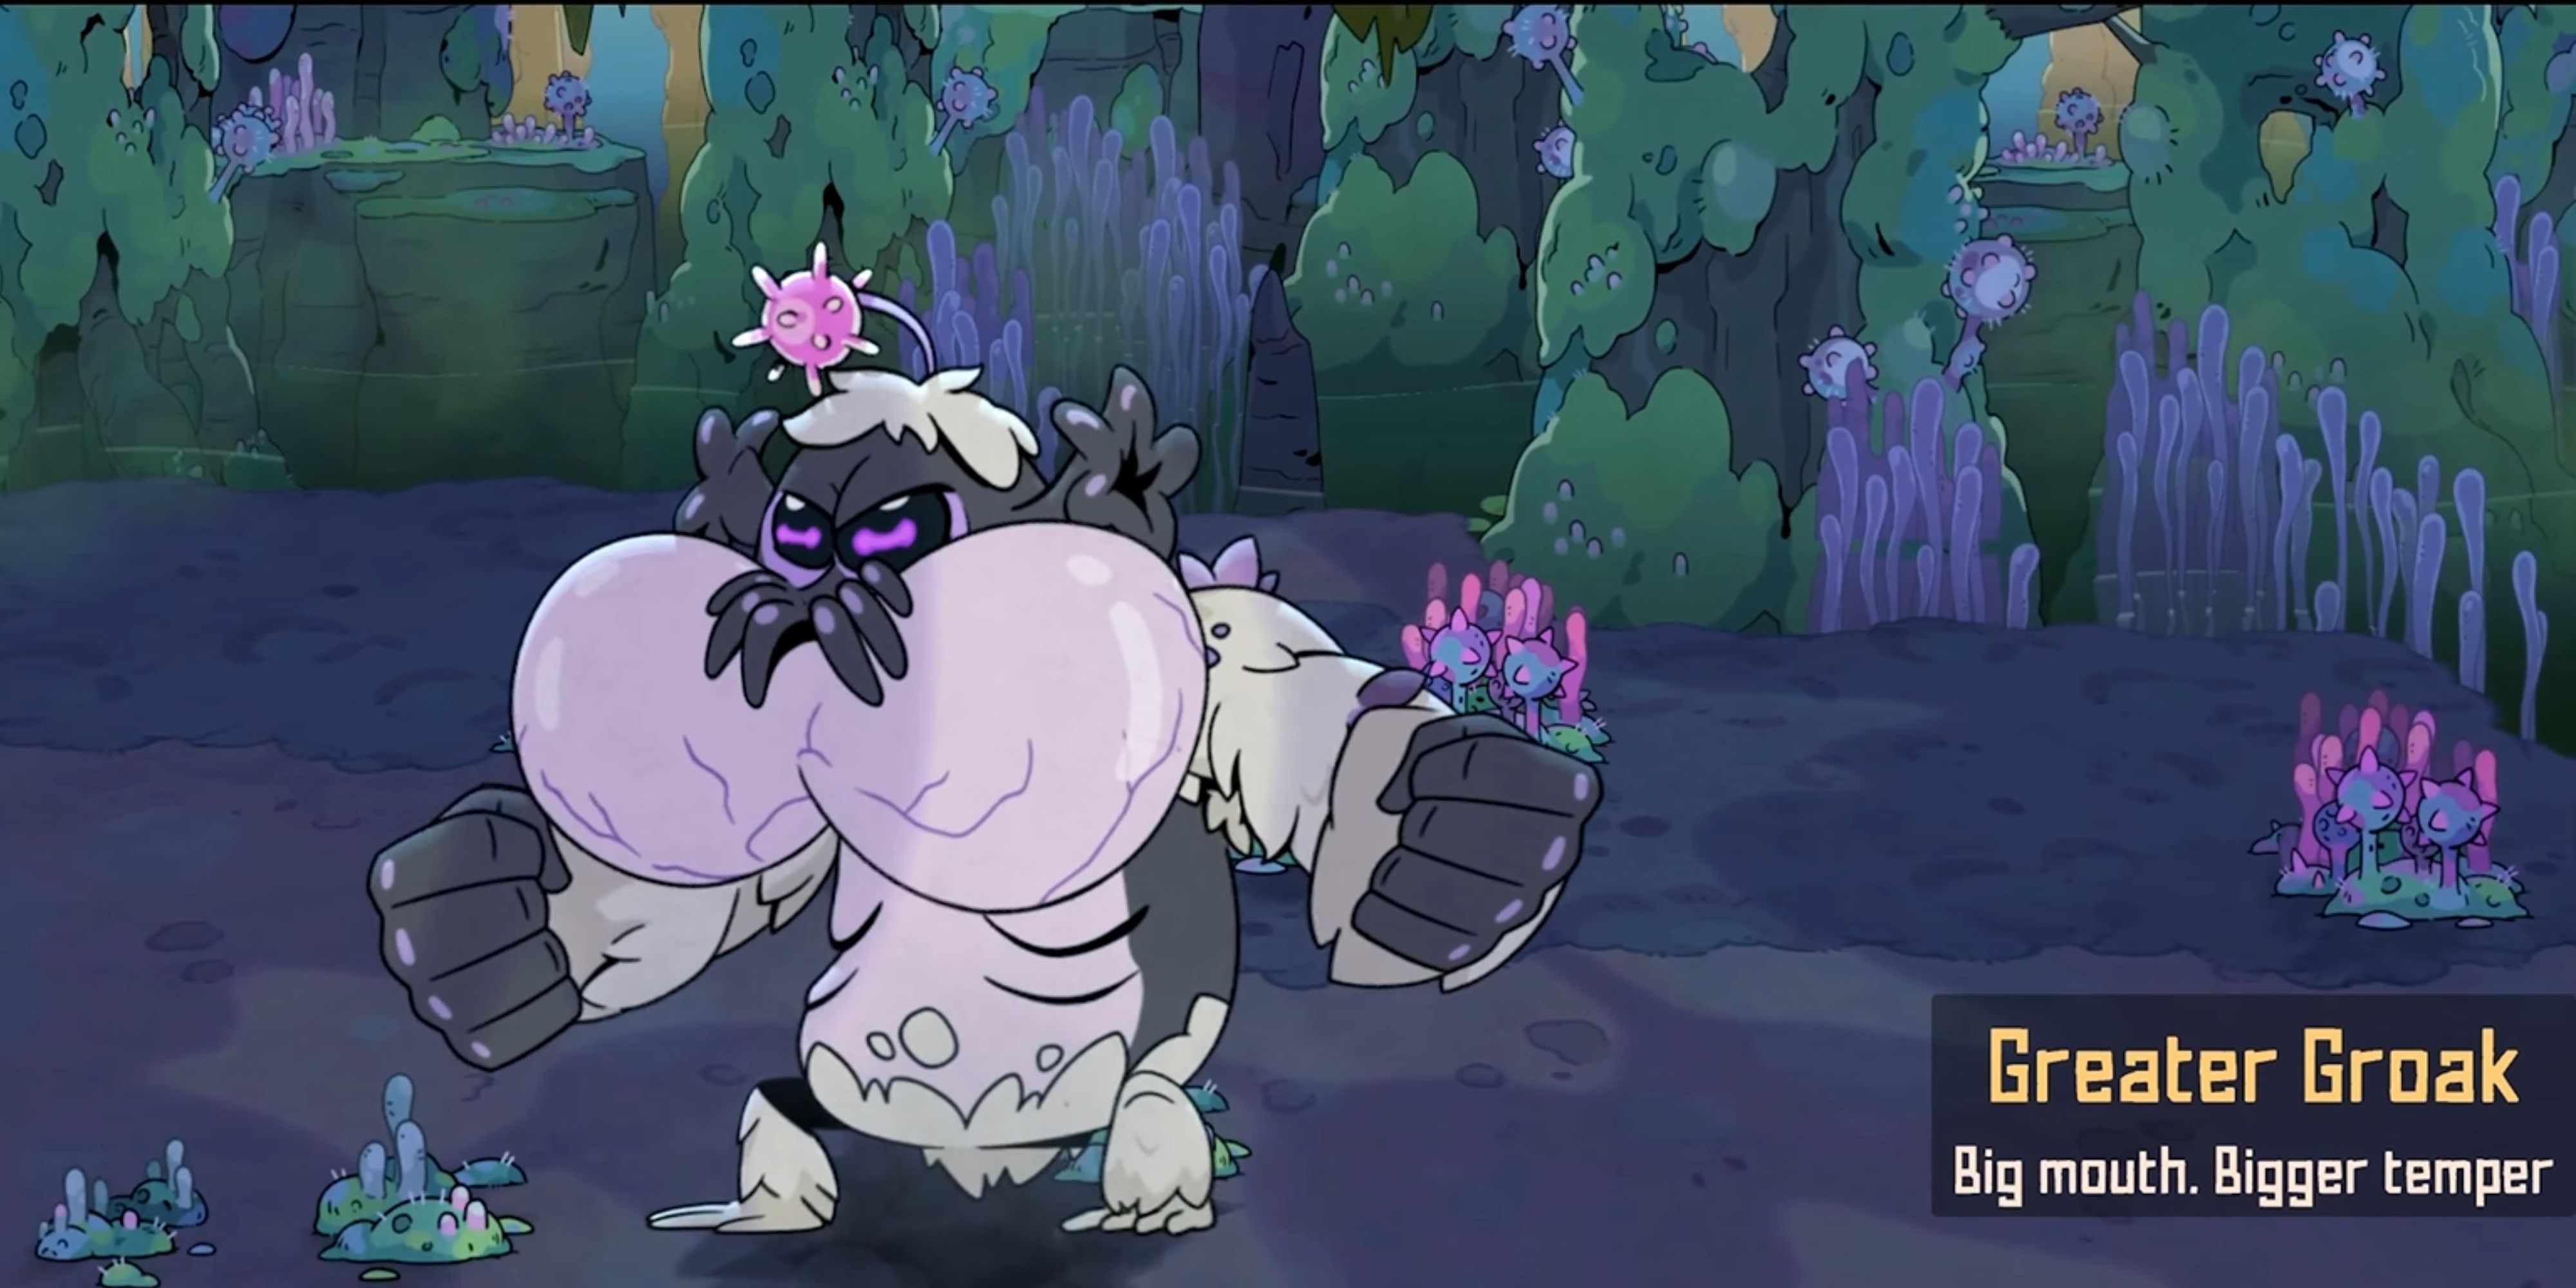
7 Greater Groak: Big Mouth, Bigger Temper
Grappling Mid-boss Of Blisterbane Bog
This boss repeatedly opens its mouth to pull players into it, acting as both a grapple and a means of pulling players in closer. Even if it does not get the player, it can pull one of the many smaller enemies into its mouth, after which it will spit them out as a ranged attack. Players will need to be mobile and always ready to dodge.
5 Best Roguelike Strategy Games, Ranked
The roguelike and strategy genres pair surprisingly well together, and these titles prove how well they blend.
This boss moves slowly, making it easy for players to stay out of range. This is important, because of the damage that its shockwaves do. This makes both Hammers and Spears unfavorable options for weapons against this foe. Players should change up their armor and weapons should they find themselves getting eaten often.
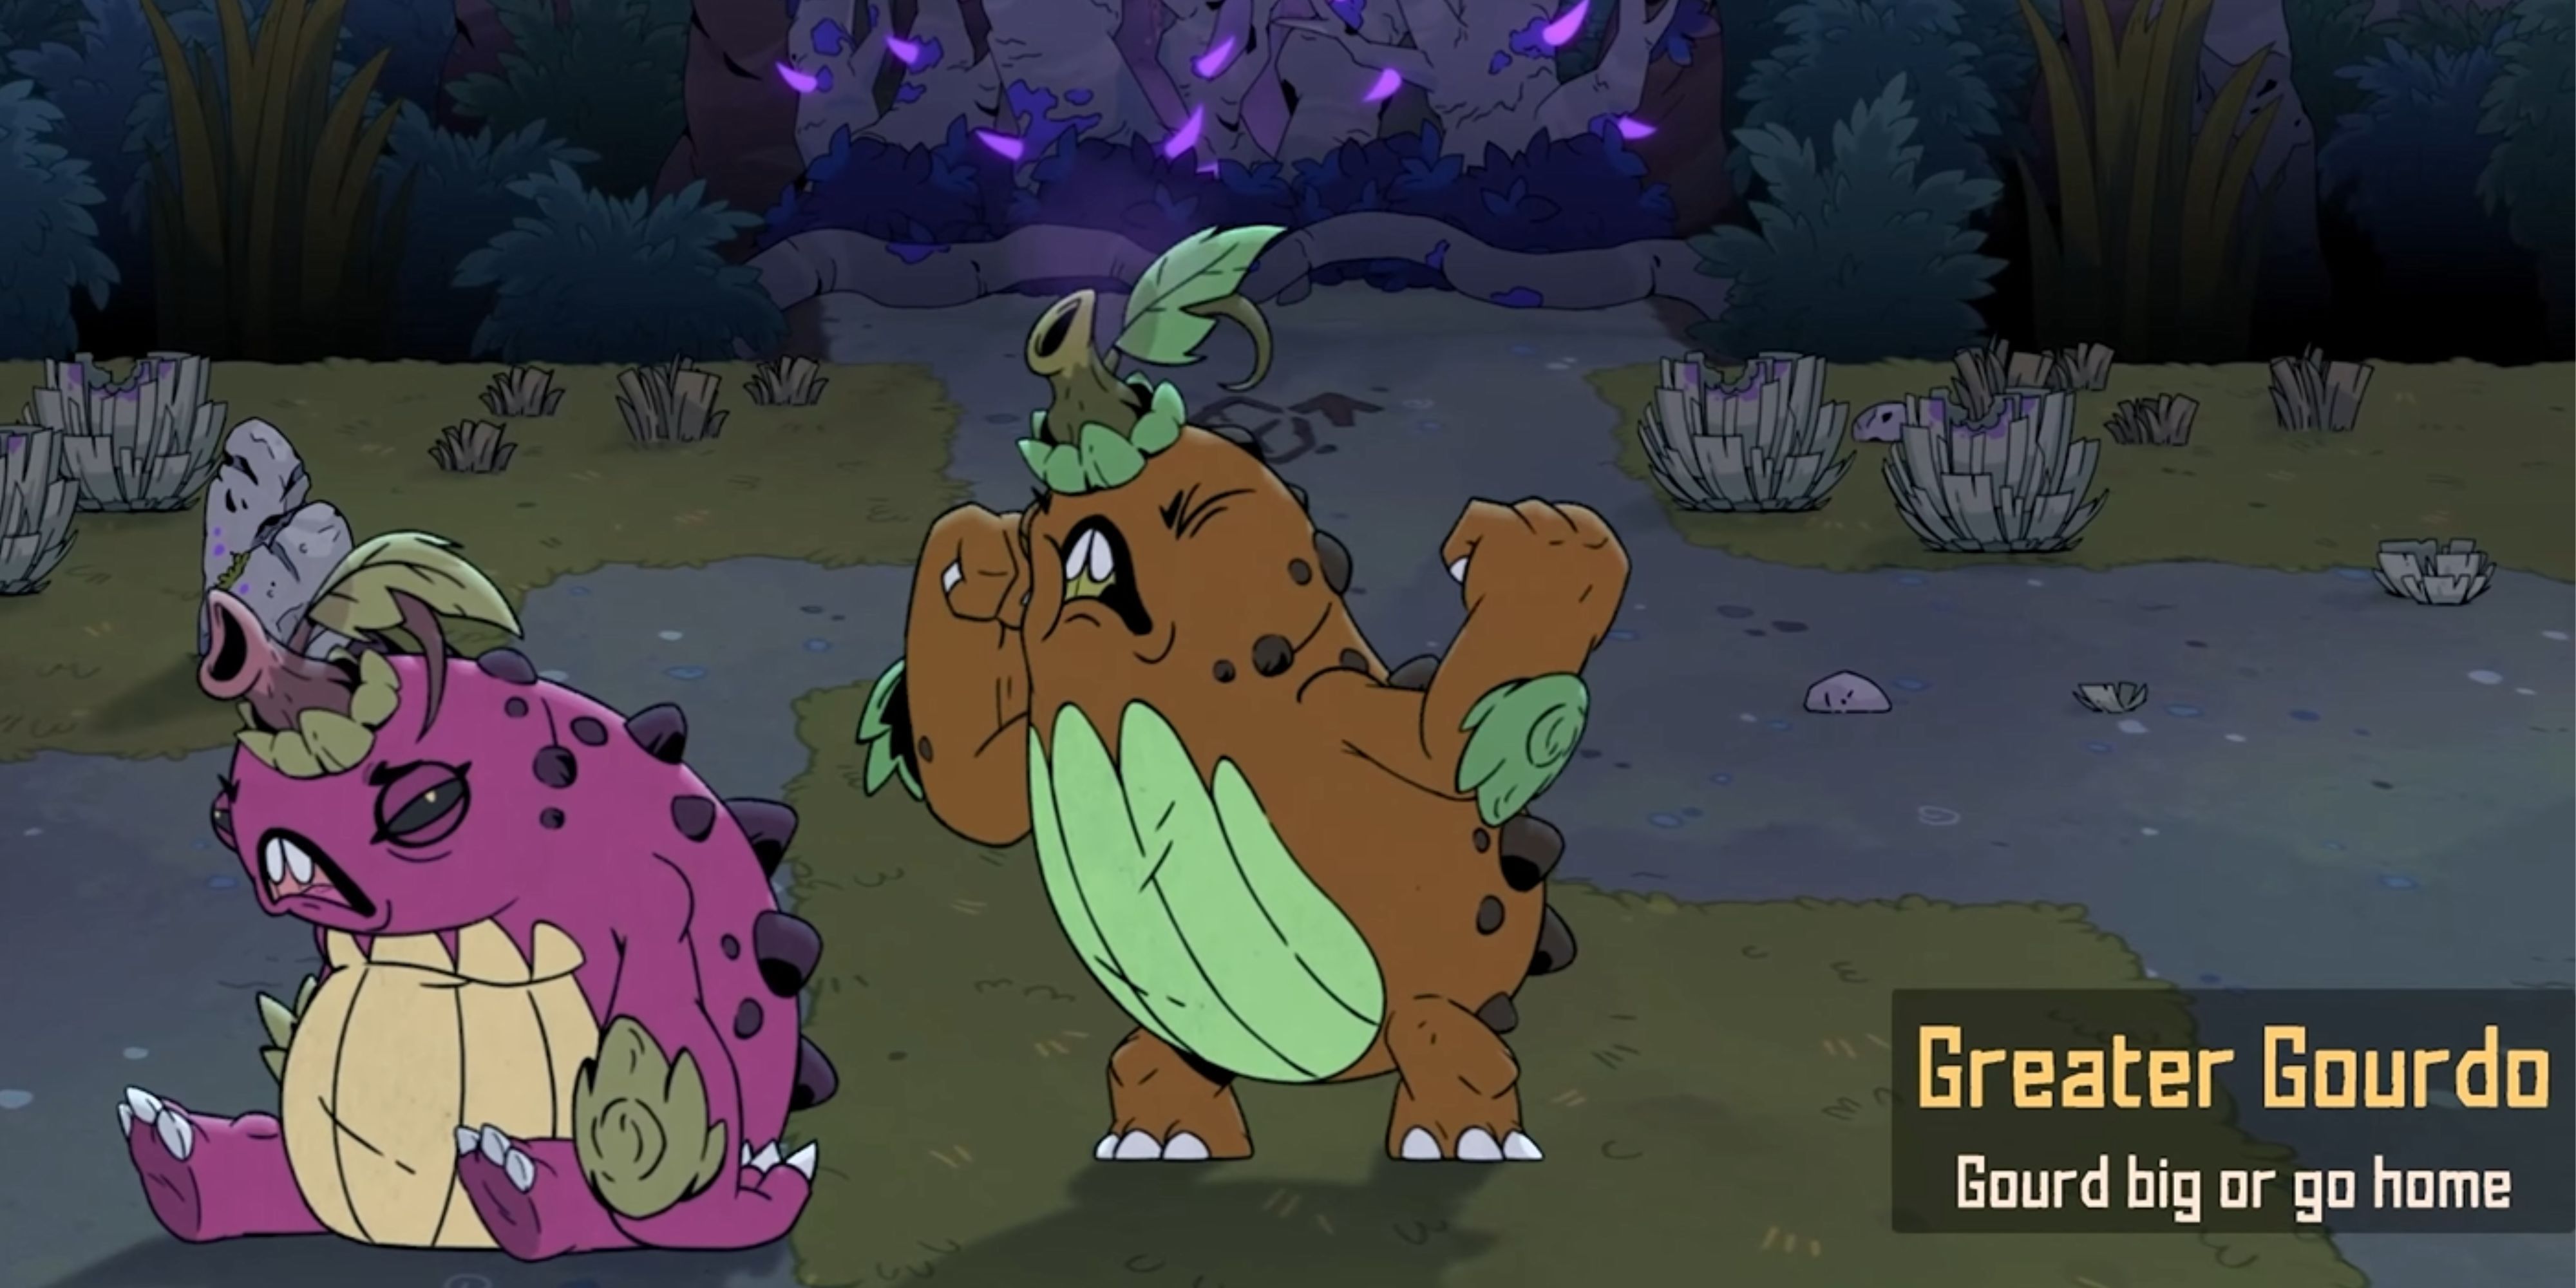
6 Greater Gourdo: Gourd Big Or Go Home
Double Trouble Mid-boss Of Nocturne Grove
Nocturne Grove is the second location that players will be exploring in the game, and its Mid-boss is a handful when playing solo. Both enemies in this fight hit hard and can close the gap quite fast when they start bouncing. While one of them is dazed, the other is still capable of attacking, making damage windows less reliable.
Players will want to use weapons such as the Strikers, and have their weight class not be Power. This will give them the mobility they need to avoid getting boxed in, and allow them to keep attacking. It is best to fully deplete one Gourdo’s health first, as it will make the remaining enemy much easier.
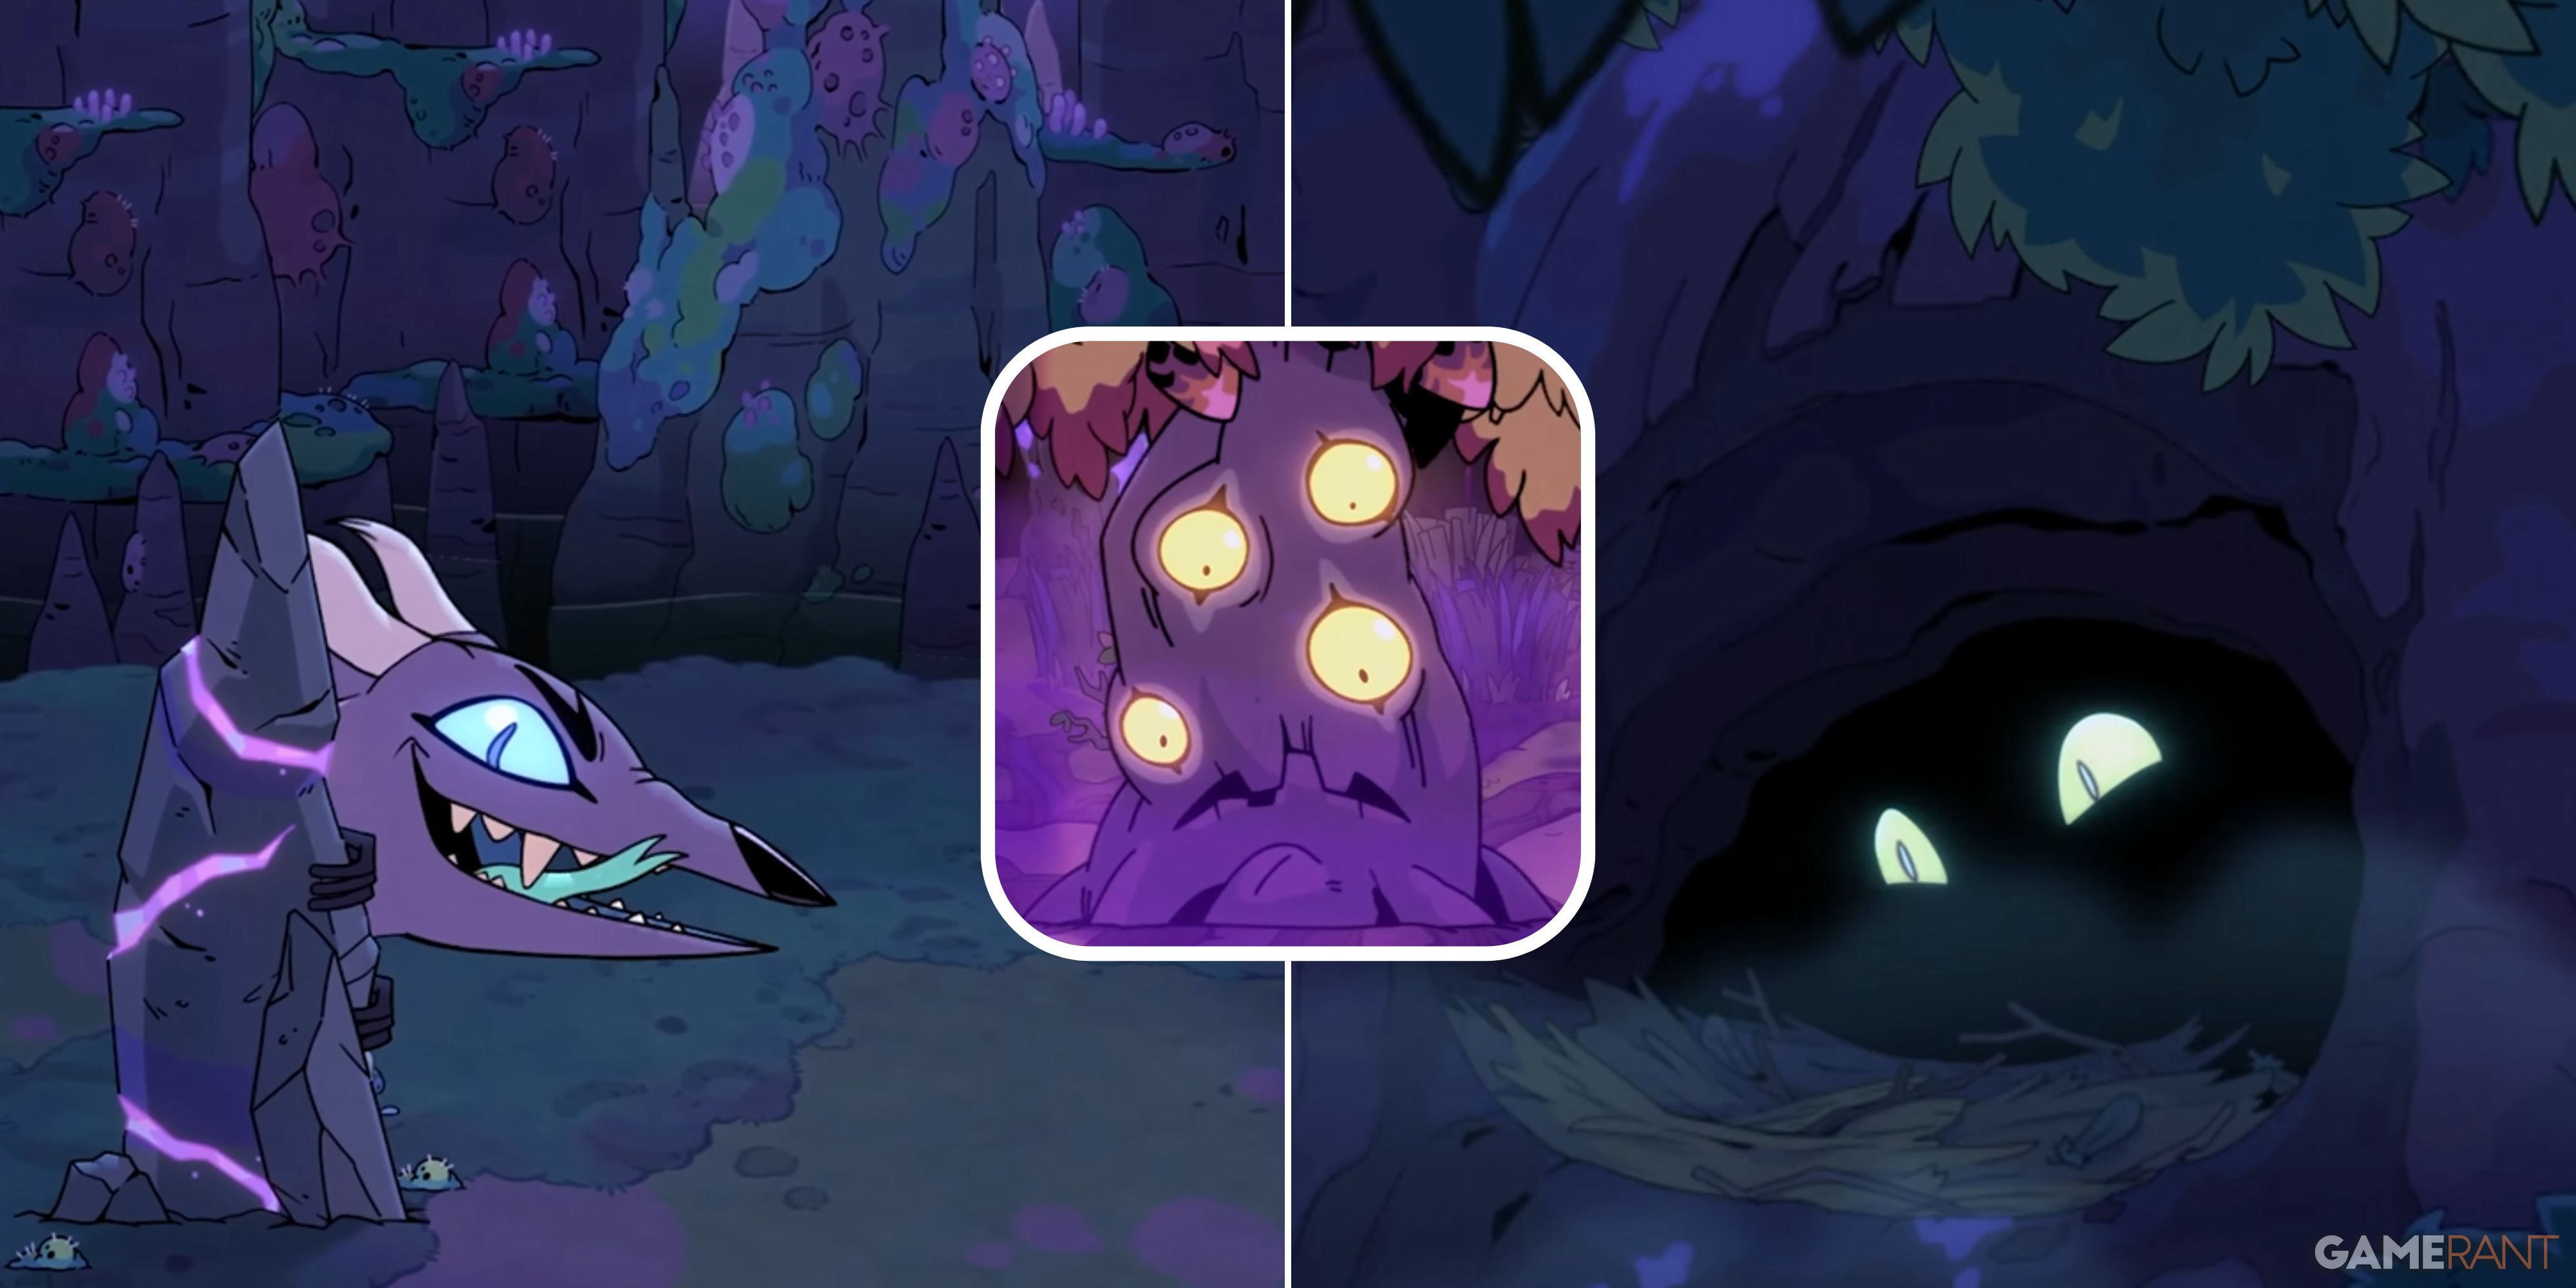
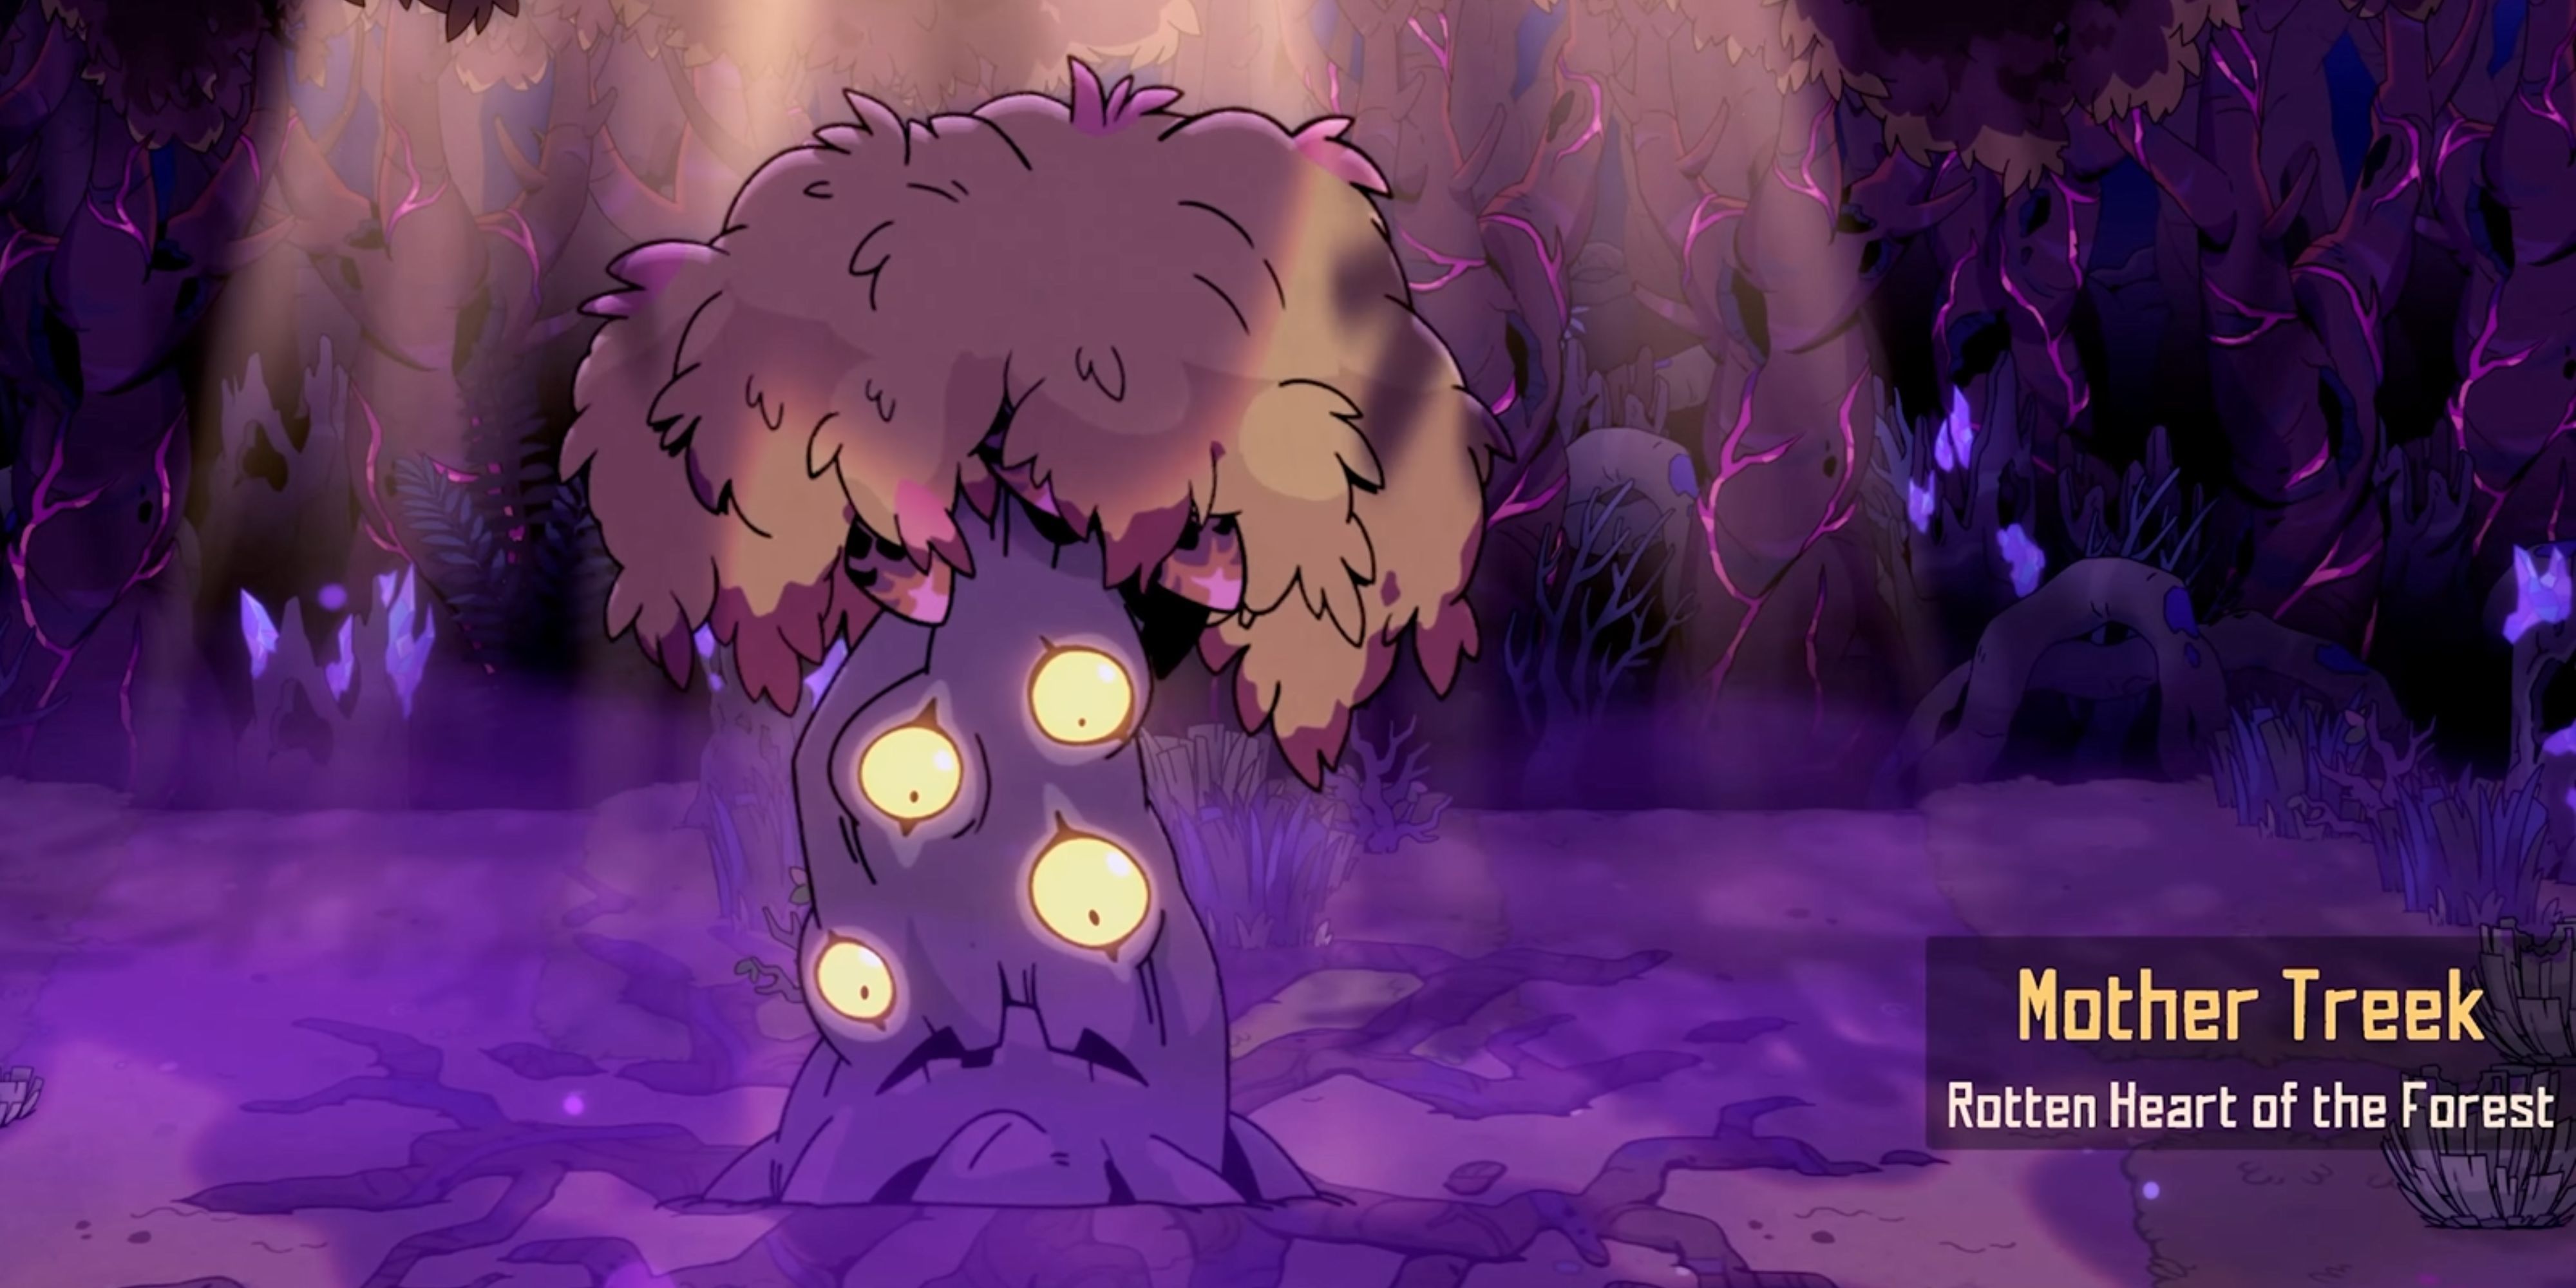
5 Mother Treek: Rotten Heart Of The Forest
Deep-Rooted Boss Of The Great Rotwood Forest
This boss is rooted in the ground and will not pursue players around the boss arena. Instead, it will launch patterns of vine traps and summon smaller enemies while defending itself. Players will need to use windows of opportunity to strike this boss to get in the bulk of their damage.
Players can use armor purchased from the vendor in this area to be extremely nimble with a large window of invincibility from their dodges. Alternatively, they can use armor that reduces damage from traps. This boss relies mostly on its summons and patterns, making it easier to defeat than some of the later Mid-bosses.
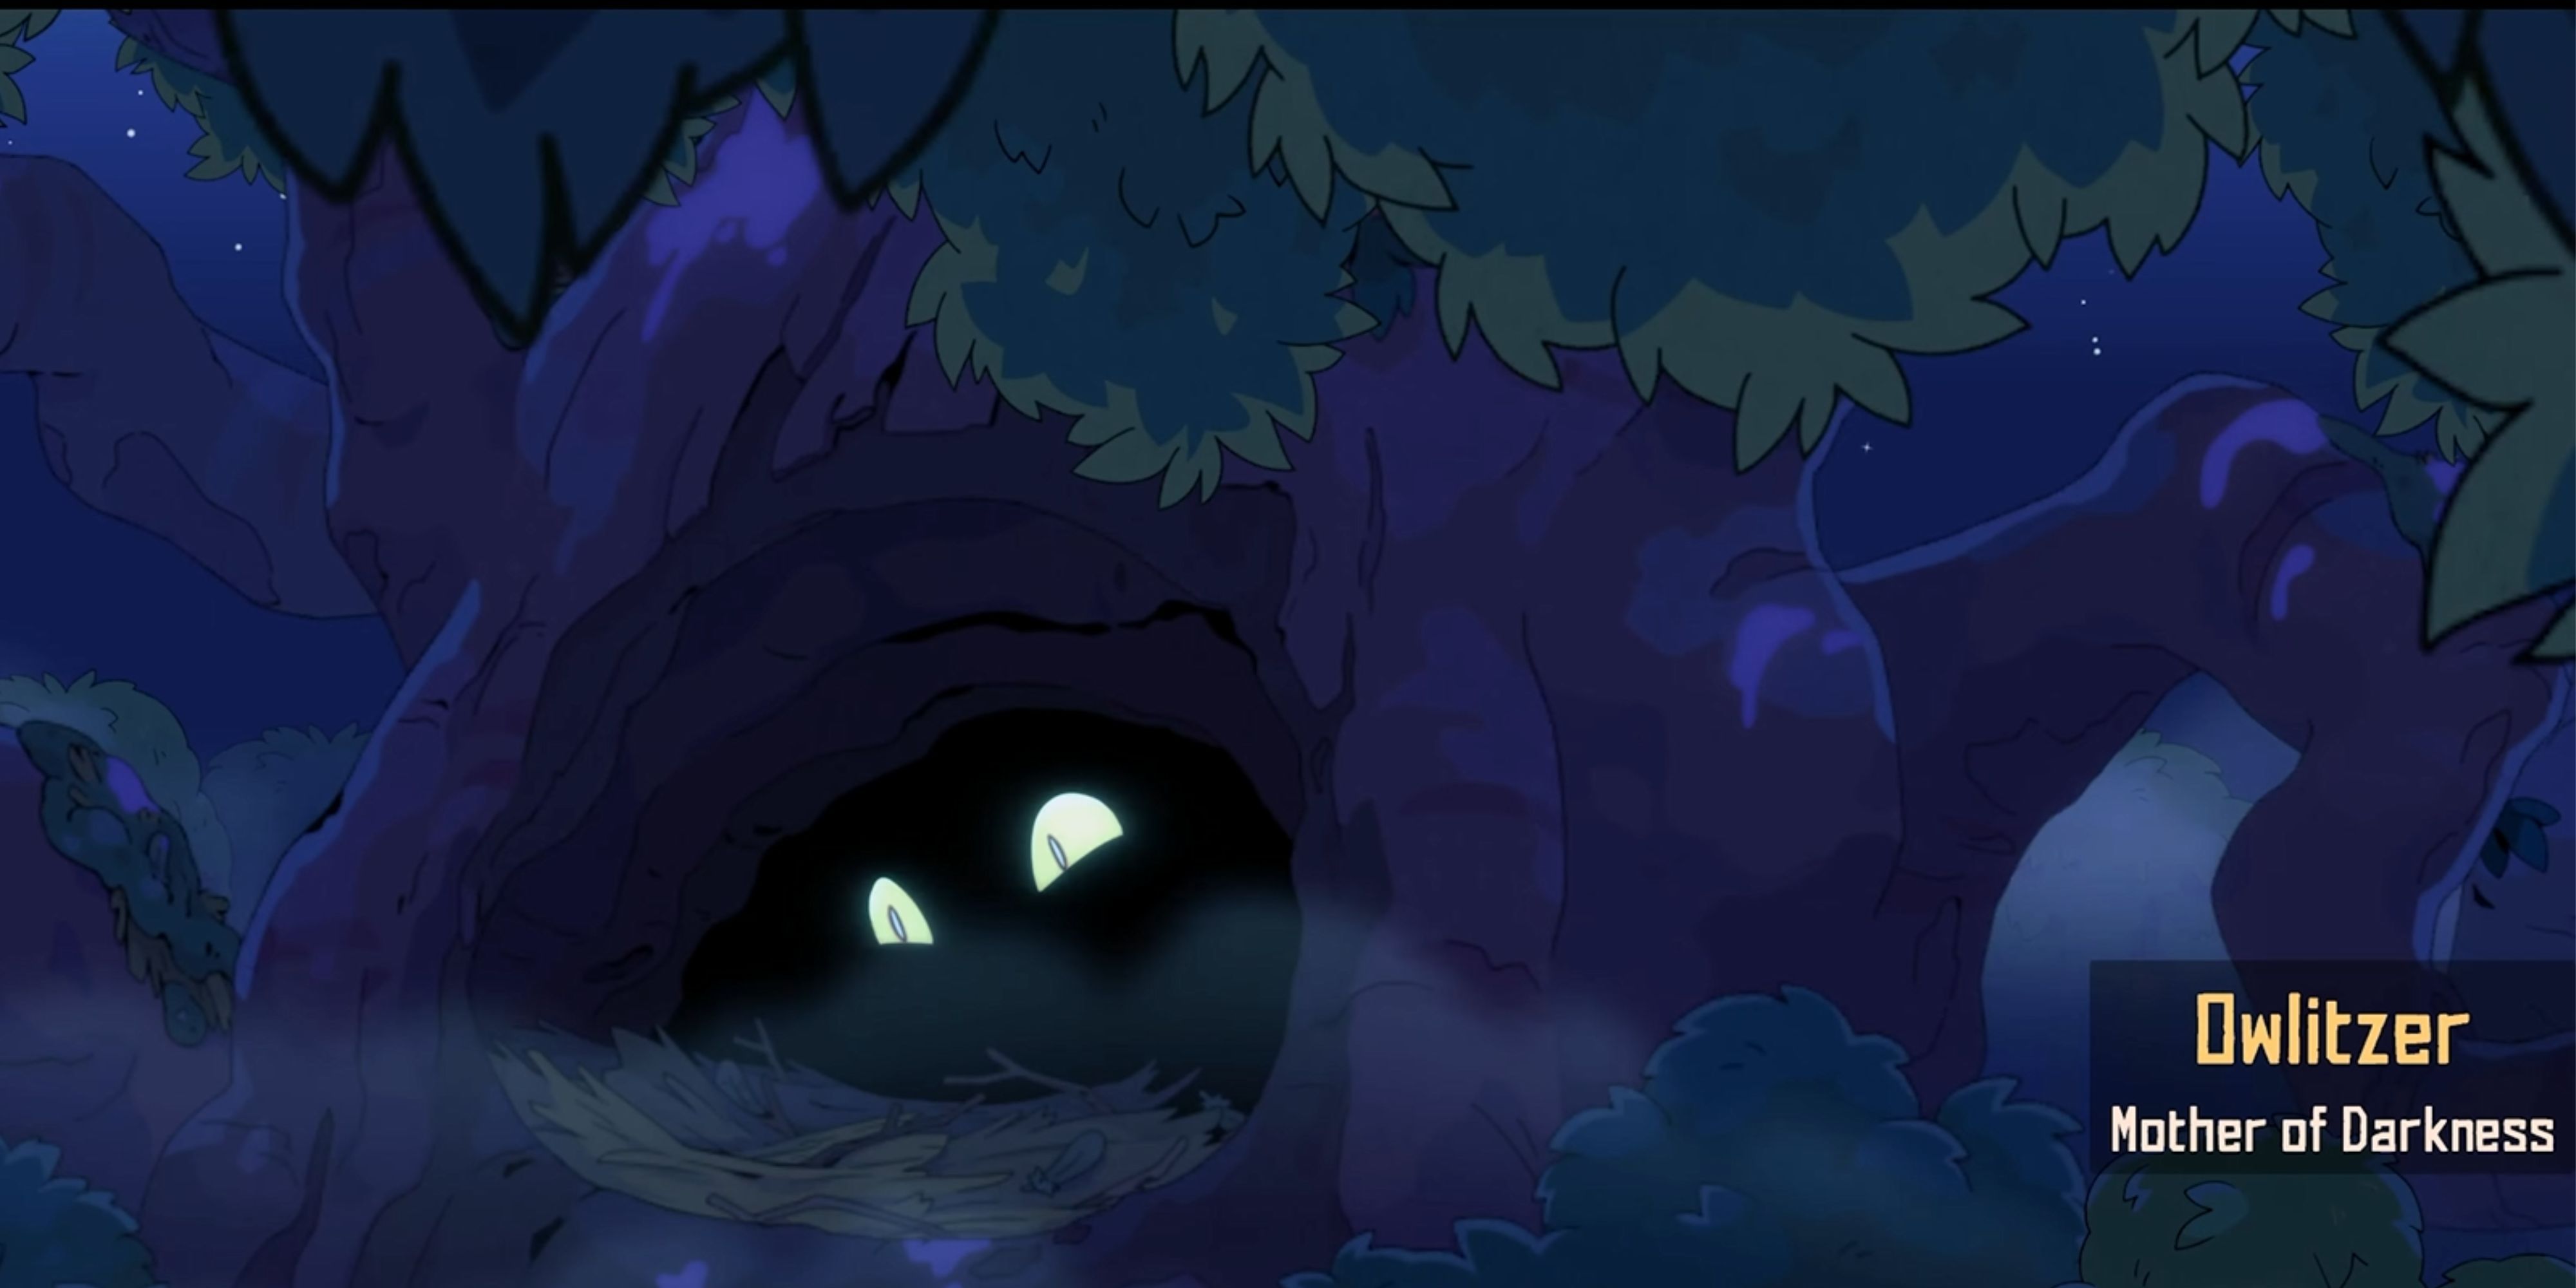
4 Owlitzer: Mother Of Darkness
High Flying Boss Of Nocturne Grove
This boss has just as much of a pattern to it as Mother Treek. It has no shortage of melee attacks and can close the distance incredibly fast — followed by a dangerous claw attack. The surrounding area is full of hazards, and the boss will push the player into them using gusts of wind.
While in the Nocturne Grove, visiting Alphonse can give players the opportunity to buy armor that can push up their weight class to Power. For this fight though, it's best to keep weight one class lower, for better dodging. Strikers are particularly useful when it comes to defeating Owlitzer, as they can bounce off the boss while they are up in the air.
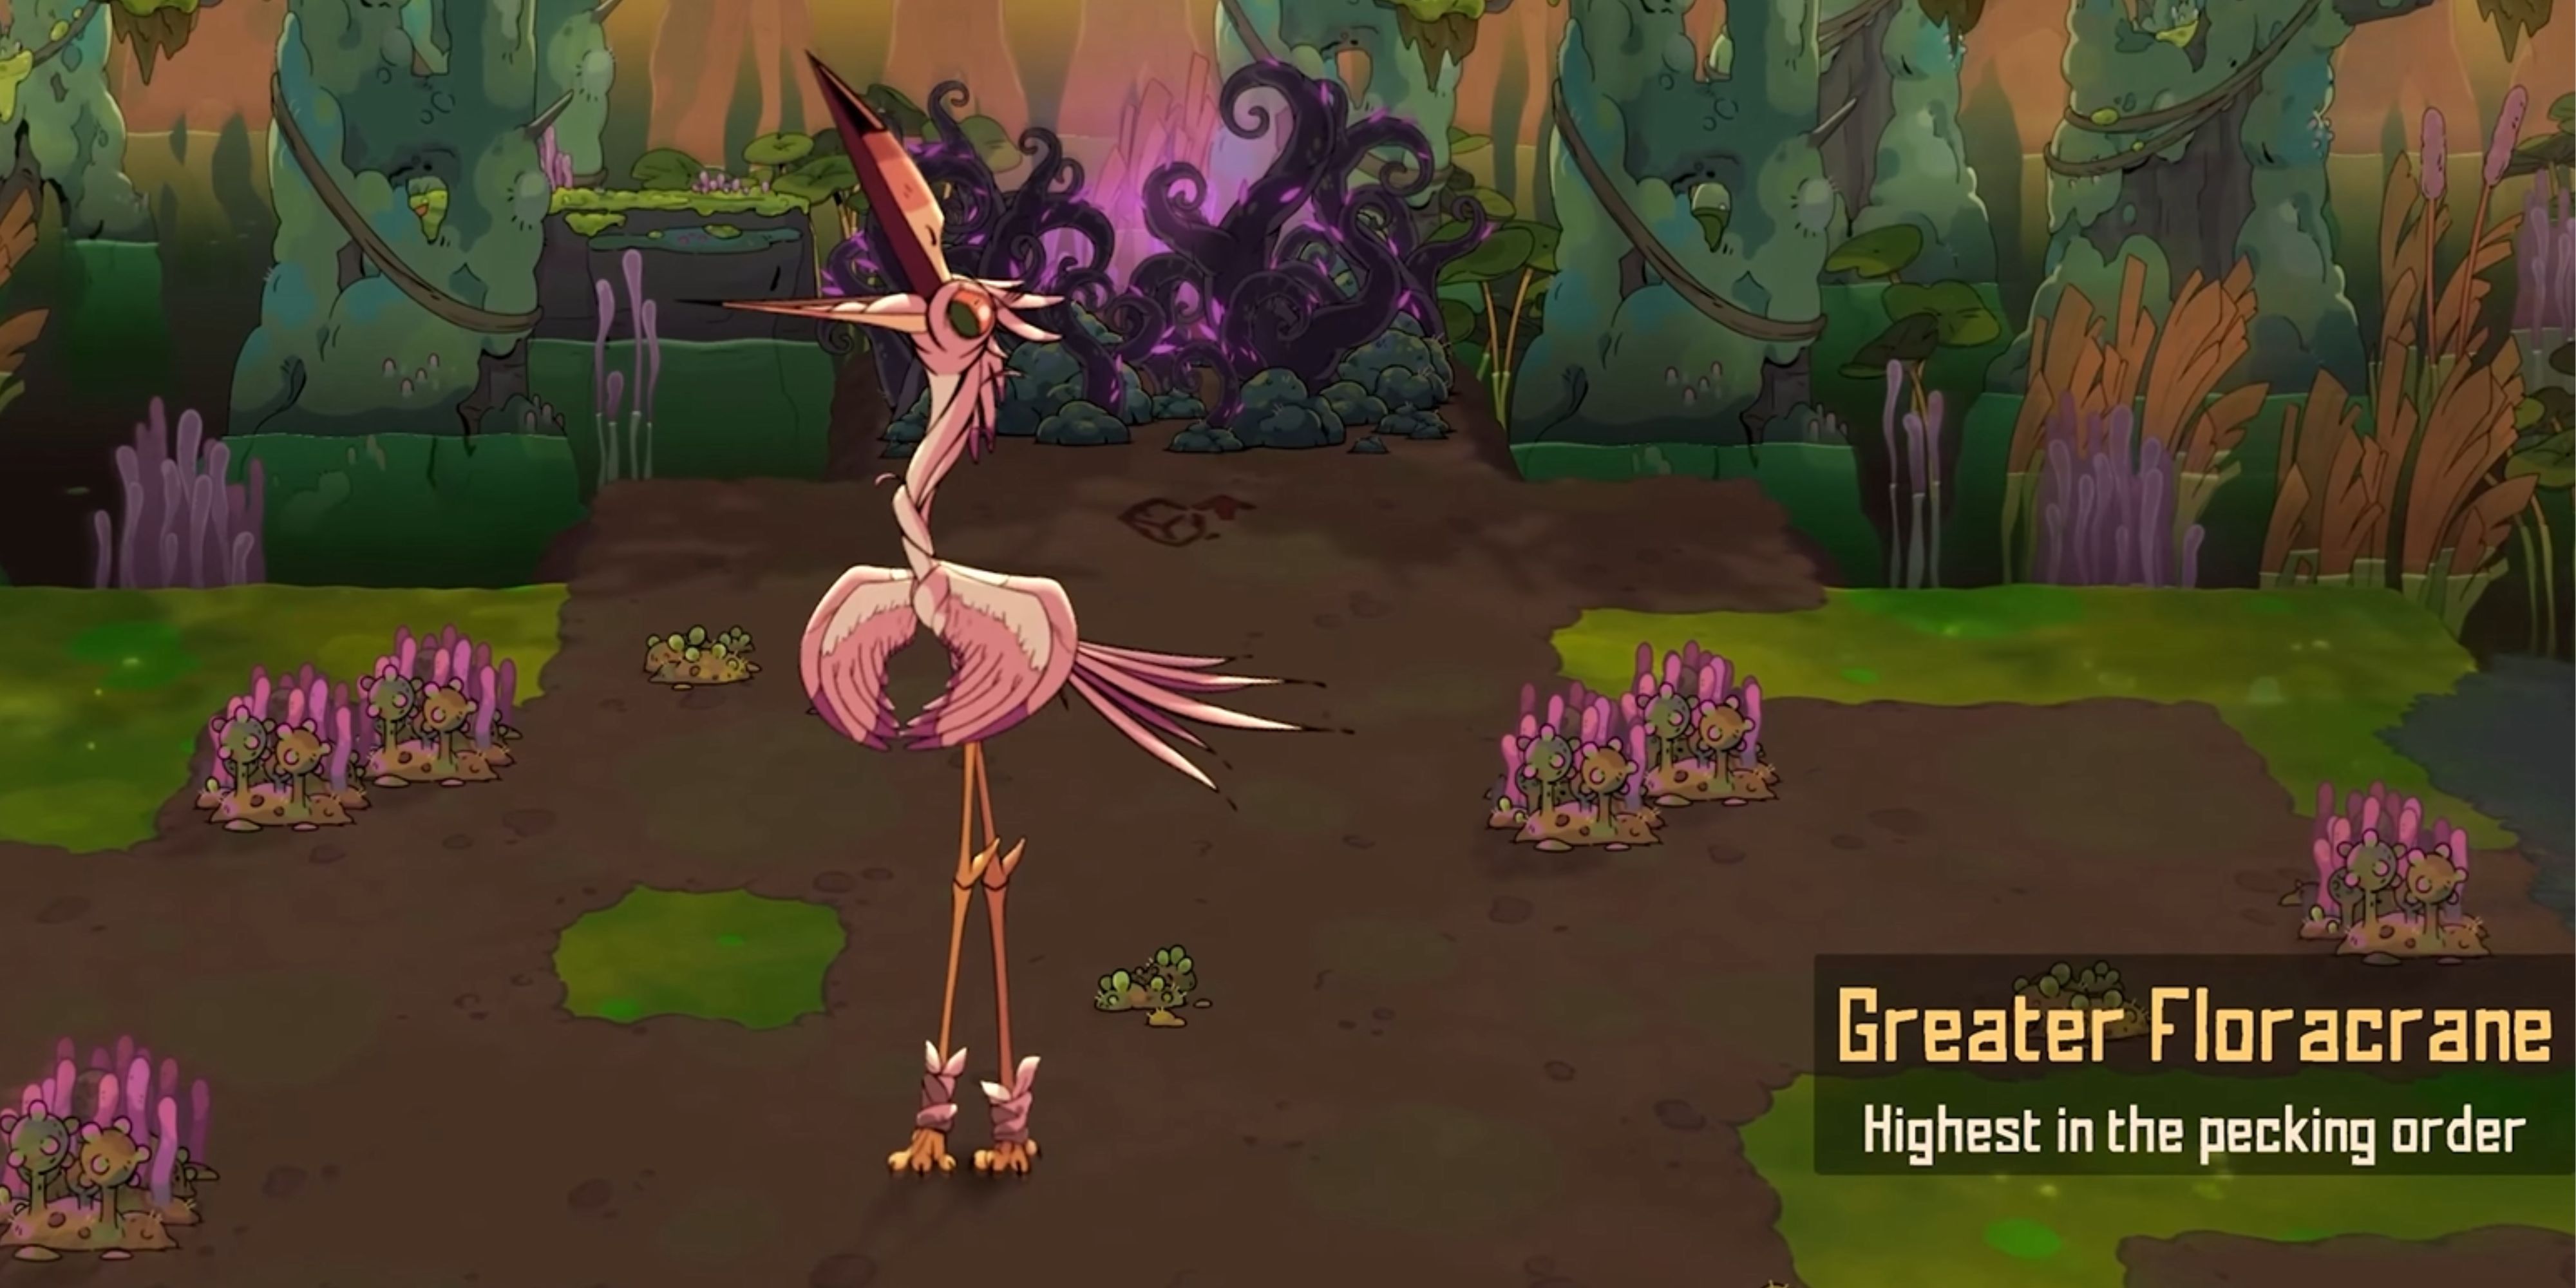
3 Greater Floracrane: Highest Of The Pecking Order
Walking Hazard Mid-Boss Of Molded Grave
This arena already starts off with green pools around it, but the Mid-boss of Molded Grave will create even more hazards whenever it attacks. It will leave trails when it spins, lob projectiles, and leave small pools when it dive bombs. It's easy to sustain several hits, so players need to be mindful of where they previously were targeted and if the hazards are still present.
8 Best Steam Deck Verified Roguelike Games
Fans of the handheld Steam Deck can enjoy these roguelikes at any time and any place.
To make matters worse, smaller enemies will emerge and spew out attacks that will further coat the arena in hazards. This can make mobility hard. A focus on reducing this damage as much as possible is recommended — as well as having a full healing potion on hand.
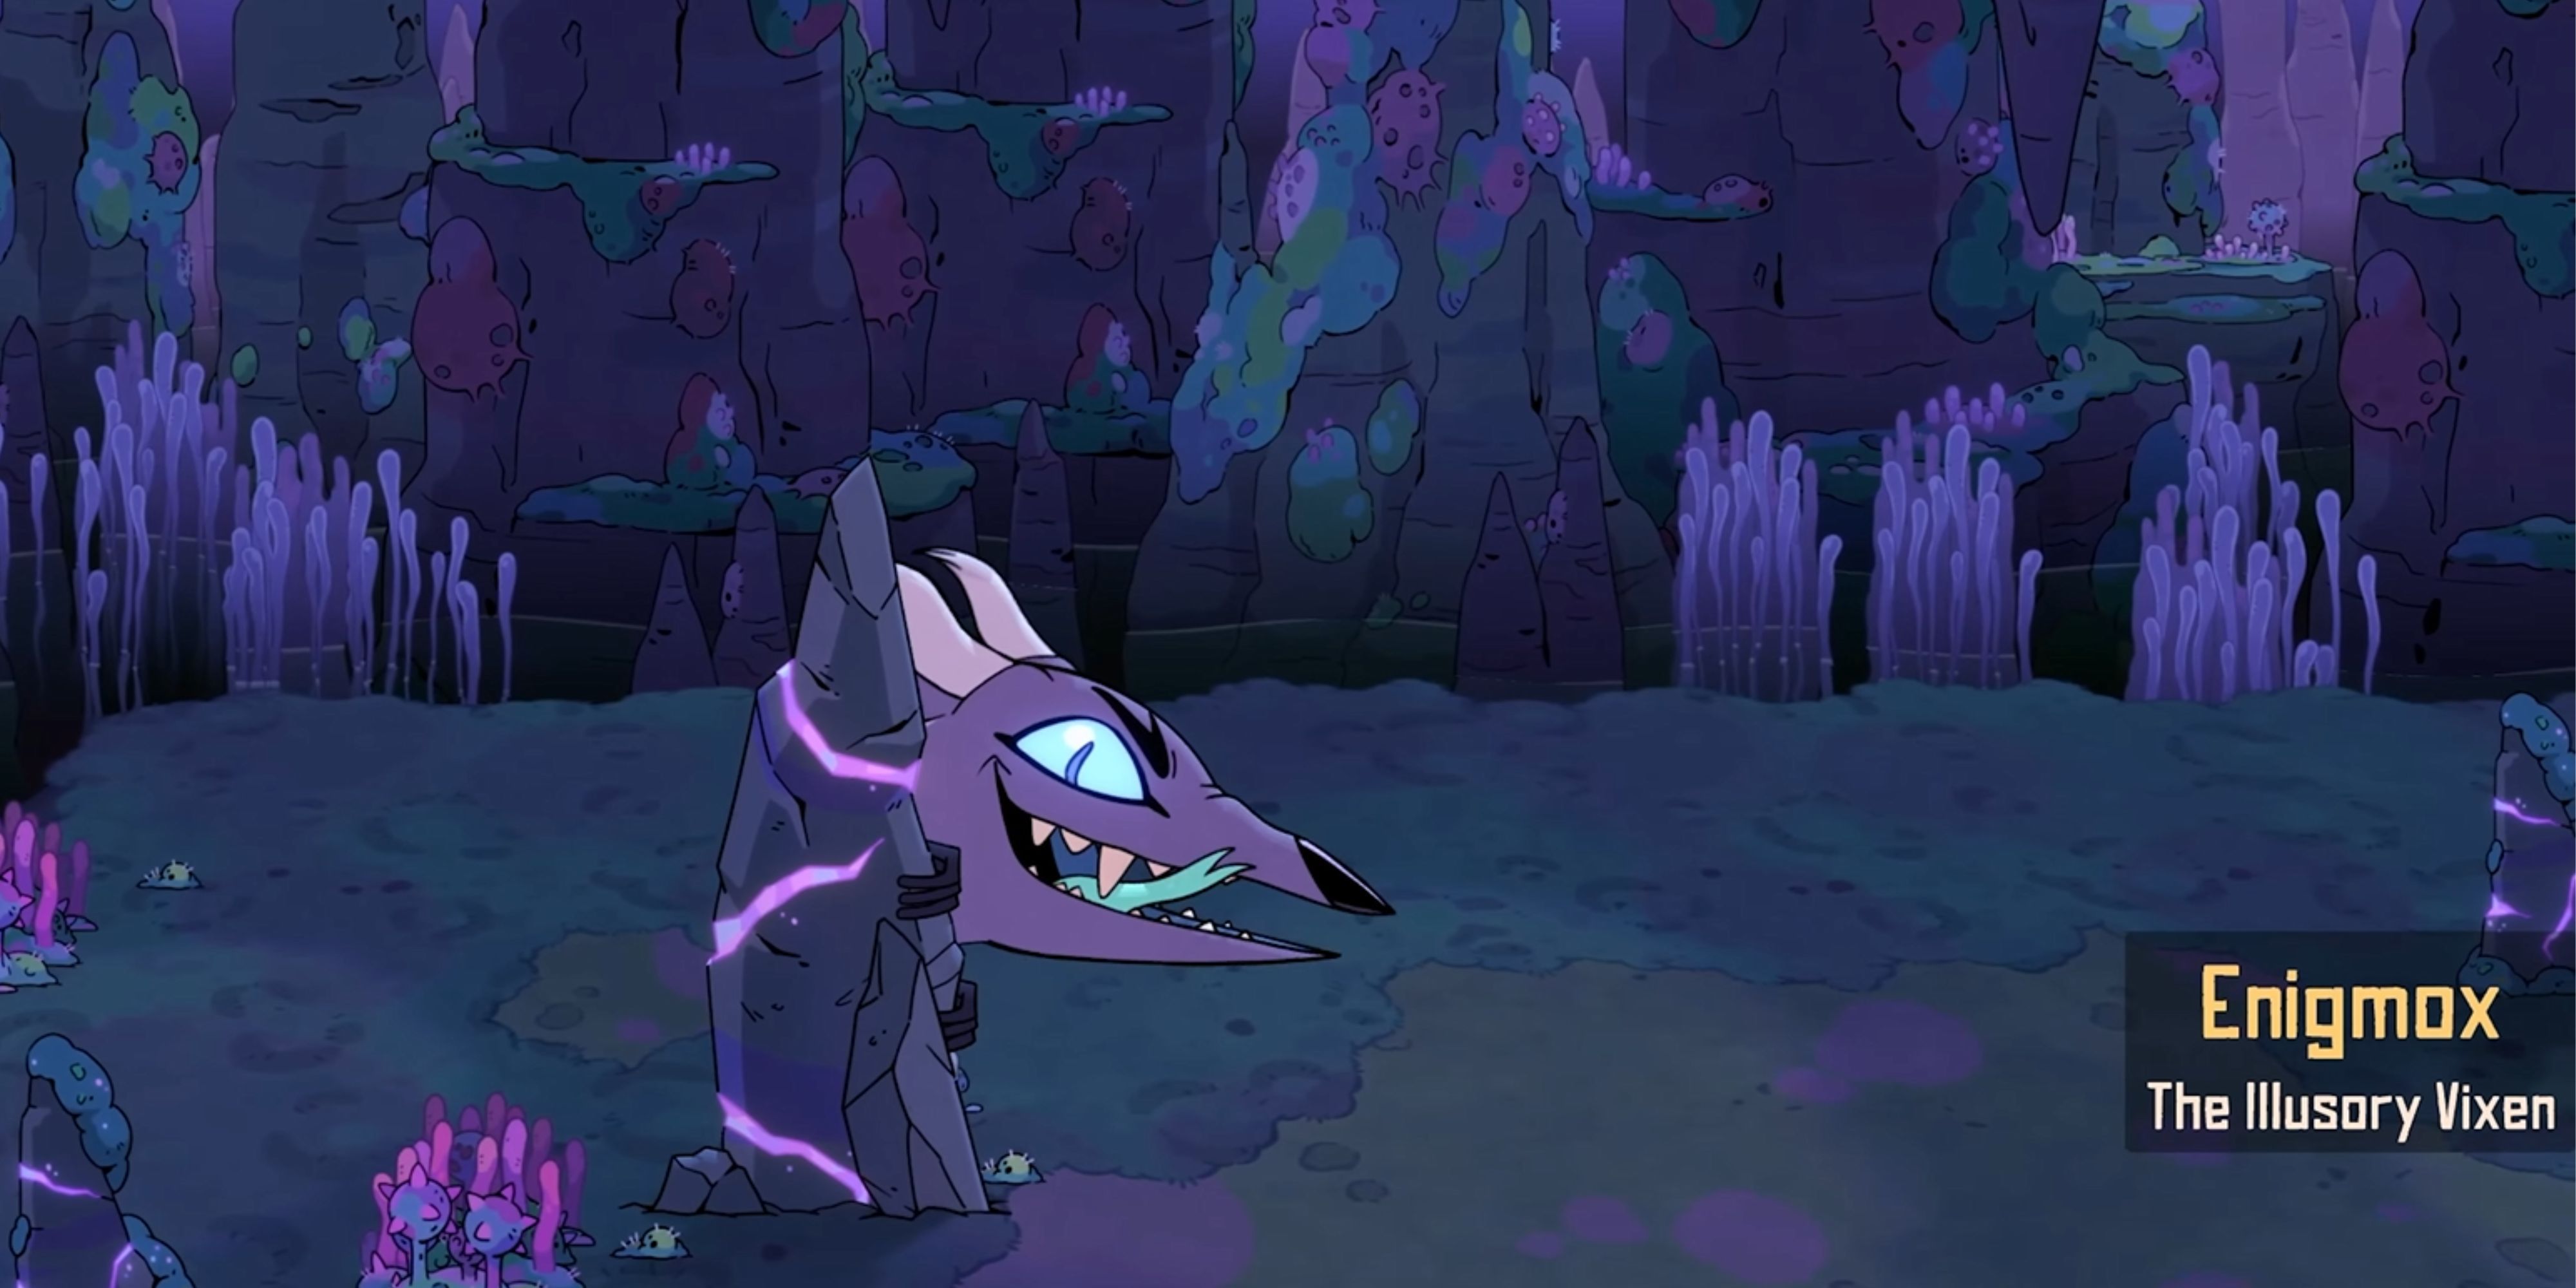
2 Enigmox: The Illusory Vixen
Trickster Boss Of Molded Grave
Not only is Enigmox creepy-looking, but it is a very dangerous boss that can easily get hits on the player if they are not careful. It will use quick dashes around the area, and occasionally break out into little dances. It has quick swipes, but these can be dodged into to avoid taking damage. Players must stay aware of where telegraphs on the ground are displayed, in order to steer clear of falling hazards.
Players can have a list of tips and tricks to help them out, but this boss has plenty of tricks of its own. This includes disappearing in a streak of lines and duplicating itself. Players can bring their favorite weapons to this fight, as when Enigmox goes invisible, attacking between dodges is a great way to reveal them. When the boss duplicates itself, it is best to focus on dealing damage to the duplicate until it disappears.
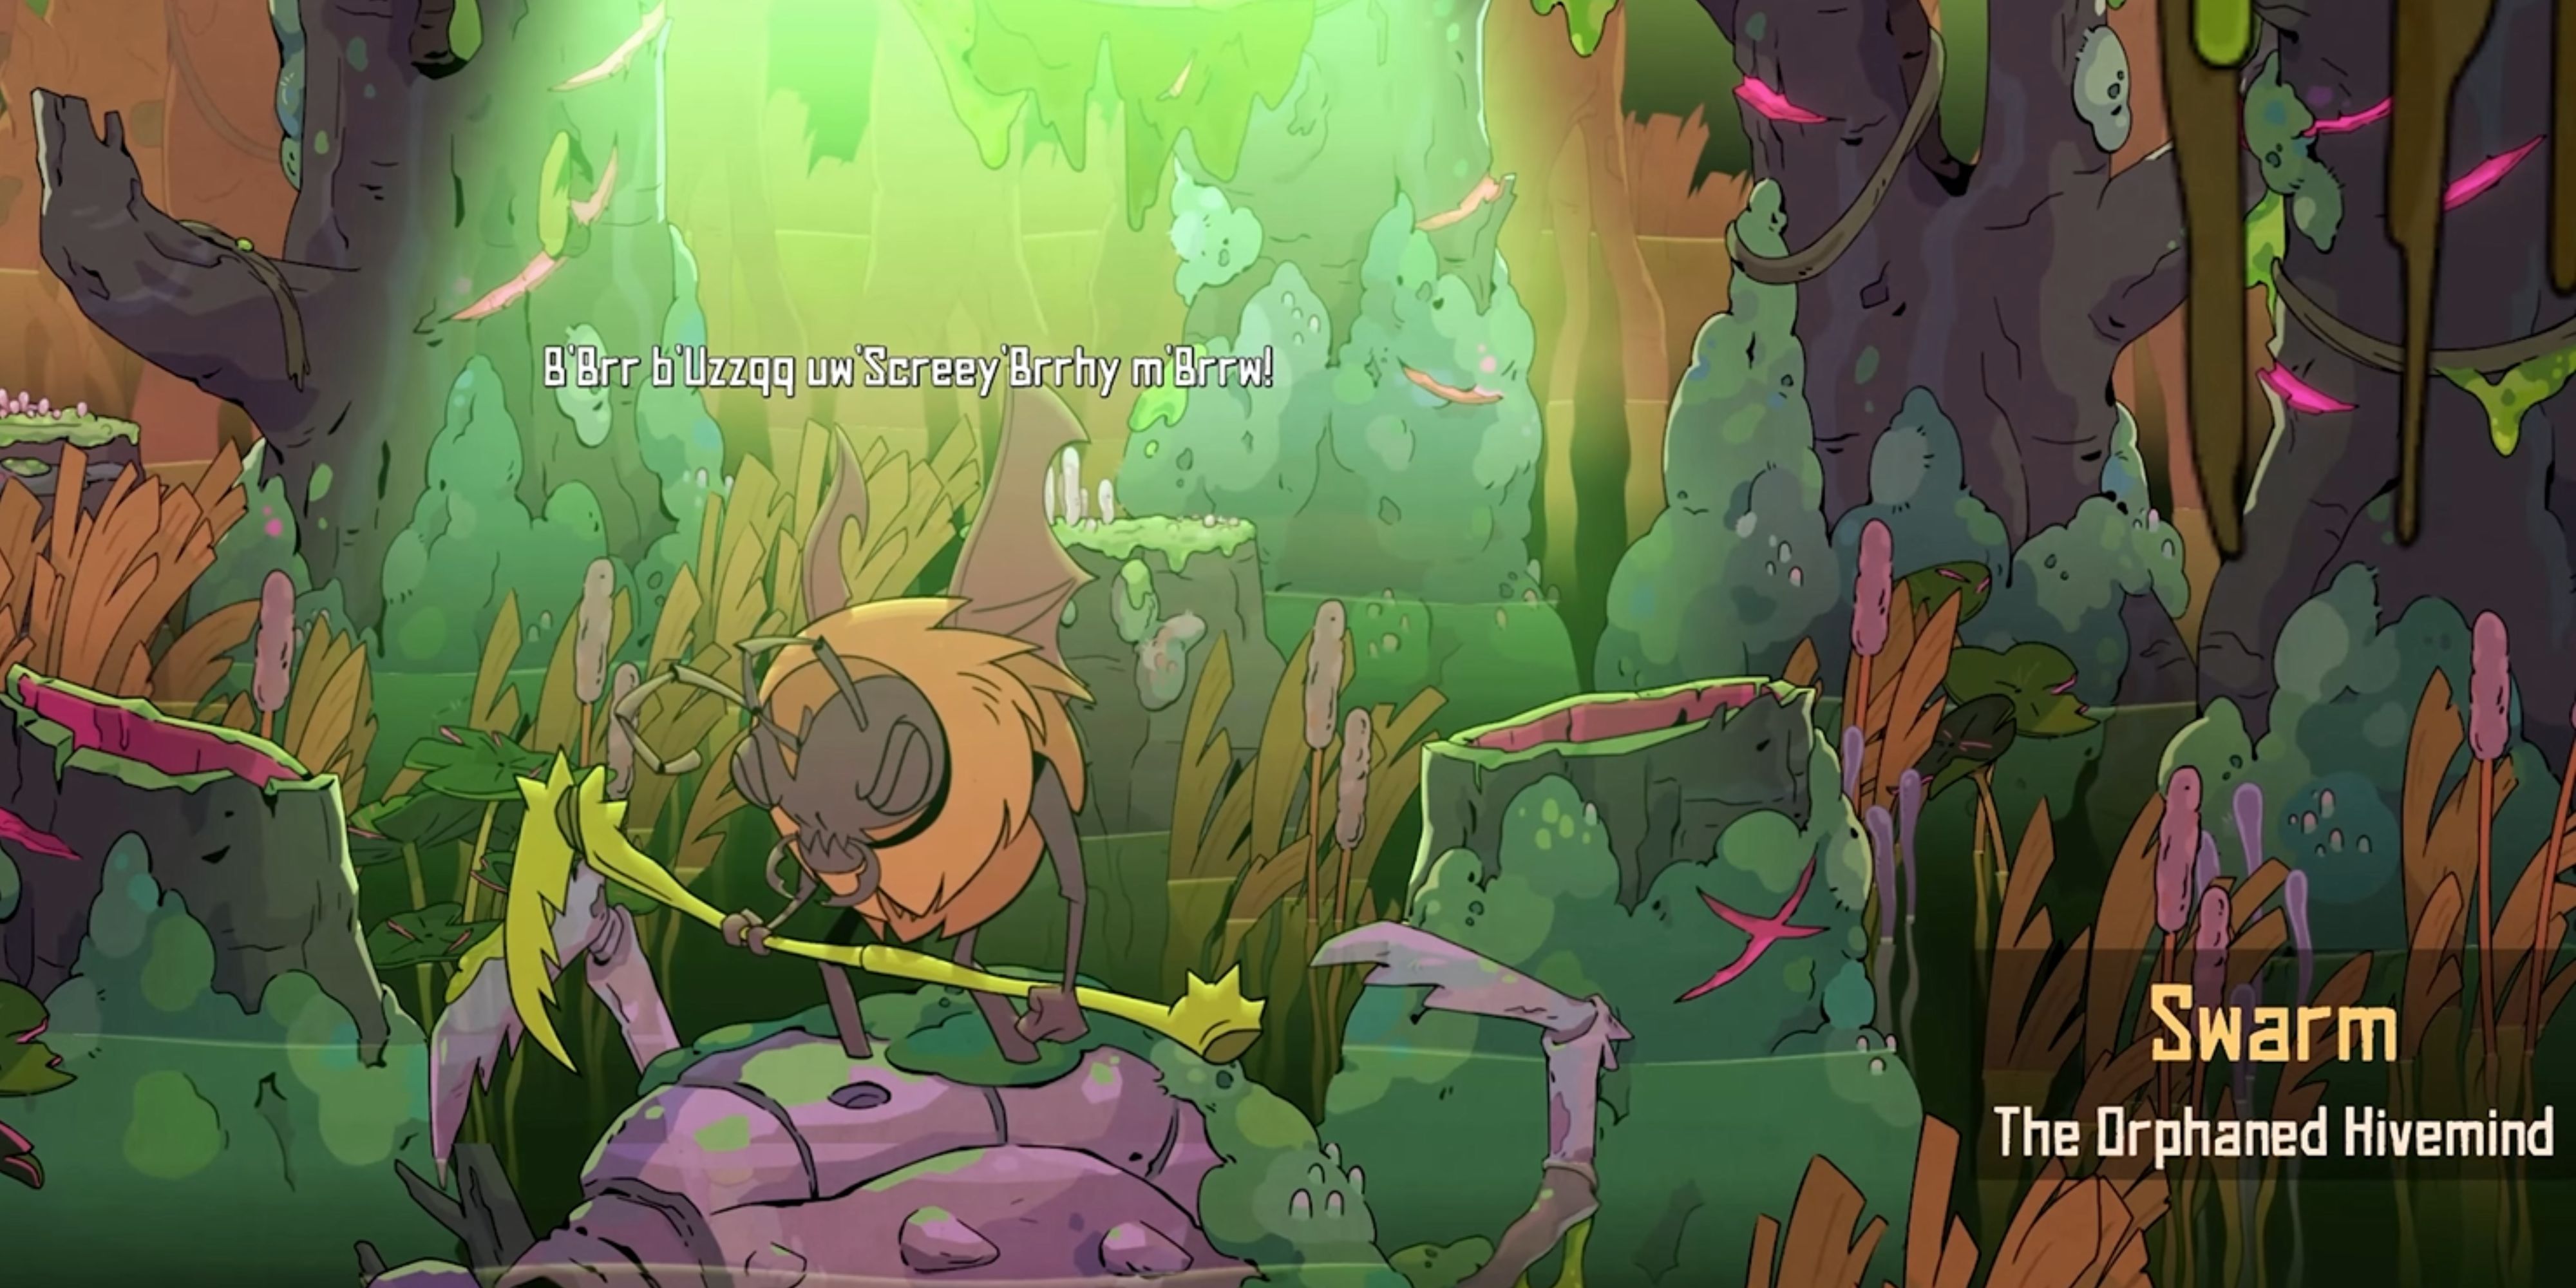
1 Swarm: The Orphaned Hivemind
Trickster Boss Of Blisterbane Bog
No other boss in Rotwood is as much of a challenge as Swarm, so players need to bring their A-game if they plan on overcoming this fight. Telegraphed marks will show where persisting hazards will hit, and Swarm will constantly advance. Swarm will lunge with long-range swipes with their scythe, meaning players will need to keep their distance without having an Agile weight class.
When Swarm gets up on stage and plays a guitar solo, the arena will get much smaller, followed by many scattered hazards. This can make mobility hard, and it gets even harder when Swarm goes on the offensive shortly afterward. This fight may seem daunting, especially at first, but it's still a fair fight, despite being a challenge.
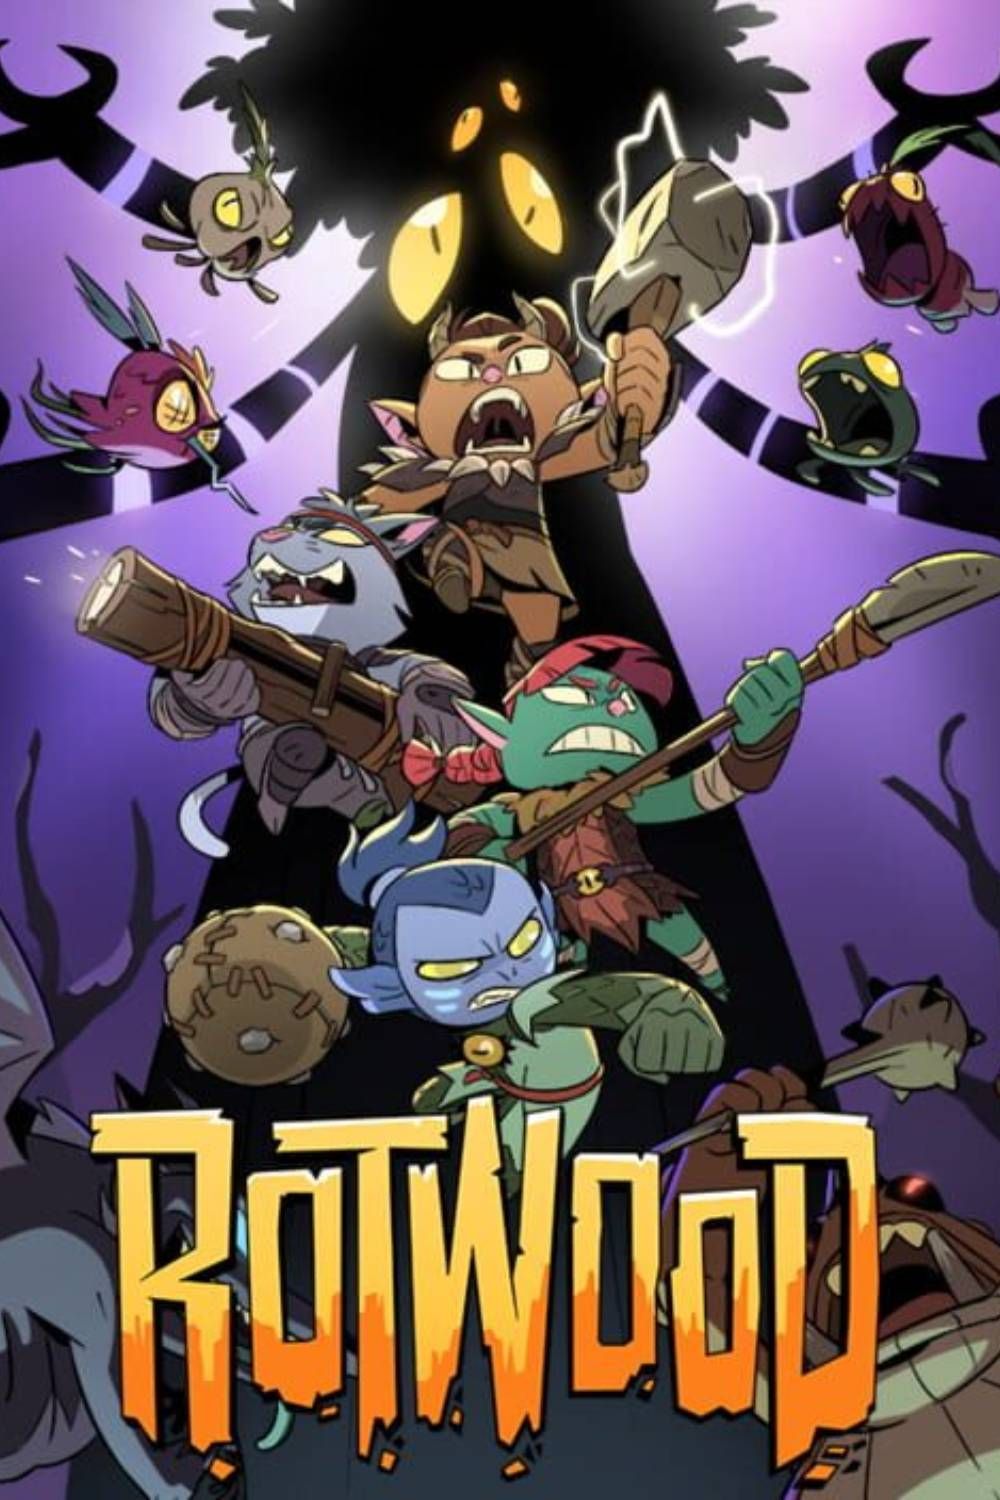
Rotwood
- Platform(s)
- PC
- Released
- April 24, 2024
- Developer(s)
- Klei Entertainment
- Genre(s)
- Action , Dungeon Crawler

