The Simulacrum is a unique game mode added to Risk of Rain 2 as part of the Survivors of the Void DLC alongside a whole host of new items and two new Survivors. With the Seekers of the Storm DLC well into development, a lot of players are returning to Risk of Rain 2 to polish their skills again and plenty of people are also trying the game out for the first time. For those who are returning/starting without any experience with the content in the Survivors of the Void DLC, the Simulacrum is important.

Risk of Rain 2: All Void Items Guide
Void Items can be a bit confusing for anyone just hopping into (or back into) Risk of Rain 2. So, let's go over them all and how they work.
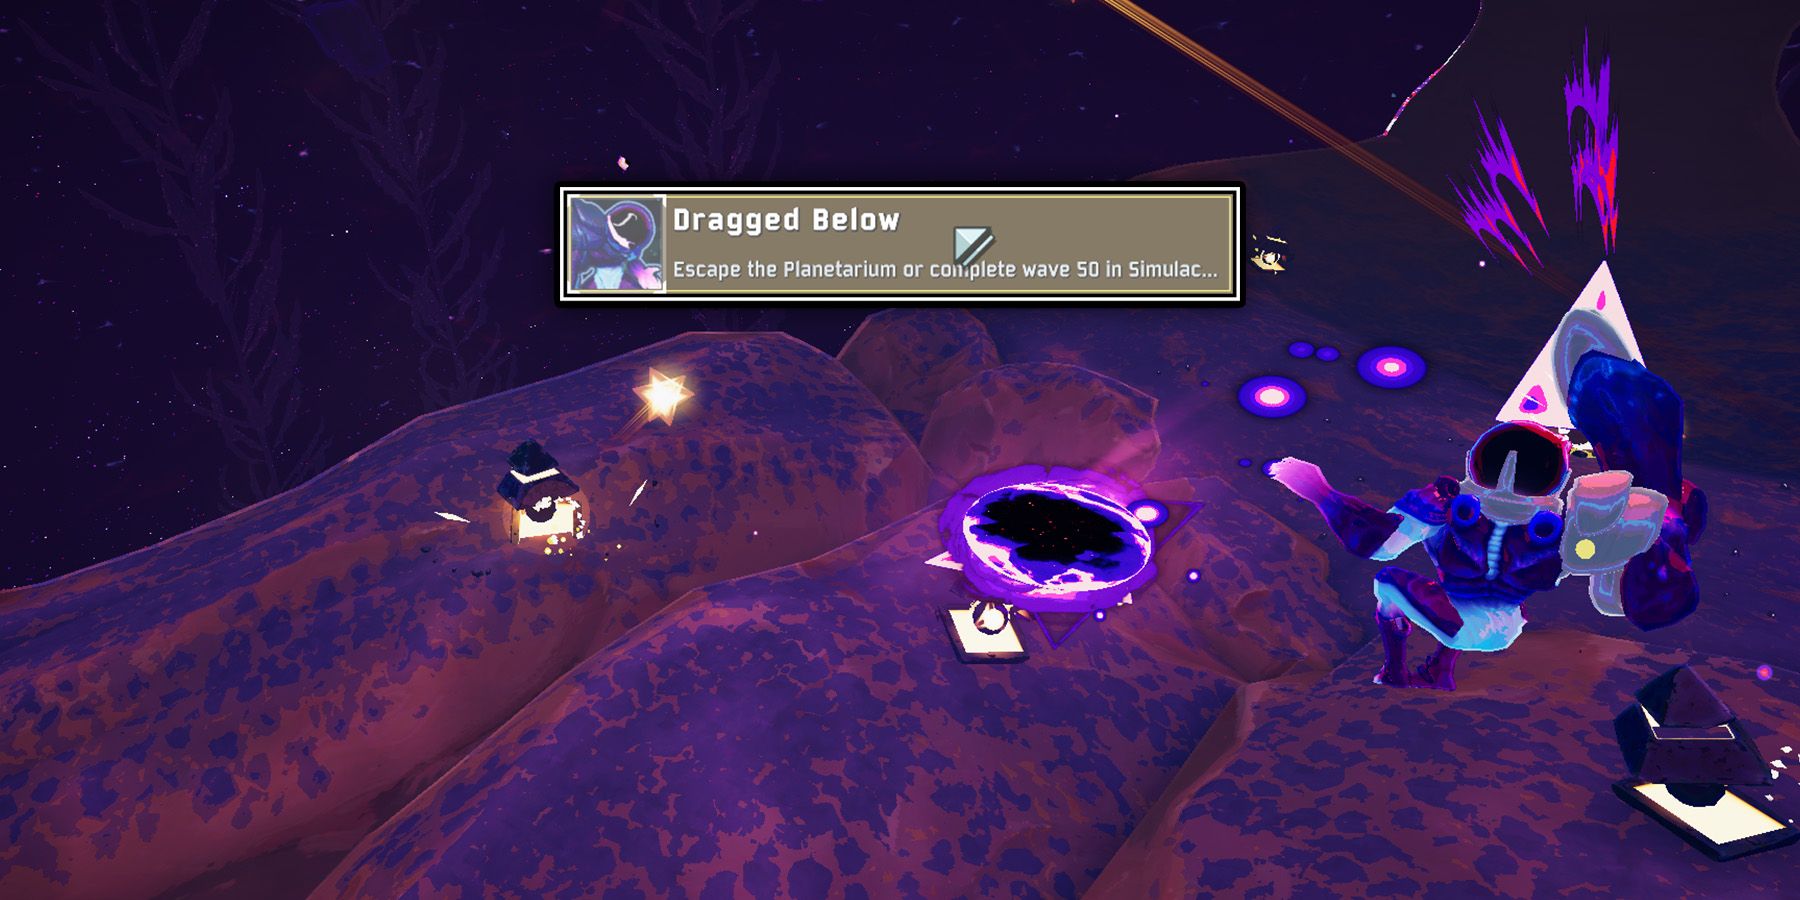
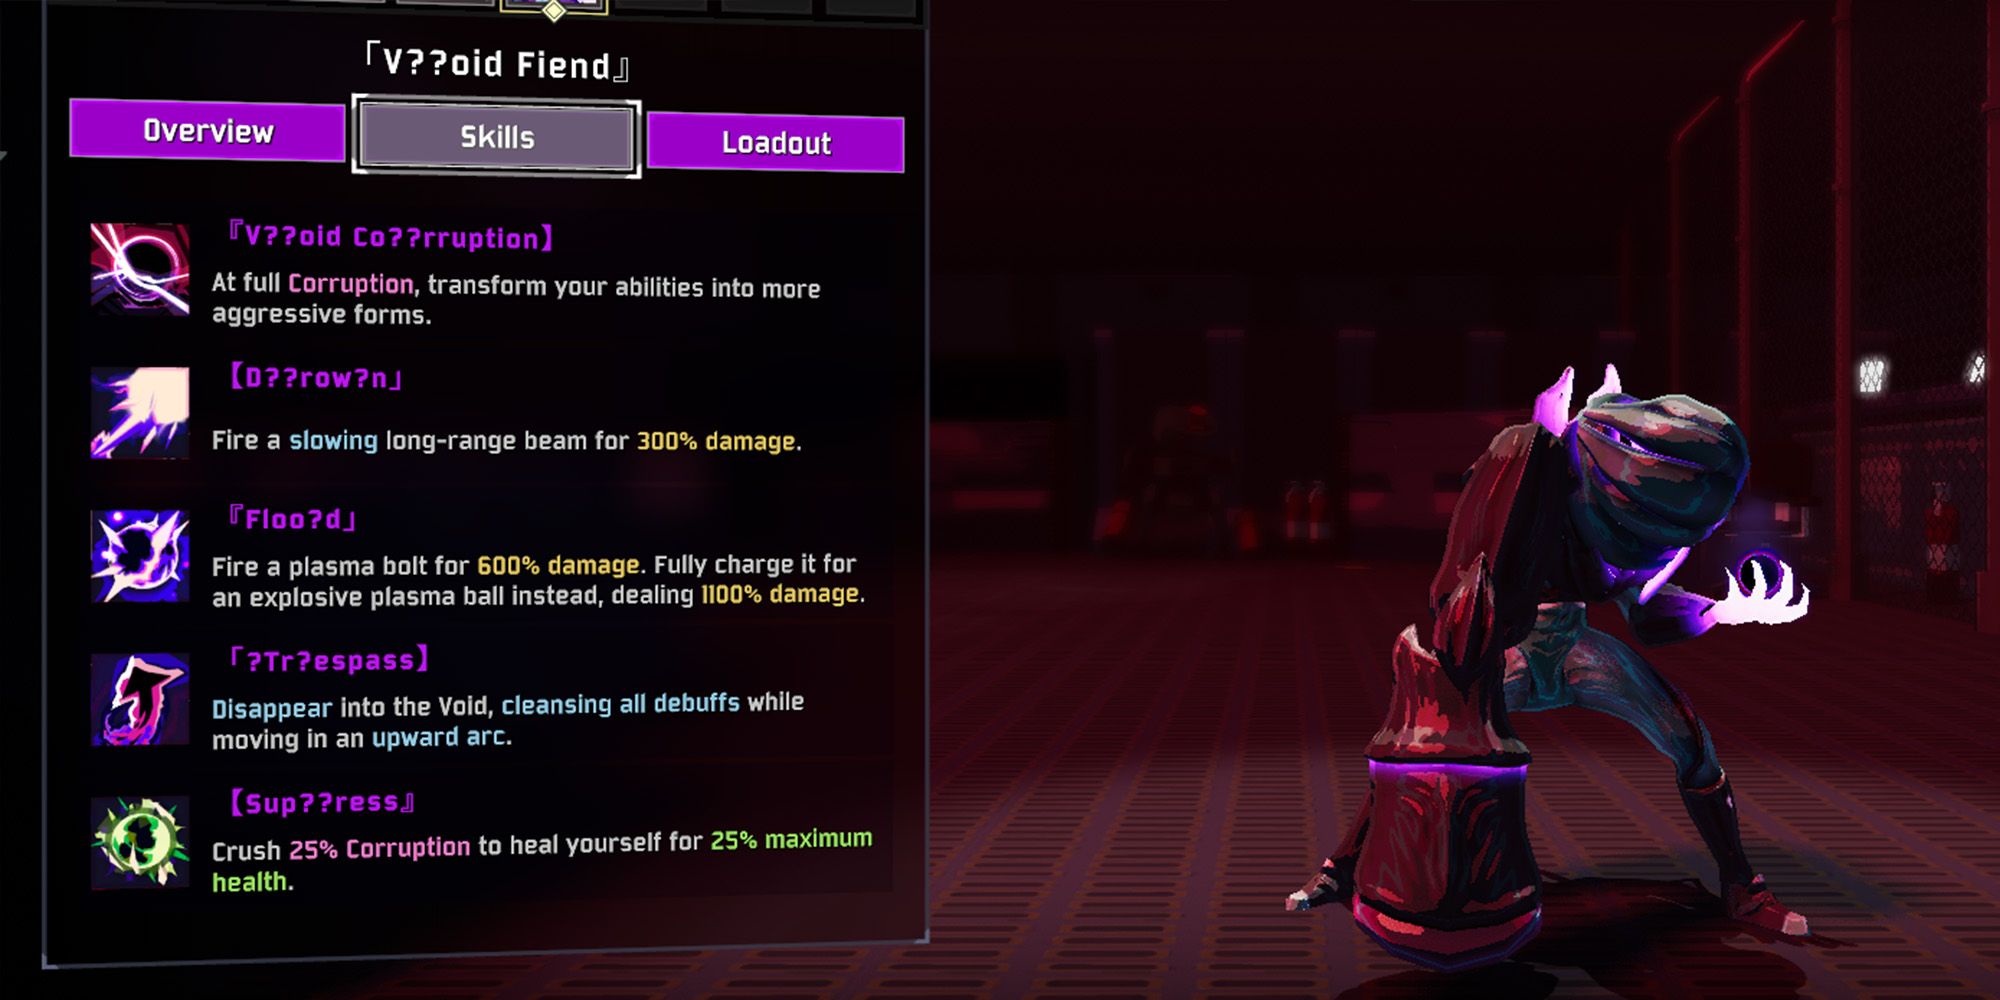
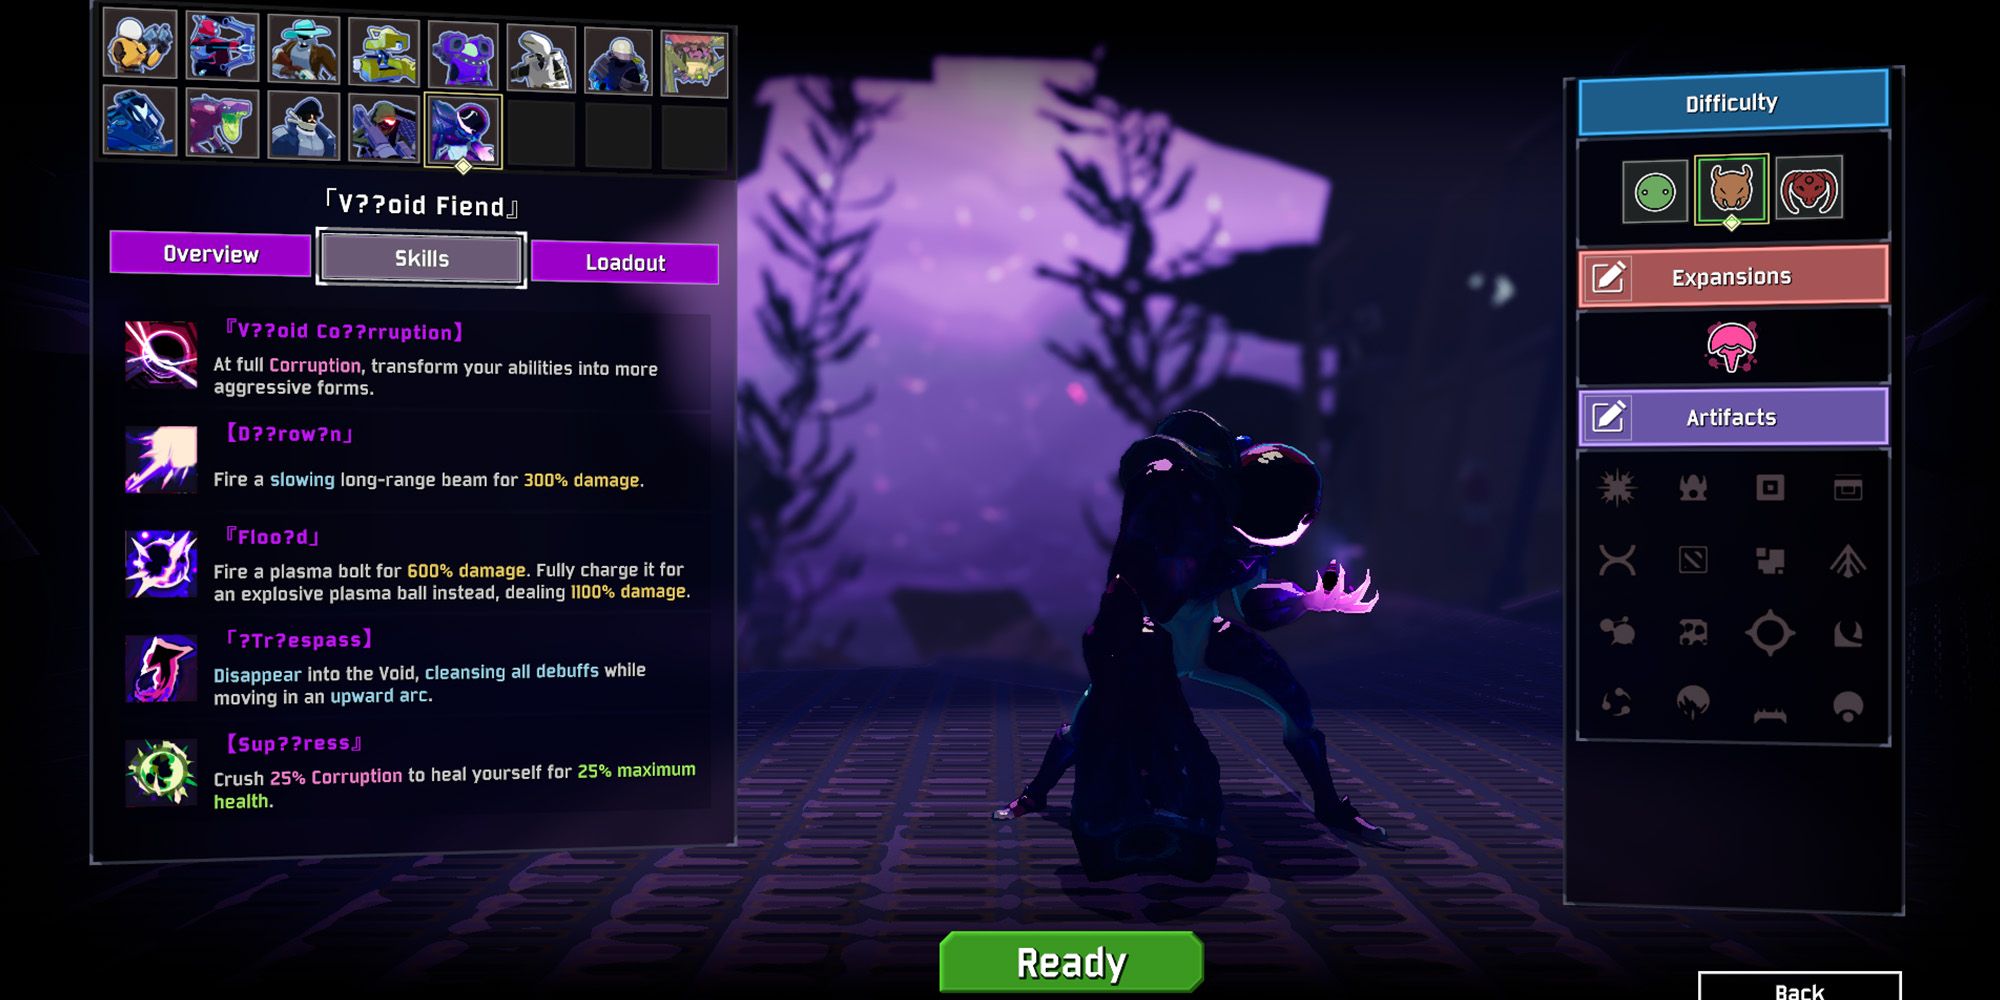
There are two ways to unlock the Void Fiend through the 'Dragged Below' Challenge, one of the Survivors added in this DLC. This is done either by killing the Voidling (which is very difficult) or by getting to Wave 50 in the Simulacrum. Getting to Wave 50 in the Simulacrum is the easier choice by a long shot, so let's go over all the info anyone would want to know to make getting there even easier.
Simulacrum Overview
What This Mode Is & How It Works
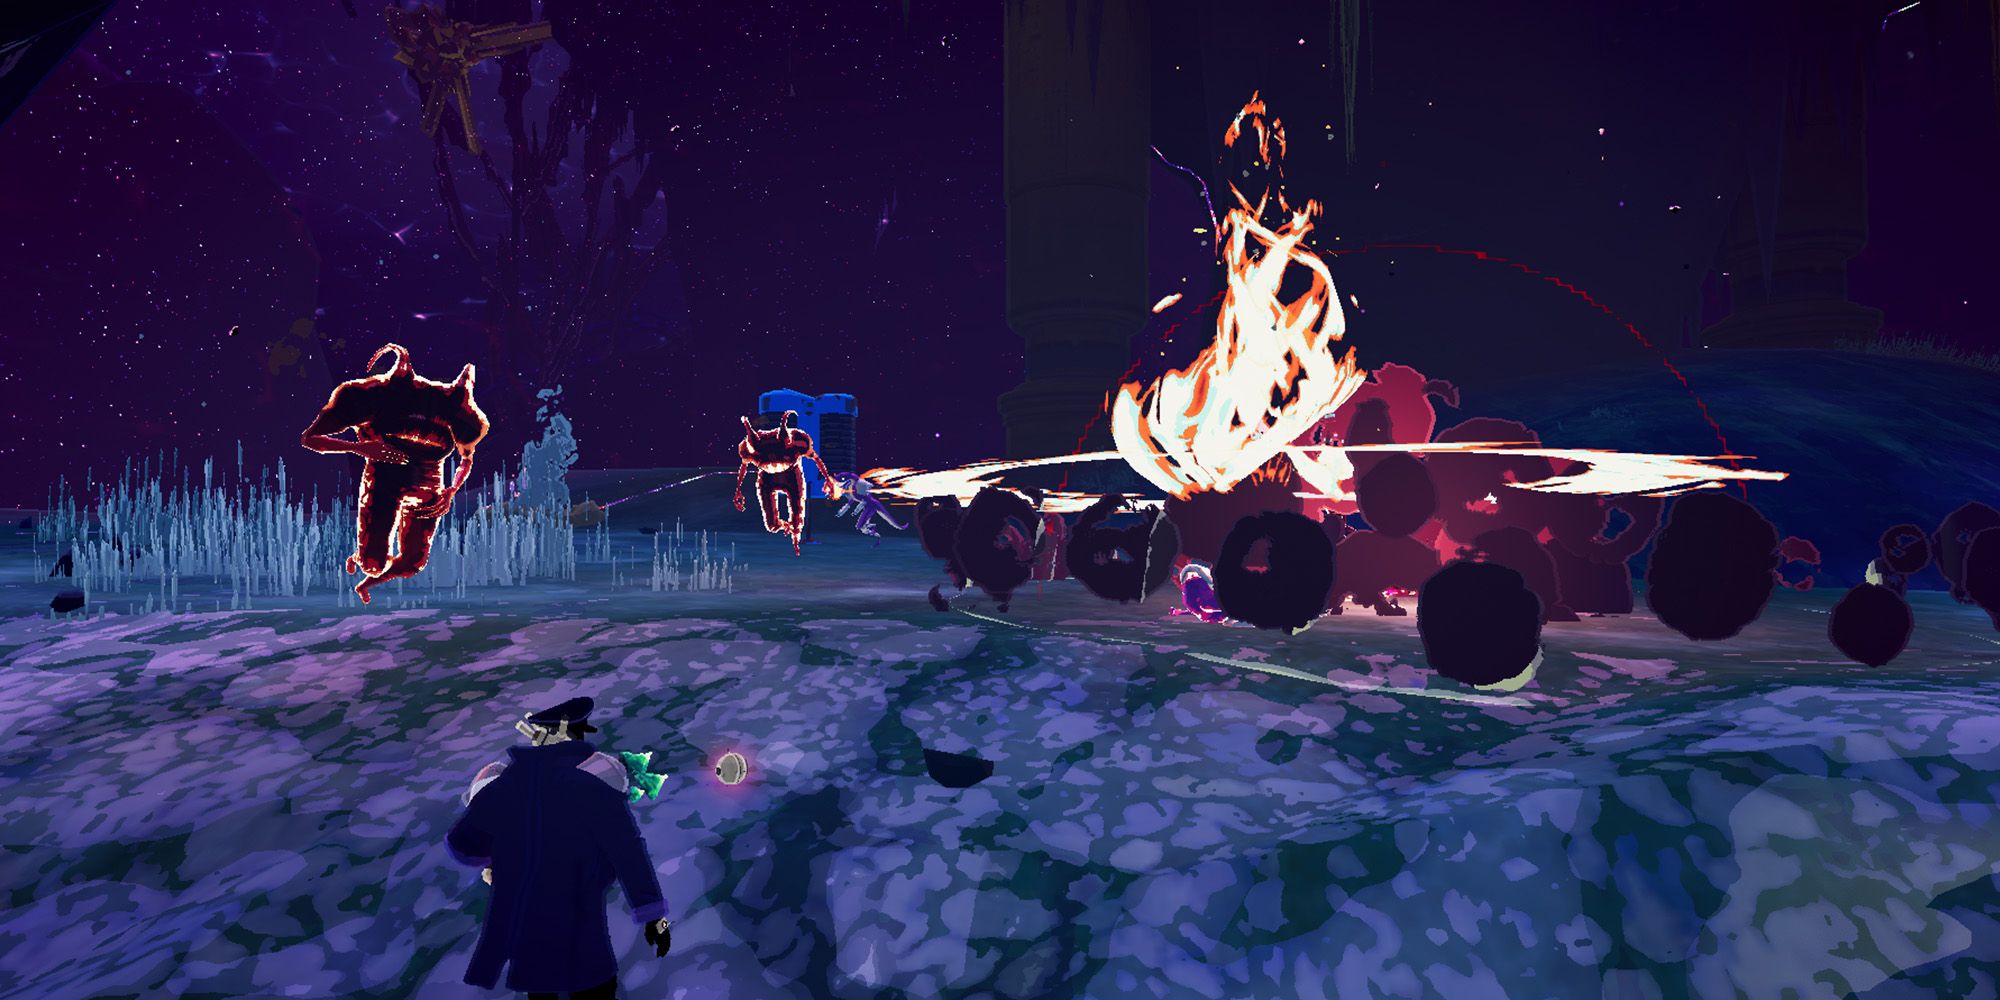
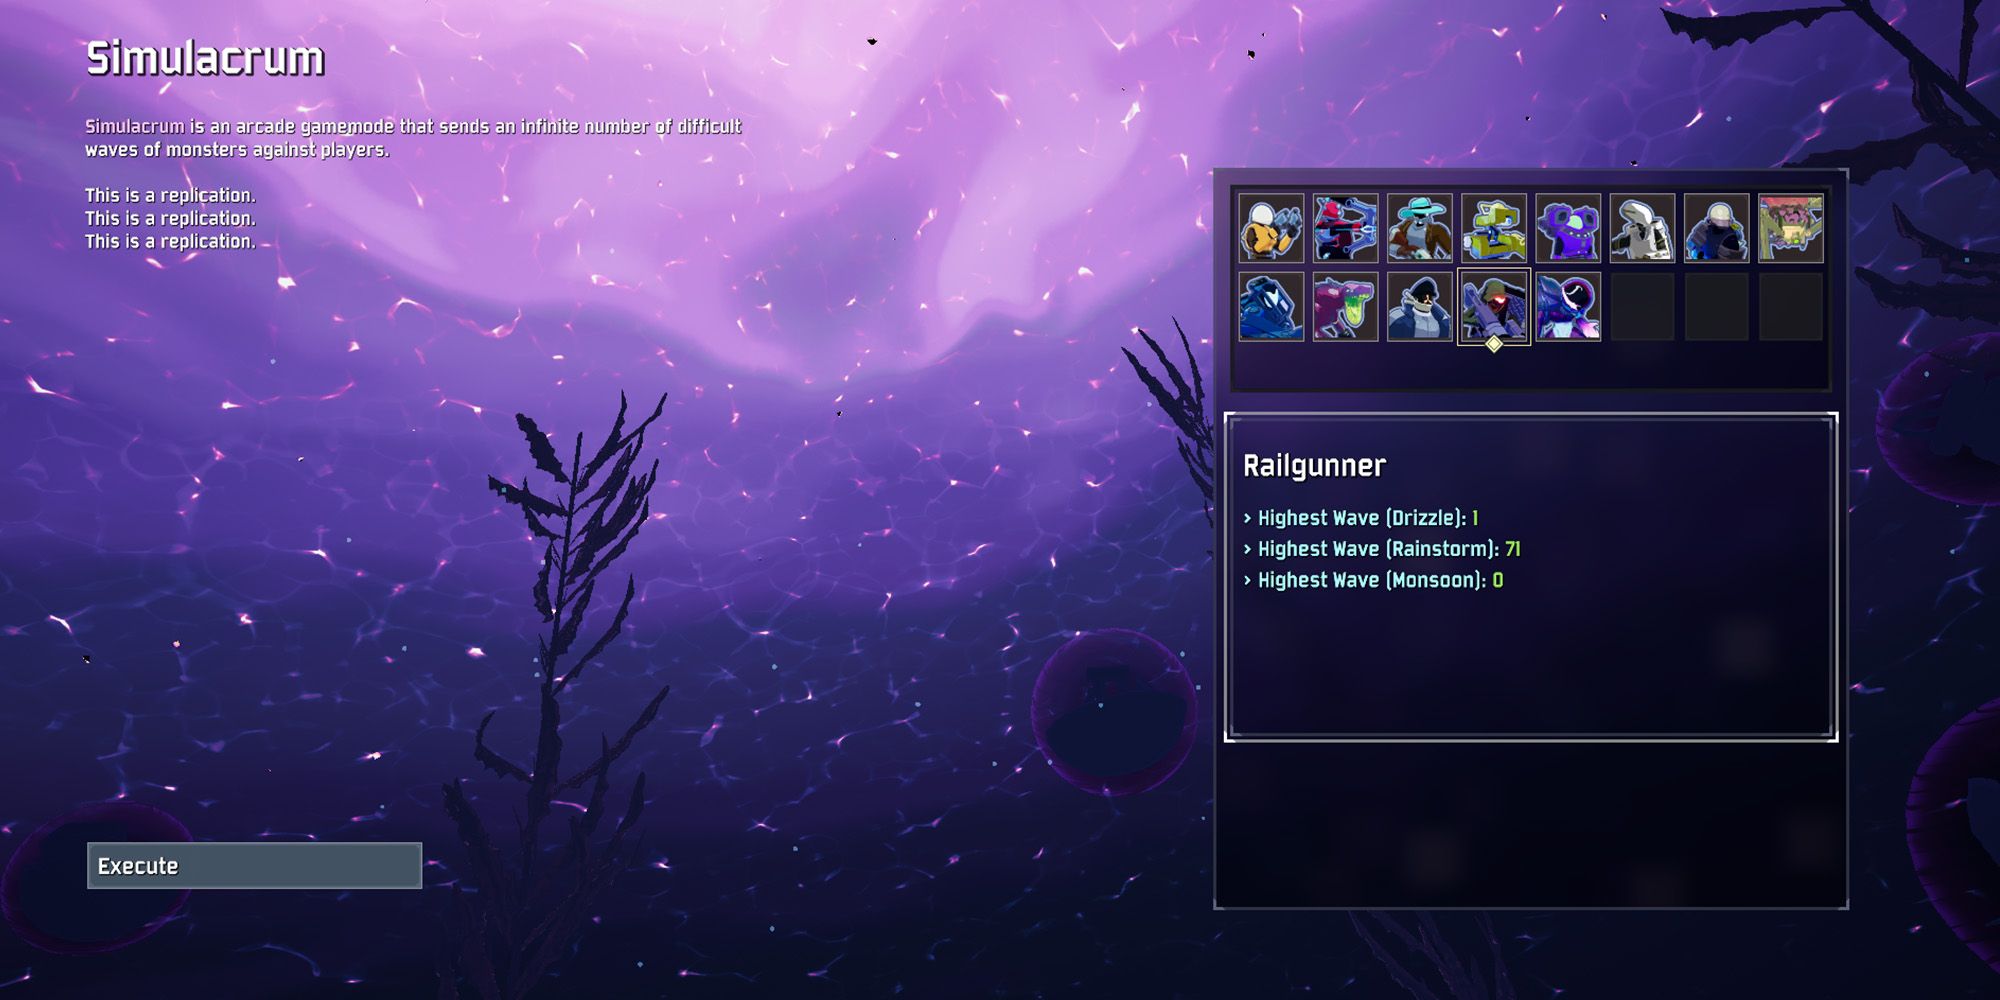
First off, let's go over a brief overview of what the Simulacrum is. The Simulacrum is an alternate game mode in Risk of Rain 2 that essentially boils down to an infinitely scaling wave-based survival mode. It has a unique menu option, a unique character selection menu, and works entirely differently than the base game does in almost every way.
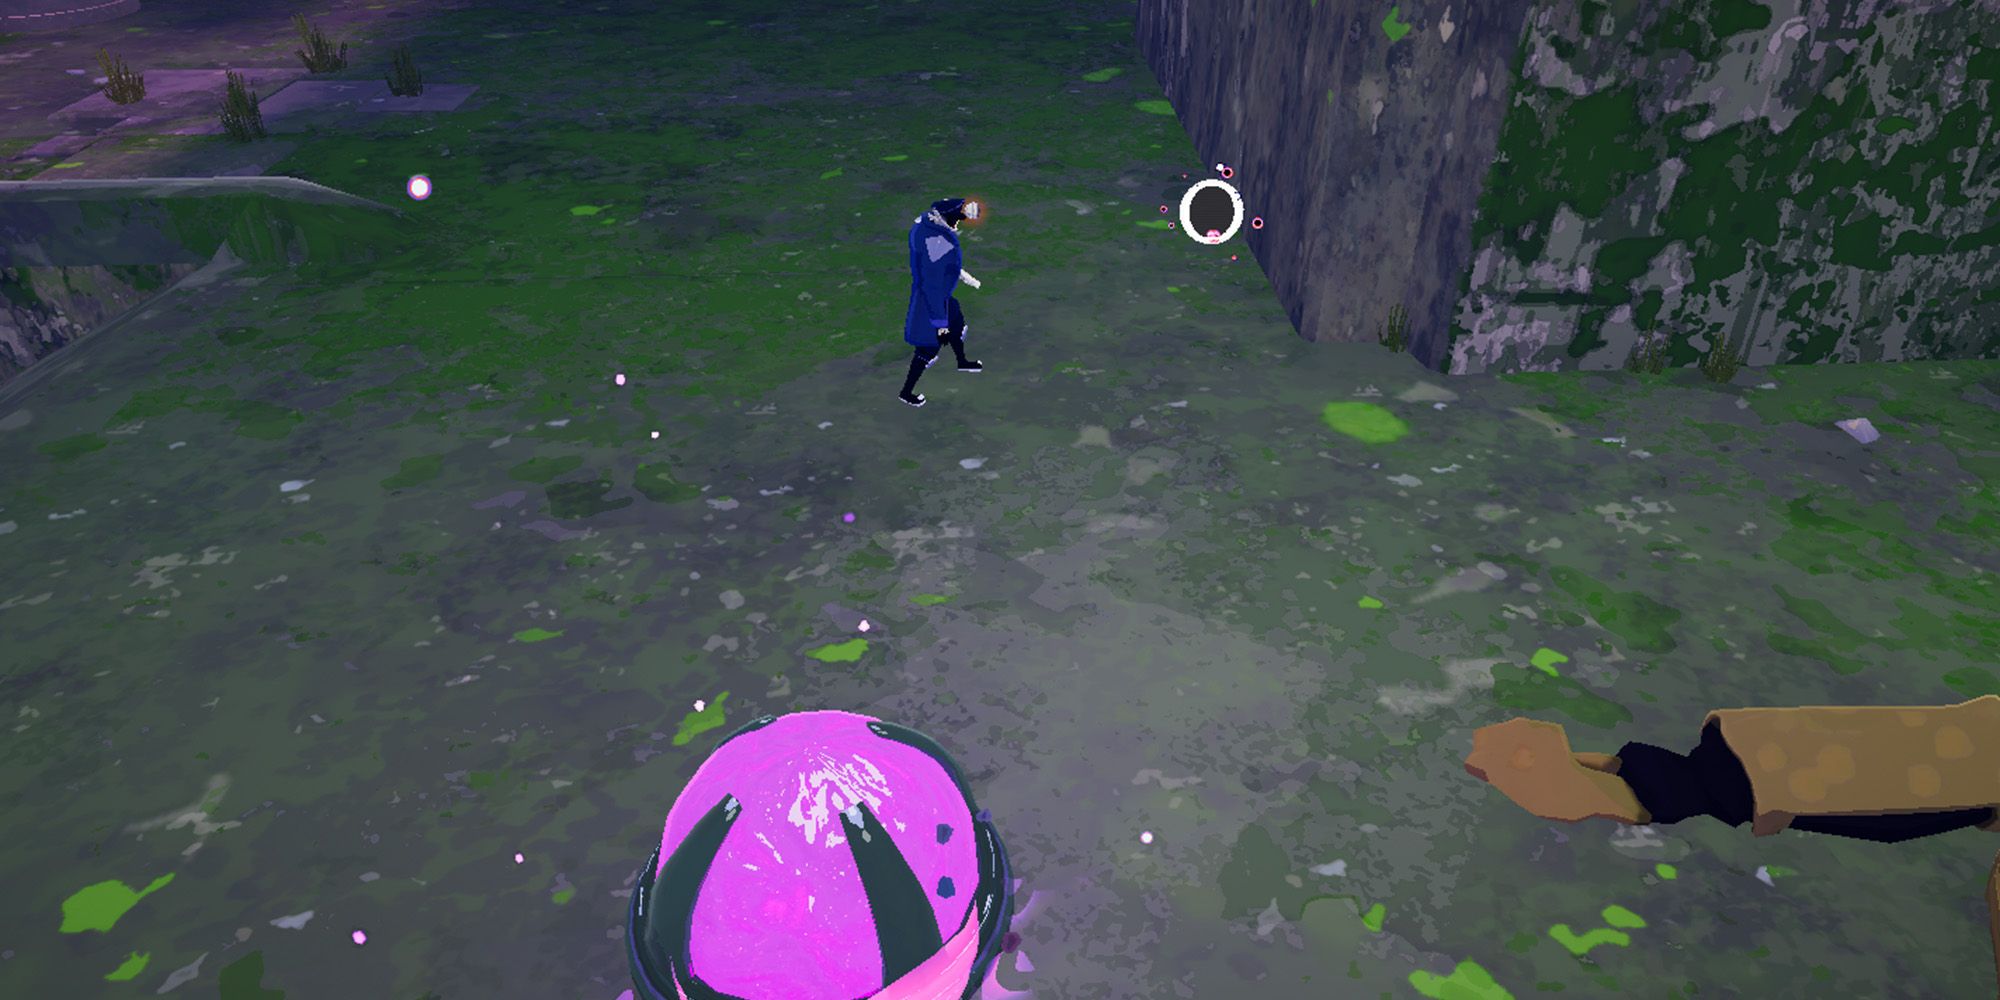
When you first start a Simulacrum run, the Survivors spawn in a Void-touched variant of one of the main seven stages in RoR2. Next to the Survivors should be an Assessment Focus that is able to be interacted with. It should look basically the same as the Void Cells in the Void Fields. After interacting with the Assessment Focus, the Wave begins, the barrier that keeps the Void Fog expands, and enemies start spawning. A set number of enemies will spawn, and players will need to kill every single one before the Wave ends. When it does end, the Assessment Focus will spit out Void Potentials (based on the number of players) that will have a choice between 3 items inside. After 10 seconds, the next Wave will start, and this is the 'main' gameplay loop of the Simulacrum.
Some other core aspects of the Simulacrum to know ahead of time.
- Every 5th Wave is a 'Boss Wave' that's tougher than the average Wave. After clearing it, players will need to follow the Assessment Focus as it moves to a new location.
- After every 10th Wave, a portal will open that will take players to a new stage where the next 10 waves will take place.
- The Void Fog in the Simulacrum is way more vicious than the Void Fog in the Void Fields. It drains a percentage of the player's total health every second, with that damage ramping up the longer they stay in the fog. So, a player that has 500 HP and one that has 5000 HP will survive about the same amount of time out there.
- There's no 'strict' time limit for clearing each wave, but if the last enemy in the wave spawns and 60 seconds pass, the safe zone barrier will begin to rapidly shrink, so keep this in mind.
The Easiest Void Fiend Unlock Method
Similar To Any Survivor Challenge, Using The Drizzle Difficulty And Artifacts Can Trivialize Unlocks
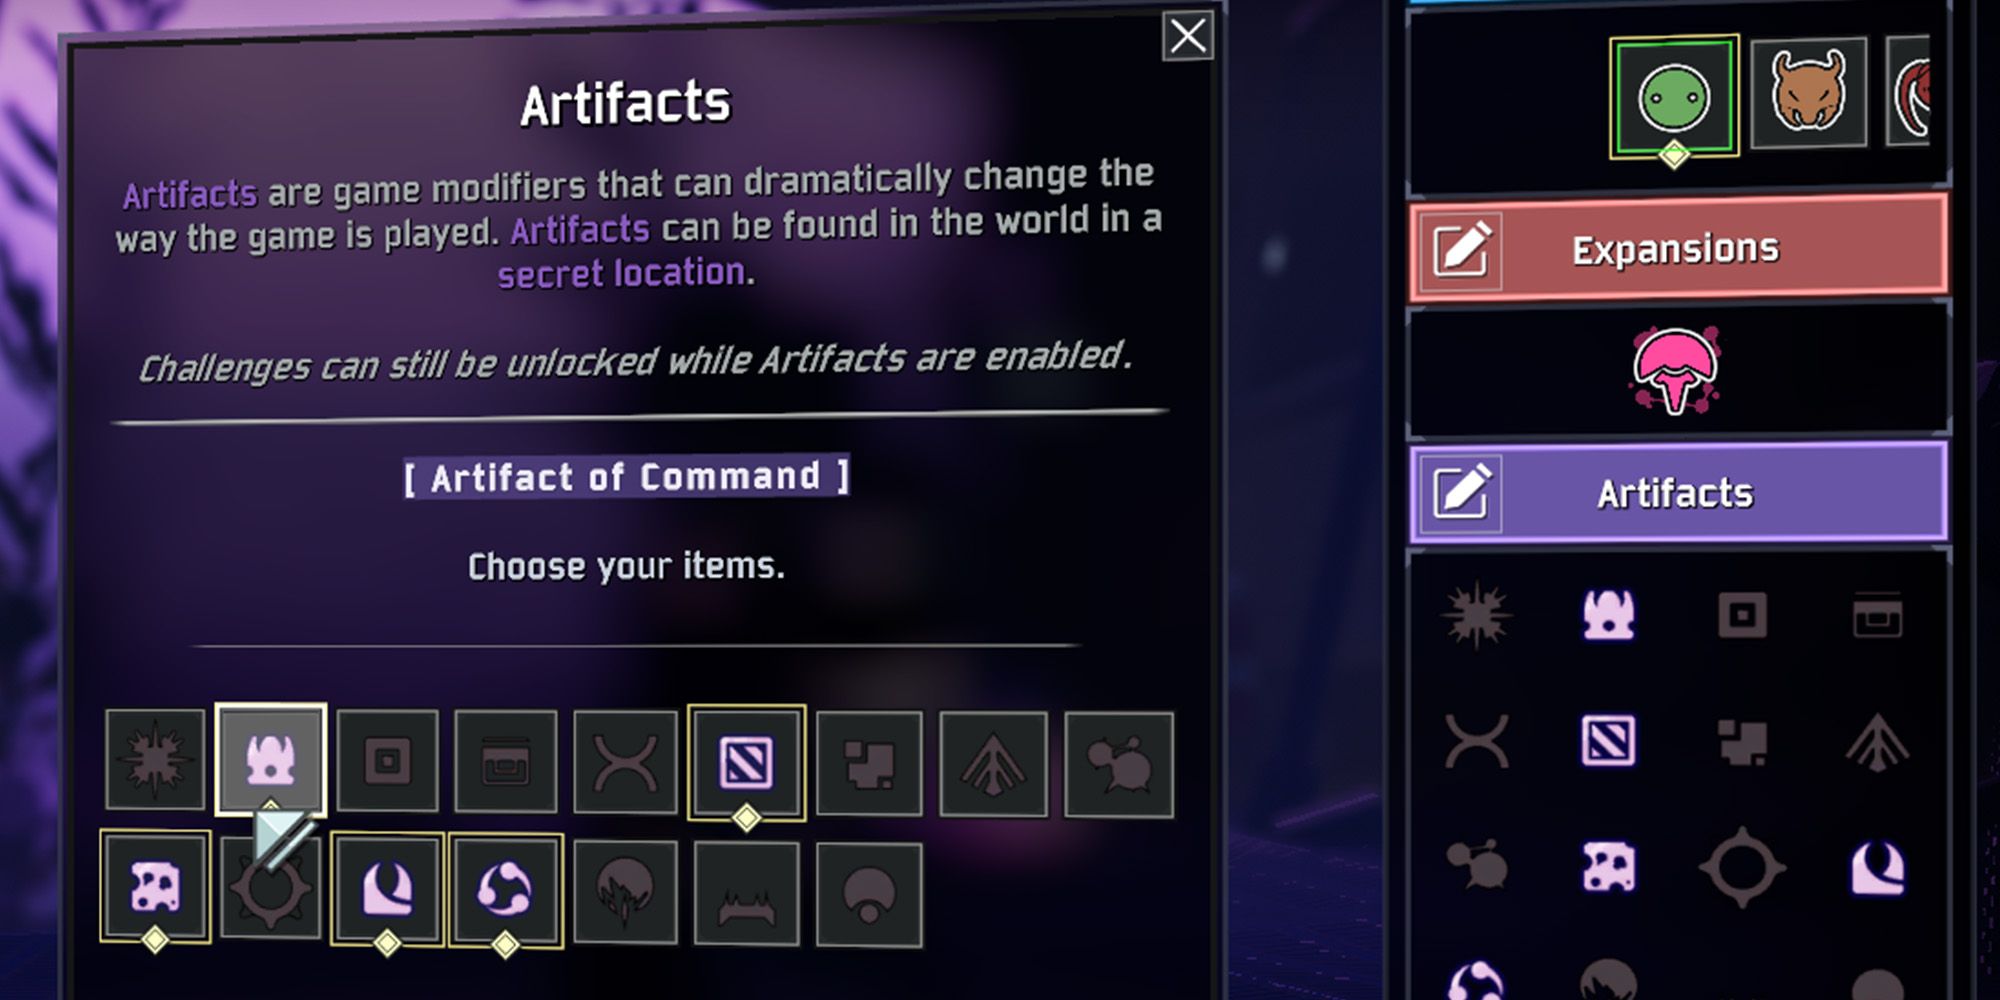
The easiest method by far to unlock the Void Fiend quickly in the beloved roguelike that is Risk of Rain 2 is by using the same method that players who have spent time farming all the Survivor Skill Challenges are probably already familiar with, using Drizzle difficulty combined with some specific Artifacts.
To elaborate, this means setting the Simulacrum to the Drizzle Difficulty and using Artifacts that arguably make the game easier, such as the Command, Glass (maybe), Kin, Sacrifice, and Swarms.
General Simulacrum Tips & Tricks For Making It To Wave 50
Don't Assume This Game Mode Plays Just Like The Default Game Mode
If players are still struggling to reach Wave 50 even after putting those Artifacts on and setting it to Drizzle, there are some general tips to keep in mind. These tips will also help those who want to unlock the Void Fiend the more 'standard' way by playing Simulacrum on either Rainstorm or Monsoon with no Artifacts enabled. Lastly, the tips themselves can be broken down into 3 categories, combat tips, tips related to items, and specific Survivor tips.
Combat Tips
First up are combat tips. These are general tips and tricks about the gameplay loop and structure of the Simulacrum that players should keep in mind:
# | General Tip | Explanation |
|---|---|---|
1 | It's gonna be tough at first | If a Simulacrum run is going to end abruptly, it'll typically end within the first 10-20 Rounds. This is because the difficulty of this game mode is a lot tougher at the start but quickly evens out the more waves that players make it through. So, don't expect it to be a cakewalk until Wave 30+ or something like that. |
2 | Area of Effect is more important than ever before | Whether it's AoE damage from a Survivor's abilities or AoE damage from an item like Gasoline or Will-o'-the-Wisp, area of effect damage has a massive impact in making the Simulacrum easier, given that enemies are literally confined to the same amount of space that the player is. |
3 | Use the terrain to your advantage | Depending on where the Assessment Focus has settled down, you might have a patch of flat land as your arena, or you might be stuck on a cliffside with a few footholds. Learning to use the terrain to your advantage will have a pretty noticeable impact on how long you survive in Simulacrum, such as kiting enemies so that they're forced to go into the Void Fog, using walls to avoid incoming projectiles, or using different vertical levels to separate flying enemies from all the other mobs. |
4 | Learn to kite enemies | If you haven't already learned how to effectively kite enemies in Risk of Rain 2 while also avoiding damage, Simulacrum is going to force you to learn. The arena that the Assessment Focus gives you might seem big at first, but it only takes a couple of Waves to realize it's actually not that much space. If you can't kite enemies in a relatively small circle without almost dying, you'll probably need a bit more practice to make it to Wave 50. |
5 | Remember to jump often | This tip not only applies to the base game mode of Risk of Rain 2 but also for any Risk of Rain game. When you're constantly jumping while fighting enemies, you'll quickly notice how much less often you'll get hit with attacks. The enemy AI in this game struggles with following players who make movements like this, so remember to jump often to avoid incoming damage as well as any ground-based attacks. |
6 | It's okay to wait sometimes | And for the final combat tip, remember that there's no hard time limit on this game mode. If you're close to dying with only 2 enemies left that are across the arena, you can wait out of sight to heal up a bit with a Bustling Fungus. Additionally, if you find that you're struggling especially hard against an enemy, you can also avoid them until the Assessment Focus barrier starts closing and let the Void Fog finish them off for you. |
Item-Related Tips
Next up are tips related to items, builds, and other general things players might not be aware of about which items are good to use in the Simulacrum:
# | General Tip | Explanation |
|---|---|---|
1 | Item 'Tiers' Are Different In Simulacrum | Essentially, items that may be commonly ignored or regarded as 'useless' in a basic run of Risk of Rain 2 might be a whole lot better in Simulacrum, so it's best not to go into the mode with any bias. To give a few examples, Roll of Pennies and Lepton Daisy are a whole lot more useful in Simulacrum than anyone likely gave them credit for. |
2 | Healing and Movement Speed are crucial | More movement speed items like Mocha or Goat Hooves mean an easier time grabbing items from the Void Fog and dodging attacks. However, only a couple of movement speed items are needed, as getting too greedy with movement speed can make staying in the safe zone very difficult. Additionally, more healing items like Weeping Fungus, Bustling Fungus, and Medkits mean being able to survive longer in the Void Fog and being able to heal up mid-Wave. |
3 | Be fluid and flexible with your build | Yes, you'll be able to choose between three items in the Void Potential after every wave, giving you a lot more agency over than build than in a standard RoR2 run, but that doesn't mean you should hard commit to a build. Be flexible on what your build is based on the items you are offered, and you'll find a lot more success. If you're getting a lot of items like AtGs and Tri-Tip Daggers, it's time for an on-hit build. If you're getting a lot of Gasoline, Will-o'-the-Wisps, and Bundles of Fireworks, looks like it's AoE build time. |
4 | Scout the stage and use pings | While you won't be able to get a lot of the items out there in the Void Fog in each stage, you'll probably be able to get a decent amount. So, it's also worth looking around between waves or before starting up the Assessment Focus again after it moves. Ping printers to remind yourself where they are, go open chests but leave the item for later in case you find a scrapper, and maybe even hold off on Multishops in case an Executive Card shows up. |
Survivor-Based Tips
And finally here are some tips related to specific Survivors and their Skills in Simulacrum. Every Survivor is at the very least 'good' in Simulacrum, but some are absolutely better to use than others.
# | General Tip | Explanation |
|---|---|---|
1 | This mode makes commonly avoided Skills a lot more useful | In the base game, there are a lot of Survivor Skills that are labeled as 'worthless' or direct downgrades to their alternatives. But, in Simulacrum, a lot of these 'awful' Skills are actually very useful. Skills like Acrid's Blight, Huntress' Arrow Rain, Artificers Flamethrower, and Railgunners Polar Field Device are all a lot better in this game mode. |
2 | Void Fiend is (understandably) very good in the Void | Once players obtain the Void Fiend and realize they like the more action-oriented Simulacrum game mode, they might want to try the Void Fiend in said mode, as he's arguably overpowered in it. His Suppress gives him a very strong heal in the Void Fog, allowing him to explore the stage a lot more, his Corrupted Mode has a ton of DPS to help out in the early Waves, and he works with almost any build. |
3 | Acrid has a bit of a tough time | Don't get things twisted, Acrid is actually our favorite Survivor, but his general gameplay loop and playstyle don't really mesh all that well with the Simulacrum. he can work pretty decently, but the hard time limit before the barrier starts to close means that he can't just do laps and wait for Poison to kill everything like he'd be able to in the base game. Blight is better in this mode than ever before, but most players still end up using Poison instead most of the time. |
4 | Commando (like the base game) starts weak but scales so well | Commando is honestly one of the strongest Survivors in the game, thanks to his decent damage and high rate of fire. Sure, he starts out weak, but once you really start getting his build going, he'll very quickly outpace the enemy scaling. If you make it to Wave 40+ with a Commando on the team, it's very likely that they're the one outputting a lot of the damage. |
5 | Bandit's Desperado has never felt so good | Desperado is already one of the most fun moves to use in Risk of Rain 2, thanks to its infinite scaling mechanic. However, as opposed to resetting the buff stacks at the start of every new stage, in Simulacrum the buff doesn't reset until players go through the next portal. This means that in the higher Wave counts, Bandit can quite literally one-shot boss enemies that the other players would've taken 5+ minutes to kill. |
6 | Engineer was basically designed for a wave survival mode | Engineer is already absurd in the base game if built correctly, but in Simulacrum he's even stronger, due to enemies being stuck in an area with him and his turrets instead of a whole stage's worth of area. Additionally, Bubble Shield is more useful than it's ever been in this game mode. |
7 | Artificer might finally keep her feet on the ground | Because of the small area and the fact that close-ranged combat is unavoidable in the Simulacrum, the Artificer's Flamethrower is actually just as good as her Ion Surge. |
8 | Huntress just does well | Huntress doesn't have a lot that changes about her playstyle in Simulacrum, outside of the fact that Skills like Arrow Rain are a lot more useful than they typically are due to the more compressed waves of mobs. |
9 | Mul-T's Nailguns feel great | Mul-T also doesn't change much in Simulacrum, but their double Nailgun setup feels better than ever due to the constant close-range combat. |
10 | Rex has it hard at first, but scales so drastically | Because health management is much more important in Simulacrum, Rex has a tough time at first, but once they have a bit of healing they're one of the strongest Survivors in this game mode overall due to their damage output and AoE damage. |
11 | Railgunner might have to switch it up | Railgunner is also very strong in this game mode, but players might find that switching up her loadout will be more effective in Simulacrum. Polar Field Devices are worth using, and it's harder to stay safe for sniping, so going with the HH44 Marksman is actually a smart call. |
12 | Captain can finally use his Skills in the Void | Thankfully, the developers at Gearbox and Hopoo Games made the smart choice of having the Simulacrum be a 'simulation' meaning that Captain can still use his Orbital Strikes, Diable Strikes, and Beacons while in this mode. And, his Beacons are actually better here than in the base game due to the small area. |
13 | Loader plays a bit differently but is still a one-punch machine | Because there's so much less space to work with, it can feel a lot more difficult to get around and avoid damage with Loader. However, because enemies are more grouped up, it's even easier to get some truly devastating punches in. |
14 | Mercenary is absurd | And finally, the Mercenary is absurdly strong in Simulacrum due to the lack of space. He melts groups of enemies using Eviscerate, the Exposed Debuff, Slicing Winds, and Focused Assault. He's also great for getting items in the Void Fog due to his high mobility. Just keep in mind, however, that it's easy to go off the map with him in this mode or end up way in the Void Fog without realizing it. |
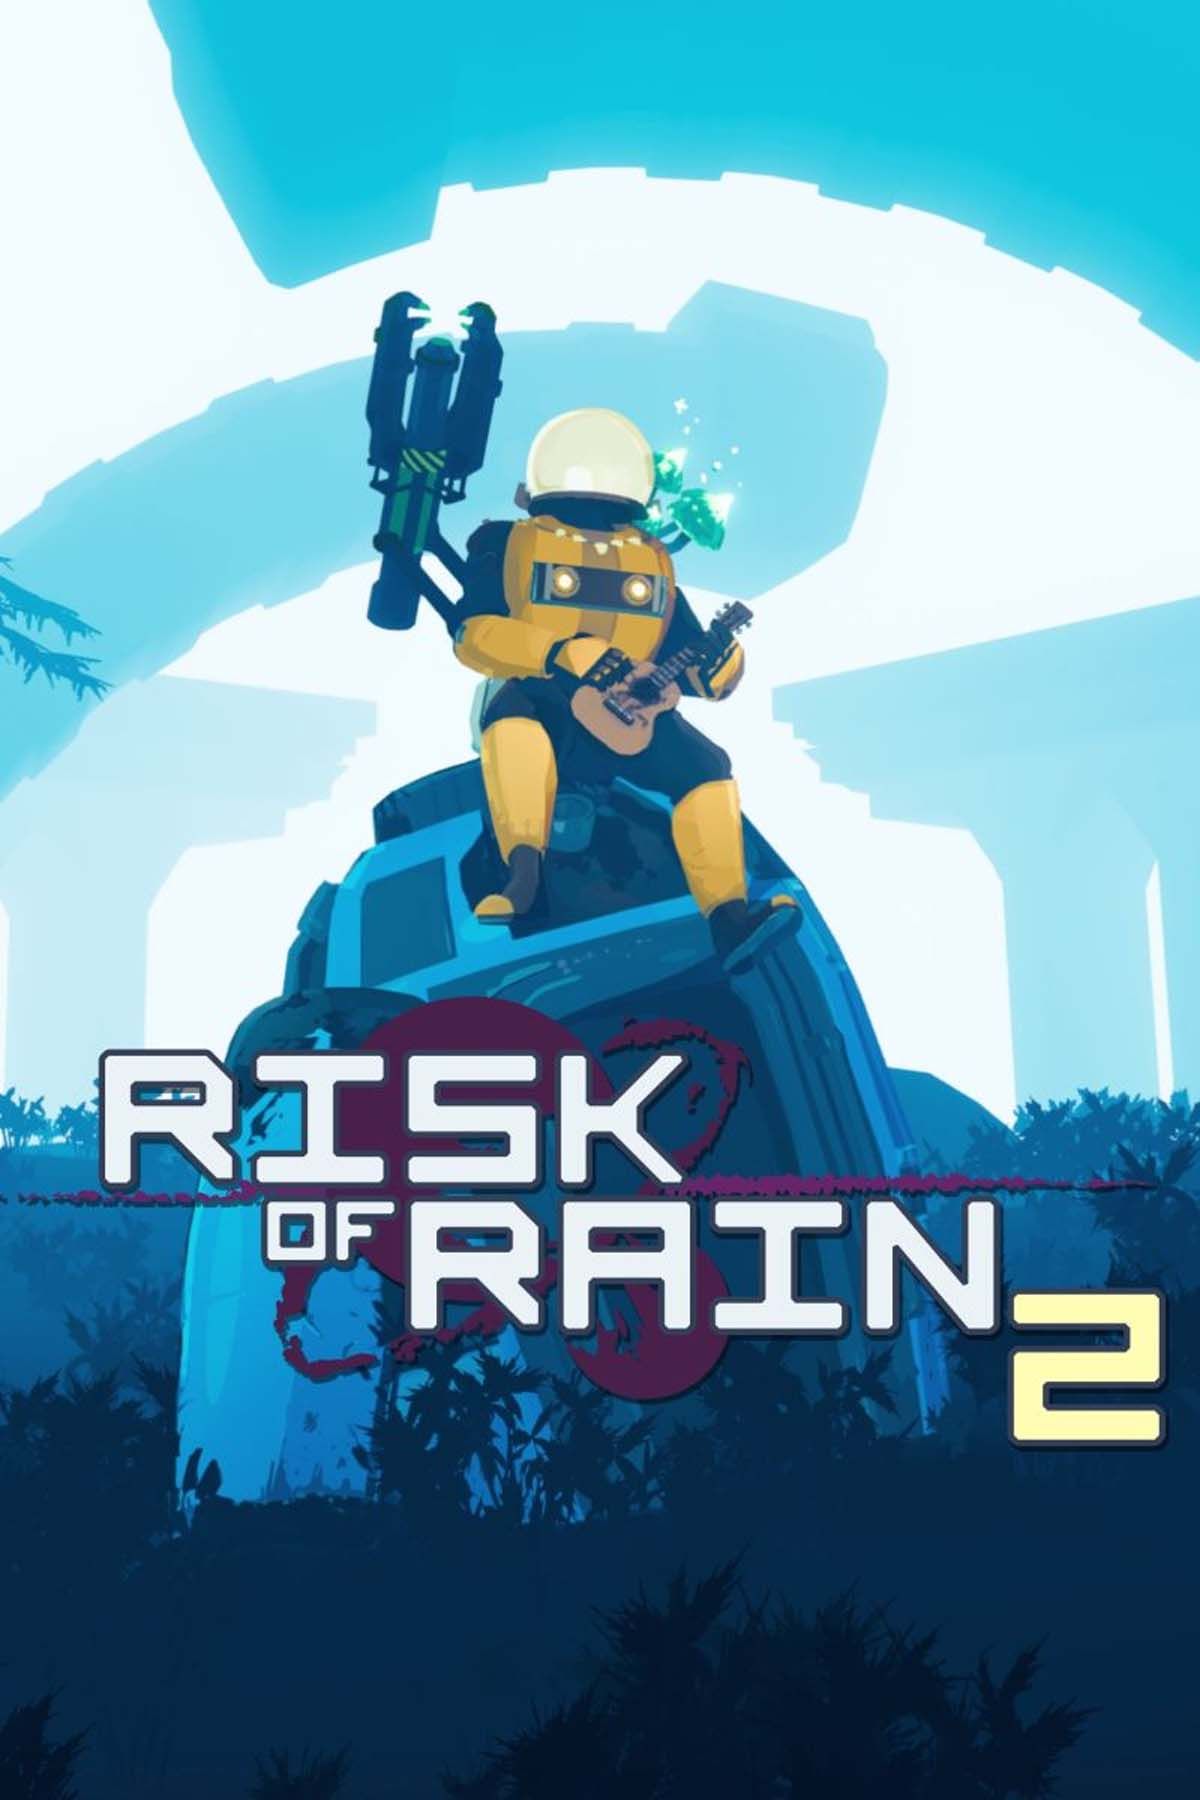
Risk of Rain 2
- Franchise
- risk of rain
- Platform(s)
- Xbox One , Nintendo Switch , PC , PS4
- Released
- September 11, 2020
- Developer(s)
- Hopoo Games
- Publisher(s)
- Gearbox Publishing

