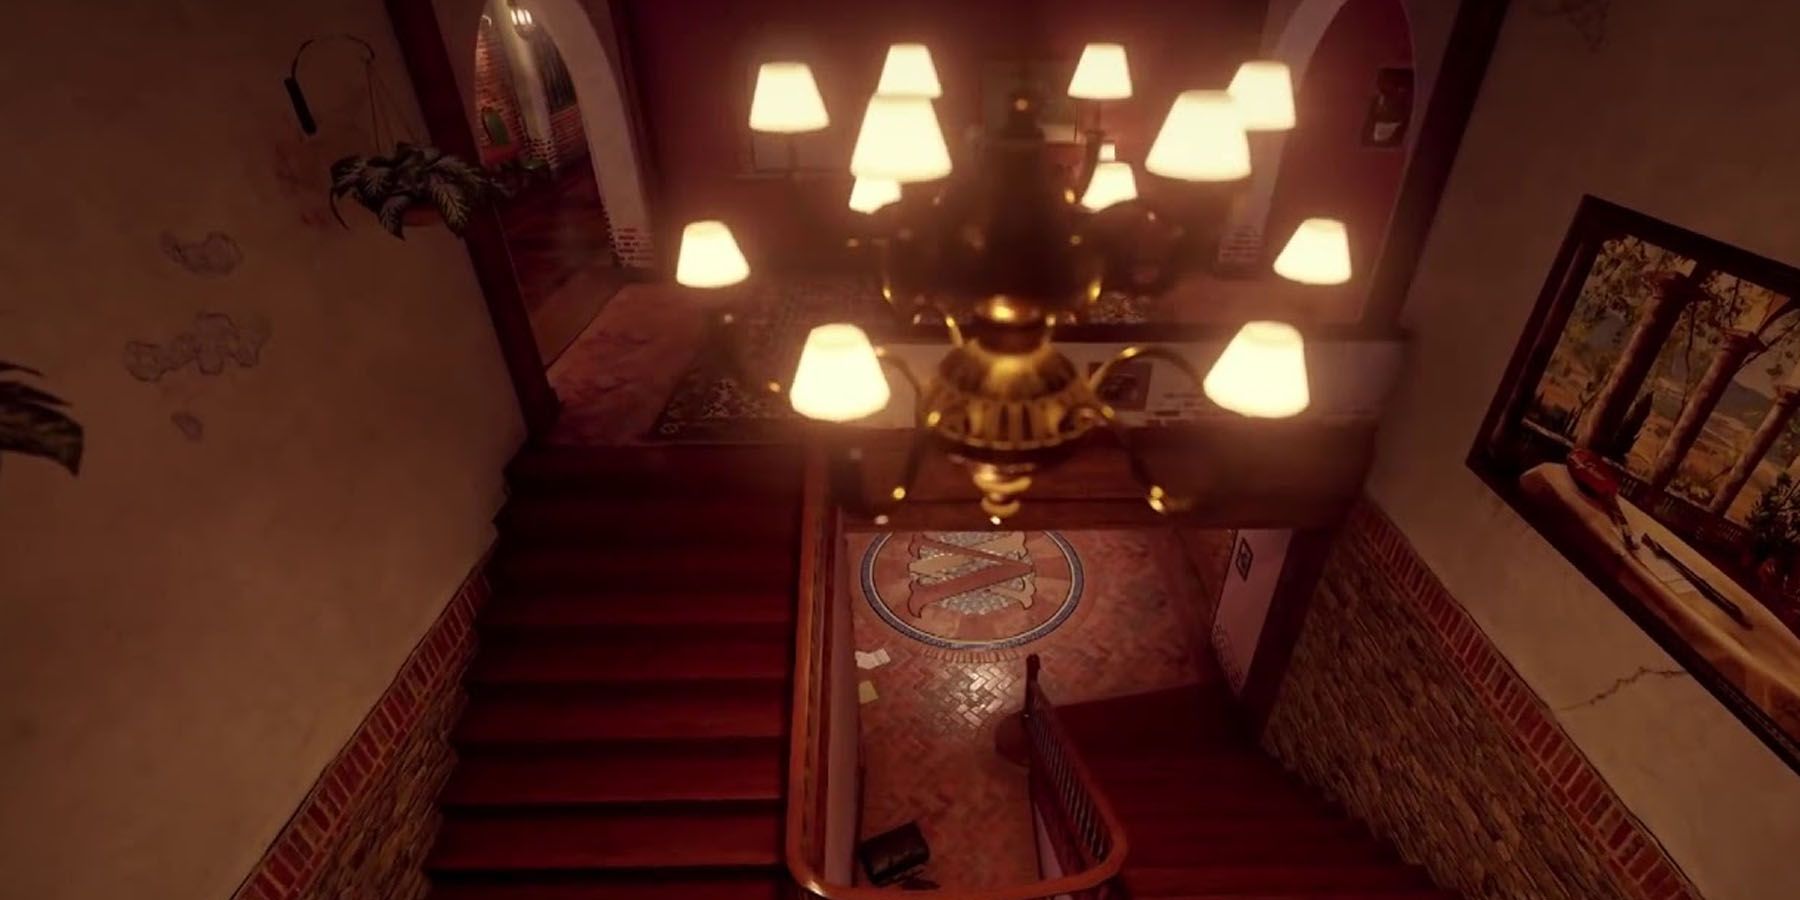
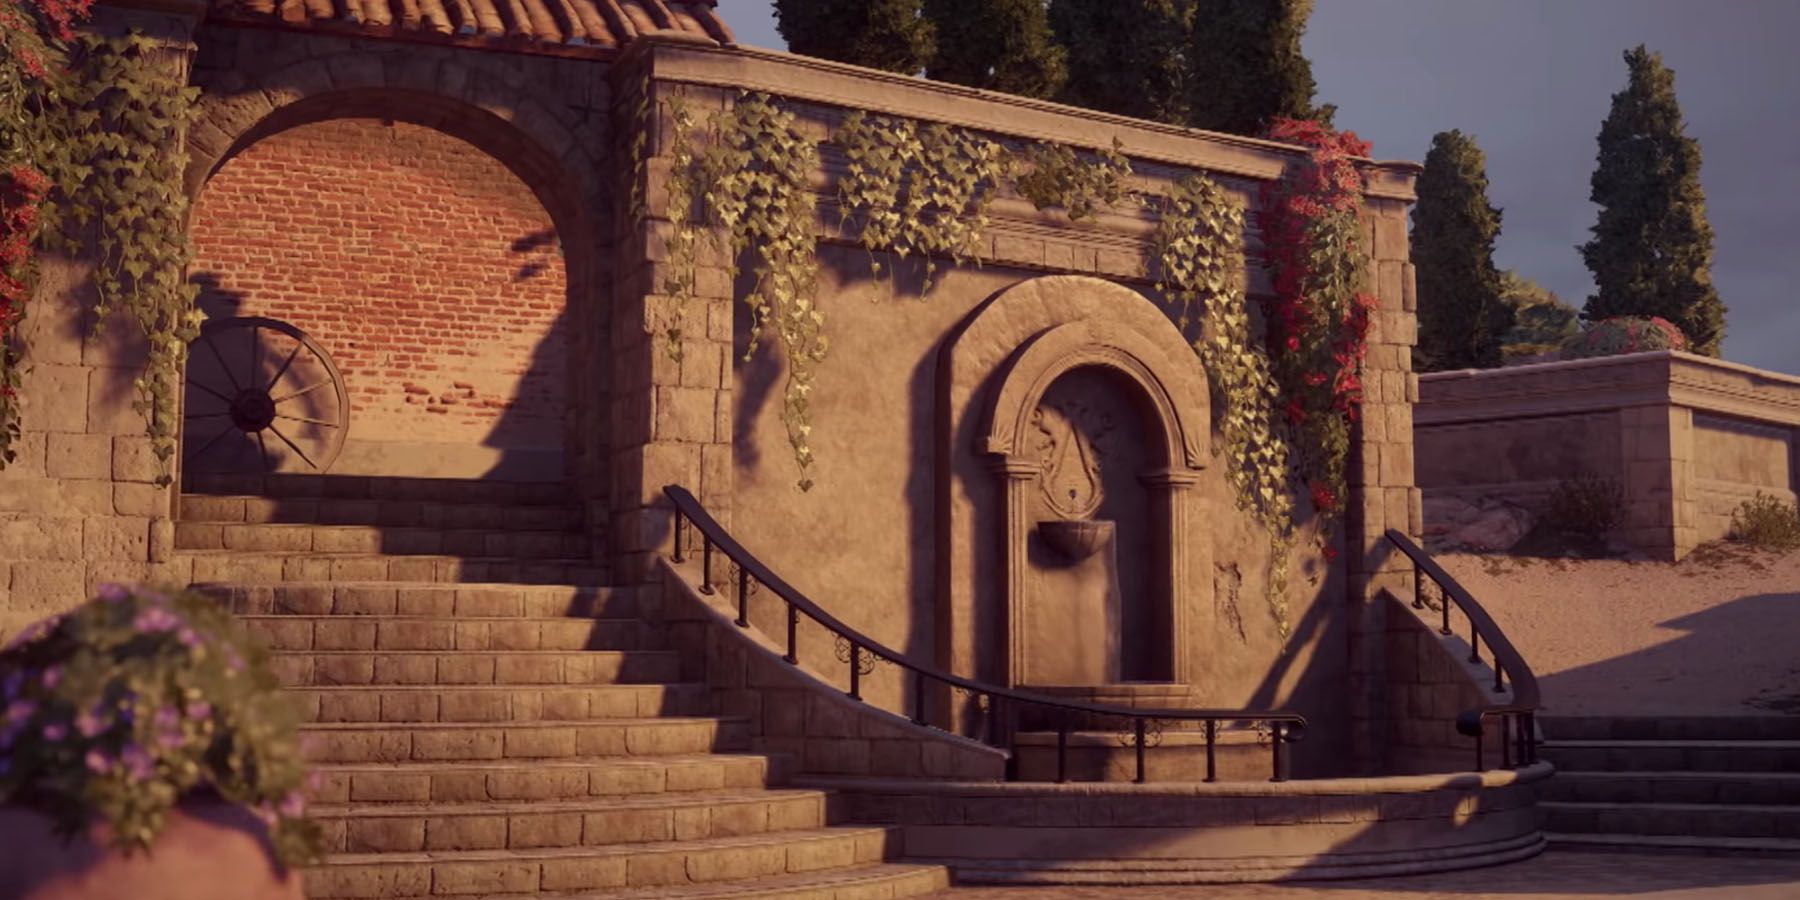
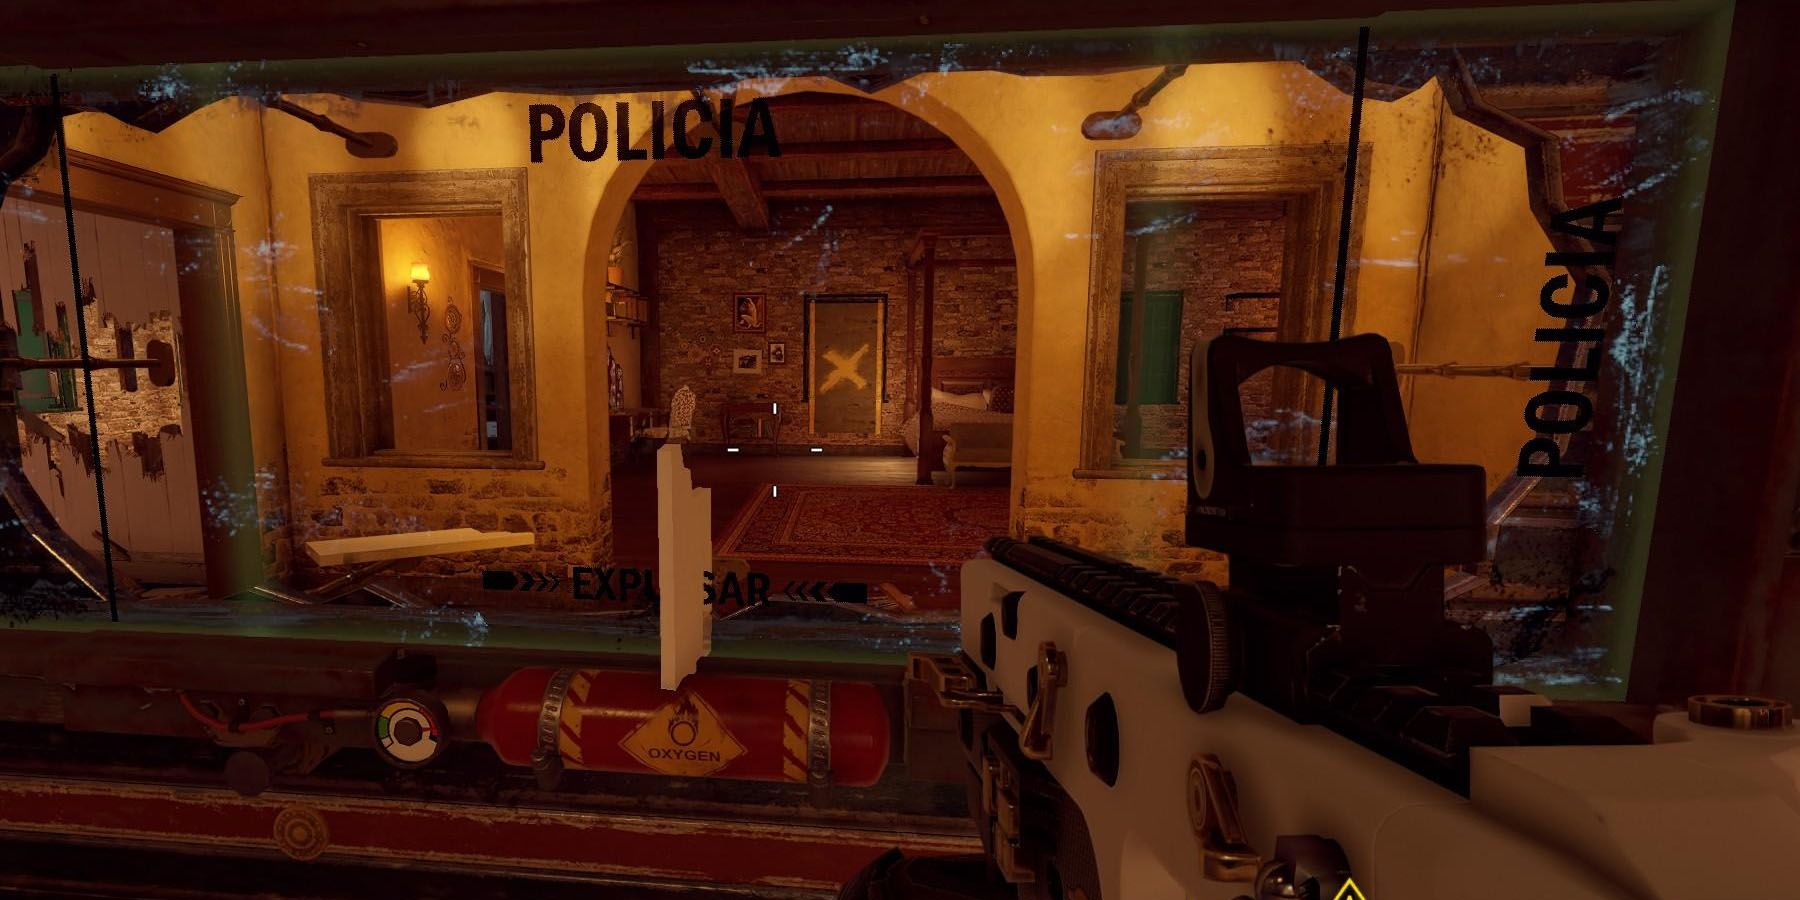
It’s not uncommon for a Rainbow Six Siege map to be set in a large house, as most large houses do have the Rainbow Six staple of diverse layouts and destructible environments. However, of all Rainbow Six Siege maps, it’s the Villa that takes the cake for some of the best interior layouts of a Rainbow Six map out there.
Released in Operation Para Bellum, the Villa Map’s centerpiece is a land belonging to the Vinciguerra crime family. Having left after catching wind of Operation Para Bellum, vital documents remain in the villa ready for the taking - and this is where the agents come in. What’s the best course of action when exploring the Villa?
Villa: Open Space Gives More Opportunities
The interconnected and open nature of Villa gives a lot of spatial opportunities on the part of both the Attackers and Defenders, especially when it comes to capitalizing on horizontal and vertical plays. However, this does mean taking into consideration certain elements when touring Villa and using it for play:
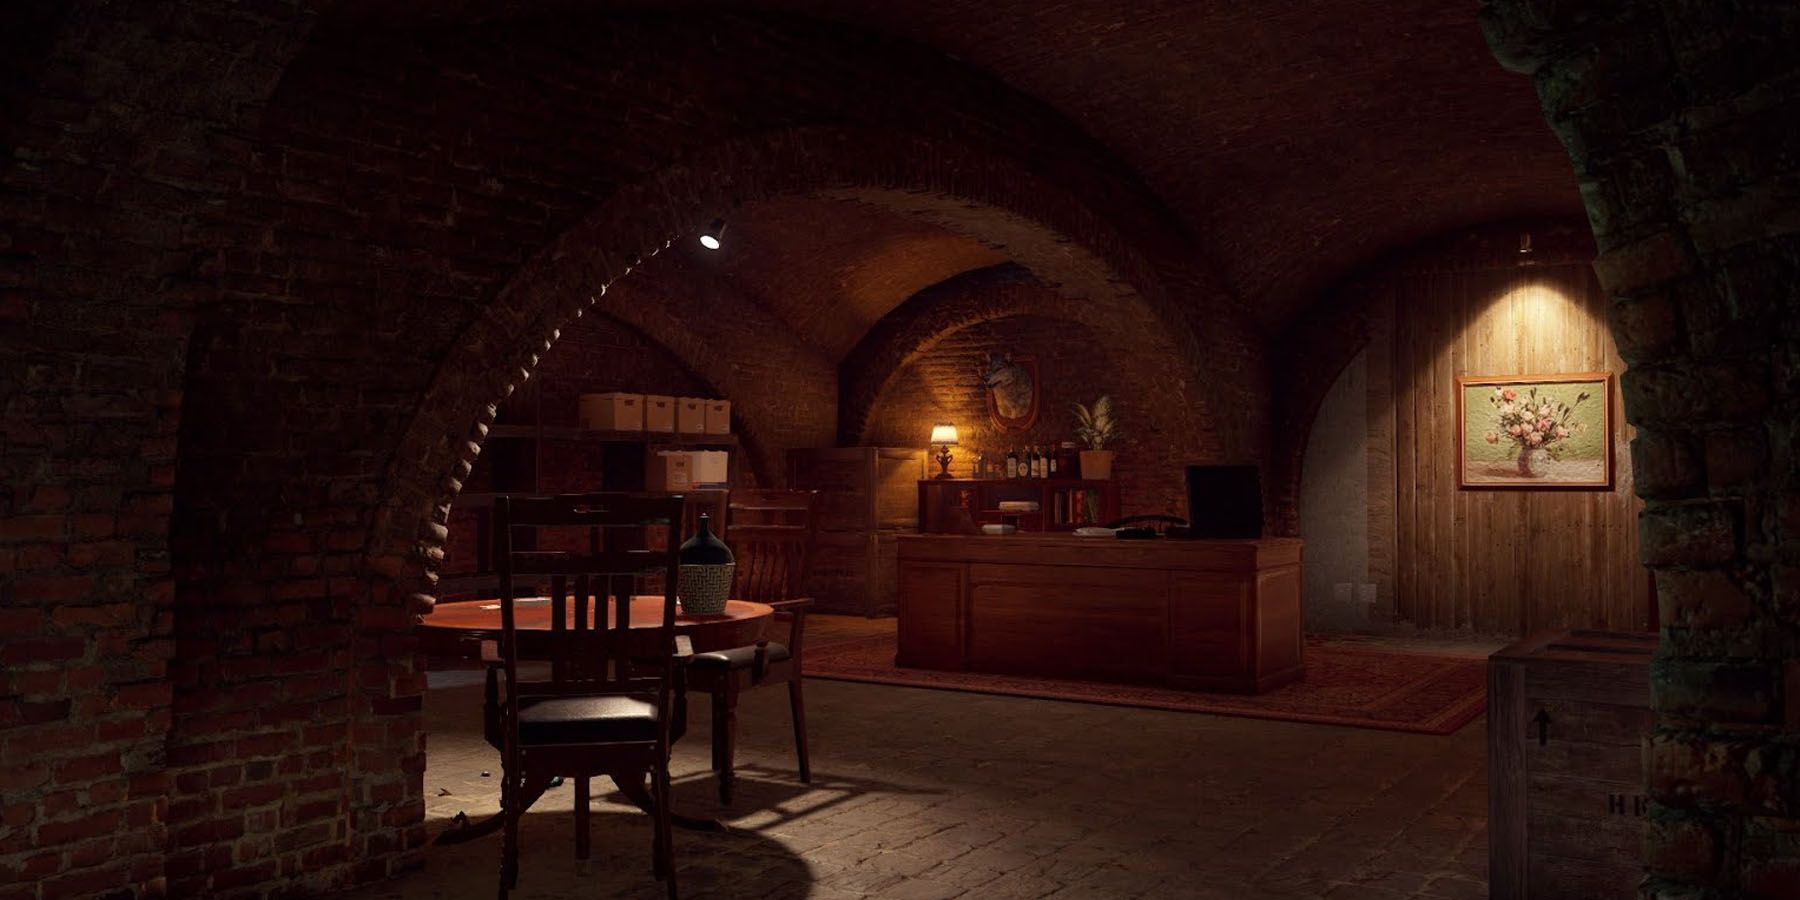
- Basement Offers Room For Rotations: Don’t underestimate the rather cramped spaces of the basement as this does offer a lot of room for rotations - not just for Defenders but also for Attackers. The right placement and activation of traps set by the Defenders is a good way for Attackers to try and circle back and gain the advantage against them.
- Keep Enemies Afoot With The Threat Of Flanking: Players should consider capitalizing on the destructive nature of walls to keep enemies on their toes on this map. The cramped nature of rooms on both 1F and 2F will force enemies to become mobile lest they leave themselves vulnerable - and players should tap into this necessity to capitalize on surprise attacks.
Basic Defense: Use Stairs, Windows, For Quick Rotates
Defenders can actually use the architecture of the entire Villa to their advantage when it comes to cementing their defensive approach. For instance, any 2F or Second Floor defense can be further augmented by the fact that certain windows like that of 2F Study and 2F Master Bedroom can give a good view of common attack routes - such as 2F Statuary Room, 2F Master Bedroom, 2F Study, and 2F Aviator Room.
Likewise, Defending 1F or the First Floor could be made easier when utilizing quick-rotation routes such as staircases, as well as hatches from 2F Study and 2F Classical Hall to quickly access 1F Toilet and 1F Art Studio - both of which are popular flanking spots for Defenders.
Reinforcements: Consider Open Spaces, Predictability
While Villa is large enough to facilitate wild bouts of rotations from both Attackers and Defenders, it’s the latter that needs to maximize the space the area offers for their defenses. Some key considerations and areas of interest could include:
- Capitalize On Windows: Consider looking into the 2F Study to access a wider view of 2F Master Bedroom and 2F Statuary Room - allowing Defenders to peek much more safely and defend the areas from afar. Likewise, the southern window of 2F Master Bedroom can help look into 2F Aviator Room and 2F Study.
- Consider Typical Locations: Some Attackers tend to be predictable with attacking patterns simply because they’re convenient. When defending any 1F or First Floor objective, Attackers tend to push through 1F Toilet simply because it’s the easiest to access. With this in mind, try to surprise them via the hatch in 2F Classical Hall to jump the gun on enemies.
Reinforcements: Size Matters
Compared to other sites from other maps, the Villa has quite the large spaces inside rooms and in between them, making fortifying sites a bit tricky considering the level of depth Defenders have to think about when it comes to ensuring they can booby-trap their fortifications against Attackers properly. When thinking of the right approach towards defending these sites, Defenders need to take a few considerations:
- 1F Living Room: Near the 1F Library is the 1F Living Room, which is quite a massive room with a lot of soft walls and entry points - especially with the 1F Library and 1F Gallery beside them. To avoid these discrepancies, it helps busting open the wall between 1F Living Room and 1F Gallery to avoid room for rotation and then securing 1F Mudroom and 1F Toilet to ensure Attackers can’t enter from the ceiling. Additionally, putting traps near 2F Classical Hall and 1F Art Studio can ensure Attackers reveal themselves should they even try to get to the objective.
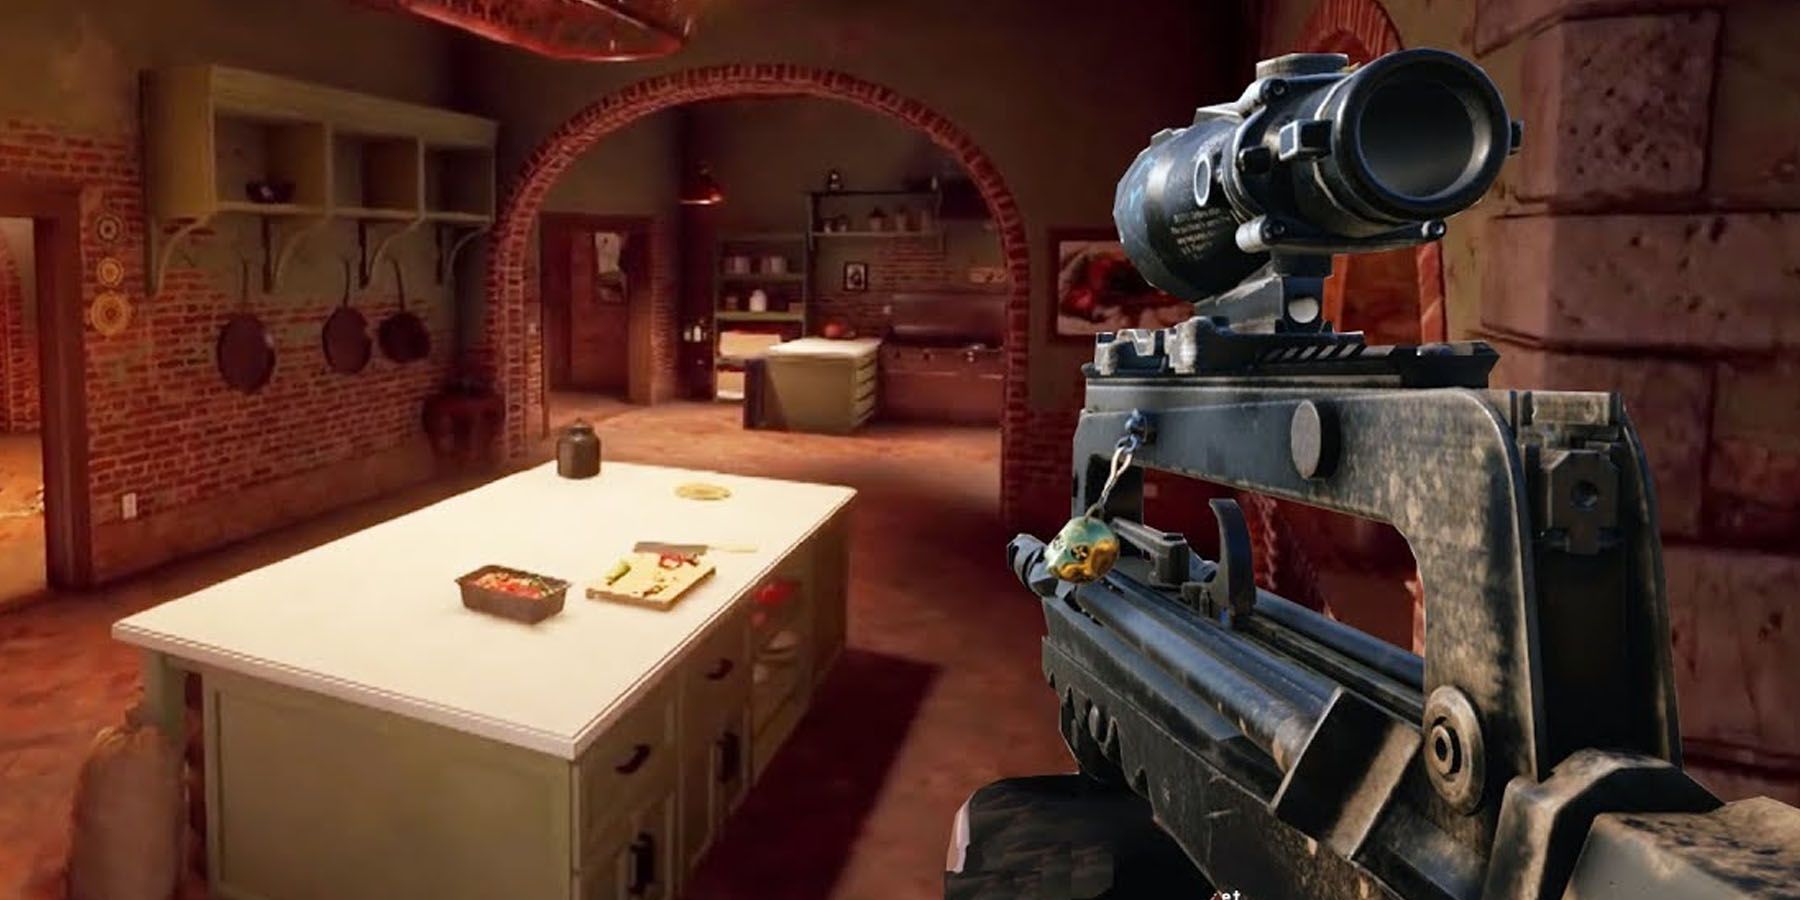
- 1F Kitchen: Interconnected rooms 1F Kitchen and 1F Dining Room are also connected to some vital areas of the map, such as 1F Back Hallway and 1F Pantry, both of which can be common areas of attack. Thankfully, Defenders can guard the stair to the rear basement to flank enemies trying to use this as a mode of attack. Likewise, getting control of 1F Laundry gives additional fortification for 1F Dining Room.
- 2F Aviator Room: Located beside the 2F Games Room, its sheer size and formidable natural defenses make this room quite a popular site for Defenders. It’s important to defend the 2F Study and the exterior veranda connecting to it, as Attackers will most likely use this for their assault. Thankfully, Defenders can easily hold the room through fortifications, particularly in 2F Hunting Vault as this can get Defenders a good view into the quarters. If players watch 2F Main Stairs, they can avoid Attackers trying to get through 2F Study via 2F Classical Hall.
- 2F Trophy Room: Beside the 2F Statuary Room, the 2F Trophy Room can get quite overwhelming due to the skylight separating these quarters - especially when Attackers can use this location to rappel down. However, players can tap into 2F Astronomy Room to extend the defense of these two rooms, which can force Attackers to use 2F Master Bedroom instead - and by then it's too late. Putting traps in these adjacent rooms can ensure Attackers are in for a rough time should they even try to get to 2F Trophy Room.
Defender Operators: Use Common Knowledge For Attack
Players on the Defender side shouldn’t force themselves to have a hard time just to have a unique take on defenses. Rather, they should use the map’s already-accessible nature to make Defending sites a much easier thing to do. These Operators can get the job done:
- Frost: Thanks to the easy-access entry points and common attack angles in Villa, Frost can capitalize on a lot of Welcome Mats to jump on the opponent the first chance players get.
- Kapkan: Another trapper like Frost, Kapkan can utilize various common Attacker areas and plant defensive traps to score kills against rushing and careless Attackers.
- Mira: Thanks to the open areas of 2F, characters like Mira can actually deploy her Black Mirrors to keep watch on crucial sites without enemies spotting her. She can get the jump on them should her intel get right on track.
Basic Attack: Stealth, Soft Walls Are Key
Given the size of the Villa and its nature as a large house, it helps for Attackers to use the civilian-friendly layout to their advantage - use stealth. Although most spawn locations are safe from run-outs and peeks, Attackers need to be wary when spawning in 1F Ruins as defenders can peek from 2F Study.
Attackers can give this to the Defenders, though, as two soft-walled un-reinforce-able wine barrels (1F Mudroom, 1F Crypt) do give players easier vantage points when doing a Basement strike. Another wall that Defenders can’t reinforce is along the 1F Bicycle Storage which gives access to the eastern stairs, allowing Attackers to get into 1F Dining Room and 1F Living Room.
Offense: Anticipate Spaces, Traps
Given the size and scope of Villa, it makes sense for the map to be both a great place to scatter both traps and secret passages, and Attackers need to take note of both in order to maximize their tours around this giant house. Some key points of consideration include:
- Check Wine Barrels: There are Wine Barrels located outside the exterior portion of 1F Mudroom and 1F Crypt, providing easy passages to these rooms as Defenders can’t exactly defend them. Try using them in games where sites aren’t particularly close to these locations for a surprise flanking.
- Consider Traps: There are a lot of open spaces in Villa, making them quite open for unfortunate traps such as EDDs and Welcome Mats. To avoid these untimely knock-downs, Attackers should consider either disabling these traps through electronic detectors or simply choosing more unique angles of attack.
Offense: Speed, Precision Is Key
Contrary to other maps, the size of Villa motivates players to not just secure areas quickly, but ensure that they pursue the objective as fast as possible as rotations are extremely plausible to be at play all the time. As such, Attackers need to be not just efficient in their site acquisition, but very capable of outmaneuvering potential flanks. Sub-classes for the Attackers to consider are the following:
- Hard Breacher: The destructibility of walls in Villa makes it much easier for Hard Breachers to secure the site, especially from an aggressive point of view. Knowing exactly the approach they want to take can make a single destroyed hard-fortified wall a huge disadvantage for the defending side.
- Soft Breacher: The lack of extremely destructible walls in Villa can motivate Soft Breachers to take the helm. Their generally more deployable and faster-breaching equipment makes the offense much faster - especially when accessing areas normally inaccessible to players.
- Flankers: Regardless of whether they can reach enemies from afar by stalking them through the field, Attackers should have Flankers capable of roaming around and hiding while outmaneuvering the roaming Defenders. The large size of Villa means these Flankers can use traps and other ways to detect, smoke out, and eliminate Defenders.
Attacker Operators: Exploit Tracking, Angles
Given the sheer size of Villa, it makes sense for some Attackers to feel overwhelmed by the sheer scope of its accessible areas. However, it’s perfectly possible for Attacking teams to circumvent the map’s rather large area and use it to their advantage with the right pick of Operators:
- Buck: Given the multitude of softer destroyables in the area, the Soft Breacher specialization in Buck can become very important when it comes to accessing 1F Wine Barrel Tunnels and even the ceiling of the entire 1st Floor.
- Maverick: There’s a large chance of Defenders utilizing hard cover in objective sites as a means of protection, and Maverick’s capabilities of capturing lethal angles can transform sites such as B Art Storage and 2F Hunting Vault useless for Defenders.
- Fuse: Due to the multitude of windows and soft ceilings in the area, Fuse has quite a lot of vulnerable access points he can exploit to maximize the overall damage he can cause in the area.
- Jackal: Considering the map size of Villa in the game, Jackal can use his kit to track roamers among the Defenders and eliminate them before they manage to successfully pinpoint the Attacker’s positions.
Rainbow Six Siege was released in 2015 and is available for play on PlayStation 4, Xbox One, PlayStation 5, Xbox Series X and Series S, and Microsoft Windows.

