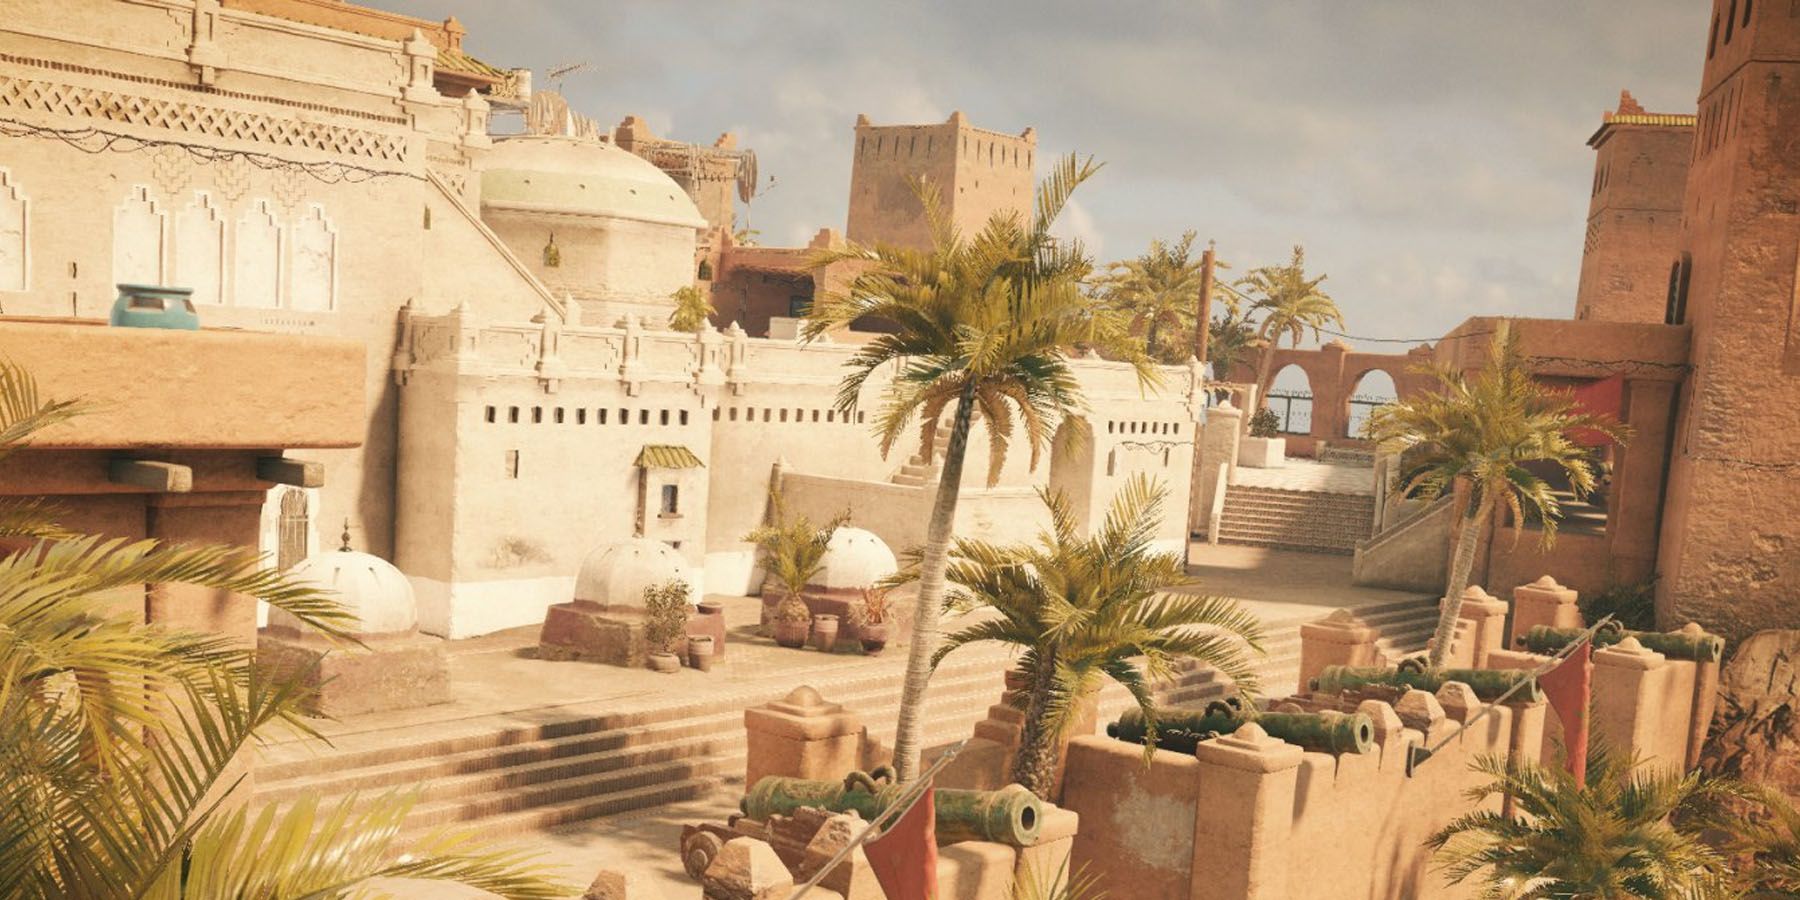
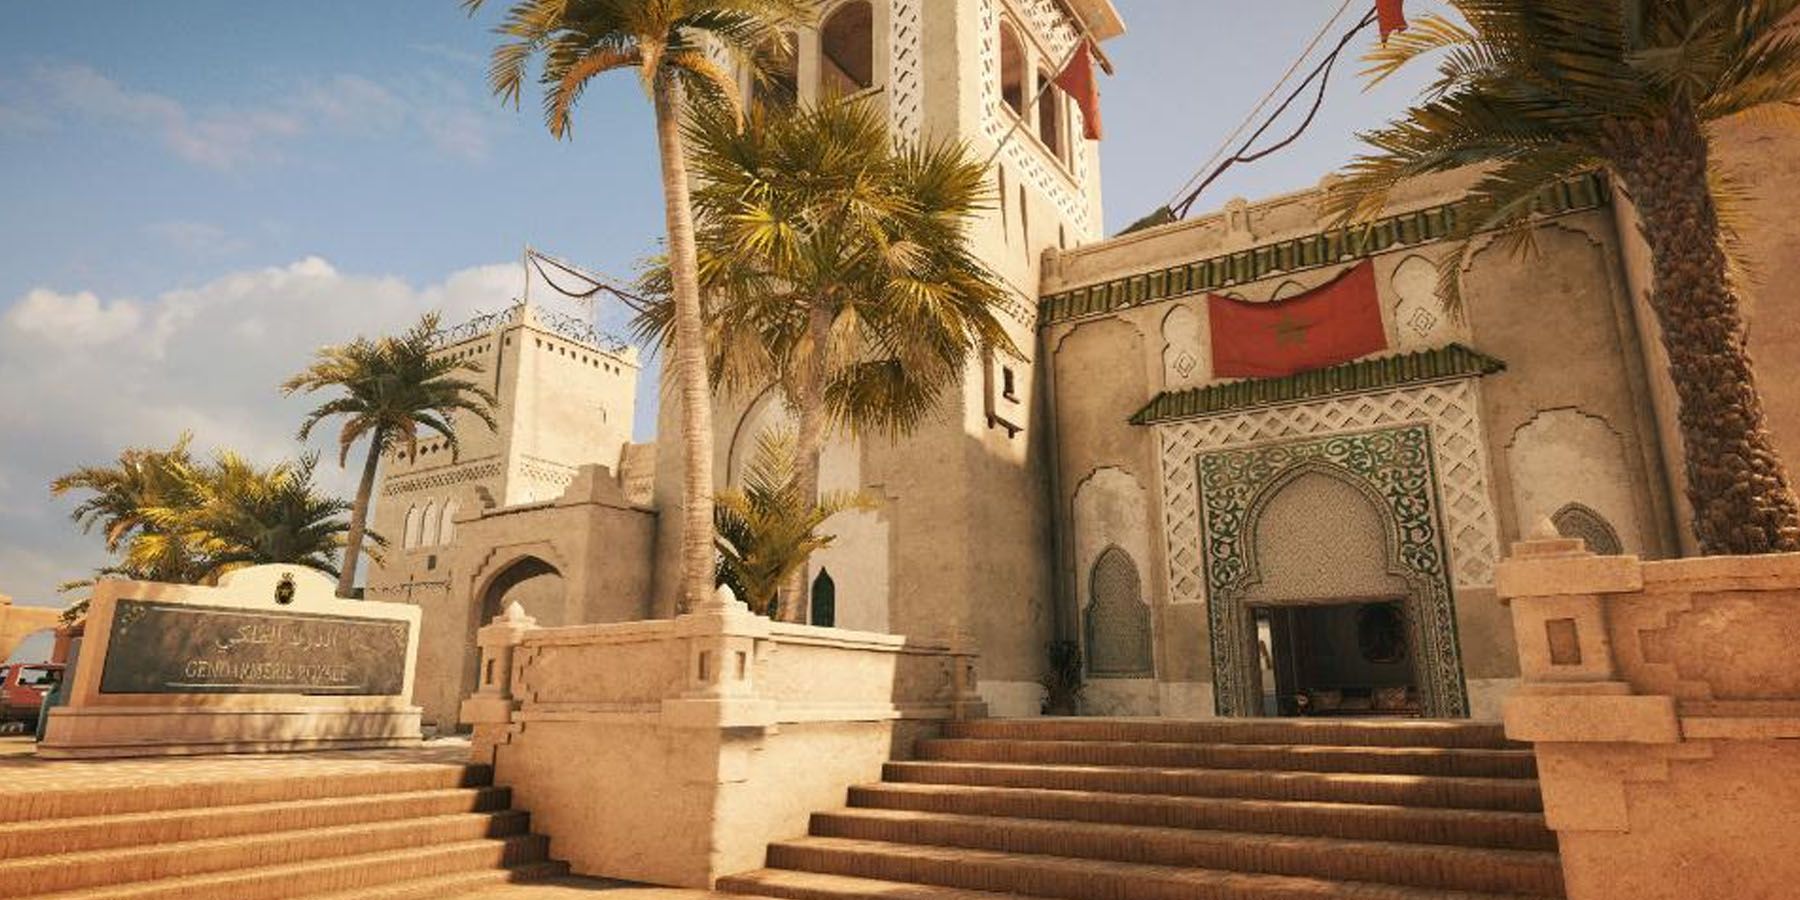
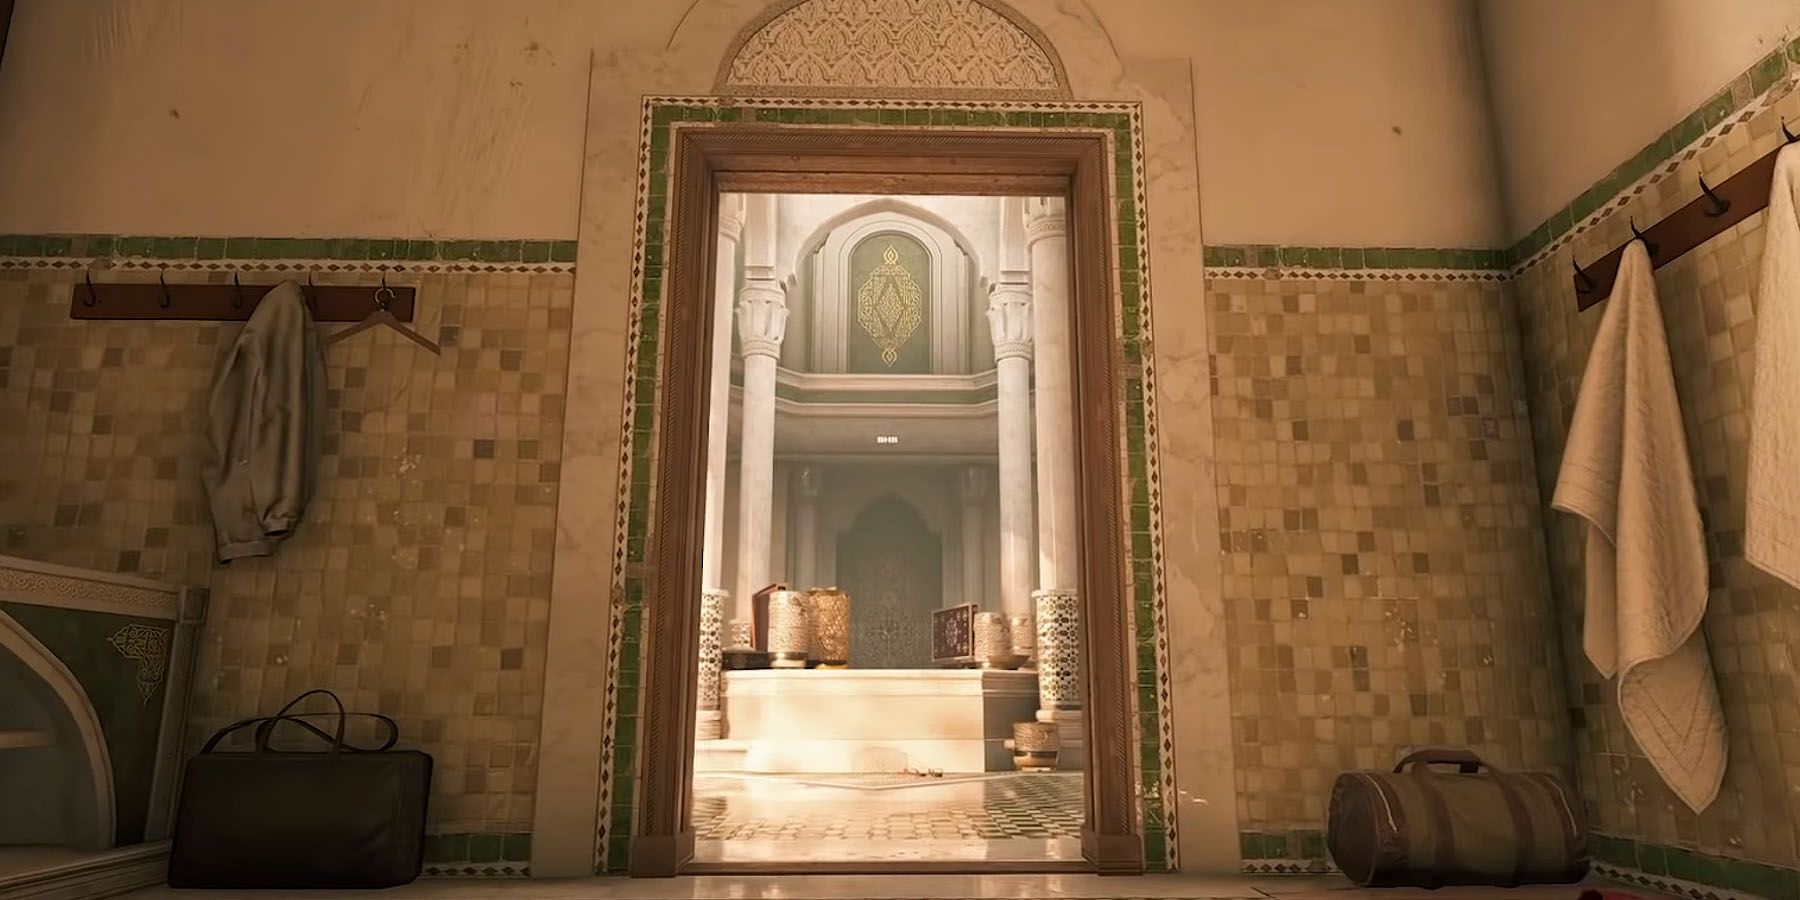
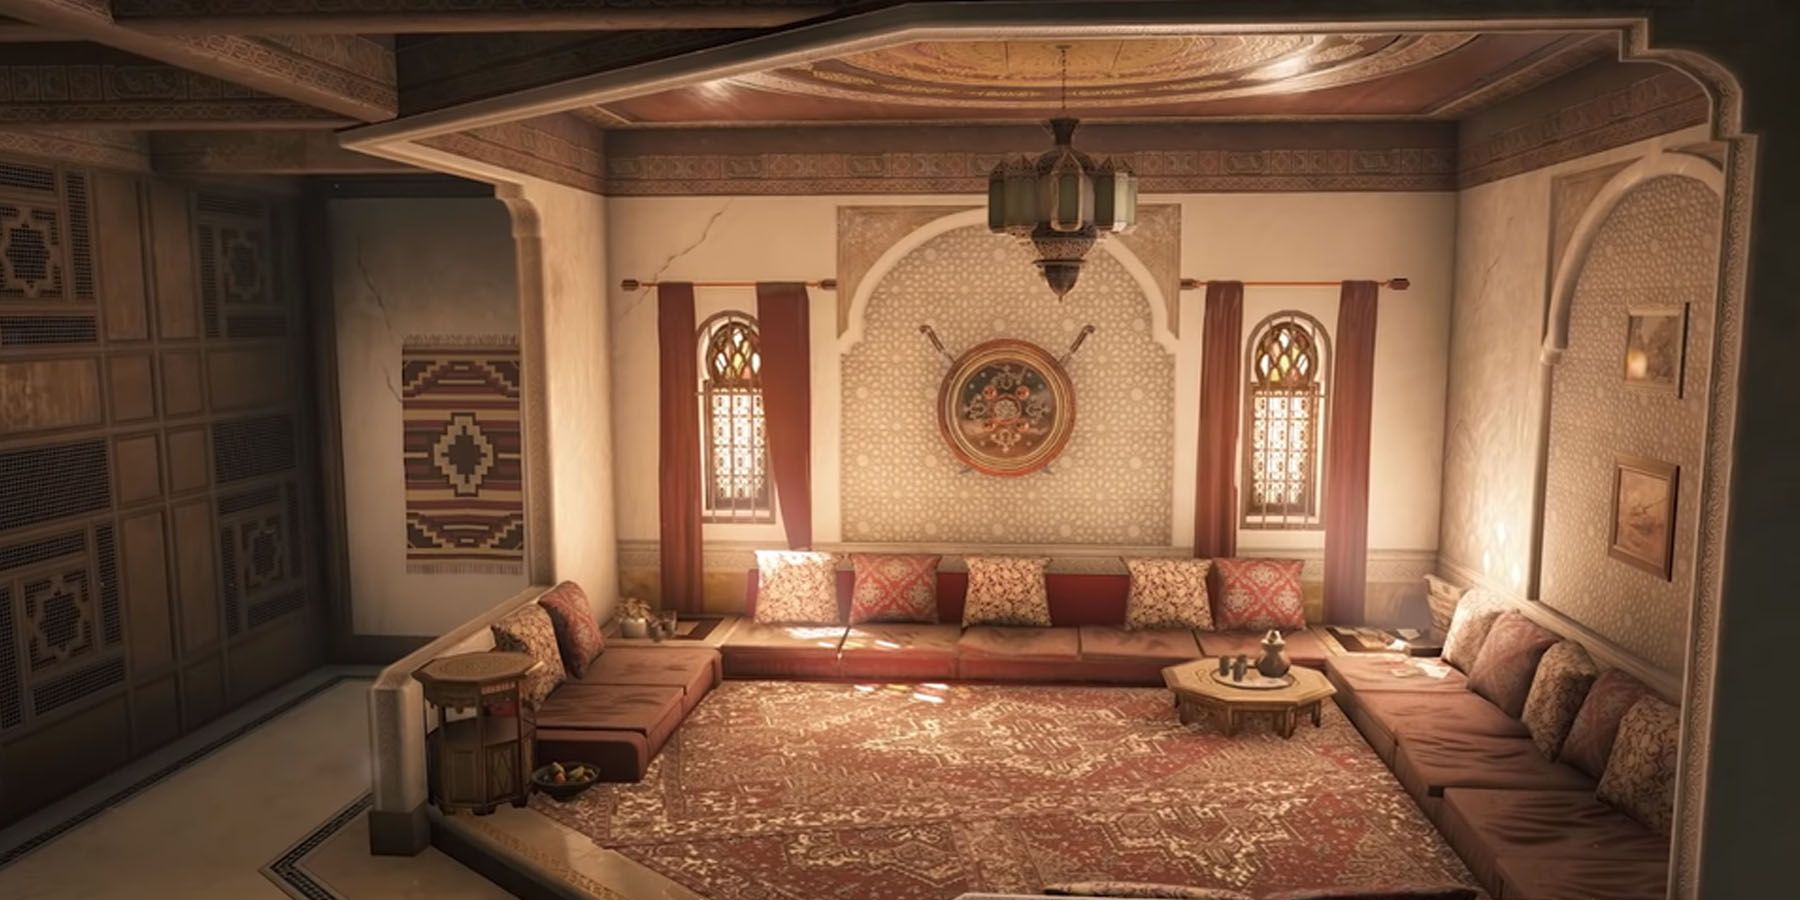
Players of Rainbow Six know that the game isn’t just set squarely in the West but sometimes takes its explosive matches on the backdrop of other countries. In Rainbow Six Siege, the Fortress Map is evidence of such an international prestige. Thanks to the Fortress, fans of Rainbow Six Siege get a full-blown Rainbow Six experience set in a mudbrick kasbah in southern Morocco.
In this map, players get a full-blown tactical Rainbow Six experience, complete with a huge main entrance as well as two towers that can easily become defensible positions. Likewise, its complex interiors and huge layouts make for a great tactical experience for players who want to blast their way through their opponents or approach things with a bit more finesse. How should fans approach the Fortress?
The Fortress: Use Fortifications For The Advantage
Despite its nature as a two-story map, the Fortress is quite massive and has its fair share of complex layouts for each story. Thankfully, the generally-square size of the Fortress does provide some degree of familiarity to both teams, who can use this structure in order to carve out some basic approaches for both offense and defense. At its core:
- Consider Door, Window Access: Given the square layout of the Fortress, it’s likely possible for Attackers to consider using window and door access to tap into the various rooms on the map. Players need to consider securing both their defenses and entryways in this regard.
- The Rooftop Offers Verticality: Players also need to consider the tactical advantage the rooftop offers them, as the complex nature of the map also gives the rooftop various pathways to certain key points in the map. Knowing where to block and where to assault can manipulate encounters.
- Multiple Towers Offer Multiple Entries: Aside from the rooftop, the Fortress has multiple towers that can provide different modes of entry for Attackers and defensive maneuvering for Defenders. Consider how these affect general strategies to maximize their presence in a match.
Basic Defense: Fortify, Intel To Secure The Defense
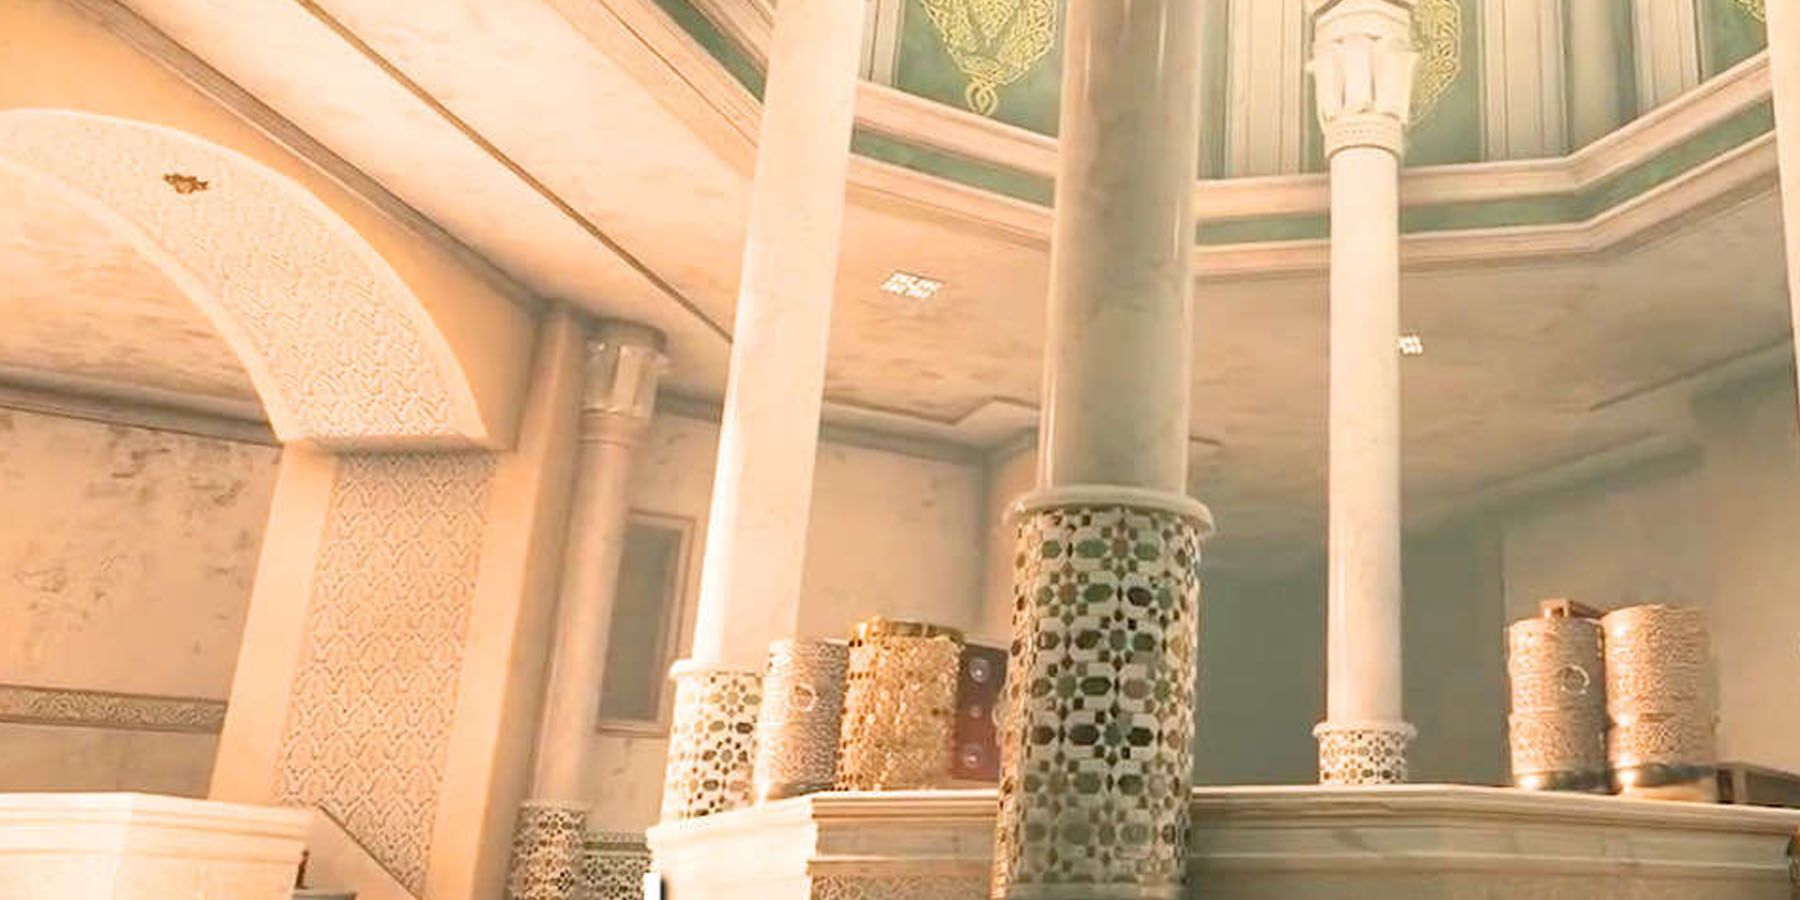
Thanks to the layout of the Fortress Map, it’s relatively defensible even by virtue of its layout. Its interior aesthetics are great for creating extremely well-defended positions, especially near objective sites. Spamming deployable shields and hard shields can make it ridiculously difficult for Attackers to penetrate any defense.
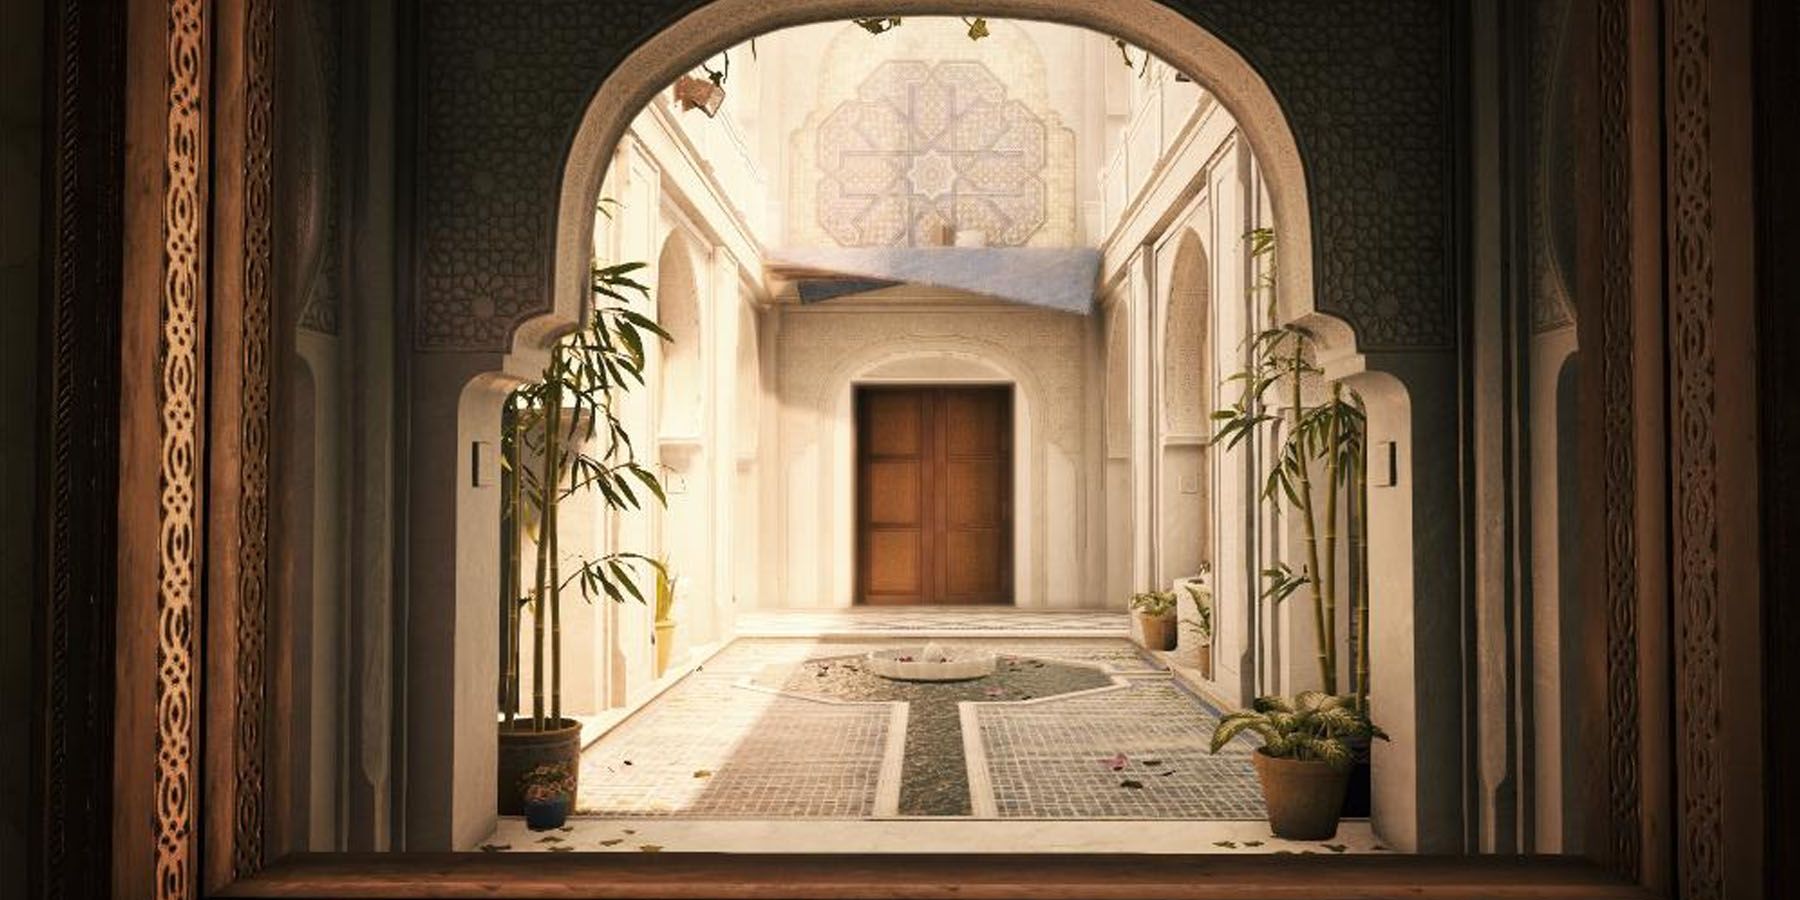
In terms of specific areas, the 1F and 2F Courtyards are often patrolled by both sides but don’t offer as much in terms of default placement locations. As such, players are advised to try placing intel devices there - and spot enemies trying to do the same and catch them in the act.
Reinforcements: The Key Is In The Name
Players on the Defender side don’t have to worry as much about fortifying the natural defenses of the Fortress particularly because they’re well-defended enough, to begin with. However, there are important considerations when it comes to choosing the right kind of Defender utilities and approaches to cementing this kind of defense:
- Make The Map A Threat: Due to the confusing nature of the Fortress’s layouts, Defenders should use this opportunity to capitalize on their roaming capabilities and catch attackers by surprise. Patrolling areas by themselves, with drones, and mines could help secure the defense in integral spots and avoid getting flanked.
- Opt For More Cover: Despite the appearance of a lot of hard natural covers in the area, it wouldn’t hurt to maximize the fortifications present in Fortress. Adding more deployable shields and opportunities for hardcover can push Attackers to a corner.
- Control The Courtyard: The open Courtyard is accessible from both 1F and 2F, and there are hardly any cameras in the location. It’s important to try and have a camera viewing this area, as Attackers commonly use this location to pass by.
Reinforcements: Consider Size, Openings
Given the sheer size of the Fortress, even its site locations offer both large spaces and passageways to various hallways, providing both Defenders and Attackers quite a hard time to choose optimal attack and defensive points. For the Defenders, it’s integral to take these elements into consideration when building a considerable defense, which may help if these are taken into account:
- 1F Cafeteria: Connected to 1F Kitchen, this area is particularly known for the presence of multiple hard covers - making it also quite a tricky area to defend considering the 1F Infirmary beside it is often contested material. It’s advisable to watch over 1F Old Tower Stairs, 1F Laundry, and 1F Dining Room to ensure there won’t be any sketchy flanks moving around.
- 1F Hammam: Beside the 1F Sitting Room, this site is unique in that it’s the only site directly beside exterior access, that is via the Hammam itself and the 1F Music Room. Players need to control 1F Changing Room as this is an integral covering spot to hold the objective. Given the weakness of Music Room’s walls, it helps to always keep someone in 1F Showers to strike enemies.
- 2F Commander’s Office: Situated beside 2F Bedroom, the objective here is located near the center of the map with no direct access from the exterior. However, Defenders should make use of the corridors surrounding it for flanking and rotations. With these in mind, controlling 2F Tower Renovation and 2F Bathroom guarantees easier maneuvering. With the 2F Tower Renovation, in particular, consider putting traps or waiting below the stairs to strike Attackers trying to enter through here.
- 2F Briefing Room: Beside the 2F Dormitory, these two sites only have a soft wall that can open up these spaces. Similar to the Commander’s Office, this room is close to the center of the map with corridors providing key access. Again, controlling access points in the 2F Central Stairs Hall and 2F Shisha Hallway guarantees multiple ways to access defense. Likewise, getting 2F Game Rooms can not only connect the bomb sites but also provide better cover.
Defender Operators: Reinforcement Is Key
Due to the defensible nature of the Fortress, Defenders are likely going to want to roam around and trap the Attackers before they can secure the advantage. With that in mind, it helps to use Defenders capable of fortifying defenses to maximize protections the Fortress can provide their sites, ensuring Attackers have double the hard time tearing through them. Ideal Defender Operators are the following:
- Kaid: Given how Fortress can motivate roaming, it wouldn’t hurt to fortify already-reinforced defenses through Kaid’s Electroclaw. Since this utility practically electrifies defenses such as hatches, walls, shields, and wires, the Electroclaw is a great way to make it harder for Attackers to push through integral spots on the map.
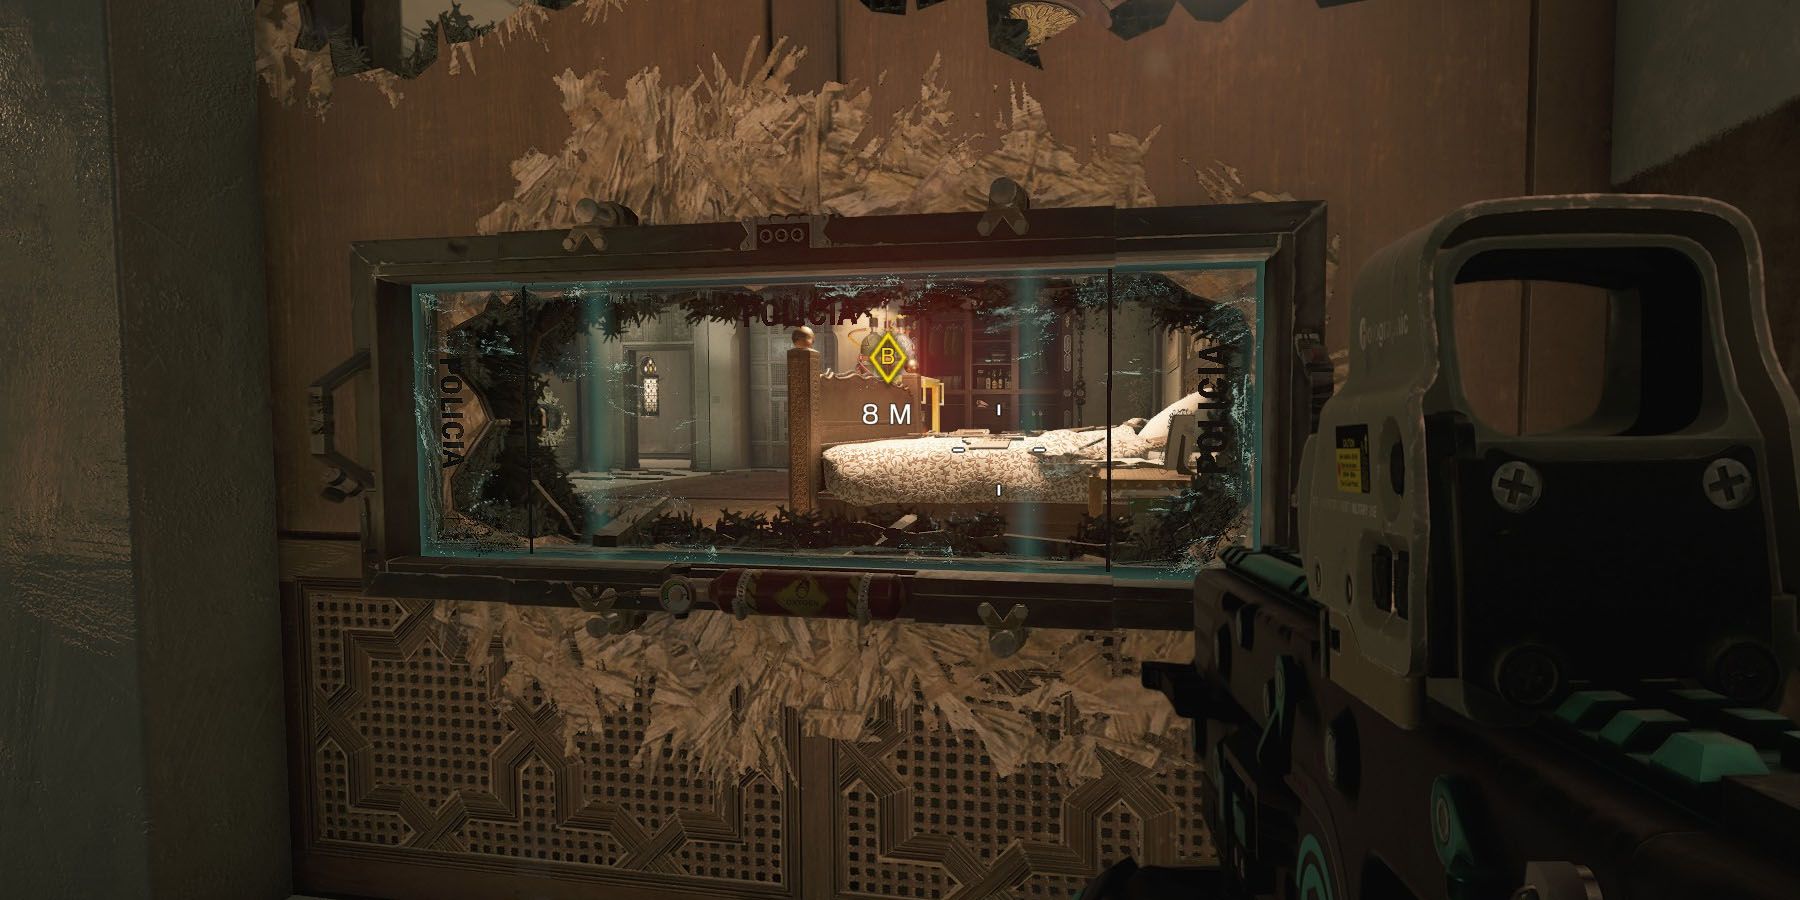
- Mira: Thanks to her Black Mirrors, Mira can create one-way mirrors on any wall - allowing Defenders to peek across spots safely and be able to spot enemies possibly roaming around - without them spotting Mira back. Not only that, she’s able to eject the Mirrors and create an opening for attack, allowing her and the team to eliminate assailants before they make a difference.
- Caveira: Although not necessarily possessing a “gadget,” her personalized Silent Step technique allows her to swiftly sneak towards targets without ever being detected. When catching enemies, her Interrogation Mode forces enemies to divulge the position of their teammates, allowing Caveira to get intelligence on the fly and spot where Attackers could come from.
- Jaeger: Due to the roam-heavy nature of Fortress, it’s easy to see how Defenders may catch some Attackers en route to the site or have other Attackers sneak past Defenders in obscure pathways. Thanks to Jaeger’s Active Defense System, there’s some degree of auto-attack defense available on part of the Defenders, especially when safeguarding locations that aren’t obvious choices for Attackers to approach but still worthwhile to defend if in case they elect to choose those routes.
Basic Attack: Mind The Roam, Verticality
Given the complexity of Fortress as an area, it’s easily one of the most ideal roaming maps around. As such, Attackers need to be wary of where they’re going and how they can best secure their protections. This easily extends as early as their spawns, as Defenders at Front Entrance can easily peek at those spawning at Parking and Main Gate.
Alternatively, players need to take advantage of vertical approaches, such as 3F Tower Renovation, 3F Old Tower, and 3F Guard Tower offering safe vantage points toward the rooftop. Not only that, but a lot of the 1F ceilings tend to be fragile as well, making a vertical top-down approach an ideal option. Players need to be careful, however, as Defenders may camp in 3F Old Tower to kill Attackers.
Offense: Control The Vertical
Since the Fortress is highly leaning towards roamers, it’s very likely for Defenders to rely on gunfights in order to seal the deal and win the round. Attackers can circumvent this by not giving them this luxury, and can instead capitalize on the vertical control the map provides:
- Careful With Spawn Peeking: Unlike other maps, the formidable layout of Fortress makes it difficult for spawn peeking. However, it’s possible for Defenders to be looking from the 1F Front Entrance door, so watch out for those spawning in 1F Main Gate and Parking.
- 1F Ceiling Is Fragile: Always consider the weakness of the wooden ceilings above 1F, making much of the floor in 2F destructible. Consider this when attacking fortified rooms such as 1F Cafeteria, 1F Dining Room, and 1F Kitchen.
- 3F Old Tower: Attackers noticing Defenders being detected near the rooftop at the beginning of the round are likely going to use 3F Old Tower somehow. This may be due to Defenders planning on using the doorway and/or the rooftop entryway for peeking.
- 3F Guard Tower, 3F Tower Renovation: While Old Tower can be a tricky spot for Attackers, its other tower companions such as 3F Guard Tower and 3F Tower Renovation are all ideal entry points due to their relative safety.
Offense: Destruction Is Key
Contrary to other maps, the highly-defensible nature of Fortress may imply that an extremely aggressive push is the way to go to secure contested areas. When it comes to securing high-value targets with a lot of defenses, going straight for the jugular instead of playing around with tricks could be ideal. Sub-classes for Attackers might be better with the following:
- Hard Breacher: Crucial to the hard-cover nature of Fortress, the Hard Breacher is responsible for securing the first line of assault by ensuring there’s a clear path to the site for the team.
- Soft Breacher: Integral to the overall defense of the Attacking team, Soft Breachers are in charge of making flanks and other inaccessible corners of the map more accessible to the teammates. This gives the team more ground to move around.
- Flanker: Primarily focused on outmaneuvering the Defenders, the Flankers are in charge of tapping into their offensive power to either trap Defenders or transform their roaming into a disadvantage.
Attacker Operators: Devastate Defenses
Given the complex nature of Fortress as a map, Attackers should be able to breach through areas as fast as possible and go hard on the map’s natural defenses. Thankfully, there are a couple of Operators with kits fierce and aggressive enough to destabilize defenses pretty quickly for an aggressive lead:
- Fuze: Easily one of the more surprising Hard Breachers in the game, Fuze and his Cluster Charges can be deployed and activated remotely, allowing Fuze to secure cover before detonating and ensure they’ve got the right location to steer straight into their target. Due to the Hard Breach specialization of Cluster Charges, Fuze can ensure no defense is tough enough on their way to the objective.
- Sledge: His large hammer isn’t fooling anyone, especially since the Tactical Breaching Hammer is designed specifically to match Sledge’s physical prowess and eliminate reinforcements on any soft surfaces. Due to the roam-friendly nature of Fortress, this allows Sledge to carve out a direct path to the destination for his team to take.
- Nomad: Thanks to her Airjab Launcher, Nomad can ensure that roaming Defenders in a large area like Fortress won’t be able to catch the jump on her fellow Attackers. Due to the auto-detonation mode of these Airjabs, Nomad can pinpoint exactly where Defenders might be coming from, allowing her to flank reinforcements.
- Jackal: Given the tendency of Fortress to motivate roaming on part of Defenders, Jackal’s tracking abilities give him the best opportunities to take enemies by surprise. Not only that, being able to identify exactly which Operator a specific footprint belongs to allows him to tell the team with pinpoint accuracy where the rest of the opponents are headed.
Rainbow Six Siege was released in 2015 and is available for play on PlayStation 4, Xbox One, PlayStation 5, Xbox Series X and Series S, and Microsoft Windows.

