Highlights
- Trap operators like Gridlock, Goyo, and Wamai offer unique ways to control the battlefield with lethal gadgets and strategic playstyles.
- Gridlock's Trax Stringers slow down defenders, Goyo's Volcanic Canister creates flames, and Wamai's MAG-NET catches and explodes projectiles.
- Nomad and Kapkan bring additional strategic elements to the game with Airjab Launcher and Entry Denial Device, making them formidable opponents.
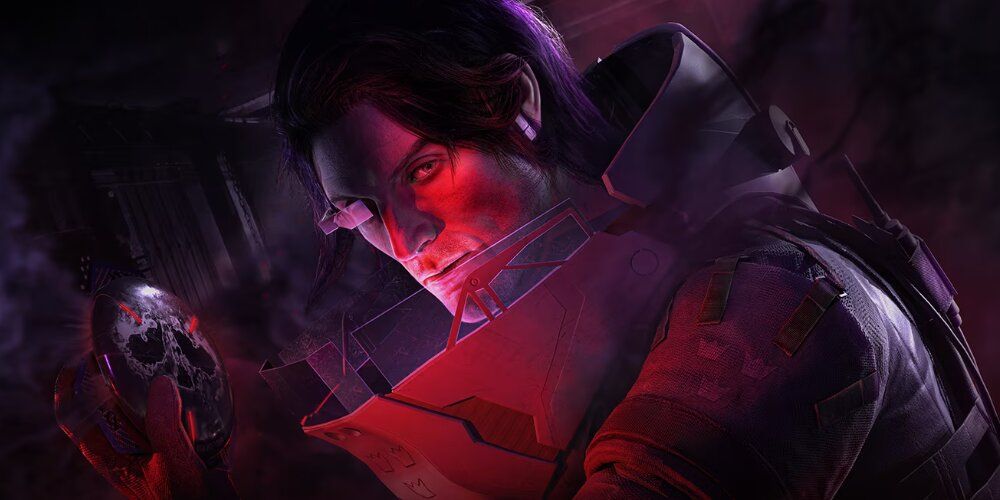
While each operator in Rainbow Six Siege is unique thanks to their weapon loadouts and gadgets, they can be bunched into specific groups depending on where they excel. For example, hard breachers are attackers who can blow a hole in a wall to allow them and their allies to infiltrate a building, while roamers are defenders who can sneak around the map to pick off enemies before they can reach the objective. Trap operators are a little different though, as they aren't confined to one side or the other.

Rainbow Six Siege: 20 Great Operator Combos
Rainbow Six Siege has no shortage of options when it comes to operators to choose from. These are the best combos available.
Instead, some operators can make use of deadly traps for both attack and defense, but with so many of them to pick from, it can be a little difficult to choose one to play. Each of these characters is more than viable in the right hands, but there are still a handful of trap operators who have become especially popular over the years thanks to the effectiveness of their overall kit, and of course, their lethal gadgets.
7 Gridlock
Trax Stringers: Spiked Platforms Which Will Slow Down And Damage Defenders Who Walk Over Them
- Health: 3
- Speed: 1
- Primary Weapons: F90 / M249 SAW
- Secondaries: Super Shorty / SDP 9MM
- Equipment: Frag Grenade / Smoke Grenade / Impact Grenade
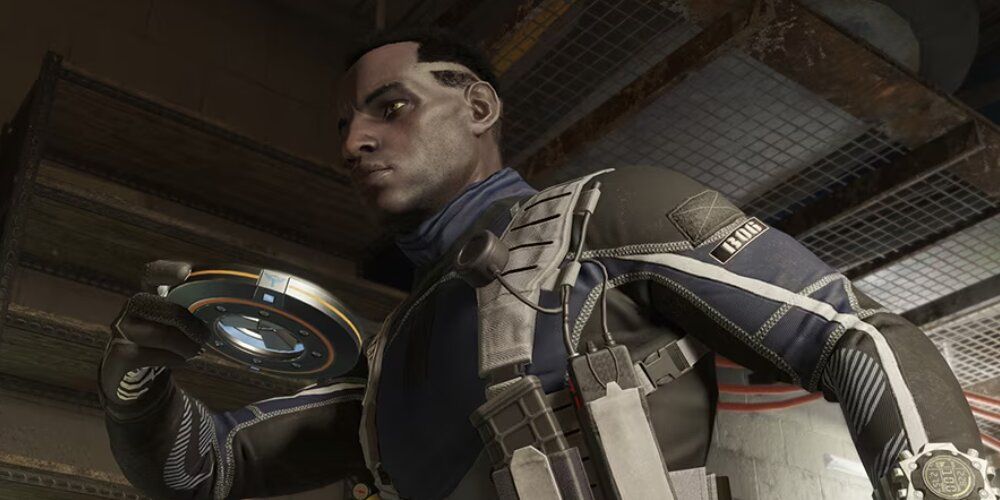
When Gridlock was first revealed in Operation Burnt Horizon, she was largely overshadowed by Mozzie and his unique gadget that could steal drones. Over time though, a lot of players have come to recognize just how strong Gridlock is, being able to slow defenders down to a crawl thanks to her Trax Stingers. Once Gridlock throws out one of these traps, they will keep expanding until they've covered an entire area, making it difficult for defenders to move around the environment without getting hurt in the process.
She's one of the best attackers when it comes to defending the defuser since all she needs to do is throw down a few Trax Stingers to cover the area, and it'll force defenders to shoot them out of the way, giving away their position as a result. Her F90 is a reliable assault rifle which is a good all-rounder, but if players feel brave enough, they can also try out her devastating M249 SAW light machine gun, which is absurdly powerful, but also very hard to control.
6 Goyo
Volcanic Canister: Explosive Canisters Which Can Create A Layer Of Flames After Detonation
- Health: 2
- Speed: 2
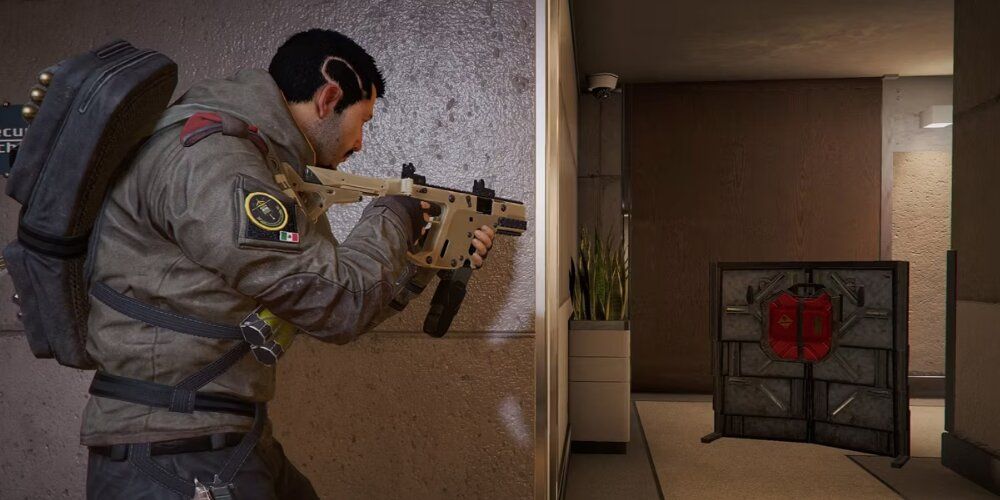
- Primary Weapons: Vector / TCSG12
- Secondary: P229
- Equipment: Proximity Alarm / Bulletproof Camera / Impact Grenade
Most trap operators can throw down their gadget and forget about it until an enemy shows up and sets it off, but Goyo works a little differently. Goyo's Volcanic Canister is a flammable bomb that he can place down to make it harder for attackers to get into the site. Goyo or his allies will need to manually shoot the big red canister to set off the explosion when it sounds like someone is getting close.
Best Tactical Shooters With A Focus On Realism
There are a wide variety of shooters out there for players to choose from, and that includes tactical shooters with impressive levels of realism.
Because the explosion will cause flames to scatter across the ground for multiple seconds, it can halt the attackers and waste valuable time, forcing them to either find a different way in or just linger around until the fire is fully gone. Skilled players will also be able to fire at the canister after attackers jump in, covering them in flames and melting their health bars. His Vector possesses a wild recoil pattern, but it can still dish out tons of damage, and his proximity alarm equipment can help to know when to set off a canister.
5 Wamai
MAG-NET: Magnetic Device Which "Catches" Projectiles And Then Causes Them To Explode
- Health: 2
- Speed: 2
- Primary Weapons: AUG A2 / MP5K
- Secondaries: P12 / Keratos .357
- Equipment: Proximity Alarm / Impact Grenade
Wamai is one of the most unique operators in the game, and though he's very hard to learn, his MAG-NET gadget can be an absolute game-changer when used correctly. This small magnetic device will "catch" any projectiles that are thrown near it, meaning if any grenades or gadgets are thrown out and the MAG-NET is nearby, it will slowly pull them back to the device before then exploding them on impact.
This can be devastating if players know exactly where the attackers are going to be entering from since they can single-handedly pick up a kill or two just by catching an explosive device in midair and throwing it back at the user. However, setting the MAG-NET up around the interior of a site can be risky, since there's a chance it could gravitate towards an ally, so it's best to be cautious when tossing them out. When it comes to weaponry and stats, Wamai is a viable all-around operator who's also able to open up some rotation holes thanks to his impact grenades and powerful Keratos sidearm.
4 Nomad
Airjab Launcher: Fire A Pushback Device That Launches Nearby Enemies Onto The Ground
- Health: 2
- Speed: 2
- Primary Weapons: AK-74M / ARX200
- Secondaries: PRB92 / .44 Magnum
- Equipment: Breach Charge / Stun Grenade
The biggest thing attackers always need to worry about when creeping towards the bomb site is getting flanked. It's all too easy to make a little too much noise when infiltrating a room, only for an enemy to then run around the back and mess up the whole play, but the one attacker who completely negates this issue is Nomad. Nomad's assault rifle is kitted out with an Airjab Launcher which can fire small sticky projectiles that will launch an enemy back if they get too close to it. They also let out a loud shockwave noise when they go off, immediately letting Nomad know if she's being flanked, and where exactly the enemy is.
The Airjabs can also be used to mess with defenders who are staying too close to the objective. By sneaking in a few Airjabs and planting them around the site, it will be an absolute nightmare for the enemy team to move around. That's not all though, as Nomad's breach charge also means she can move through fortified walls, and her .44 magnum comes equipped with a built-in telescopic sight, making her a true force to be reckoned with.
3 Kapkan
Entry Denial Device: Explosive Devices Which Are Installed On Doors And Windows
- Health: 2
- Speed: 2
- Primary Weapons: 9X19VSN / SASG12
- Secondaries: PMM / GSH-18
- Equipment: Bulletproof Camera / Nitro Cell
The very first trap operator, Kapkan, isn't too flashy or over the top with his gadget, but he doesn't need to be since his Entry Denial Devices can make quick work of anyone who makes the mistake of getting near them. These traps are incredibly dangerous, and since Kapkan has five of them to play around with, it means he can spread them out across the map to get the drop on the attackers, no matter which direction they decide to come from.
6 Ubisoft Games With The Best Gunplay, Ranked
Ubisoft is the master at integrating rock-solid gunplay into their games, with these titles being the best examples of this in action.
Because of how small they are, and the fact they can be drilled into different parts of a door or window, it also makes it very difficult to even see these devices, leaving attackers with barely any time to react to them once they get close enough. Kapkan's 9X19VSN boasts a laser-sight accuracy that can annihilate enemies with just a handful of shots, and his nitro cell gives him even more explosive tools to utilize...as if he didn't already have enough.
2 Lesion
GU Mines: Small Toxic Mines That Infect Enemies With A Poison Which They Must Manually Remove
- Health: 2
- Speed: 2
- Primary Weapons: T-5 SMG / SIX12 SD
- Secondaries: Q-929 / Super Shorty
- Equipment: Bulletproof Camera / Impact Grenade
Lesion's GU Mines might not be quite as powerful as Kapkan's entry denial devices, but considering that he has plenty more to use, it means he can cover almost the entire map with these small and prickly devices. When an attacker steps on a GU Mine, they will become poisoned and gradually lose health until they physically remove the mine themselves. The only issue is that this animation is quite long, forcing the attacker to either take the risk of removing it and leaving themselves vulnerable, or bearing with it while their health gradually drains.
Needless to say, Lesion can be a real thorn in the side for attackers, with there being barely any operators who are capable of countering his playstyle. His T-5 SMG comes with a staggeringly high fire rate, and his Super Shorty and impact grenades mean he's more than capable of breaking down a few walls to get the drop on any unlucky victims to fall into his GU Mines.
1 Fenrir
F-NATT Dread Mine: Throwable Device That Can Emit A Fear Toxin To Nearby Enemies
- Health: 2
- Speed: 2
- Primary Weapons: MP7 / SASG-12
- Secondaries: Bailiff 410 / 5.7 USG
- Equipment: Barbed Wire / Bulletproof Camera
Fenrir's F-Natt Dread Mines work very similarly to Lesion's GU Mines, but the biggest difference between the two is that Fenrir's traps need to be manually activated before they can be set off. This might seem like a huge drawback, and in scenarios where things are getting a little chaotic, it can sometimes be a problem, but the range of these traps is so massive that it more than makes up for it. Upon activation, the mines will disperse a fear gas which will blind enemies and immediately give away their position if they get caught in its large radius.
Thankfully, Fenrir can activate these mines remotely and can use three of them at once, allowing players to come up with some creative set-ups if they know the enemy will be moving through a specific room. His barbed wire also helps out with this since it can make it hard for attackers to escape the gas once they breathe it in, leaving them wide open for the defenders to take advantage of. Pair this with a deadly MP7 and a formidable Bailiff 410 revolver, and it's no wonder why Fenrir is considered by many to be the best trap operator in the game, despite not even being around for very long.
Rainbow Six: Siege
- Platform(s)
- PS4 , PS5 , Xbox One , Xbox Series X , Xbox Series S , Amazon Luna , Stadia , PC
- Released
- December 1, 2015
- Developer(s)
- Ubisoft Montreal
- Genre(s)
- Shooter


