Fitting to mark Year 7 of Rainbow Six Siege, Season 1’s Operation Demon Veil revealed Azami, a new Defender armed with a modified kunai that releases a compound that solidifies on surfaces, allowing players to patch up walls and create brand new defensive lines. This masked Defender can make a lot of changes to the overall Rainbow Six Siege landscape, and her new defensive strategy is a must-have for players used to the typical mayhem and chaos caused by a typical Siege match.
However, getting the hang of Azami and her kunai’s mechanics can get quite tricky at first. With the right approach and the right mindset, this new Siege Operator can easily become a Defender main’s favorite, provided they understand the deeper nature of her mechanics first.
Azami: The Basics
Before diving deep into Azami’s more gameplay-intensive aspects, it’s important to fully understand her basic capabilities as an Operative. At its core, Azami is a Defender that specializes in securing defensive spaces, courtesy of her Gadget. Unlike other Defenders that either carry defenses with them (Shields) or secures the position with reconnaissance and knick-knacks (Drones, etc.), the straightforward portability of Azami’s defensive capabilities can be a godsend to more mobile teams. Here are other statistics players should note:
- Side: Defender
- Role: Area Denial, meaning Azami’s loadout allows her to ensure that space enemies could benefit from becoming inaccessible or unusable to them. This can make defense much easier for Azami’s side.
- Health: 2/3, Speed: 2/3, making Azami a nimble-enough Defender to stay mobile when necessary but could take a bit of damage before being downed. This is extremely crucial considering her role, as she’d most likely be the first one in, last one out when it comes to defensive situations.
To Rotate Or Not To Rotate
Unlike other Defenders that normally have a recommended approach, Azami is more fluid given the mobile nature of her Kiba Barriers. As such, she’s not one to primarily defend a point or secure them in a mobile manner, but rather could do a bit of both. However, this does pose some restrictions regarding her playstyle:
- Rotation Defense: A popular Azami playstyle involves rotating her defenses, securing valuable points for the team with her Kiba Barrier as they try to sniff out Attackers. This also involves “securing” vantage points that Attackers could use to attack via the flank and the rear, making rotation for them more inconvenient.
- Stationary Defense: Another ideal strategy for Azami is to secure and fortify an important position and stay as its primary defender. She can do this by staying behind and ensuring that her point is inaccessible or leaving an obvious hole in her defense and hiding somewhere nearby for an ambush.
Primary: Build Or Destroy
When it comes to her overall loadout, Azami and her weapon choices give players a lot of possibilities in regard to her approach as a Defender. With her Gadget being surface-based, Azami’s loadout emphasizes her ability to both build defenses and destroy the competition – it’s only up to the player how hard they want to approach a certain concept. This is particularly applicable to her choice of Primary Weapon, as this dictates her hardline approach to defense:
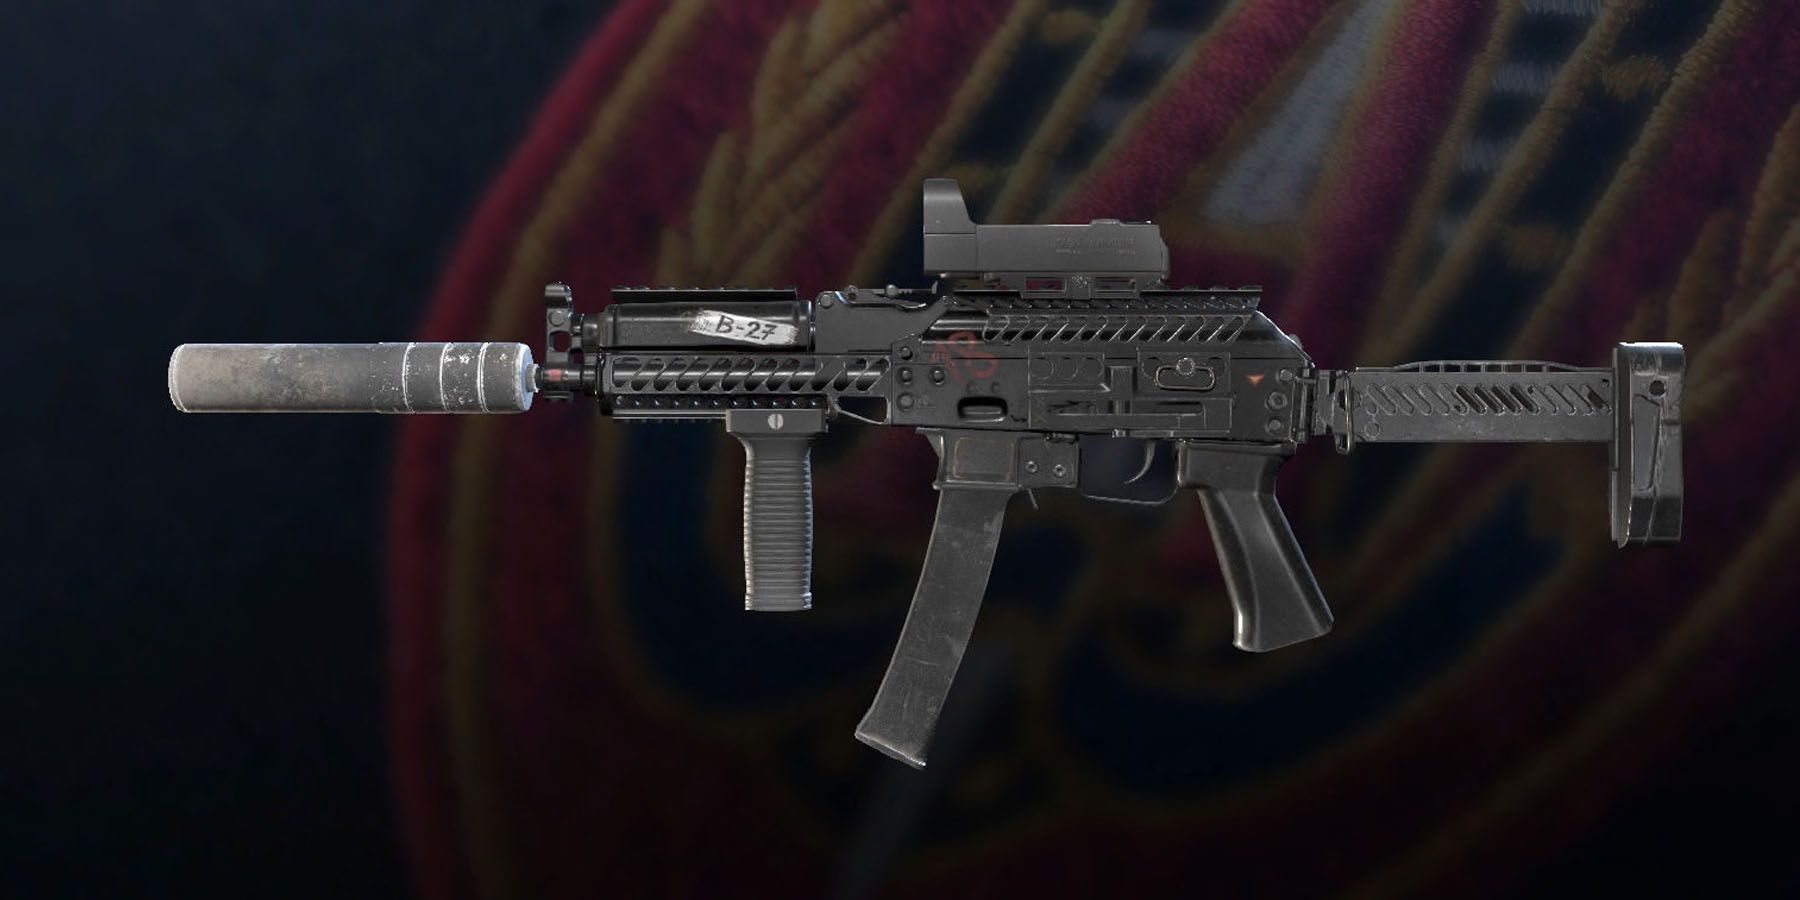
Primary 1: 9x19VSN SMG For Fast Kills
Rainbow Six Siege players who want to use Azami fast and loose will want to rely on the 9x19VSN SMG, which is used often by the Spetsnaz and Defenders like Kapkan and Tachanka. While not among the best SMGs in the game, it’s certainly not the worst. Its 34-damage and 30-magazine count with 750 ROF make the 9x19VSN quite a beast to handle, especially in tight firefights where Azami needs to secure the kill quickly after detecting enemies.
- Damage (Suppressed*): 34 (28)
- Rate Of Fire: 750
- Magazine: 30
- Suppressor Available: Yes
- ACOG: No
- Range: Short-to-Mid Range
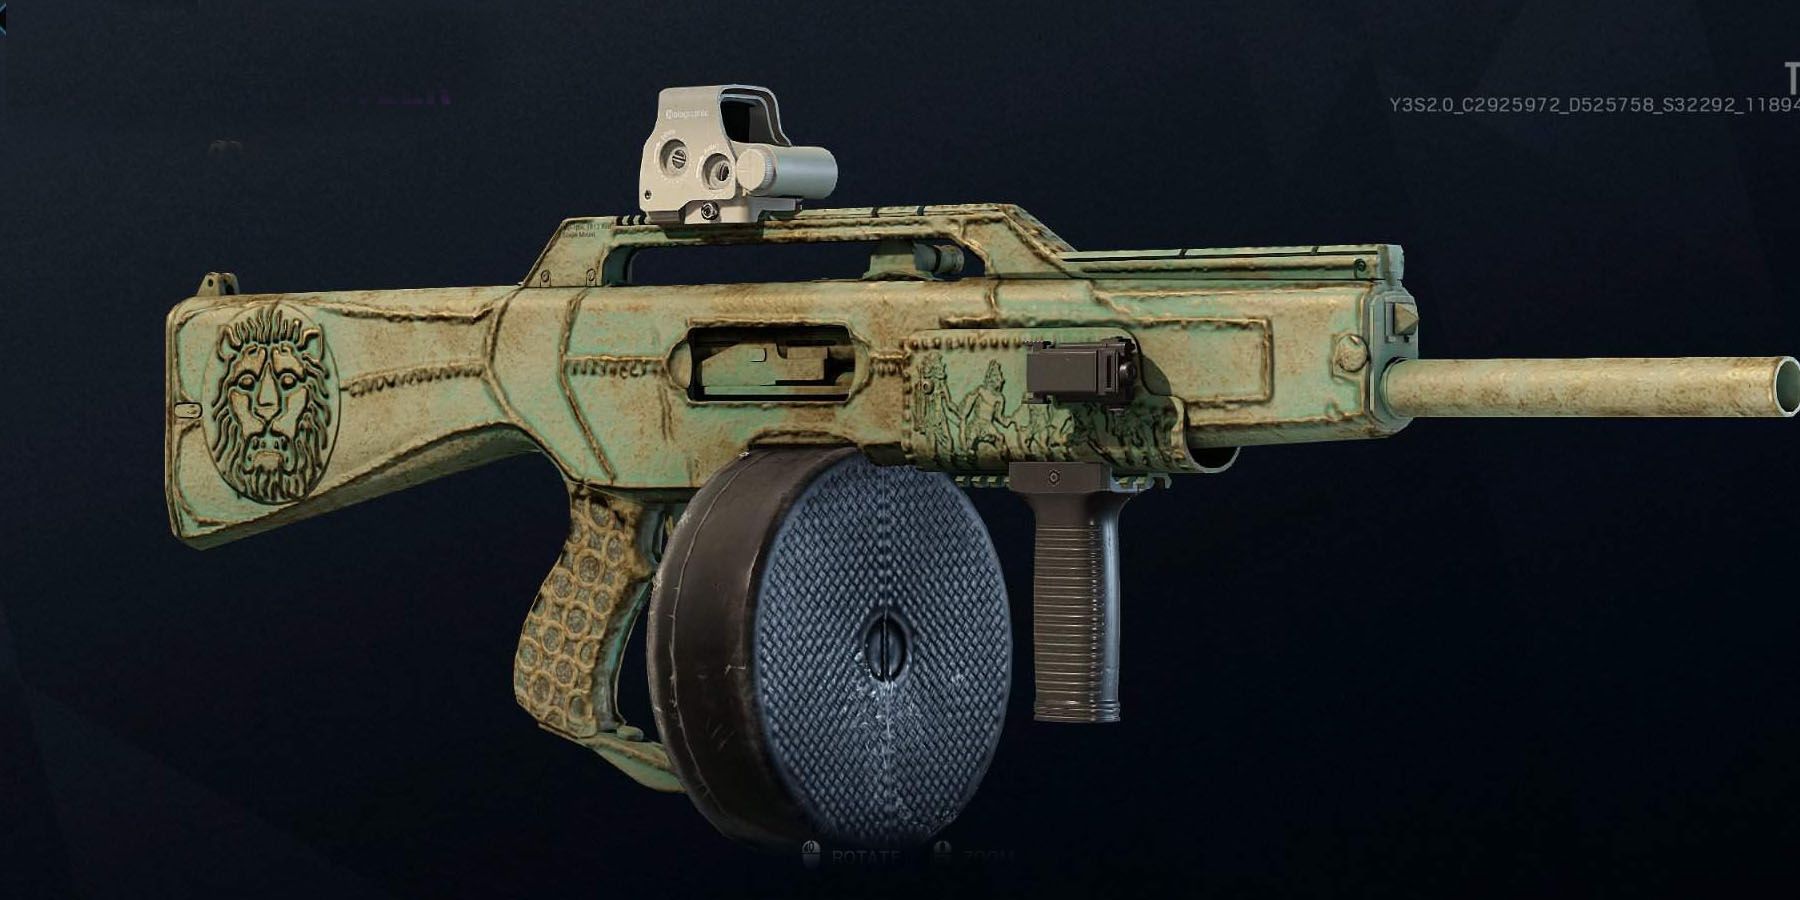
Primary 2: ACS12 Shotgun For More Punch
People who want to make more impactful plays with Azami might wish to get a bit slow on the uptake with the ACS12 Shotgun, usually used by the GIS and by Defenders like Alibi and Maestro. While much slower than the 9x19VSN, the ACS12 Shotgun shoots where it hurts, and it packs quite a punch with its 27-damage, 30-bullet magazine. Unlike other pump-action and semi-auto shotguns, the faster rate of fire for the ACS12 Shotgun can help Azami tear through obstacles up close, making it quite useful for both rotations and defending points.
- Damage (Suppressed*): 27
- Rate Of Fire: 300
- Magazine: 30
- Suppressor Available: No
- ACOG: No
- Range: Short Range
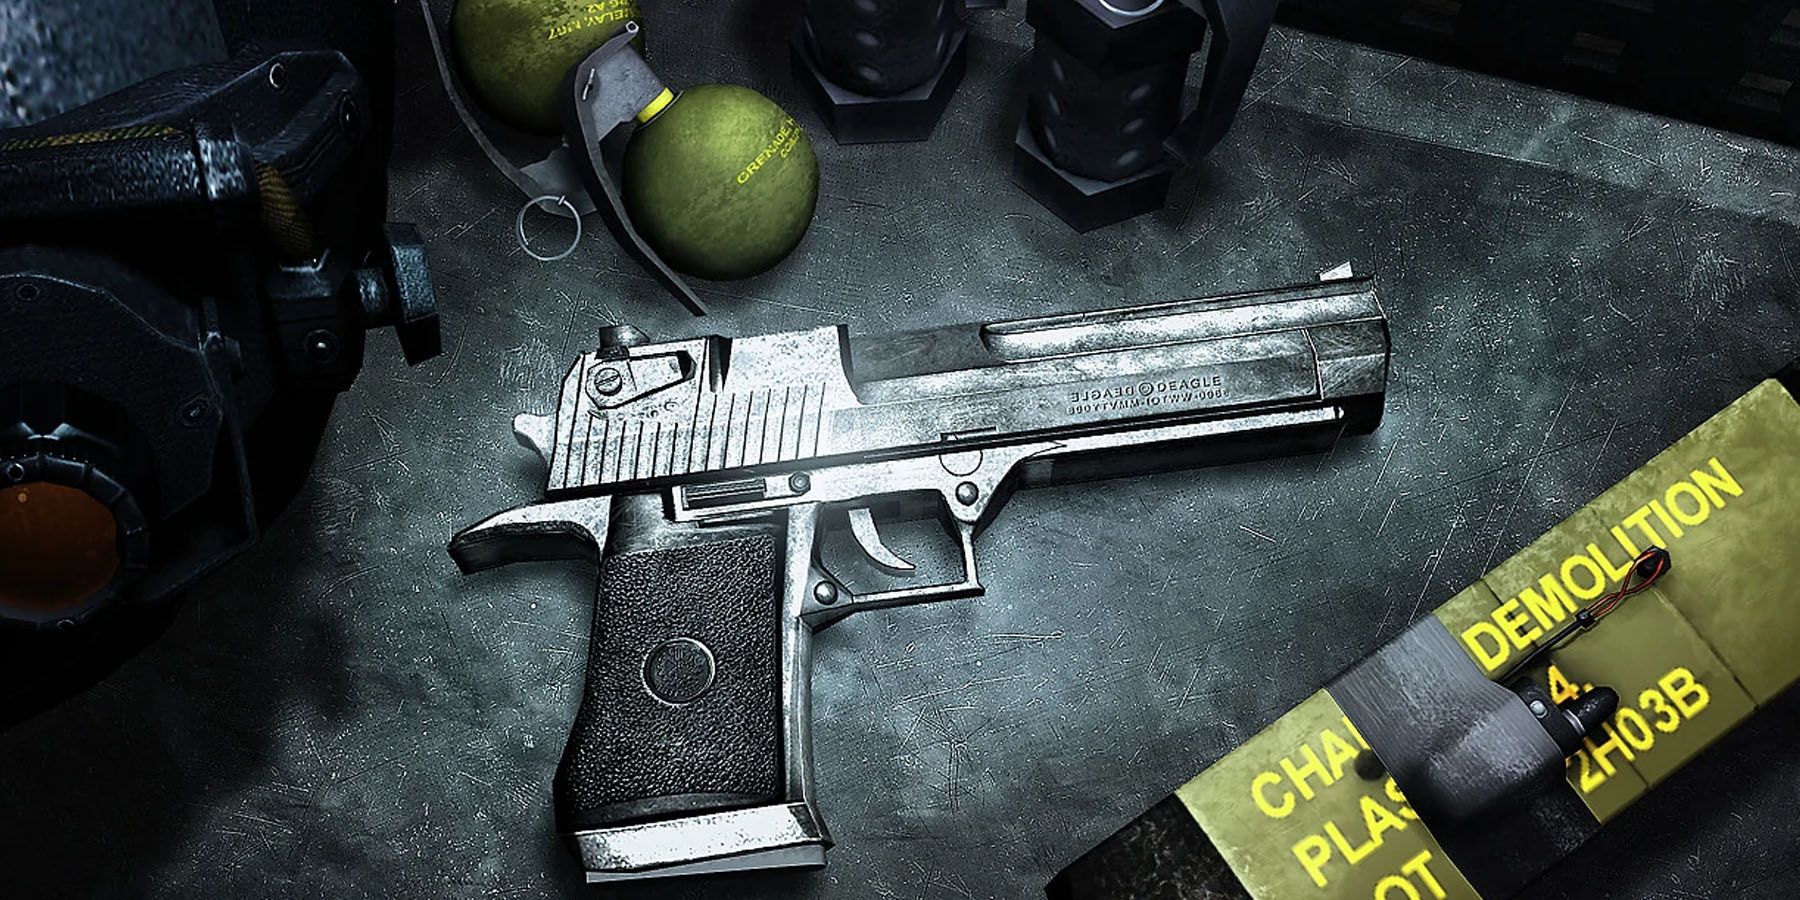
Secondary: D-50 Deagle Fits Close-Ranged Encounters
When it comes to the Secondary, Azami touts the trusty D-50 Deagle, associated usually with the Navy SEALS and Jaeger Corps and used by other Operatives such as Blackbeard, Nokk, and Valkyrie. Despite the low magazine count, the D-50 Deagle boasts some of the best damage for handguns available, making it a great short-range ally for Azami, especially when caught off-guard.
- Damage (Suppressed*): 71 (60)
- Rate Of Fire: Semi-Auto
- Magazine: 7
- Suppressor Available: Yes
- ACOG: No
- Range: Short Range
Secondary Gadget: Securing Offense Or Defense
Aside from her Primary Gadget, Azami has the choice of one Secondary Gadget, that being the Impact Grenade or Barbed Wires. For players, this choice depends on the kind of playstyle they want to pursue with Azami, as she can become a mobile or stationary Defender depending on this choice. Ideally, players need to consider the following elements:
Barbed Wire For Detection
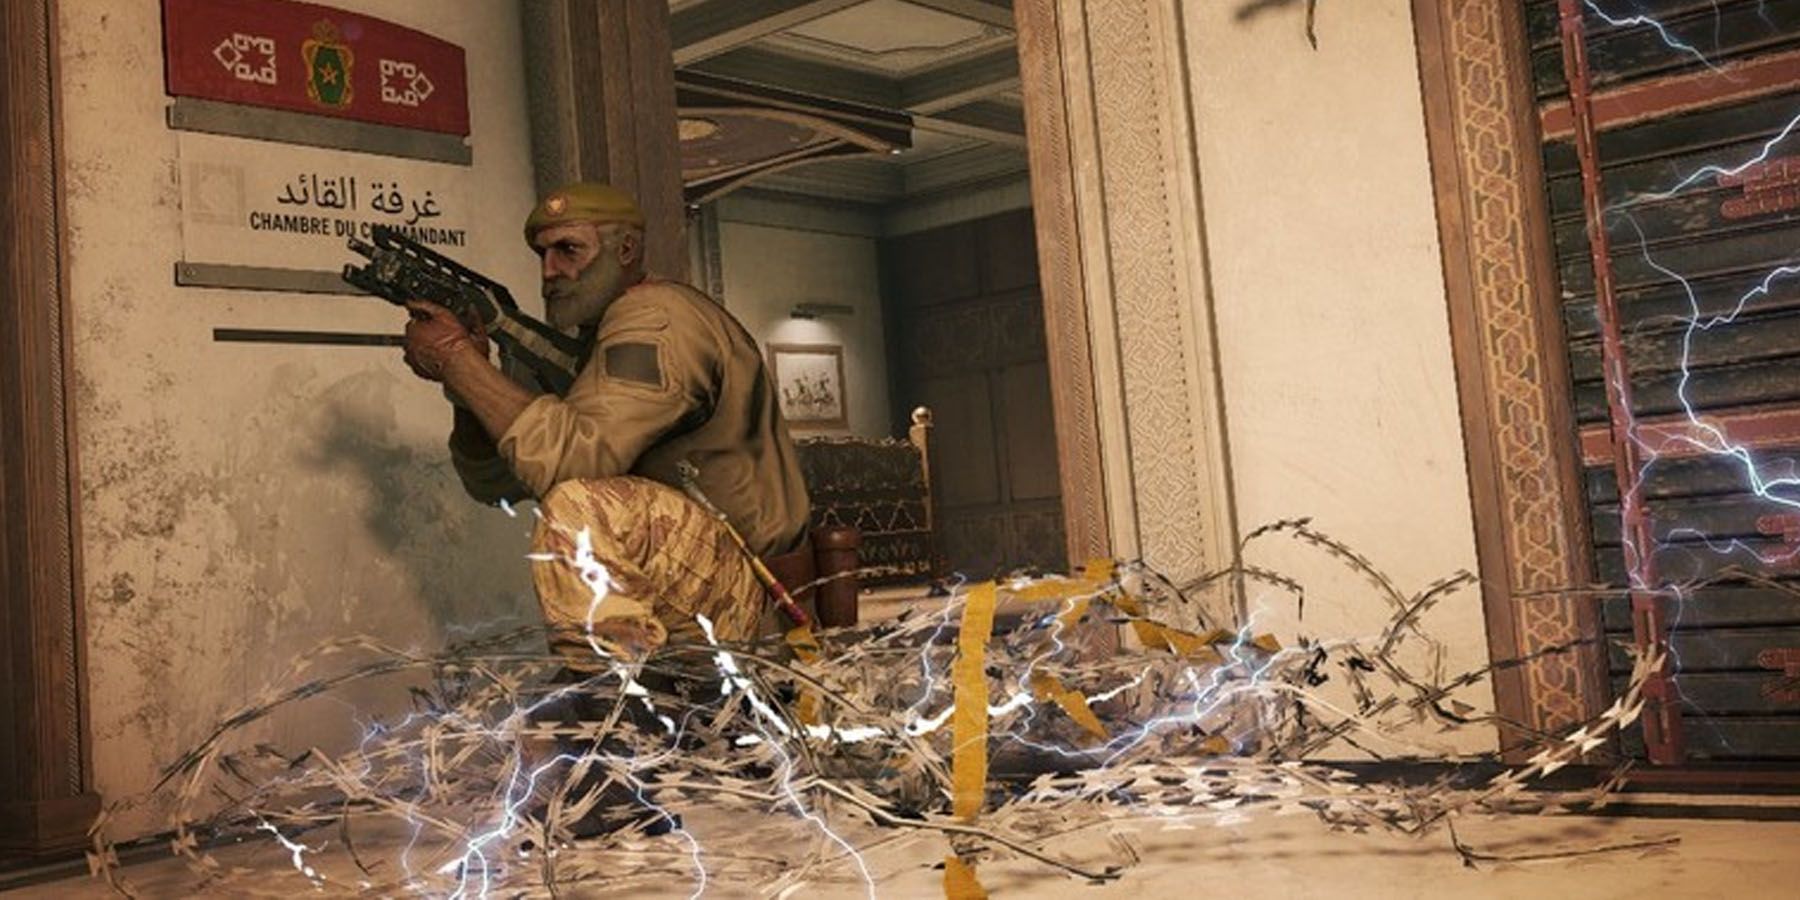
In principle, the Barbed Wire is designed as a movement detriment for enemy Operators and Drones. Once deployed, the Barbed Wire usually occupies a space close to the Operator’s feet and can cover 1.25 meters. Barbed Wires may not go through obstacles, and can’t “overlap” their effects, but more Barbed Wires means covering more ground. While immune to bullets, explosions and melee attacks can destroy them.
Where Barbed Wires shine, though, is through its main shtick: preventing movement. Barbed Wires can slow down Attackers by as much as 50-percent as it prevents sprinting inside them, and even generates a slight vibration on view that can potentially distract them. Most importantly, Azami can use the rustling sounds of Barbed Wires to detect nearby Attackers. This makes Barbed Wires excellent as a form of stationary defense.
Impact Grenade For Aggression
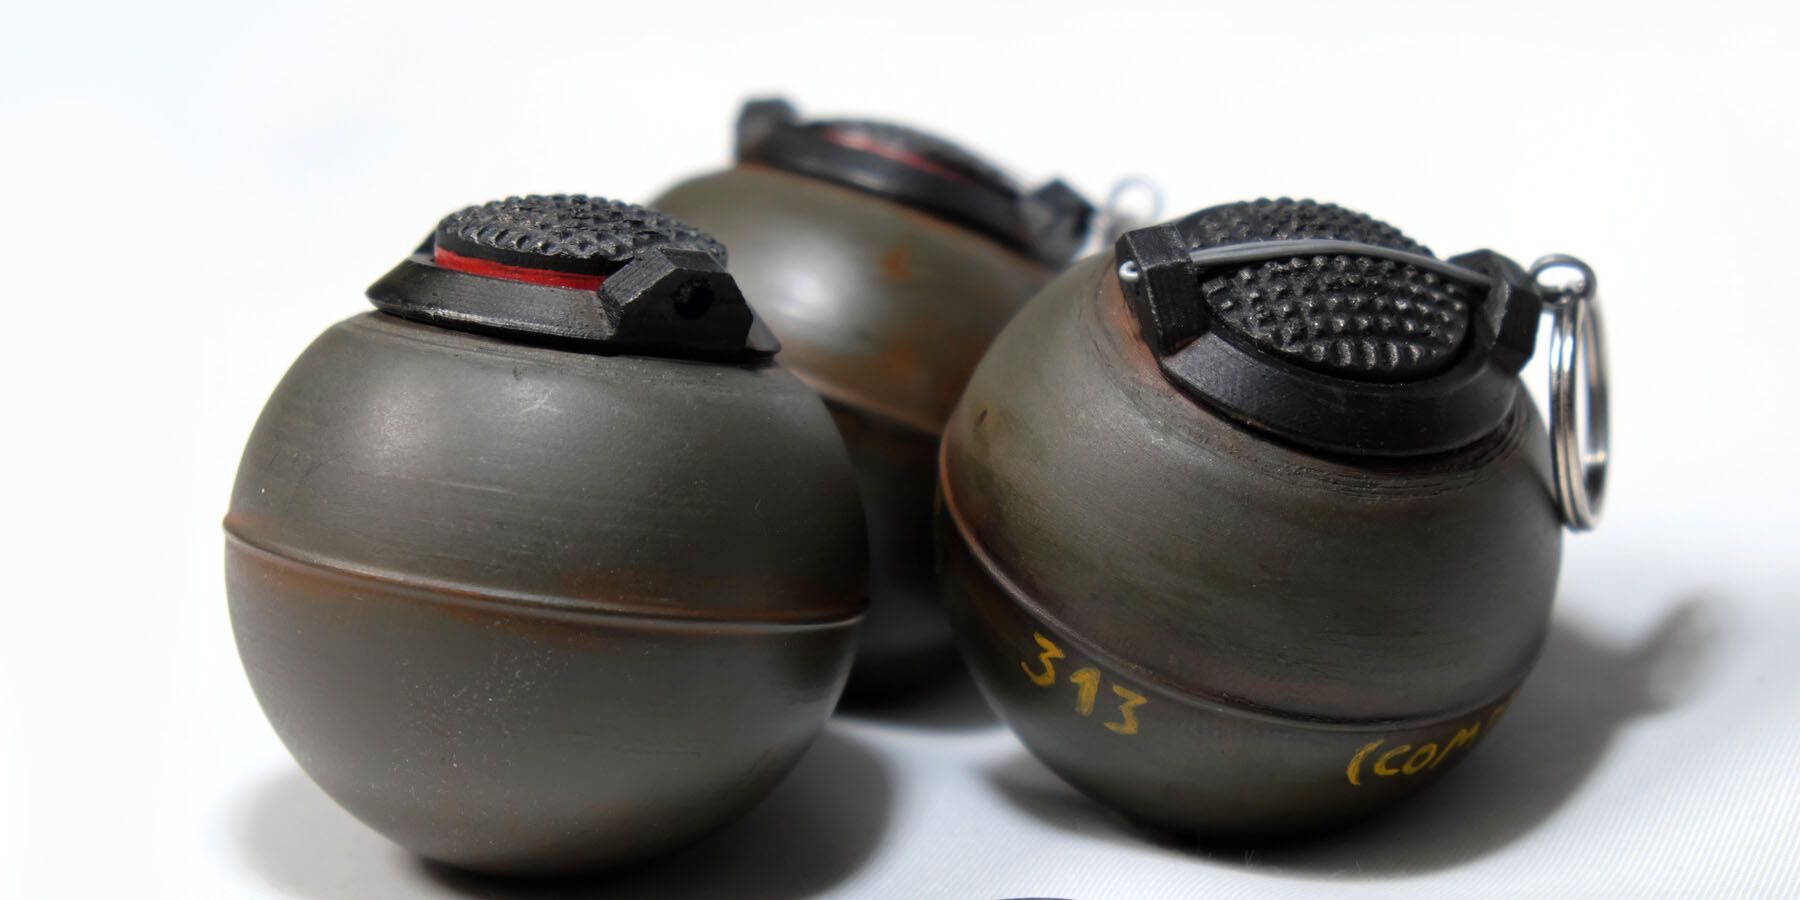
At its core, the Impact Grenade only deals damage as it detonates on impact. Moreover, it has quite the drop-off as damage essentially becomes zero if they’re more than 2-meters away from an opponent. When thrown, the Impact Grenade can go up to 20 meters before exploding, making it a handy ranged weapon. Damage-wise, the Impact Grenade can deal numbers ranging from 45 damage (Heavy Armor) to 60 damage (Light Armor).
Considering how the Impact Grenade can create large-enough holes for walking or crouching at the proper height, Impact Grenades can heavily contribute to creating new rotation paths. For Defenders like Azami, Impact Grenades can be used aggressively to confirm kills or even bait Attackers. When used defensively, Impact Grenades can force Attackers to defend an extra angle, making firefights disadvantageous to them.
Kiba Barrier: Solidify Defenses
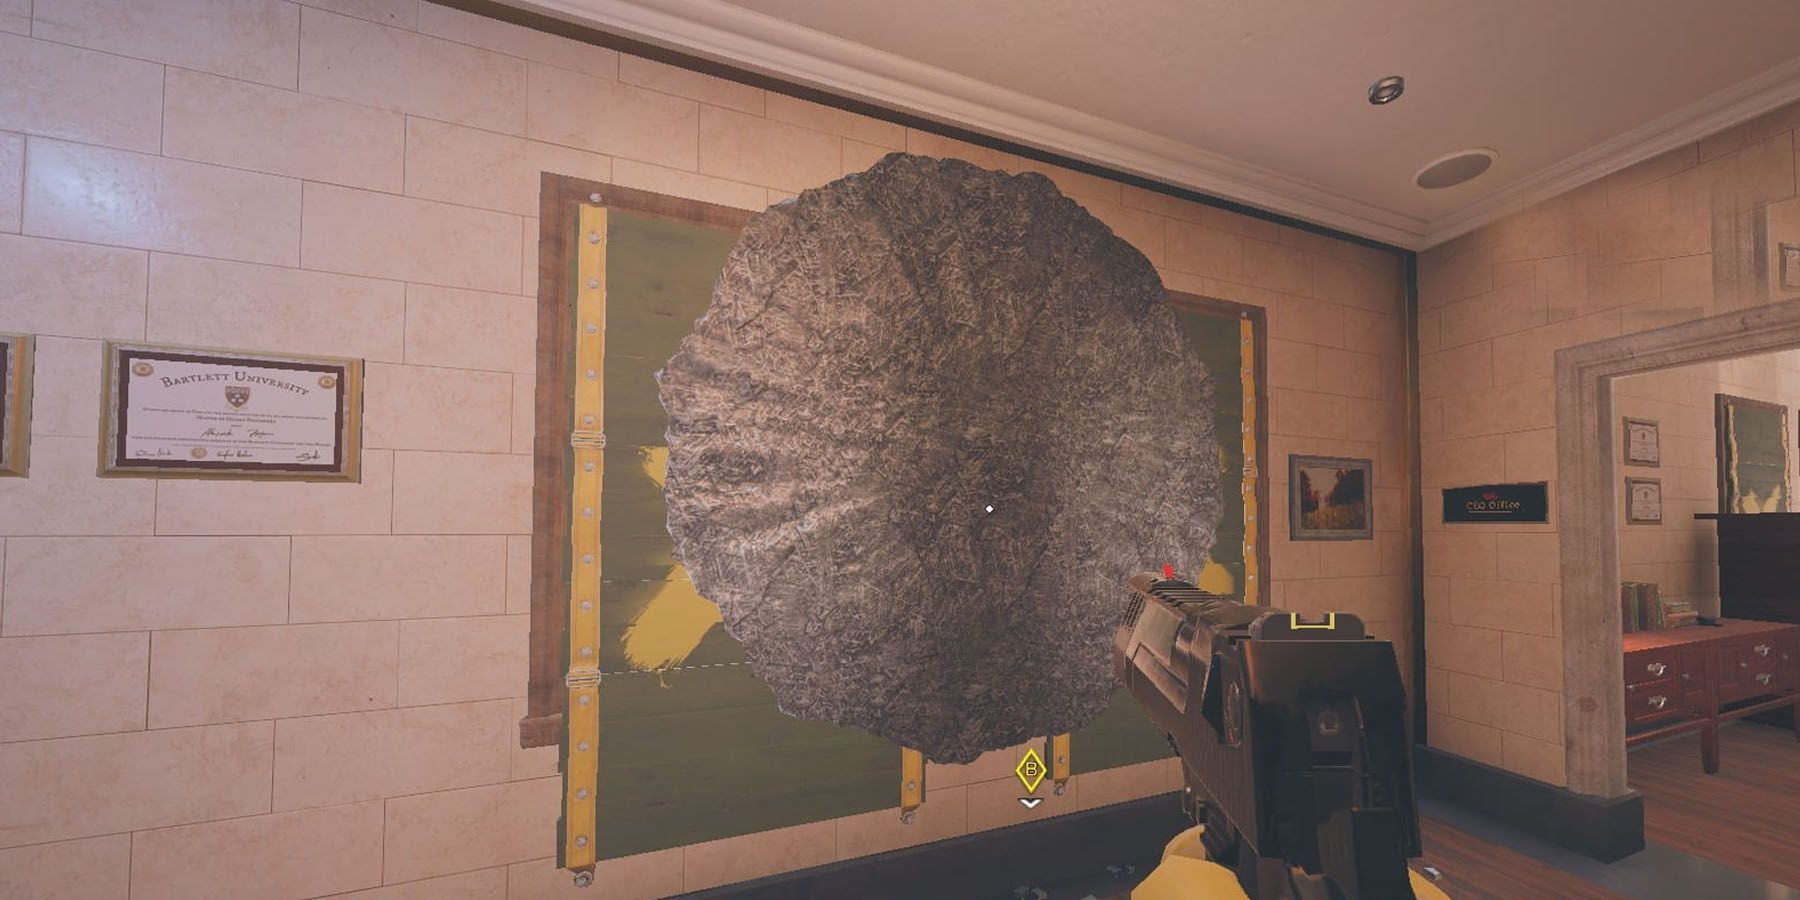
Azami shines truly with her Primary Gadget, the Kiba Barrier. Each Kiba Barrier is shaped like a kunai or throwing knife, and acts primarily as such. Instead of being thrown into people, however, Azami built them to be thrown and stuck onto surfaces. Afterwards, it then deploys a liquid that solidifies into a surface. The Kiba Barrier's properties dictate its general uses and limitations:
- Rapidly Expanding, Solidifying: Similar to other Gadgets, the Kiba Barrier’s liquid rapidly expands onto surfaces and almost immediately solidifies. In terms of creating defenses, this means Azami can secure an area in a mere few seconds, provided players know where they need to place a Kiba Barrier.
- Bulletproof Barrier: Perhaps the strongest asset of the Kiba Barrier, the surface it expands onto becomes virtually bulletproof. This can transform vulnerable locations such as holes into formidable defenses.
Get Creative With Kiba Barrier Obstacles
Given the straightforward expanding-solidifying nature of the Kiba Barrier, Azami and her players have a lot of creativity when it comes to finding ways to maximize the gadget. When used properly, Kiba Barriers won’t just disrupt enemy movement but even annoy them to submission. Players need to remember these uses of the Kiba Barrier:
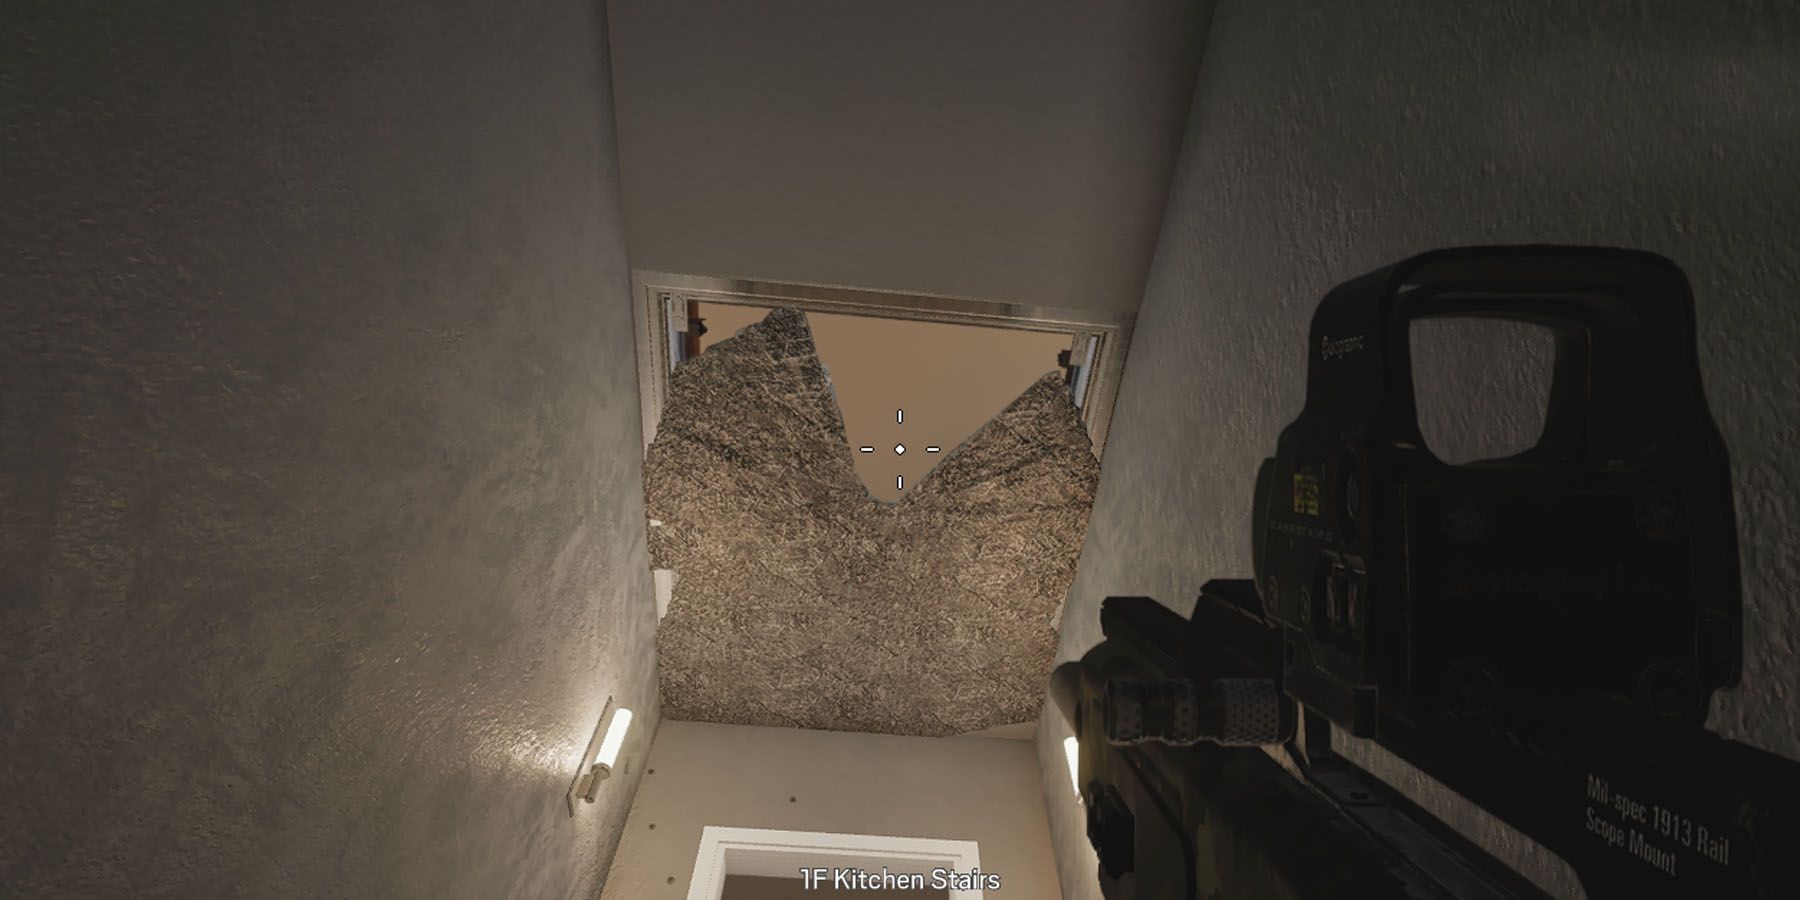
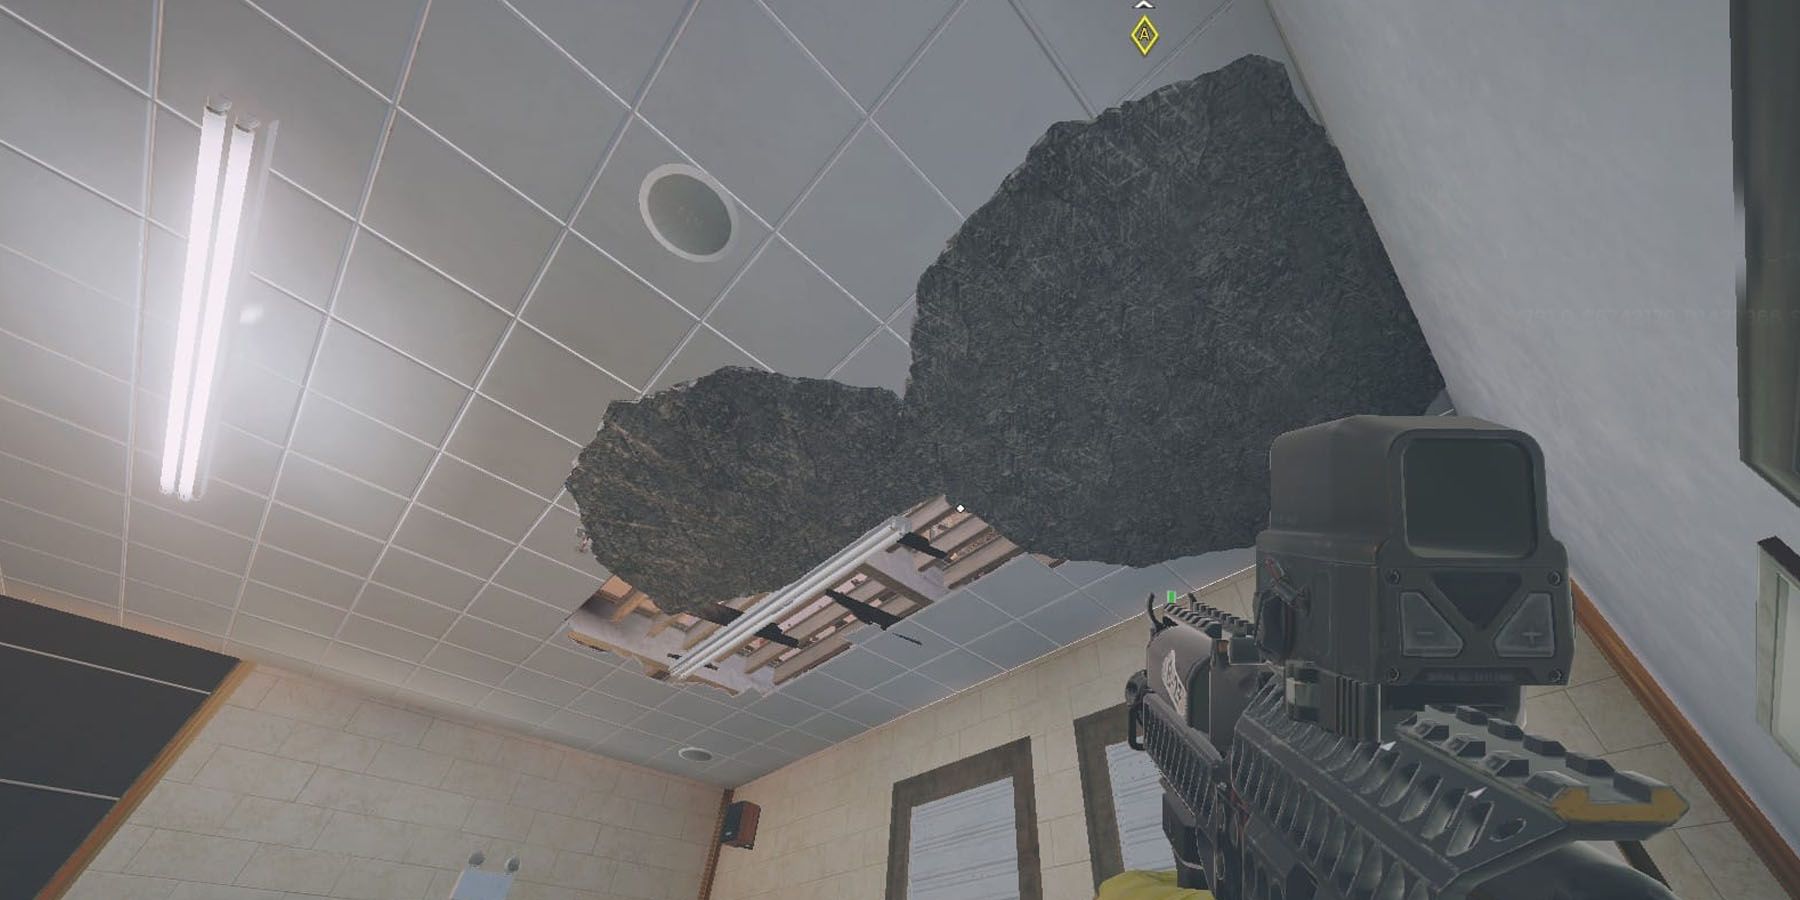
- Secure All Kinds Of Holes: One of the first things the Kiba Barrier should be used on are holes, but these don’t just go for natural ones such as windows and doorways. Rather, Kiba Barriers can help secure floors, hatches, other breach holes, making sure Attackers allot unnecessary extra effort getting through the base.
- Kiba Barriers Stack: It’s also possible to stack multiple Kiba Barriers at once to create a much larger barrier, which is useful when it comes to defending a single point.
- Create Distractions: Another good way of using a KIba Barrier is to create obstacles, be it barriers in a hallway to obstruct enemy movement or luring enemies into spaces by positioning a Kiba Barrier near an ambush.
Augment Annoyances With The Kiba Barrier
It’s one thing to use the Kiba Barrier to augment the team’s overall defense, but it’s another thing entirely to use the KIba Barrier to enhance the player’s way of annoying opponents into submission. Instead of creating “traps,” players may want to try using the Kiba Barrier in such a way that it simply makes it much harder for enemies to pursue their objectives, making them more vulnerable. Here are examples:
- Improve Other Abilities: A Kiba Barrier can greatly improve the way certain Operator Abilities work, such as using a Barrier to expand on a surface while a shield-user is defending it, making their defenses more effective. Likewise, using the Kiba Barrier below a Mira window could make for some mean distractions.
- Make Objectives A Hassle: A well-placed Kiba Barrier can make objectives a hassle for Attackers and easier for them to defend. For instance, placing a Kiba Barrier on the ceiling will force enemies to crouch their way past a hallway, so putting a Barbed Wire below the Barrier can make this task a bummer.
- Create Chokepoints: Players can also block the enemy’s path and force them on choke points via the Barrier. For instance, a well-defended room with only one inconvenient exit such as a part of a window or a door can lure enemies into a trap they have no choice but to risk entering.
Stop Certain Strategies With The Right Use
Aside from creating formidable defenses and annoyances for Attackers, the right use of the Kiba Barrier can stop effective plays entirely. This makes the Kiba Barrier more of a situational tool, but it’s worth the use once players spot certain opportunities:
- Stop Vertical Plays: Consulate Basement can be extremely annoying especially when both Attackers and Defenders can use open ceilings as another layer of combat. Azami can make plays much easier (or harder) by securing them with her Kiba Barrier.
- Force Gadget Use: Since the only way to destroy Kiba Barriers is to either take time with melee or instantly with explosives, this is a great way to force Operatives to use up their Gadgets unnecessarily. Certain matches can bank on how often an Operative can use a Gadget, so baiting them into wasting bombs, grenades, or charges into a deceptive Kiba Barrier can help the team.
Mind The Kiba Barrier Limits, Weaknesses
While the KIba Barrier can make Azami quite the stellar Operative, it also does pose some of her greatest weaknesses. Players who overestimate the Kiba Barrier’s abilities can show opponents some glaring weaknesses, especially to those aware of the loopholes they could use to stop Azami on her tracks. Players using Azami should know the following in regard to the Kiba Barrier, so they know how to circumvent potential weaknesses:
- Deployment Limitations: While the Kiba Barrier can affect most surfaces, it won’t deploy on Shields or Gadgets. When attempted, the kunai simply falls on the ground and Azami can pick them up.
- Weak To Explosions, Melee: While bulletproof, the Kiba Barrier isn’t immune to damage. It can still be destroyed with explosives and melee attacks, so Operatives such as Zofia, Ash, or Flores can definitely make Kiba Barriers useless. And while melee hits can destroy the Kiba Barrier, observant Defenders can notice the cracks on these Barriers, indicating an enemy has passed them.
- Corners Versus Circles: It’s important to remember that the Kiba Barrier extends from a point and then like a circle, meaning the liquid can’t cover 90-degree angle objects such as doorways and tight corners. Enemies who know how to exploit this can find peep holes in the Kiba Barrier.
Operation Demon Veil for Rainbow Six Siege was released on March 15, 2022.

