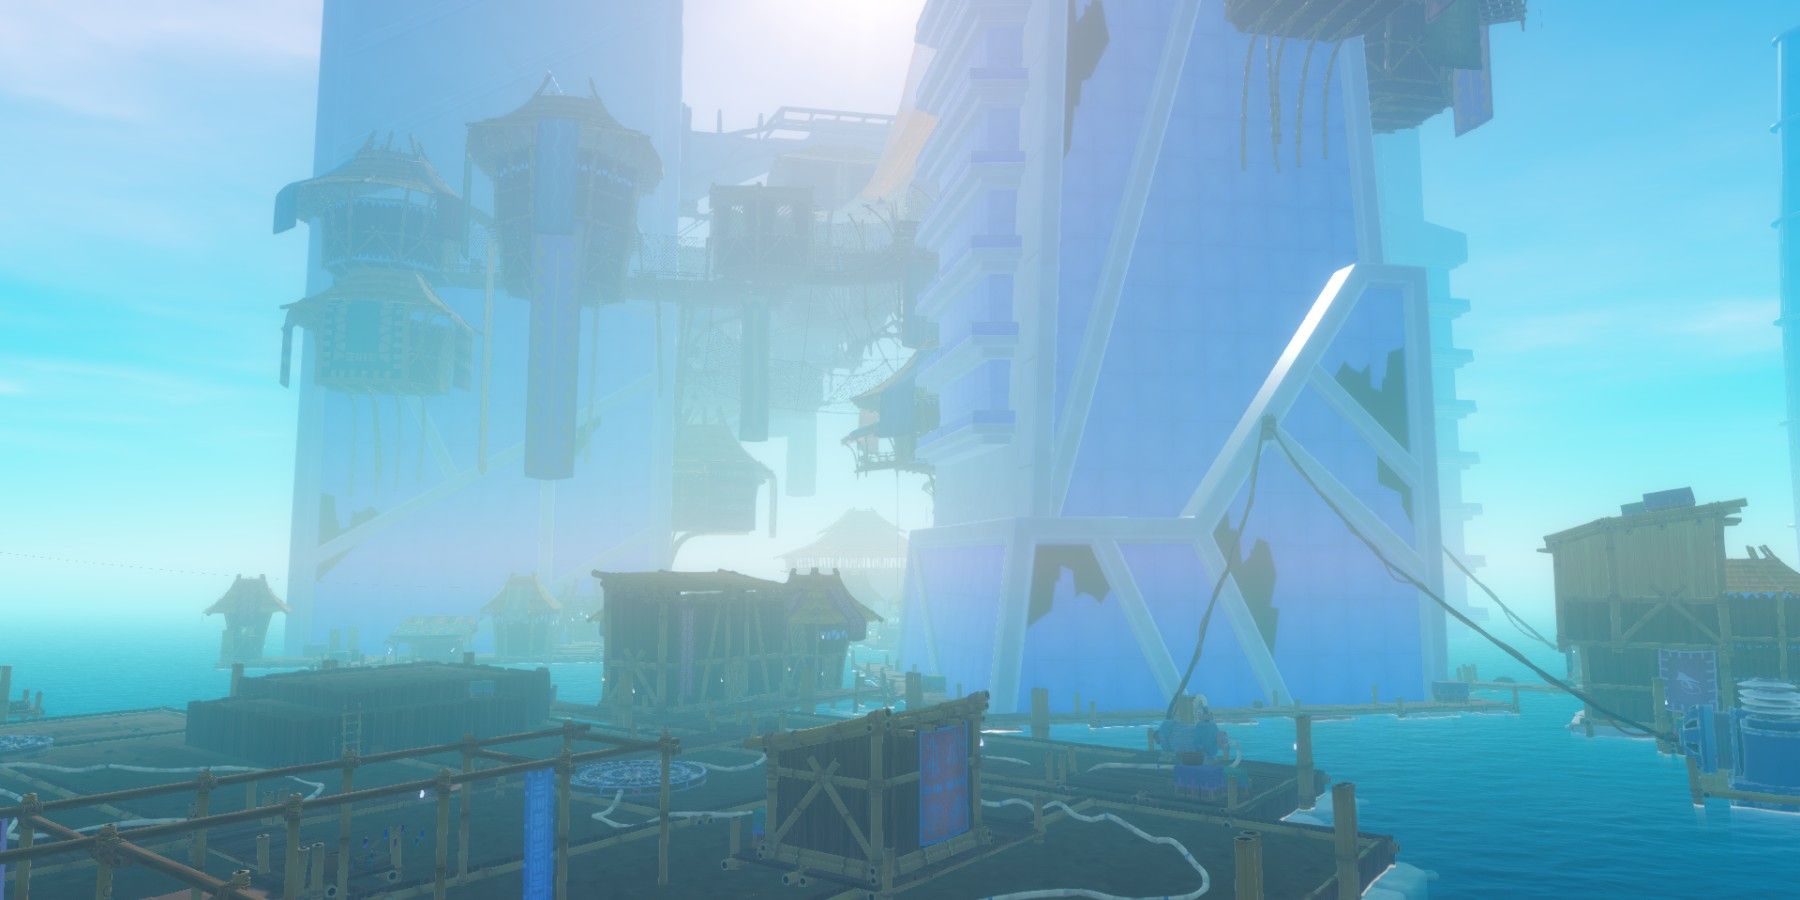
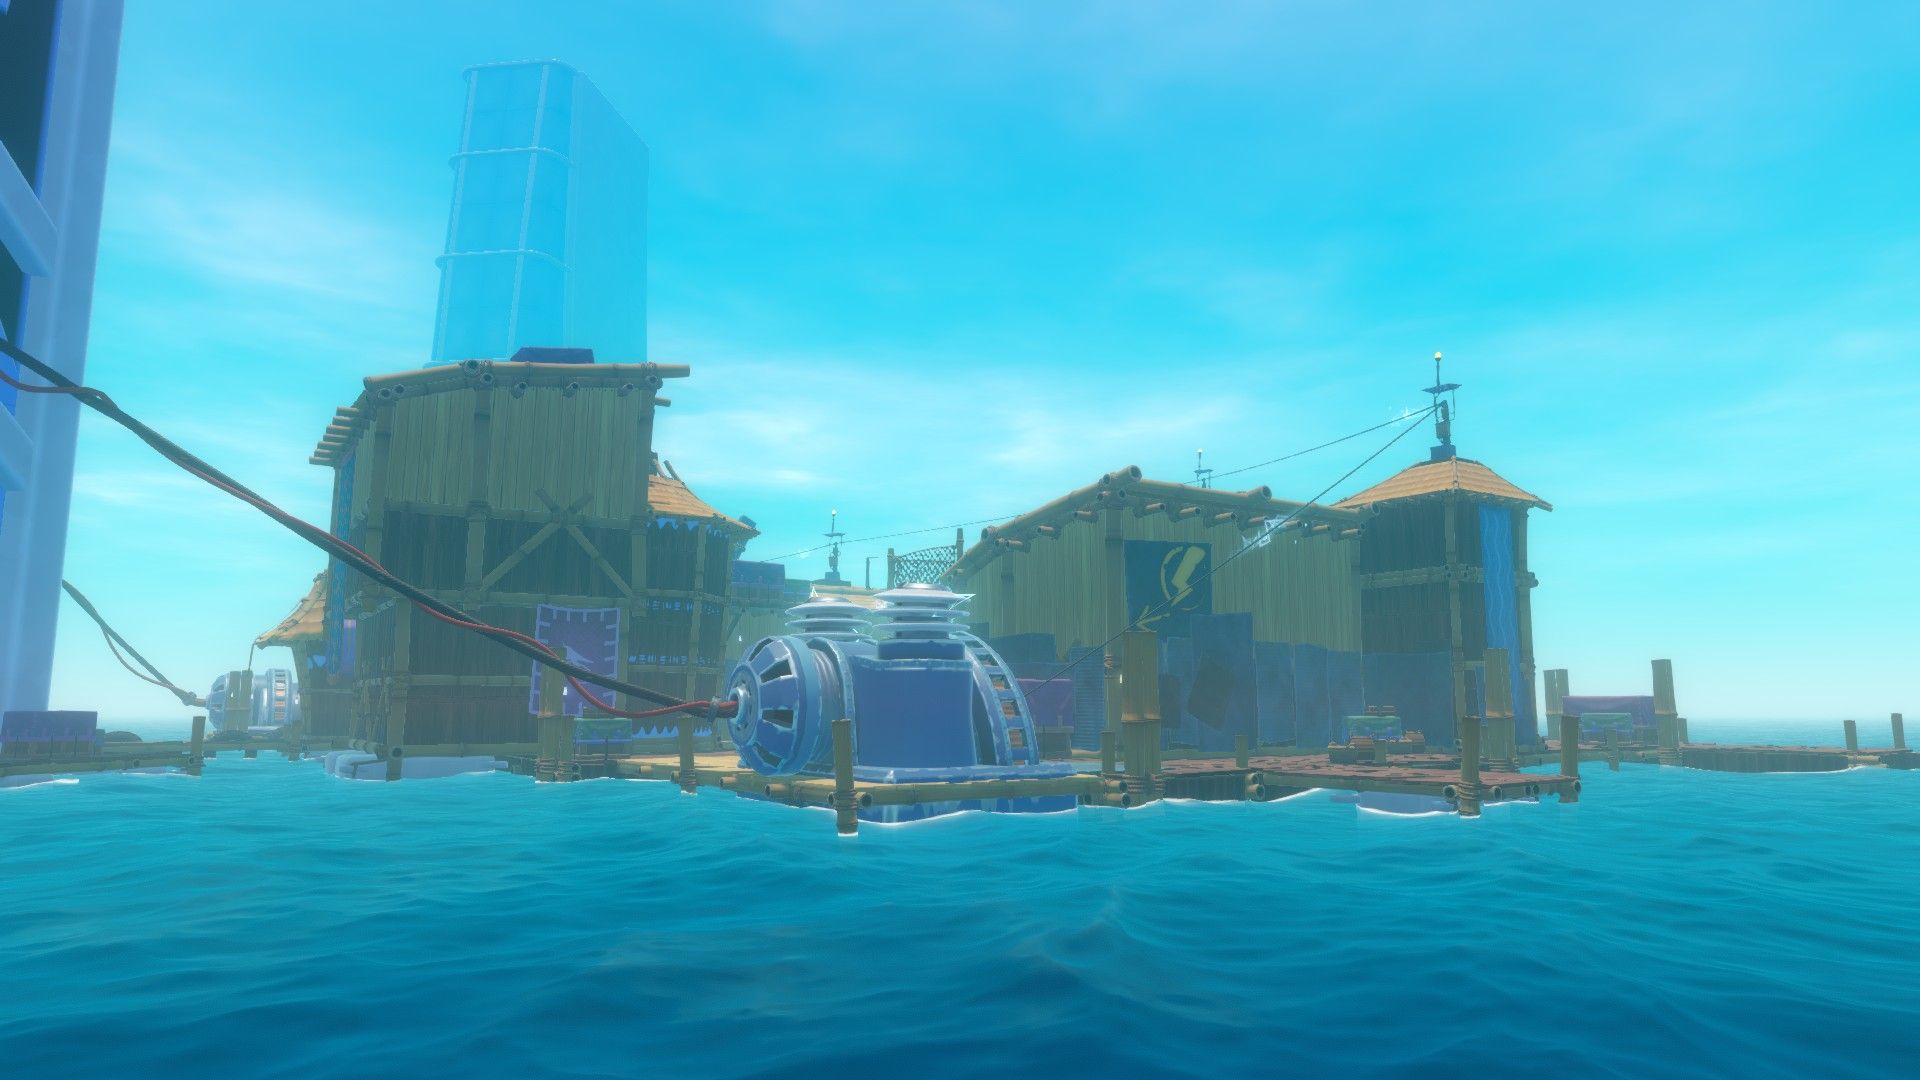
The location known as Utopia in Raft is first mentioned at the top of the Radio Tower, the very first story island in the game. As players visit more story islands, they learn about more characters, and all of them seem to be heading to this mysterious location.
However, by the time players reach Utopia it's a far cry from what its name implies. Most of the island's inhabitants have been locked up by the mad industrialist Olof, and players must defeat him to end his tyrannical reign. The climax of Raft has been a long time coming (especially for players who started in the early access days), so players should ready themselves for a real fight.
Preparations
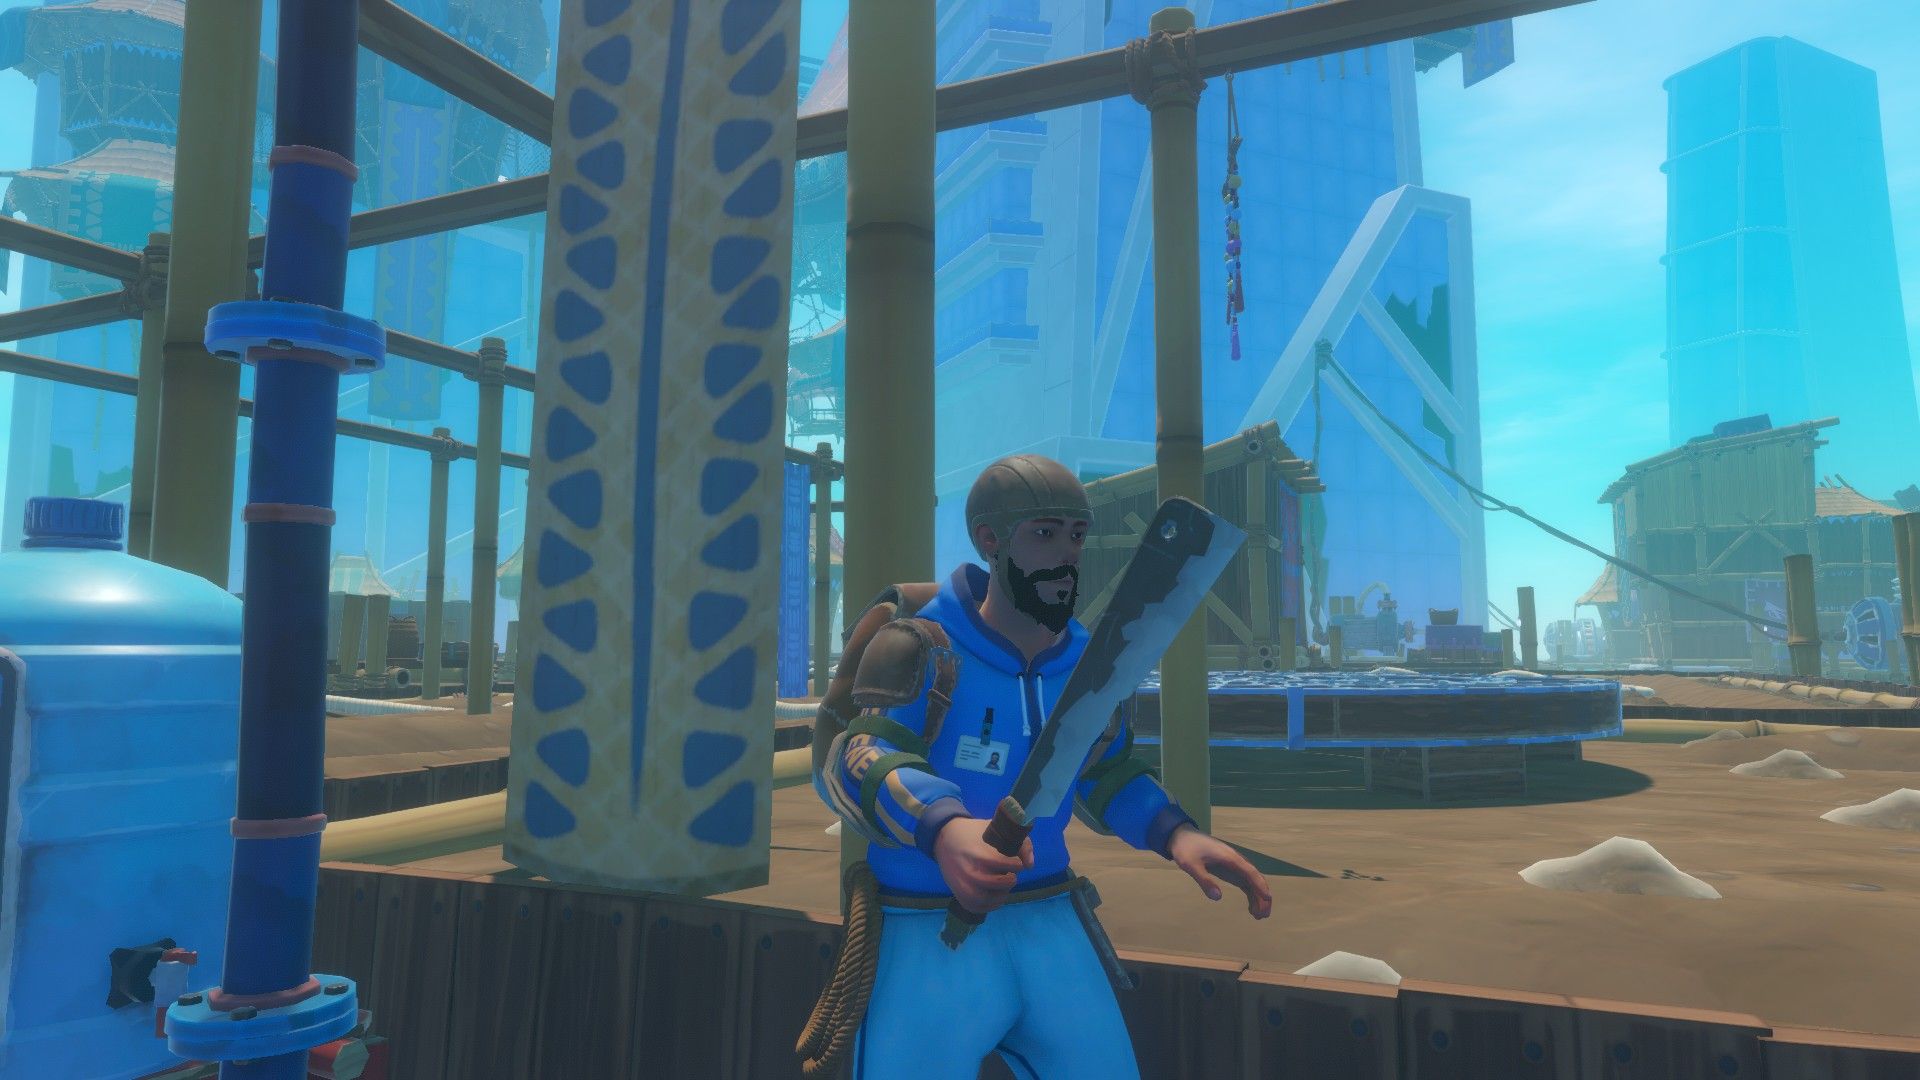
- As mentioned, exploring Utopia for the first time involves a lot of fighting. Players should equip a full set of leather armor, bring along several units of good healing salve, and carry at least two undamaged machetes.
- Utopia is a series of anchored rafts that combine into an artificial island, so most tools like the axe, the hook, and the metal detector can stay on the raft. The one exception is the shovel, though players can find shovels on Utopia.
- As always with large islands, some food and drink items can help extend exploration time. Cooking pot and juicer items are particularly helpful.
Detto's Raft
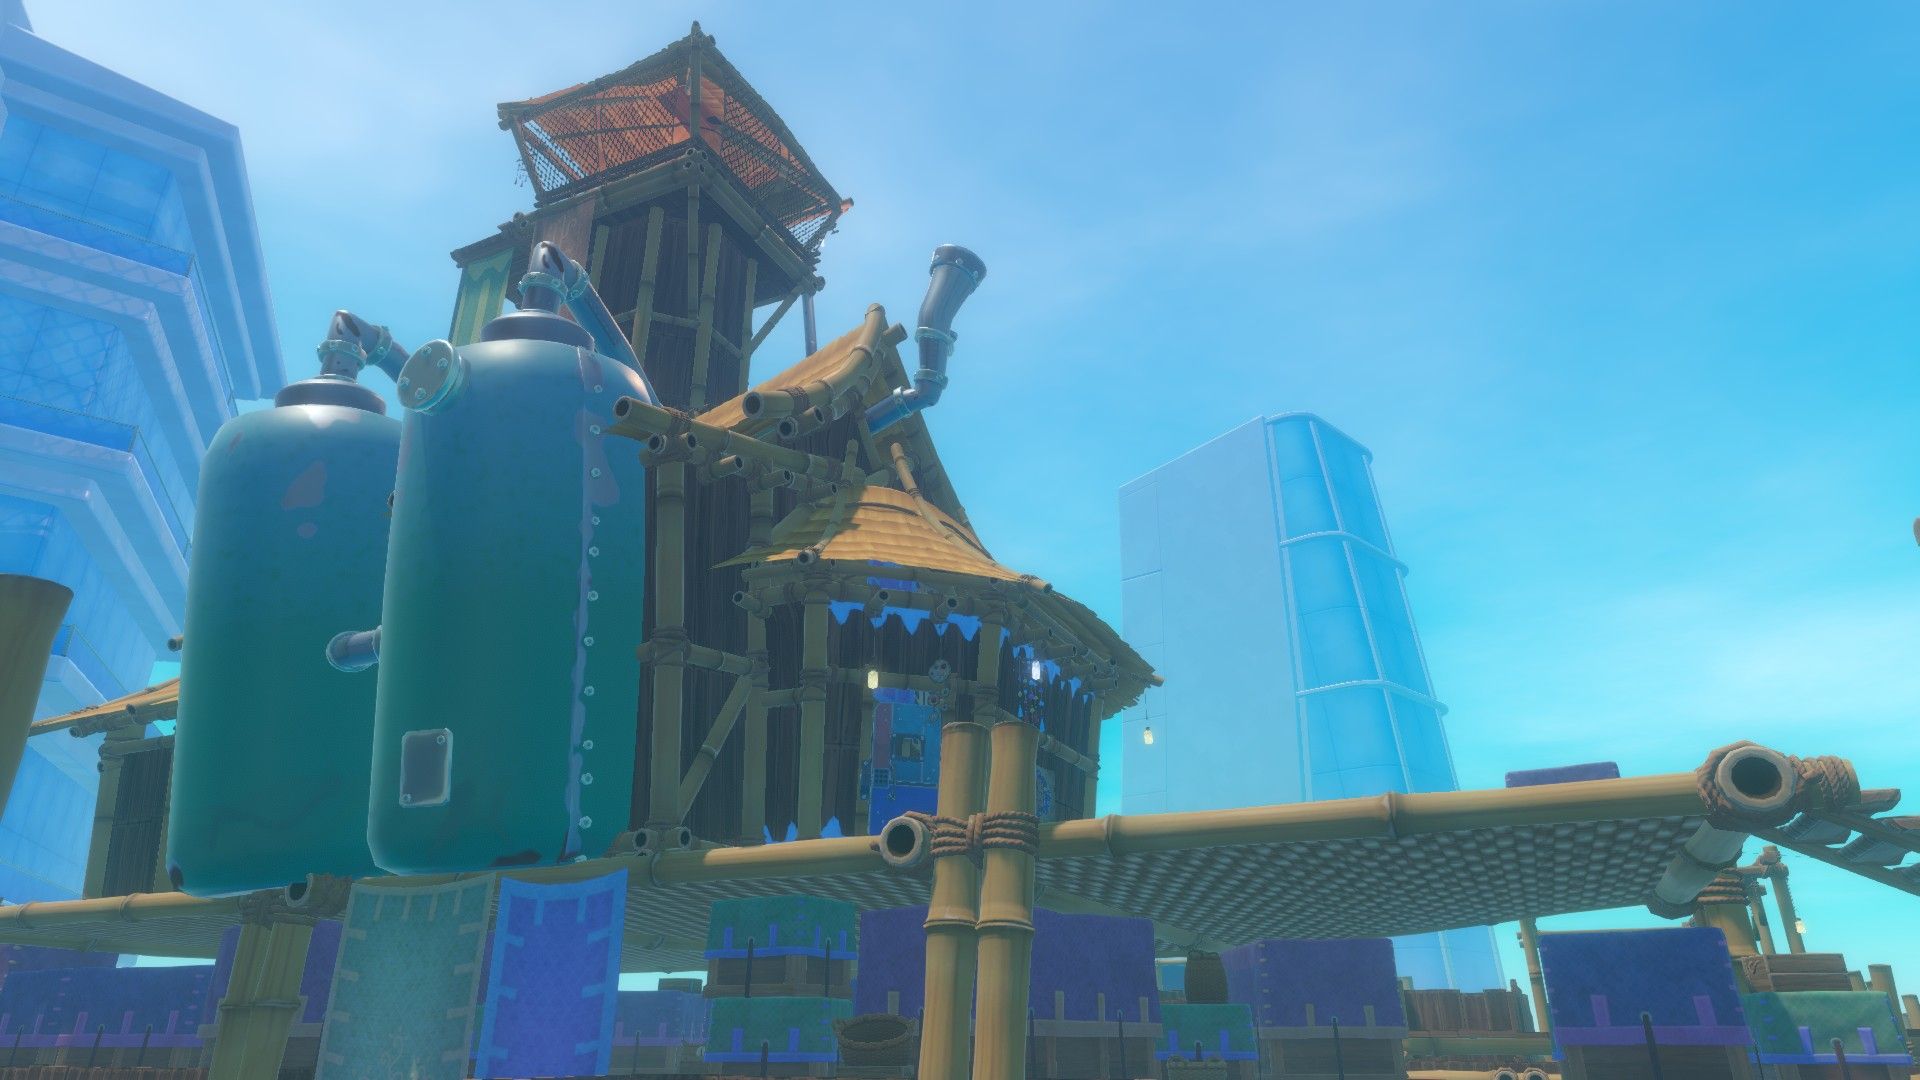
When players first arrive in Utopia, they'll most likely come up to a large purple and green raft first. This raft is covered in dirt piles, but if players use the shovel on them they'll dig up harmful bugs instead of the dirt material or anything else useful.
Approach the main building on this raft to find a fresh shovel, a useful map of the raft, and the first note in Utopia. As the note explains, players need 3 parts of Detto's code to get into the building, and the map on the wall is the key to finding them. Before starting this task, players can climb up to the tower above to get a crate and find a harpoon gun that needs a harpoon and a carbon dioxide cannister. Also, underneath the building are several loot items, a toolbox, and two vending machine tokens on two green crates.
To get the code, players must dig up the three dirt piles circled in red on the map. As mentioned, the wrong piles will cause angry bugs to emerge, so be very careful when excavating. After finding all three pieces, players can enter the main building.
Inside are several small loot items and a token on a green box. There's also a large crate tucked behind the rocket pod. At the far end is a small crate, another token, a harpoon, and a blueprint for a large backpack. The player raft is probably close by, so players should head back right away to craft this very useful gear.
Water and Power
The next task is to fix up the irrigation system on Detto's raft. To do so, players must connect the water pump to the water tank, but before then they must turn on the pump using a generator on a nearby raft. Check the large power cables attached to the pump to see which one. Players should also note that this second raft has the first hyenas in the game, and the best way to fight them is to strafe left or right. If they grab the player, attack them once to break it.
To power the generator, players will need electric cables, and they should note that spare cables from Temperance won't work. And while the doors in this area are all shut or locked, players can stack up the red-striped boxes to create platforms that will let them reach the rooftops. Note that the player-character can jump exactly two boxes in height.
The first electrical cable is by the pharmacy, which is the building with a green cross by the door. There's a token on the green crate in front of the building, another token on a bamboo post to the left of the door, and behind it is a small ledge with the cable. Players can then access the pharmacy's rooftop by building stacks of two and four boxes next to the metal wall to the left of the door. At the top is an electrical box with a spare cable sitting next to it, plus there are two ziplines players can use to access more rooftops.
An important note is that players can't stretch cables and ride ziplines at the same time, so it's important to explore first and stretch second. To start things off, ride the left zipline to the large building and then use the ladder to climb down into the enclosed area. There's a cable here, and players can open the door from this side. Next, climb back up to the roof and jump down to the outdoor stairs to pick up another cable. At this point, players can use the ladder to connect the electric box on the pharmacy to the one on the large building, and then connect that box to the generator.
Next, use the right zipline to ride over to the workshop building. There are two stackable crates up here, and players can use the large crates to jump across to another building and place the stackable boxes on a platform. Do this to reach the second building's rooftop, because up here are two more cables and a token. Then go back to the workshop roof and use the ladder to get onto the crane. There's a token on the bamboo support beam, and players can cross it to connect an electrical box on the next raft over to one on the workshop. Don't forget to connect that one to the pharmacy by jumping down and using the boxes.
Now head back to the new raft and start exploring it more thoroughly. There's a ladder down from the roof, and at the bottom of the ladder is a cable. There's a smaller crane in one corner of the raft, and players can find a cable by the door and a token on the roof. There's also another generator, and this one is running, so players should stretch one last cable between it and the electrical box on the roof. Note that players may need to stack a few boxes to get back onto the roof. Once everything is connected, players should see electricity jumping across the cables.
Now it's time to return to Detto's raft and fix the irrigation system. To do this, players must go to the large blue circles and rotate the three sets of pipes so that the water can make its way through. The best way to do this is to start with the outer ring and make sure both the intake and output pipes have a connection. Next, move the second ring so that those pipes have connections, and finally move the inner ring. Players should note that the solution won't use every pipe in the circles.
Once players solve all three puzzles, the water tank on the far end of the raft will start filling up. Players shouldn't forget to pick up the vending machine token on the green crate nearby while they're here. By climbing on top of the filled tank, players will get the carbon dioxide cannister they'll need for the harpoon gun.
Market Bound
With both elements collected, players can arm the harpoon gun and fire it at the nearby skyscraper. Ride down the zipline it creates to enter the building and get two crates, several loot items, and an entrance key. Then ride the second zipline down to the main part of Utopia.
At the base of the zipline is a door into a skyscraper that needs two entrance keys. On a crate to the right is a token, and past that players will spot a large building made of wood and scrap. The door is locked and needs a Master Key, and players who stand next to it can hear people talking inside. This is where Olof has imprisoned most of Utopia's residents, and the goal of this story island is to free them. At the base of this door is a note and a key, and while it's not the Master Key it is the other key players need to enter the skyscraper. Past the prison is another door into a second skyscraper, but this one is barred from the other side.
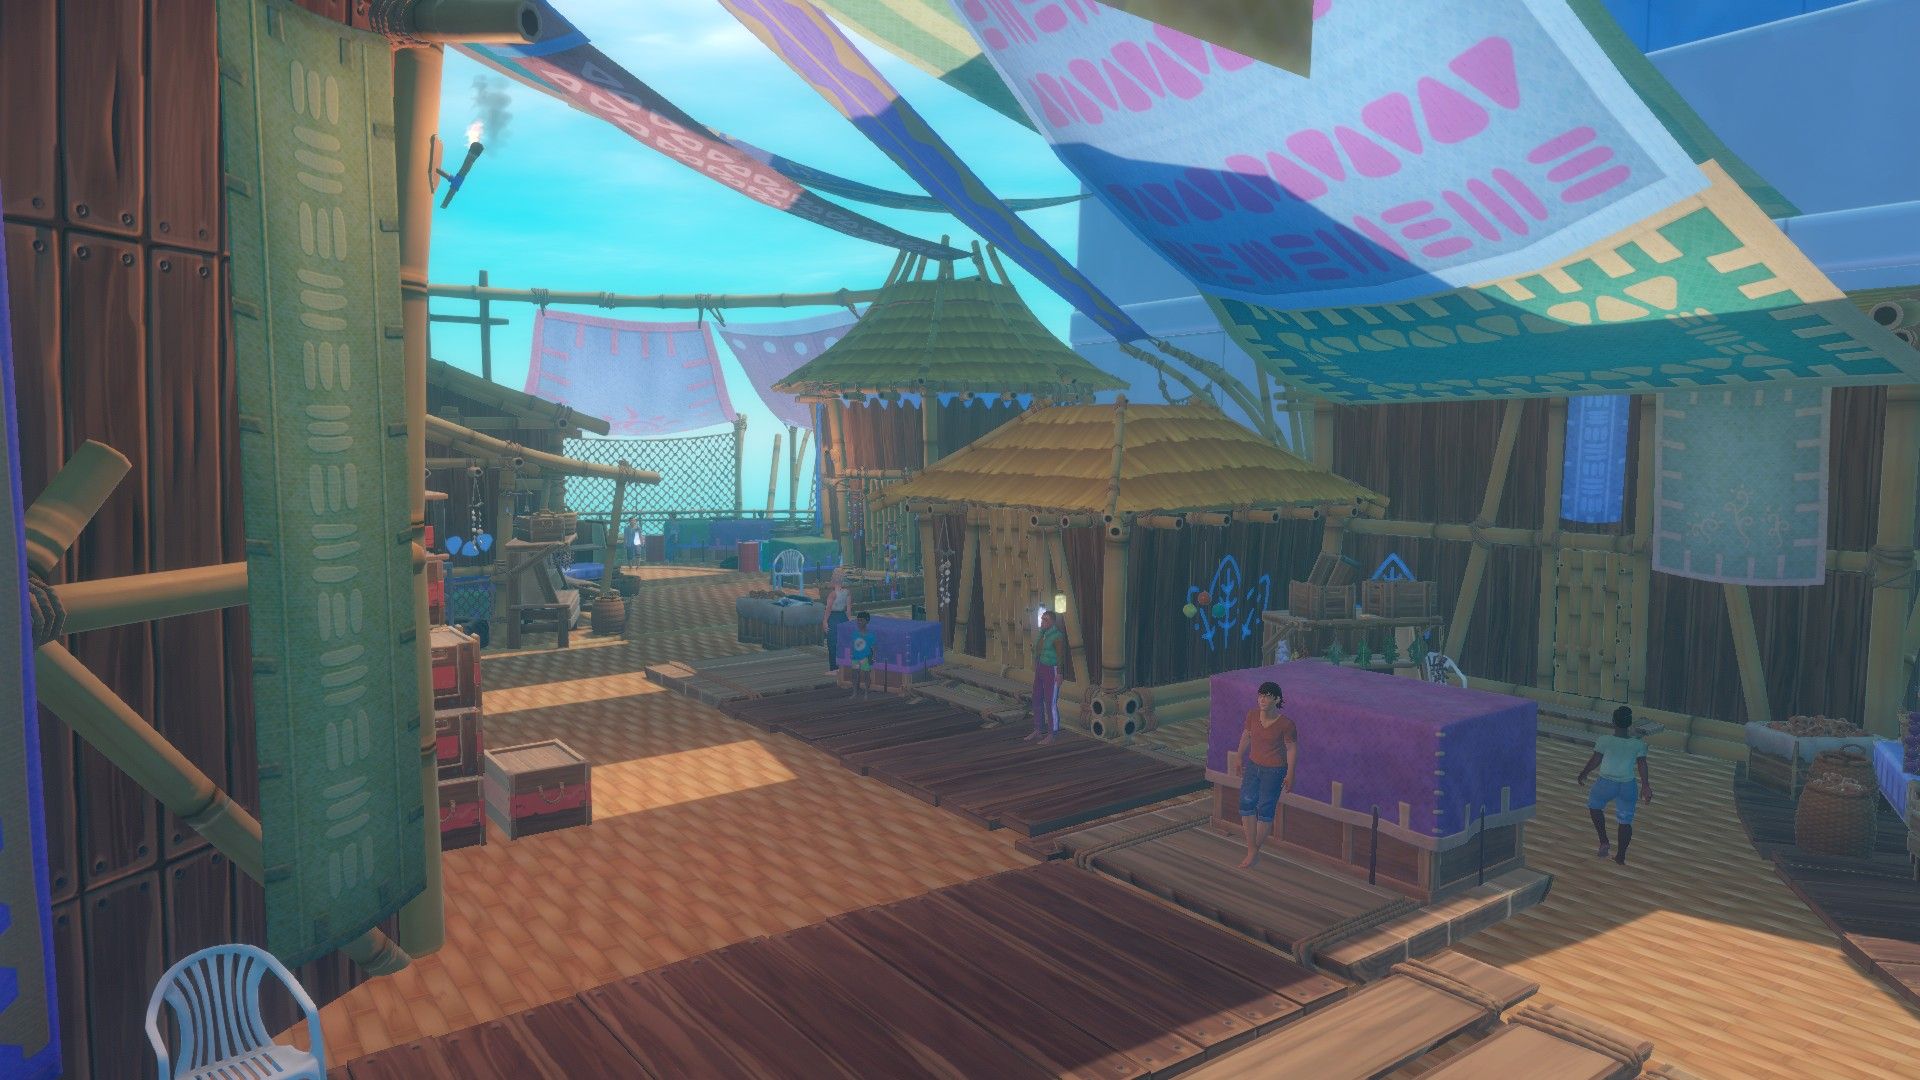
At this point, players should unlock the entrance to the market and ride the elevator up. There's a token in one of the potted plants at the top, and past it is the underside of the Utopia marketplace. To the right is a pull-lever that brings a moving platform over, but the platform is too small to stand on. Instead, players will need to place a cogwheel on it.
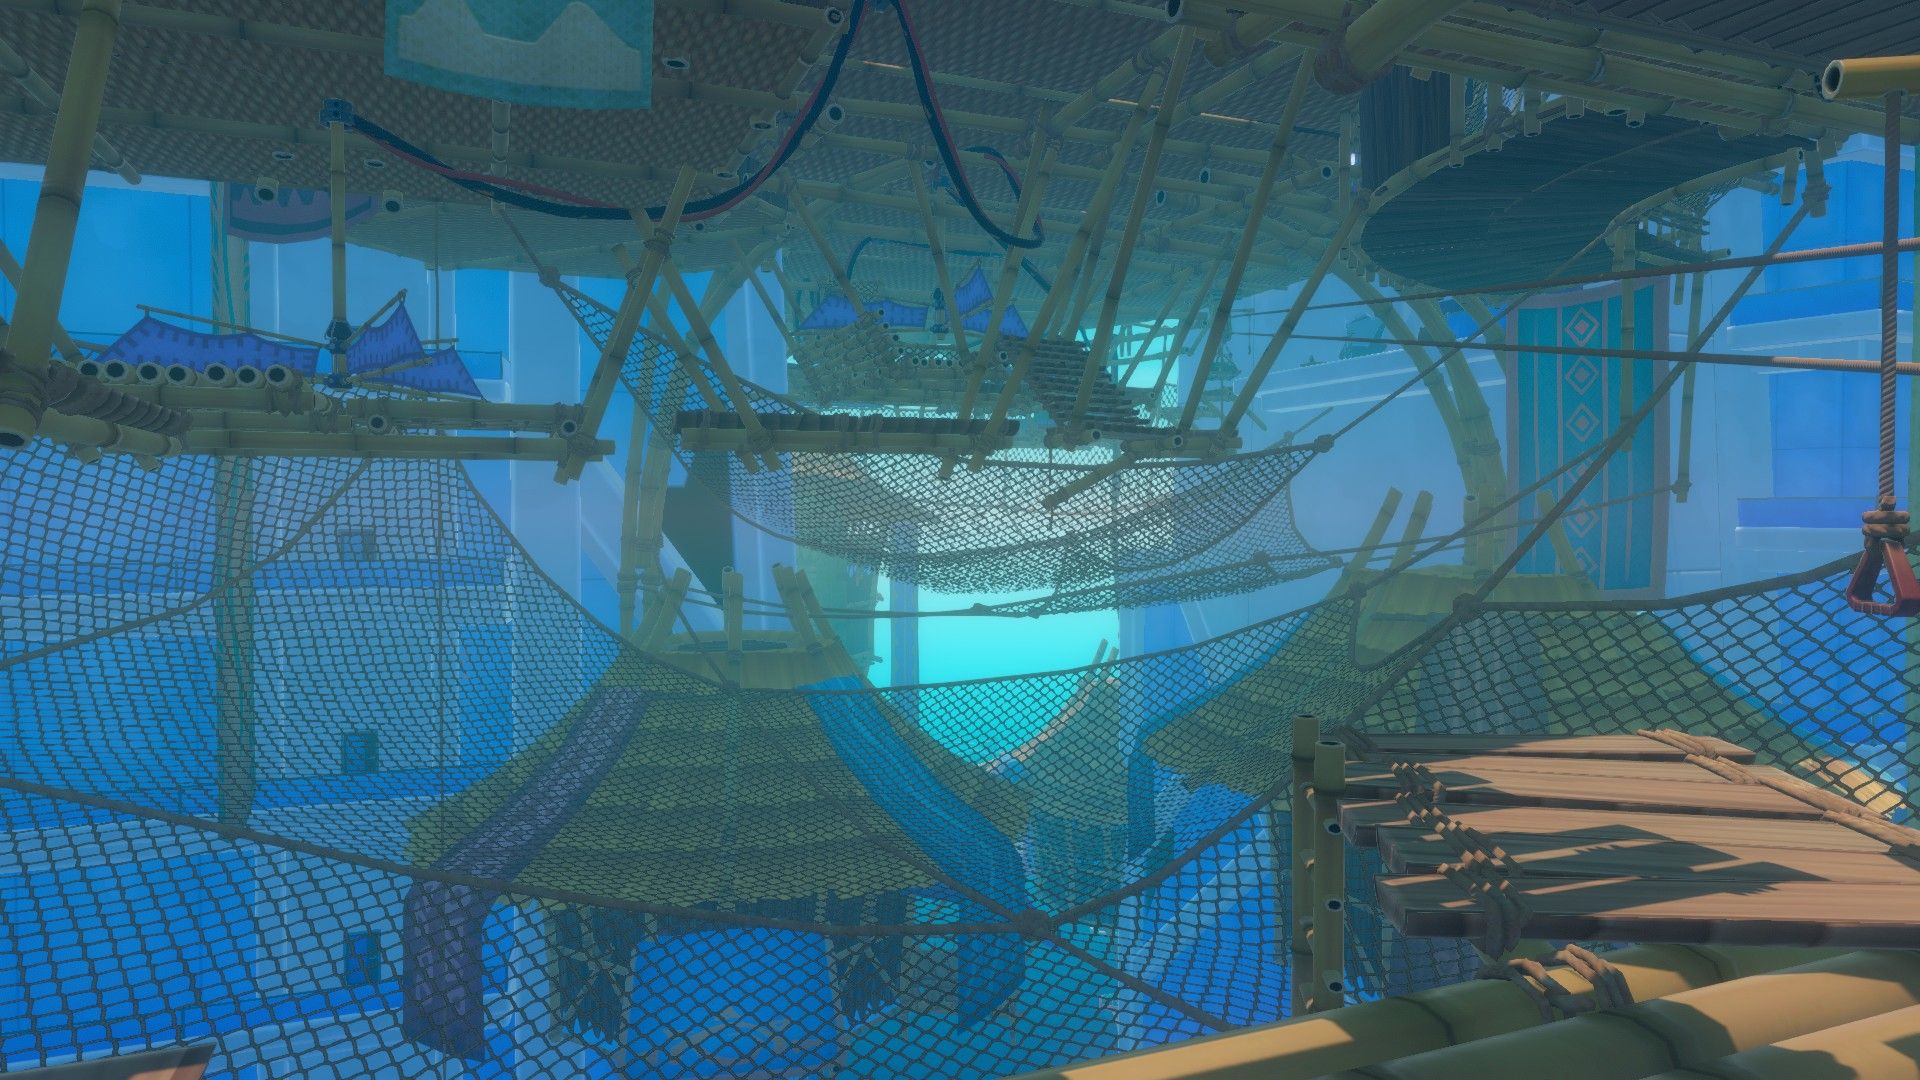
Head left to spot a locked door players will need a hammer to break open. Past it is a wind turbine, and players will need to jump over the blades to continue. Luckily, a net will catch players who fall, and they can climb up a ladder to try again. Continue on and cross several more turbine obstacles to reach the other end of the moving platform.
Just inside the skyscraper is a hammer and an elevator, but the elevator needs a cogwheel to work. As such, players should use the nets to quickly return to the market entrance and then break the lock with the hammer. On the far side players will see Olof, but for now all he does is offer a threat and run away.
Olof's Madness
Here's where things get complicated. There's a pile of cogwheels at the base of the room, but players can't jump or climb ladders while holding them. Instead, players must use the elevators in the room to get the cogs where they need to be. First, use the red-striped boxes to climb up the purple and blue crates next to the right platform. Players can't jump while holding the cogwheels, but they can set the cogs down on higher platforms and carry them between jumps. After reaching the first platform, place the cogwheel on the right elevator. This will cause the elevator to drop and create a new place to grab cogwheels from.
Next, take the long ladder on the left all the way to the top. Stand on the elevator to move with it and use the weight marked with a 3. After the elevator drops, use the 1 weight and remove the 3 weight. Finally, use the 2 weight and remove the 1 weight. This will bring the cogwheels up to the level Olof was on. Players can now jump across, grab a cog, and use it on the drawbridge Olof ran across. Don't forget to grab the token on this level, too.
In the next room, Olof will yell at the player again and run away. Players can climb the ladder that leads up to his position, but they'll need to climb another ladder outside to continue chasing him. Before then, be sure to pick up the token on a green crate to the left of the first ladder, then take the stairs and turn right to find another token and a crate.
Now it's time for another cog puzzle. First, go back to the drawbridge, pick up the cogwheel, and use the stairs on the right side of the tall room to put it on the elevator. Next, climb the ladder to the left and get on the other elevator. Use the 6 weight, then add a 1 weight and drop the 6, then add a 4 weight and drop the 1, then add a 2 weight and drop the 4, and then add a 3 weight and drop the 2. Jump across, grab a cogwheel, and then descend the stairs and add the cog to the machine on the left.
The new staircase leads back to where players started, but now they can carry a cogwheel to the moving platform and send it to the far side. Jump across the turbine obstacles again and grab the cog from the moving platform to add it to the elevator gears. Take the elevator up to reach a new area, and open the red-striped door at the far end to get a shortcut back to the start. Don't forget to grab the token in the same room as the door.
Next, stack some crates next to the blue wall painting to climb up to the next level. Olof is on a ledge and will throw bombs everywhere, but there are plenty of stackable crates players can use to reach him. A 5-3-1 set of stacks will be enough to climb the wall, at which point Olof will run away again. Afterwards, be sure to jump back down to collect more tokens. There's one behind an herb stand straight ahead, one on a blue stand to the left, and two more on a blue stand by a circular hut.
Inside the room Olof ran through is a warehouse key and a blueprint for an electric zipline tool. The electric zipline lets players move up ziplines and not just down, which is very handy, but it's not useful just yet. Instead, continue forward to the warehouse, but before entering use the ladder on the right to open another shortcut. Players may want to return to their raft to resupply at this point, because this is their last chance before the combat sections begin.
In the warehouse, players will have to fall down into an area with three hyenas. Players can kill them, but they'll respawn once all three are dead. As such, the best option is to kill two and then stay on the move to avoid the third. Players will also need to dodge Olof's bombs and stack more boxes to reach the next level. In this case, the heights needed are 6-4-2. Once again, climbing up will cause Olof to flee, at which point players can explore this floor to find two crates and a suitcase, plus another door they can open for a shortcut. There are also two tokens sitting on a kennel by the stairs.
Take the stairs and cross a bridge to the next skyscraper to enter a new arena. The boss fight is against the Alpha Hyena, which mostly attacks like a regular hyena but has a few important differences. First, hitting the Alpha will create a pool of acid that lingers for a long time and can hurt players. Second, Olof will sometimes throw meat down to feed the Alpha. While it's feeding the Alpha is immune to damage, and after it's done it will either charge, jump three times and drop massive acid pools where it lands, or throw a rock and leave a line of acid under the rock's path. The Alpha also has a lot of health, but thankfully player weapons don't degrade when hitting it.
After the Alpha dies (don't forget to loot the body for a unique head), players can take an elevator up and confront Olof one last time. Once the confrontation is over, players can collect the Master Key and enter a balcony area with three tokens and a blueprint for titanium tools on a table. There's also a token in one of the potted plants. Take the elevator behind the balcony back down to sea level, and pick up one last token on a bench on the way out. It's a short trip from here to the prison, and once players use the Master Key a cutscene will play.
Utopia Restored
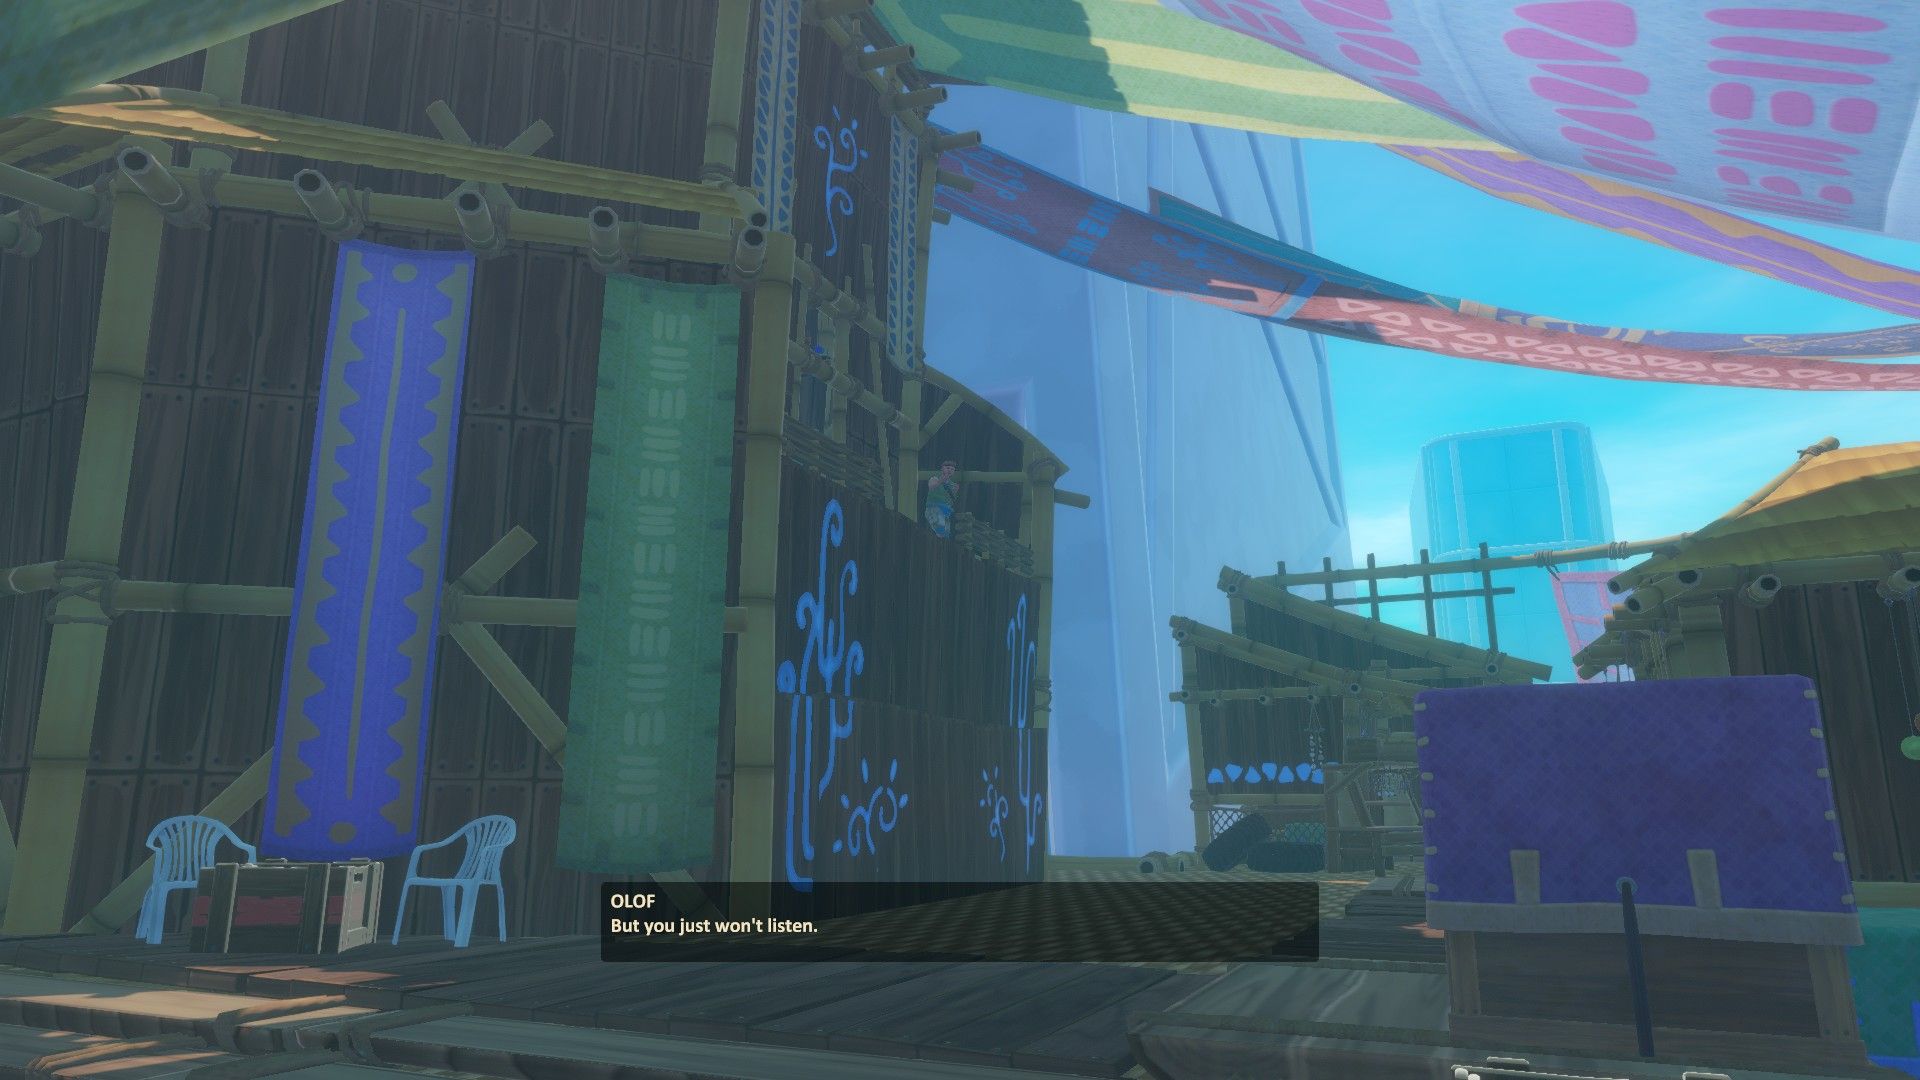
When the cutscene ends, players will appear in the market. There are people wandering around now, and players can talk to all of them. Many of them are note writers from previous islands, and Olof is here in a cage. There are also baskets full of food players can freely take and new vending machines with special Utopia decorations.
For freeing Utopia from Olof, players get the "There Is A Utopia!" achievement, and for collecting the last blueprints and using them at the research table they get "Bookworm!" After that, the game can continue for as long as players like, but with Utopia saved the story of Raft is officially over.
Raft is available now on PC.

