Quick Links
This chapter of Paper Mario: The Thousand-Year Door begins with a Princess Peach Interlude. Much like in the original Paper Mario, we’ll be spending a little time after each chapter seeing what’s happening with Princess Peach.
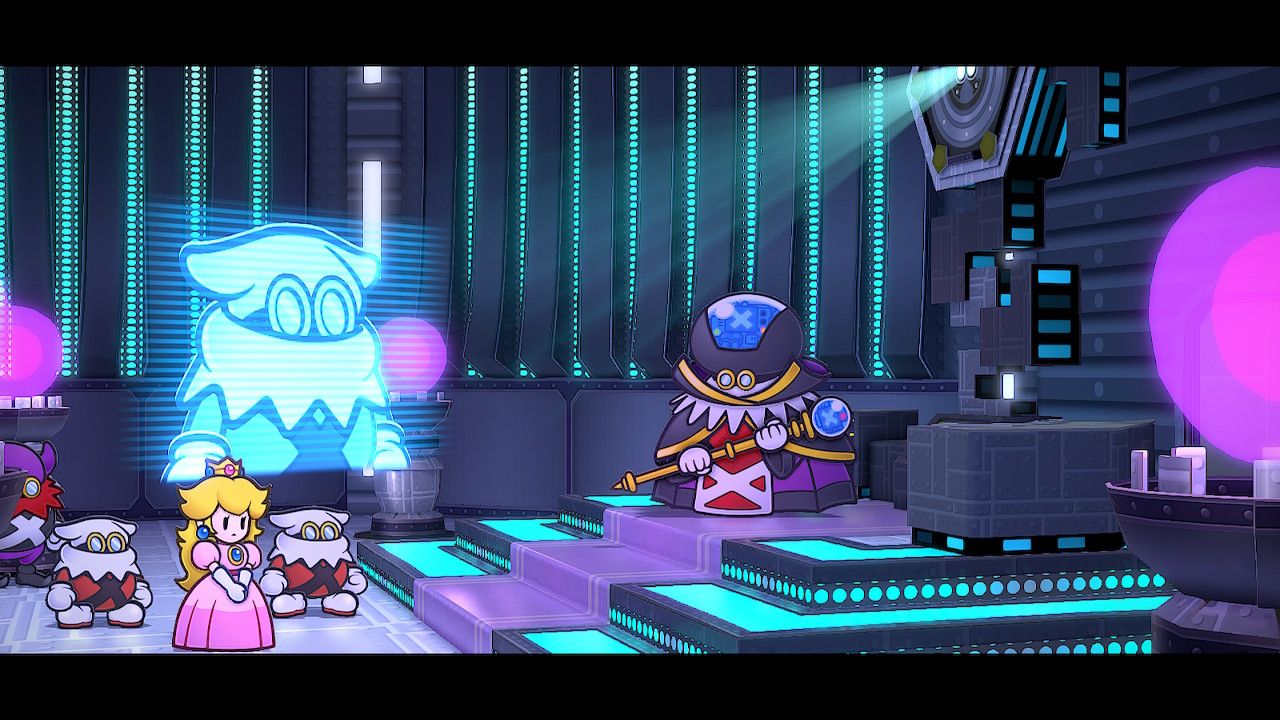
It turns out that, in Paper Mario: The Thousand-Year Door, Princess Peach has once again been kidnapped. This time her kidnappers are Grodus and the “X-Nauts”, who seem to be part of the same group as Lord Crump.
Paper Mario: The Thousand-Year Door Chapter Tier List
The adventure found in Paper Mario: The Thousand-Year Door is split up into chapters and each one has unique challenges to overcome and have fun with.
Princess Peach Interlude
After Grodus sends the “Three Shadows” to deal with Mario, the perspective shifts to Princess Peach. Try the door on the right to discover that it won’t open. It will mysteriously open as soon as you start heading away from it. Head on through, past an inactive elevator, and the door on the far right will also open.
In this room, you’ll find TEC-XX, or TEC for short, the main computer of the laboratory Peach is imprisoned in. TEC claims to have experienced an “unknown program deviation” after observing Princess Peach, and has brought her here to investigate why. Princess Peach, hearing TEC’s description of the situation, suggests that TEC might be in love with her.
TEC asks Princess Peach to teach them about love, in exchange for granting her wishes (as long as they don’t involve letting her escape, naturally.) Peach considers this and asks TEC to help her contact Mario. TEC allows her to send an email, before sending her back to her room for the time being.
Bowser Interlude
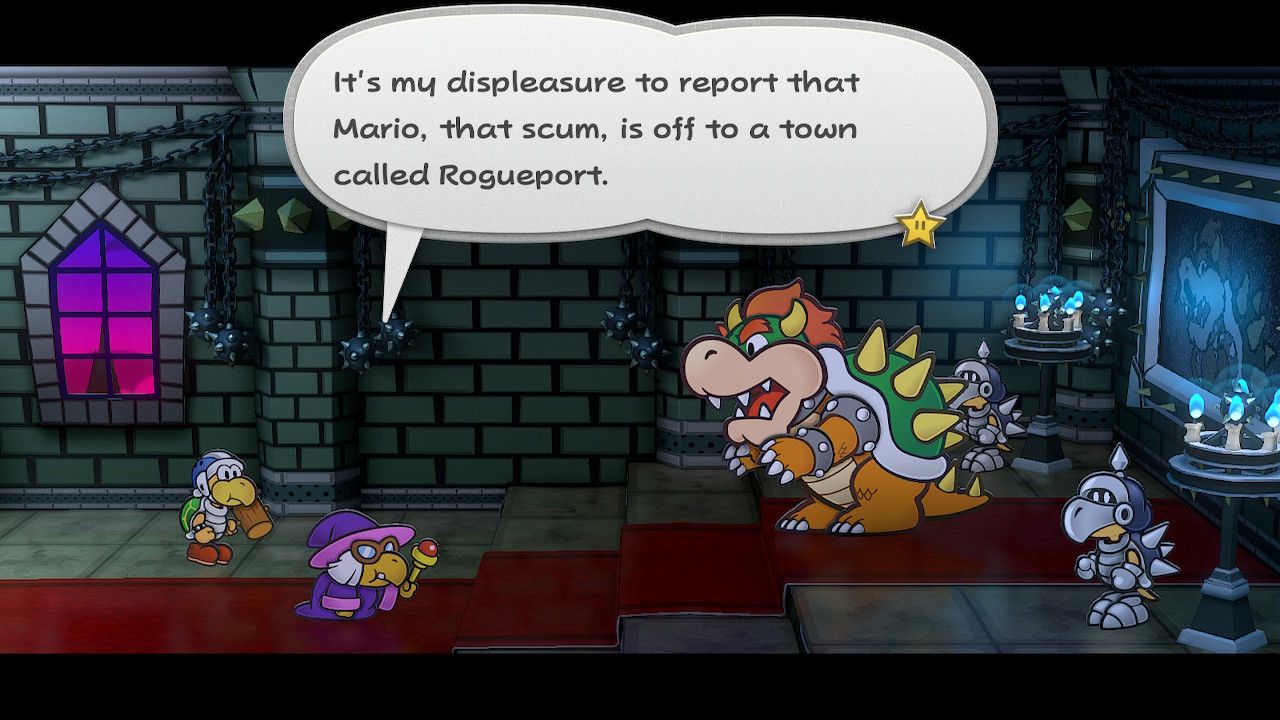
After the Princess Peach segment, the perspective shifts to Bowser’s castle. We get to play as Bowser in this game from time-to-time too, so head over to the right side of the room to continue the story. Once you make it to the end of the room, Kammy Koopa will arrive to fill Bowser in on Mario’s quest for the Crystal Stars and Princess Peach’s most recent kidnapping.
Bowser heads for Rogueport immediately, leaving a hole in his poor castle, and that’s all from Bowser for now.
Back to Rogueport
Now that we’re back with Mario and the gang, we learn that Koops is sticking with us for the rest of the journey. We’ll need to use the Magical Map at the Thousand-Year Door again to learn our next destination, but we can grab an extra badge here in Petalburg first. Head for the pink house and use Mario’s curse to turn sideways and slip through the gap in the fence. This gives us the “Mega Rush P” badge, which gives your partner a massive Attack boost when they only have 1HP left. High risk, but very powerful if used with care.
As you head back towards Rogueport, you’ll get Princess Peach’s email. With the knowledge that Princess Peach is safe and her kidnappers are after the Crystal Stars, our goal remains the same, so back to Rogueport it is.
Hitting the Bushes as you head back can nab you some extra coins and items, since the chance for items to be found in these bushes will reset from time to time.
Once you make it back to the Rogueport Sewers you should head for the Thousand-Year Door, but it’s worth noting that you can access a few new spots in the Sewers now. In the room where you first entered the Rogueport Sewers, you can access a pipe behind some bars with Mario’s Curse, allowing you to visit the house of Merlee. Merlee can, for a fee, cast a spell on Mario to provide him with a bonus in combat. The duration of the bonus is determined by the amount of coins spent, while the effect is chosen at random. (This includes raised attack or defense power, boosted SP gain, and boosted Coin drops)
There’s also a room full of spikes you can access, though you don’t have the tools to traverse it yet, and there’s a door behind bars in Rogueport Sublevel Three that we should save for later. When you reach the Thousand-Year Door, take a quick detour through the bars on the right side and use the spring to reach an airplane panel. Soar over to the other side of the room, use the spring, and grab the Shine Sprite on the platform. Once you’ve done all of that, head down to the Thousand-Year Door and show off the Crystal Star you got last chapter.
Reaching Boggly Woods
After a quick trip to Professor Frankly, the group determines that the second Crystal Star is in the Boggly Woods. He also mentions an odd creature, one that we’ve definitely seen before, so that might be a clue to the warp pipe’s location.
Speak to Luigi outside Merlon’s House to hear about his adventure, stock up on items and visit the Trouble Center for some sidequesting if you feel like it, and then head back into the Sewers.
You can special order a Contact Lens by speaking to the leftmost merchant in the Item Shop at Rogueport, to replace the one you broke. Once you order it, it’ll arrive pretty quickly (you’ll get an email about it) and you can give it to Zess T to unlock access to West Rogueport. After doing this, you can also speak to Zess T to cook using ingredients from your inventory. This can get you some very powerful items, so it’s worth trying.
Head down toward the Thousand-Year Door until you reach Rogueport Sublevel 3, where you’ll see one of the creatures Professor Frankly mentioned. It vanishes through a hole, so slip through the bars next to the hole to follow it. (If you stand in front of the hole and walk towards the camera until you’re as far from the hole as possible, then jump, you’ll hit an invisible block that contains the “Pretty Lucky” badge)
Follow the little critter to start a conversation and learn about the X-Naut’s attack on the Great Tree. Follow Punio and they’ll open the secret entrance for you, allowing you to enter a hidden passage. Go left first to reach the “Damage Dodge” badge, then head to the right to reach the Boggly Woods.
Entering Boggly Woods
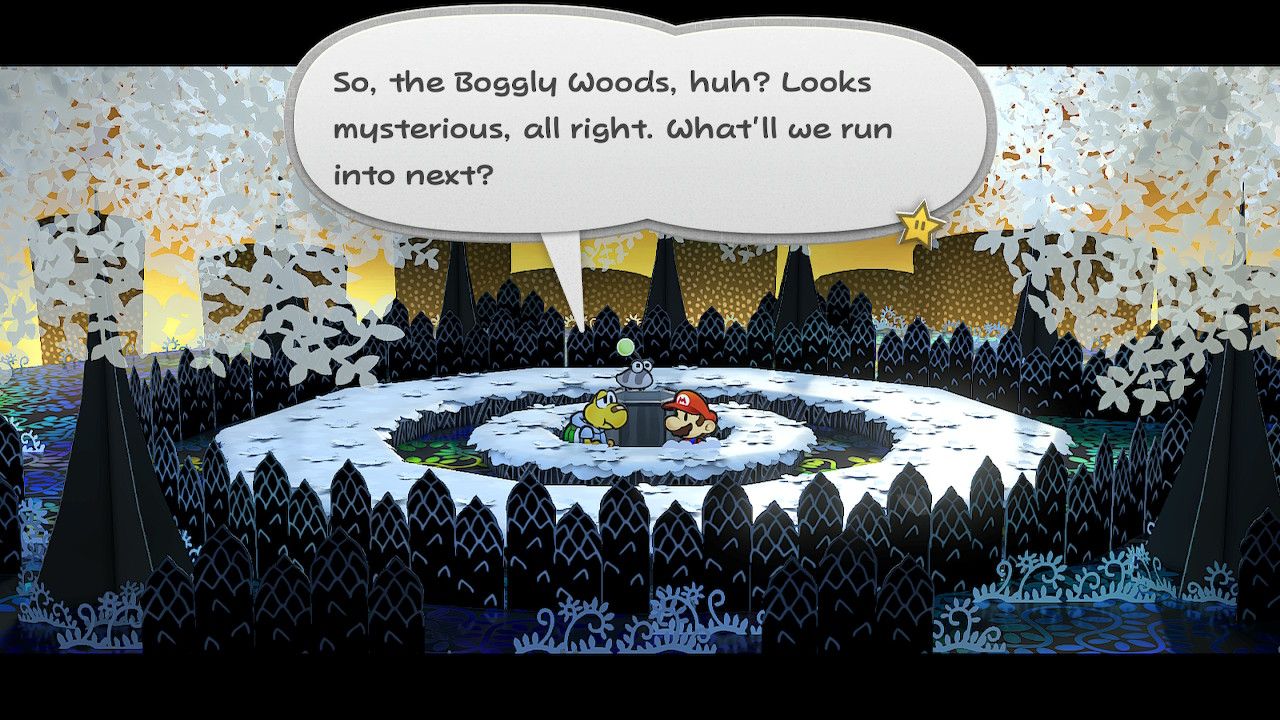
After entering the Woods, you’ll quickly encounter the Three Shadows, who have lost the picture of Mario they were given. We can head past them for now since they’re too busy arguing to notice the party.
In this area, you’ll start encountering Cleft, enemies with 2 Defense and spiked heads that can disguise themselves as rocks. As we saw during Chapter 1, this sort of enemy can’t be hurt by fire but is vulnerable to other damage types. You can use items and the “Piercing Blow” badge to break through their defenses and take them out. Mario’s new Special Ability, Earth Tremor, is also very effective against them. If you’ve upgraded Koops using the Shine Sprites from last chapter, his attacks will be strong enough to do a little damage through their defenses too.
You’ll also start encountering Pale Piranha here, a Piranha Plant enemy that has no defense but decent attack power. They’ll bite you if you try to use Jump, so stick to using the Hammer and Koops to damage them. The “Power Smash” badge can one-shot them if you don’t fail the action command.
Keep heading deeper into the woods and you’ll soon see the Great Tree. Follow Punio to reach the tree. When you reach the tree itself and Punio heads for the door, take a quick detour to the right side of the tree and check behind the small waterfall to get an “FP Plus” badge. Talk to Punio to learn about a secret entrance that’ll get you around the door. To uncover the secret entrance, we’ll need the help of Madame Flurrie, a wind spirit.
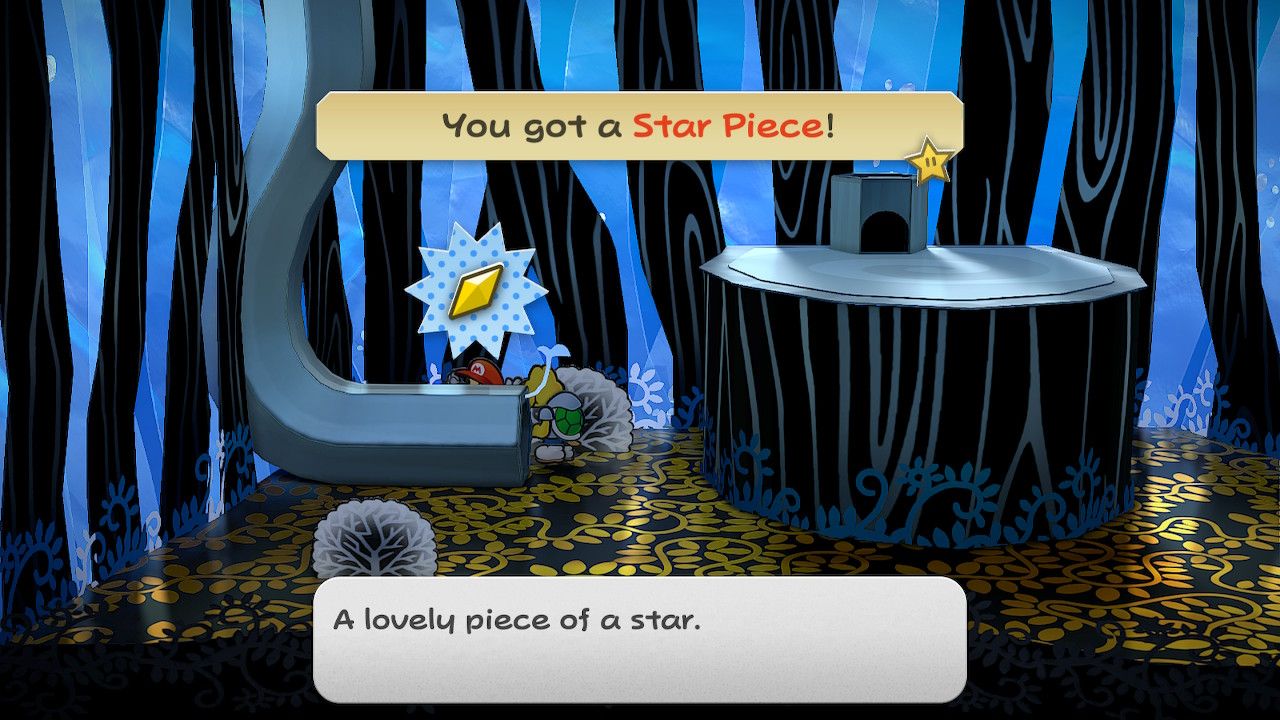
Head back out from the Tree and follow Punio’s directions. You’ll begin encountering Dark Puffs here. These are living clouds with no Defense and 3 HP. When they’re flying higher up, you’ll need to use Mario and Goombella’s jumping attacks to reach them. Be careful not to do that when they’re charged with electricity, though, or you’ll take damage. Luckily, Mario’s hammer works just fine when they’re closer to the ground. Head through the small gap at the far side of the area to find your way onto a narrow ledge and reach a switch. This raises the pipe and airplane panel nearby, putting them higher up and giving you a clear flight-path. Walk a little further to the left from the switch to grab a Star Piece, use Koops to hit the Shine Sprite block from the airplane panel, and fly over to the right to reach a block.
This block contains the “Quake Hammer” badge, which allows Mario to deal damage to all enemies on the ground or on the ceiling, which will be very useful later. On the next screen, hit the third tree along to get a Star Piece, then slip through the gap on the far right of this area and head for the pipe to get to Flurrie’s house.
Flurrie’s Necklace & The Three Shadow Sisters
After entering Flurrie’s house, try the door on the right to get her attention. She’ll explain that, though she wants to help, she can’t leave the house without her favorite necklace. Luckily, we already saw the Necklace on the way here, in the hands of the Three Shadows. As we head back to look for them, they finally find their sketch. This means they know what Mario looks like now, so once we make it back to them we’ll be in for a fight.
The Three Shadow Sisters are a pretty straightforward fight. Vivian has no special gimmick here, but Marilyn can charge her attacks to deal a lot more damage. Beldam is particularly dangerous, using magic to shrink the party (reducing their Attack) and make her team larger (boosting their Attack.) She can also use a Blizzard attack that has an Attack power of 2, and a lightning spell. Both of these can hit your entire party. This fight is a fair bit easier if you have AOE badges (like the Quake Hammer) or items, such as the POW Block or Earth Quake. Take down Beldam first, then Marilyn, since Vivian is the least dangerous in this battle. Clearing this battle will get you 30 Star Points and Flurrie’s Necklace.
Take the Necklace back to Flurrie’s house to recruit Flurrie and continue the story. Madame Flurrie can create strong gusts of wind, blowing away certain objects. This can, for example, be used wherever there’s a loose piece of paper hanging off a wall to peel it back and reveal a secret. Flurrie can also disorient enemies by blowing on them, spinning them and making it easy to land a First Strike. In combat she can strike single targets with a Body Slam or blow away weaker foes with a powerful gust of wind.
Paper Mario: The Thousand-Year Door – How to Carry More Items
Feeling limited by the number of items you're able to carry in Paper Mario: The Thousand-Year Door? Here's how to increase your inventory space.
Return to the Great Tree
Before we head back, go into Flurrie’s room and open the treasure chest for the “Super Appeal P” badge, which allows your partner to generate more Star Power when using Appeal. After taking the pipe from outside Flurrie’s House to get back into the woods, grab a Volt Mushroom near the gap and retrace your steps to the Great Tree. This is a good opportunity to try out Flurrie’s abilities in combat, since she can easily handle the Cleft and Dark Puff enemies with her Gale Force attack.
Head up to where Punio stood when talking about the secret entrance to the tree, then use Flurrie’s ability to blow away the paper hiding the entrance. Punio will head inside and unlock the security door, allowing us to use the main entrance. Unfortunately, the X-Nauts seem to have taken over the Tree already, so it’s time for a fight.
X-Nauts have 4 HP and 3 Attack, but 0 Defense. The real danger lies in their ability to buff themselves with potions, though this shouldn’t be an issue as long as you take them down quickly. Once they’re defeated, quite a few Punies will show up. Though they’re a bit scared of Mario at first, most of them trust Punio enough to give us a chance. Unfortunately, a large Puni named Puniper isn’t convinced and tells Punio that most of the Punies (including his sister and the elder) have been captured already. Puniper says they’ll only consider joining our “little crusade” if we’re able to rescue the rest of the Punies.
The door further into the tree is locked right now, so hit the Save Block, heal if you need to, and then use the nearby pipe to head higher up.
Great Tree – Third Floor & Fourth Floor
The first pipe leads you to the second floor, but the only thing we can do here right now is take the pipe on the right side of the room and go up to the Third Floor. You’ll encounter a new enemy type here: Yux. These X-shaped creatures can create Mini-Yux, which protect them from attacks and items. In order to damage Yux, you’ll need to get rid of any Mini-Yux on the battlefield first. Mini-Yux aren’t able to attack, but can replicate themselves if left alone and render the main Yux invulnerable, so you’ll need to take them out fast. Luckily, they only have 1 HP. If they get out of control, have Flurrie use Gale Force to get rid of them all at once.
Use the Pipe on the left side of the room to go up to a higher section of this floor, then head through the pipe opposite to reach the Fourth Floor. The Elder Puni is in a cage here, so we’re gonna need a key. Slightly to the left, Petuni and the other Punies that were captured are locked up in a separate cage. The two cages are color-coded, so we’re looking for a red key and a blue key.
For some extra dialog and a good chuckle, try flipping sideways and sliding into the cells, then speaking to Petuni and the Elder Puni from inside the cell.
Head left to find a room where the X-Nauts are storing their supplies. The X-Naut here has the key, but Ms Mowz the thief is one step ahead of us. She leaves us with a kiss on the cheek and a clue about the Crystal Star’s location, before escaping via a convenient window (again.)
Sadly, the X-Naut recovered from her attack while we were talking, and we’ll still need to fight them. Power Smash for an easy instant-win, then loot the room. You’ll get the Red Key and an Ultra Mushroom. Use the Red Key to open the Elder’s Cell, then sit through the multi-hour lecture from hell that she’s been saving up for Punio (don’t worry, we get to skip to the end.)
After the Elder leaves, we’ll need to head back to the Punies on the first floor. Thanks to the Elder’s intervention, we’re now able to get help from the Punies as we navigate the tree. We can use the Puni Orb to gather Punies near pedestals, which will let us access some new areas.
Great Tree – First Floor & Second Floor
Now that we have 11 Punies following us, we can finally solve the puzzle on the Second Floor. Place the Puni Orb in the slot to make the Punies weigh down the floor switch. This will reveal a Pipe, so grab the orb from the slot and head down. This will get you to the other side of the locked door on the First Floor, so take out the X-Nauts and hit the switch next to the door to unlock it.
Drop down the gap on the right to find a Shine Sprite, then use the pipe on the left side to get back up. Place the Puni Orb in the pedestal on the left, use Flurrie to blow the Punies off the ledge and into the soapy water below. They’ll rise back up inside bubbles, so keep blowing to push them across the gap and get them to the other side of the room.
Great Tree – Sublevel One & Sublevel Two
This section of the Great Tree is where we’ll start encountering another new enemy type: Pider. These Spider-like creatures have 5 HP, 2 Attack, and 0 Defense. They can sometimes spit three consecutive web-wads as a special attack, requiring you to time multiple consecutive blocks. More irritating is their ability to scare off the Punies, so you’ll need to take them out before you can get help from the Punies in their vicinity.
After encountering the first Pider, gather up your Punies and head down the pipe to the lower section of this area. Head to the right and go down the pipe there to reach Sublevel 2. A Jabbi here is holding the Blue Key we need, but it flees as soon as it sees us. If you fall off the walkway here, you can get a Star Piece by hitting one of the bushes with the hammer. There’s also a Save Block here and a Secret Shop accessible by using Flurrie to reveal the entrance (to the left of the Save Block.)
Once you’ve visited the shop and stocked up, use the pipe to head back up to the narrow walkway, and head right to follow the Jabbi with the key. This will trigger a fight with a squad of 10 Jabbi, but you can’t really help out here. The Punies you brought with you will handle them automatically and, as long as you outnumber them, the fight will be won in no time. The Punies will dismantle the Jabbi fortress and open up the path forward, where you can nab the blue key.
Rescuing the Punies
Head back to the cage where Petuni and the other Punies are being held, use the key to open it, and we now have the numbers to take on the Jabbi on the opposite side of Sublevel 2. Eliminate the Piders on the narrow walkway and head into the room. This time, despite the numbers advantage, we’ll still lose without a little help. The trick here is to use Madame Flurrie to stunlock the Jabbi by blowing them away, giving the Punies a huge advantage.
Head further to the left, down a pipe, and out a door on the right to find a Puni pedestal to activate. Using this will drop a cage, re-trapping all the Punies, and reveal a pipe on the right. Lord Crump will show up and brag about his brilliant plan, so wait for him to leave and then turn sideways to slide out through the bars. Take the new pipe to head further down the tree and activate a switch. This causes four more switches to appear in the room where we found the Blue Key, so we’ll need to head back there next.
On the way back, run behind the pipe in the room next to where the Punies are trapped to nab a Star Piece.
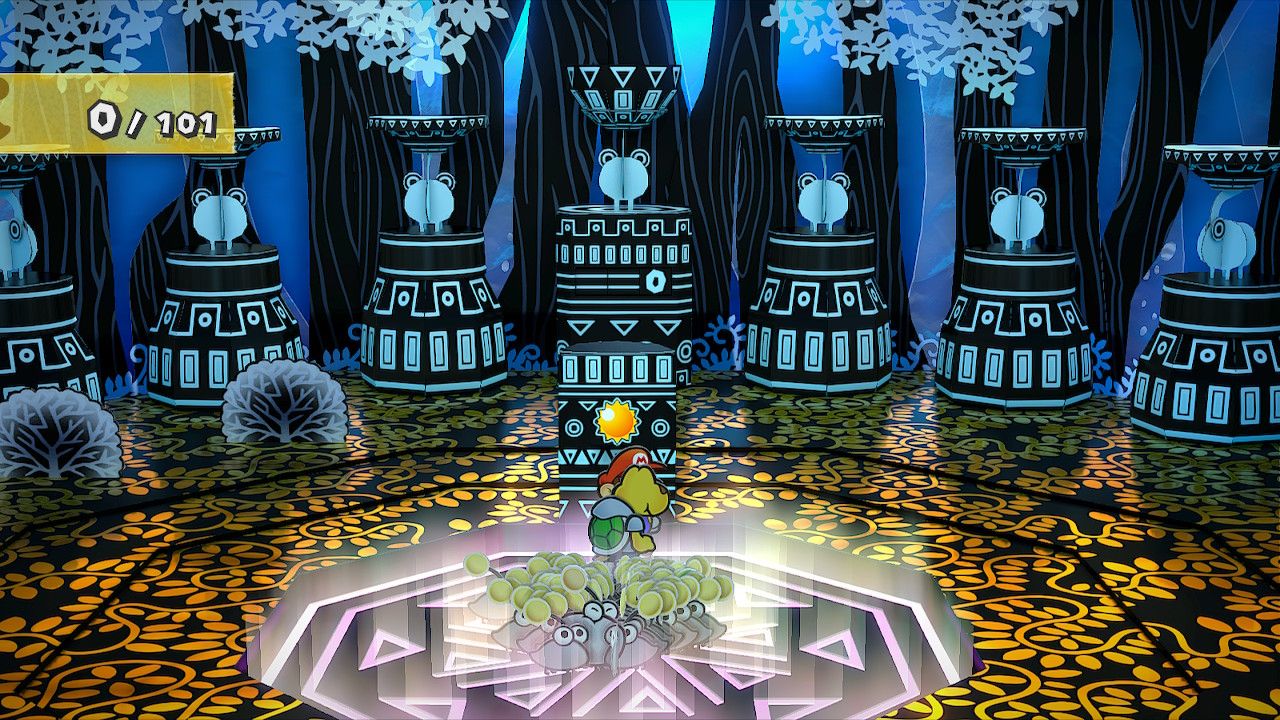
Once you make it back to the room where the switches appeared, you’ll need to hit the switches to change the symbols on the pillars. They need to match the pillars from the room where you activated these switches, so we’ve included an image of that room for reference.
Head through the newly opened path to find the chest containing the Super Boots. Toadette will appear from thin air to explain how to use them, but they essentially allow Mario to perform a Spin Jump that smashes through certain types of flooring. Use them in the previous room to break through the floor and reach the lower part of this room. Use Koops to snag the Charge badge from the pillar on the left, then platform over to the Shine Sprite Block and grab it.
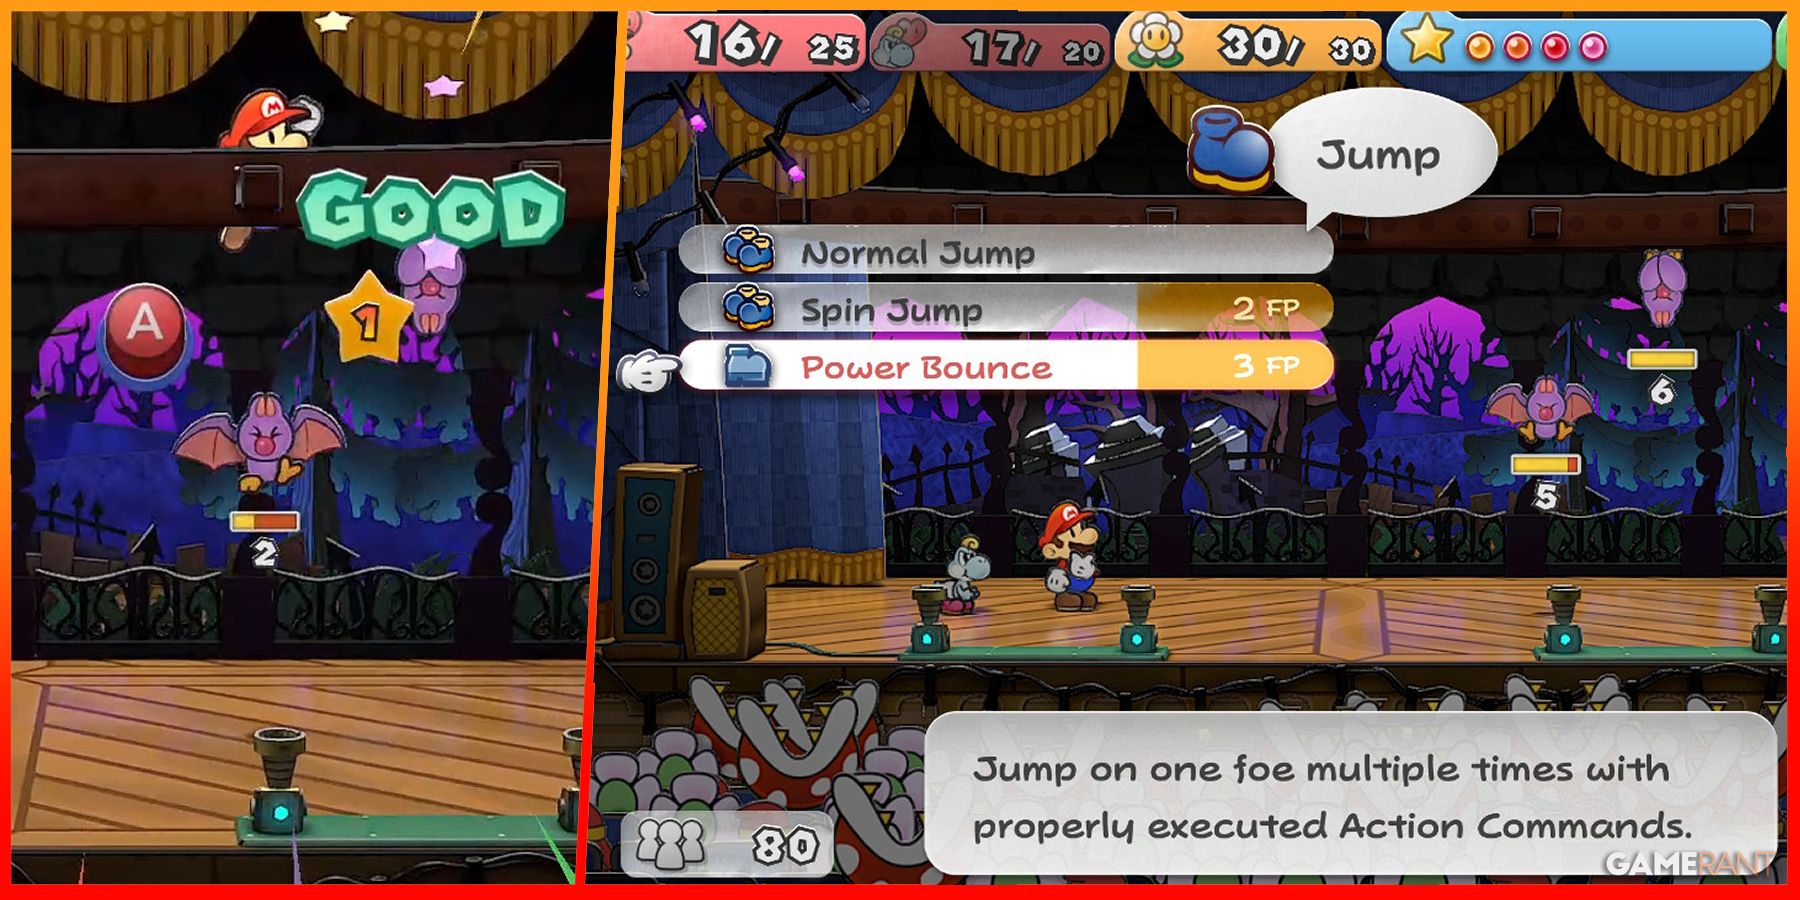
Paper Mario: The Thousand-Year Door - How to Get Power Bounce
Power Bounce is a very useful battle skill in Paper Mario: The Thousand-Year Door, and fortunately, it's not hard to get.
Rescuing the Punies – Again
Head back to the Puni cage with the Super Boots, using them on the spot shown above to break a hole for the Punies to escape through. Head back up and use Flurrie to push the Punies through the hole and out of the cage. Head back to the left and up the pipe, put the Puni Orb in the pedestal, then break open the hole in the floor next to the pedestal and head back up to blow the Punies through. Grab the orb again, drop down, and head through the pipe to reach Sublevel 3.
Great Tree – Sublevel 3 & Sublevel 4
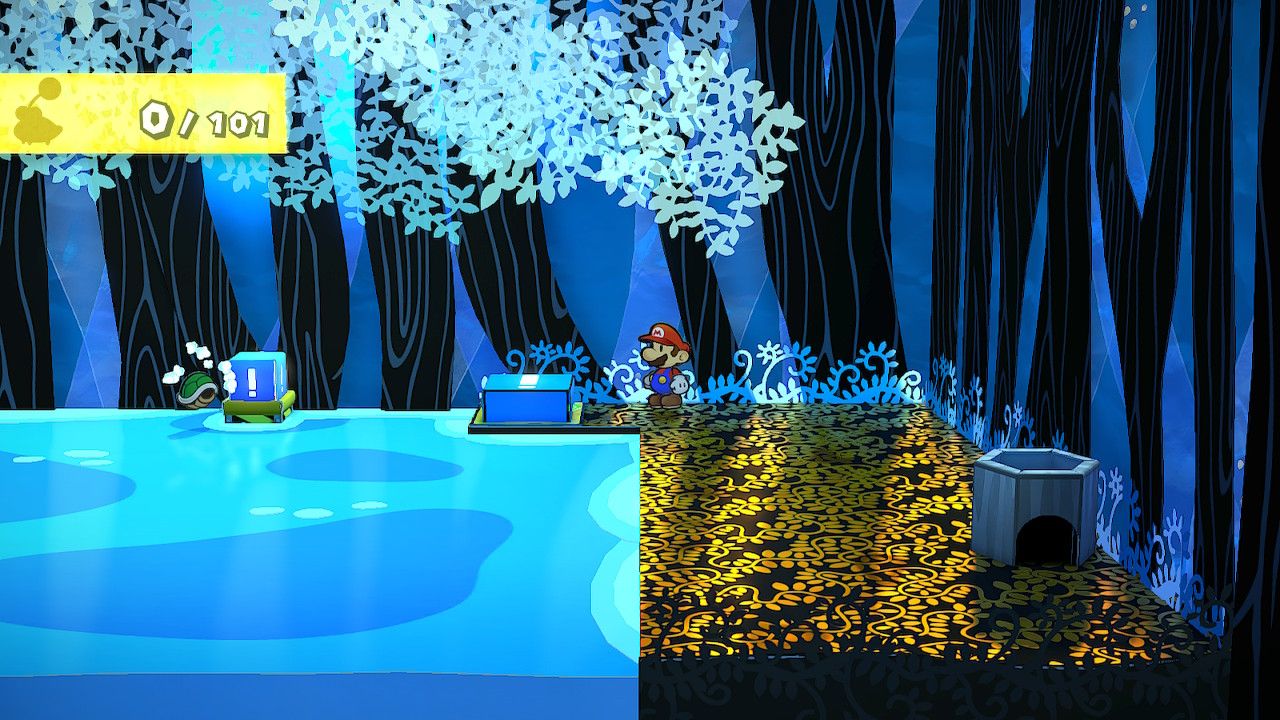
Head across to the right and down the pipe, then through the pipe in the lower section to enter sublevel 4. Take the pipe down, hop across the pillars, and use the pipe on the far right to reach the opposite side of the water. Stand on the Blue Switch and throw Koops out, leaving him spinning just past where the smaller blue switch was. Step off the big blue switch to make the smaller one rise back up, then release Koops so he hits the small switch on the way back.
This will drain the water, raising some lilypads in the area below and allowing us to reach the Shine Sprite block. This also allows us to bring the Punies across the water and down the pipe to Sublevel 5. Place the Puni Orb in the pedestal here to activate an elevator and head down to a Save Block.
Great Tree – Crystal Star Room
Head to the right from here to enter a room with a Puni pedestal. Activate it to release the Crystal Star, which is promptly stolen by Lord Crump. He sets a time bomb and escapes through a Pipe, so it’s time to run for it. Follow Crump to quickly ascend back to Sublevel 2, past a short fight with some X-Nauts, and then keep moving up towards the Tree Entrance.
The Puni Elder was all set to take out Crump themselves, but unfortunately their back is acting up. Crump disables the timer so he has time to fight us, before summoning his combat mech “Magnus Von Grapple.” Time for a Boss Fight.
Great Tree – Boss: Magnus Von Grapple
A quick Tattle Analysis from Goombella shows that Magnus has 30 HP, 2 Attack, and 1 Defense. This also reveals that its fists can be launched for a rocket punch. While separated from the main body, these fists have 2 HP, 4 Attack, and 0 Defense. Aside from the rocket punch attacks, Magnus can also perform a crushing stomp. The Stomp attack is a little tricky to block, since Crump will perform a few feints before committing to the attack. Specifically, he’ll feint twice before stomping, so learn the timing so you can block the real stomp safely. Flurrie’s Gale Force can blow away the rocket fists easily if you nail the action command, making her an ideal ally for this fight.
Finally, Magnus can perform a ground stomp while standing in place which will damage a single target. To block this, you’ll need to hit A when the robot performs its second jumping stomp, after stamping with alternating feet for a little. With Magnus defeated, the Punies are safe and Mario can claim the second Crystal Star. With the power of the Emerald Star, Mario gains an extra point of Star Power and access to the “Clock Out” special move.
Enemy List
Here are screenshots of the enemy stats for this chapter, for reference as needed.
