Quick Links
After arriving in Petal Meadows, Goombella and Mario begin the search for the first Crystal Star. This part of Paper Mario: The Thousand-Year Door begins with a Dragon flying overhead, towards a distant castle.
After seeing this Dragon, it's time to start exploring Petal Meadows in Paper Mario: The Thousand-Year Door. Hitting the Tree behind the Warp Pipe you entered through will knock a Mushroom loose. Always use the hammer and/or jump on anything that looks like it could hide an item or secret, since it often yields results. Speaking of results, jump under the tree further to the left (or hit it with the hammer) to knock loose a Star Piece.
The Trouble Center in Rogueport opens once you enter Petal Meadows for the first time, offering optional sidequests that grant useful rewards. The Badge Shop (accessible from the door on the upper floor of Rogueport’s Inn) also opens at this time.
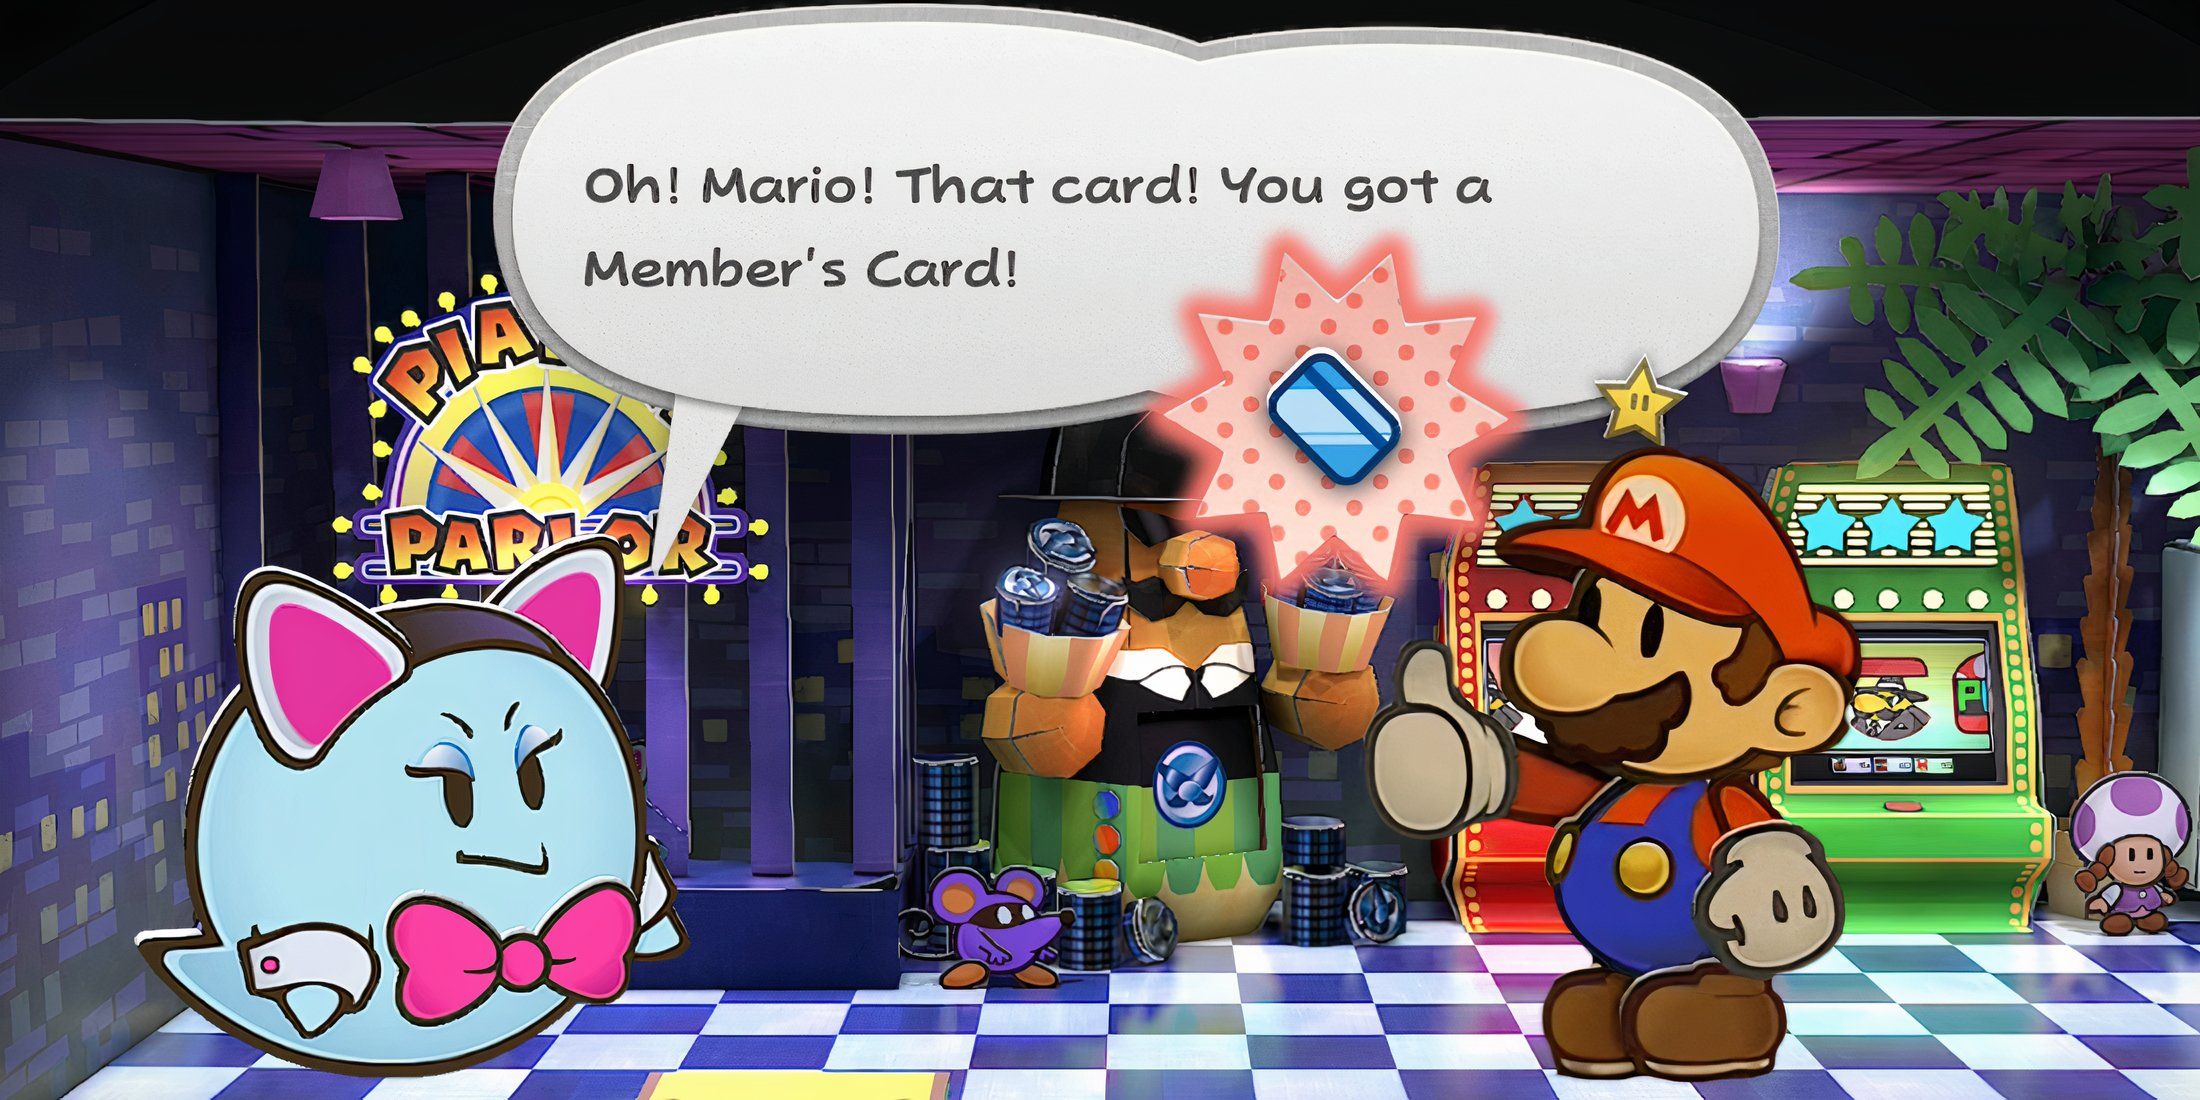
Paper Mario: The Thousand-Year Door - How to Get the Member's Card and Unlock Games in Pianta Parlor
Looking to try your luck at Pianta Parlor, but can't get your hands on a Member's Card? Here's how to snag one in Paper Mario: The Thousand-Year Door.
Entering Petal Meadows
After grabbing the Mushroom and Star Piece, head to the right, noting the Moon and Sun-shaped indents on two of the rocks nearby. There’s nothing we can do with them yet, but they will be important later. Snag a free Mushroom from the Question Block and exit stage right. On the next screen you’ll run into some Goombas and a block that contains the “Close Call” badge. Remember to hammer the spiky Goombas and jump on the Paragoombas when fighting them.
This is usually where you’ll increase your level for the first time if you haven’t been grinding, so let’s talk about the options available. When you level up, you can choose to increase Mario’s HP, FP, or BP. Early-on, it’s worth getting some extra BP so you can use more badges at a time, especially since you’ll be collecting a lot of them and they offer a lot of utility throughout the game. Don’t neglect HP and FP entirely, though, or you’ll find Mario far too squishy and unable to reliably utilize all those badges!
Make sure to repeatedly jump under the brick block in this area to snag some coins. The Pipe nearby allows you to reach a hidden badge, but it seems we’ll need help reaching it, so we’ll have to continue onward without it for now. The next area has a seemingly impassable river, but if you smack the big bushes nearby with the hammer they’ll fall, revealing a pipe. This pipe allows you to hop over to the background scenery, where you can find a switch on the right. Hit it to assemble a bridge across the river, then keep moving right along the background scenery to snag a Star Piece. Back in the main section of this area, cross the bridge and grab a fire flower from the question mark block, then head further right to reach Petalburg.
Welcome to Petalburg
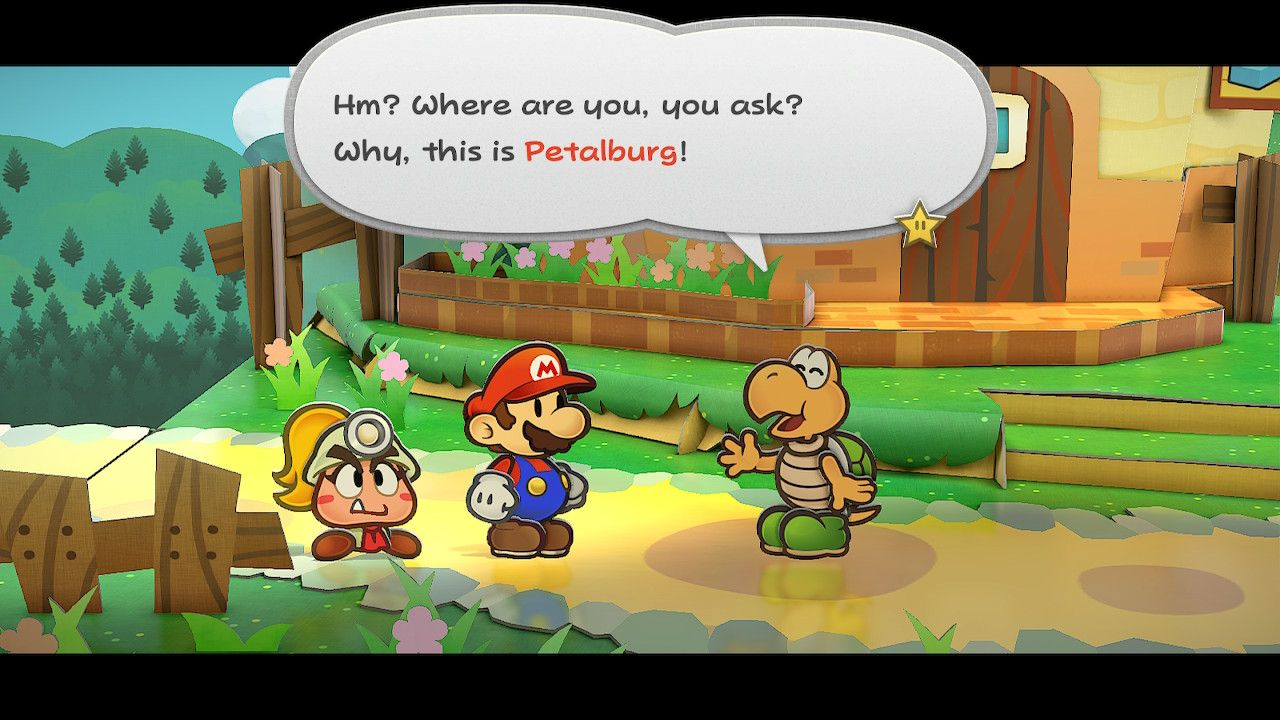
When you enter Petalburg, you’ll meet a Koopa. They’ll explain that Tourism has dried up ever since Hooktail, the dragon we saw earlier, showed up. They don’t know anything about the Crystal Stars, but suggest asking the Mayor about them. The Mayor lives in a Pink House, apparently, so let’s go look for him. Along the way, talk to the people around town to learn more about the area (and meet the obligatory Product Placement Toad.) You can also check out the item shop, which sells a few new item types. (The POW Block, Courage Shell, and Mr. Softener, to be precise.)
Stock up with whatever items you find most useful (I recommend a couple POW Blocks and a Courage Shell), and then head out and over to the right side of town to search for the Mayor. The Toad standing in the middle of this area mentions a type of enemy that cannot be harmed by “Normal attacks” and is unaffected by fire, before wondering if the Item Shop has something to help. (The POW Block is likely the item they are referring to)
You can find the Battle Master in the upper right of this area, if you need a refresher or want to peruse their combat secrets, but you should head into the pink house in the upper left once you’re ready.
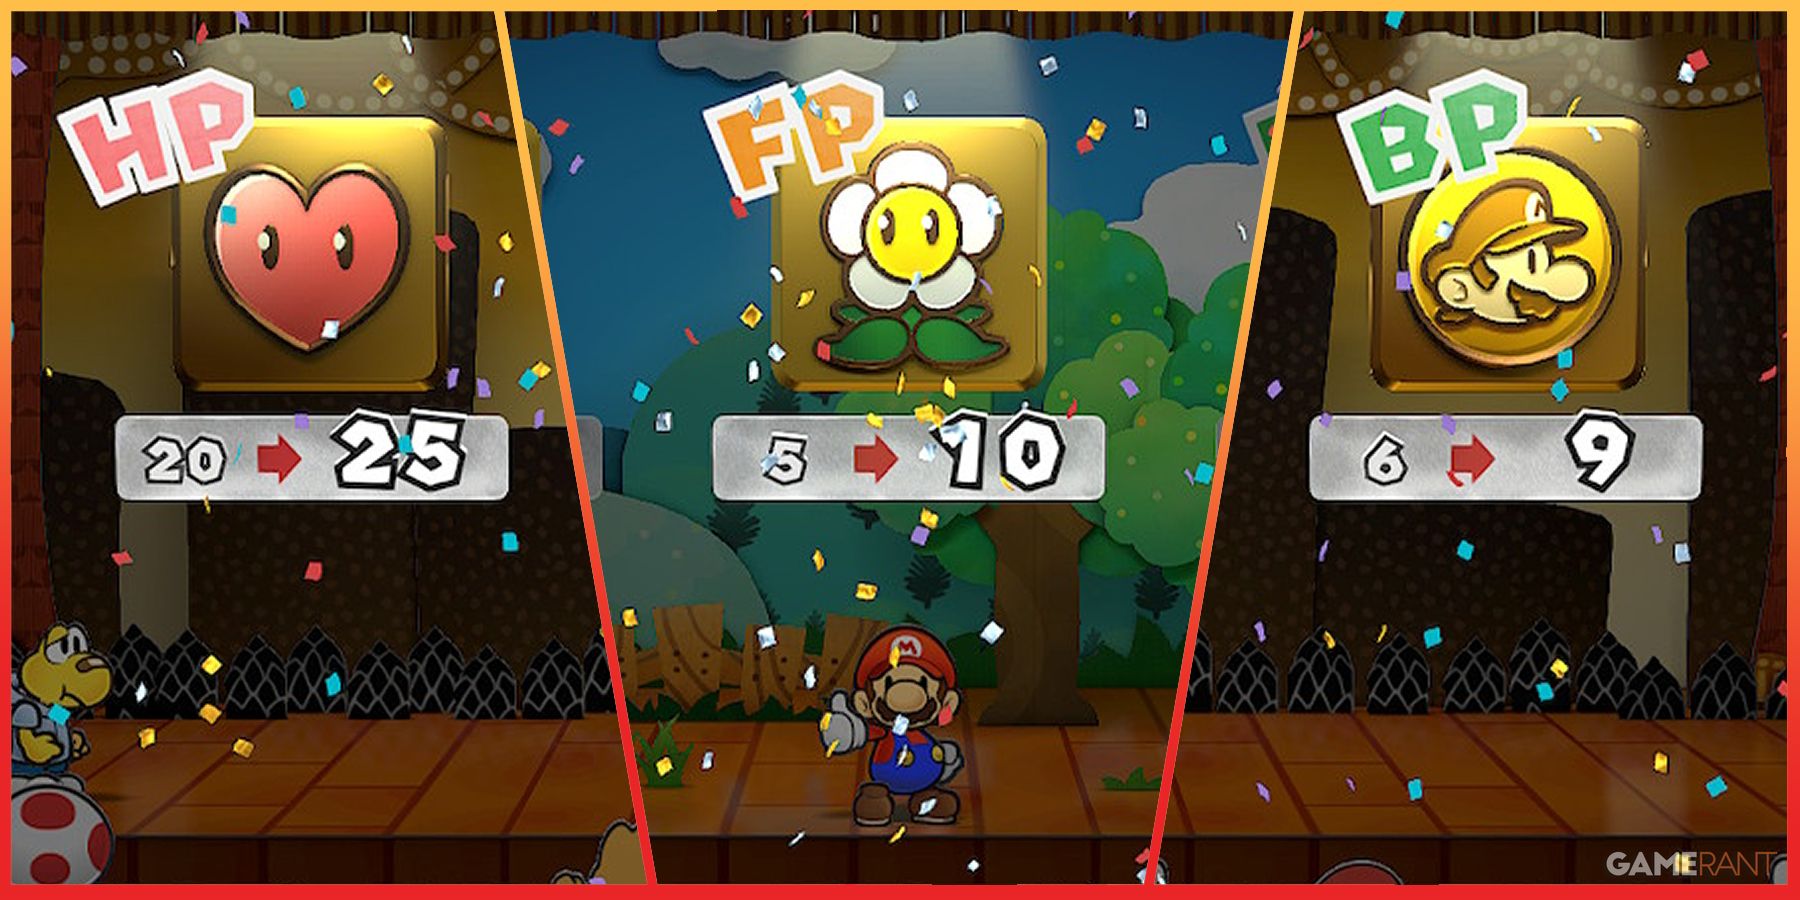
Paper Mario: The Thousand-Year Door - What Stat Should You Level Up First? (HP, FP, or BP)
There are three stats to choose from when you level up in Paper Mario: The Thousand-Year Door, but what do they do, and which one's the best?
Journey to Shhwonk Fortress
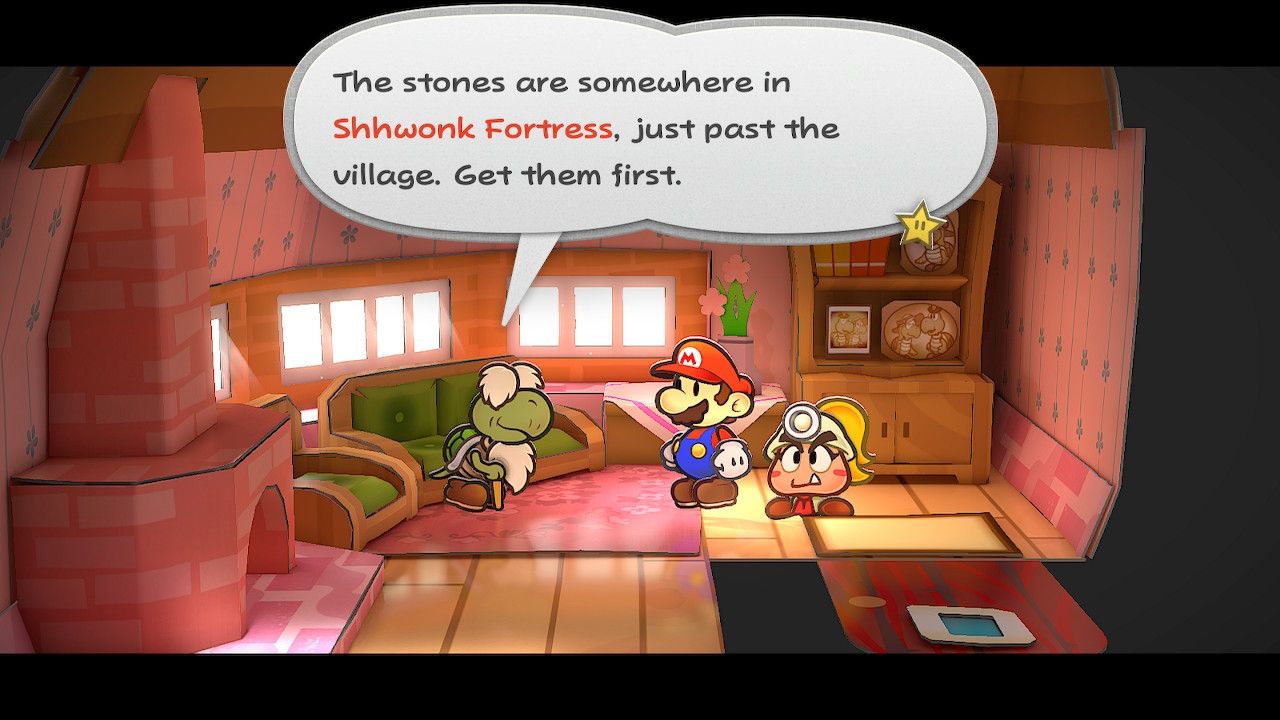
Speak to the Mayor to learn that Hooktail has a Crystal Star. He’ll also tell you that you need the Sun Stone and Moon Stone to activate a secret pipe and get to Hooktail’s Castle. The Stones are at Shhwonk Fortress, past the village, so now we have a new objective.
The Koopa Gatekeeper will open the path out of the village now. Koops the Koopa will then show up, but he seems too shy to ask whatever he was planning to ask. Head out of the village and immediately smack the bush closest to where you entered this area with the hammer to grab another Star Piece. You’ll start encountering Koopa Troopas from this point onward. They have 1 Defense, making Attacks less effective against them. Fortunately, flipping them over will reduce their Defense to zero, and we can do this just by jumping on them. If you encounter a bunch of Koopas together, you can knock them all over at once using a POW Block.
There’s a shaking bush a little way down the path, but approaching it will immediately trigger a fight with a Koopa Troopa and a Goomba. This fight introduces hostile audience members, who will throw things at Mario to cause trouble. You can hit X when you see a hostile audience member to step off-stage and get rid of them, which you should do whenever you see one. That said, audience members can also arrive holding coins or items, which they’ll throw to Mario instead, so make sure not to chase them away. This battle also introduces the ability to collapse parts of the stage backdrop, dealing extra damage in the process. This can happen to the Party too, so be careful.
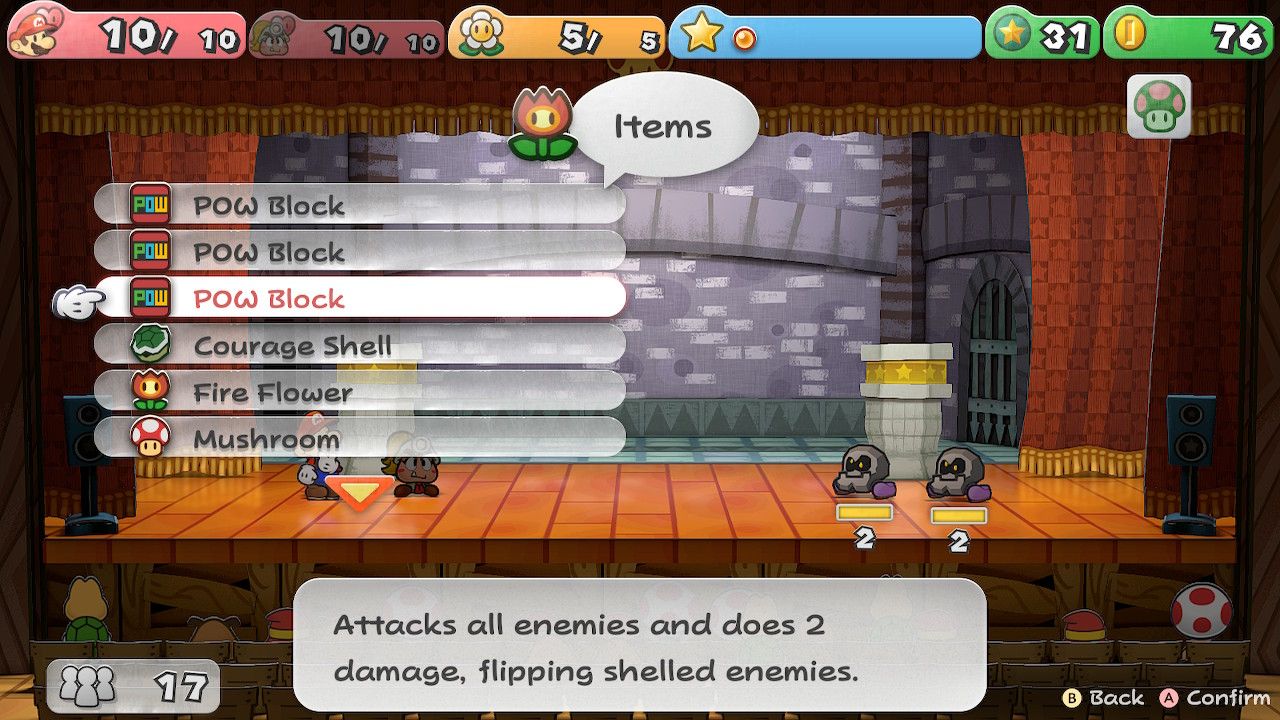
After the fight, keep moving along the Path, making sure to grab a free POW Block along the way from a Question Block, and you’ll quickly make it to Shhwonk Fortress. Hit one of the pillars here to wake up the Bald Cleft enemies standing on top of them, who have 2 Defense and are therefore immune to Mario and Goombella’s normal attacks. Mario’s Power Smash badge can damage them, but the best way to deal with them is by using a POW Block. With the Bald Clefts beaten, you can head through to the next part of the Fortress. Follow the path and smack the pillars in the next room, and you’ll find yourself facing another new enemy type: Bristle. These guys have 4 Defense and immunity to fire, so the only way to handle them right now is by using POW Blocks, and they’ll damage Mario and Goombella if they try to attack them normally.
Same story as before. This battle opens the locked door on the right. While heading down this next stretch of the path, be sure to pick up the Inn Coupon lying on the ground. It’ll get you a free stay at the Inn the next time you visit. Just past this you’ll find a glass block with a heart inside it and a cost floating above it. This is a bit like an Inn, allowing you to heal the party by spending 5 coins. Head inside and hit the Save Block because it looks like this is a boss room.
The 65th Trivia Quiz-Off
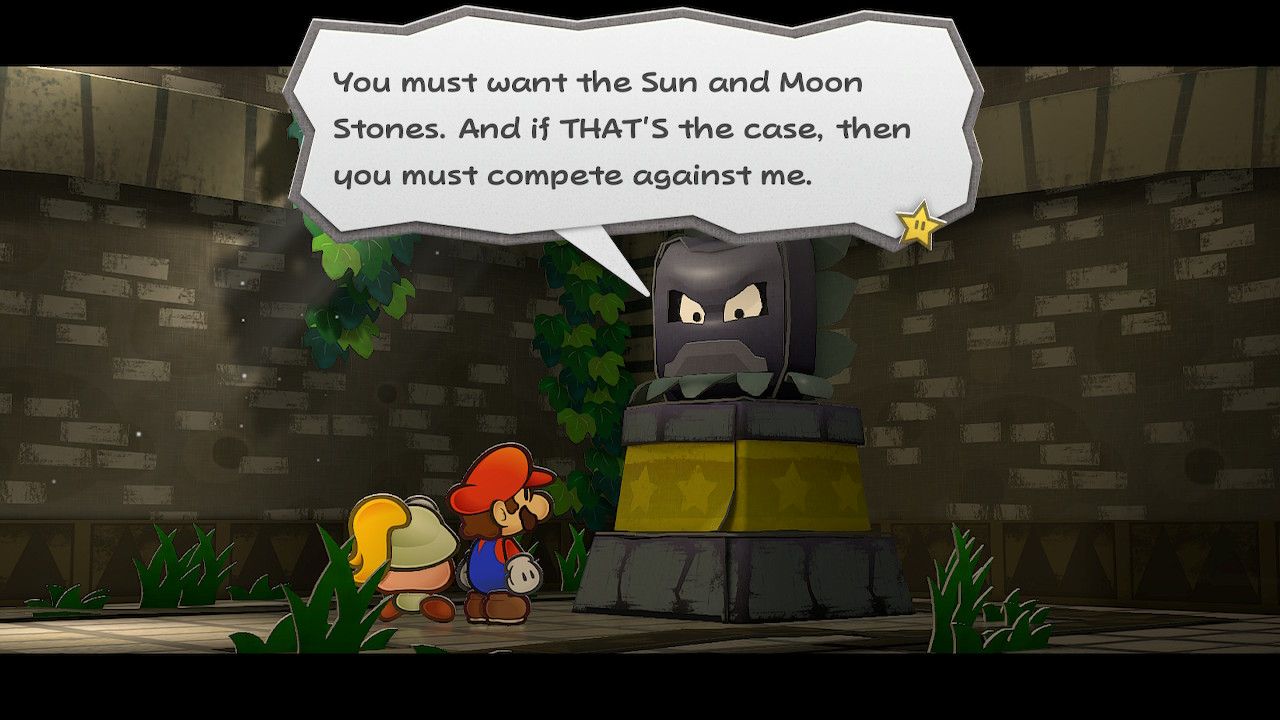
Much to everyone’s surprise, the Thwomp on the pedestal challenges the Party to a Quiz, offering the Sun and Moon Stones as the prize. We have a full guide to the quiz here.
After completing the Quiz, you can head down the pipe to enter the underground section of Shhwonk Fortress. Jump under the floating block to grab the Multibounce badge, which is incredibly useful when dealing with groups of enemies.
Head left from here and you’ll run into another new enemy type, the Fuzzy. These nimble furballs will heal themselves by sucking up your HP, but they have 0 defense and only 1 attack, so you’ll be able to handle them just fine using the Multibounce badge and Guard. As Goombella says, you need to Guard just as they let go of you, so the timing is a bit trickier than normal. If you aren’t confident in your ability to Guard their attacks, you should use items like Fire Flowers to take them down quickly.
Keep heading left and you’ll quickly locate the Moon Stone. A little to the left of it is a question block containing a Mushroom, which is handy if you’re running low on health. Best to grab that first, since collecting the Moon Stone will immediately trigger a fight with some Fuzzys. This is definitely a good time to use a Fire Flower if you’ve got one, since it’ll end the fight instantly.
If you have a POW Block to spare, you can Multibounce with Mario and then have Goombella use a POW Block to eliminate all Fuzzys at once.
Once you’ve got the Moon Stone and taken out the Fuzzys, you can head back to the room with the pipe and head to the right. It’s the same story here, with the room at the end containing the Sun Stone. The question block on the far side of the Sun Stone room contains a Fire Flower, which you can, and should, use to instantly end the fight with the Fuzzys here.
Boss: Gold Fuzzy
With both stones in hand, head back to the pipe room to meet a Gold Fuzzy. This guy is identical to the other Fuzzys, but with 10 HP and no ability to suck up your HP. His real power is summoning a horde of allies to repeatedly strike a target, dealing 1 damage multiple times in succession by jumping on their target. This “Fuzzy Horde” has 20 HP and 1 Attack, but their ability to attack multiple times makes their low Attack deceptive.
Utilize damaging items to strike the Horde and the Gold Fuzzy at once, or use Mario’s Power Smash badge to deal lots of damage to a single target. To Guard against these enemies attacks you need to hit A just as they bounce onto their target. Time each Guard and you can block every hit. Goombella makes an excellent point, though, suggesting that we take out the Ringleader to scatter the Horde. Sure enough, defeating the Gold Fuzzy will instantly end the fight. Head up the pipe and out of the building, and you’ll get an email from Professor Frankly. After that, heal up if you need to and head back to Petalburg.
Paper Mario: The Thousand-Year Door - How to Level Up Quickly
Paper Mario TTYD allows players to level up Mario. Here's how to quickly get his level up.
Opening the Path to Hooktail Castle (Koops Joins the Party)
After heading back to Petalburg, we need to backtrack a little further to the entrance of Petal Meadows, where those boulders with the Sun and Moon-shaped holes in them are. Koops will interrupt us on the way there, asking us to take him with us to fight Hooktail.
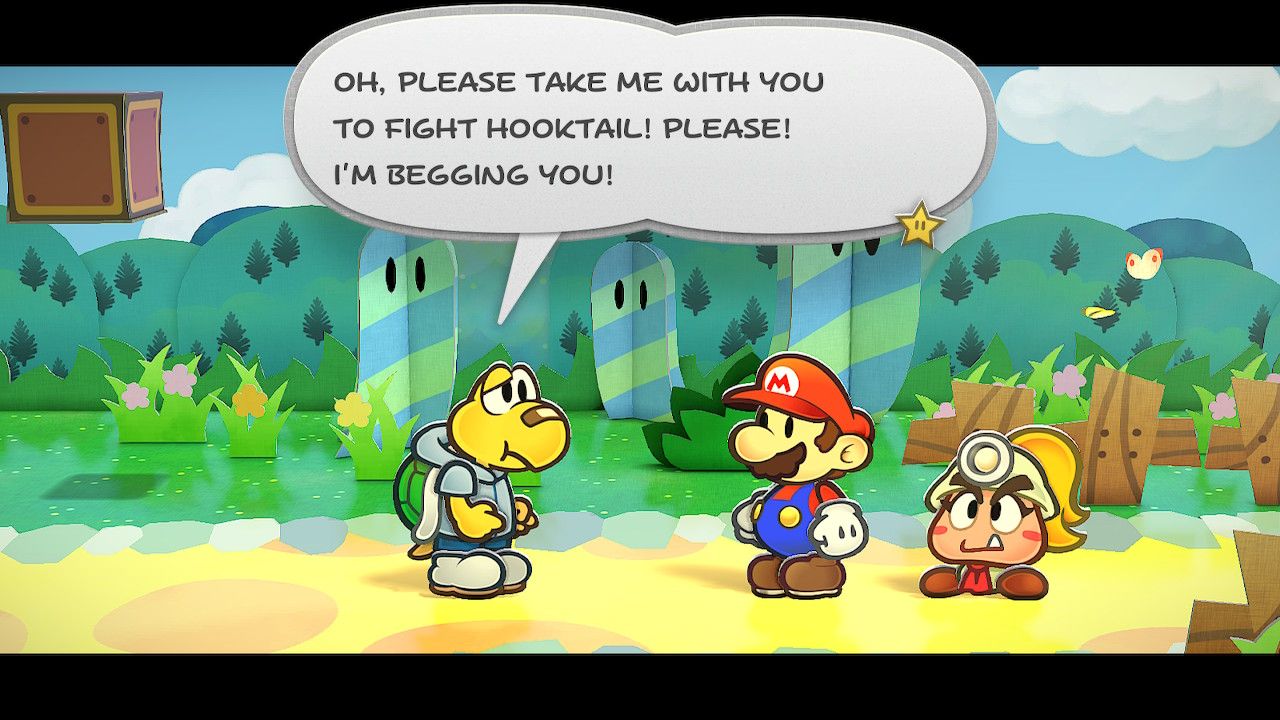
Koops wants to avenge his Father and help to save the Village. We could always use more allies, so bring him along. Pressing X while Koops is the active partner allows you to shoot him forwards inside his shell, which can hit enemies and objects at a distance. This can also be used to pick up items at a distance. You can hold the button to keep him spinning in place and then release it to have him spin back towards Mario’s original position, which can be used to hit things behind Mario or to activate switches remotely. (Mario can move freely while Koops is spinning in place.) Once you’re done practicing with Koops’ Koopie Koo will arrive and get angry with him for going to fight Hooktail.
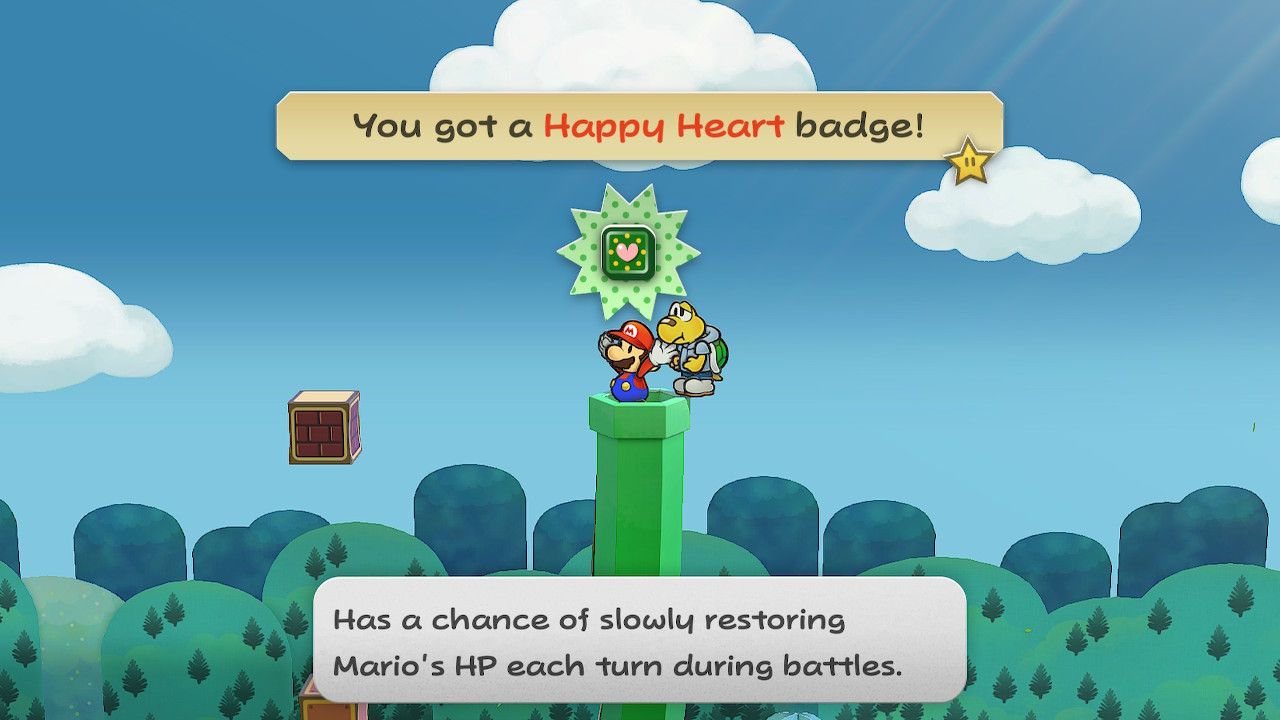
Once she leaves, head left and use the pipe on the next screen to get high up. Now that Koops is here, we can reach the badge on that floating block. This is the “Happy Heart” badge, which can slowly restore Mario’s HP each turn during battle. Keep heading back to where we entered Petal Meadows, where we can use the Sun and Moon Stones on the boulders to reveal a pair of switches, along with a hint on how to open the path. Set up Koops to hit the left switch and move Mario over to the right switch. Then have Koops hit his switch and use Mario’s hammer to hit the other, opening the path to Hooktail Castle.
Hooktail Castle - Arrival
After entering the Castle, note the spring hidden behind the pillars in the middle of the room. It can be used to reach the upper section of this area, where you can find another heal block (Cost: 6 Coins.) Hit the Save block and then head out the door on the right. Head down from here to drop below the bridge, hop along the rocks, and use Koops to snag the HP Plus badge, then head back to the Save Block Room and use the spring to go to the upper level, then head out the door on the right. Use the airplane panel to fly over the broken bridge and make it into the castle proper.
Inside the castle, you’ll start encountering Paratroopas, a flying variant of the Koopa Troopas you’ve already met. They need to be knocked to the ground and then stomped again to knock them over and reduce their defense. There’s a red question block near the middle of this room that contains the “Power Bounce” badge, which is a tremendously powerful badge if you can get the timing right.
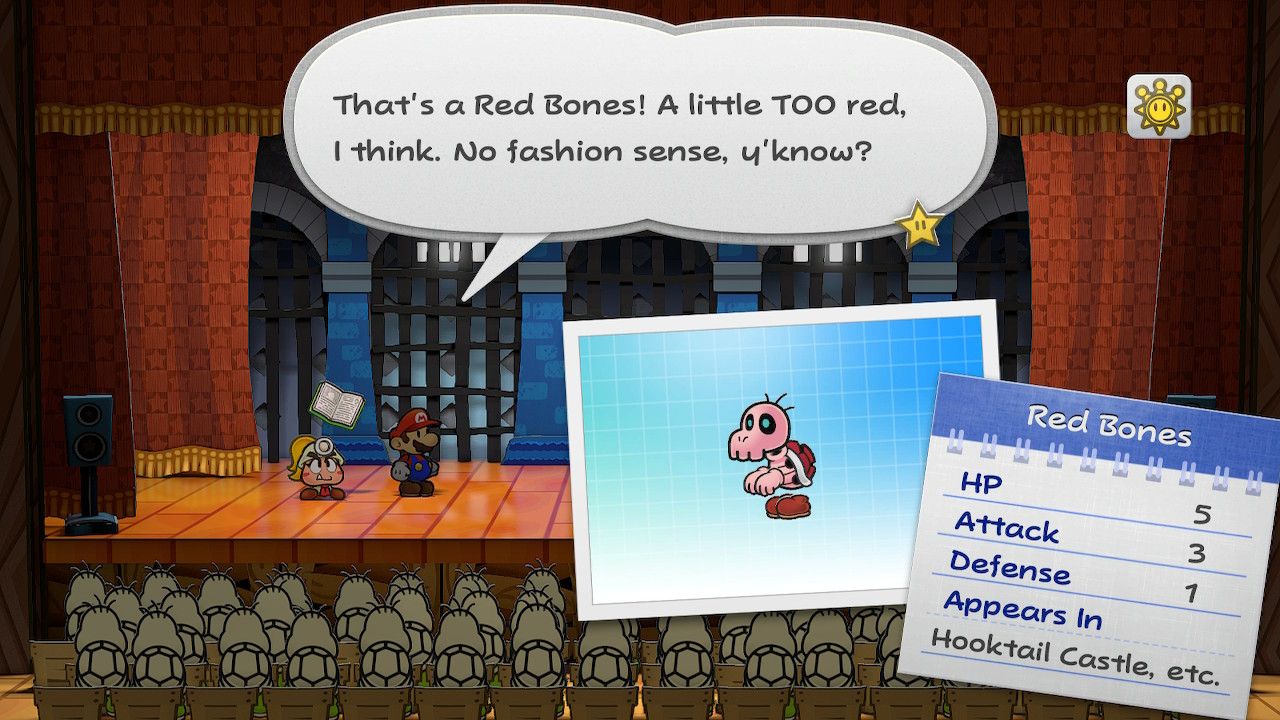
Keep heading to the right and enter the next room to trigger some dialog from Koops. Read the letter to get a vital clue about Hooktail’s weaknesses. Interacting with the pink pile of bones at the far side of the room will cause a horde of Dull Bones to swarm the party, shoving them around and making it impossible to move. Luckily, Mario’s hammer can scatter them, allowing you to make it back over to the Red Bones you woke up and start a battle.
Red Bones Fight
Red Bones and their Dull Bones allies aren’t too tricky to deal with, as long as you can hit multiple enemies at once. This is where Koops’ Power Shell really shines. The Defense stat of the Dull Bones and Red Bones makes Multibounce ineffective, unfortunately. POW Blocks are very useful here. In the room after facing Red Bones, you’ll find a Shine Sprite block. Hit it to grab a Shine Sprite, which can be used back in Rogueport to power up a party member. Dull Bones also start appearing as normal enemies from this point onward.
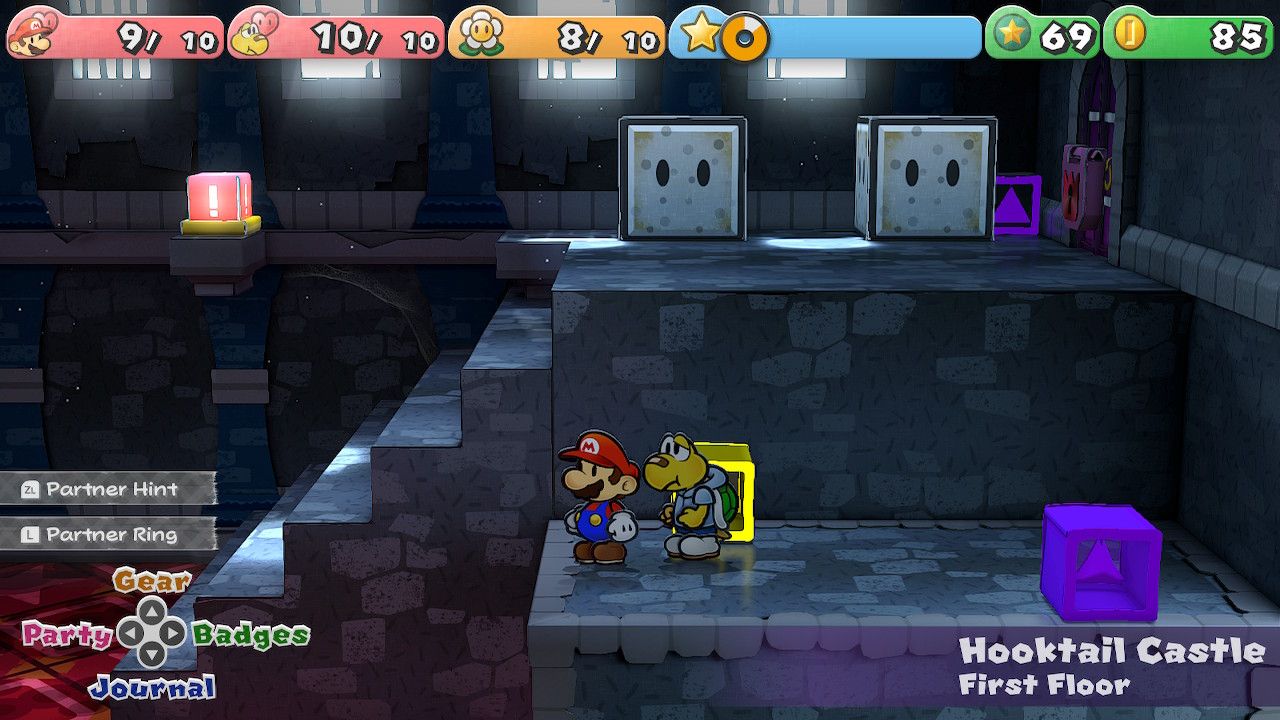
On the far side of this room you can find two blocks, one yellow and one purple, with triangles inside them. Smack the purple one with the hammer to drop down an identical block higher up that you can use to climb onto one of the big grey blocks. From here, hop over to the other grey block and smash the big yellow block with the hammer, then hit the small yellow block with the triangle in it to move its larger counterpart out of the way.
With the path clear, use Koops to hit the red switch and flip the stairs, allowing you to reach a new platform, then use Koops to grab the red key from across the gap. Flip the stairs back and use the key to open the door on the right side of the room.
Hooktail Castle – First Floor
This is the Grand Staircase, where you can save your game and take one of two routes. We’ll start by heading out the door on the right, past a few Dull Bones, and over to a red switch. You’ll need to set up Koops to hit this switch and hold him in place, then move over to the jail cell on the far right. Once Koops hits the switch and the cell door opens, head inside quickly and through the hole on the right.
Here, you’ll find another suspicious talking treasure chest, but we don’t have the key yet. Through the door on the right, you’ll find a rather dangerous room. Once you open the chest in the middle of the room and grab the Black Key, spikes will rise from the floor, creating a maze. Simultaneously, the spiked ceiling will start lowering, so it becomes a race to the exit before the party gets crushed. Head down first, then head up and wrap around the room to make it to the exit.
Open the chest with the key and OH NO! It seems we’ve been fooled once again and will be subject to a terrible curse. This dastardly curse allows Mario to turn sideways, taking advantage of his paper thin form to squeeze through small gaps and access new areas. We can use this to squeeze back out through the bars of the prison cell in the room left from here, and grab the badge in the leftmost cell too. This is the “Attack FX 6” badge, which causes Mario’s attacks to sound “froggy.” The note earlier said that Hooktail can’t stand frogs, so this can be used to exploit their weakness.
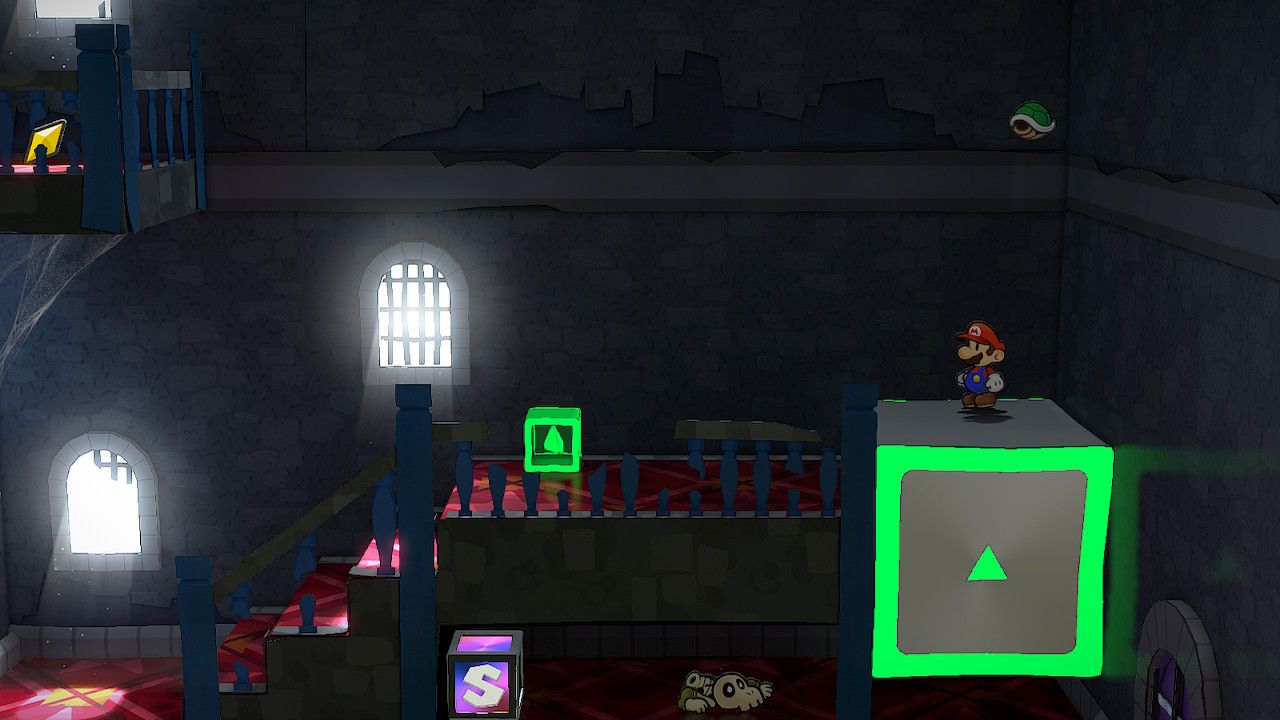
Before we head further up the castle, we should head back a few rooms to find the spot shown above in the third image. By using the new curse we got, we can squeeze through the bars here and reach the Green Key. With that done, you should head back to the Grand Staircase.
Going Up the Grand Staircase (Hooktail Castle – Second Floor)
At the top of the stairs here, you can use Koops to hit the small green block while standing on the big one, causing it to rise with Mario on top of it and make it further up. Using the Green Key, we can open the door just up these stairs to get into Hooktail Castle’s Second Floor. You can use the block here to heal if you need to, then hit the blue switch to create a bridge over the gap. Use Koops to hit the second switch from across the gap and continue moving left.
Drop down the third gap to land on a platform, then move right to find a Star Piece and the yellow block you moved earlier. Unfortunately, we’ll need to send the purple block back up too before we can make it to the door on the right, so drop down and set up Koops to hit the block that moves the purple block. Move Mario on top of the purple block, then release Koops to send it back up with Mario on it. This snags us another Star Piece.
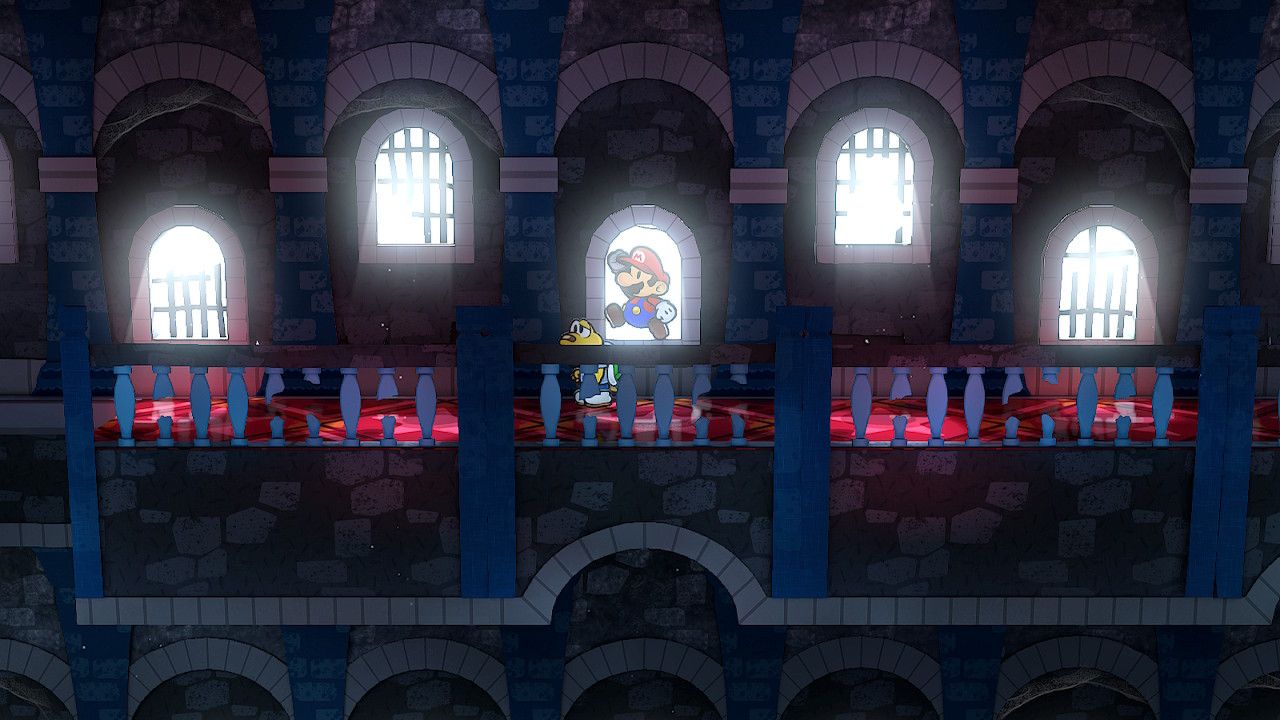
Head back out the door and into the Grand Staircase, and make your way back to the Second Floor. To get across that final gap, you’ll need to hop out the window nearby, as shown in the image above. Walk to the right first to find a Star Piece, then walk left to reach the other open window on the far side of the gap. Hop back inside and through the door on the left. In this room, you can use Koops to trigger the green switch while you’re standing on the green block, sending Mario up higher. The door on the right is locked, so we’ll head through the left door for now.
Hooktail Castle – Third Floor
In this room, you’ll find Ms Mowz searching for “rare and valuable badges.” She’ll tip you off about the badge that can exploit Hooktail’s weakness (which we picked up earlier) before escaping out the window. Open all the chests in this room to snag some handy items and, most importantly, the Yellow Key. Make sure to grab the Shine Sprite too, then head back out the way you entered.
Using the key, you can open the other door up here and access the rest of the Third Floor. Use the Koops trick to raise the yellow block with Mario on it, then walk along the narrow railings to the left to find an airplane panel. Use your new curse to slide through the bars and access the panel.
Before using this airplane panel, head through the bars to the opposite side and walk right along the railings to grab another Star Piece.
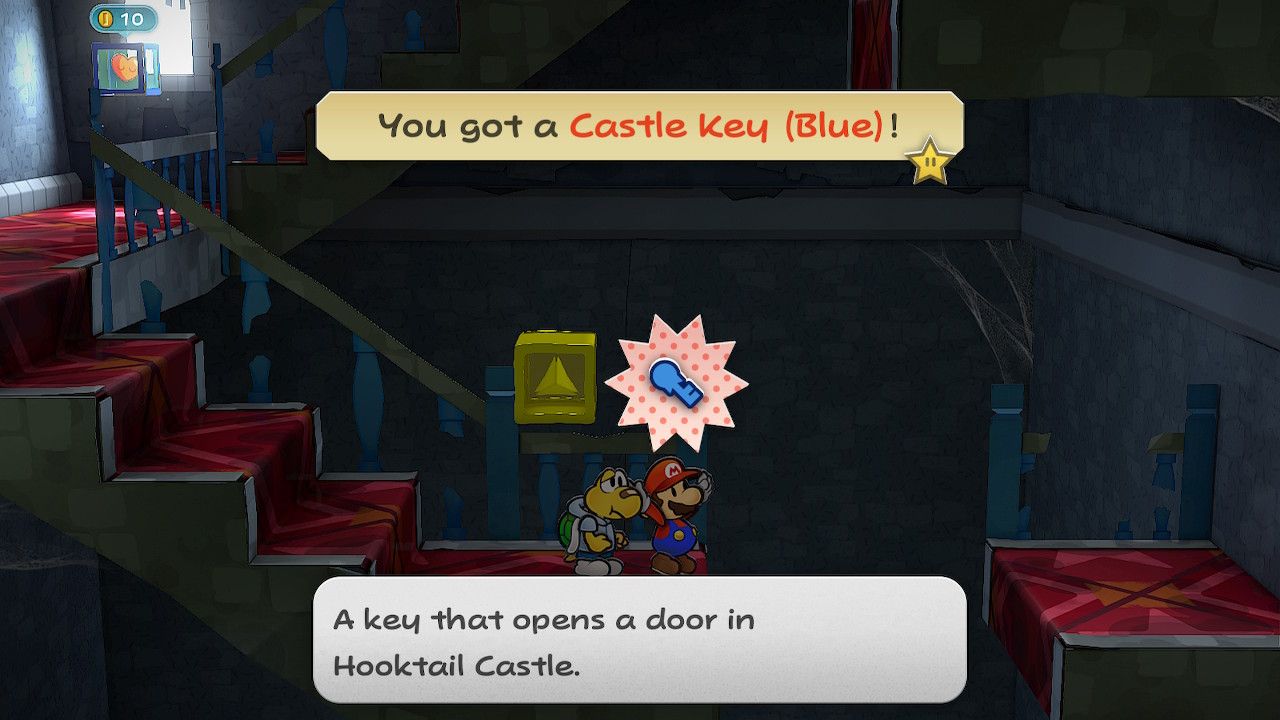
Once you’re ready, use the Airplane Panel to reach a new section of the Grand Staircase. Head down the stairs, using Koops to activate the yellow block, and then use Koops to snag the Blue Key on the far side of the gap. Drop down this gap to reach the previously inaccessible badge and warp pipe near the door to the Second Floor. This is the “Last Stand P” badge, which halves damage taken by your partner when their health is 5 or less. Use the pipe to go back up to where you were, heal if needed, and head further up.
Paper Mario: The Thousand-Year Door's Switch Approach Should Be The New Standard
Paper Mario: The Thousand-Year Door is a combination of past and present-day series titles, and this mix is so perfect it should remain the standard.
Boss Fight: Hooktail
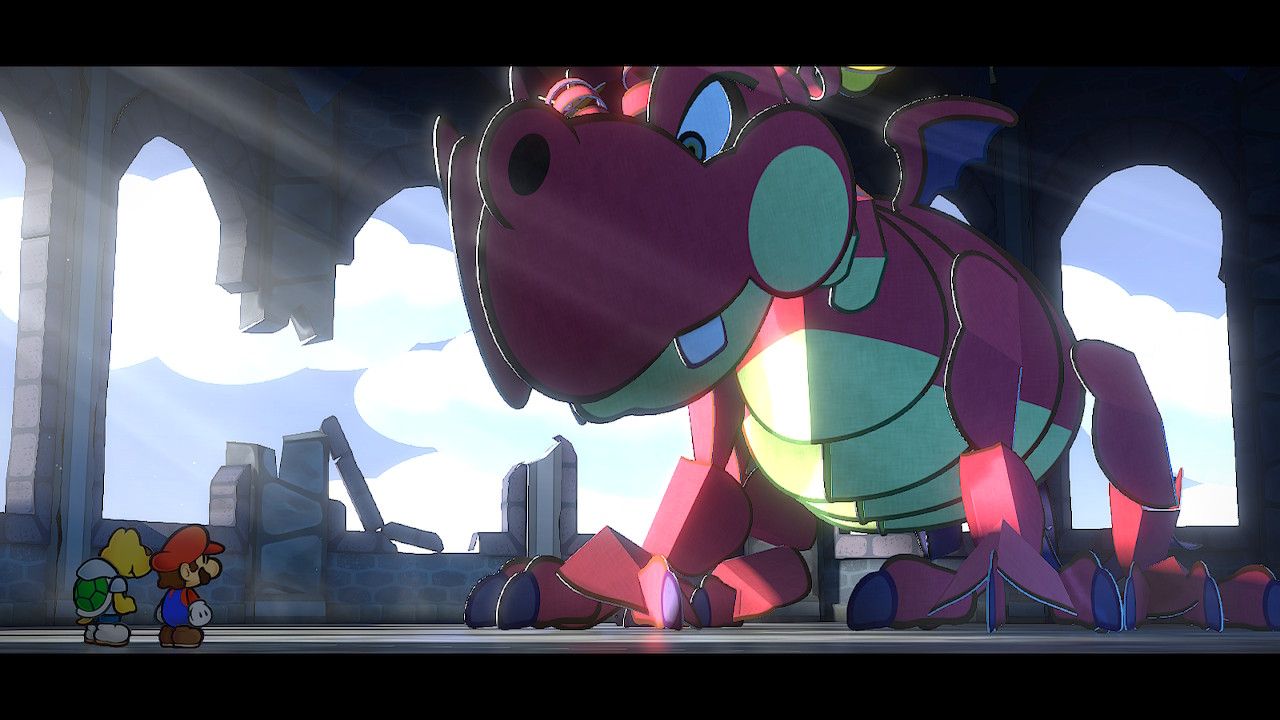
The door at the top of the stairs is locked, so use the Blue Key you picked up and head into the Fourth Floor. Fight your way across this bridge and head up the Spiral Tower to reach the final section of the Castle. There’s a Save Block here and an opportunity to heal, so make sure your party is prepped and ready to fight. We’ve got a dragon to slay.
This is where you should equip the “Attack FX G” badge, since it will make the fight with Hooktail easier. The “Piercing Blow” Badge (acquired from the Badge Shop in Rogueport) can ignore Hooktail’s Defense and ensure Mario is dealing a good amount of damage, though the extra damage from the “Power Smash” badge can achieve the same effect at this point in the game. “Power Jump” (also from the Badge Shop) is useful for similar reasons.
Bring along some healing items to this fight, especially if you aren’t using the “Attack FX G” badge, since Hooktail can deal a lot of damage with her attacks. Once you head through the door, you’ll be face to face with Hooktail. Having that “Attack FX G” badge means that Mario’s attacks will make Hooktail woozy, dropping their Defense to 0 and their Attack to 3. This makes Hooktail a much easier fight and allows Mario to use the “Power Stomp” badge to deal a ton of damage (assuming you manage to time the hits well.)
After Hooktail has lost enough HP, she’ll try to trick you by offering coins, then a badge, and finally by offering to let you smell her feet (for some reason.) All of these offers are lies and accepting any of them will allow Hooktail to hit Mario instantly with her Chomp attack. Regardless of whether you accept any of the offers or not, Hooktail will then eat some of the audience and regain 10 HP. Keep attacking her and healing as needed. The fight will be over in no time.
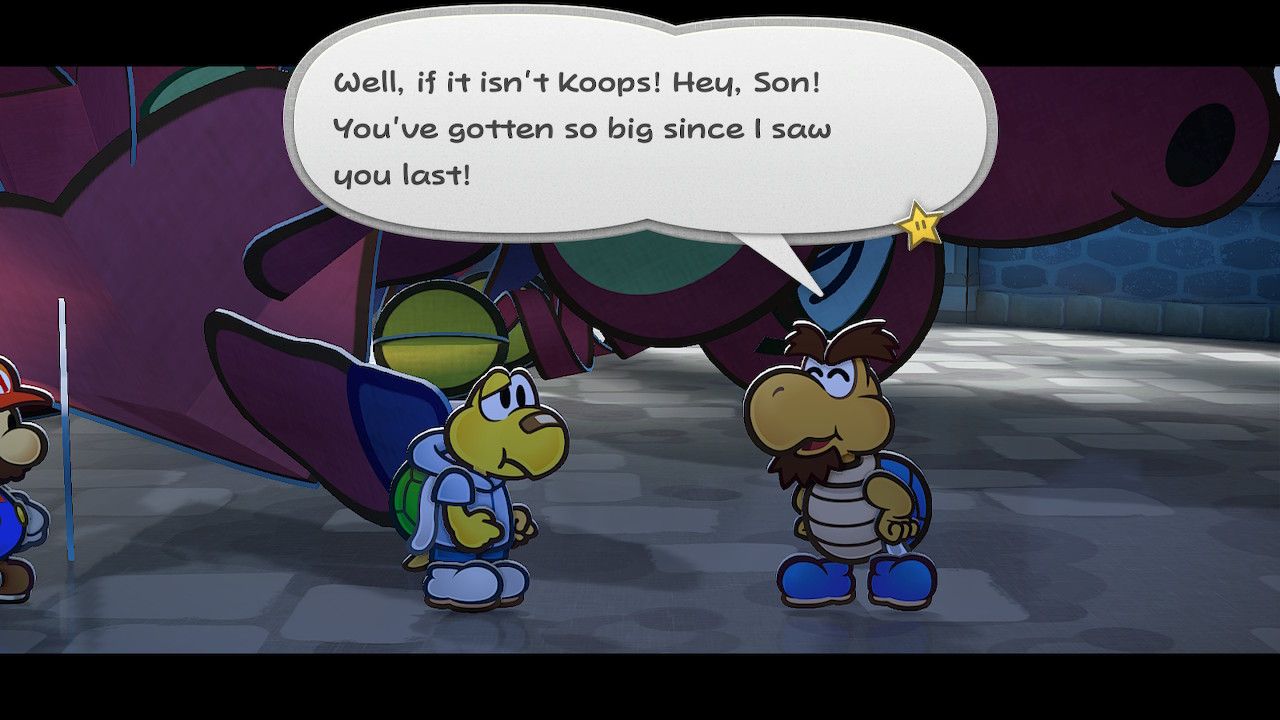
With Hooktail defeated, Koops’ very-alive Father will escape from her stomach, Crystal Star in hand. He gives it to the party as a reward for saving him, increasing their Star Power limit to 2 and teaching Mario the “Earth Tremor” special move. With that, the chapter ends.
Enemy List - Chapter 1
The images above display the stats for all enemies found in Chapter 1.
