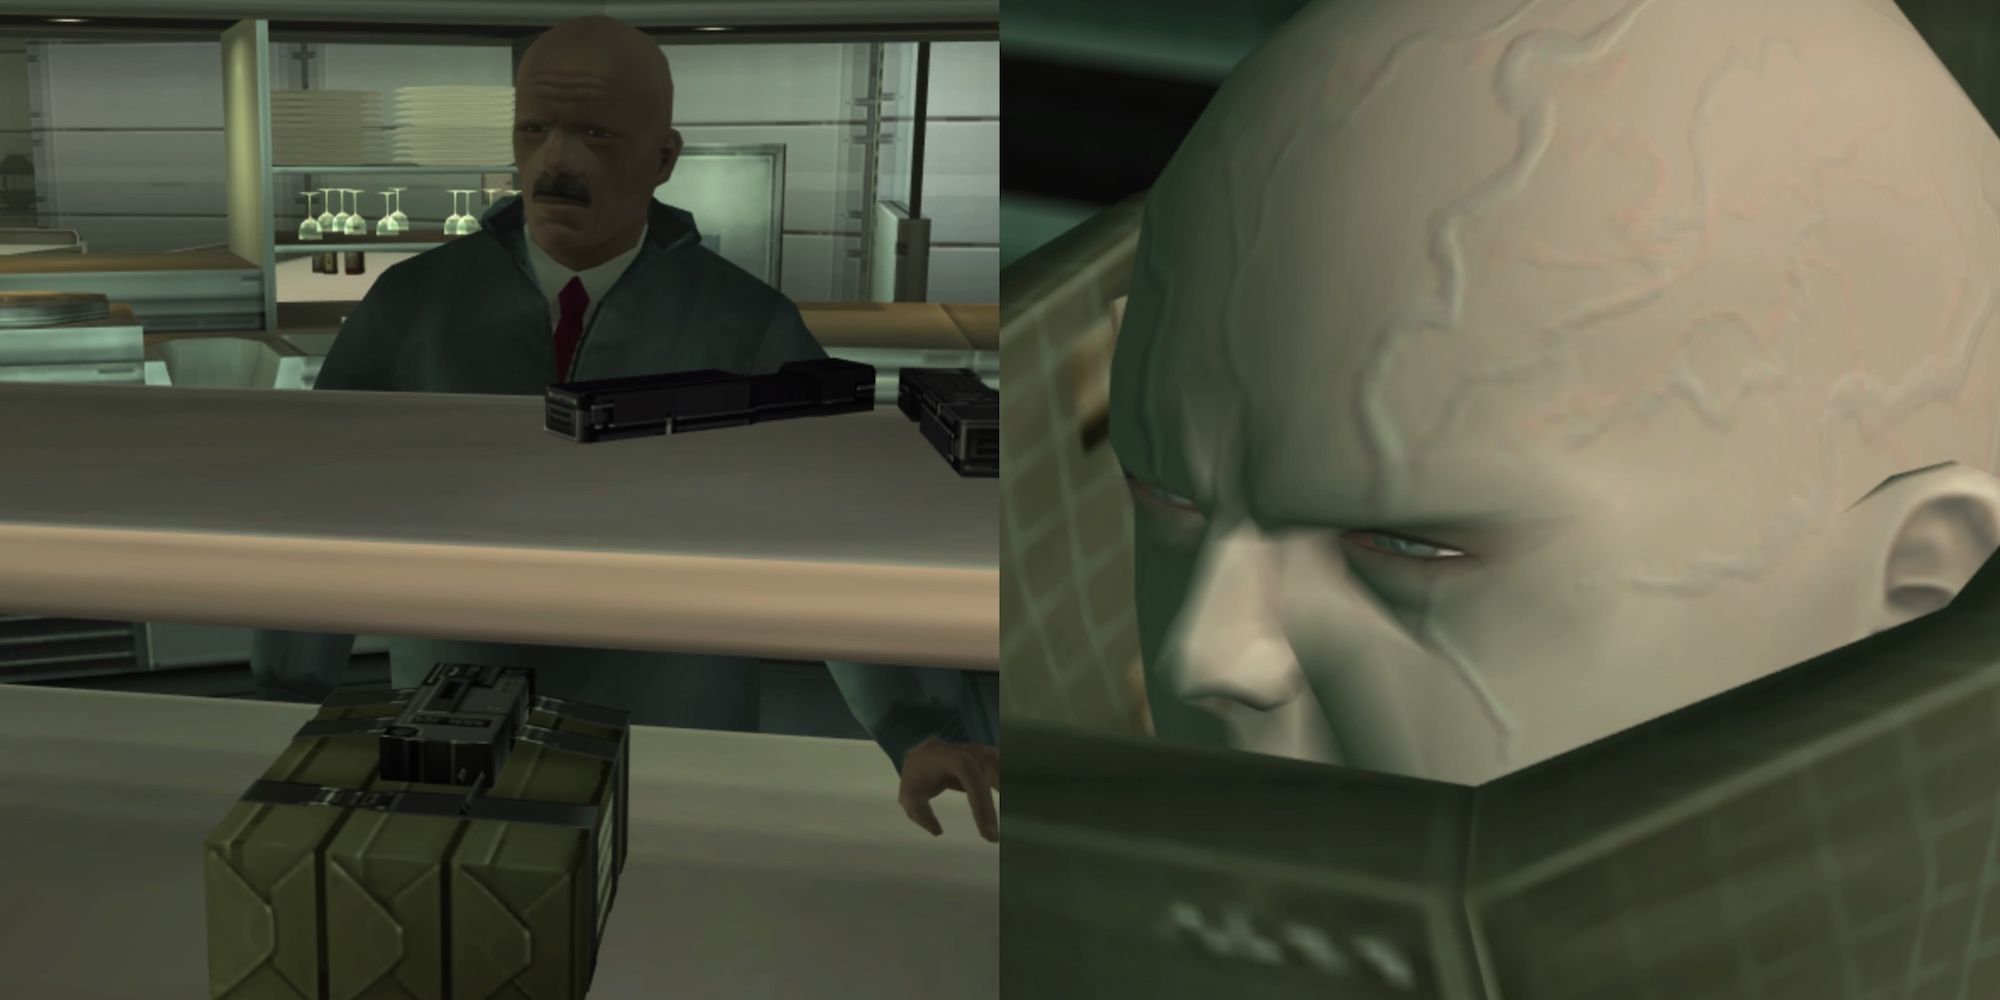
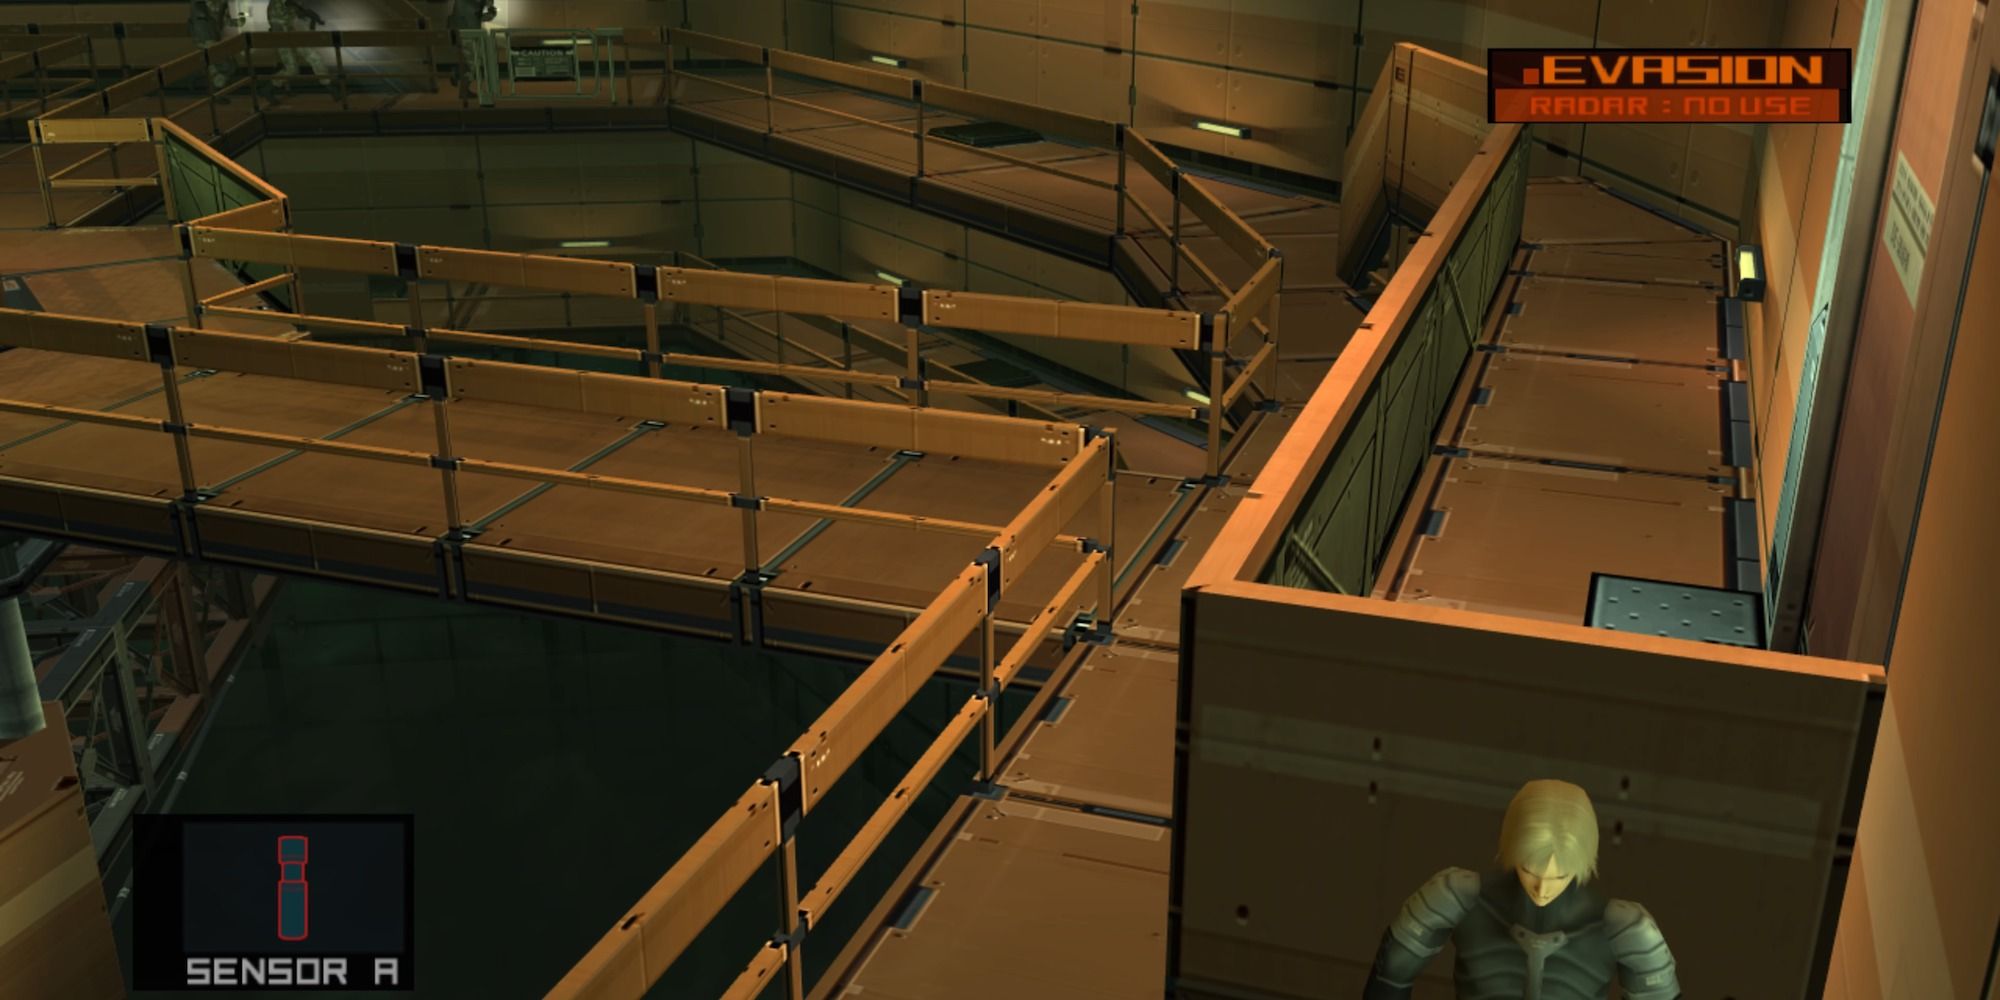
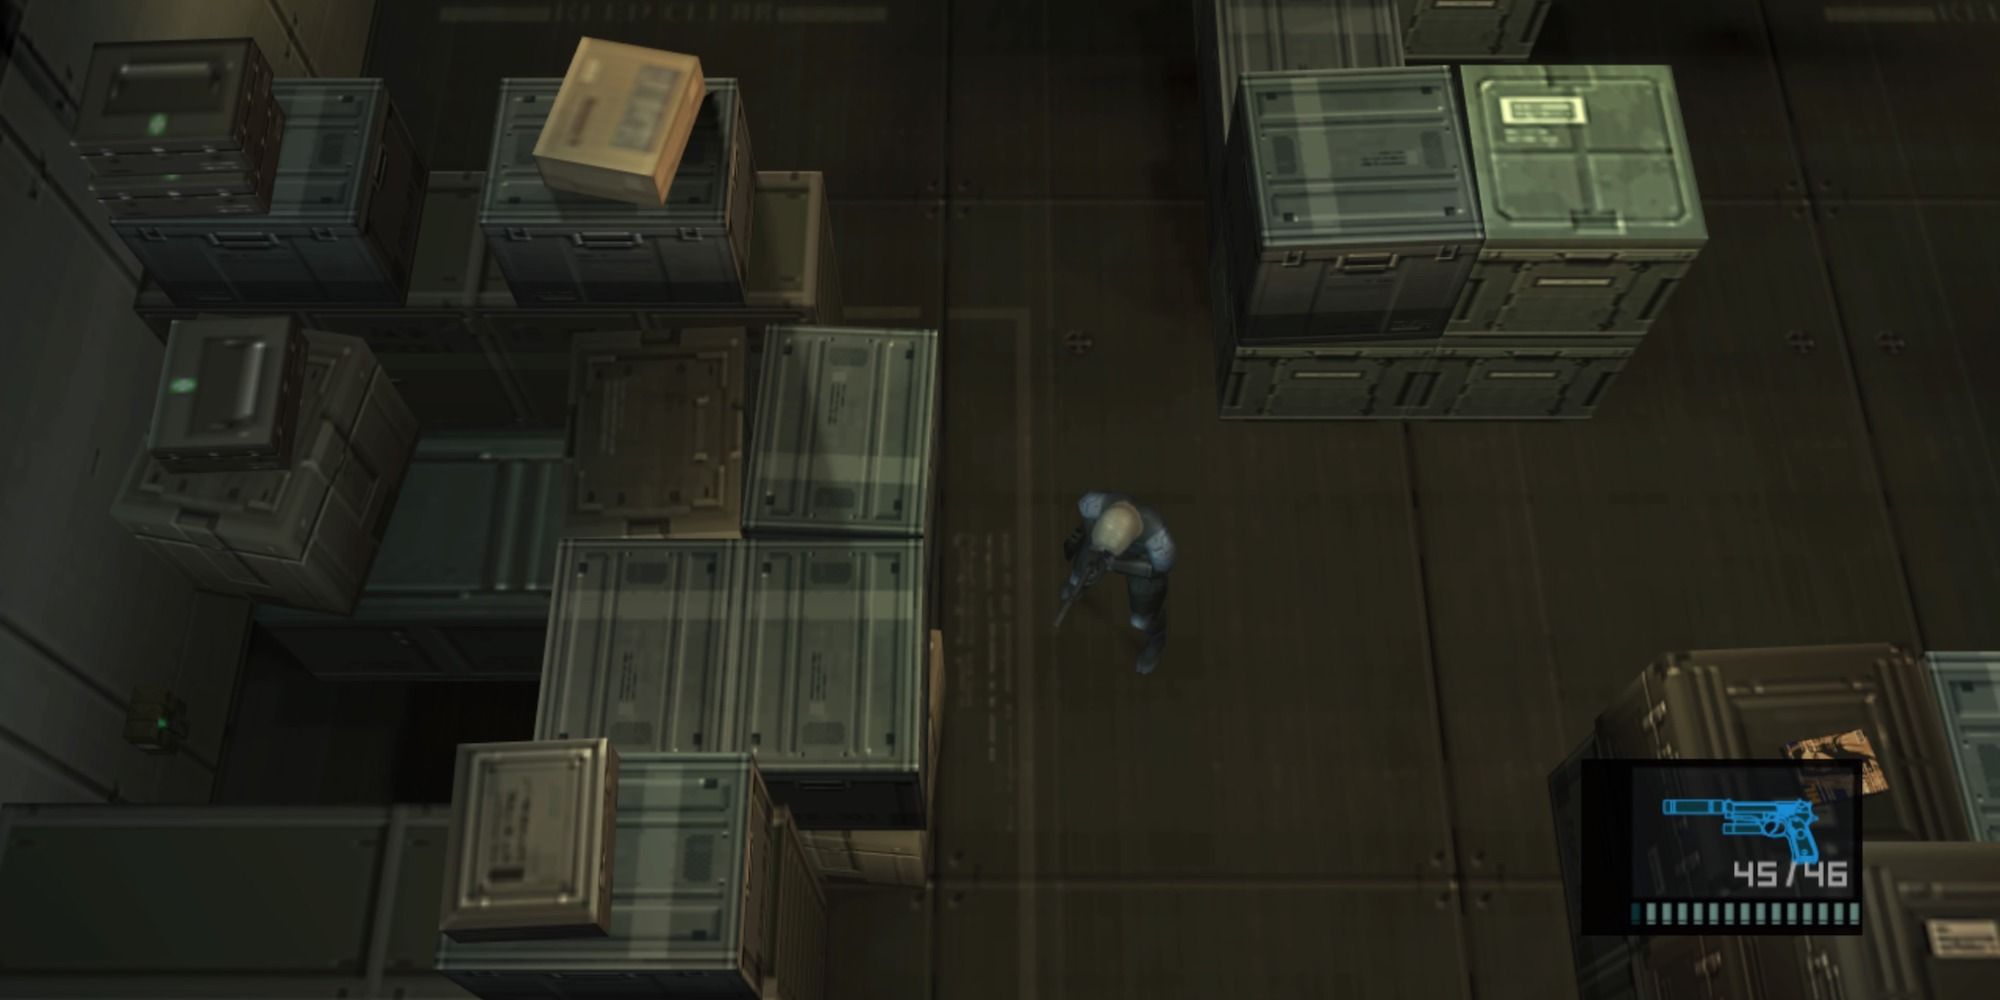
The bomb disposal chapter takes up a rather large portion of Raiden's early gameplay segment in Metal Gear Solid 2. It also switches up the linearity to which the series had been abiding up to that point. Players can freeze the semtex explosives in just about any order they choose, but they don't want to get mixed up and lose track of which struts they have already cleared.
To make things easier, this guide will take players through step-by-step instructions on how to dispose of all the bombs, from the normal ones on each strut to the special ones with a timer and the final one right after the Fatman boss fight.
Metal Gear Solid 2: How to Get Dog Tags
Dog Tags are a bonus collectible that can be found on enemies throughout Metal Gear Solid 2 and this guide will explain how to get them to drop them.
When Does The Bomb Disposal Segment Start?
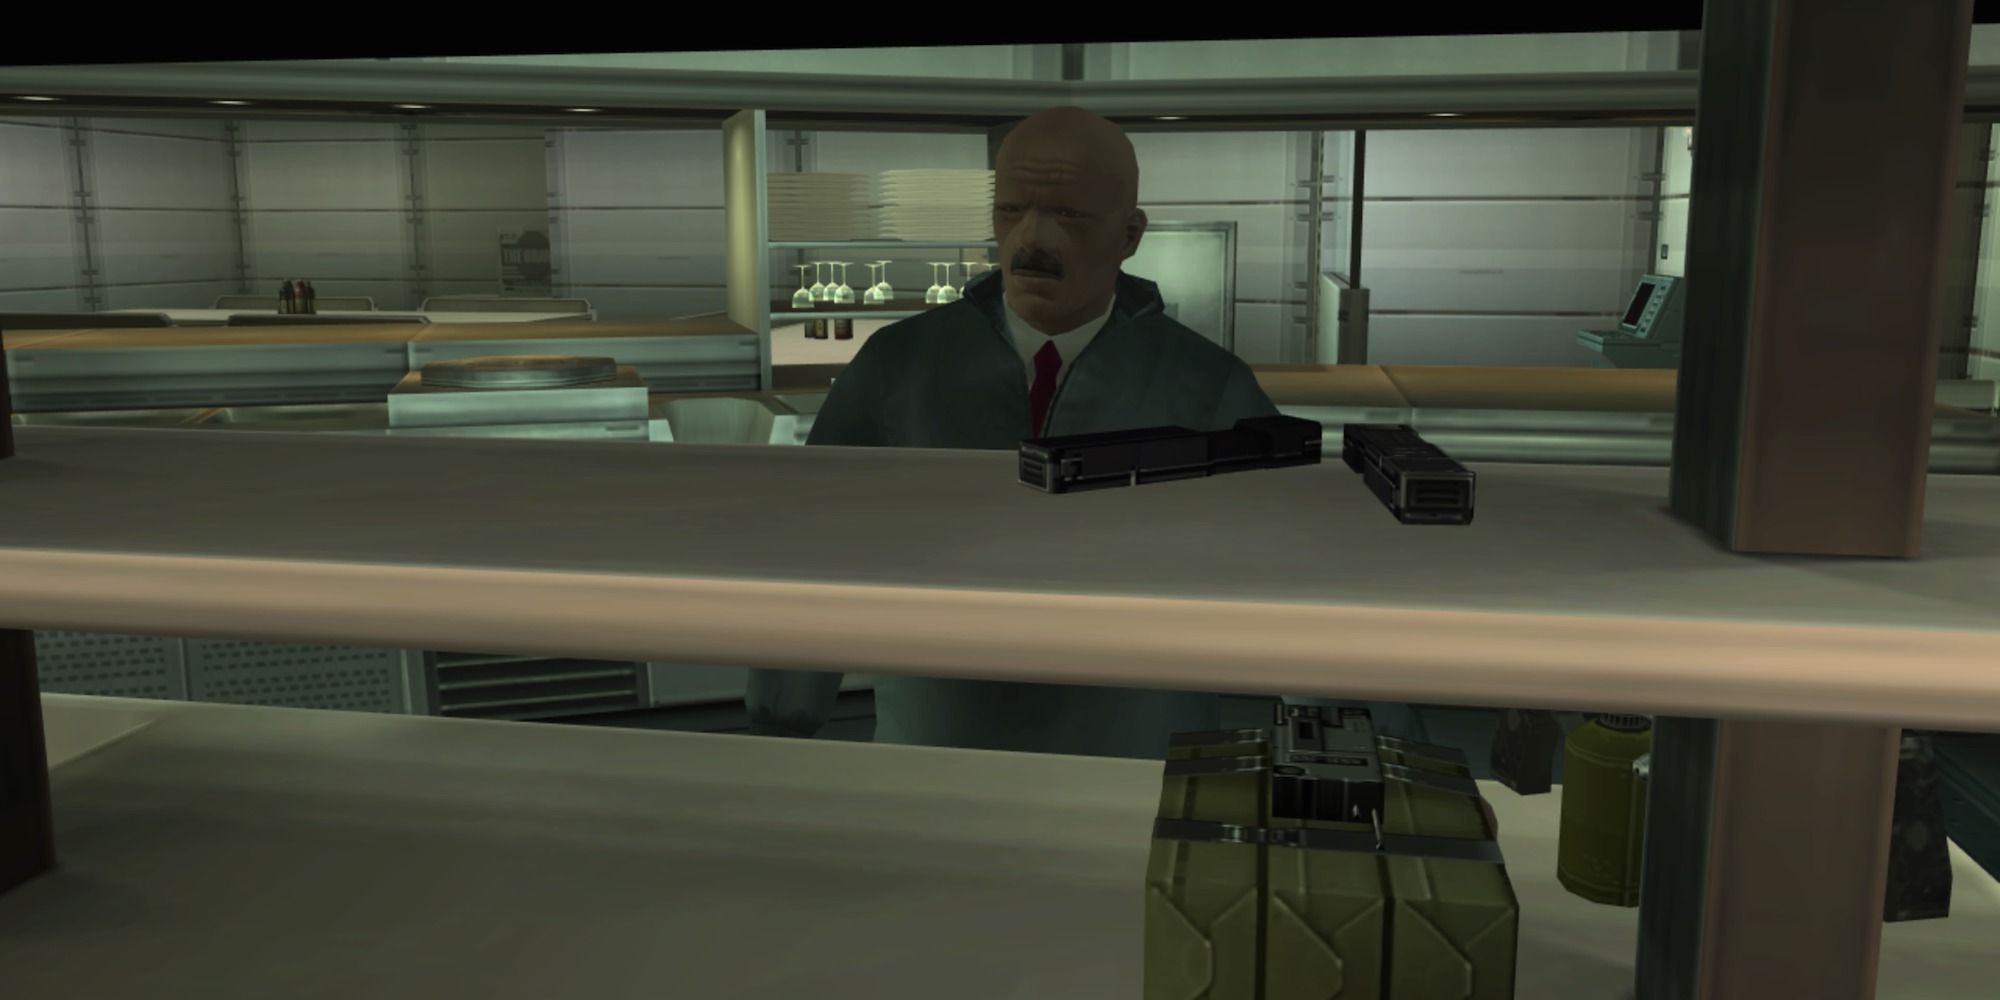
The section takes place during the Big Shell Chapter. When players reach Strut C for the first time they will meet Peter Stillman. He gives Raiden the Coolant Spray he will use to freeze the active bombs.
The quickest route to Strut C is by taking the door to the left in Strut A (the door to the right will take Raiden to Strut F). Once in Strut C head down the hallway between the two restrooms and the cutscene will start.
Disposing of the Small Bombs
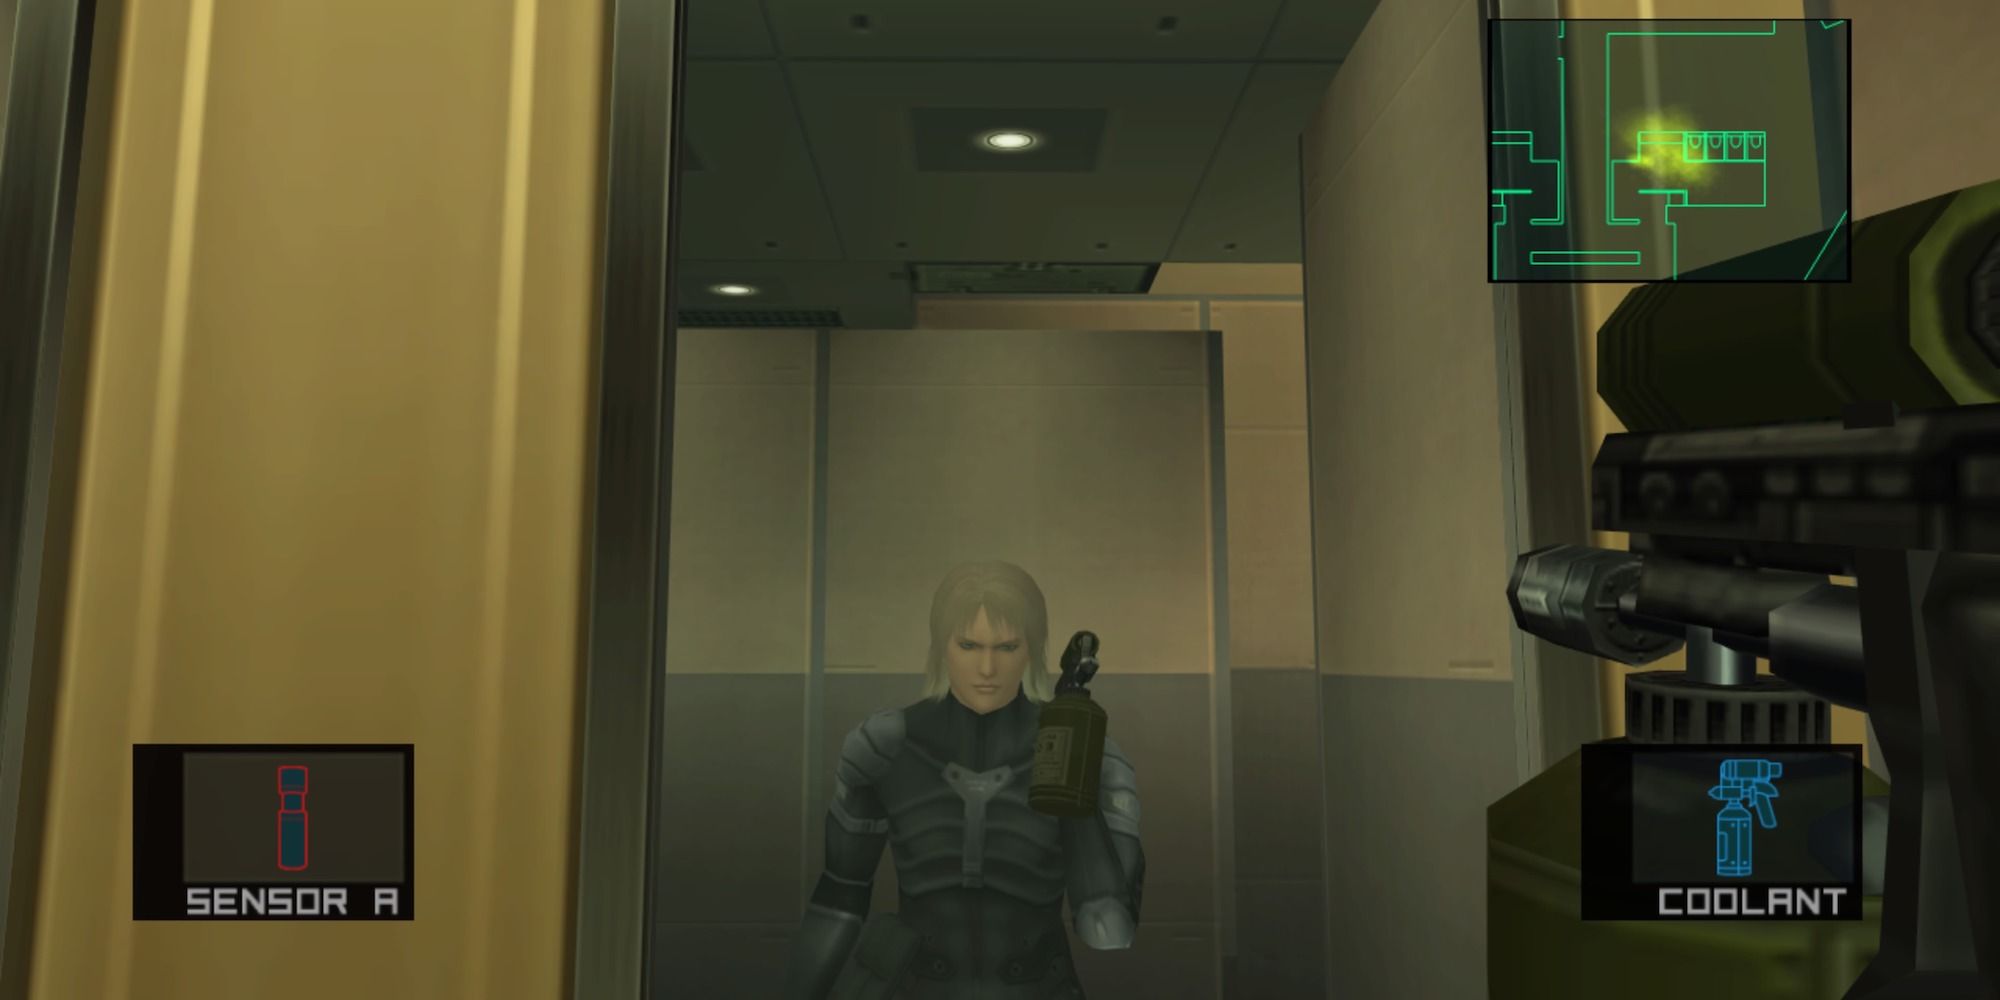
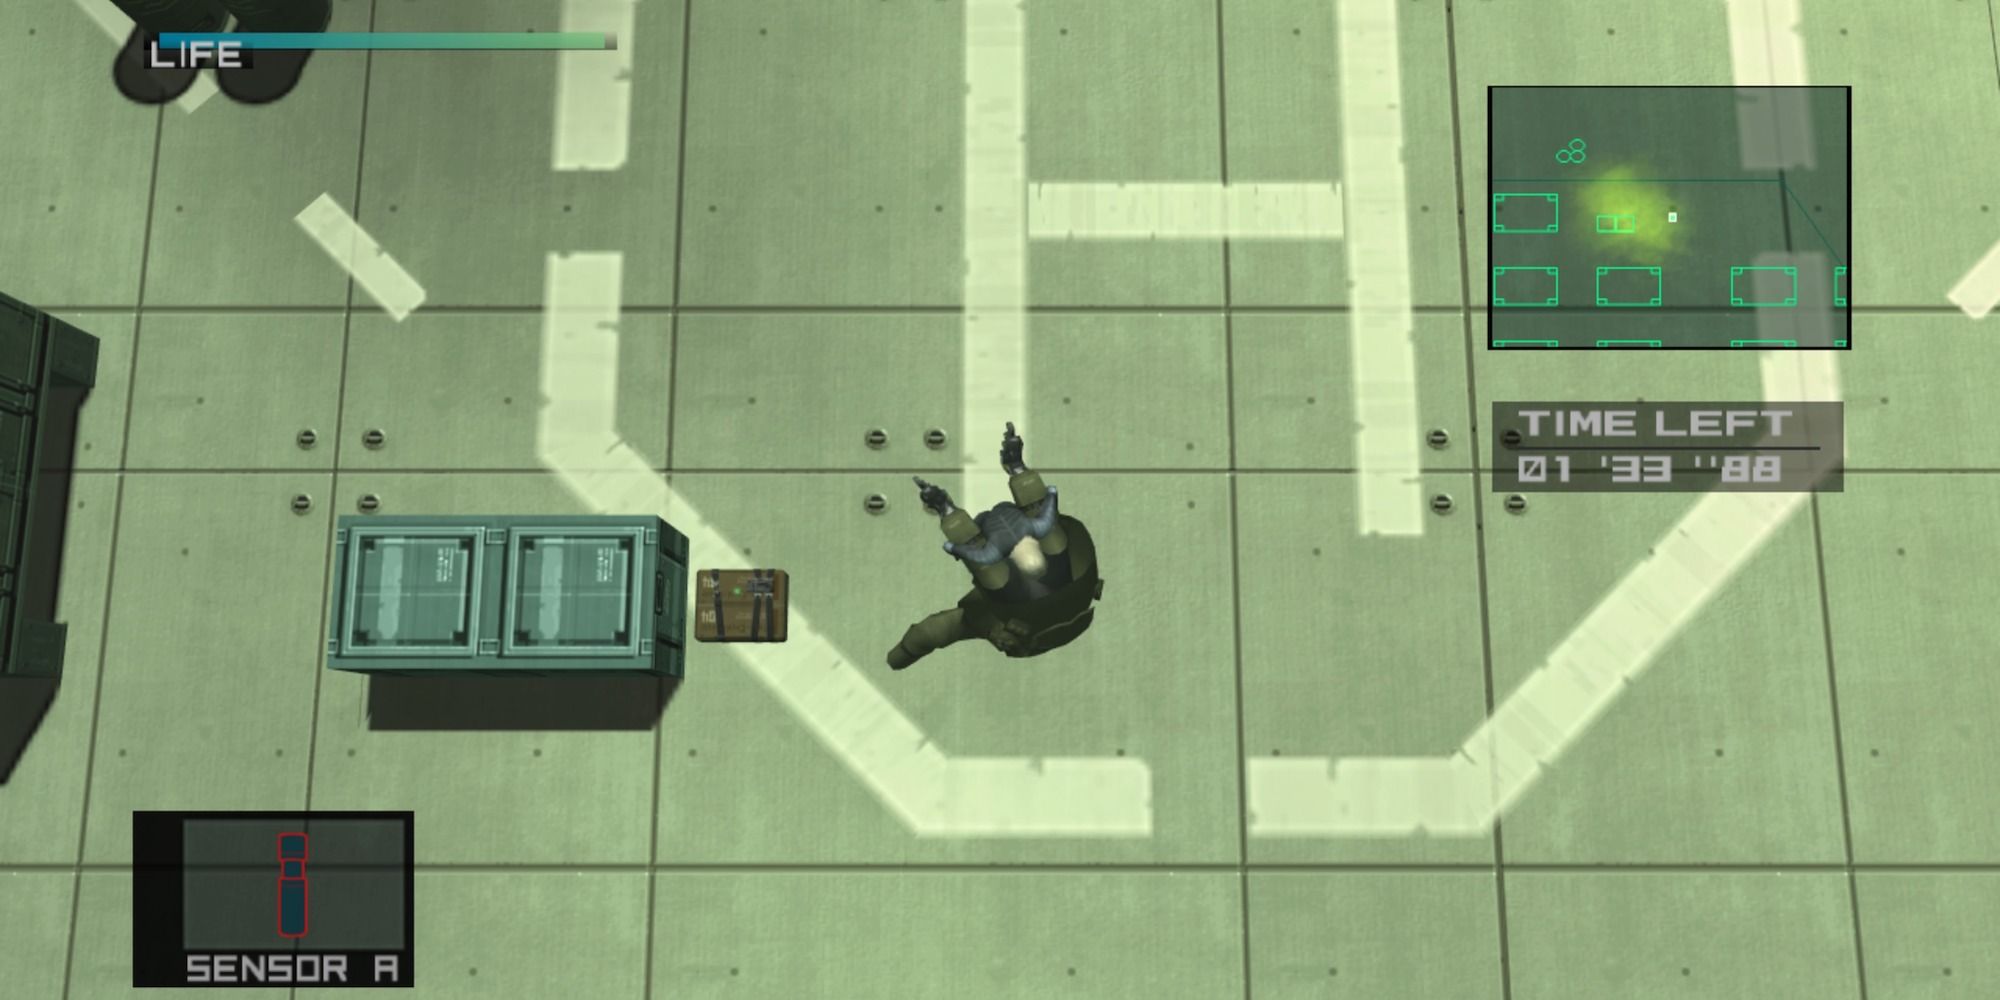
- The Sensor Stillman gives Raiden helps locate the bombs by showing a yellow cloud on the radar.
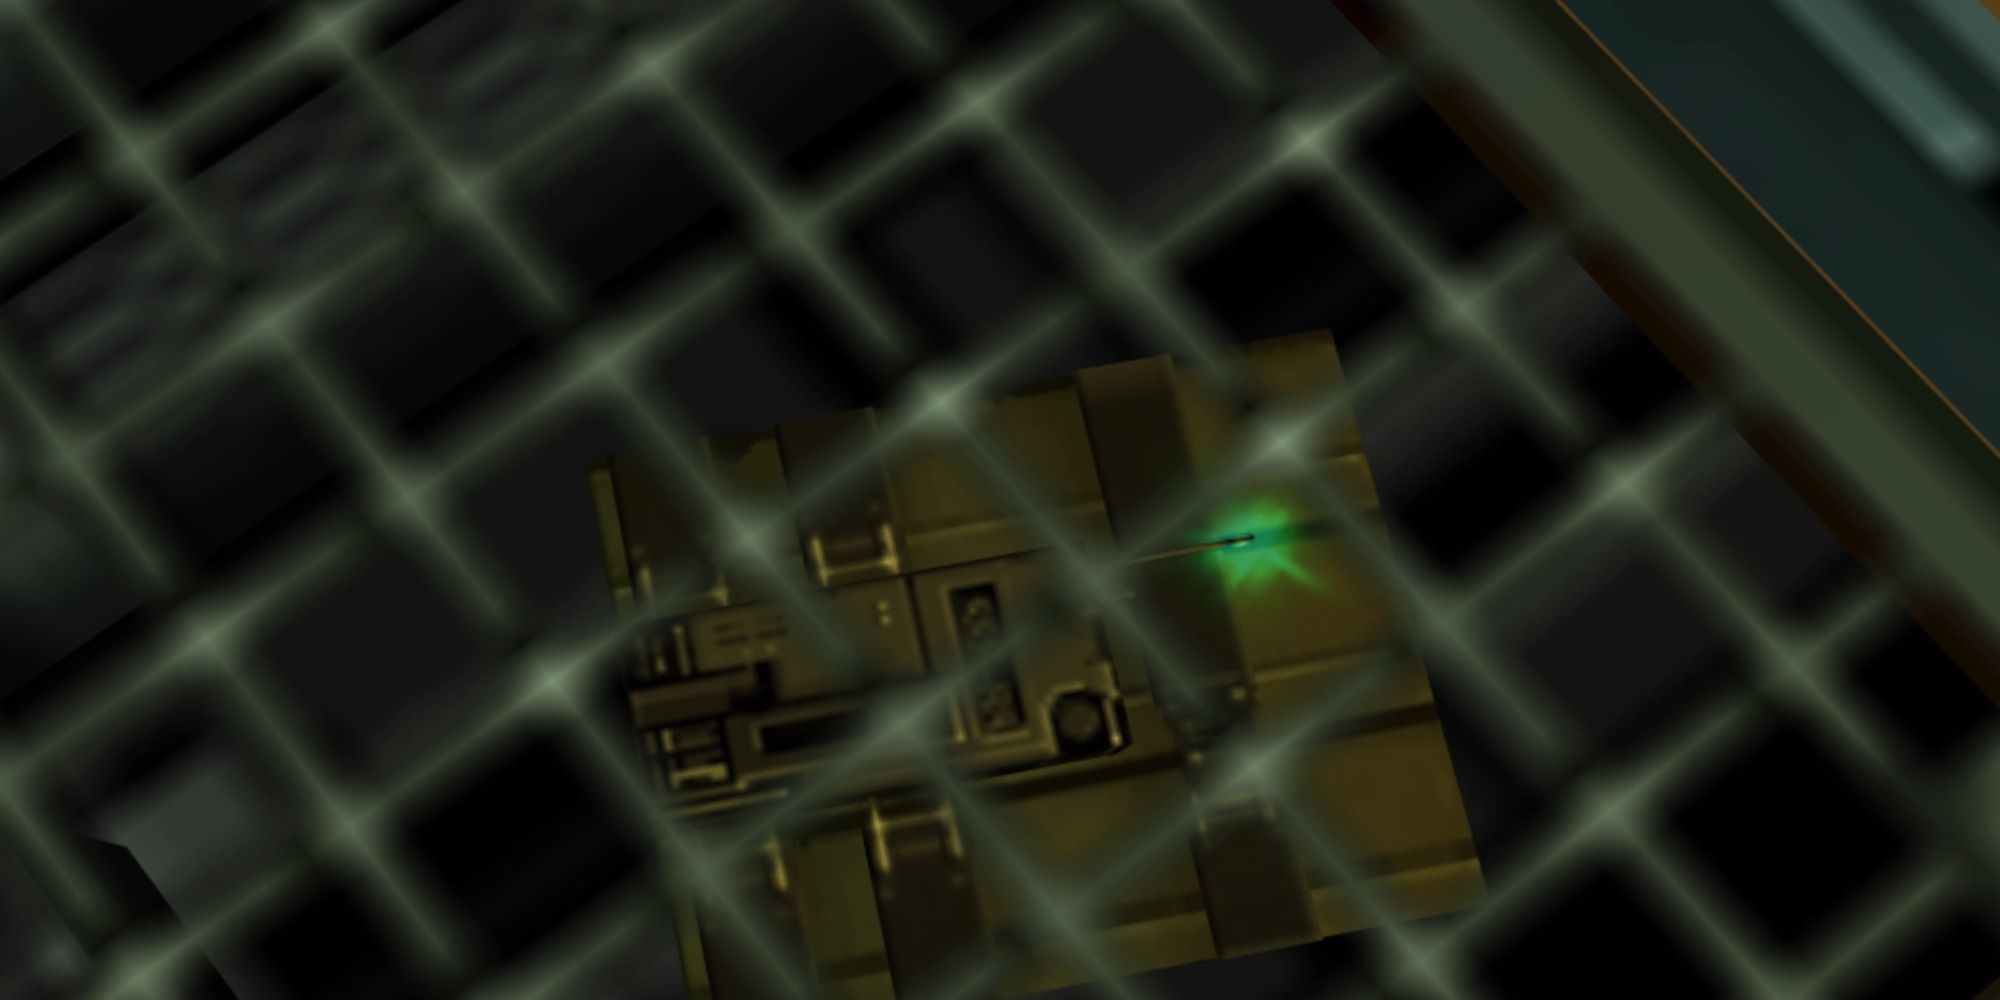
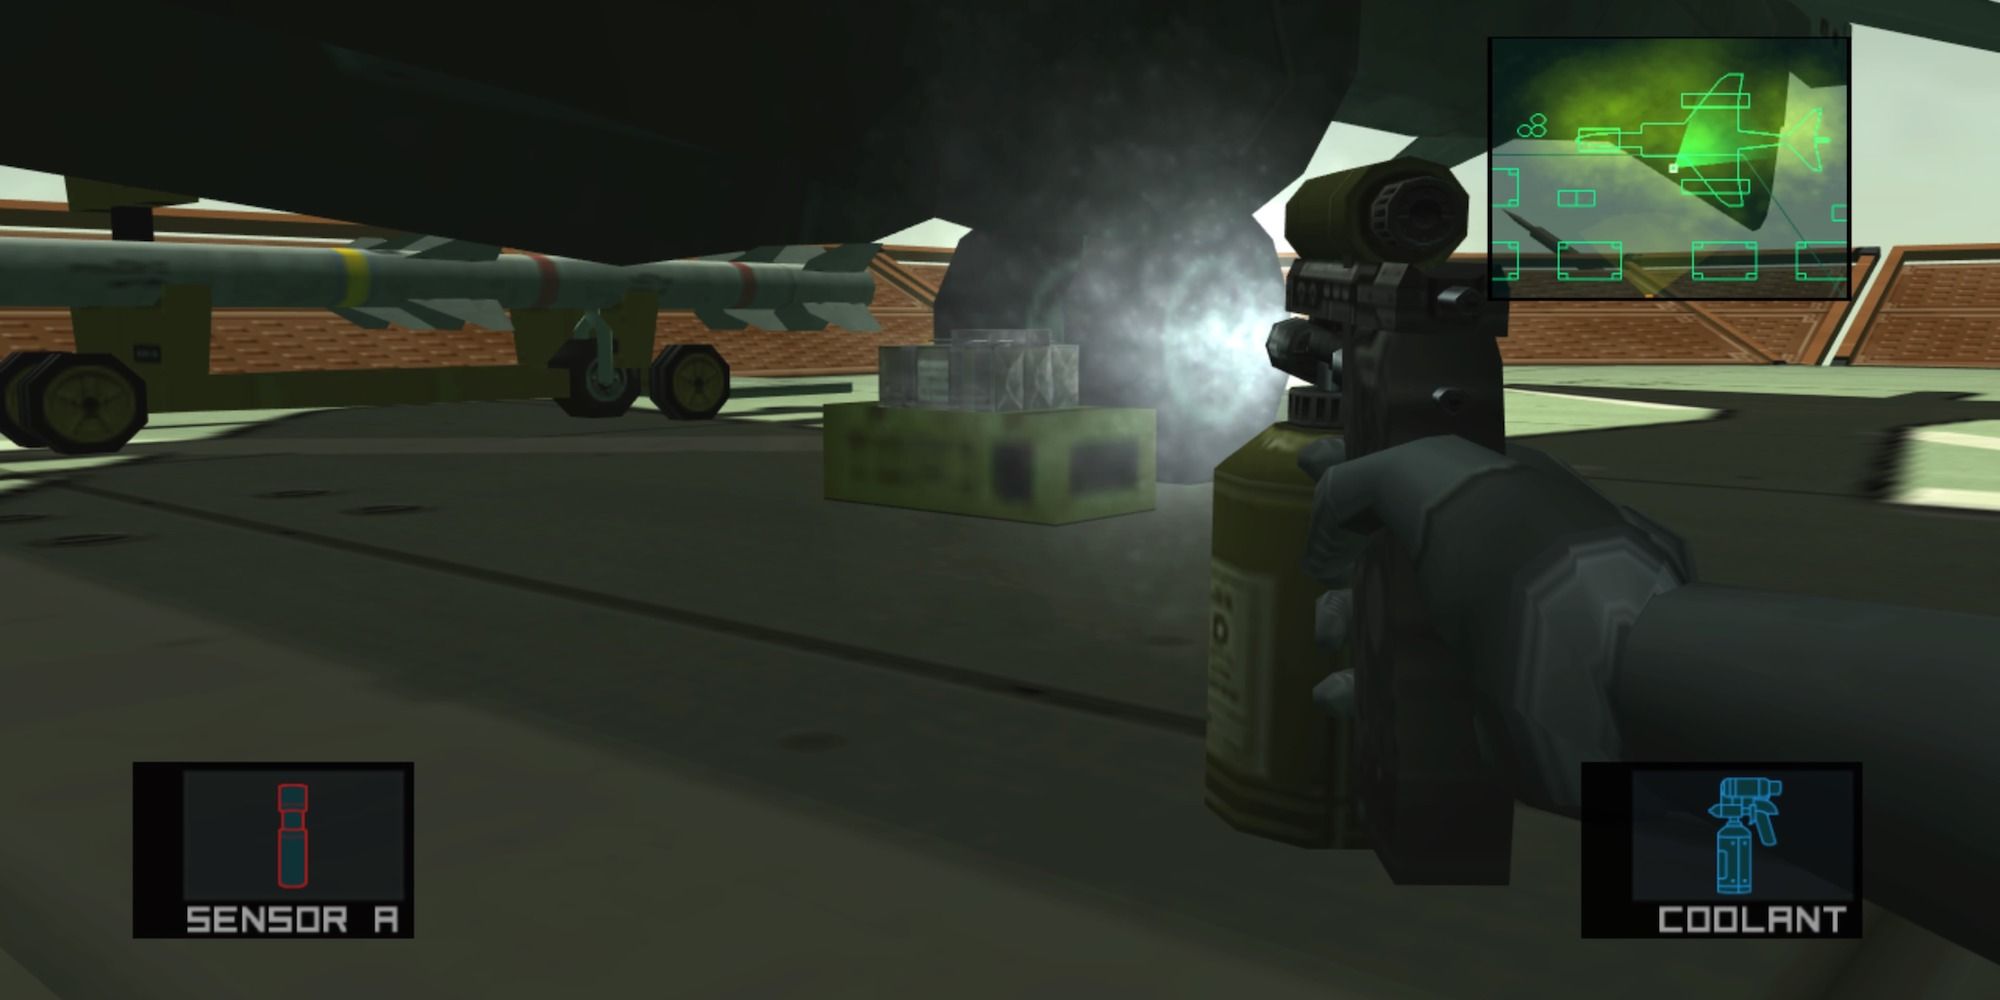
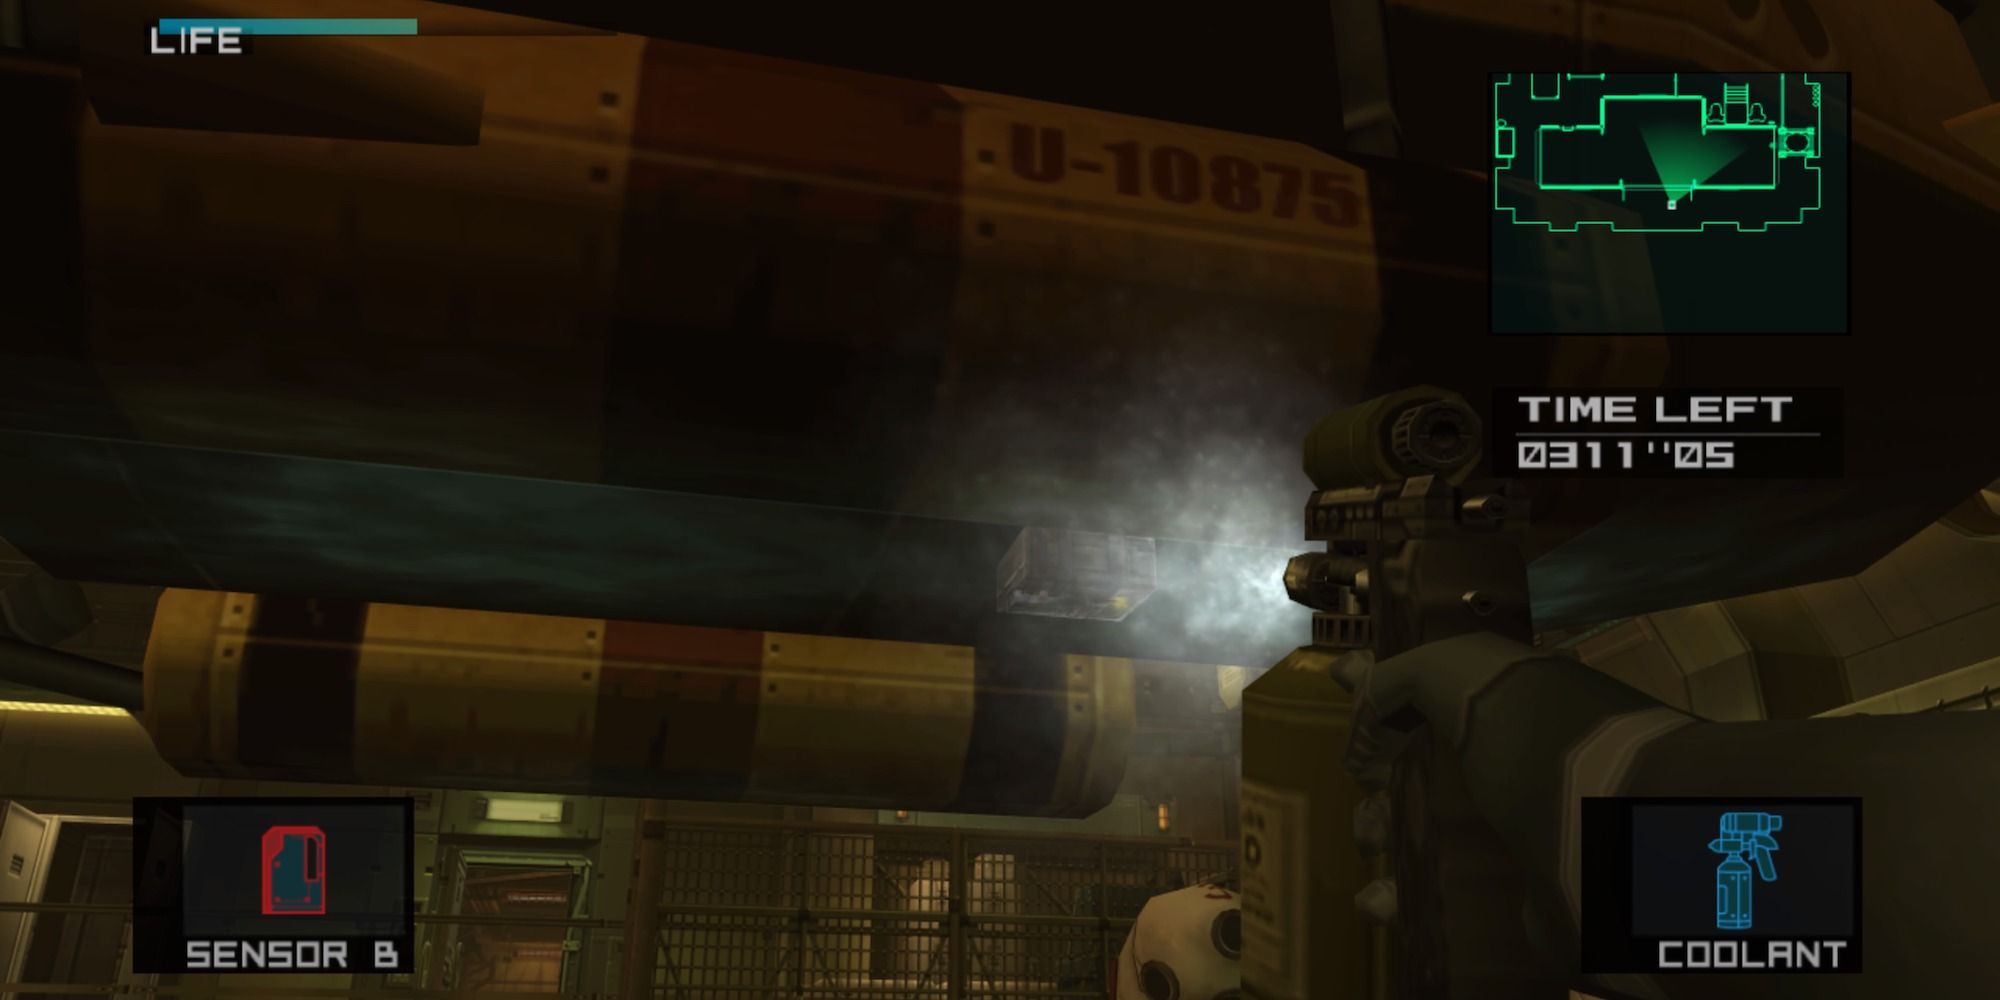
- Players need to aim the coolant at the bomb and spray it for a few seconds until a clicking sound is heard the bomb is visibly encased in ice
- While these bombs can be disposed of in any order, this guide will take it from Strut C, D, E, F, A, and B
Strut C
Players need to backtrack to the bathrooms they passed on Strut C. Enter the one to the east. The bomb will be above the bathroom mirror by the sink.
Strut D
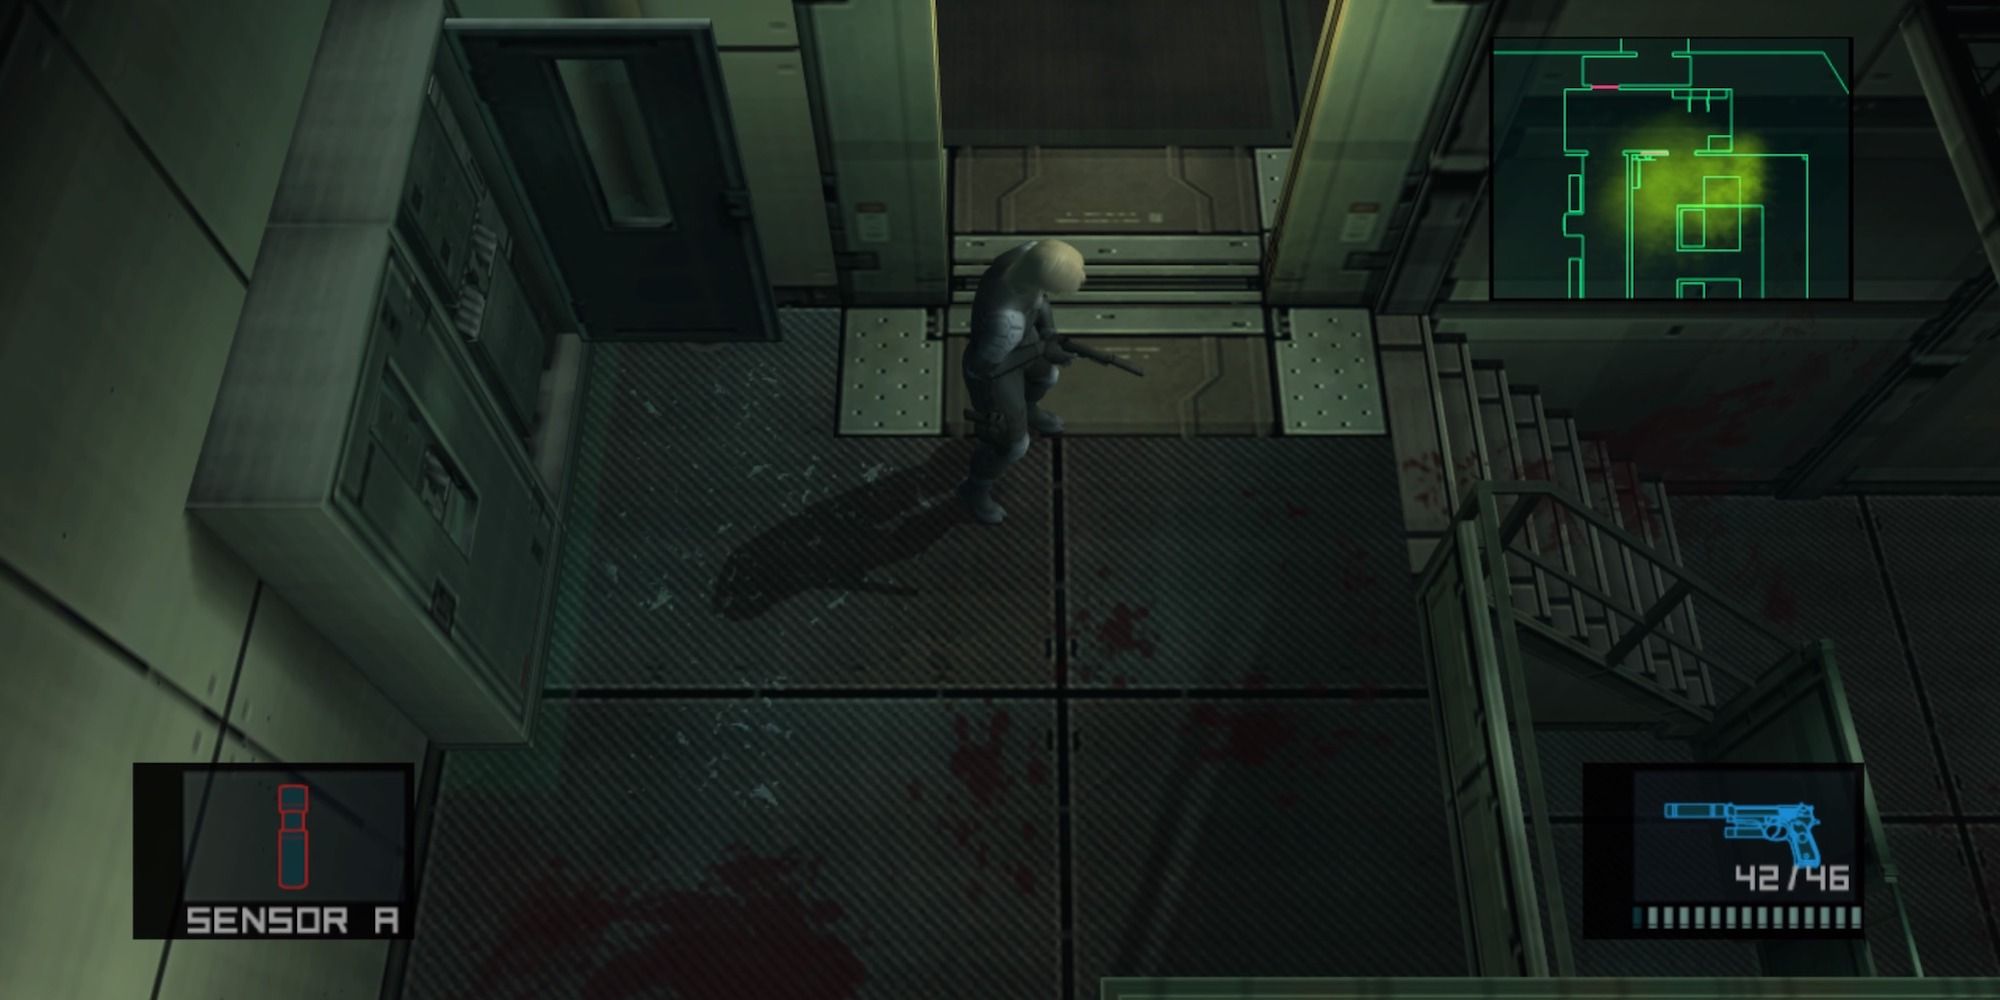
Go down the stairs and head to the lower level and turn around, heading back to being under where Raiden entered.
Metal Gear Solid 2: Where to Find the USP
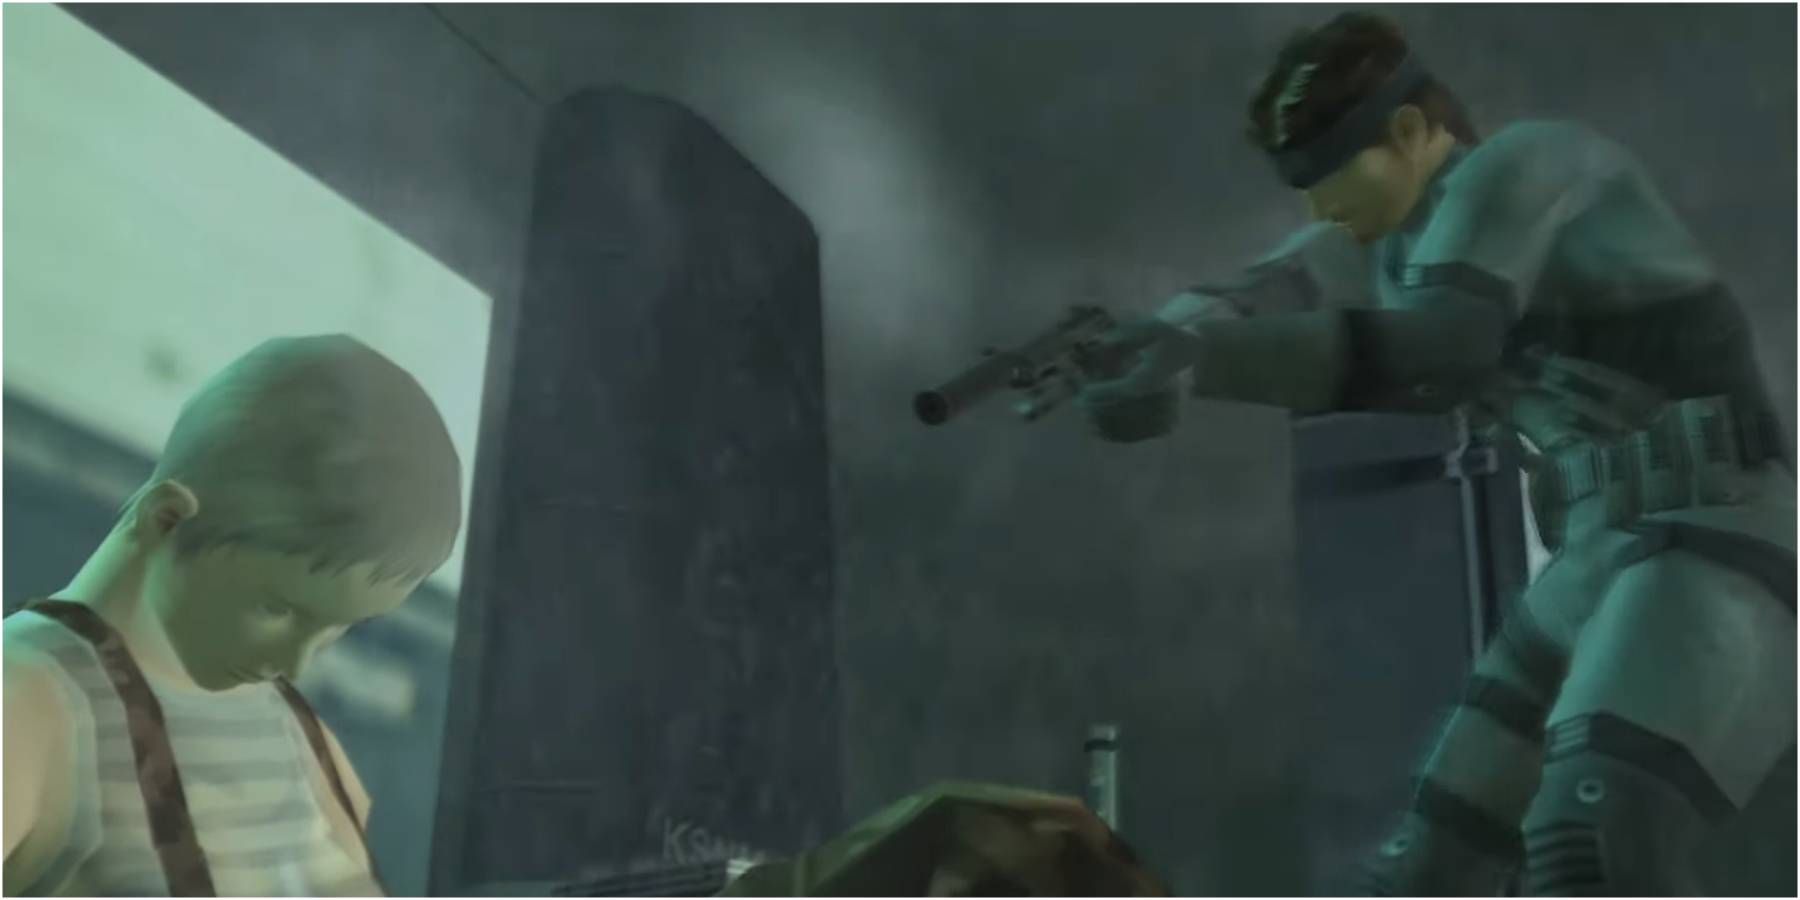
The USP is a vital item for exploring the Tanker during the first section of Metal Gear Solid 2 and this guide will explain where to find it.
The bomb will be in a cover that players can open up with the action button. Raiden will be able to hear it before he can see it (and Campbell will also give players a call)
Strut D (Hard And Extreme)
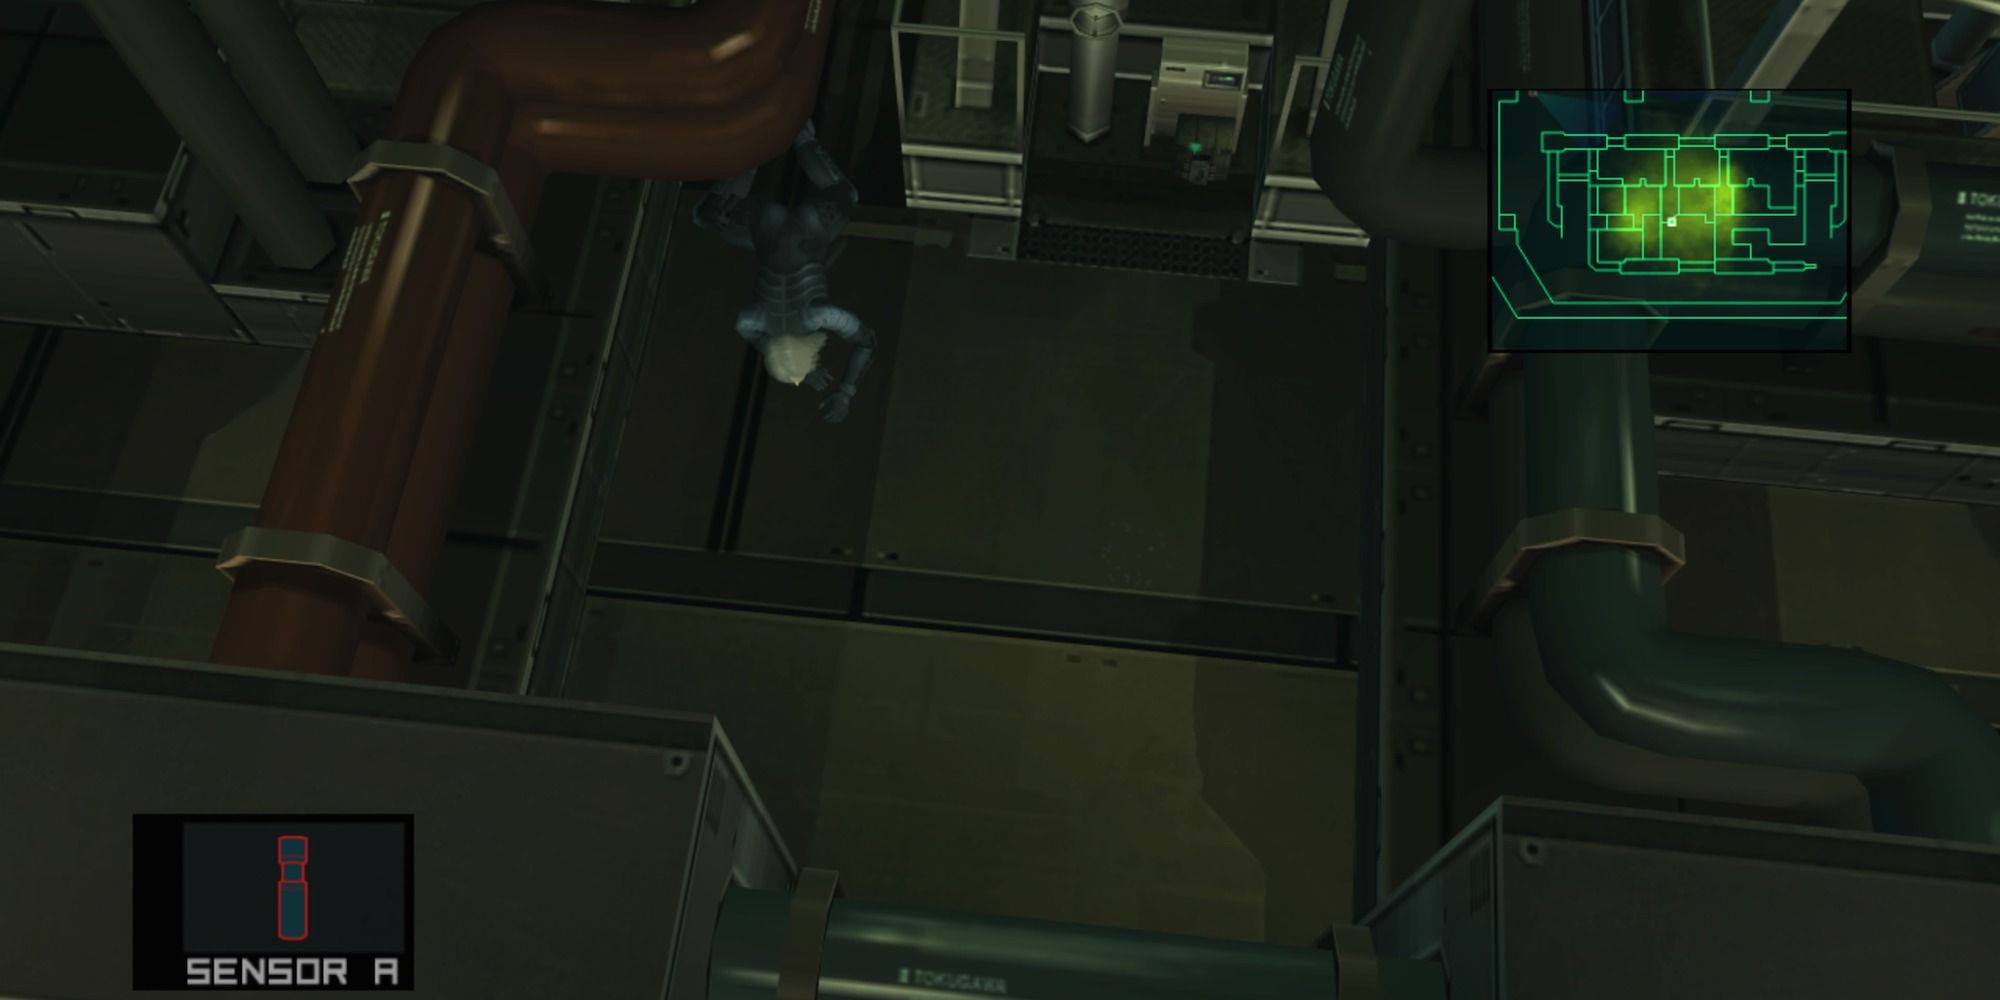
There are two more bombs in Strut D on Hard and Extreme. The first is in the next grate north of where the first bomb was. The second is by the node above Raiden hanging underneath the walkway.
Strut E
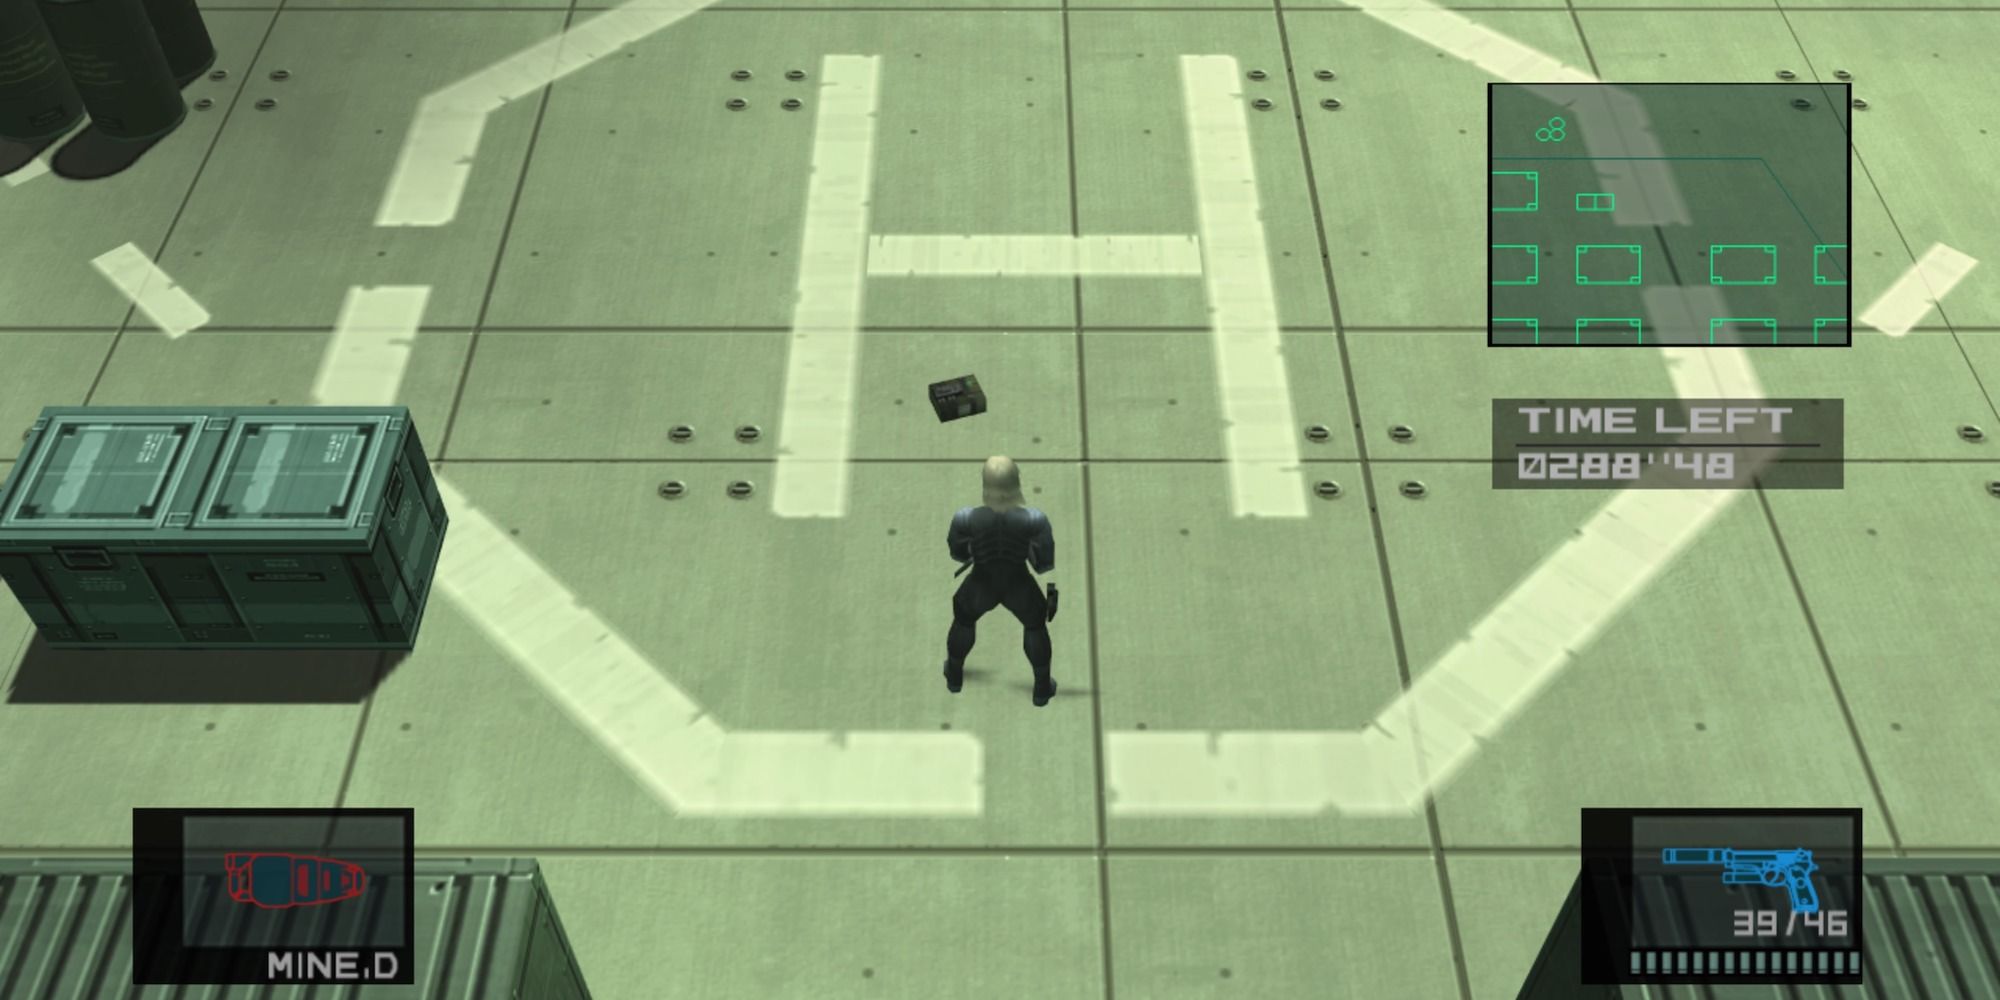
Players need to head to the roof of Strut E by going through the door up the stairs on the opposite side of where they entered the strut. After heading outside, head up the stairs (a cutscene with Olga will trigger) and head to the center of the heliport. The bomb is underneath the harrier.
Strut E (Hard And Extreme)
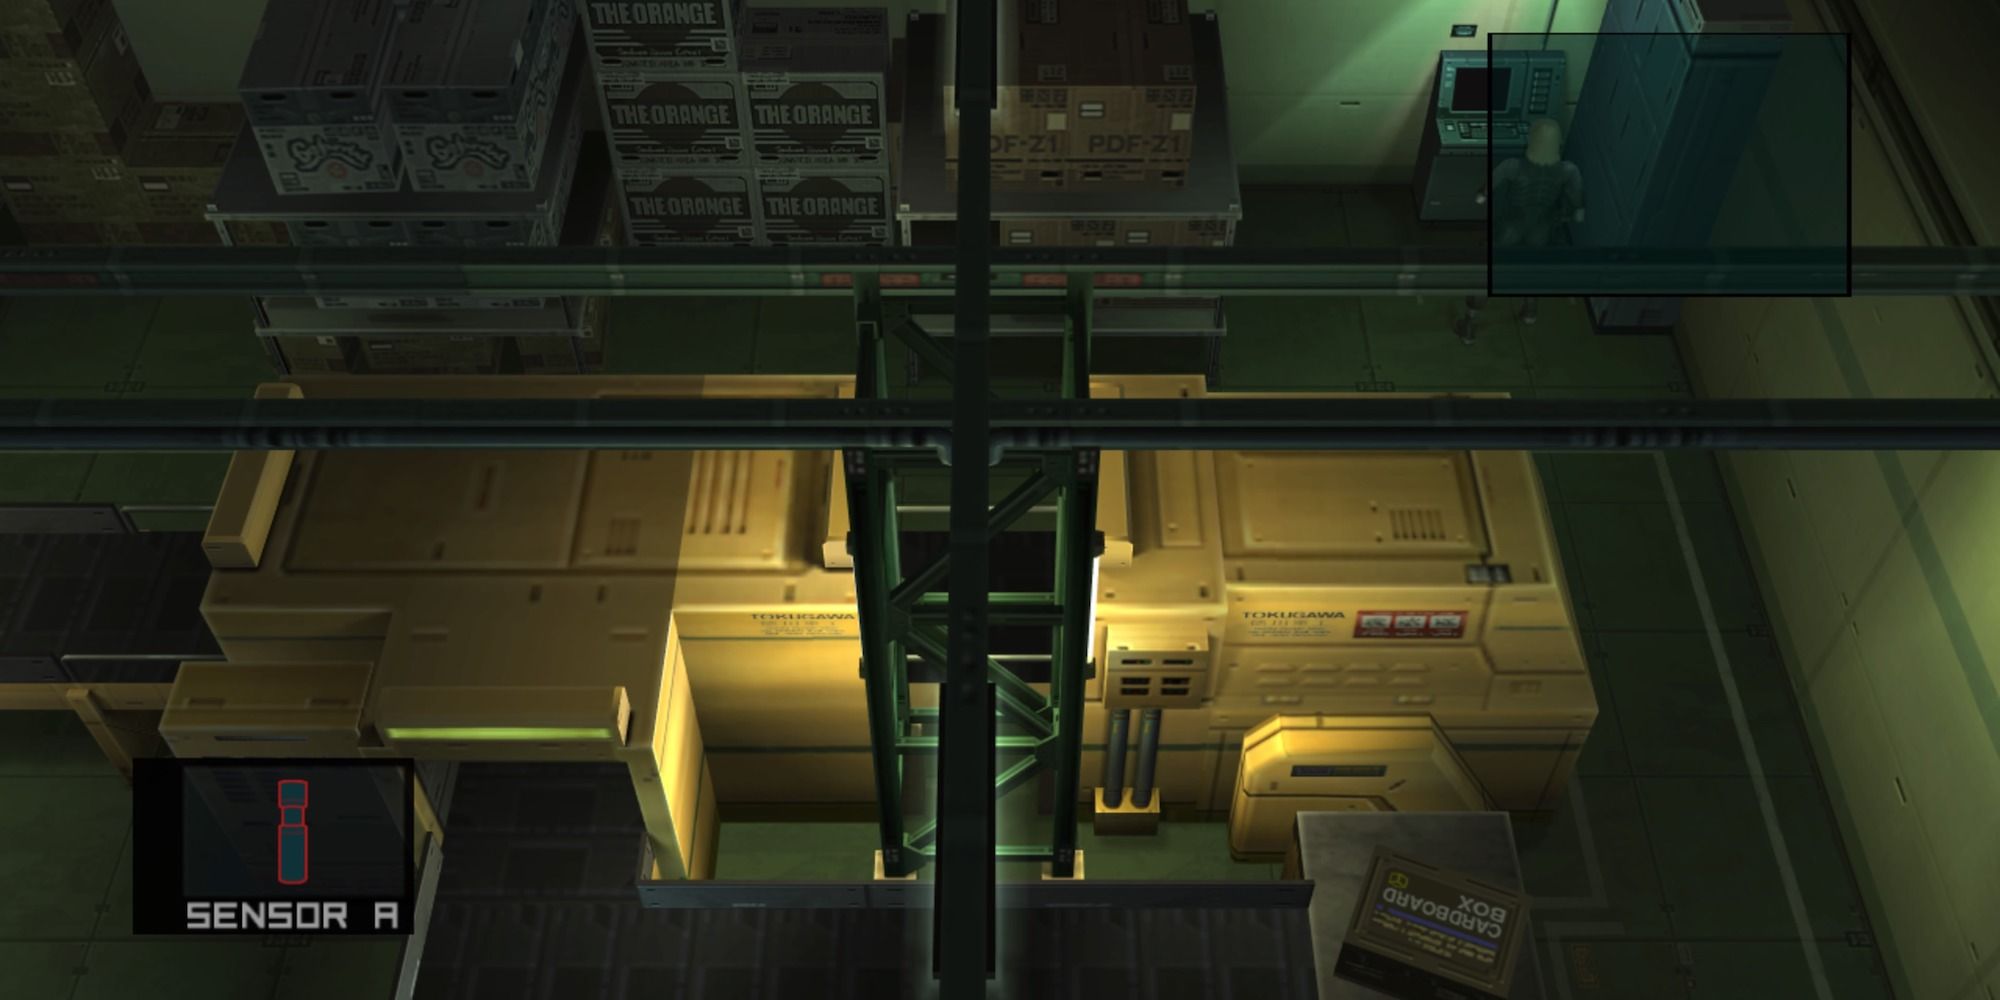
In the interior of the strut, there is a bomb on one of the boxes circulating on the conveyor belt. Knock out or kill all the guards and then wait with the spray in hand until it passes by. It is best to wait in a place closer to the south end of the strut to give Raiden the most time to spray.
Strut F
Players are on the top floor when they enter from the EF connecting bridge. Head to the western side of the strut and the bomb should be visible below. Players need to hang over the railing and drop down to be within spraying distance
Be sure to go into all the other unlocked rooms in Strut F point for valuable weapons and equipment . As the story gives Raiden more keycards, return here for even better tools.
Strut A
The bomb here is in a maintenance room players enter by heading through the door on the southeast corner. Go straight down to the other side of the room and then over the small stairs. Players then have to crawl under a series of pipes to reach the bomb.
Strut A Roof (Only On Hard And Extreme)
It will be on a cylindrical pillar on the southeast corner of the roof. It is out of players' direct reach but still accessible by the Coolant Spray.
Strut B
Go to the room where Pliskin was resting during the first meeting with him. On the northwest corner, there is an open door against the wall. Close this door and the bomb will be revealed.
Strut A Deep Sea Docks Timed Bomb
After disarming all the bombs the real threat will be activated. Stillman calls and instructs Raiden to pick up the new sensor in Strut C.
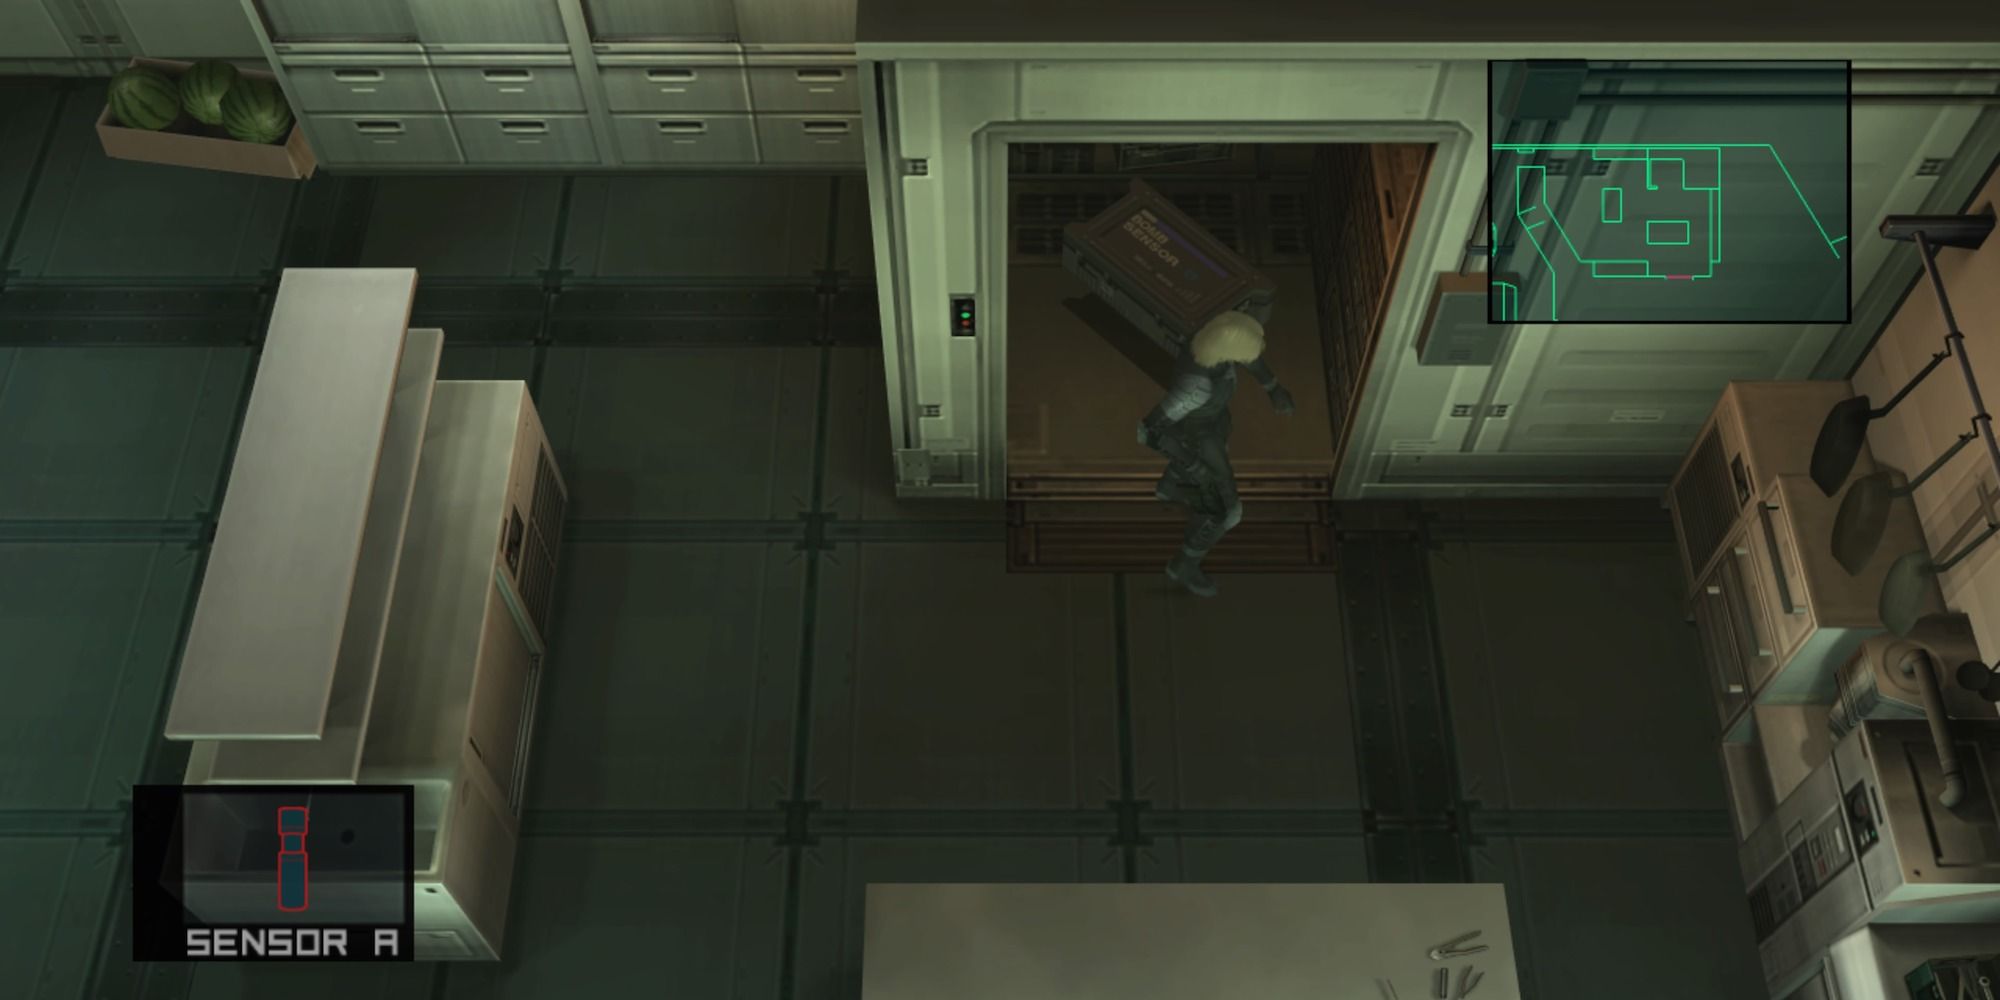
Head to Strut C and find Sensor B in the closet where he was hiding in the Northeast corner of the kitchen. Go back to Strut A's roof and enter the elevator to the Strut A Deep Sea Dock.
Disarming The Strut A Sea Dock Bomb
Depending on the difficulty, the bomb will be in one of three locations.
- On Very Easy, Easy, and Normal: Right under the submarine that's clear in view upon entering the docks (the room from where Raiden enters the Big Shell)
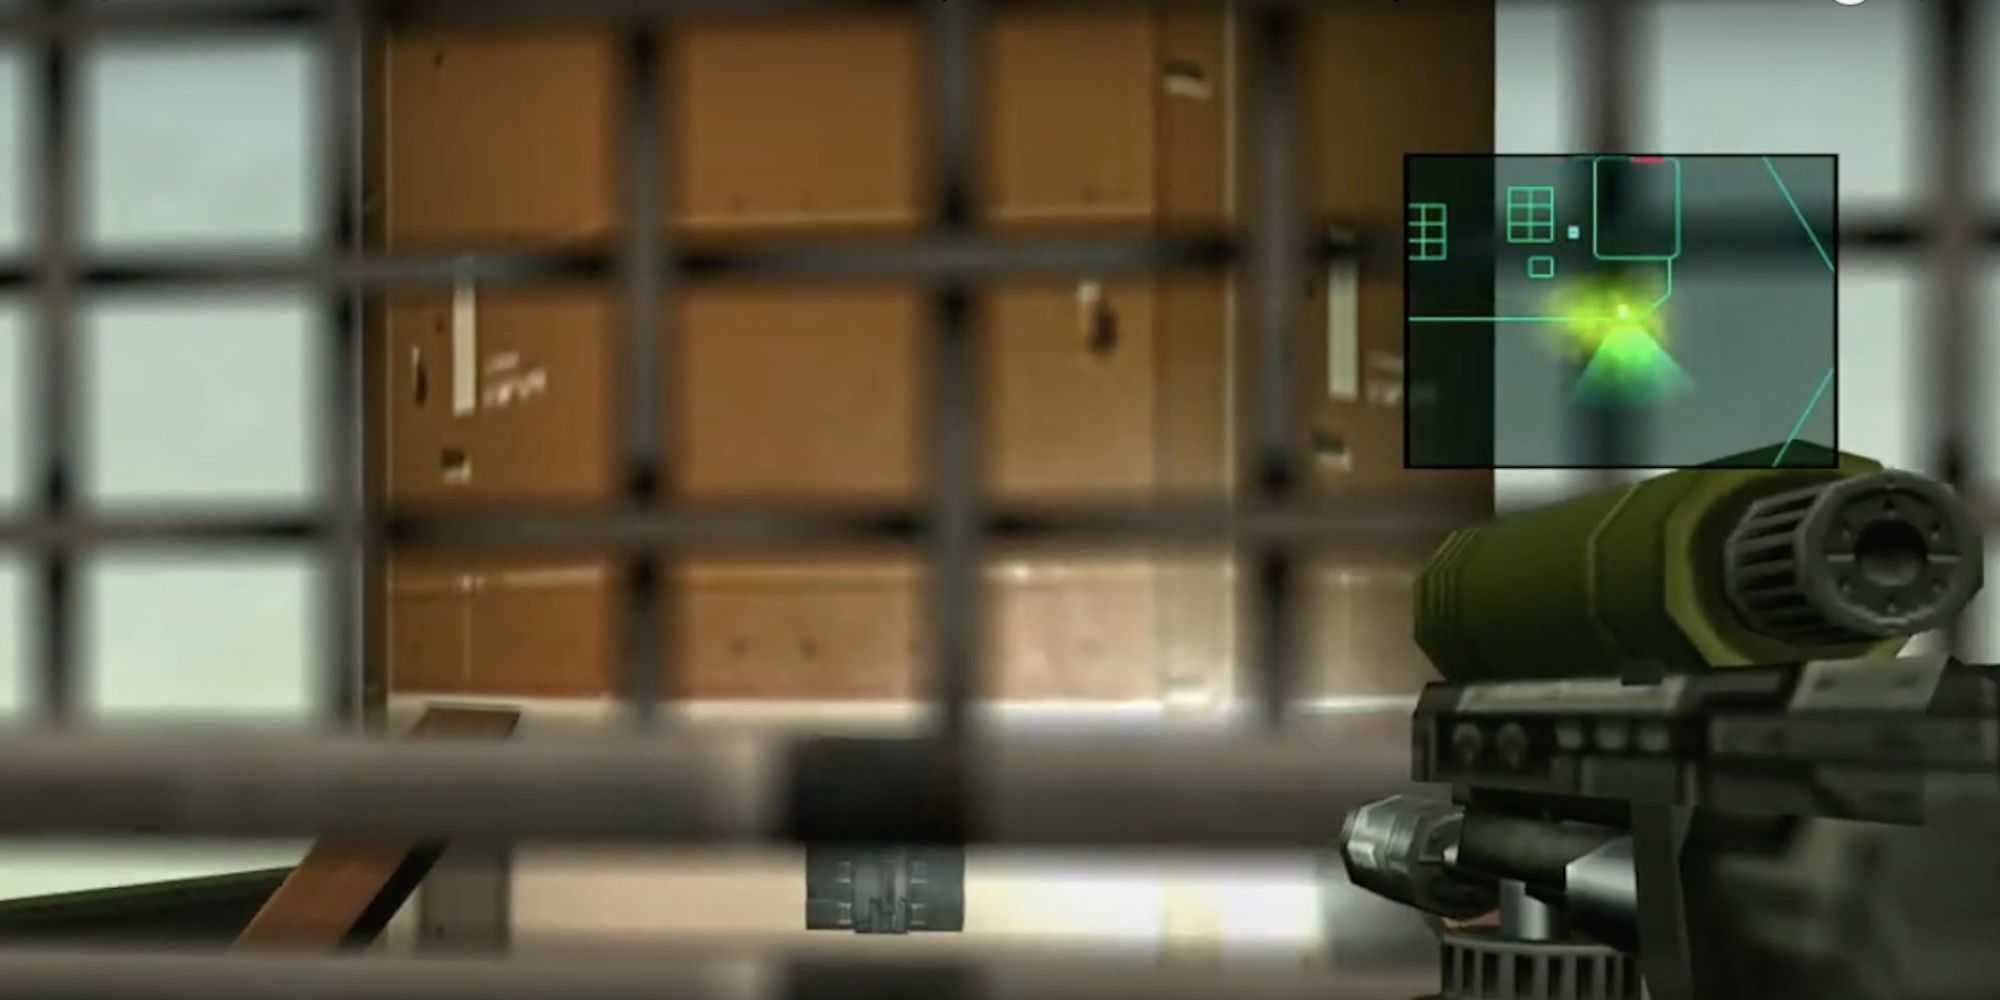
- On Hard: On The Submarine, but on the side facing the player when they enter the room. Hang over the railing and shimmy to the other side of the fence (eastern side of the room). Once climbing over the bomb will be visible on the side of the sub
- On Extreme: Not anywhere near the submarine. It is in the middle of a wall in the middle on the western side of the room.
Final Two Bombs
After disarming the bomb players are instructed to head back to the Strut E Heliport for a confrontation with Fatman. First, there is an encounter with Fortune. Players cannot hurt her and simply must dodge her attacks for a certain amount of time. Once this is over, head to the Strut E heliport and disarm the bomb where the Harrier was (it's now gone). This triggers the boss fight with Fatman. After beating him (a fight which itself is a combination of disarming bombs and firing at the boss), there is one final bomb.
Final Bomb
The final bomb is underneath Fatman's corpse. Pick up the body, drag it away, and it will be in plain sight. Once this is done players have successfully disabled all bombs.
Metal Gear Solid: Master Collection Vol. 1
- Platform(s)
- PC , PS4 , PS5 , Switch , Xbox Series X , Xbox Series S
- Released
- October 24, 2023
- Developer(s)
- Konami
- Genre(s)
- Action , Stealth

