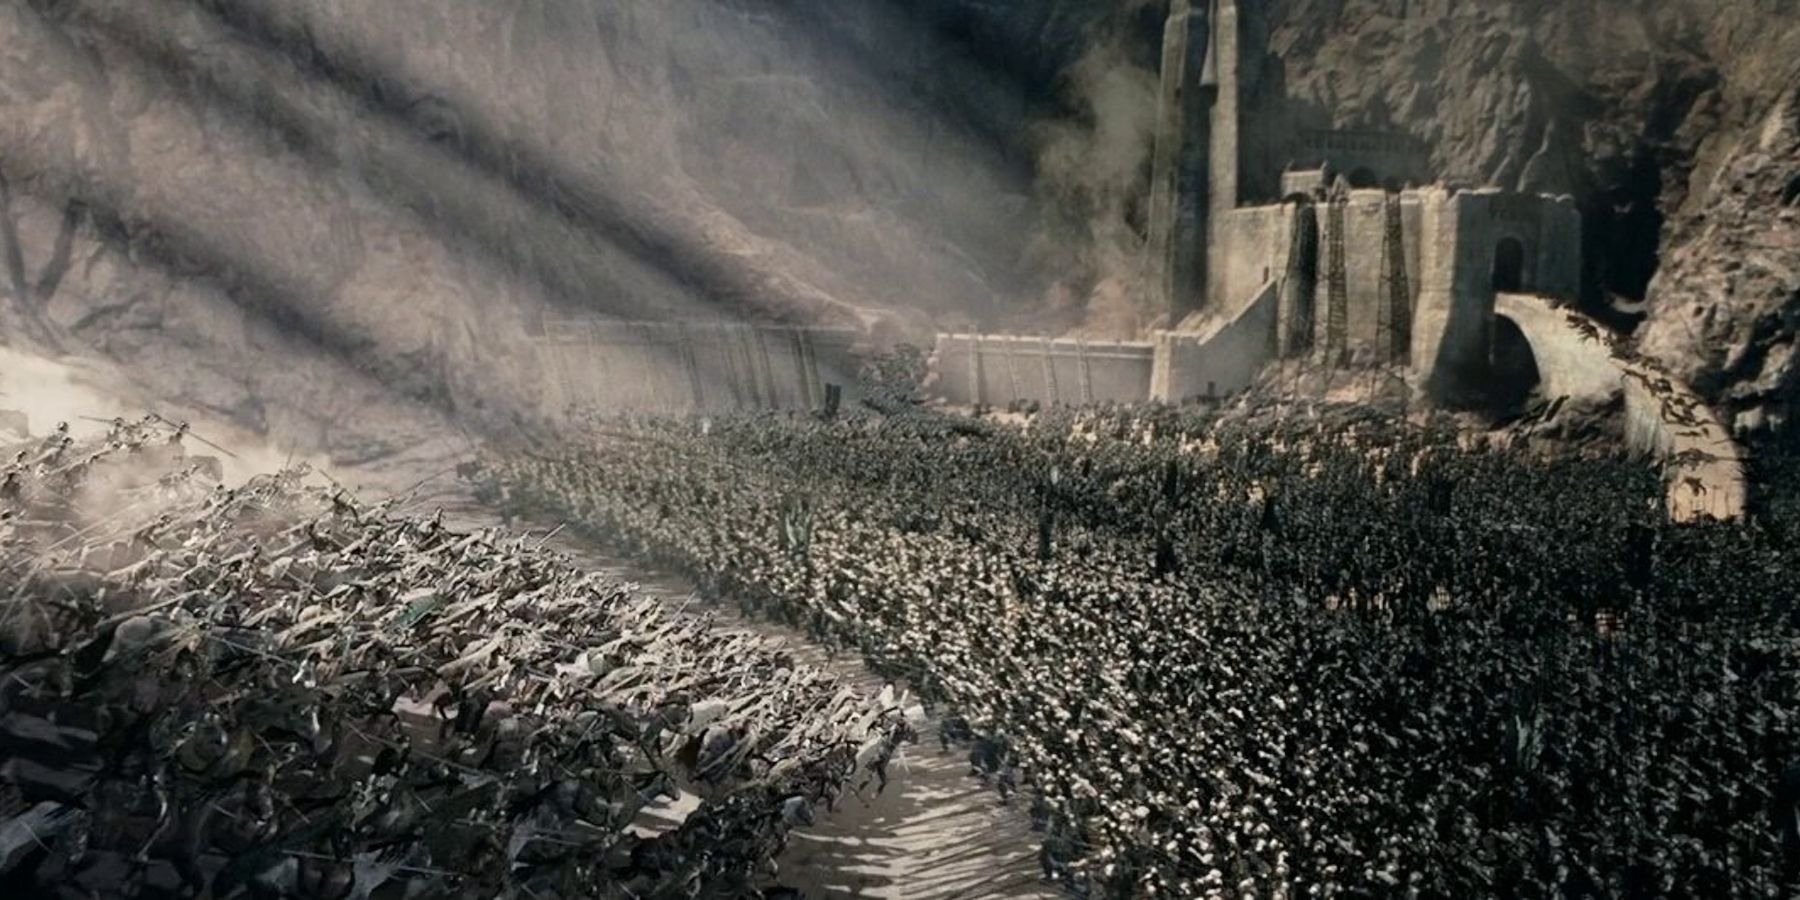
The Battle Of Helm’s Deep, also known as The Battle Of The Hornburg, is one of the greatest battle scenes put to screen, and that’s saying something considering all the other excellent battles in The Lord Of The Rings. The whole battle would see Saruman’s Uruk-Hai taking the fight to the people of Rohan who had since retreated to Helm’s Deep. The fortress was one of the mightiest in the land, though whether or not it could survive the onslaught of Saruman’s army was a serious question.
In The Lord Of The Rings: The Two Towers, The Battle Of Helm’s Deep lasts an entire rainy night, and sees plenty of bloodshed. Focusing on Aragorn, Gimli, Legolas, and later Gandalf, this battle saw plenty of serious risks from the heroes and they each nearly met their end on a number of occasions. It may not be the bloodiest battle in the entire series, but it is one of the most frightening.
The Arrival Of The Uruk-Hai
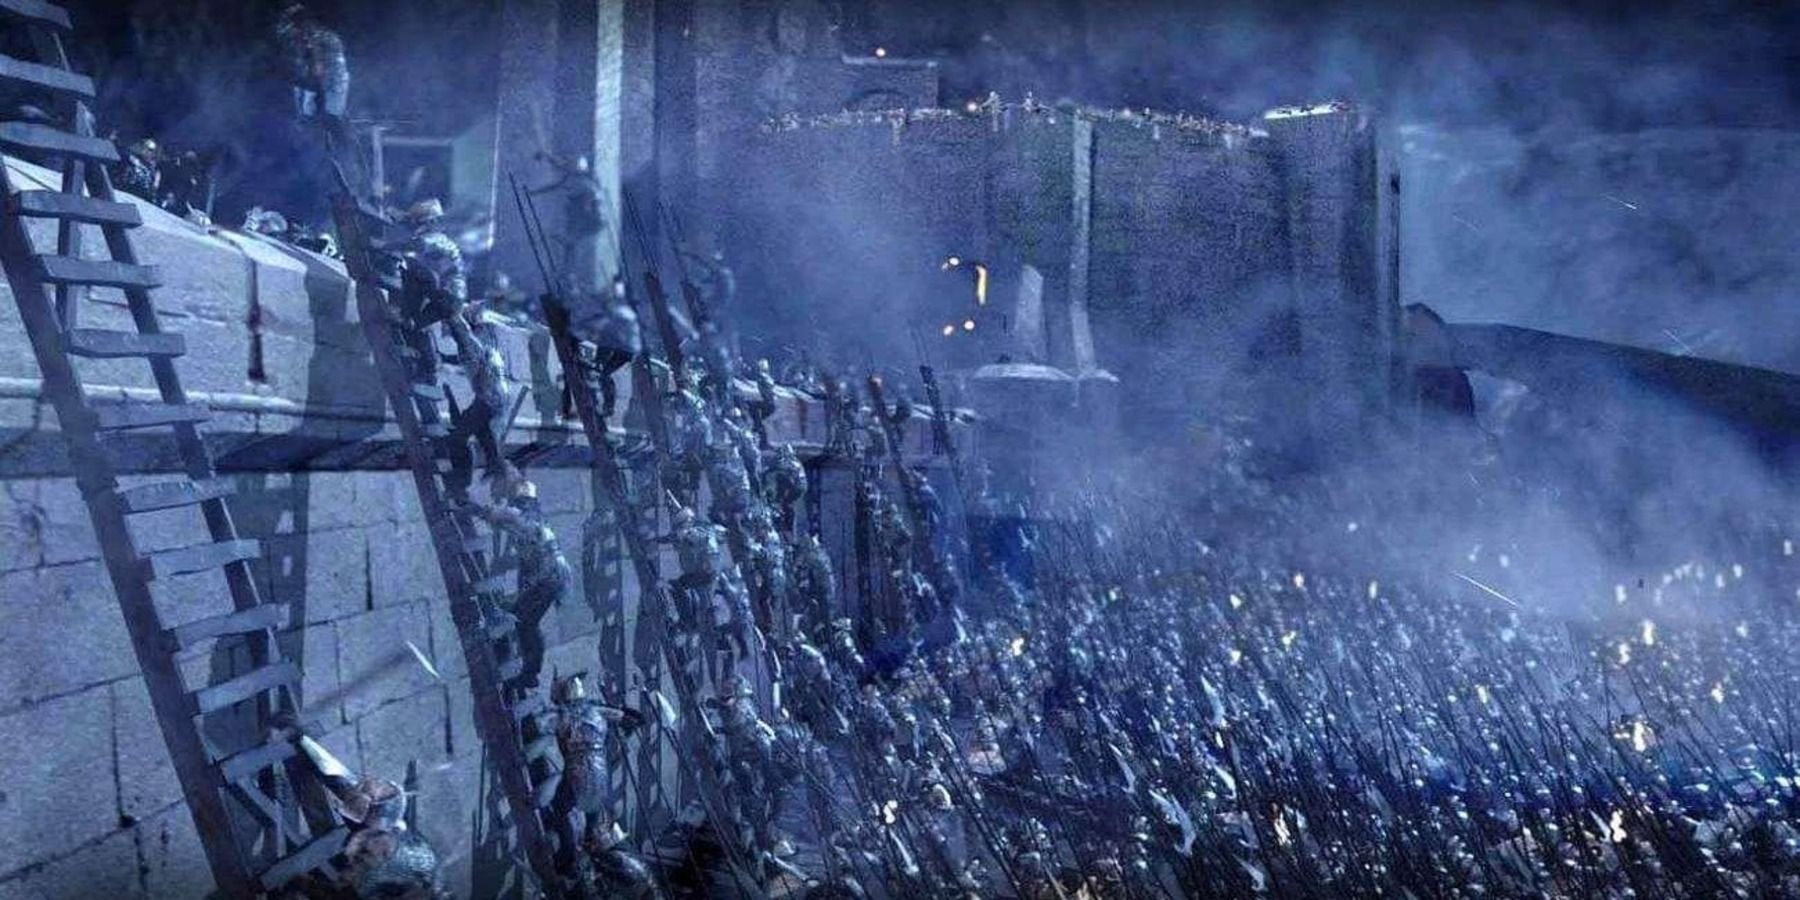
While the battle in the film is quite different from the one in the books, one thing that is unchanged is the mighty force Saruman sends to snuff out the men of the realm. Roughly 10,000 Uruk-Hai march to Helm’s Deep, and they’re met with what can seem like a meager response, the remaining warriors of Rohan, whatever villagers were able to fight, and a force of roughly 1000 Galadhrim Elves. The only saving grace for the forces of good was that they were defending a location rather than seizing it.
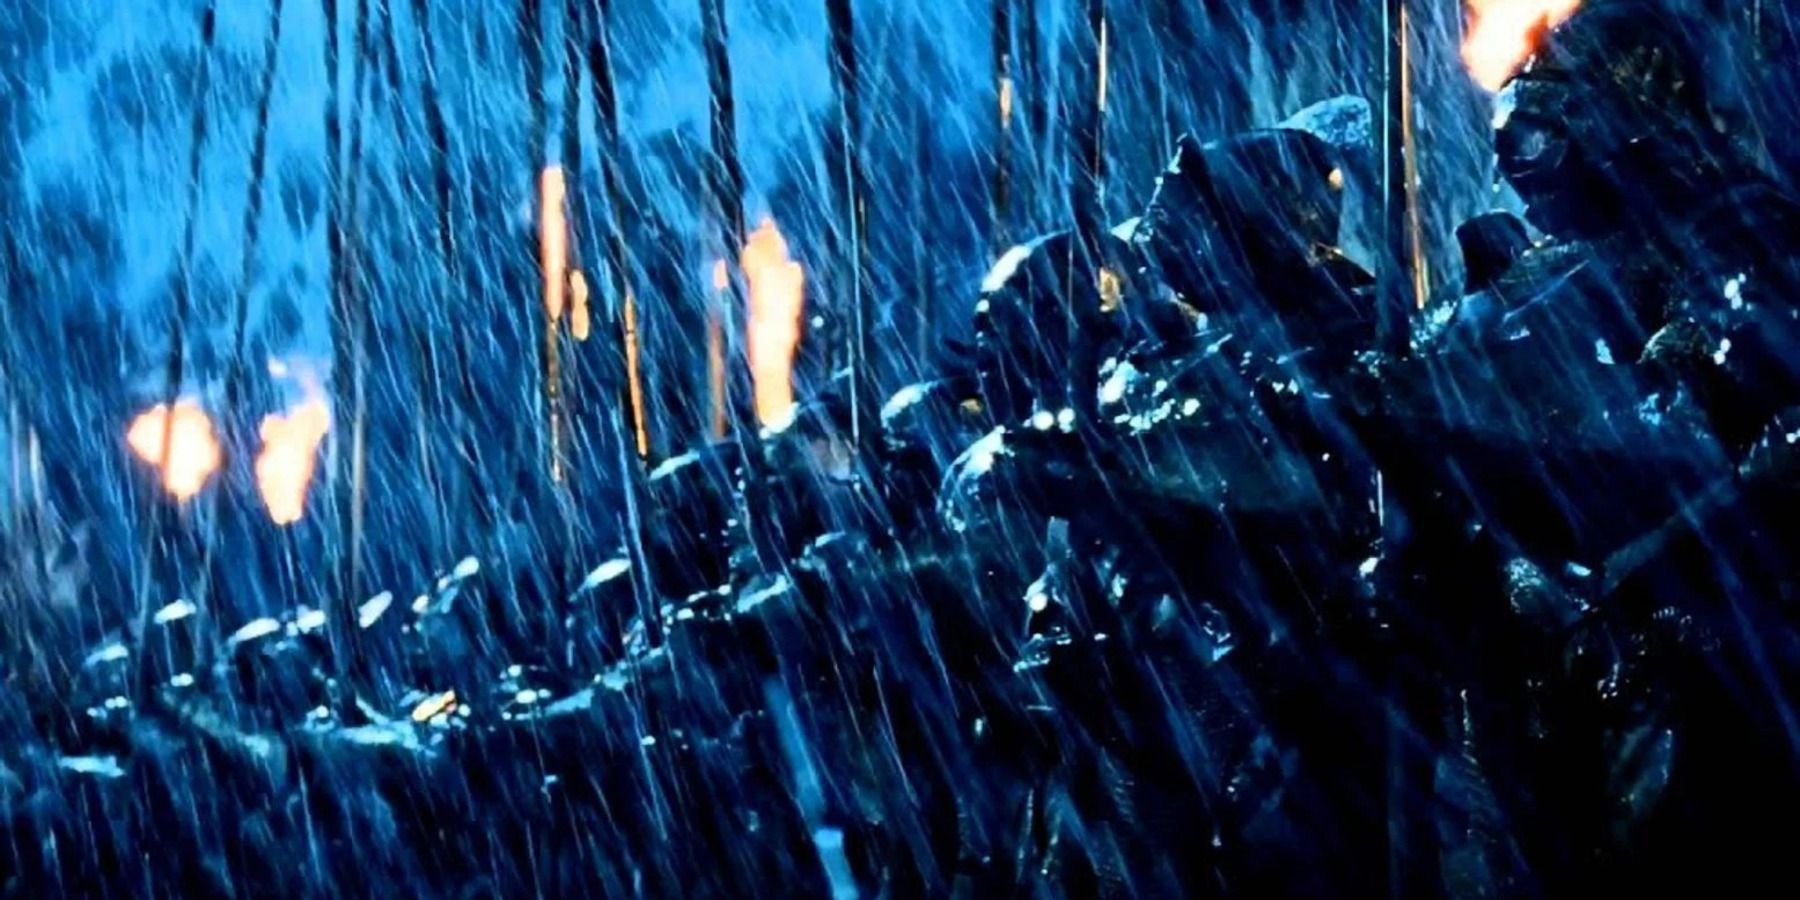
As the mass of screeching Orcs arrived at Helm’s Deep, the forces of Rohan readied themselves throughout the structure. The woman and children were tucked away in the safest place possible while every able-bodied man was given a weapon and a spot to defend. Unfortunately, it was the desire to pull as many people into the conflict as possible that really kicked off the entire battle. Due to the rain and strain of holding an arrow, an older man lets a shot loose too early, beginning the battle. To his credit, he did manage to take a poorly-armored Uruk-Hai down with his shot.
The Walls Of Helm’s Deep
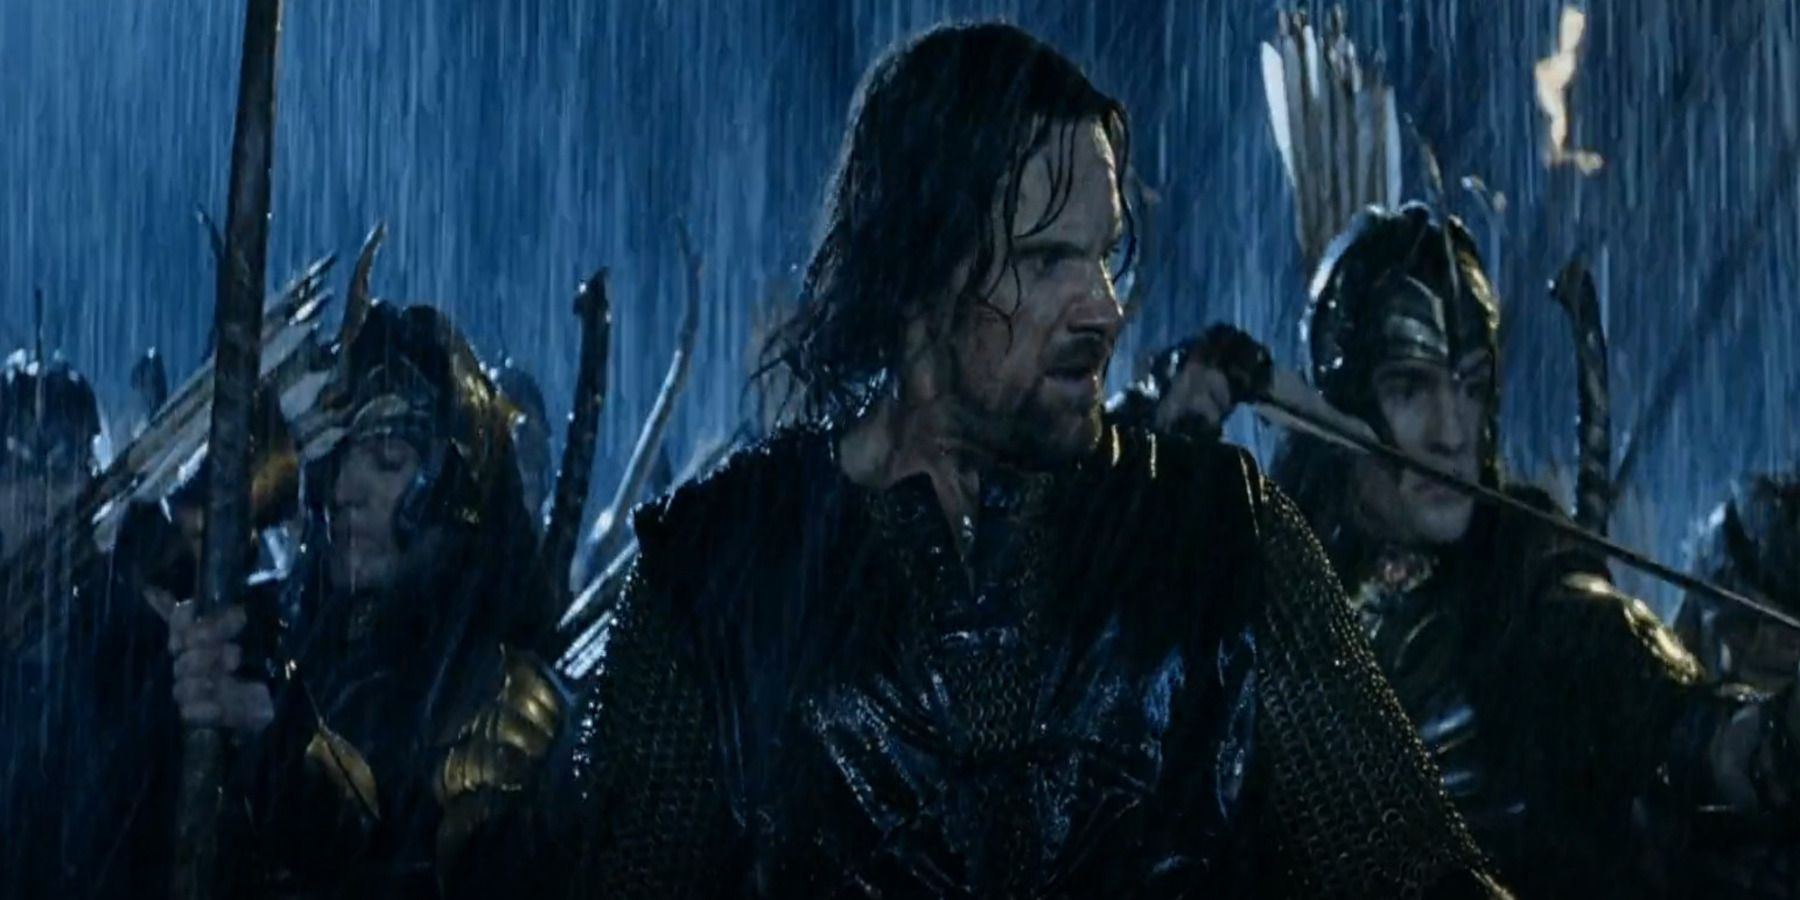
Aragorn, acting as the commander along the walls of Helm’s Deep, commanded his forces to begin sending volleys of arrows at the now-approaching Uruk-Hai hordes. The initial volleys were successful in taking out countless Orcs, but their sheer numbers were too much for the opening attack to have much impact. Saruman’s evil forces were still able to reach the walls in the opening moments of the conflict and soon began setting up ladders in order to scale the walls.
The closer the Orcs got, the worse things became. Now in range, the Orcs were able to fire back at the fortress, immediately taking many out before they’d even scaled the walls. With no way to keep the hordes from setting up their massive ladders, the mighty Uruk-Hai were soon on top of the walls and engaging the warriors in combat. While Rohan had many skilled warriors, they were no match for the unchained nature of Orc’s attacks. Even the Elves began to fall to the sheer number of Orcs.
The unfortunate truth of Helm’s Deep is that while seemingly impenetrable, it did have a singular weakness, a small drain at the base of the wall. It was that drain that proved to be the near downfall of the heroes as the Uruk-Hai forces would set a series of explosives on the drain in order to open the wall. Despite numerous attempts to stop an Orc from lighting the fuses, Legolas failed to take the charging Orc down, resulting in a massive explosion that breached the wall, sent Aragorn to the field below, and killed beings on each side of the conflict.
Helm’s Deep Breached
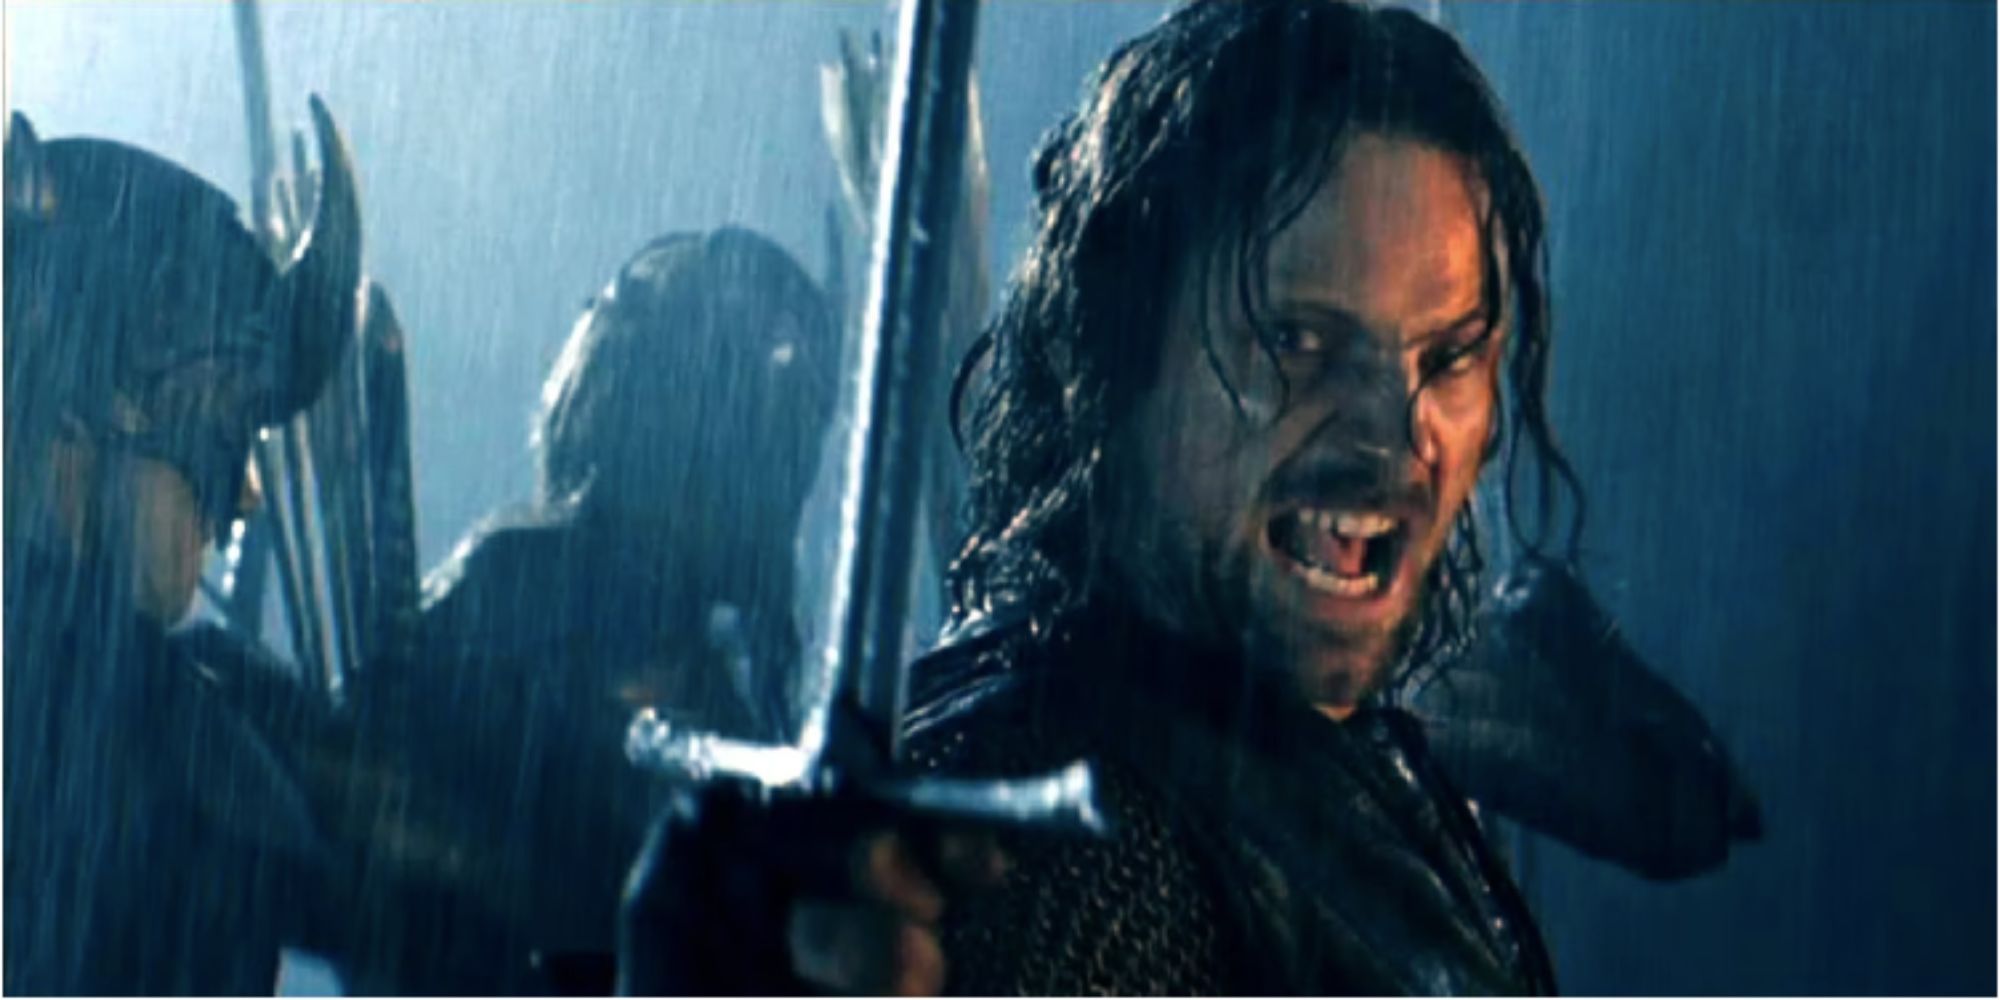
Now with a massive hole in the walls of Helm’s Deep, Saruman’s forces were able to pressure Rohan’s brave forces even more by flooding into the fortress while also pounding on the actual entrance gate. It was the beginning of the end for Rohan, but the warriors refused to give up hope. Aragorn was seemingly left alone to handle the approaching breach horde, but Gimli jumped to his aid alongside some archers and footsoldiers.
The pressure of the forces would now prove to be too much, forcing Rohan’s forces to retreat deeper into Helm’s Deep. During the push to retreat, the leader of the Elven forces, Haldir, would be slain by a few Uruk-Hai. Suffering their first major loss, the heroes retreated into the fortress where King Theoden would eventually be injured. In order to take some of the pressure off, Aragorn and Gimli snuck around the fortress and launched a surprise attack at the main gate to Helm’s Deep, allowing those inside to reinforce the weakening door.
While Aragorn and Gimli were successful in their surprise attack, they were slowly overwhelmed and soon were forced to flee once again thanks to some help from Legolas. With the forces of Rohan being wiped out faster than ever before, Aragorn, Gimli, Legolas, a wounded King Theoden, and a small remaining force of Rohan found themselves trapped within the keep of Helm’s Deep. With no way to turn the tide of the fight around, everything seemed hopeless until the sun began to rise.
The Arrival Of Gandalf
Before Gandalf had split off from the group he’d told Aragorn that he would return at the dawn of the fifth day, and return he did. While the remaining forces of Helm’s Deep began a final cavalry charge at the Orcs, Gandalf led a force of roughly 2000 Rohirrim cavalry, and the combined forces ravaged Saruman’s army. Between the two cavalry groups and an additional force of warriors, the men of Rohan were able to survive the Battle Of Helm’s Deep and prove that Saruman’s forces were not unstoppable.
Despite the heavy casualties, the first crack in Sauron’s armies was shown, and it would be enough to help Aragorn maintain his resolve moving forward, even in the face of hopeless odds. This would be far from the last battle that Aragorn, Gimli, and Legolas would take part in during The War Of The Ring.
The Lord Of The Rings is available for streaming on Amazon Prime Video.


