Since the launch of Lords of the Fallen, the developers have added a bunch of new content, including three new questlines that are free for everyone. These questlines introduce new challenges for players to complete, as well as new bosses they must vanquish in order to obtain the new Armor Sets and Weapons that have been added to the game. These weapons and armor add a new playstyle and feel when trying out the New Game modifiers, which is another recently added feature.
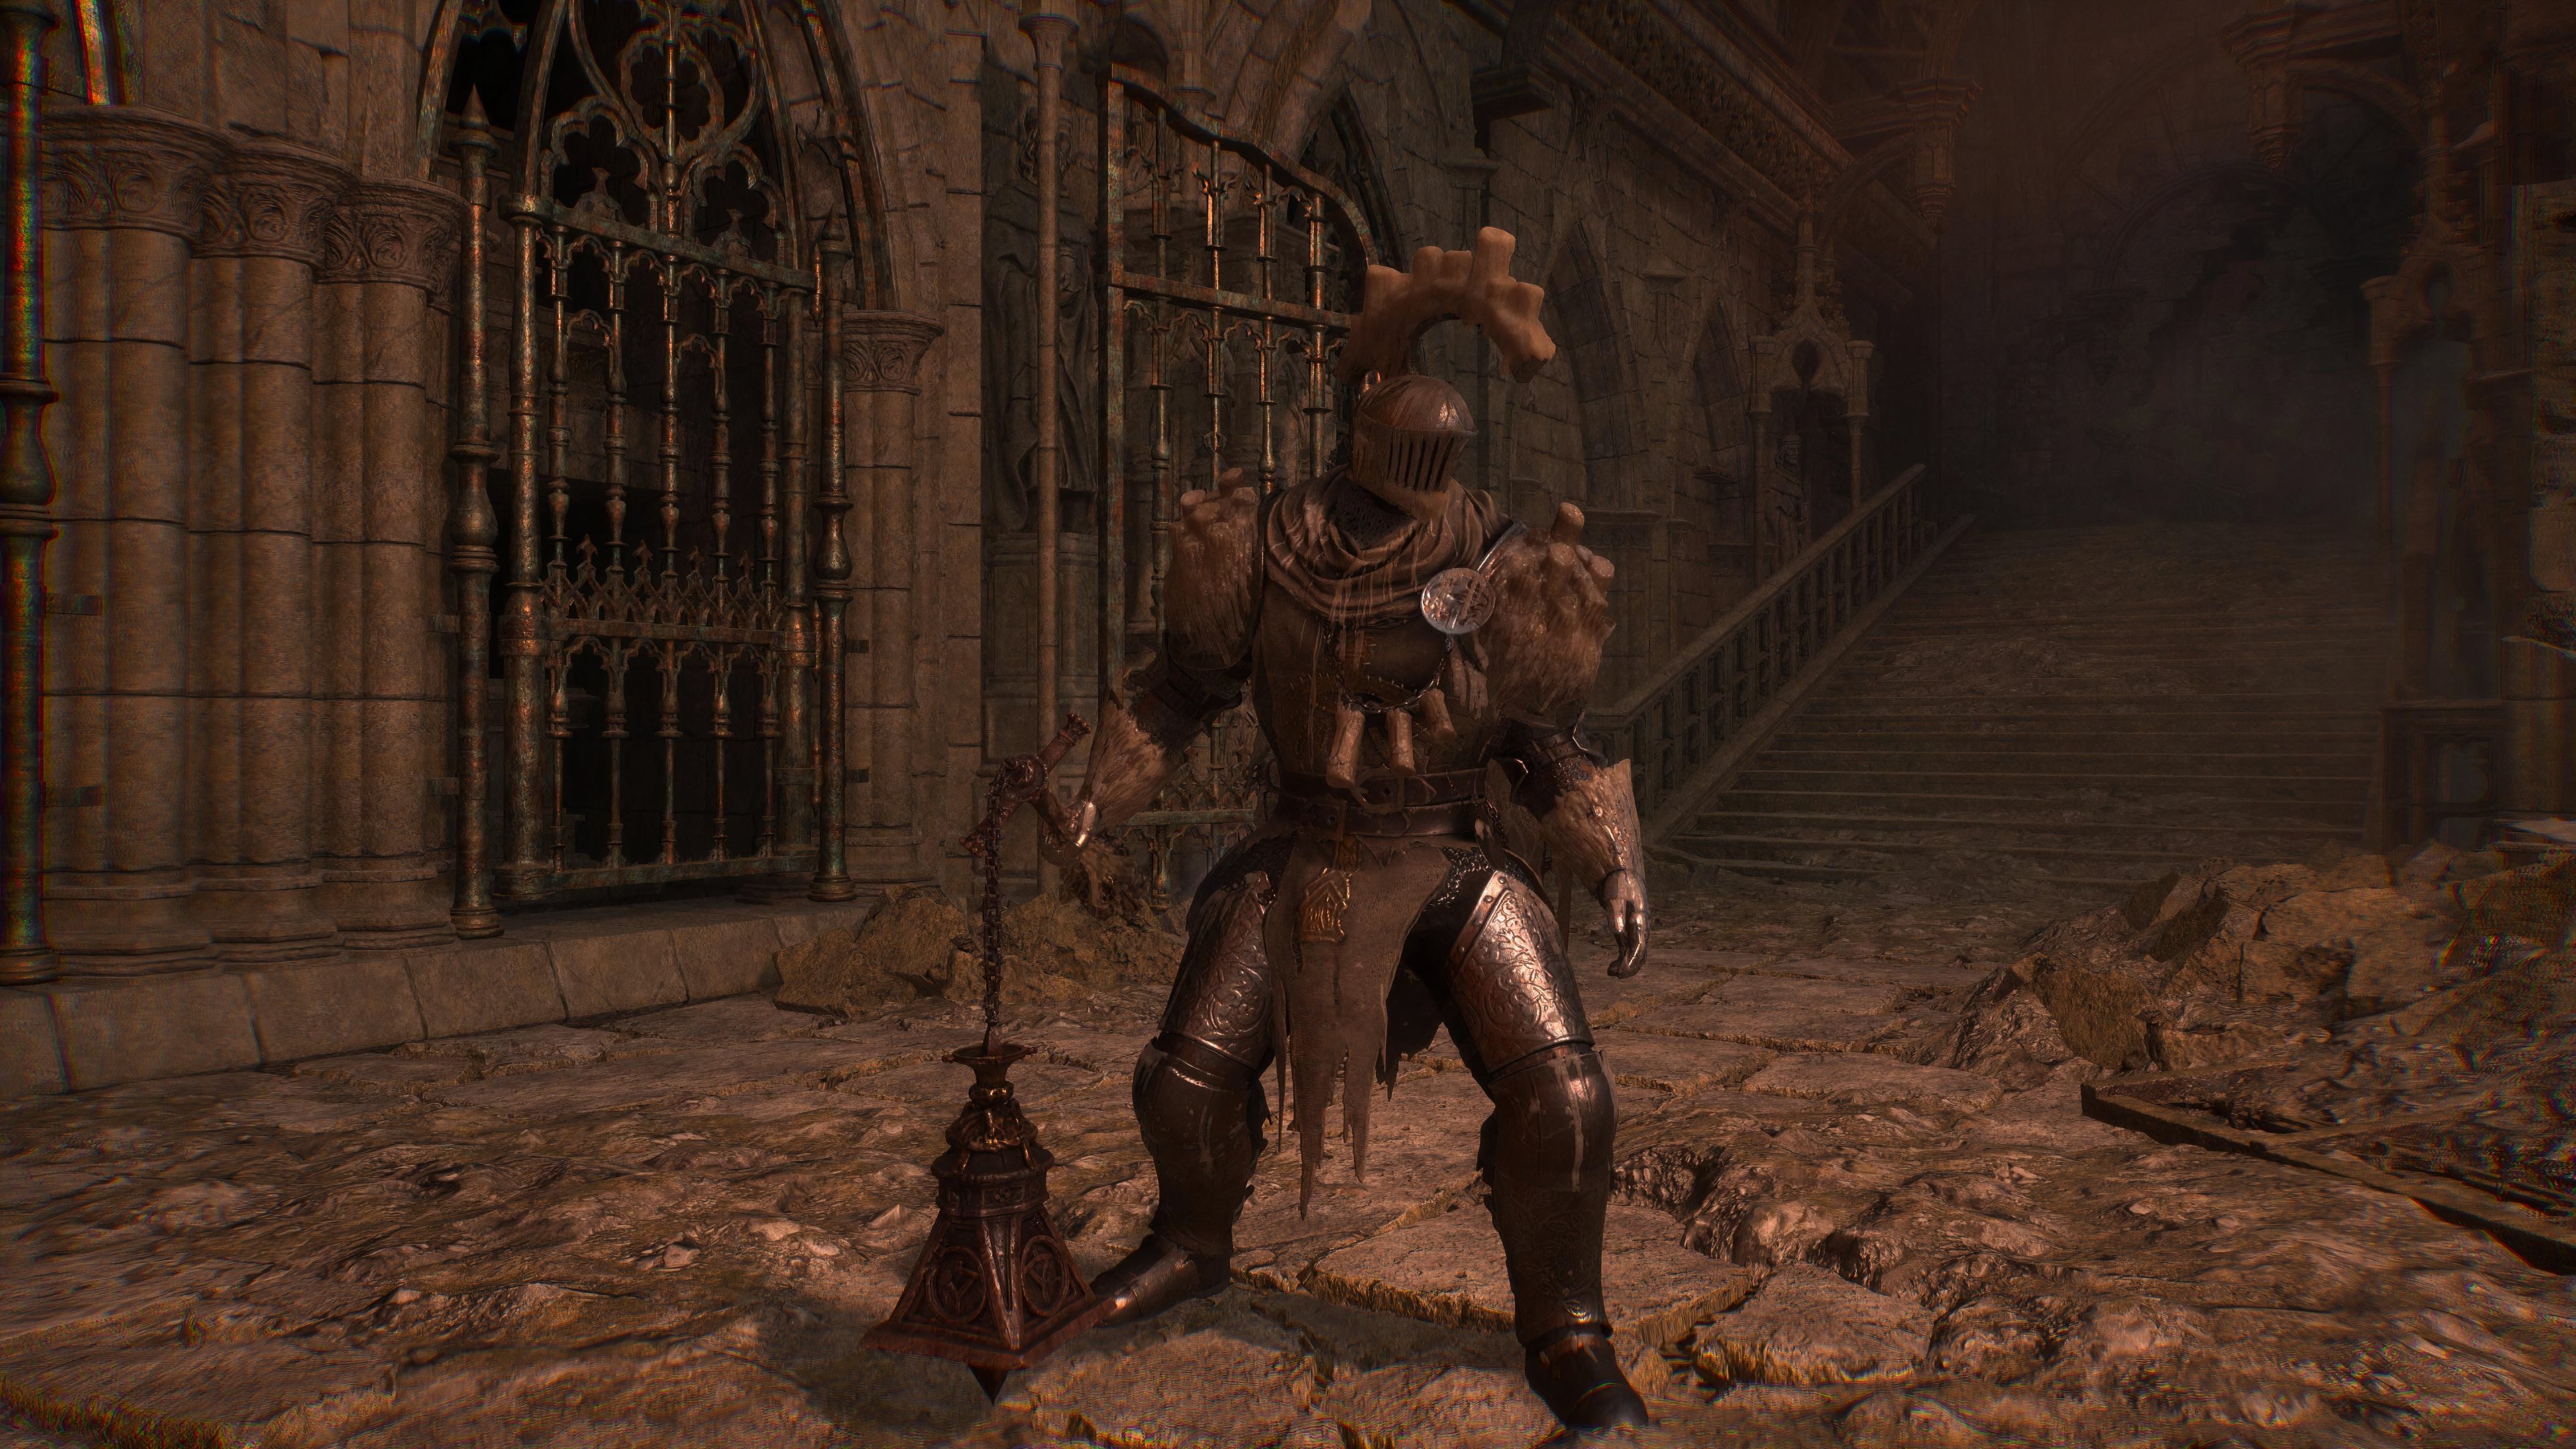
One of these new Armor Sets is Illuminator Aubrey's. This guide includes step-by-step instructions on how to complete the whole questline, and acquire the armor set at the end.
The Lords Of The Fallen: Where To Find General Engstrom's Set
If players want to obtain the General Engstrom's Set in The Lords of the Fallen, they will need to complete a quest and defeat a powerful boss.
How To Complete The Questline
Illuminator Aubrey's set questline requires you to interact with multiple shrines, and complete the challenges they task you with. These challenges each require you to kill a specific enemy several times using a specific method. There are six shrines throughout the game, and the order in which you complete them does not affect the questline.
First Shrine
The first Shrine is located in the Tower of Penance. As the Tower does not have a vestige of its own, you will need to travel to the Vestige of Rosamund located in the Abbey of Hollowed Sisters. Once you reach the Tower, head inside and make your way down to the bottom. If you have not killed the boss in the Tower yet, then you will need to take the elevator on the left, which will take you to the upper section and climb your way down. If you have killed Tancred and are returning to the Tower, you can simply take the elevator inside the Tower, which goes all the way to the bottom.
At the bottom, go to the boss arena and head into the prison cell on the far right side. Inside the cell, you will find a weapon, Flickering Flail. Go back to the elevator, and just before it, you will find your first Shrine. Interacting with it will prompt nothing, so you will have to perform the Orian Vow of Protection gesture. You can acquire this gesture in Skyrest Bridge by interacting with a shrine downstairs. After you perform the gesture, you will see a message pop up saying you have to Illuminate five Carrion Knights.
This needs to be done by using the Flickering Flail.
To make this task easier, you can upgrade the weapon at the Blacksmith and cast the "Radiant Weapon" Spell. Carrion Knights are the tanky enemies found inside the Tower that cause Poison build-up. After the task is complete, head back to the shrine, and you will see a new message saying: "In Radiance, they found eternal rest."
Second Shrine
After completing the first Shrine, head outside the Tower. Use a Vestige Seed if you have to make a resting place for you to come back. Head into the Manse of the Hollowed Brothers, and head into the big building where you find Abbot Vernoff's Key. Right in front of the Crimson Rector enemy, you will find a Shrine that you need to perform the gesture on. Doing so will task you with Illuminating 10 Crimson Rectors.
There are two Crimson Rectors in the building. One is located right next to the shrine, and one is located in the courtyard on the right side when leaving the building. You can kill them using your Flail, and then go back to the Vestige and come back again to get them to respawn. Once you have dealt with 10 of them, head to the Shrine to get the message of eternal rest.
Third Shrine
Back at the Tower Vestige that you planted, head to the same building from the previous entry through the area with Holy Bulwarks. Turn back when you reach the main gate. You will see a pathway that leads to a locked door that you can open behind it. This is the third shrine. After performing the gesture, this Shrine will tell you to Illuminate 10 Holy Bulwarks.
Open the door behind you to find a Holy Bulwark. After this enemy falls, simply head straight to the Tower Vestige and rest to get him to respawn. Kill him nine more times to complete this shrine challenge. After you are certain you have taken down 10 of these enemies, head to the shrine to check whether the message has changed. If it has, you're good to go.
Lords Of The Fallen: 5 Overpowered Builds That Are A Lot Of Fun
It's not easy to become overpowered in 2023's Lords of the Fallen, but these optimized builds make traversing Axiom and Umbral a breeze.
Fourth Shrine
The fourth Shrine is located at the Vestige of Blind Agatha in Pilgrim's Perch Ballroom. Head left through the iron door until you reach the wooden platforms. There is a Shrine that tells you to Illuminate 10 Ardent Penitent after you perform the gesture. This is the easiest challenge in this questline, because you can find an Ardent Penintent right next to the Vestige. Kill it using your Flail, and rest at the Vestige to respawn it. You will have to use your Lamp to take out the parasite attached to this enemy, because it restores the enemy's health.
Similar to the other shrines, after you have completed this challenge, head back to the Shrine to confirm whether it says they have found eternal rest.
Fifth Shrine
For this Shrine, make your way to the Vestige of Chabui in the Sanctuary of Baptism. Once you reach this Vestige, head up the ladder and go to the Scourged Sister Delyth boss arena. There should be a Shrine right next to the two Penitent enemies. Interact and use the gesture to find the message mentioning 15 Avowed enemies this time. Head back to the Vestige and kill the enemies here, who are wielding Maces. Kill the enemy 15 times, and with that, this Shrine will be completed.
Sixth Shrine
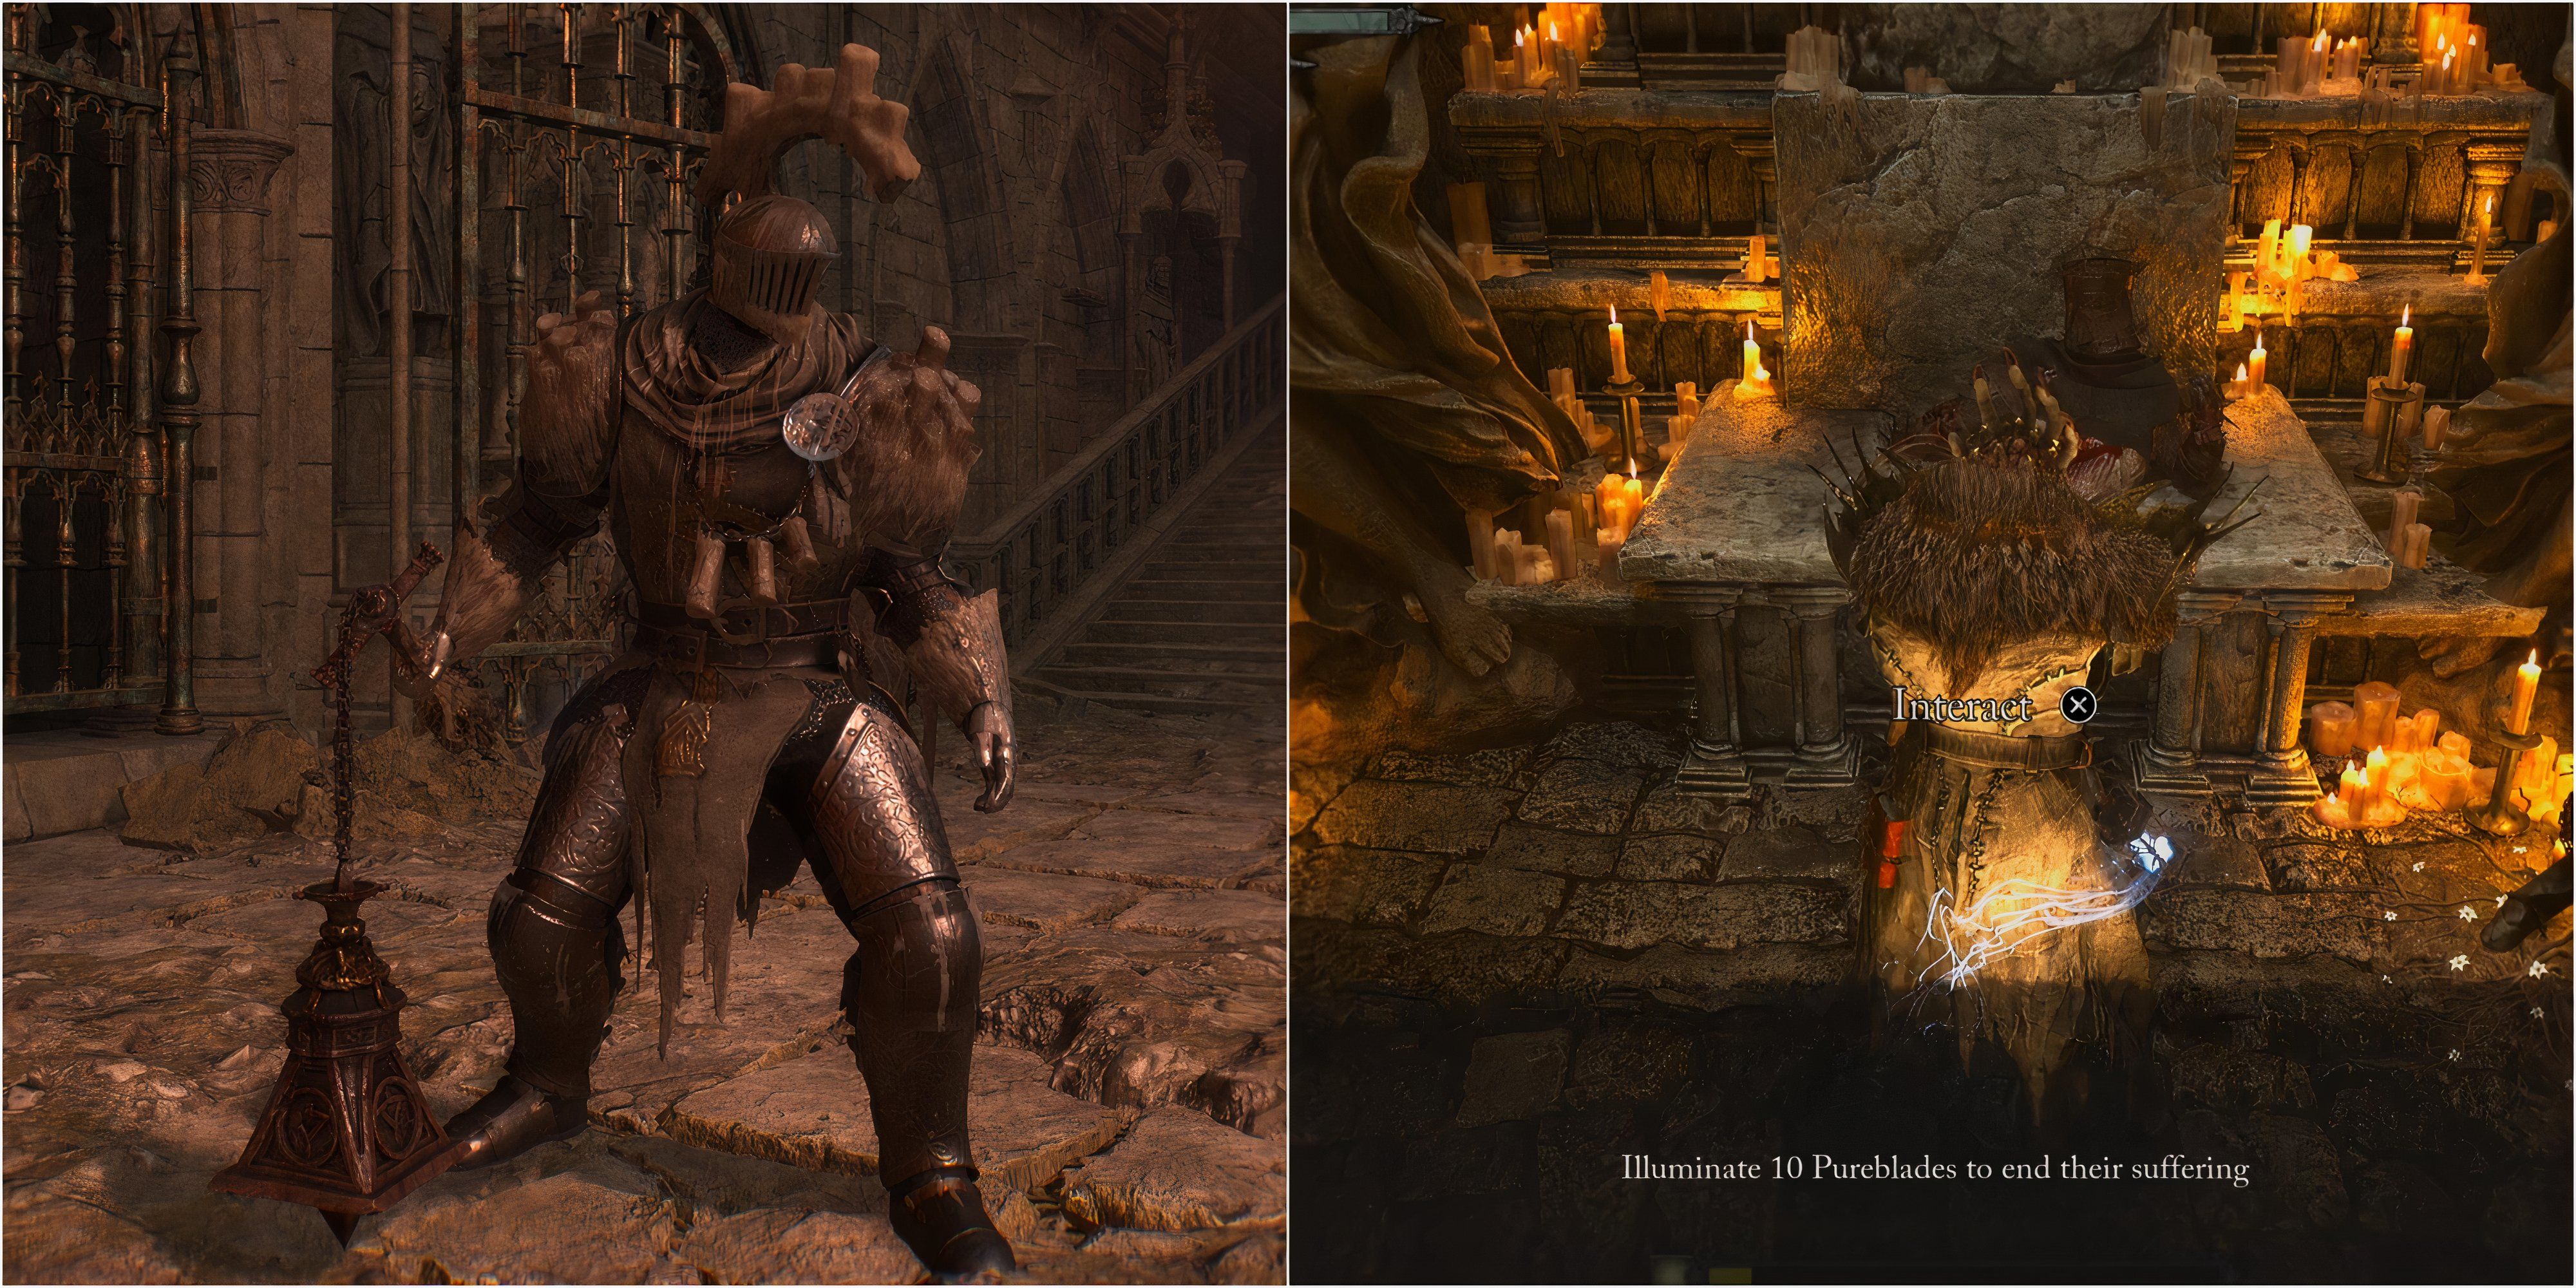
For the last Shrine, you will need to head to Pilgrim Perch. From the Vestige of Blind Agatha, head left through the iron gate all the way to the The Sacred Resonance of Tenacity boss room. Switch to Umbral Realm and head outside to go across the bridge on the right. Head up the ladder, then the multiple staircases, until you reach another ladder that leads up. Turn left and take the ladder on the left. Keep following the path, head right into the cave, and proceed until you reach a ladder that goes down. The door on the right will take you to a room with a dead Pureblade sitting on a throne, which seems to be the last Shrine. This Shrine will task you with Illuminating 10 Pureblades.
To find Pureblades, head to the Vestige of Iorelo, the Cursed Knight in The Empyrean. Go down the elevator and head past the enemies to find the first two Pureblades. Deal with them, and move further ahead to find one atop the stairs and two on the path below, right next to the lever. You can travel back to the Vestige and kill them all once more to complete this Shrine. After this, you will get a new message at the Shrine saying, "Seek the once-hidden shrine in the place where brothers dwell."
How To Get the Illuminator Aubrey Armor Set
After completing all the shrines, make your way to Manse of the Hollowed Brother. You can do so by traveling to the Tower of Penance Vestige. From the main gate, head right of the Holy Bulwark past the multiple enemies and keep on the right side, ignoring the buildings on the left with the Shrines. Head through the open gate, and head right as soon as you come out of the other side. The path will be blocked, but you can use your Umbral Lamp to walk through it and head down. There is an Umbral Stigma here, which tells you that you are in the right location.
Go through the hole in the wall on the left to fight an Abbess and two Abiding Defenders. This should be an easy fight, but remember to focus on the Abess first. After the fight is over, head behind the Statue of Aubrey behind, where you will find the Illuminator Armor Set along with the Waxen Tinct.

Lords of the Fallen (2023)
- Platform(s)
- PS5 , Xbox Series S , Xbox Series X , PC
- Released
- October 13, 2023
- Developer(s)
- HEXWORKS
- How Long To Beat
- 30 Hours

