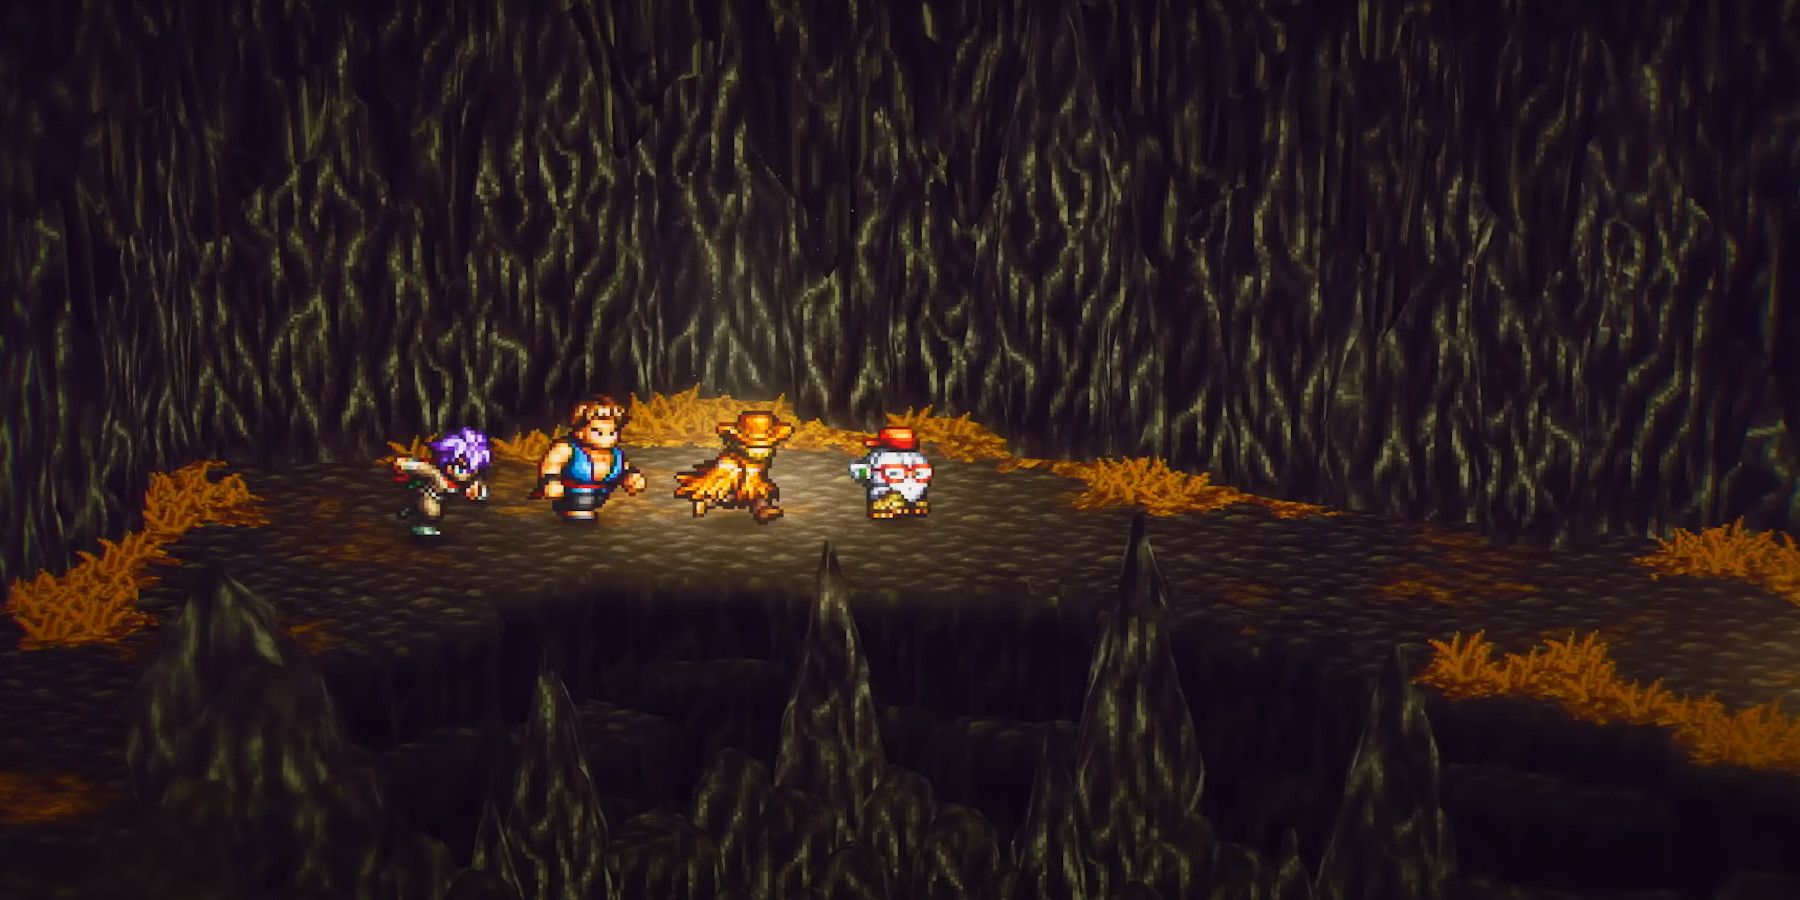
As players come to the conclusion of Live a Live, they will face some choices that will ultimately determine which ending they receive. Indeed, there are multiple endings to this classic JRPG, and it is not particularly difficult to trigger them all. For those fans that are interested in seeing all of Live a Live's endings, this guide details the requirements that must be fulfilled in order to obtain each of them.
Prior to getting into those requirements it is important to note that some spoilers for the Live a Live remake are to be found in what follows. While an attempt was made to minimize those spoilers, and the specifics of the endings themselves will not be revealed, players should be aware of their existence before reading on.
Live a Live: All Endings Guide
The endings to Live a Live can be divided into two categories, Hero and Villain, and fans will decide which category they want to pursue after completing the Middle Ages chapter. For full clarity, the Middle Ages chapter is unlocked by finishing all seven of the chapters that are available upon starting the game, and players that complete it will gain access to one final chapter. Square Enix fans must select a character before starting this final chapter, and picking Oersted will lead to a Villain ending, while picking any other character will lead to a Hero ending.
Villain Endings
There are two endings that players can pursue after completing the Middle Ages chapter and selecting Oersted. Notably, this action will actually trigger a boss rush mode, rather than the aforementioned final chapter, and here are details on how to access both of its endings:
- Armageddon Ending: Get to low health during any of the chapter's boss battles. This will cause the "Flee" command to be replaced with "Armageddon," and selecting it will trigger the ending.
- Bad Ending: Beat all seven bosses.
Hero Endings
SNES RPG fans that select one of the seven non-Oersted characters will have the opportunity to earn three different endings. Here is information on the requirements for unlocking those three endings, and further details on character recruitment can be found below:
- True Ending: Recruit all seven characters during the final chapter. Defeat the final boss and opt to spare them at the end.
- Normal Ending: Do not recruit all seven characters during the final chapter. Defeat the final boss and opt to spare them at the end.
- Bad Ending: Do not recruit all seven characters during the final chapter. Defeat the final boss and opt to kill them at the end.
As noted, players will need to recruit all Live a Live characters during the final chapter if they are interested in obtaining the true ending, though not all of these characters can be in a party at the same time. Here are details on how to find and recruit the characters:
- Pogo: In a field in the southern part of the Silent Wood. Chase Live a Live's Pogo to initiate a battle and recruit him.
- Oboromaru: On the path to Archon’s Roost. Read the sign on the way to battle and recruit Oboromaru.
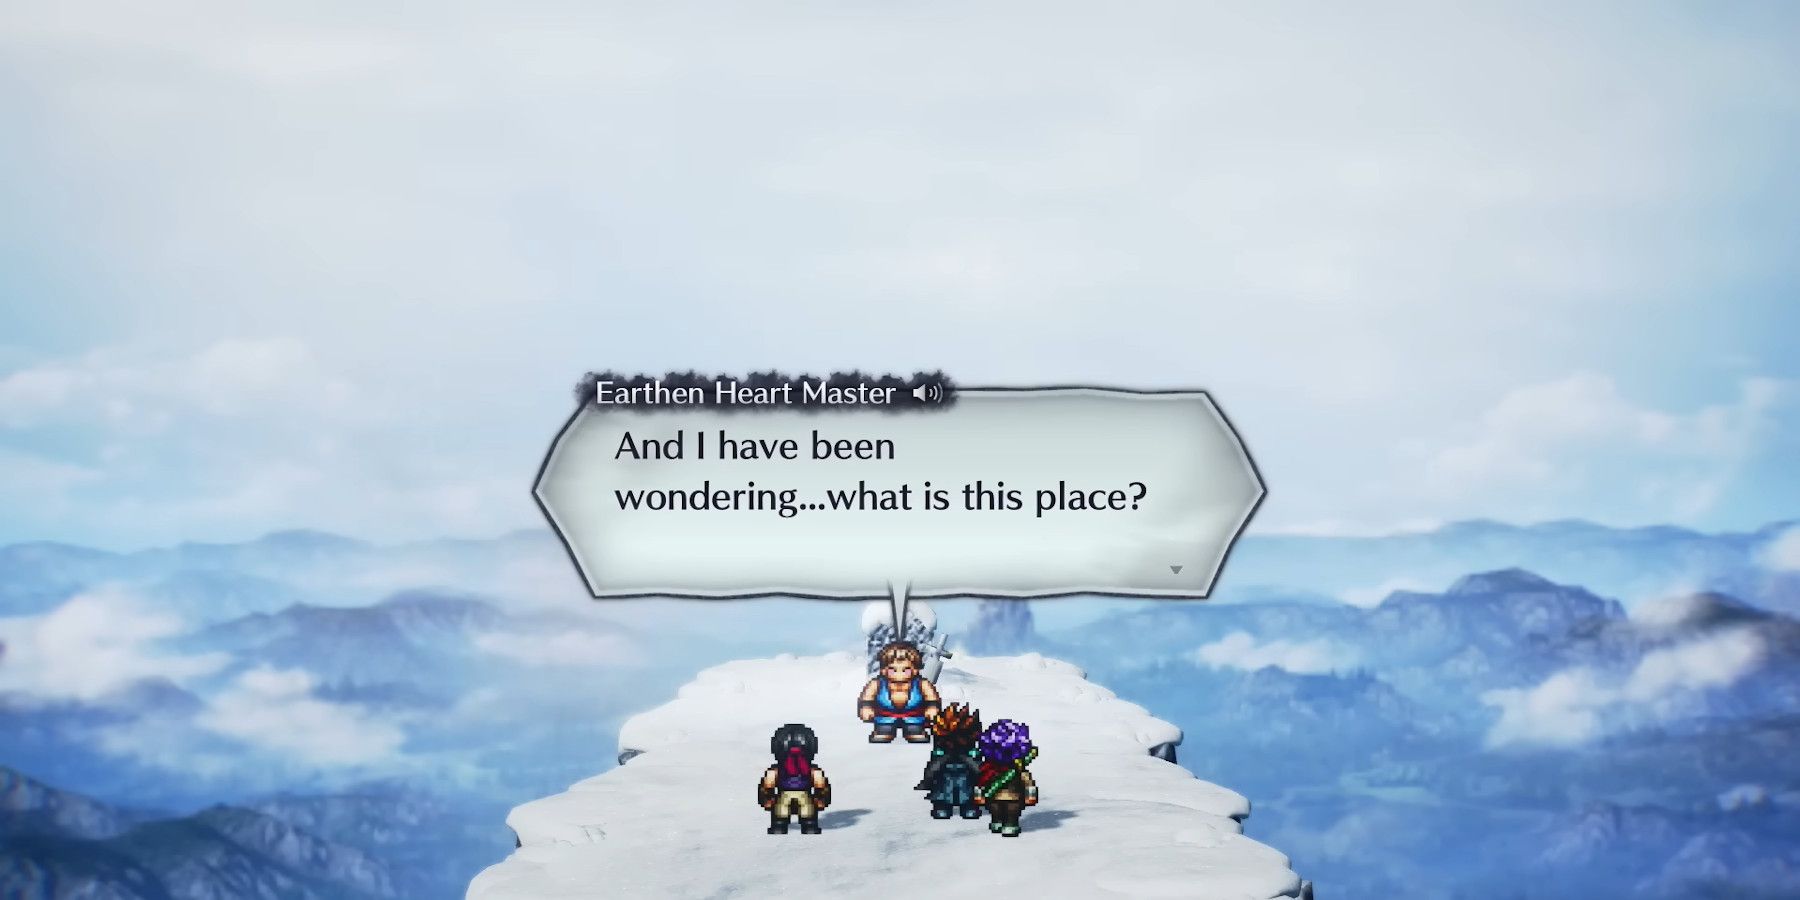
- Shifu: By the grave at the top of Hero's Peak, north from Hero's Rest. Talk to the apprentice to recruit them.
- Masaru: In the dungeon of Lucrece Castle. Defeat Masaru in battle to recruit him.
- Sundown: Talk to Sundown in the following locations to recruit him: next to the cabin in the mountains, by Pogo's dungeon in the southeastern part of the mountains, next to the sign on the way to Lucrece Castle, next to the throne in Lucrece Castle, in the west bedroom in Lucrece Castle, in front of Lucrece Castle.
- Akira: Lying on the bench in Fugalia Village in the west. Opting to trust Akira will cause him to be recruited without a fight.
- Cube: On the balcony at the top of Lucrece Castle. Players will need a battery in order to recruit Cube, and it manifests as a shiny green object in the mountains before the cabin.
Live a Live is available now on Switch.

