The Legend of Zelda: Breath of the Wild is unquestionably a hit with fans of the series and with casual players. The game has a vast, complex world with an incredibly entertaining main storyline and tons of interesting side quests.
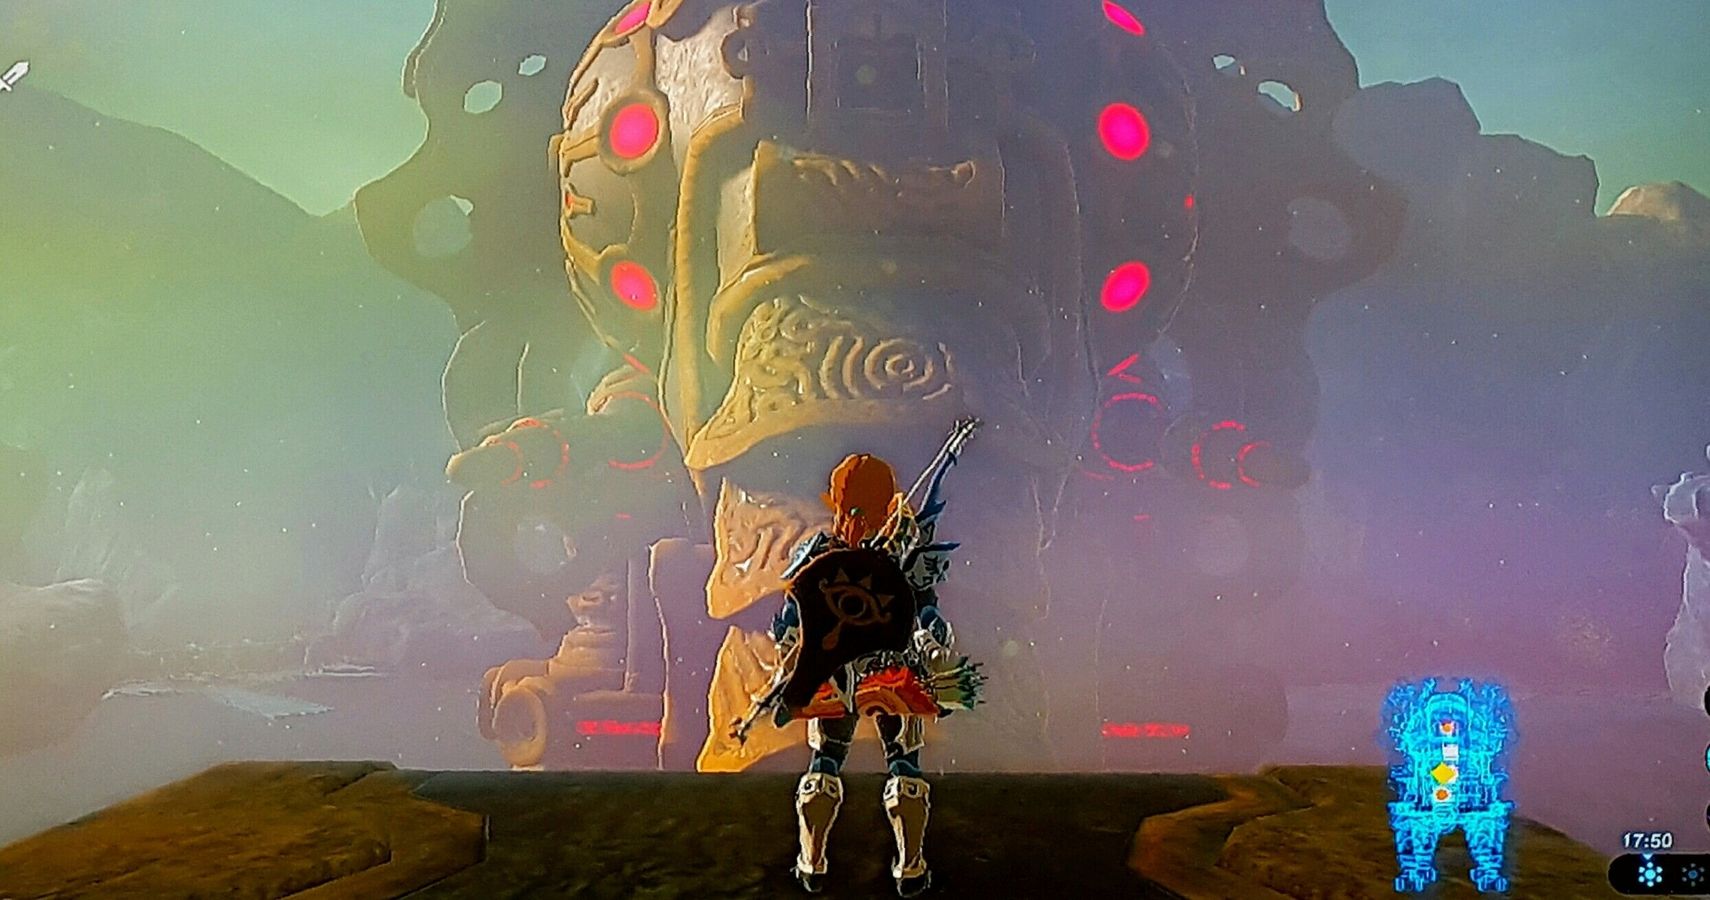
One integral part of the main story is conquering the 4 Divine Beasts and returning them to the control of their original masters, to be used in the coming battle with Calamity Gannon. Vah Ruta is the elephant-like Divine Beast of Zora's Domain that has been corrupted by Calamity Ganon. Here is your guide to completing the task and returning Vah Ruta to the Zora.
Be Prepared
This dungeon is light on combat, but has a huge puzzle focus, with a nice boss battle at the end. Come in prepared with at least 6+ heart containers, an armor set that has been upgraded at least once, half a page of cooked dishes, and as many weapons, bows, and arrows as you can carry. Stamina is mostly irrelevant, as the sprinting time is really all it will do for you here.
Right at the start of the dungeon, you’ll find a mound of purple goop on the ground called "Malice," with a glowing eye nearby. Malice hurts to touch, so don't get too close to it. It is located at a ton of different points throughout Vah Ruta, sometimes with a glowing eye somewhere near it. Whenever you see a glowing eye, kill it to permanently get rid of the malice the eye creates. Defeat the glowing eye found immediately inside the dungeon and keep moving.
Get The Map
The first thing you should do is get the dungeon map Mipha spoke of in the cutscene at the start. It is located behind a shut gate. Before we do anything with the gate, look into the water below and you’ll find a treasure chest. Use Magnesis to pull it out of the water and open it to obtain an Ancient Spring.
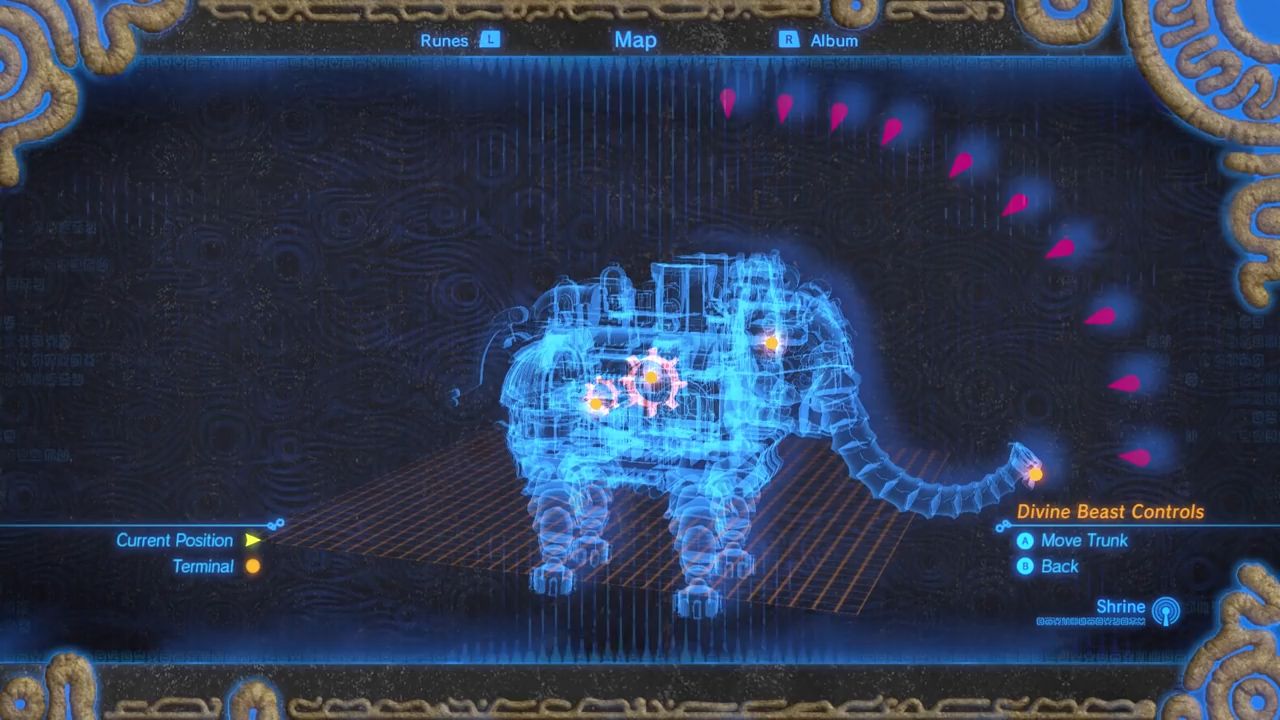
On the other side of the water, if you look down slightly along the submerged wall you will encounter a second glowing eye. Fire an arrow to defeat it and clear the Malice from the gate. The gate will still be shut, but you can use the Cryonis Rune to create an ice block to open it. Straight ahead you will find a pedestal to place the Sheikah Slate, which will unlock the dungeon map. This is a 3-dimensional dungeon map, and the five terminals that we will need to reactivate are all marked with glowing red dots. Right after getting the map, a somewhat easy to overlook text box appears stating that you can manipulate a specific part of Ruta from the map screen. The part in question is Ruta's trunk, which can be set to multiple different positions, with varying effects. This mechanic will be used multiple times throughout the dungeon.
First Terminal
After leaving the map room, if you look at the left wall, you’ll see several gears that aren't moving. You can make them turn by standing in front of the gears and using the Magnesis Rune on the lever sticking out on the biggest one. Rotate the gears several times to raise a nearby platform holding the terminal. Run over and place the slate on the pedestal to activate it.
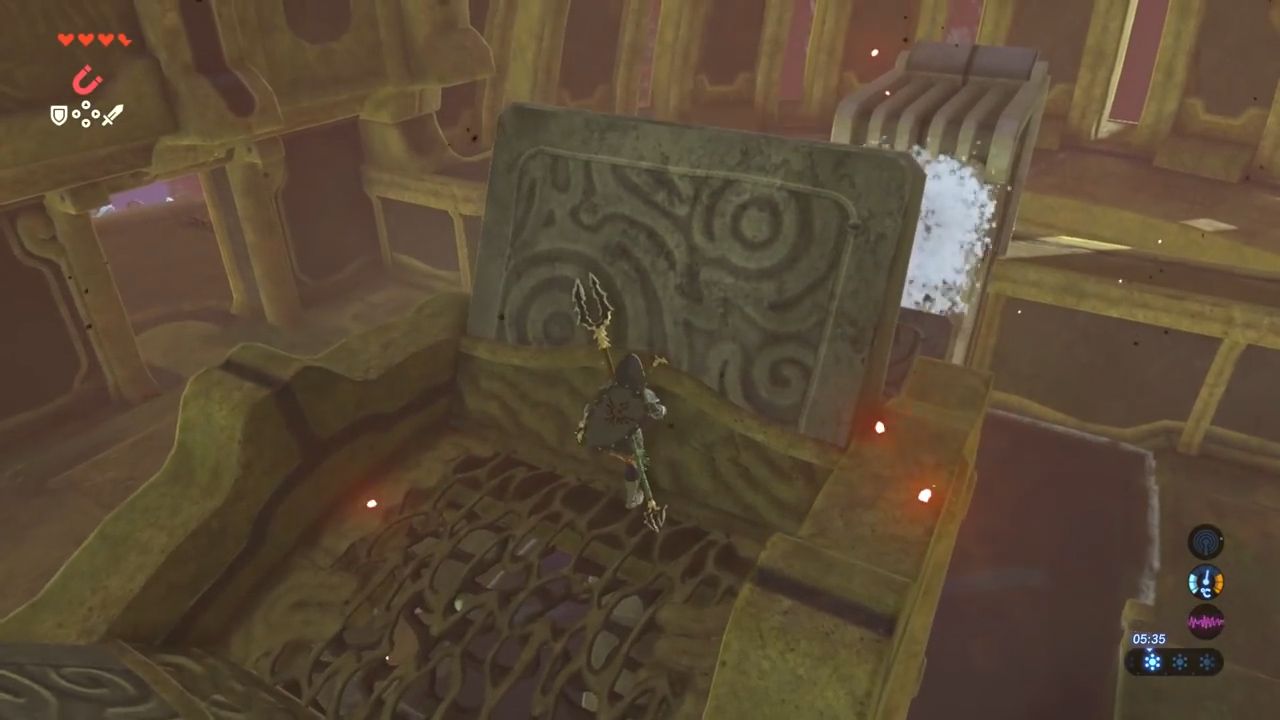
Make your way to the outside portion of Ruta (located opposite the entrance) and walk up the long ramp to get to the second level. The second room contains a massive gear with some water pouring onto it, making the gear move. Before you do anything with that puzzle, there is a nearby treasure chest you can grab. Walk close to the water and use the Cryonis Rune to create an ice pillar so that it is near the higher ledge on the left. Use the newly created ice pillar to make your way up to the ledge and open the chest with a Silver Rupee inside.
Second Terminal
Next, focus on the water that is spouting onto the gear from earlier. You need to use the Cryonis Rune directly on top of the source of the water to block it from coming out. However, you need to time it so that when the gear halts, the terminal is standing upright enough for it to activate. Once you accomplish this, turn on the second terminal.
You will notice that there are a large ball and wheel nearby, but don't spend time on it, as you need to be higher up in the room to do anything about it. Move to the other side of the water and head back to the outside portion of Ruta. As you progress, you'll notice that there is more Malice blocking the pathway. If you look higher up, you will see the glowing eye that is the source. Use an arrow or a bomb to destroy it and then keep going to the third level.
Third Terminal
Here, you'll find the ball and wheel puzzle from earlier. This can be confusing to solve if you missed the one line of text stating the controls for Ruta. Open the dungeon map and you will see the controls for Ruta's trunk. Directing the water coming out from its trunk, by changing how it is positioned, some things in the dungeon will change. The different positions here will cause the giant wheel to rotate, stop rotating, or rotate in the opposite direction. The buttons to control the dungeon do take some time to figure out, so pay close attention to the on-screen instructions, and move the trunk to the fourth setting from the top.
This will make the large wheel move. When the ball is at the top of the wheel, it will fall, activating the switch and causing the gate with the terminal behind it to open. What you need to do is wait until the ball is already on the switch making the gate open and use the Stasis Rune on it to stop it. Despite the wheel still rotating, the ball will stay on the switch, keeping the gate open. Walk into the newly opened room and activate the third terminal. The gate stays permanently open after the terminal's activation, making trapping yourself impossible.
There is also a treasure chest in this room and a similar method is used to obtain it. You'll find it being squeezed together by two rocky looking platforms. As the wheel is rotating, just before the platforms and the chest fall, use the Stasis Rune on the platform the chest isn't sitting on. This will cause the chest to fall, but not the top platform, allowing you to walk up and open it. It holds a very valuable Ancient Core.
Fall to the second level and stand right between the two gears. Open the map and move the trunk to the position that is the third from the top. This will cause water to pour on the big gear allowing you to jump on top of it, where it will carry you to a higher level of the dungeon. There is an enemy guardian here. Make sure you defeat it so it doesn't get in your way later. A glowing floor switch is also located here and stepping on it causes a waterfall to start flowing. Using the Zora Armor can be used as a shortcut to th dungeon if you ever fall.
Move towards Ruta's trunk and then manipulate it using the map so that the trunk is horizontal. Run along it and near the very edge there is some Malice and a glowing eye. Shoot the eye with an arrow and then open the treasure chest that it was guarding to obtain an Ancient Shaft.
Fourth Terminal
Next, climb up to the ledge that is just above the treasure chest, then open the map and move Ruta's trunk again so now that it'll be completely vertical. While the trunk is moving, so will you. This causes the ledge you're standing on to be a bit slippery as it is no longer constantly flat. At the last moment, jump off the ledge and use the Paraglider to glide over and land on top of Ruta.
Once there, you will see a small square hole that you can drop down into. You'll fall back inside of the dungeon, but at a higher level than before. If you look at the wall, you will see a lever covered in Malice. There is a glowing eye located above it that can be killed with either bombs or an arrow. Using the Magnesis Rune to turn the lever, will cause the ceiling to open up slightly, which will make water pour in and onto the flames on the floor below. This will allow you access to the fourth terminal, so go ahead and activate it.
Final Terminal
The final terminal is located at the tip of the Ruta's trunk. The method of gaining access to it is very similar to the fourth terminal. Extend the trunk, walk over to the treasure chest you opened earlier, turn the trunk vertical, and then use the Paraglider to get on top of Ruta again. There is a treasure chest at the very top as well. On the left side, there is some Malice with an eye close to it. Kill it and open the treasure chest to get some Ice Arrows.
Still, on top of Ruta, extend the trunk again so that it's horizontal. Proceed to jump and fly with the Paraglider and make your way to the tip of the trunk. In mid-flight, change Ruta's trunk to the second or third lowest position so that landing is easier.
The terminal is on the side and you can’t reach it yet. Drop down to the side, as there is a ledge there to prevent you from falling. Open the map and move the trunk to the option third from the top. This will cause the platform to be flat enough for standing, allowing you to turn on the fifth and final terminal.
Waterblight Ganon, Phase 1
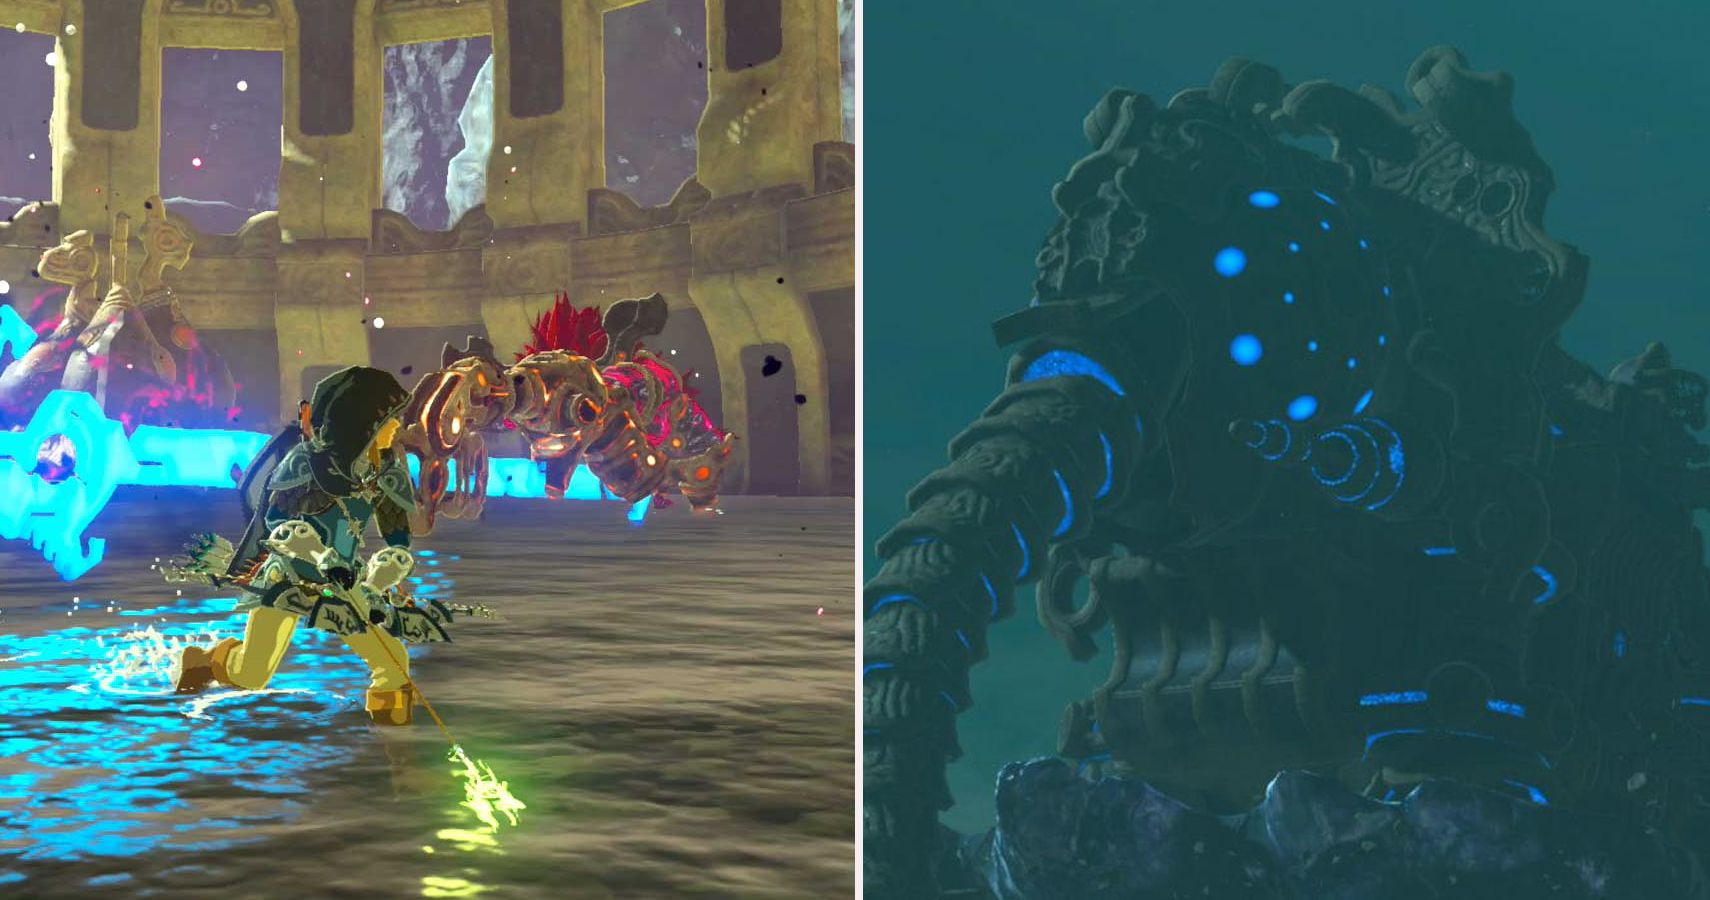
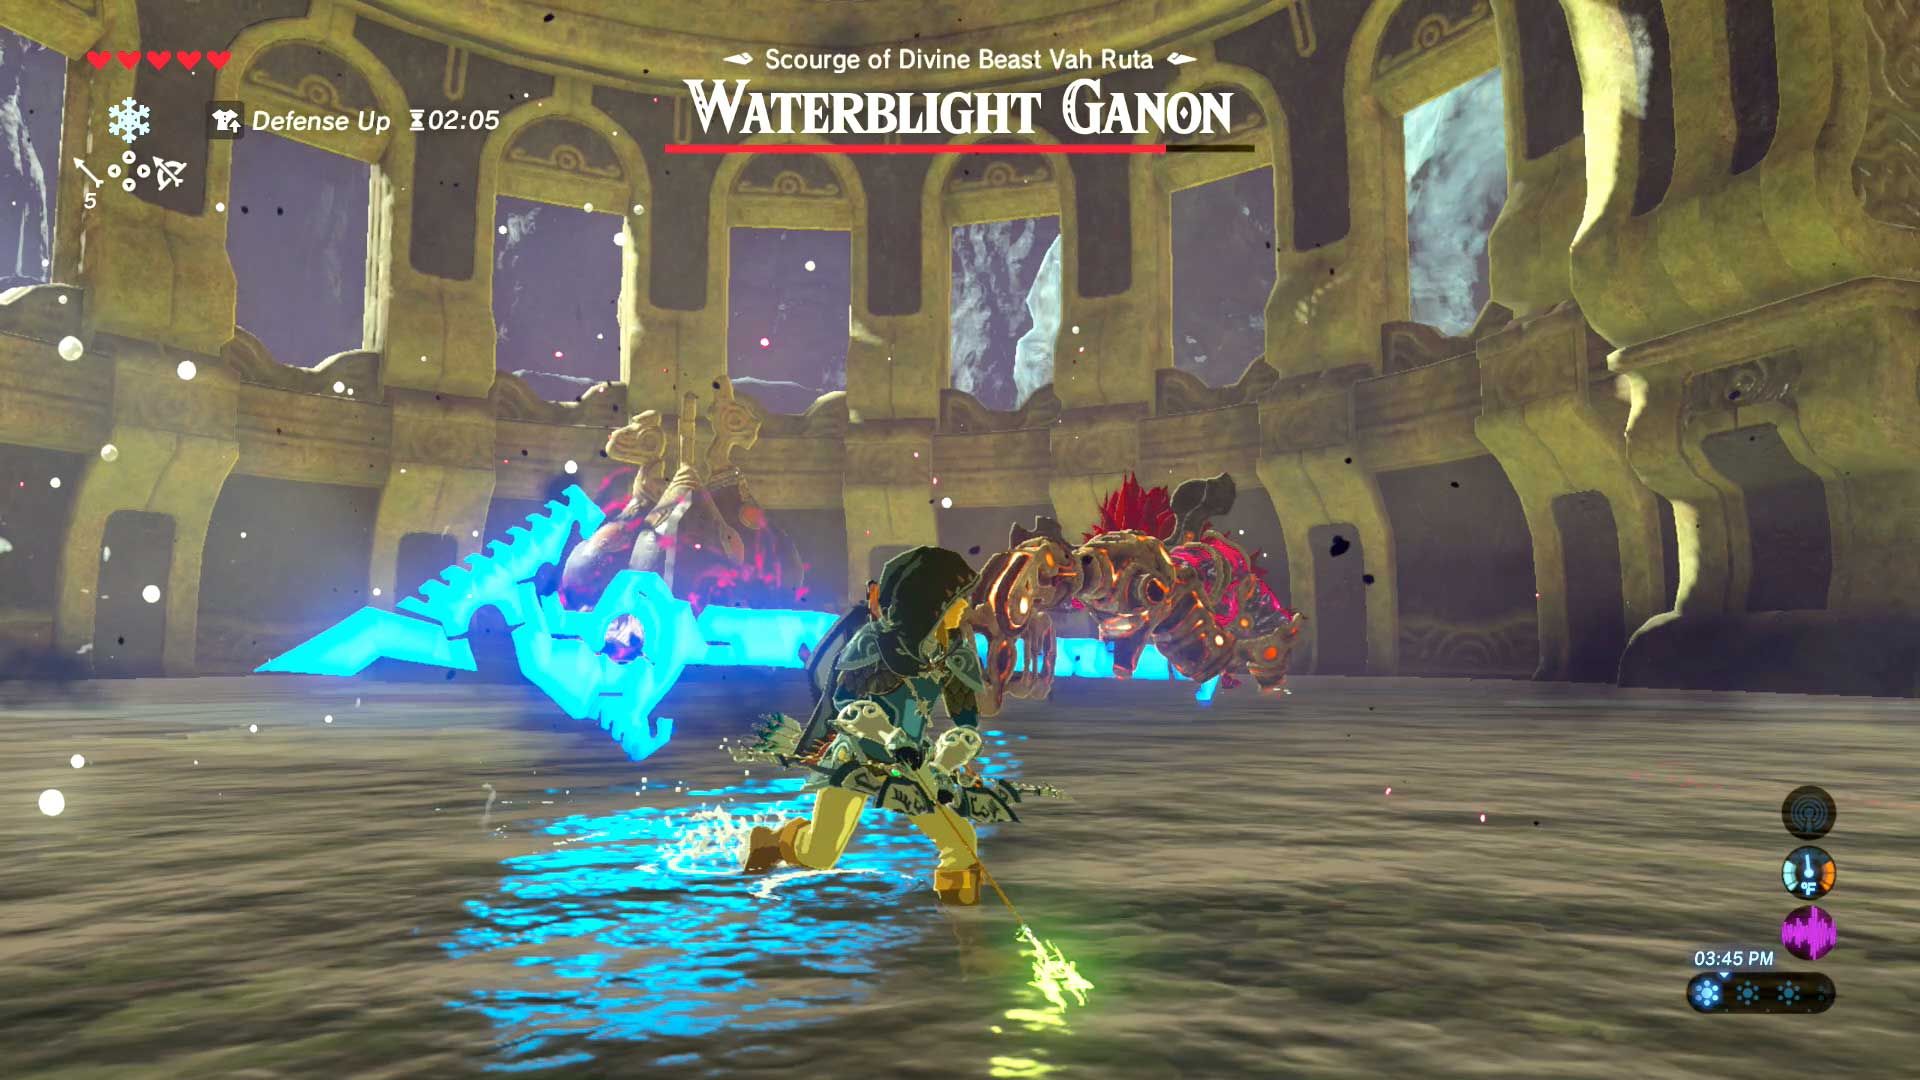
You can approach the Main Control Unit at this point. It is located near the entrance of the dungeon. On the lowest floor, climb down the steps and go and activate the Main Control Unit. This will begin the boss battle with Waterblight Ganon. It is strongly recommended that you have a lot of arrows before starting this fight.
Waterblight Ganon has a massive spear that it uses to attack. The fastest but highest risk strategy for this battle is to dodge its attacks at the last second and get off a series of Flurry Rushes for tons of damage. This is really only recommended for highly skilled or gutsy players. The safer option is to keep your distance and use projectiles such as arrows, to deal damage, or only come in close range when Waterblight Ganon isn't about to attack. You can also interrupt Waterblight Ganon's large spear swiping attack with a Cryonis pillar. This will cause the boss to be stunned, allowing more safe opportunities to attack.
Waterblight Ganon, Phase 2
When Waterblight Ganon loses half of its health, the second phase of the battle will begin. The water level in the room will rise, leaving you with only four platforms to stand. Waterblight Ganon will now create blocks of ice and shoot them at you. These blocks can be broken instantly with the Cryonis Rune. The Stasis Rune can also be used to freeze the blocks in time. While frozen, hit the blocks so that they will store momentum and will fly back at the boss and stun it. You can use the Stasis Rune again on an already frozen object. Not only will this break the object free immediately, but this will cause the cooldown time on the Stasis Rune to be much shorter.
As the battle progresses, Waterblight Ganon will begin to create three ice blocks at a time, and then five ice blocks. The time the boss takes to create more ice blocks can be used to shoot arrows at it. You want to aim for the eye specifically, as two shots there will stun the boss. Waterblight Ganon can still use its spear during th battle, but you can still perform Flurry Rushes like back in the first phase. Bombs can also be used, but getting close to Waterblight Ganon is difficult during this phase, so use them as you see fit.
Last Thing
Keep up the fight (renewing your health as needed) and eventually, Waterblight Ganon will die, allowing you to activate the Main Control Unit and leave the dungeon. It should be noted that any treasure chests or dropped weapons/shields/bows will be permanently lost when you leave. So, make sure you have everything you want before pressing onward. The chests located in Divine Beasts never contain anything needed for 100% completion or required completion and can be completely ignored if you wish.

