Much like its predecessor, Horizon Forbidden West does an excellent job of guiding players through both main story missions and side quests. In fact, some may argue that the game holds the player's hand just a little too tightly at times, even when they're playing in explorer mode. This isn't a criticism that could ever be levied against the title's Relic Ruins puzzles though, particularly some of the later ones.
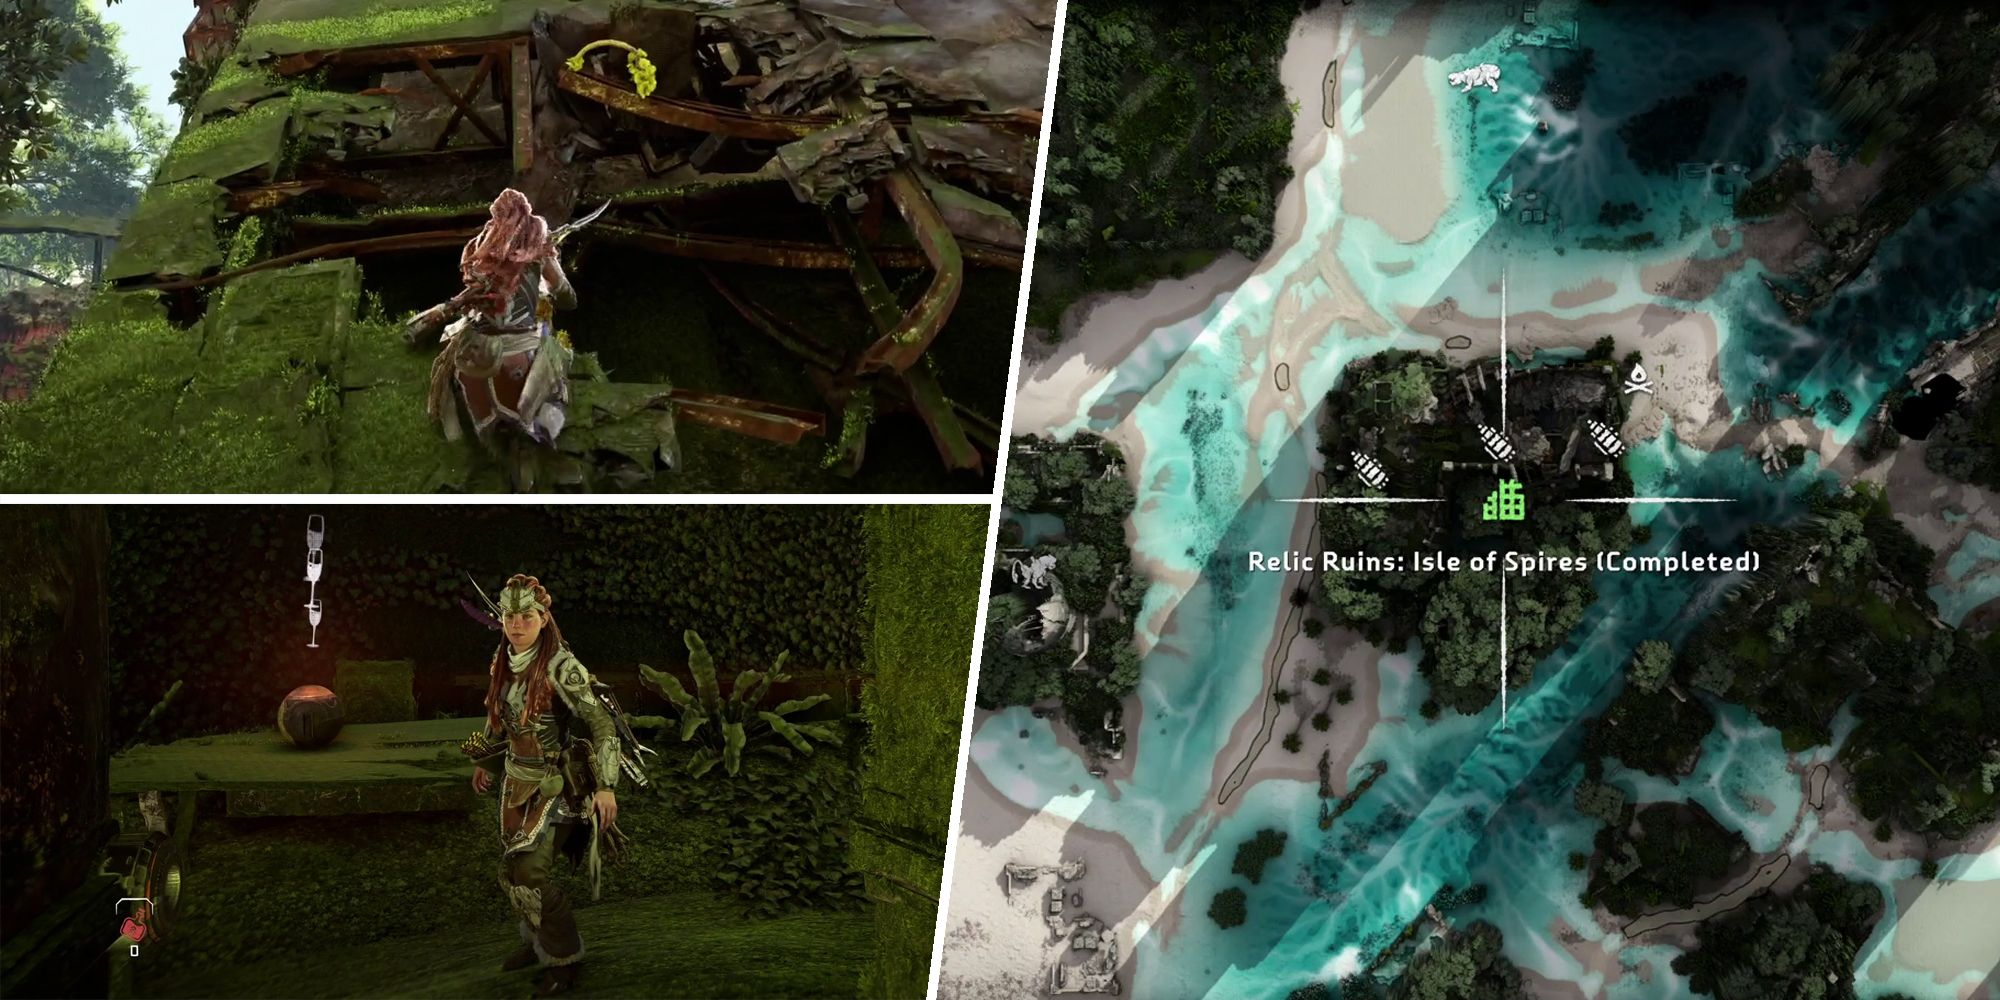
Perhaps the most difficult puzzle of all in Horizon Forbidden West, the Isle of Spires Relic Ruins is spread out over multiple floors of multiple buildings and will require players to find a key and several Datapoints in order to get to the ornament. This guide will explain how to complete the puzzle and where exactly players will need to go in order to track down the key and door codes.
How to Get the First Part of the Door Code
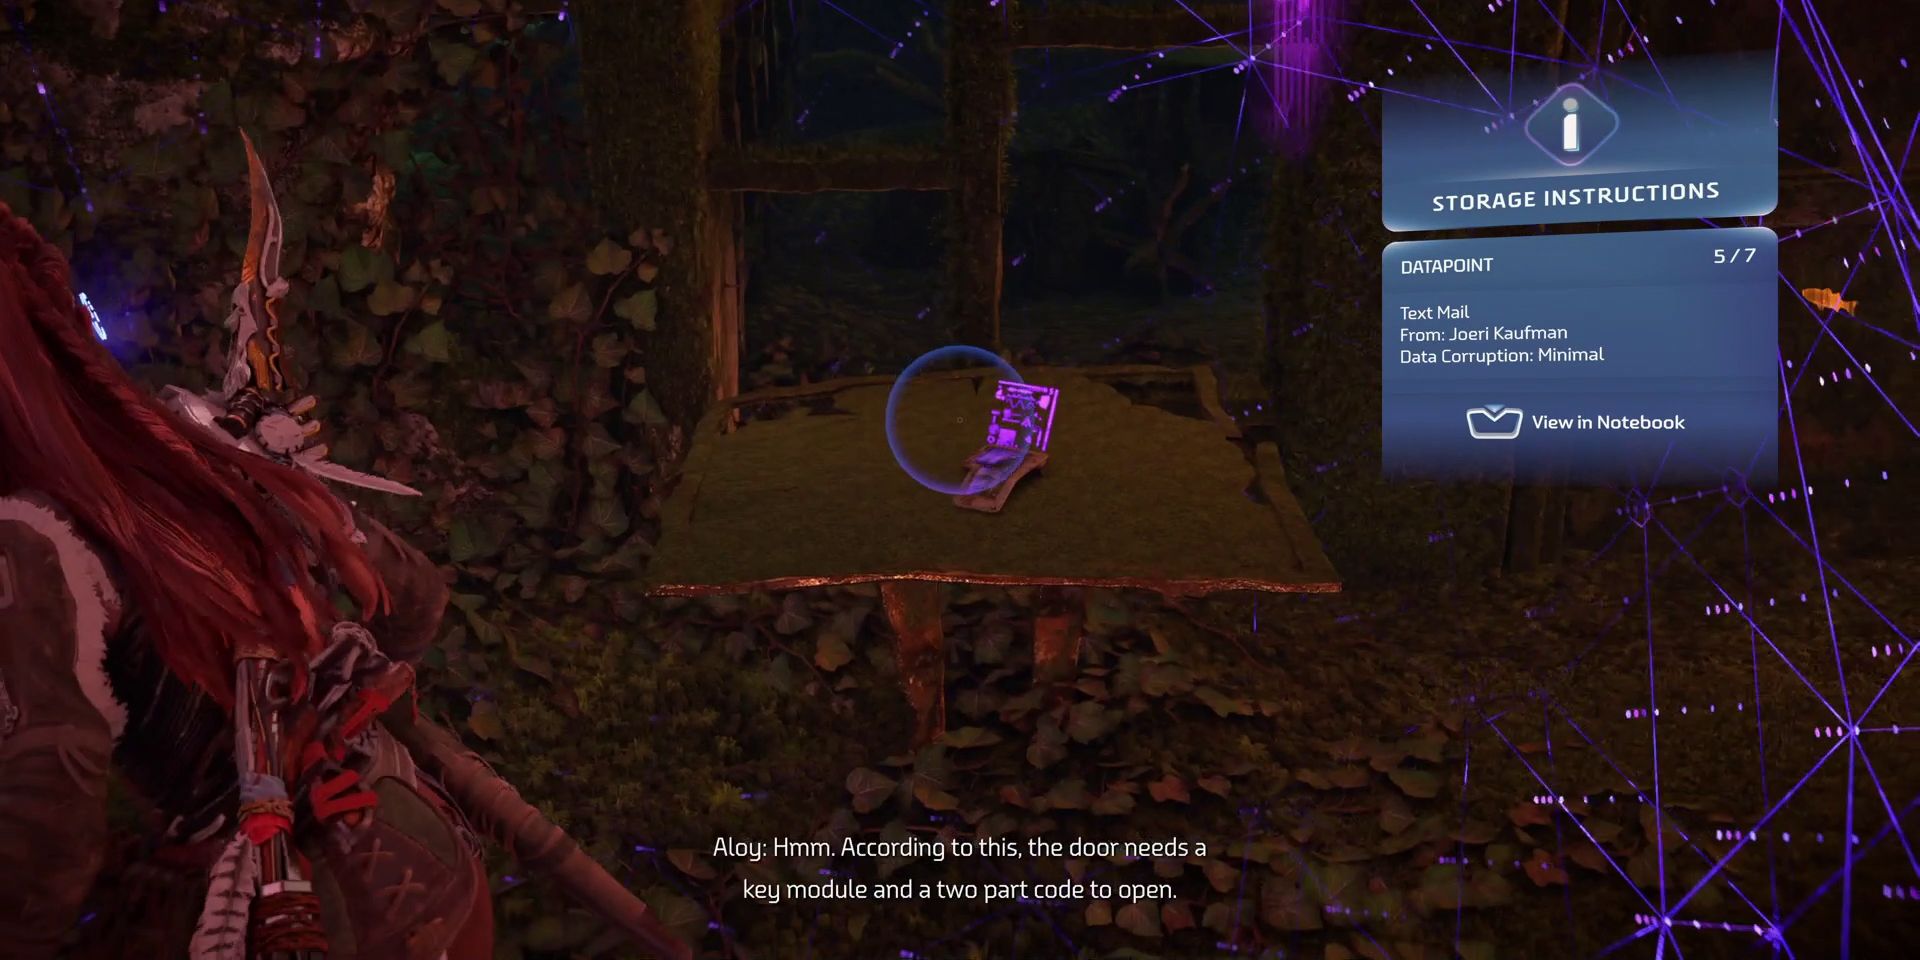
Upon their arrival at the Isle of Spires Relic Ruins, players should look for the key door and scan the nearby Datapoint using Aloy's Focus. This will reveal that to open the door they're going to need both a key and a seven-digit security code, the latter of which is broken up into two parts. Thankfully, the first part is fairly easy to come by, though players will need to do a little bit of leg work first.
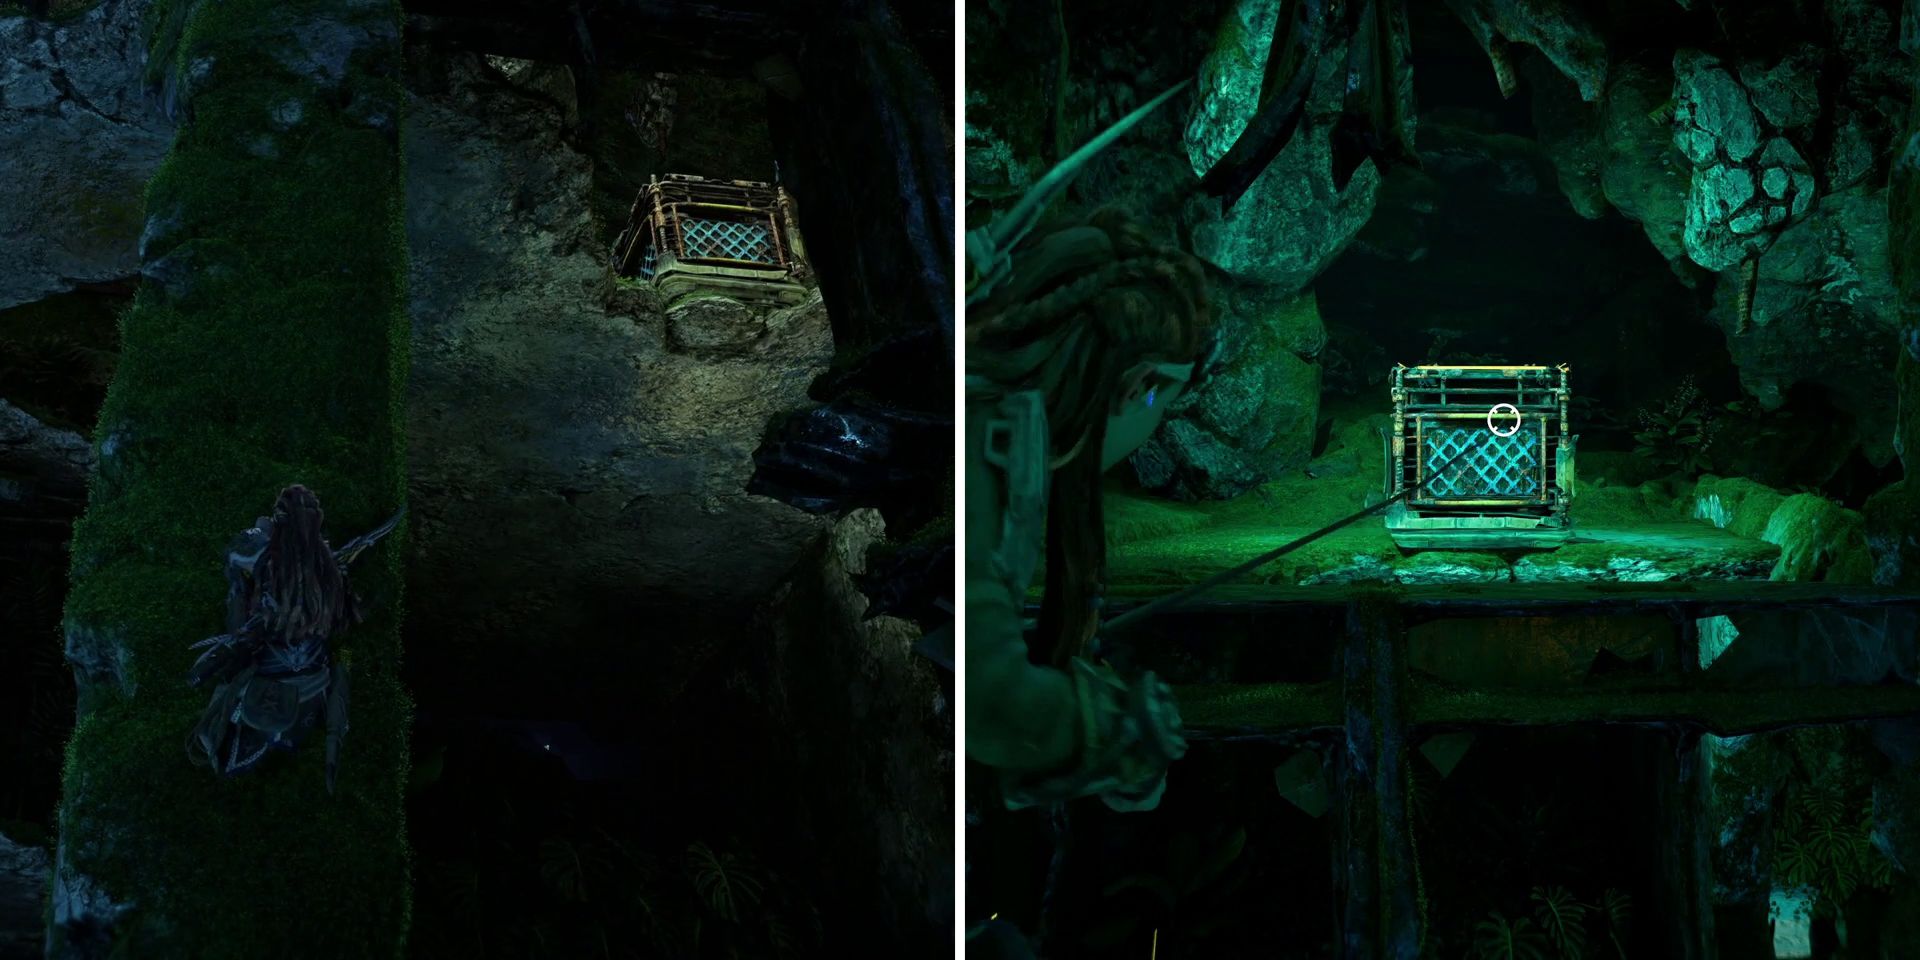
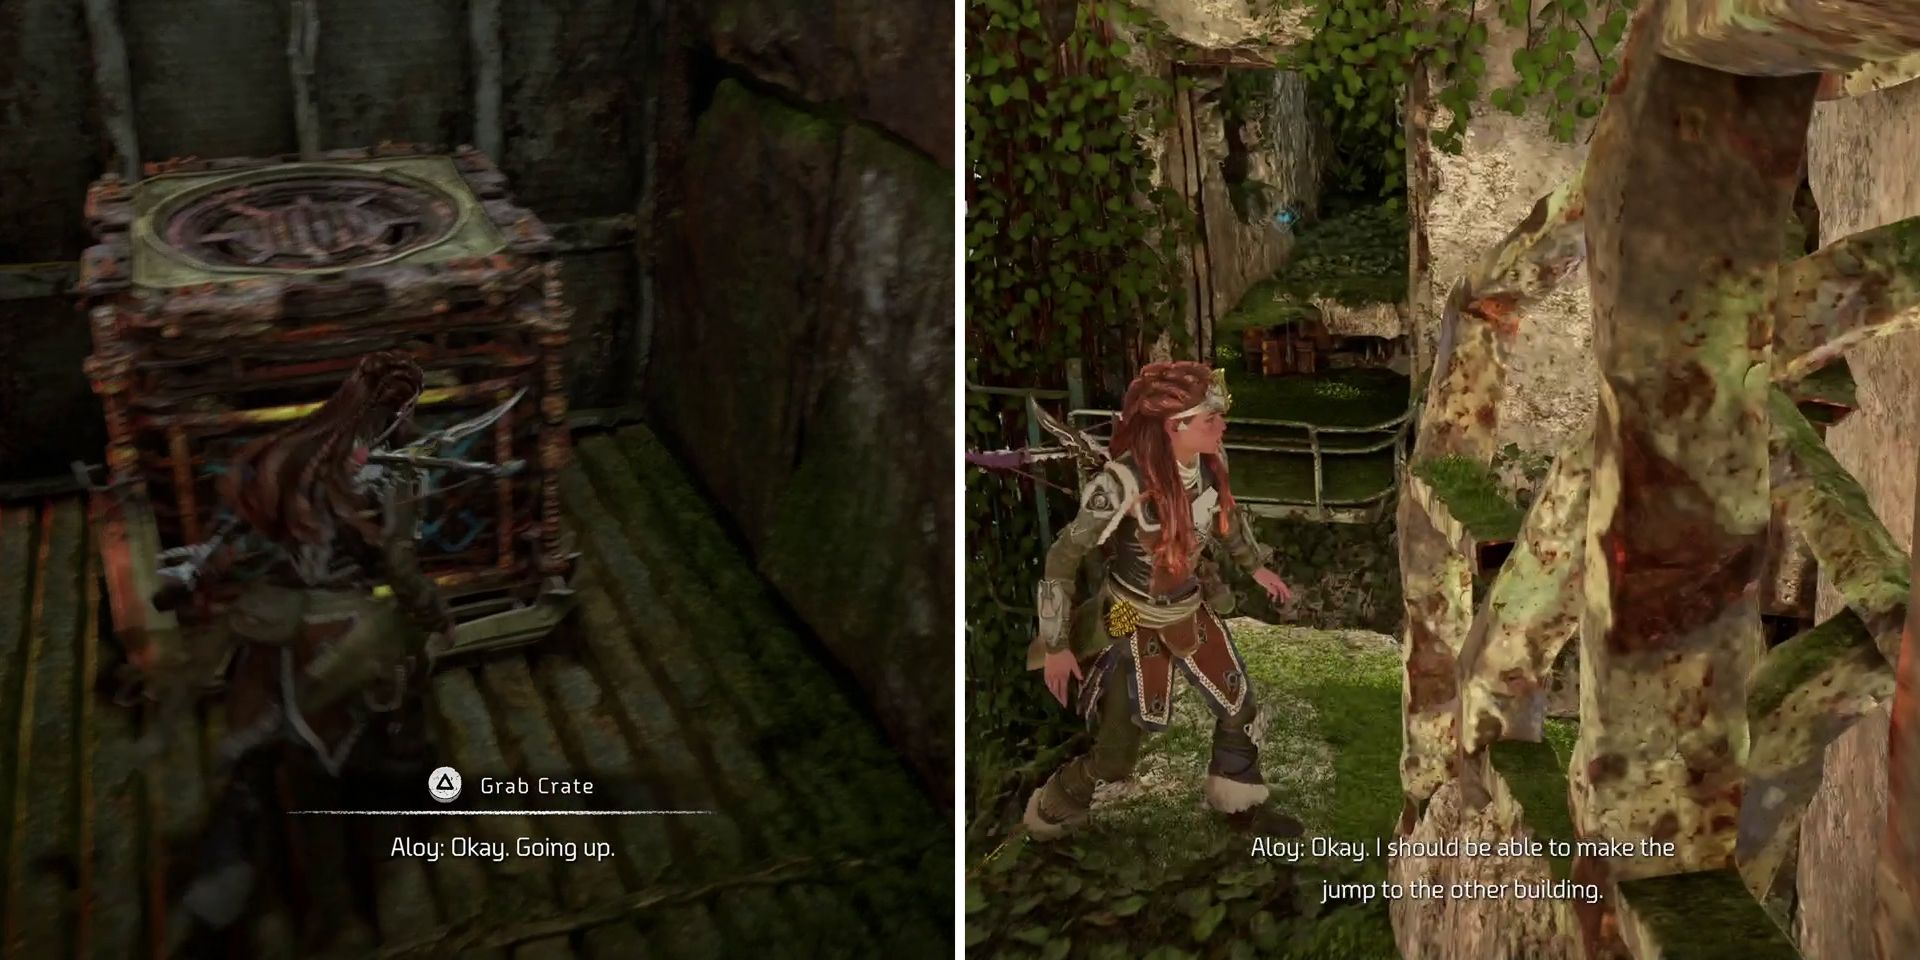
Climbing up one of the mossy pillars nearby will reveal the location of a crate up above. Players will then need to use the Pullcaster to get onto the ledge next to it before taking a running jump to reach the grapple point on the opposite side of the building. From here, they can follow the path around and use the Pullcaster to drag the crate off the ledge from the end of the yellow beam. If it gets stuck (which it has a habit of doing), they should keep pulling it until it drops all the way down into the water below.
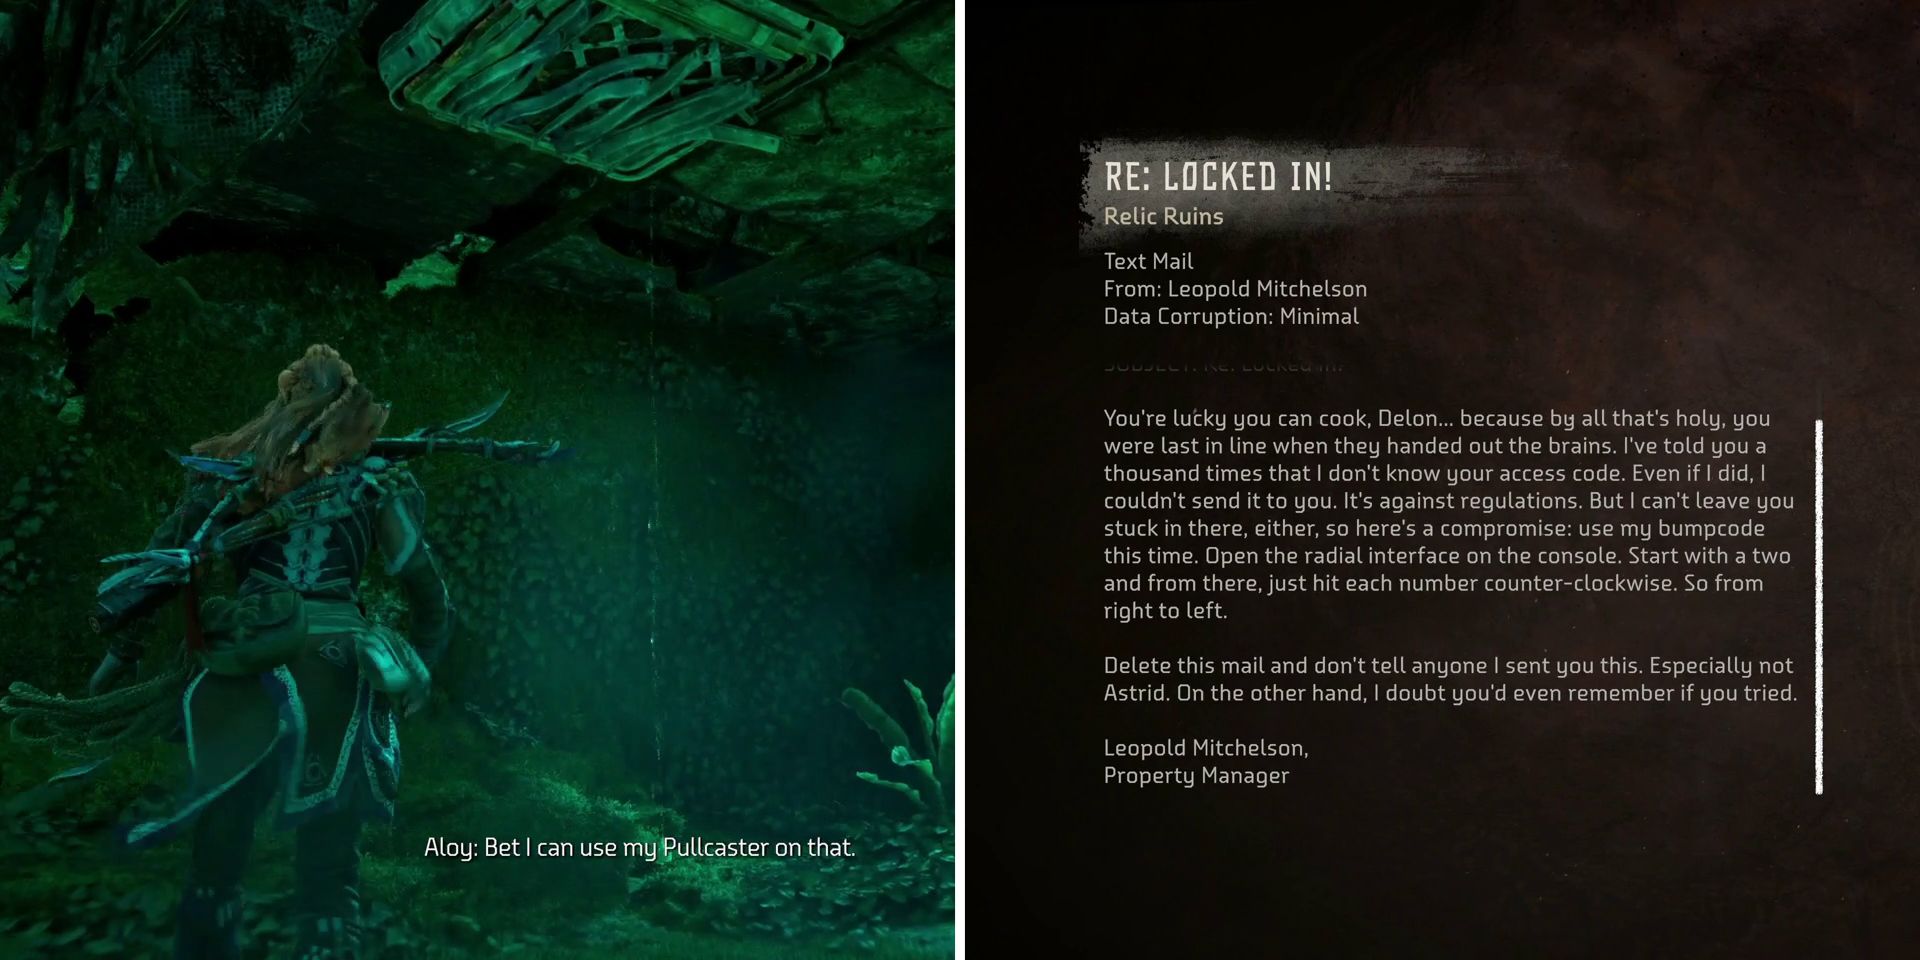
Once the crate is in the water, players should follow it down and look for an area from which they can see the ornament through the wall (it's not far from the key door). They'll then need to pull the crate out of the water and use it to gain access to the ventilation duct in the ceiling. Following this shaft will eventually lead Aloy to the Locked In! Datapoint, which reveals that the first part of the door code is 2109 (start from two and then hit the next three counter-clockwise digits).
How to Repair the Elevator
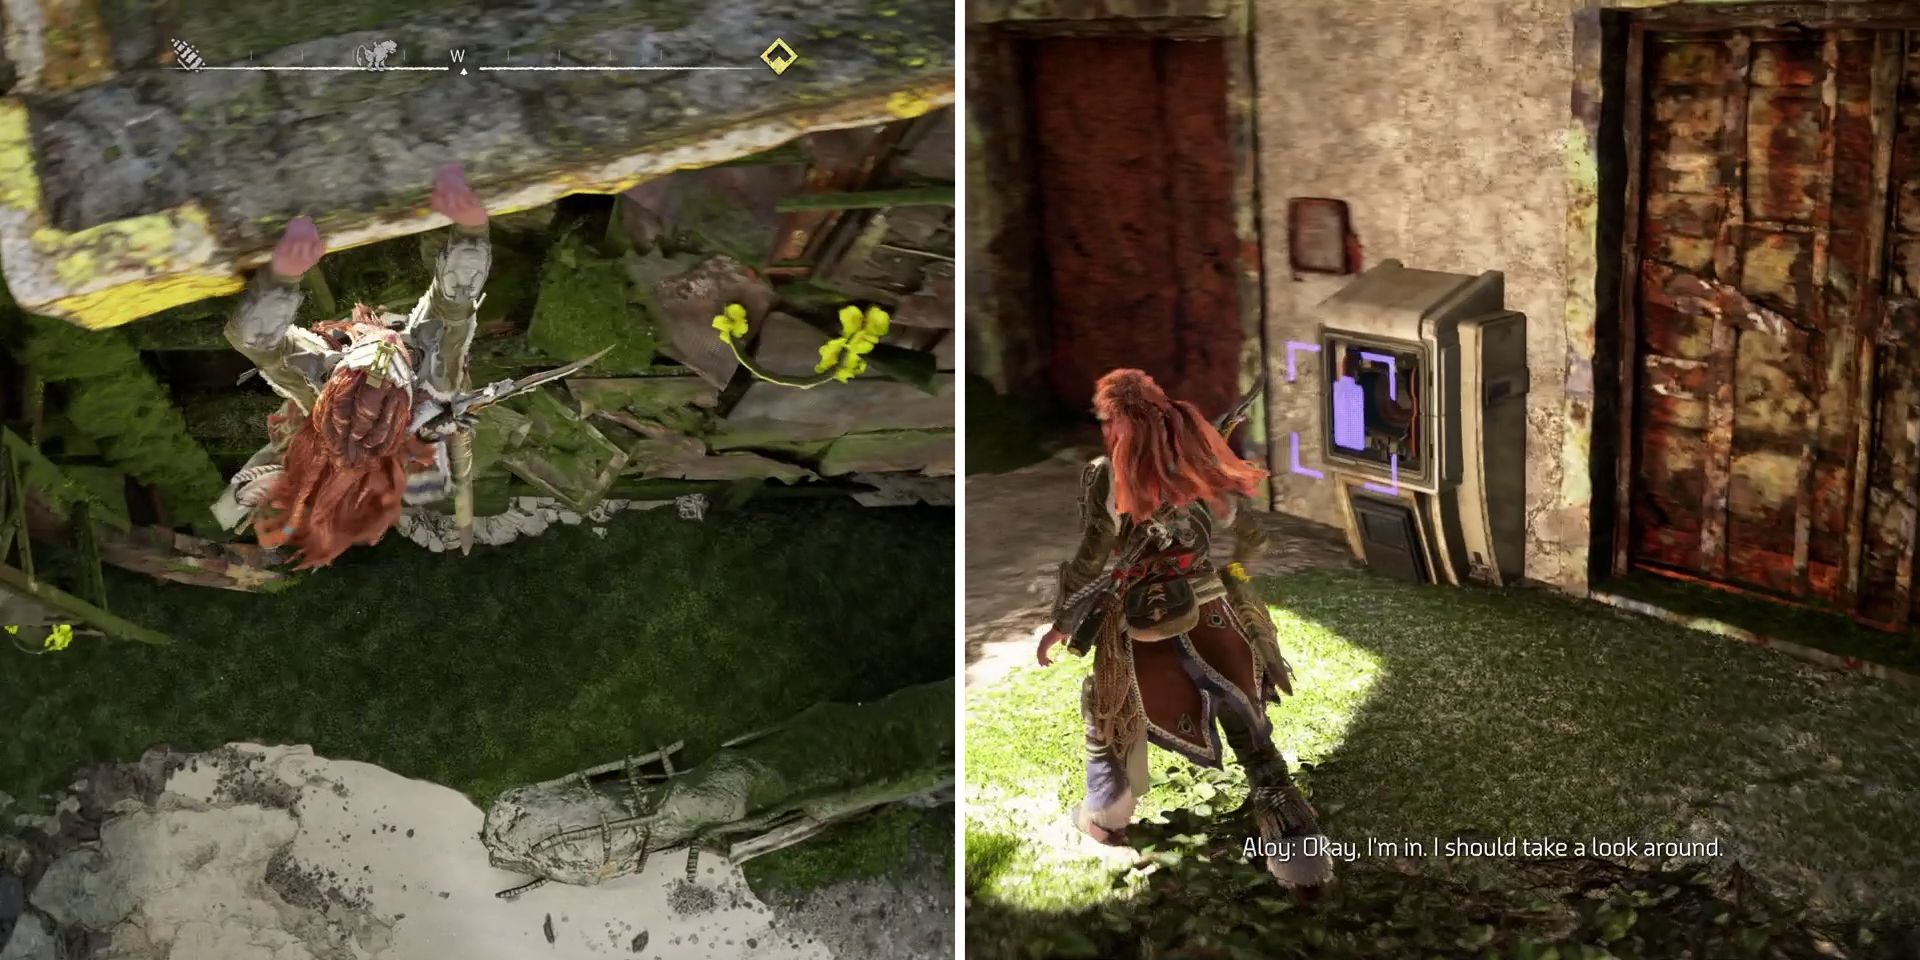
After getting the first part of the door code, players should use it to open the nearby door and then head back outside. They'll be able to climb either the east or the north-facing wall of the building's exterior in order to gain access to the ninth floor. There, they'll find an elevator, but will need to get their hands on a fully charged Energy Cell in order to actually operate it.
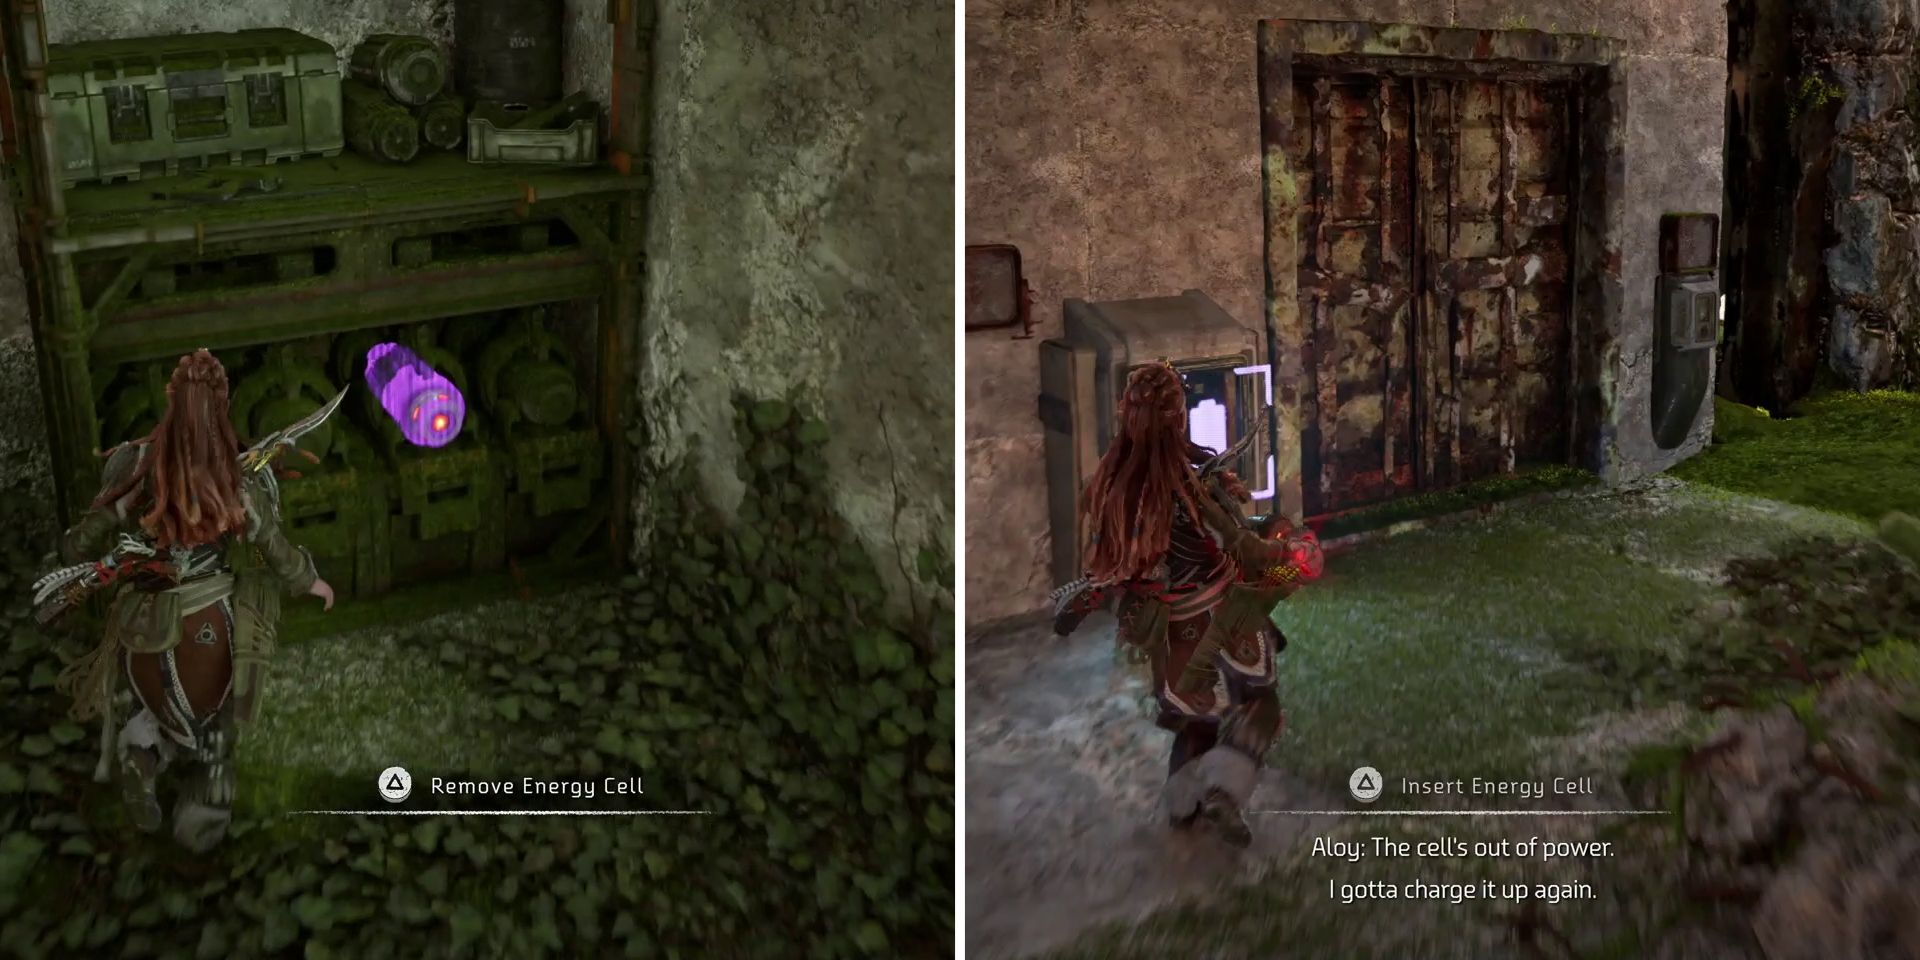
Finding an Energy Cell is fairly simple as there's one in a nearby room. Unfortunately, however, it's out of power, and while there is a charger in the room to the right of it, the energy from the cell will dissipate just before players can carry it back to the elevator. It's a little bit like The Long Coast Relic Ruins Puzzle in that respect, though will require an ever-so-slightly more complicated solution.
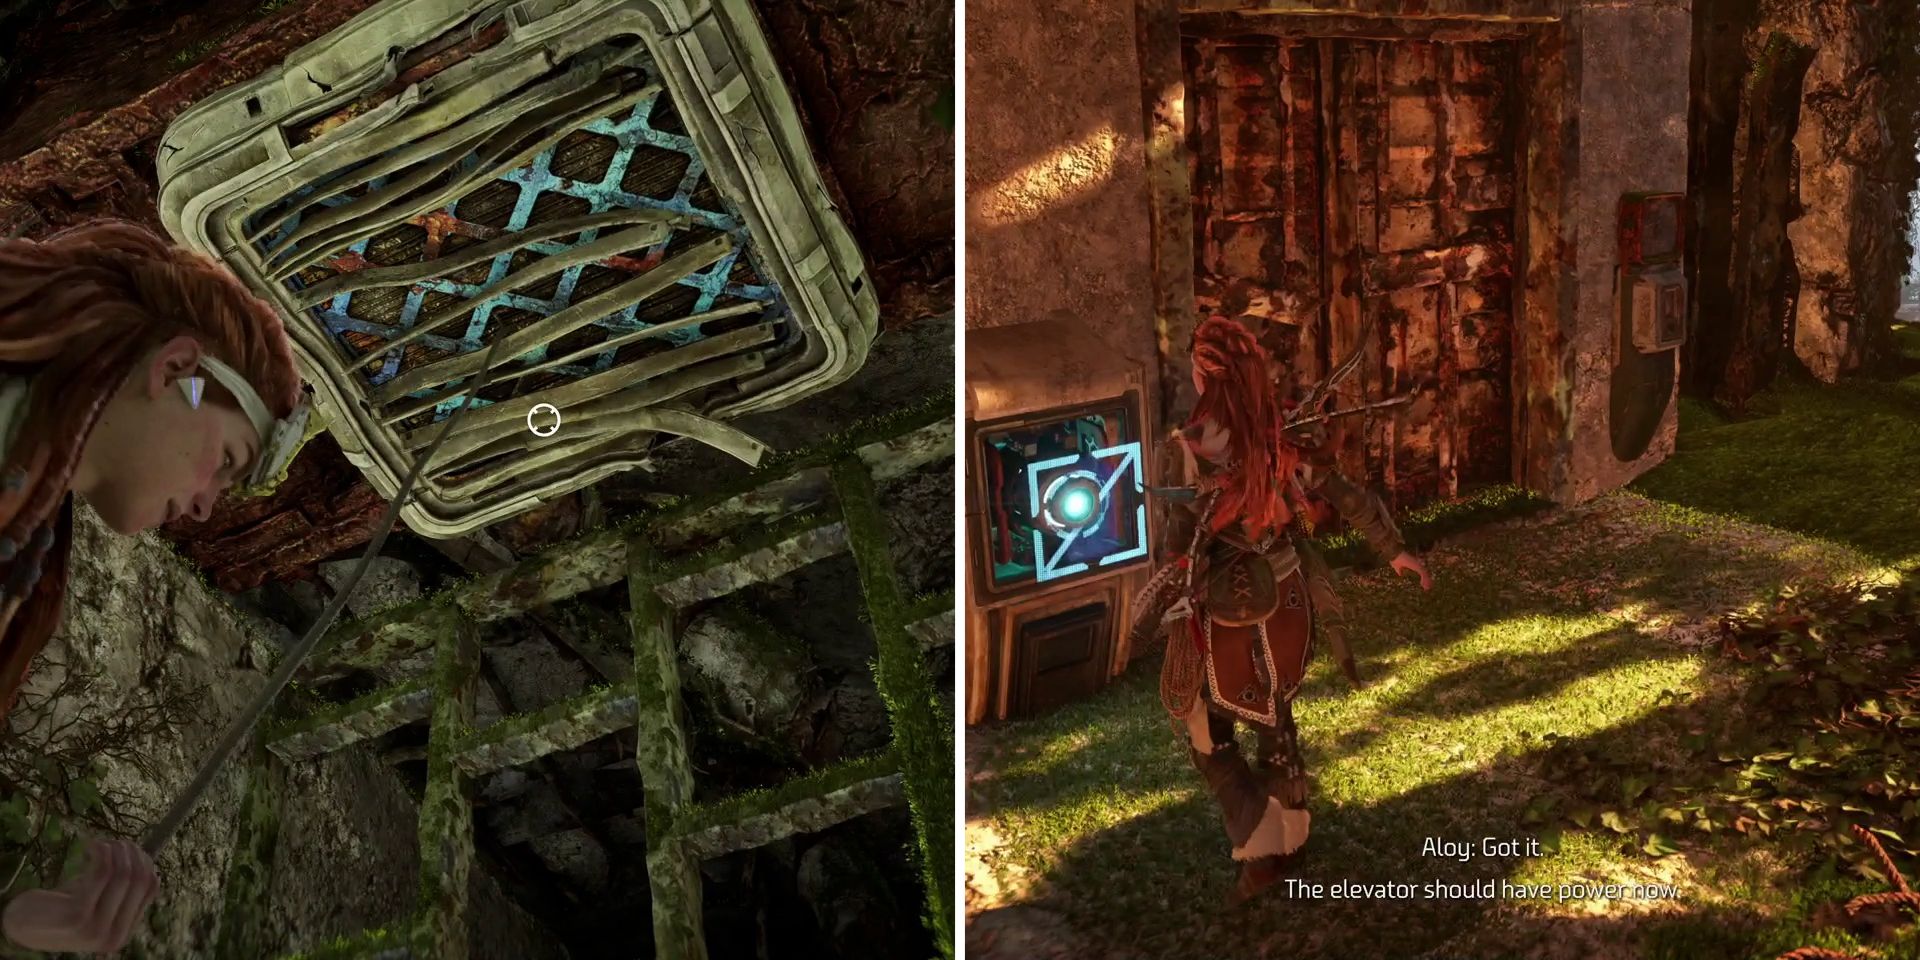
If players go past the room with the charger, they'll come to a dead-end with a ventilation shaft in the ceiling. Opening the hatch with the Pullcaster will enable them to climb inside, and the resulting shaft will lead them to a nearby room with another charger. Destroying the Firegleam crystal nearby will connect this room to the main corridor, and, as this new charger is a little closer to the elevator than the other one, players should now have no trouble getting the cell back to the elevator before its energy has completely discharged.
How to Get the Second Part of the Door Code
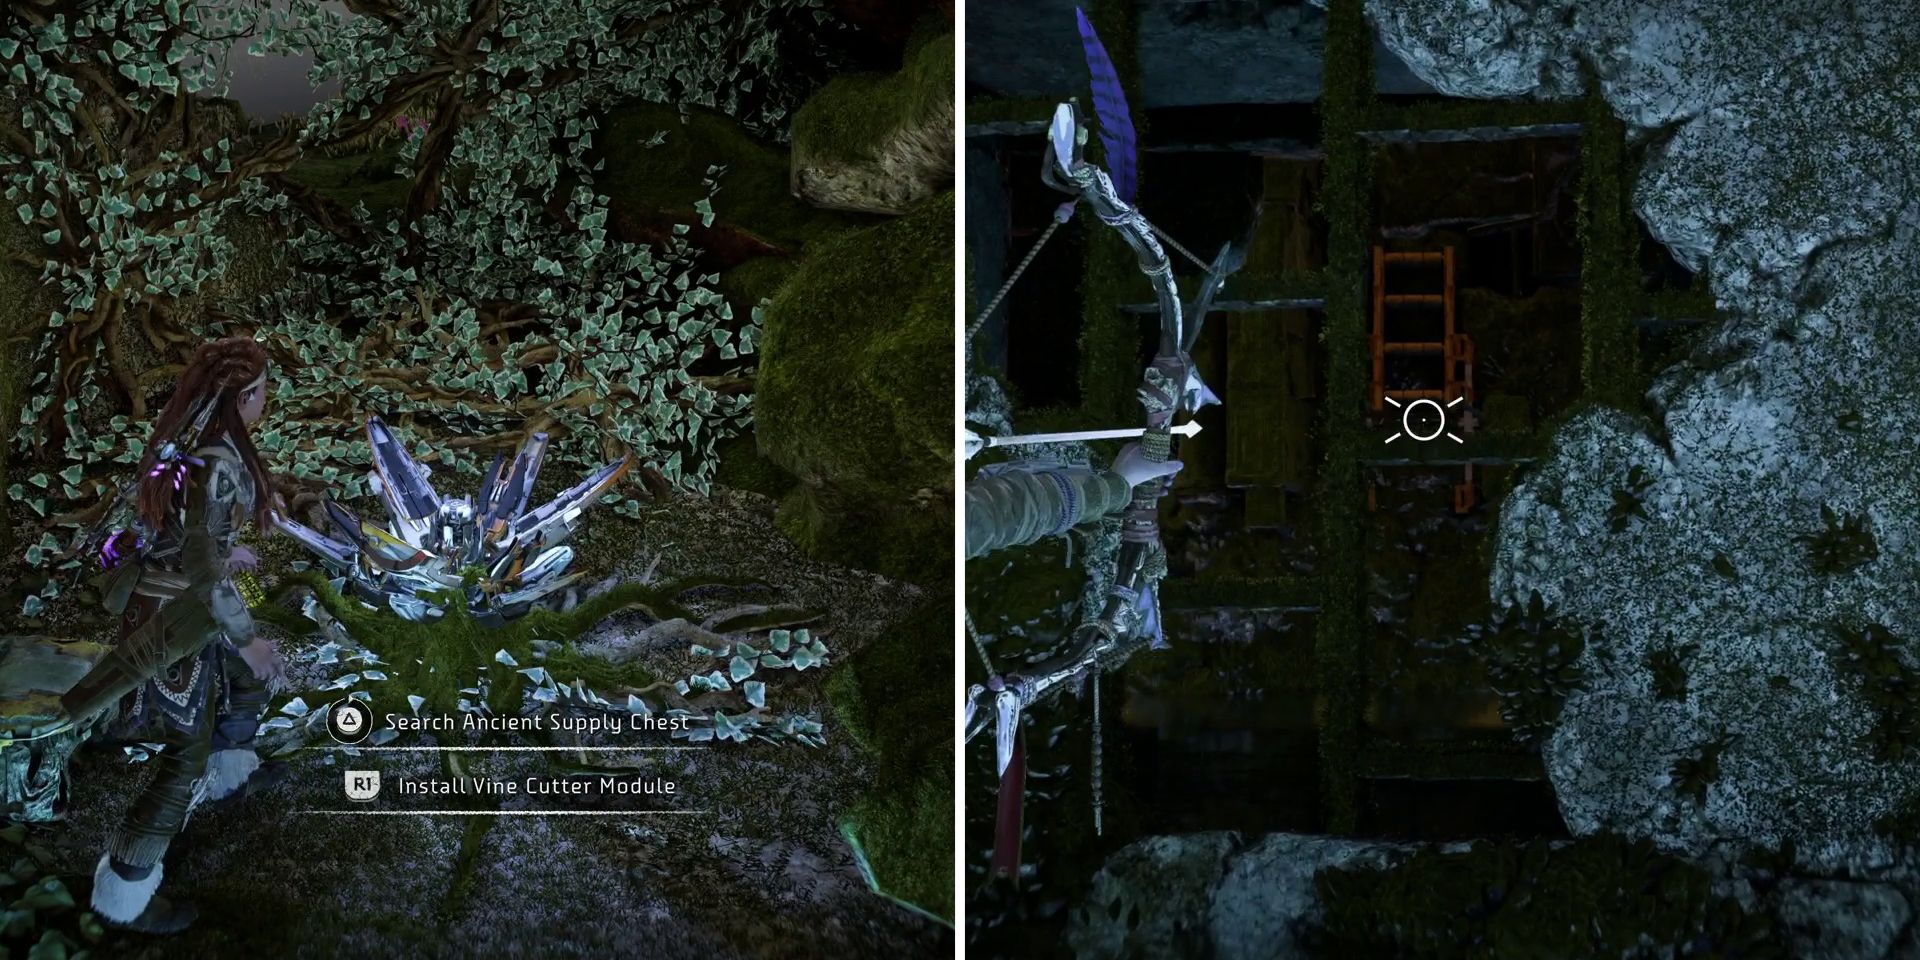
With the elevator now working again, players should ride it down to the first floor. They'll then want to pull the nearby crate out of the water using the Pullcaster and push it into the stretch of water that leads towards the Metal Flower. Once it's in there, they should head over and destroy the Metal Flower and then use the Pullcaster to pull the crate further into the water. This should allow them to climb on top of it and shoot a nearby ladder down through a hole in the wall to the south.
Once the ladder is lowered, players should head back over towards the elevator and use the Pullcaster to drag the crate back out of the water. They'll then need to push it into the elevator and take it up to the ninth floor, where it can be used to reach a platform with an Ancient Valuables chest on it and, ultimately, the tenth floor. From here, players will be able to jump across to the tenth floor of the nearby building and then drop down into a locked office on the floor below.
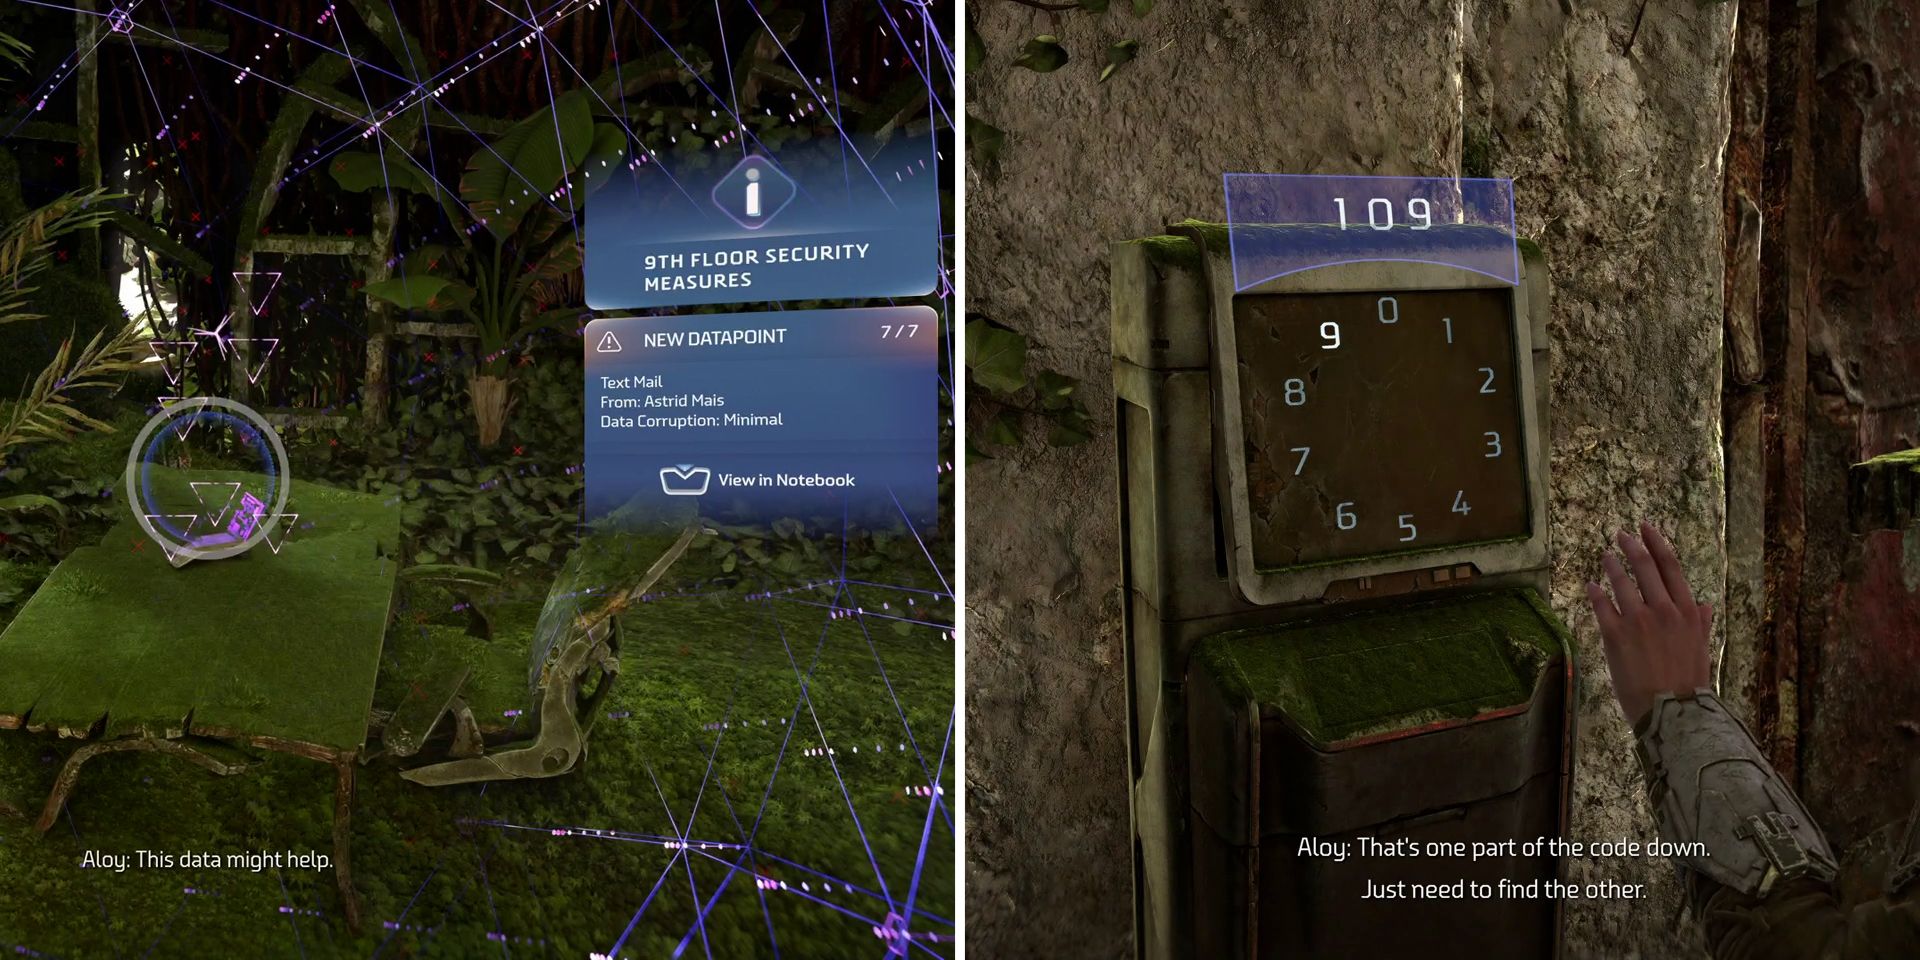
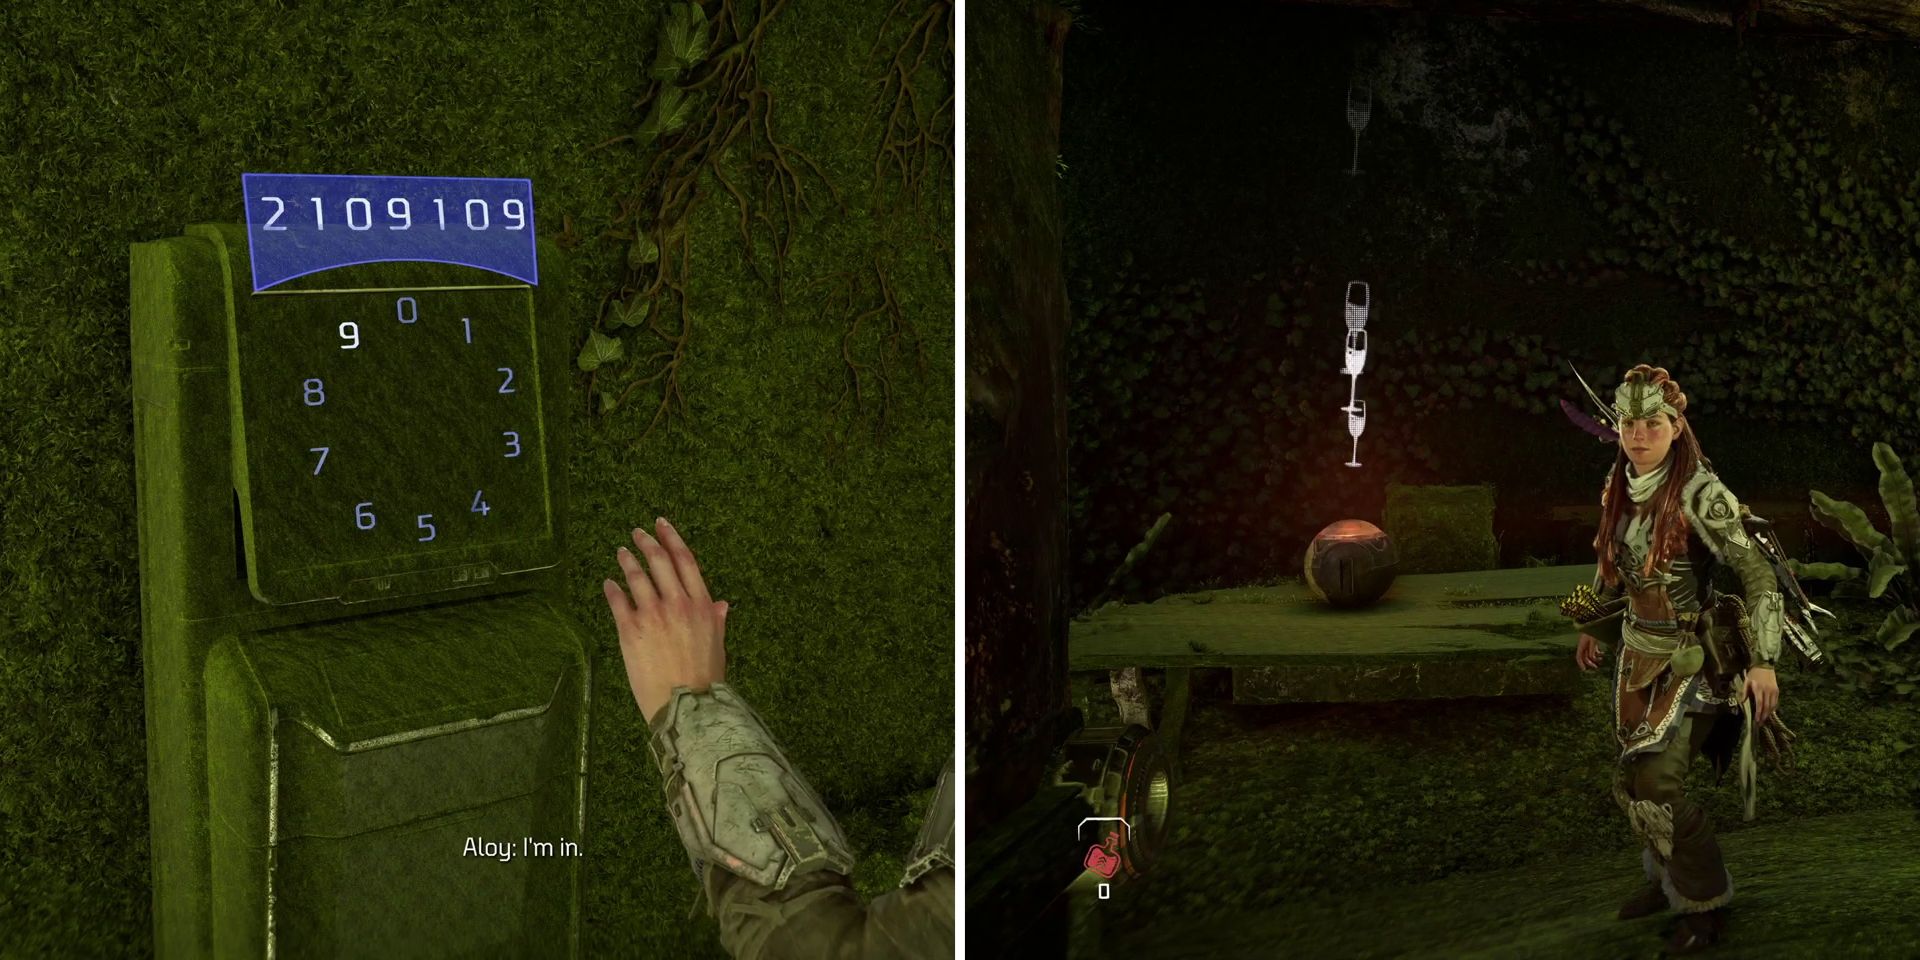
Scanning the Datapoint on the table here will reveal that the three-digit code is 10 followed by the floor that players are currently on. As the file name (9th Floor Security Measures) helpfully points out, this Datapoint is found on the ninth floor, meaning that the second part of the door code is 109. Players can use this with the nearby console to open the door and then drop back down into the water below.
How to Get the Main Office Key
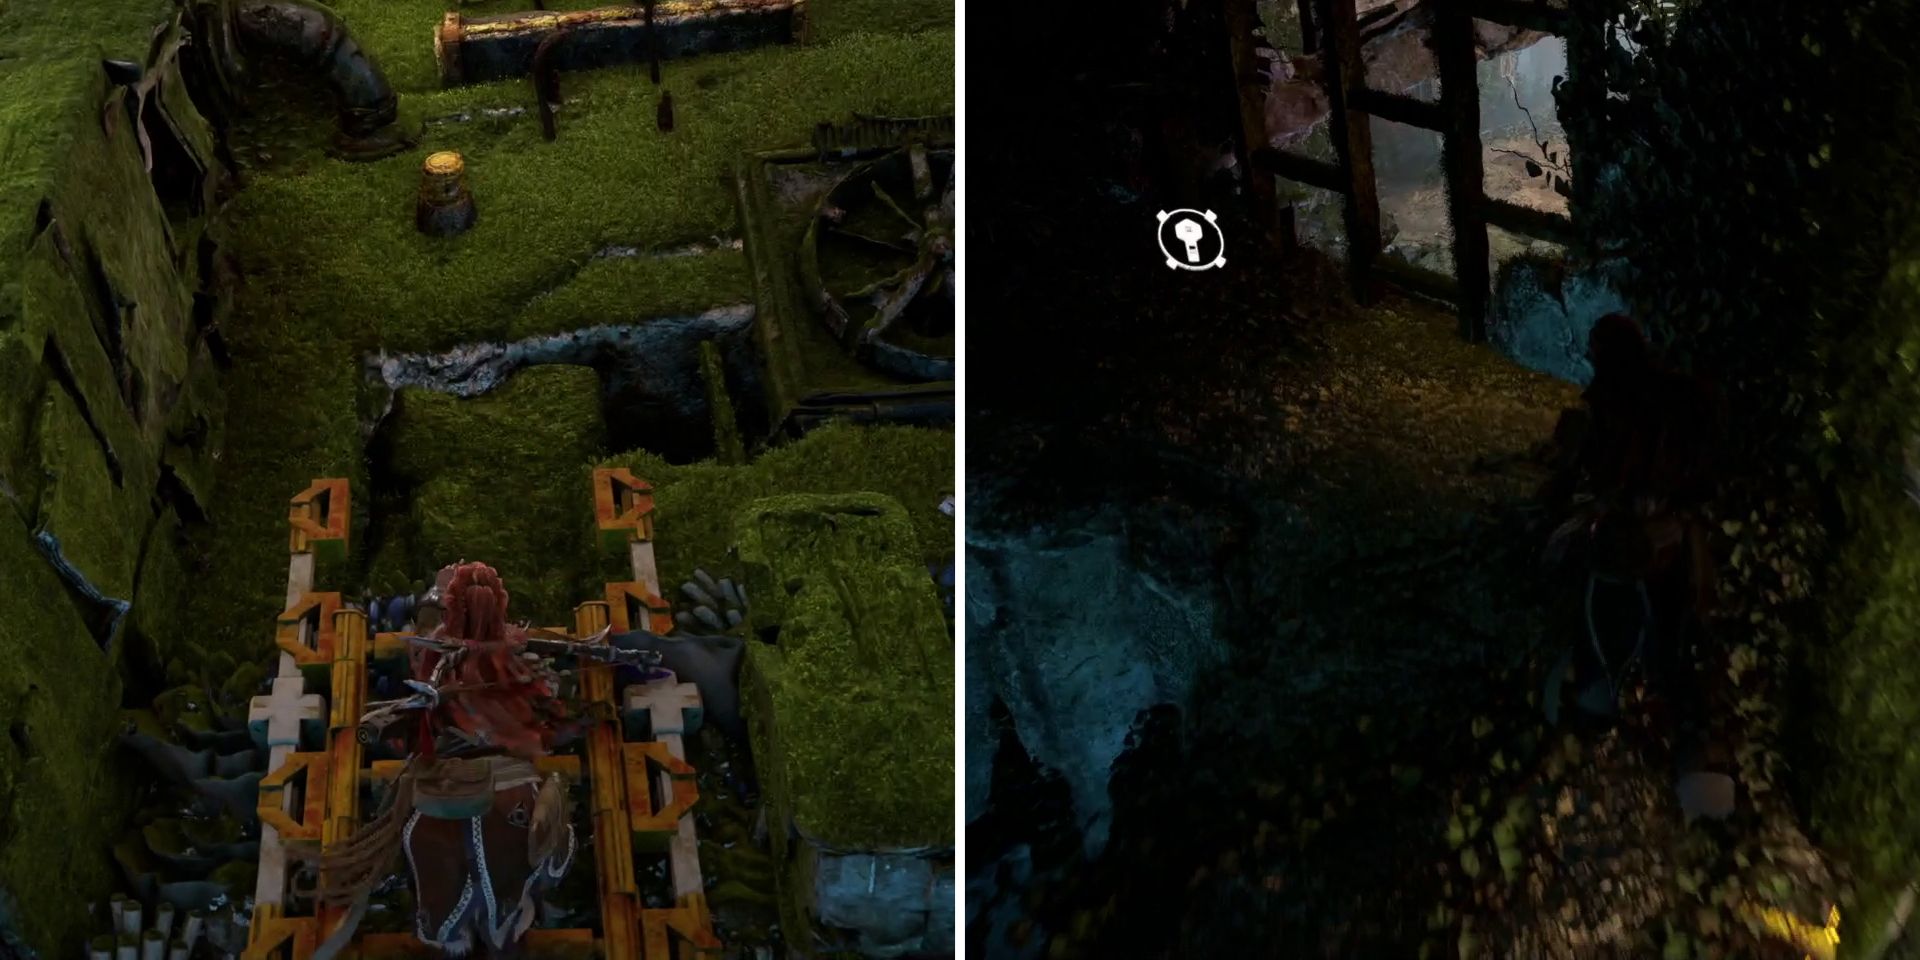
To get the key, players should head for the ladder that they shot down earlier and climb up as high as they can. Once they can't go any higher, they'll need to leap backwards by pressing the Circle button, which will lead them to a ledge and a new area. It's here that they'll find the Main Office Key lying on the floor and should pick it up before dropping back down to the area below.
Now that they have everything that they need, players should return to the locked door and use the key. They'll then need to input the full seven-digit security code (2109109), which will open the door and grant access to the Golden Toucans Ornament inside. Assuming that players have already completed the Nights of Lights side quest for Stemmur near the Las Vegas ruins, they'll be able to take the ornament to him to unlock a brand-new light display.
Horizon Forbidden West is available now on PS4 and PS5.

