Quick Links
In the Version 2.2 Honkai: Star Rail update, players are introduced to three new areas. Out of them, the Penacony Grand Theater is the most intimidating of all, with multiple 3D rooms and winding corridors that one can easily get lost in. The 3D rooms are a special gimmick in Honkai: Star Rail, which allows players to enter a Dreamscape.
Honkai: Star Rail - Hidden Achievements in Penacony
Trailblazers who have unlocked Penacony can now enjoy additional rewards with these hidden achievements in Honkai: Star Rail.
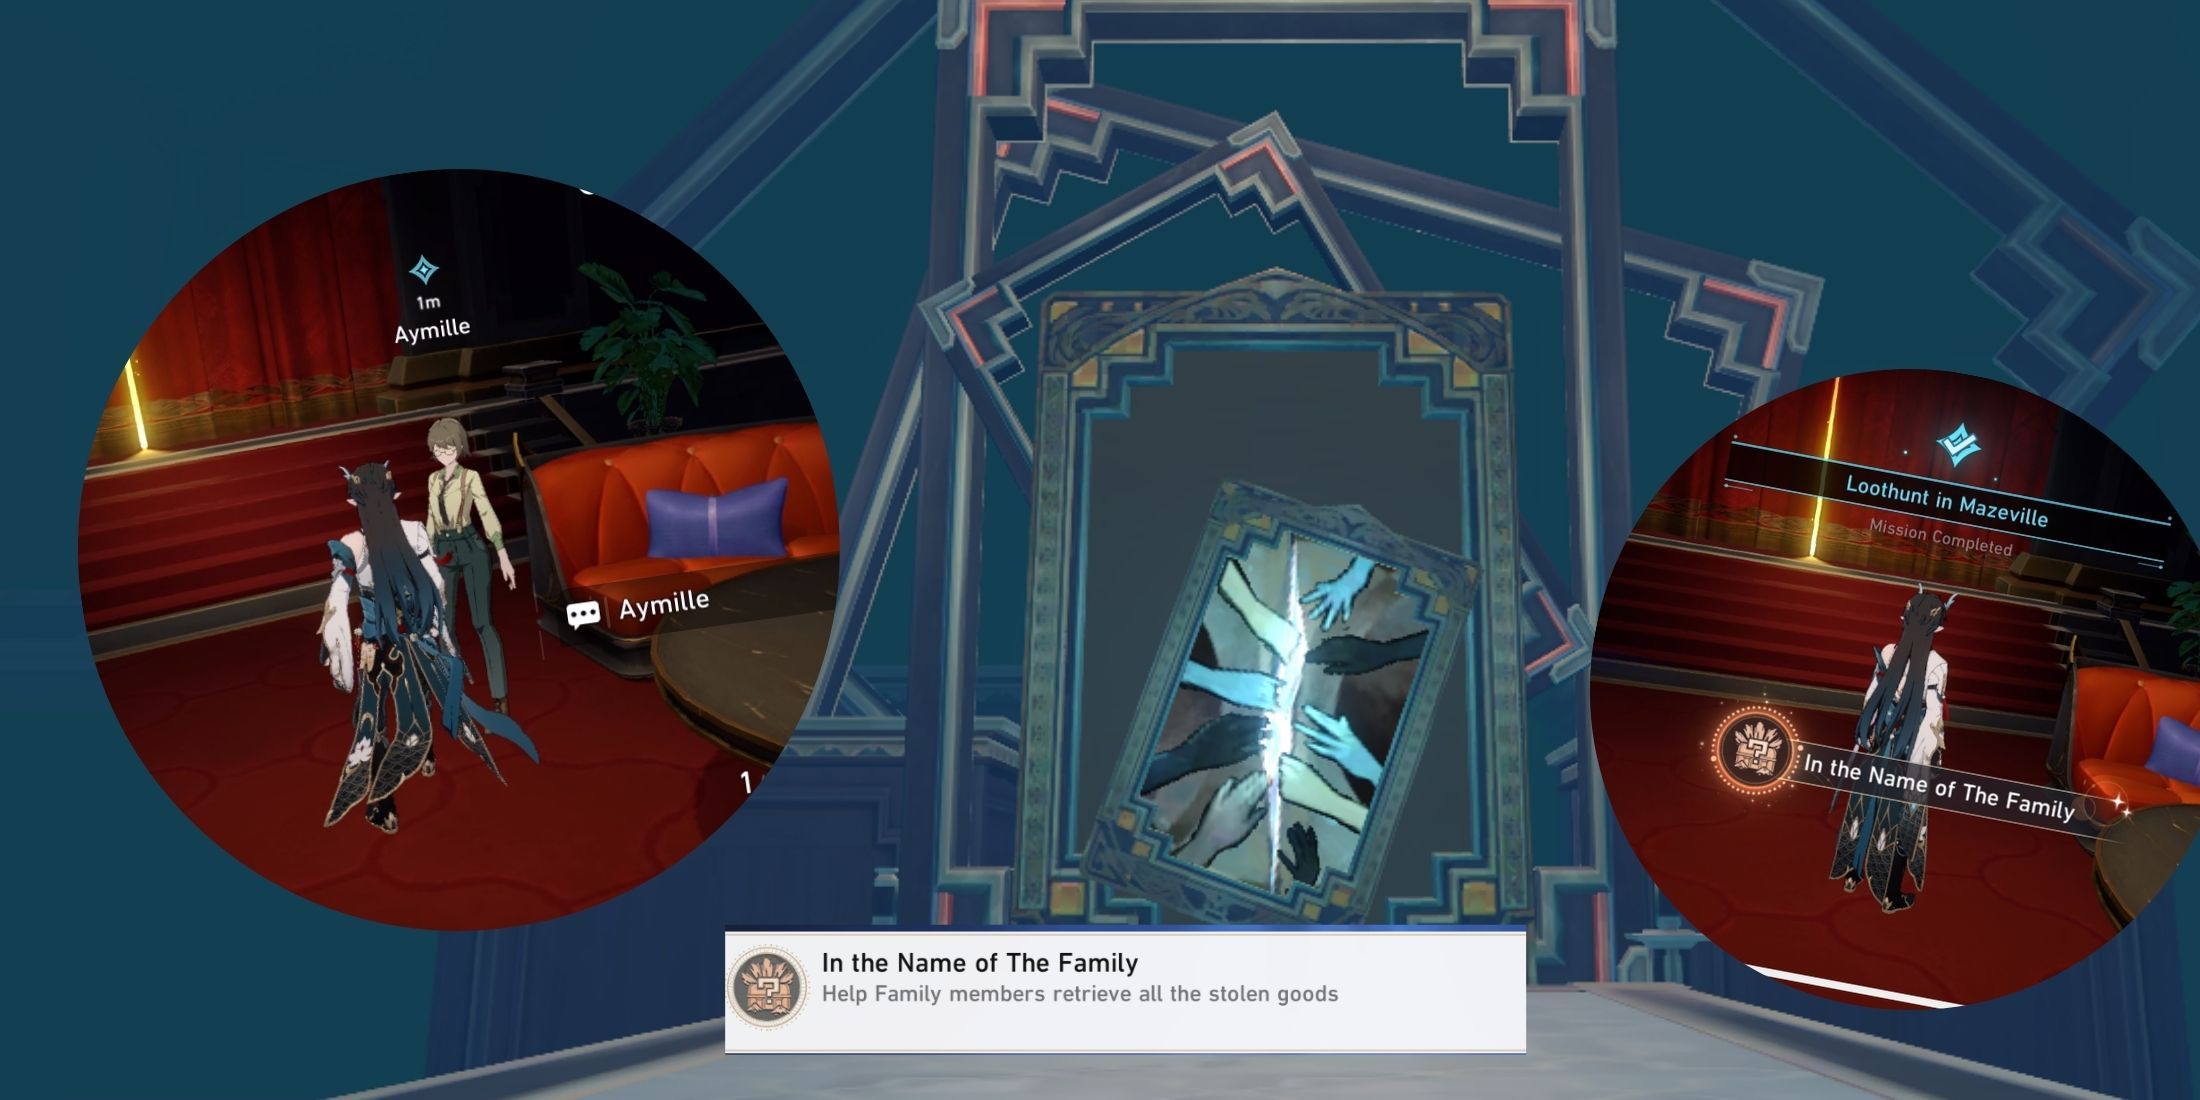
The dreamscape is contorted and not like usual rooms, so it can be a little hard to navigate. The Loothunt in Mazeville quest will take players into this dreamscape and have them find a total of 11 chests. There are 3 mazes that need to be solved. To unlock the quest, players need only open up the messenger and find the chat titled “Business is Business.” This will eventually lead to the navigation point of the quest players can start at. You will need to enter the room 3 times, and each time you enter, the path and shape of the maze will change.
How To Navigate The First Maze In Loothunt In Mazeville
Above, you'll find a video showcasing how to complete the first maze in Loothunt in Mazeville. Below, additional details can be found for navigating the first maze.
Once you enter the first maze:
- Pick the Bubble Charge in front of you and cross the first bridge you see on the left. This will lead you to another Bubble Charge (2), which will increase the limit to 2.
- Go back to the first Bubble Charge you used, and then head right toward the other bridge. There will be a Dream module in front of you to interact with.
- You can cross the bridge and pick up some more Bubble Charge. Turn back around and then run down the stairs. It will lead to Chest #1, which you can claim.
- Head back up the stairs and use the Bubble Bridge on the right next to it. Keep going up until it brings you to a platform with an enemy. You can ignore them and head toward the Bubble Charge on your right.
- Recharge your bubbles, and then interact with the Dream Module toward the far left of the platform.
- Turn around and use the Bubble Bridge toward the right until you reach another Dream Module with an unstable path. Fix it and turn around to go down the stairs to Chest #2.
- Finally, head back up the stairs to the final Chest #3, and then talk to Aymille, who will lead you to the second maze.
How To Navigate The Second Maze In Loothunt In Mazeville
Above, you'll find a video showcasing how to complete the second maze in Loothunt in Mazeville. Below, additional details can be found for navigating the second maze.
Upon entering the second maze:
- Grab the first Bubble Charge you see on the left and then interact with the Dream Module on the right.
- After moving it, use the new Bubble Bridge on your right to reach a new platform with another Dream Module on the left.
- Interact with that, and then turn around to pick up another Bubble Charge. Use the bridge behind you, and Chest #4 will be near an enemy.
- Go back to the previously used Bubble Charge, recharge your bubbles, and then head right toward the other end of the platform.
- Cross the Bubble Bridge toward the far right and head up the stairs until you see another Bubble Charge station. Recharge and interact with the Dream Module in front of you to fix the bridge.
- Keep going straight and down the stairs. You’ll find a formidable foe challenge and Chest #5. You can claim additional stellar jades here.
- Head back up the stairs and interact with the Dream Module on the right. Then, head left and use the new Bubble Bridge. This will take you to another Bubble Charge that you can recharge.
- Turn around, and then use it on the Bubble Bridge behind you. Head down the platform and stick to your left. There will be another Dream Module to use.
- Use the Bubble Bridge on your right until you reach a platform with some enemies. Chest #6 will be there.
- Then, interact with the Dream Module and head back the way you came. You’ll reach the main area, so just head up the stairs until you find final Chest #7.
Honkai: Star Rail - All Hidden Challenges In SoulGlad Scorchsand Audition Venue
Find all the Treasure Hunters and unlock the hidden challenges in Honkai: Star Rail's SoulGlad Scorchsand Audition Venue.
How To Navigate The Third Maze In Loothunt In Mazeville
Above, you'll find a video showcasing how to complete the third maze in Loothunt in Mazeville. Below, additional details can be found for navigating the third maze.
Once you’re inside the third and final maze:
- Pick up the Bubble Charge on your right and head toward the Dream Module in front of you.
- Then, head right and use the first Bubble Bridge you see. This will lead you to another Bubble Charge, which you will need to use on the Bubble Bridge behind you.
- This will take you to a platform with another Dream Module that you need to interact with.
- Next, turn around and head down the stairs toward another Dream Module. Interact to rearrange the blocks. Head back up the stairs and right down the pathway until you see yet another Dream Module (this will be the first one we see upon entering the dreamscape).
- Before interacting with it, use the Bubble Charge behind you to unlock the new Bubble Bridge.
- Head left to another Bubble Bridge, which will take you to a platform with Chest #8.
- Then, turn around and head down the stairs toward a formidable foe challenge. This will be the extra Chest #9 you can claim.
- Go back up the stairs, and stick to your right. Keep heading up the stairs until you see an unstable bridge and Bubble Charge on the left. Recharge your bubbles first, and then head back down the stairs. To your immediate right, near some enemies, there will be a Bubble Bridge.
- Cross it, head down the platform, and cross another one to reach an area with multiple enemies.
- Pick up the Bubble Charge toward the right of the floor, and then get Chest #10 behind the block.
- There will be a Bubble Bridge right behind you, so just use that and keep heading straight until you spot some stairs leading up.
- Interact with the unstable bridge, cross it, and head to Bubble Charge at the far end. Head back the way you came and use the charge on the Bubble Bridge to your left. Keep using it until you reach a platform with multiple enemies and two Dream Modules.
- Pick up another Bubble Charge, and then interact with both of the Dream Modules. Use the Bubble Bridge directly behind you and keep heading straight.
- This will lead you to a flight of stairs that will bring you to the final chest in the maze, Chest #11.
Once it is complete, leave the maze and talk to Aymille. She’ll reward you with the achievement: In The Name Of The Family.
Honkai: Star Rail
- Released
- April 26, 2023
- Developer(s)
- HoYoverse (Formerly miHoYo)
- Genre(s)
- RPG
- Publisher(s)
- HoYoverse (Formerly miHoYo)

