Hollow Knight has no shortage of ridiculously difficult moments for players to experience during their time in Hallownest. From the intense challenge offered by many of the bosses to the ludicrous platforming of the Path of Pain, Hollow Knight takes pleasure in making players earn every inch of progress. While there are many contenders for the title of 'hardest challenge in the game,' one area that is certainly in the running is the Colosseum of Fools.
The Trial of the Fool is the third and final challenge in the Colosseum, and as such, stands as the ultimate test of strength through combat. The trial earns its name by offering no reward save for money and bragging rights. Once completed, little else stands between the Knight and true greatness.
Where to Find the Colosseum of Fools
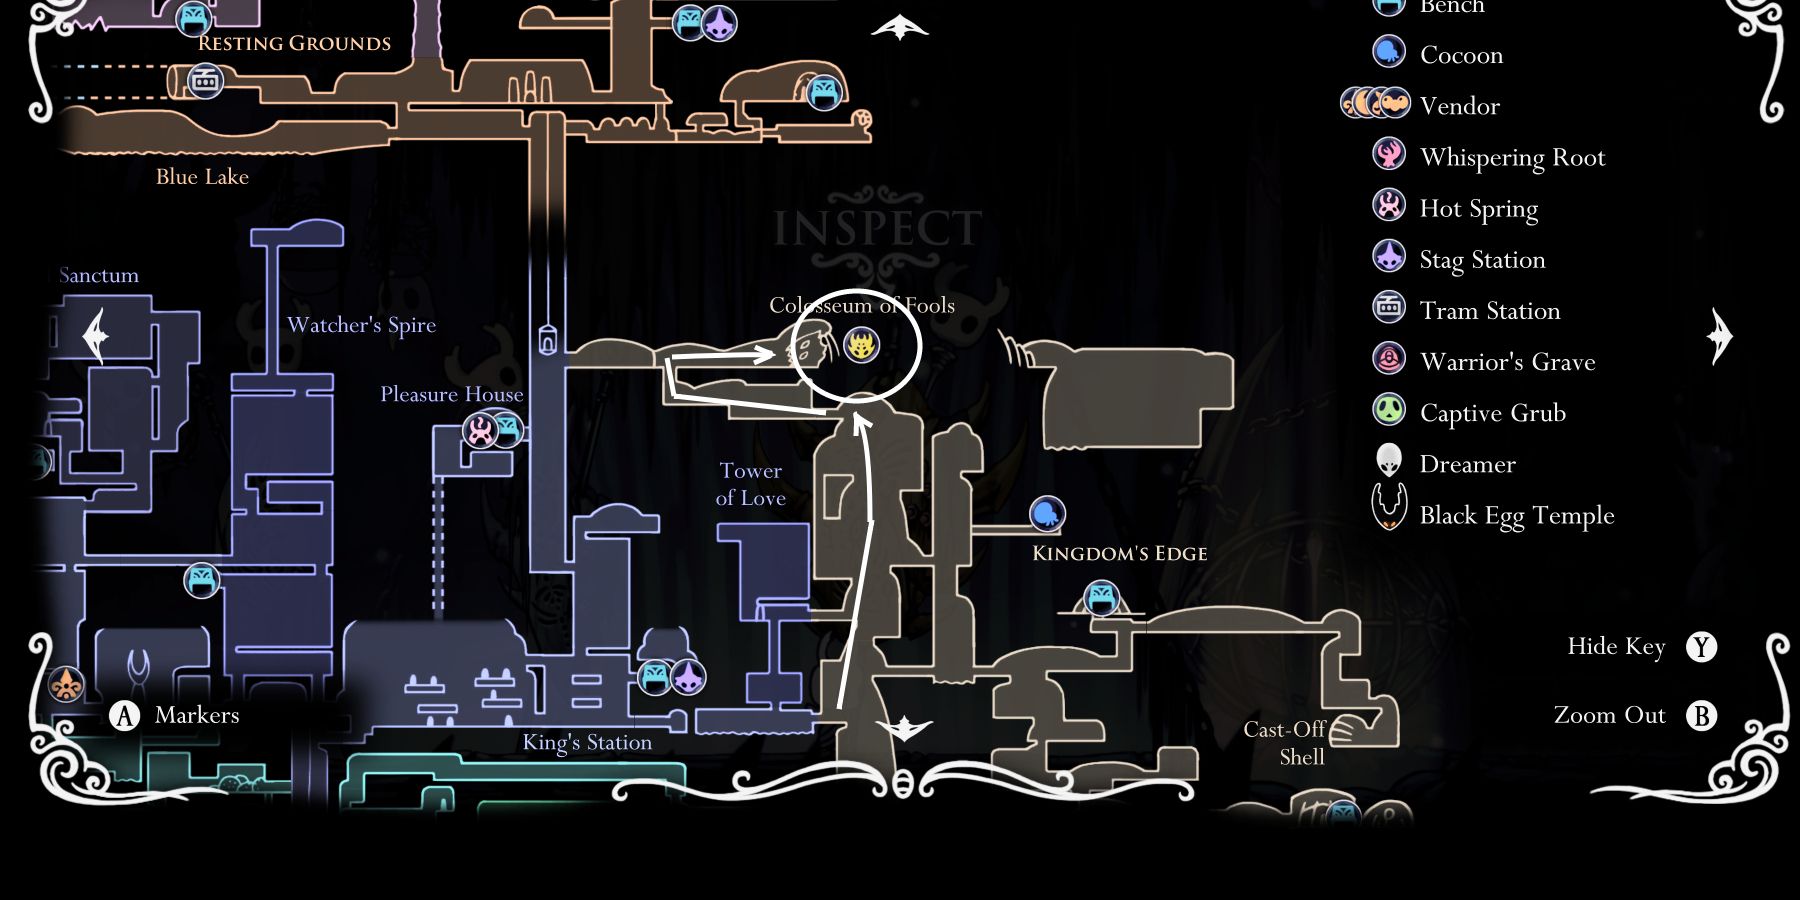
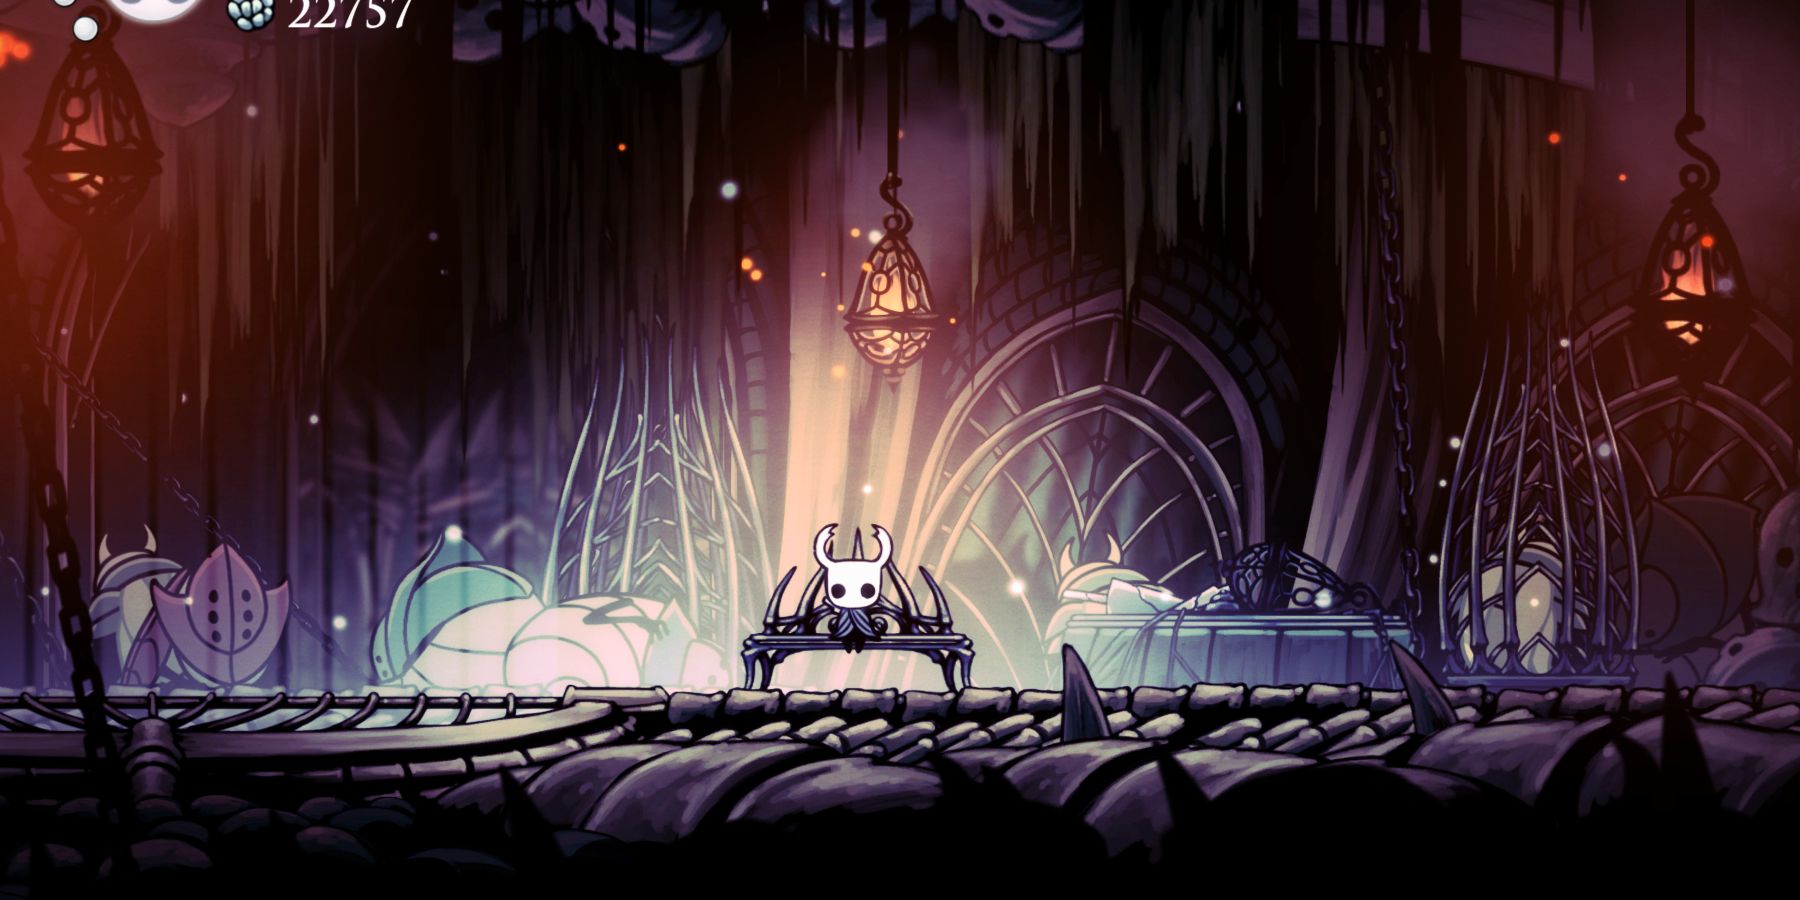
The Trial of the Fool takes place at the Colosseum of Fools, a celebrated battle arena that rests atop its perch overlooking Kingdom's Edge.
Preparing for the Trial of the Fool
Players wishing to attempt the Trial of the Fool will first have to complete the Trial of the Warrior and the Trial of the Conqueror. Once finished, the Knight need only offer his mark and 800 Geo to proceed to the arena.
Given that it is by far the hardest combat challenge in the game, players will want to have their Knight as close to fully upgraded as possible. At the very least, players should acquire the following:
- All Mask Shards and Vessel Fragments. Yes, it is possible to pass the trial without full soul and health. But do you really want to? Probably not. Then again, this is called the Trial of the Fool.
- Final Nail Form: The Pure Nail makes all combat much more manageable. In the Colosseum of Fools, it can mean the difference between life and death.
- Fully Upgraded Spells: Simply having all spells is great, having the fully upgraded forms will allow the Knight to be much more of a threat at range.
- All Nail Arts: This is more important for certain playstyles. Those that like to get in close and do the most damage possible will want all three arts.
- All Charm Notches: For obvious reasons, the more charms the Knight can equip, the better. The base game offers ten slots, with one extra available from the Grimm Troupe DLC.
- All Major Inventory Items: Mantis Claw and Monarch Wings will likely be the two most used, but it's best to wait until the Knight has acquired everything.
Choosing the Correct Charms:
This area is much more subjective. With so many charms available, there is not a single 'best' option for which to equip. There are several factors that can determine how to approach this question, including available notches and play style. When picking charms, follow these general guidelines:
- Gain More Soul: This should be the absolute starting point. Whether it be for healing or for spells, soul is absolutely essential. Grubsong adds soul any time damage is taken. Soul Catcher and Soul Eater both increase soul gained with any nail hit.
- Increase Strength: It is absolutely worth going through the process of turning Fragile Strength into Unbreakable Strength. It is possible to complete the trial without extra power, but the average one-hit reduction on every enemy makes a huge difference during the more crowded waves.
- Increase Reach: Longnail and Mark of Pride increase the nail's range, allowing for more space between the Knight and the enemy. It is particularly useful for swiping down at enemies beneath the Knight.
- Quick Focus: This charm significantly reduces healing time. It is practically built for the Trial of the Fool, where downtime is incredibly scarce. If players are confident in their ability to avoid hits, the three notches this charms uses may be better spent elsewhere, but for the vast majority of players, this charm is essential here.
Example Charm Selection (11 Notches):
This charm loadout provides everything for a well-rounded Knight to complete the Trial of the Fool.
- Soul Catcher (2 Notches)
- Quick Focus (3 Notches)
- Longnail (2 Notches)
- Unbreakable Strength (3 Notches)
- Grubsong (1 Notch)
Optional Play Style Charms:
There are so many options for players who feel they may want to try a something slightly different.
- Grimmchild or Weaversong offer the Knight help in the form of offensive sidekicks.
- Dreamshield provides a floating barrier.
- Players who use Nail Arts can use Nailmaster's Glory to make charging them much faster.
- Dash Slash can help players kill flying enemies.
- Using Shaman Stone can greatly enhance the strength of spells. This can be helpful when used with enemies above the Knight
The best option for players who are unsure of which charms to use is experimentation. What works for one person may not work at all for others.
Fighting Through the Trial of the Fool
The Trial of the Fool is made up of 17 overall waves, some with multiple stages. Each change of the arena constitutes a single wave. Remember, some stages are initiated by only partially clearing the previous stage. This means one stage can have four enemies and the next stage will begin after killing only two of them.
Wave 1:
First Stage: A single Heavy Fool and Sturdy Fool. Watch for the ranged attack from the Sturdy Fool. Killing one triggers Stage 2.
Second Stage: Two Armored Squit. These will come in fast while still trying to kill the second enemy from the first stage.
Third Stage: Two Shielded Fools, one Primal Aspid. The Aspid is the real pain here. Keep an eye on its three projectiles. Shielded Fools are generally slow, leaving one alive in a situation like this will allow time to heal.
Fourth Stage: Two Winged Fools, two Sharp Baldurs. Pay attention to the Baldurs, they roll across the ground and can be easy to miss with everything on screen.
Wave 2:
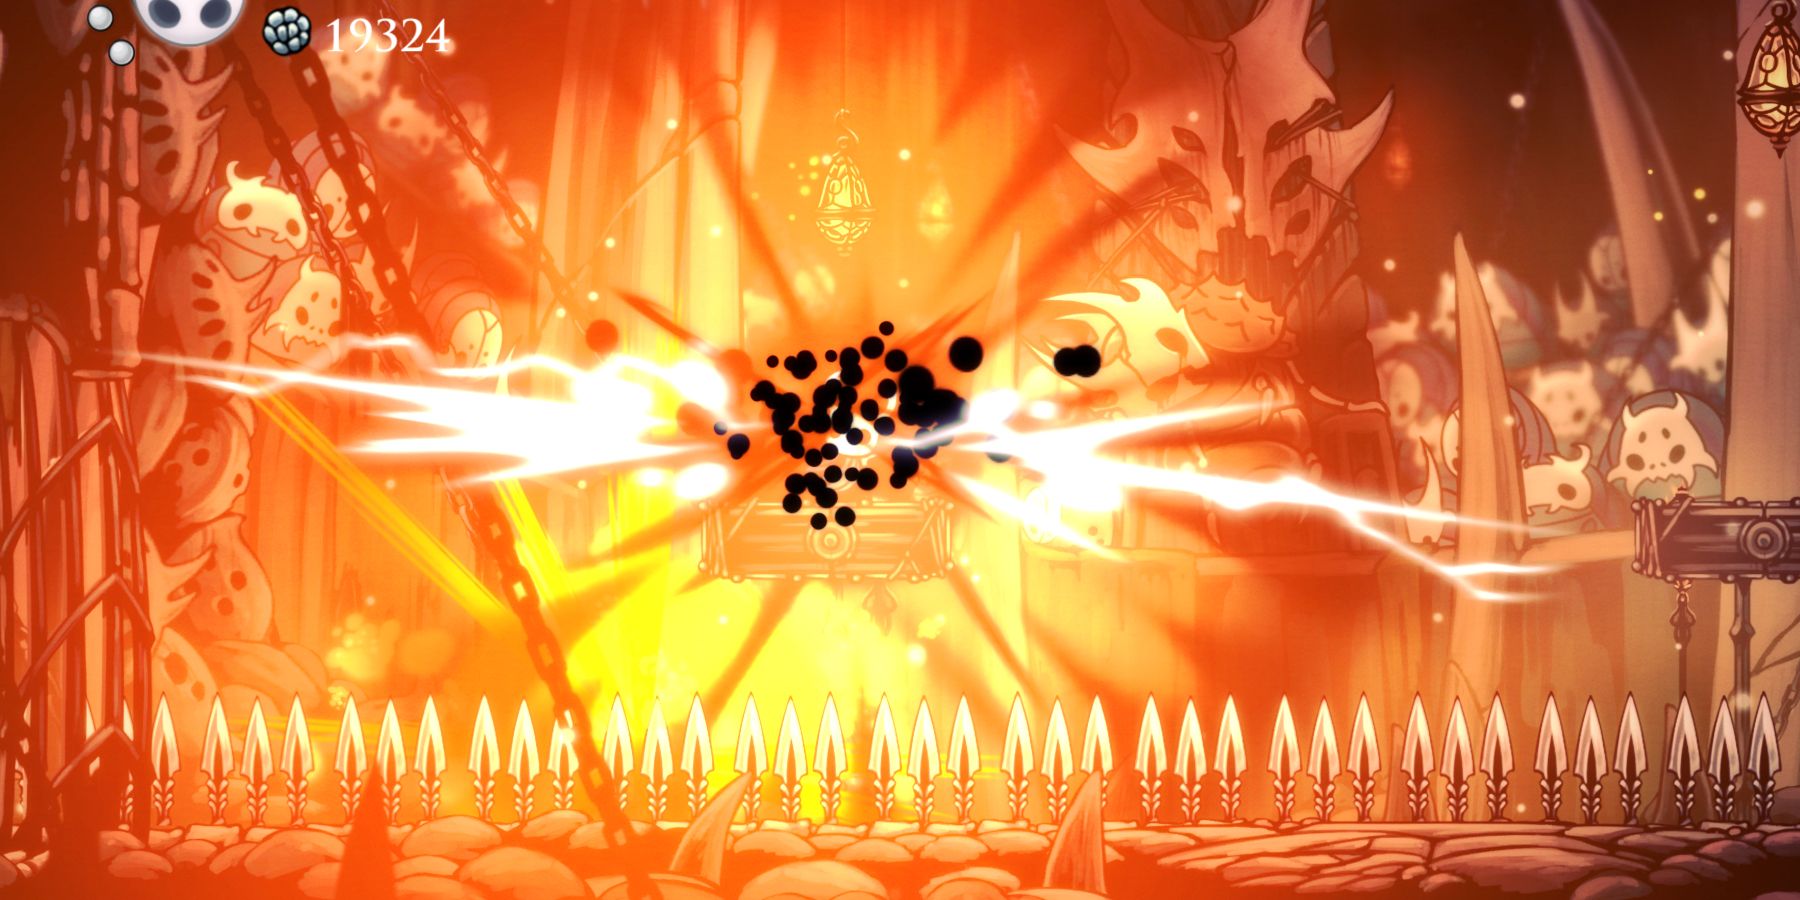
Wave two begins with the floor turning to spikes and two platforms rising.
Only Stage: Two Sturdy Fools and one Primal Aspid. The projectiles from each enemy can get very confusing. Trying to stay above the Sturdy Fools using bouncing downward slashes can help.
Wave 3:
Wave three begins with the ceiling dropping to roughly 3/4 height. The two platforms and spikes remain.
First Stage: Three Battle Obbles, one Winged Fool. Battle Obbles shoot four projectiles at a diagonal angle. The Knight is safe as long as he's standing directly beneath them.
Second Stage: Two Furious Vengeflies. Watch out for these extremely aggressive flying creatures. Keep an eye on where they land after death as their carcasses create massive explosions.
Wave 4:
The floor returns to normal for wave four. The ceiling is still slightly lowered.
Only Stage: Two Heavy Fools, Six Belflies. The two Heavy Fools will spawn first, followed by six Belfies. These are the exploding bats that can track the Knight. They do not come at once, but in quick succession. Keep off the floor for the entire wave. Clinging to the far left wall will avoid all explosions.
Wave 5:
The ceiling returns to normal for wave five.
Only Stage: Three Death Loodles spawn in. These enemies jump around in random directions. Keep an eye on them to see where they will land.
Wave 6:
Four small platforms rise into the air to begin wave six.
Only Stage: Five more Death Loodles spawn in.
Wave 7:
Arena returns to normal for wave seven.
Only Stage: Three more Death Loodles enter.
Wave 8:
The floor turns back to a bed of spikes and four platforms rise in a single file line straight up in the center of the arena. The stages here in wave eight bleed into each other and change comes very rapidly.
First Stage: Two Armored Squit. Use the platform above the Knight for protection.
Second Stage: Two Primal Aspids. Again, use the platforms above or below the knight for protection from projectiles.
Third Stage: One Primal Aspid and one Winged Fool.
Fourth Stage: Here the action slows for a moment and four Garpedes coming in horizontally, trying to knock the Knight from one of the platforms. Keep an eye on exactly where the Garpede is coming from as the Knight can switch platforms in time to avoid damage.
Fifth Stage: One Winged Fool and two Armored Squit. Try to heal the moment these enemies are gone.
Wave 9:
Arena returns to normal for wave nine. The stages here occur very fast, giving the Knight very little time to heal.
First Stage: One Shielded Fool, Heavy Fool, and Primal Aspid.
Second Stage: One Mantis Traitor. This is the mantis that does not fly. It is capable of charging very quickly. Keep as close an eye on it as possible.
Third Stage: One Mantis Petra. This is the flying mantis. It flings a spinning projectile that acts like a boomerang. If it is avoided while coming at the Knight, make sure to avoid as it returns to the mantis.
Fourth Stage: Two Mantis Petra, One Mantis Traitor.
Fifth Stage: One Mantis Petra, Heavy Fool.
Sixth Stage: Two Soul Twisters. These ghostly enemies are capable of teleporting if the Knight waits too long to attack. Watch out for the Mistakes, which spawn on the ground while fighting the twisters.
Seventh Stage: Soul Warrior and Folly. The warrior can teleport directly above the Knight, dropping with a heavy attack. When the warrior charges, jump and use down-slashes for easy hits. Follies, the small flying ghosts, will only spawn one at a time, but if killed, will return after several seconds.
Wave 10:
Wave ten begins with six small platforms ascending as the ground turns back to spikes.
Only Stage: Each enemy spawns one after the other - Volt Twister, Soul Twister, Volt Twister, Volt Twister, Soul Twister. The Volt Twister adds a small AOE shock attack to the arsenal of the Soul Twister. The attack follows the Knight, if a small patch of electricity is seen, keep moving.
Wave 11:
Arena returns to normal.
Only Stage: One Soul Warroir, one Soul Twister.
Wave 12:
For wave twelve, the walls close in, leaving only a narrow space to fight.
First Stage: One Winged Fool, Sturdy Fool.
Second Stage: Two Lesser Mawlek. This is the smaller enemy that looks like a cauldron with fangs. They spit small projectiles made of the orange infection. Watch where they land as they linger momentarily.
Third Stage: Two more Lesser Mawlek, One Winged Fool.
Fourth Stage: One Brooding Mawlek. Essentially a larger version of the Mawlek. This enemy will try to take up as much space as possible, slashing at the Knight with its claws when it gets close. The name of the game here is patience. Watch for orange infection being tossed similar to the Lesser Mawlek.
Wave 13:
The walls close in even more. Here the Garpedes return. It's almost a break. If the Knight can place himself in the correct position, he will have several moments to heal. The Garpede is easy to avoid if paying attention, so just keep an eye on where it's descending.
Wave 14:
The walls stay closed in as the floor turns to spikes. This entire wave will be spent clinging to the walls with the Mantis Claw. For this entire section, try using multiple bouncing down-slashes whenever above enemies, and Abyss Shriek when below. This is one of the most difficult sections of the entire trial. Stay focused and victory will be achieved.
First Stage: One Winged Fool, two Armored Squit.
Second Stage: One Primal Aspid, one Armored Squit.
Third Stage: One Mantis Petra, one Armored Squit.
Fourth Stage: Four Battle Obbles. Killing three will start the next stage.
Fifth Stage: Two Winged Fools.
Wave 15:
The ceiling drops even further, leaving just enough room to fight.
Only Stage: Two Armored Squit. They come one after the other, not at the same time.
Wave 16:
The ceiling and walls return to normal for wave sixteen. The floor remains spiked with three small platforms.
Only Stage: Fourteen Death Loodles spawn, one after the other. Some will hit the spikes and die. If possible, use this time to heal before beginning wave seventeen.
Wave 17:
The arena returns to normal for the final wave. This last wave, while technically separated into stages, feel like one long chain of enemies.
First Stage: One Heavy Fool, Sturdy Fool.
Second Stage: Mantis Traitor
Third Stage: Winged Fool
Fourth Stage: Mantis Petra, Shielded Fool
Fifth Stage: Soul Twister
Sixth Stage: Shielded Fool
Seventh Stage: Volt Twister, Heavy Fool
Eighth Stage: Two Sharp Baldurs, Two Armored Squit.
Ninth Stage: Heavy Fool, Winged Fool, Shielded Fool.
Tenth Stage: Sturdy Fool
Final Stage - Boss: God Tamer
Between the Sturdy Fool in stage ten and the arrival of the God Tamer, the Knight will have the briefest of moments to heal. This is where the Quick Focus charm is incredibly helpful. God Tamer is technically two enemies: a large, rolling bug and its rider. The large bug will roll across the arena, bouncing off the walls. When it bounces it has the ability to track the Knight's location and land directly on him. It also shoots large amounts of orange infection liquid, creating hazard pools that stay on the ground for several seconds. The best strategy is to take out the rider first, making it easier to focus on the larger enemy.
Rewards for Completing the Trial of the Fool
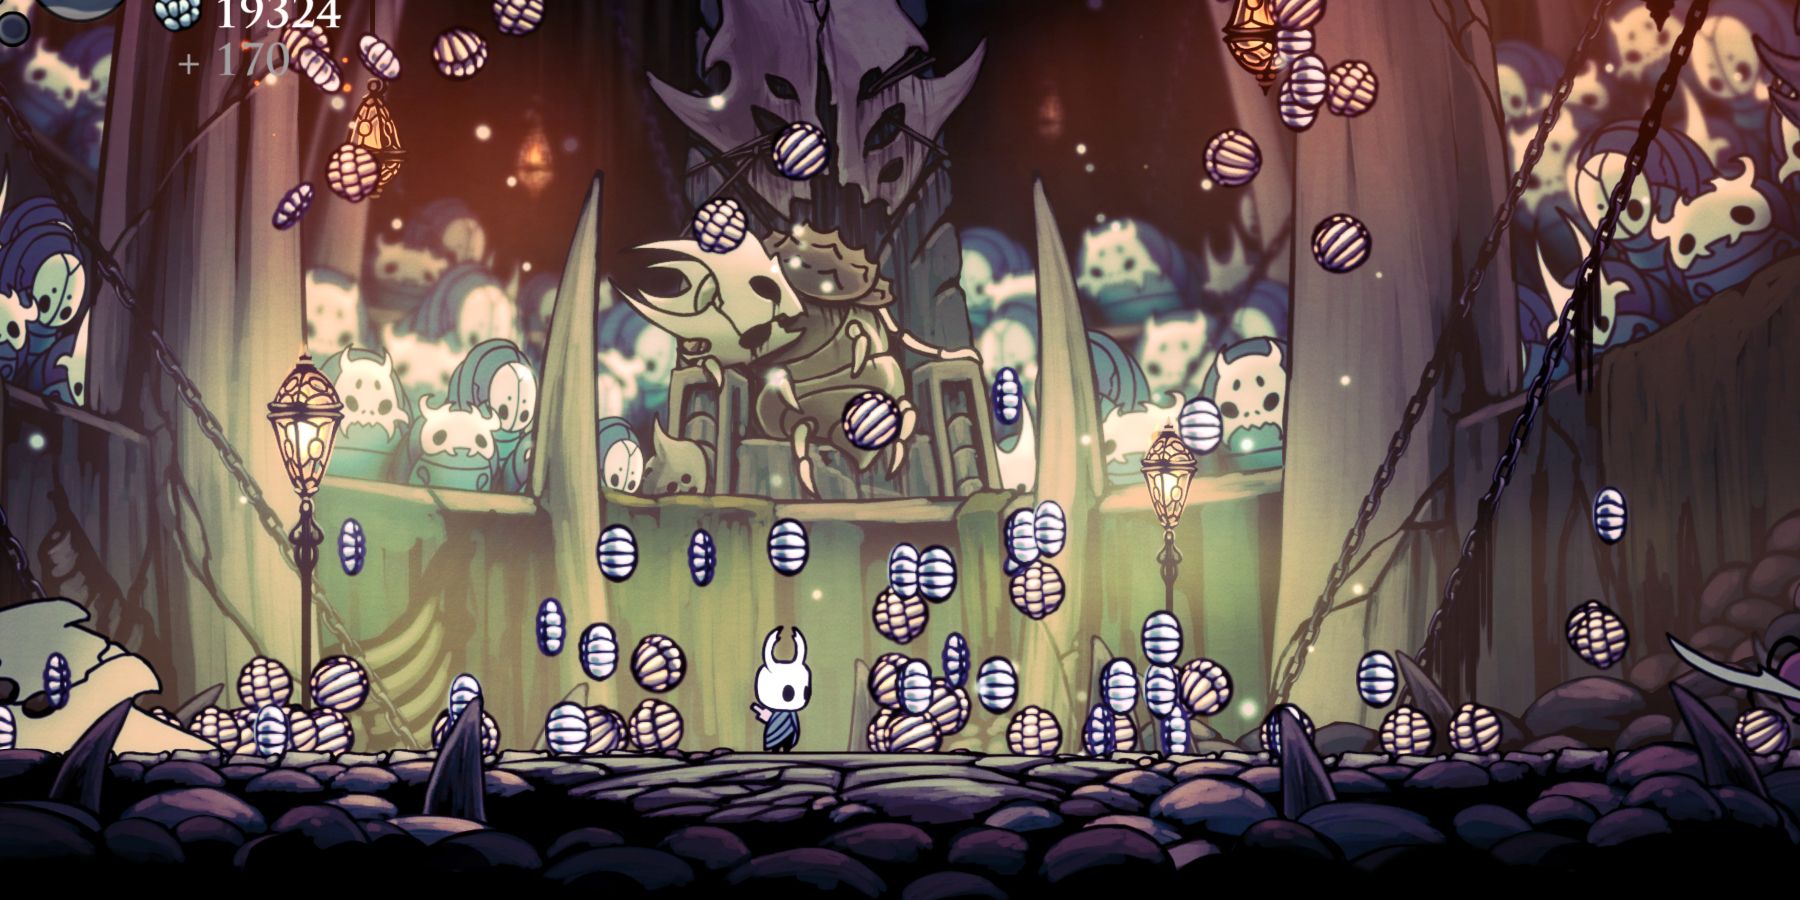
While some say that achievement is its own reward, the Knight prefers cold, hard Geo. Luckily for him, finishing the Trial of the Fool will always award at least 3000. This is the case for all successful attempts. Completing the trial will also award the Fool achievement.
Hollow Knight is available on PS4, Xbox One, Nintendo Switch, and PC.

