Quick Links
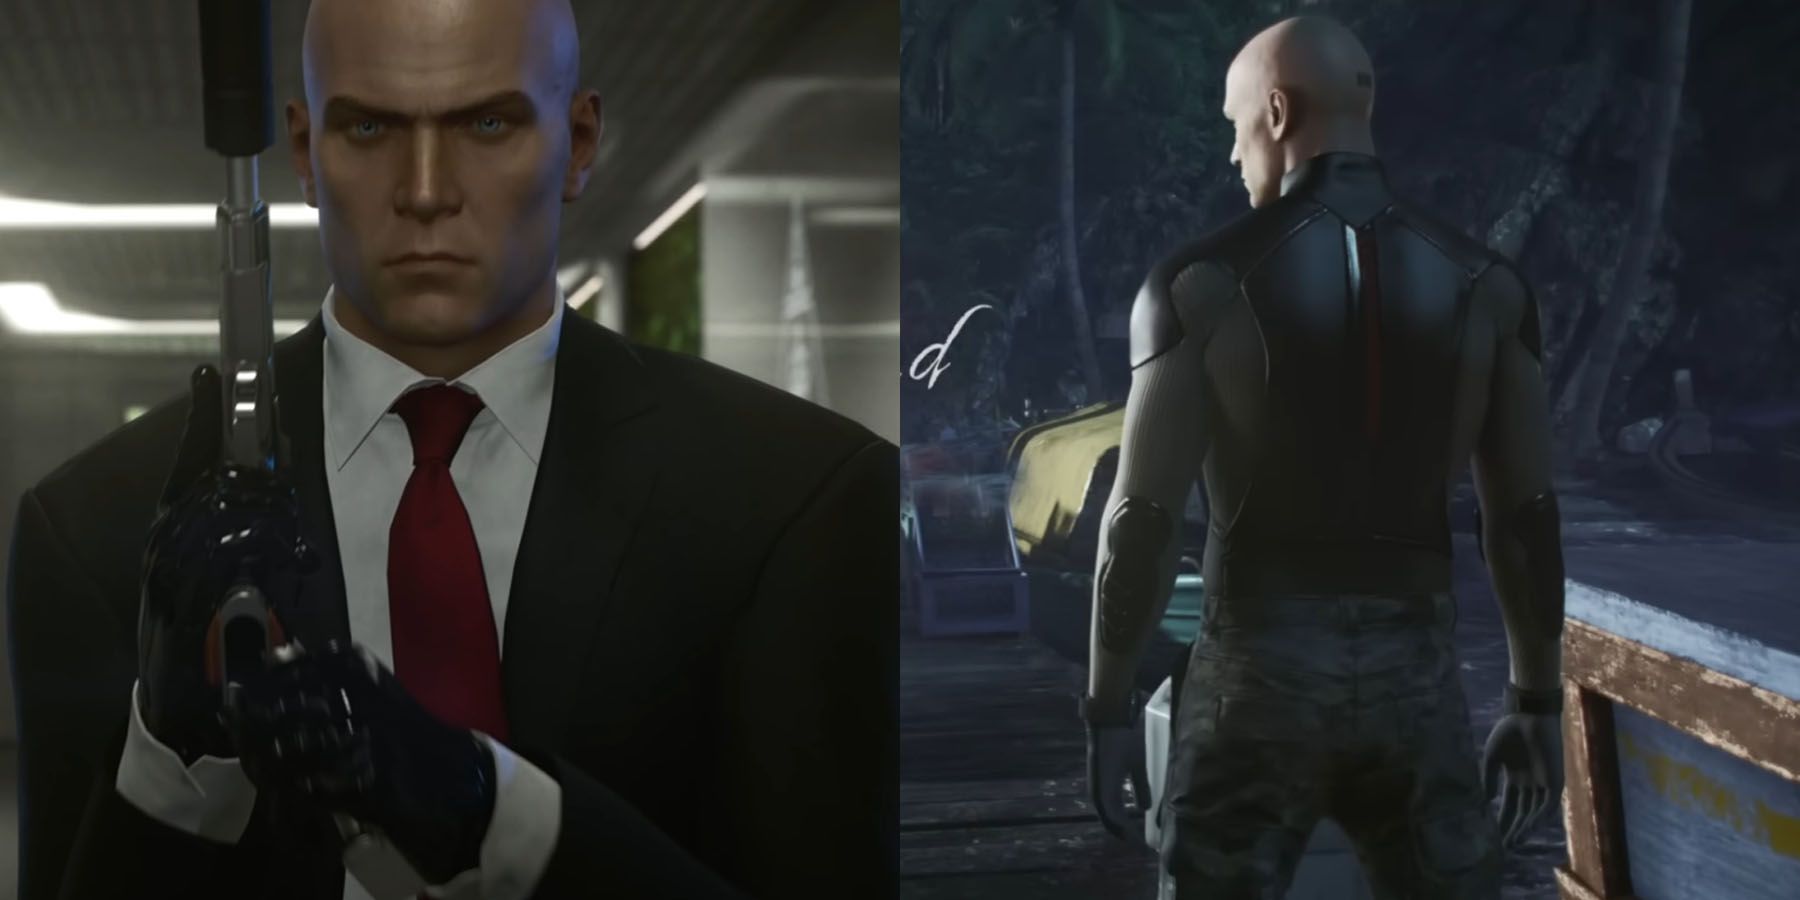
While fans of the Hitman franchise know Agent 47 as a paragon in his trade, Hitman 3 reveals there’s more to the master assassin than meets the eye. One such mission that takes Agent 47’s Hitman journey to something more personal occurs within Ambrose Island.
Located somewhere in Aceh, Indonesia, this island is also home to “Shadows in the Water,” one of the more popular missions in Hitman 3. Although considered the game’s seventh mission, it is considered the sixth mission to take place chronologically in Hitman 2 of the “World of Assassination Trilogy.” This mission would have Agent 47 stop an eventual militia attack within Ambrose Island and, with luck, reveal more about the antagonist Constant and the enigmatic Providence organization.
What Is Ambrose Island?
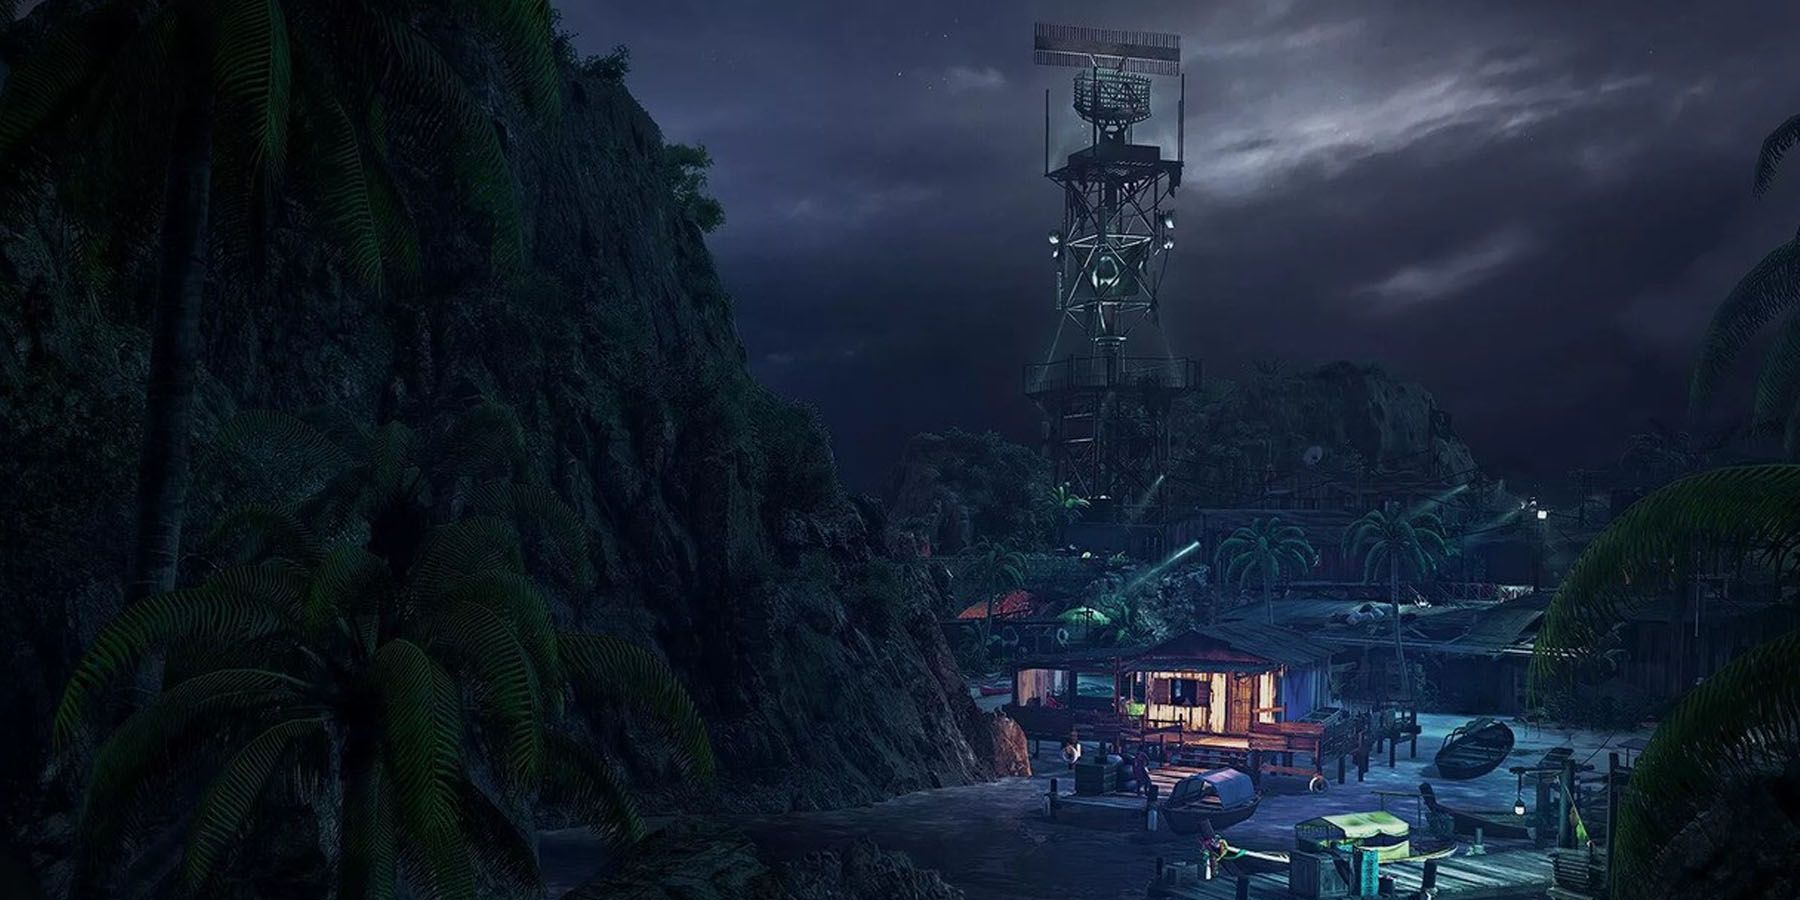
Before players of Hitman 3 get into the nitty-gritty of the Ambrose Island mission, they may need to understand what even Ambrose Island is in the first place. In the Hitman series, Ambrose Island is a fictional island located in the middle of the Andaman Sea, India, and is a sandbox area that focuses less about theatrics and more about accurate disguises. This new level also earned praise for expanding the horizons of IO Interactive’s level design, especially when these details are taken into account:
- Broken walls now affect AI design: While breakable walls already exist in the game, such as wooden walls that can become shortcuts, certain walls in Ambrose Island can affect the AI of opponents when altered. These include the walls in the Ruins, which enemies now traverse after being messed with.
- Better sandbox for targets: Given the nature of Ambrose Island as a more “rugged” complex of buildings compared to other more structured mission levels, players have more versatility in terms of approaching their assassination objectives. This is especially the case with the “sequence” of objectives that players take, as they may find ways of bypassing certain objectives when doing other side quests in specific manners.
- Forest is large enough for infiltration: While the forest in Santa Fortuna is more or less just design fluff, the forest in Ambrose Island provides an extremely tactical advantage for playrs who know how to use them. Players can find more than 10 entrances to the Island’s fouir (4) main areas, and can help them find shortcuts without being detected easily if they know where exactly they’re going.
Ambrose Island: Map Overview
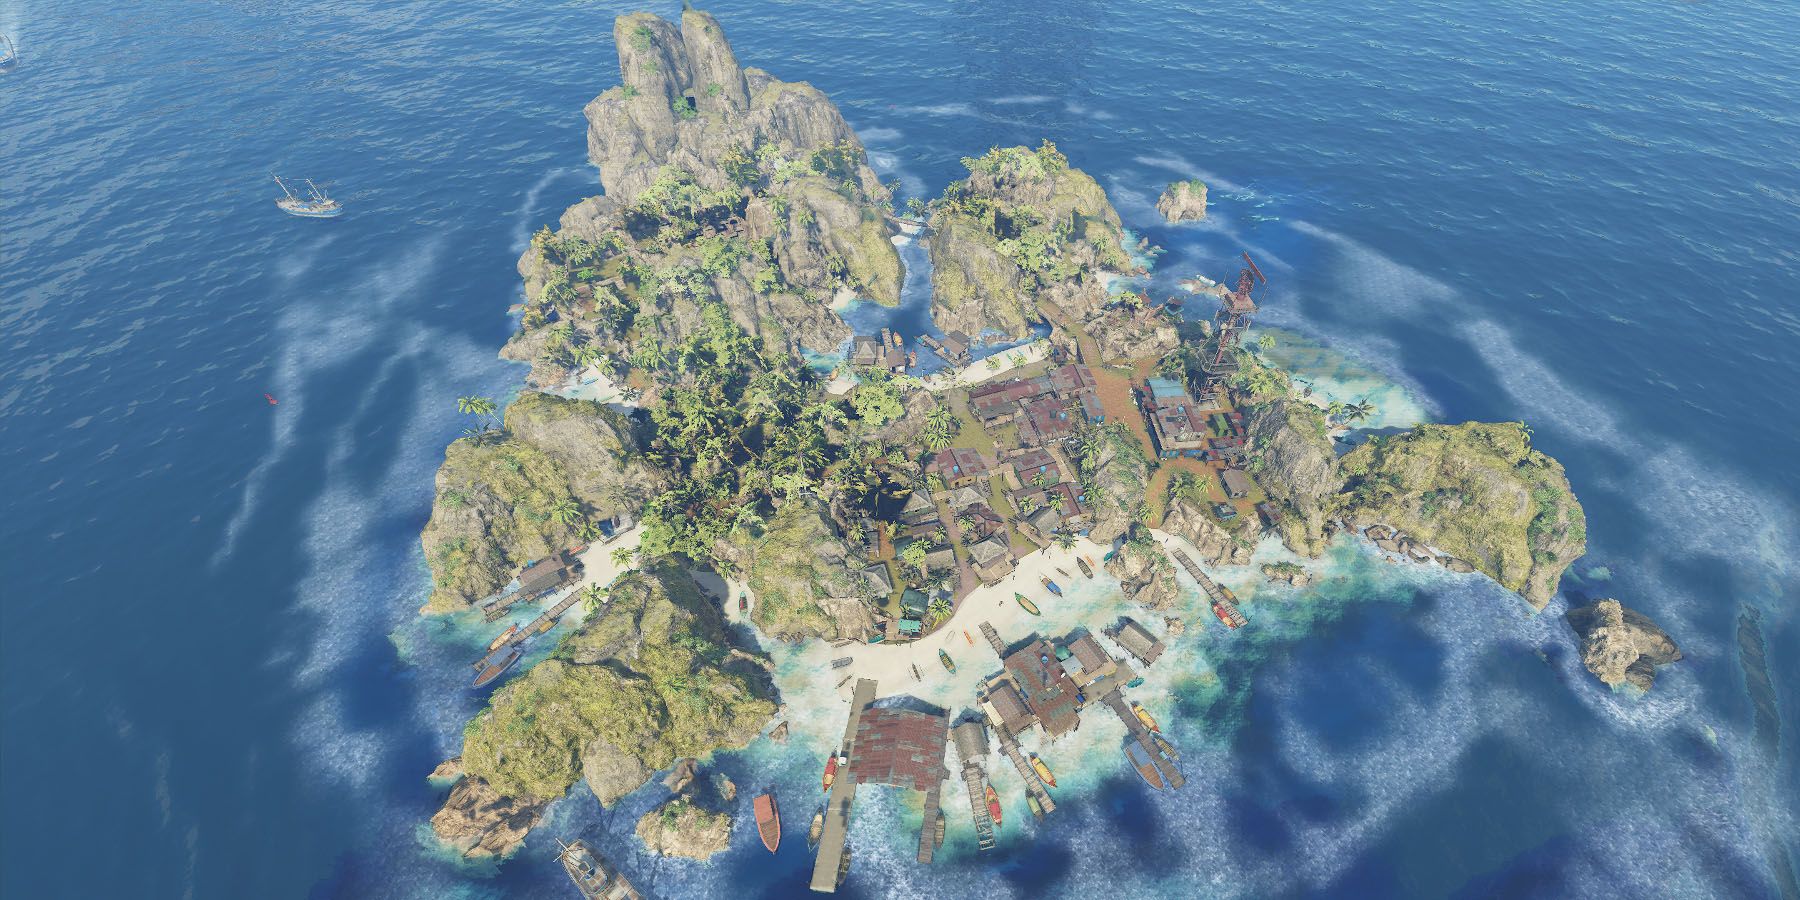
Players who plan on being the world’s best (or maybe hilarious) assassin need to take note of both their targets and their destination. In the case of the Hitman 3 location Ambrose Island, it’s important to get a basic gist of the Island’s four (4) main areas before getting neck-deep into their assassination. At its core, players need to take note of these central locations, with a map courtesy of Reddit user u/Ragnarok0232:
Miscellaneous Locales
There are parts of Ambrose Island that don’t have direct names but are large enough to be of value for players.
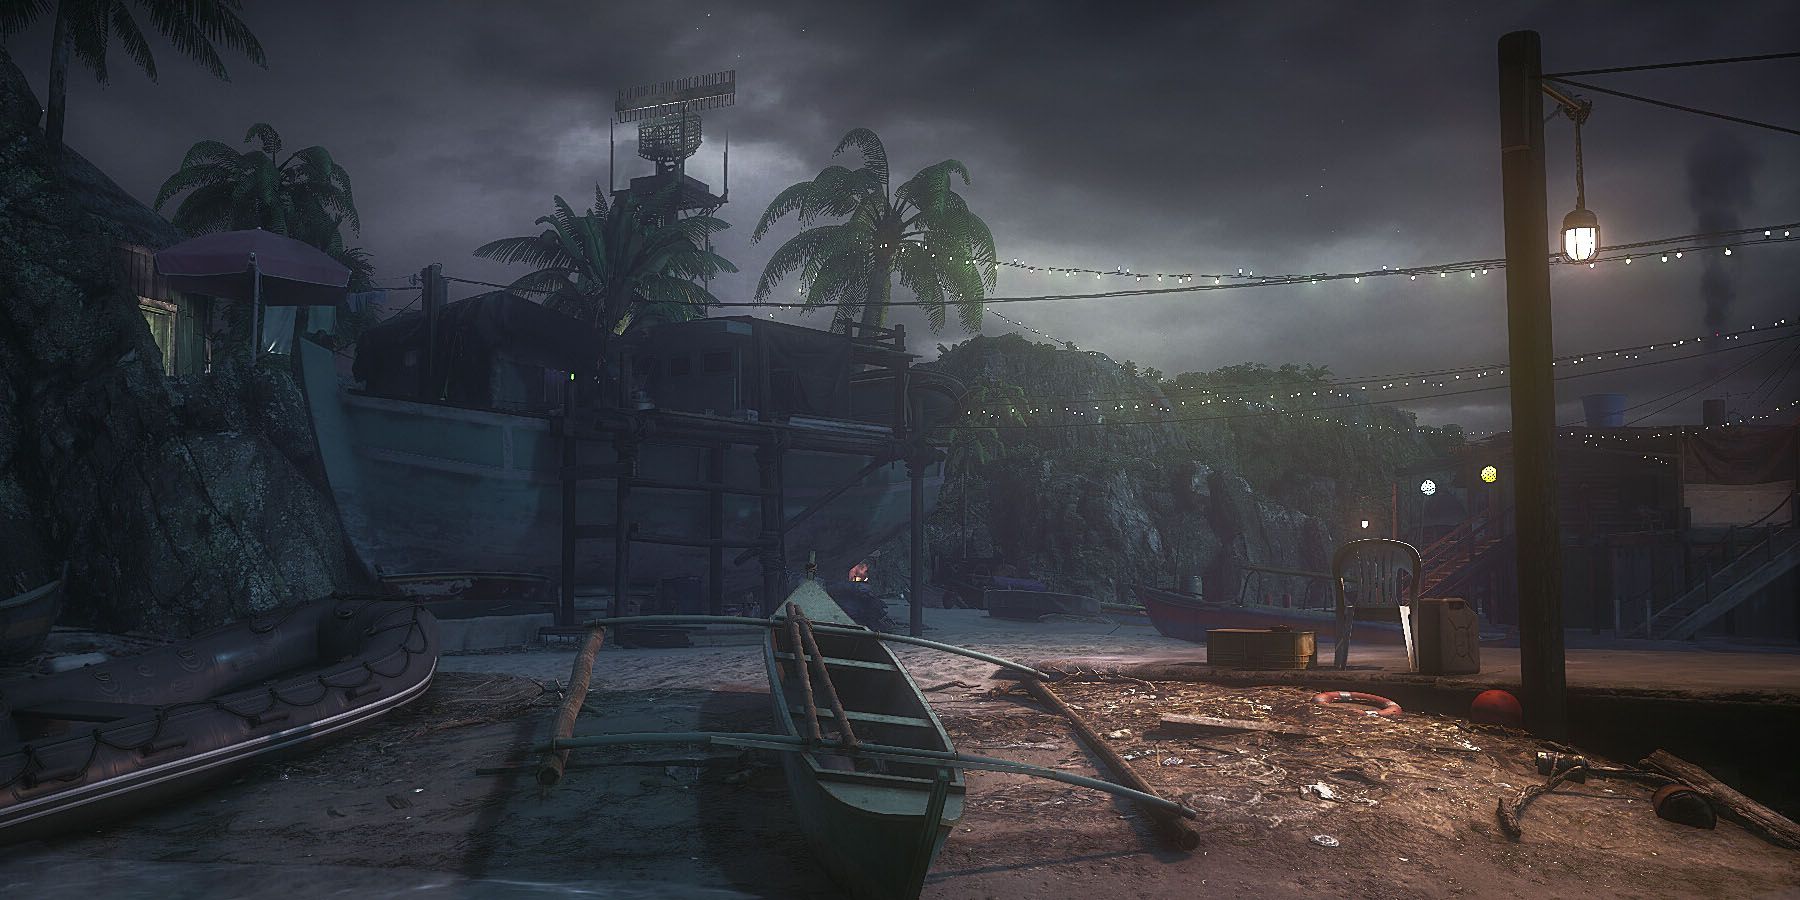
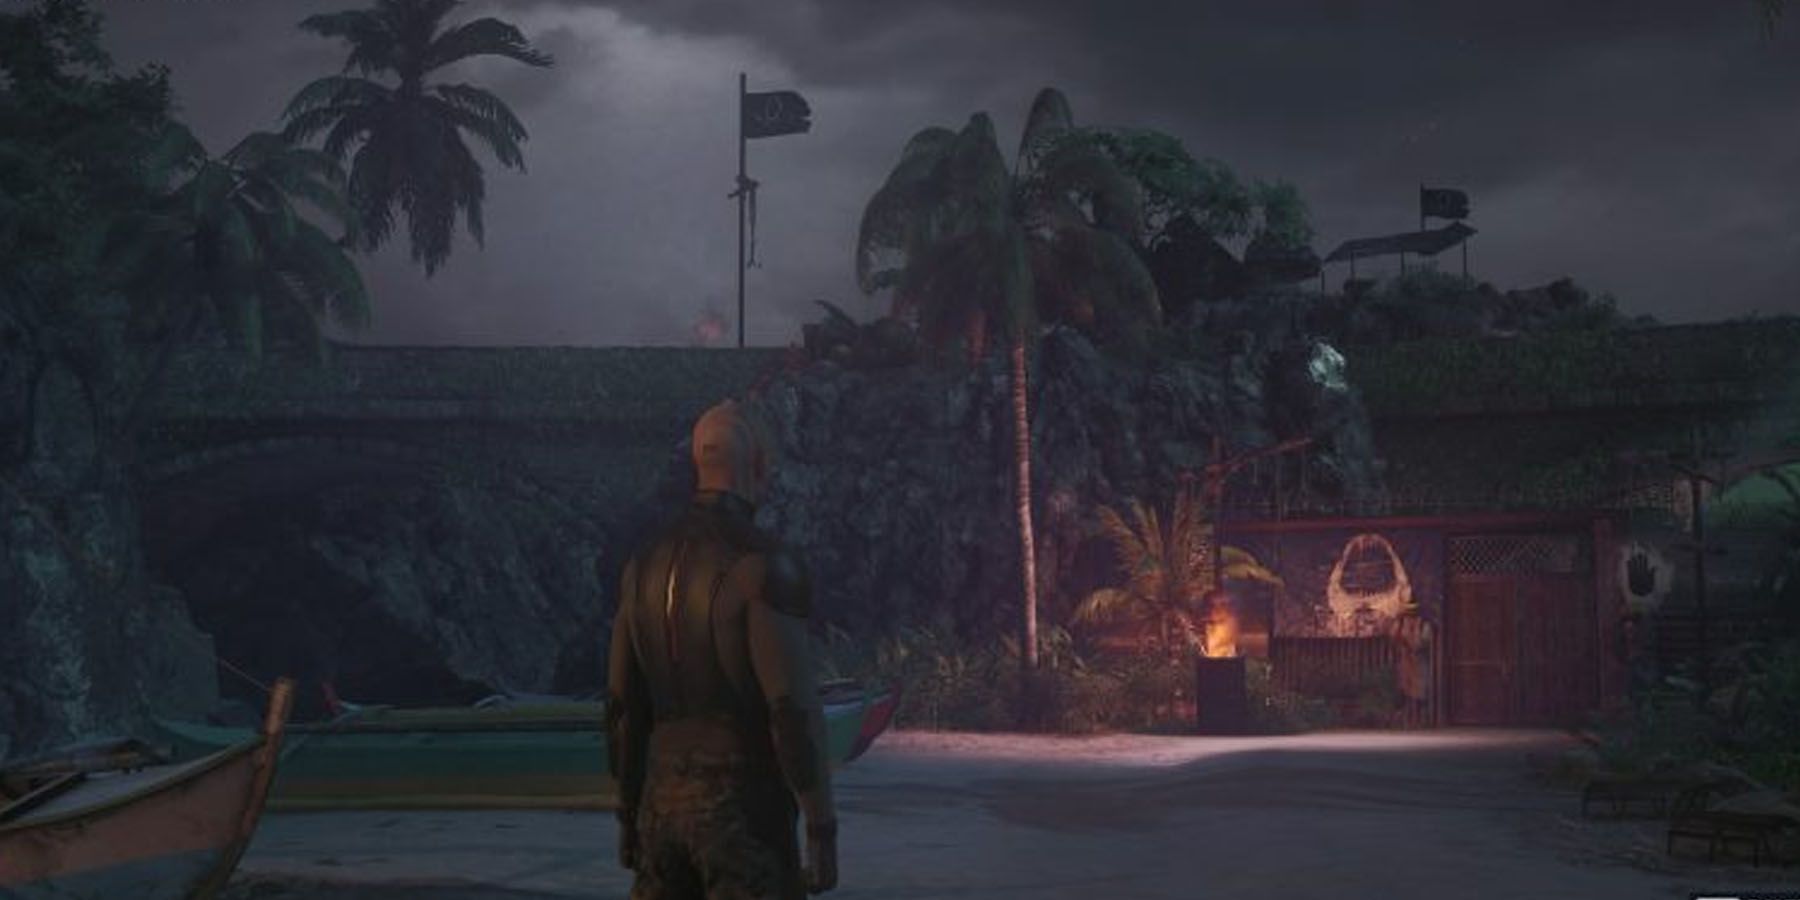
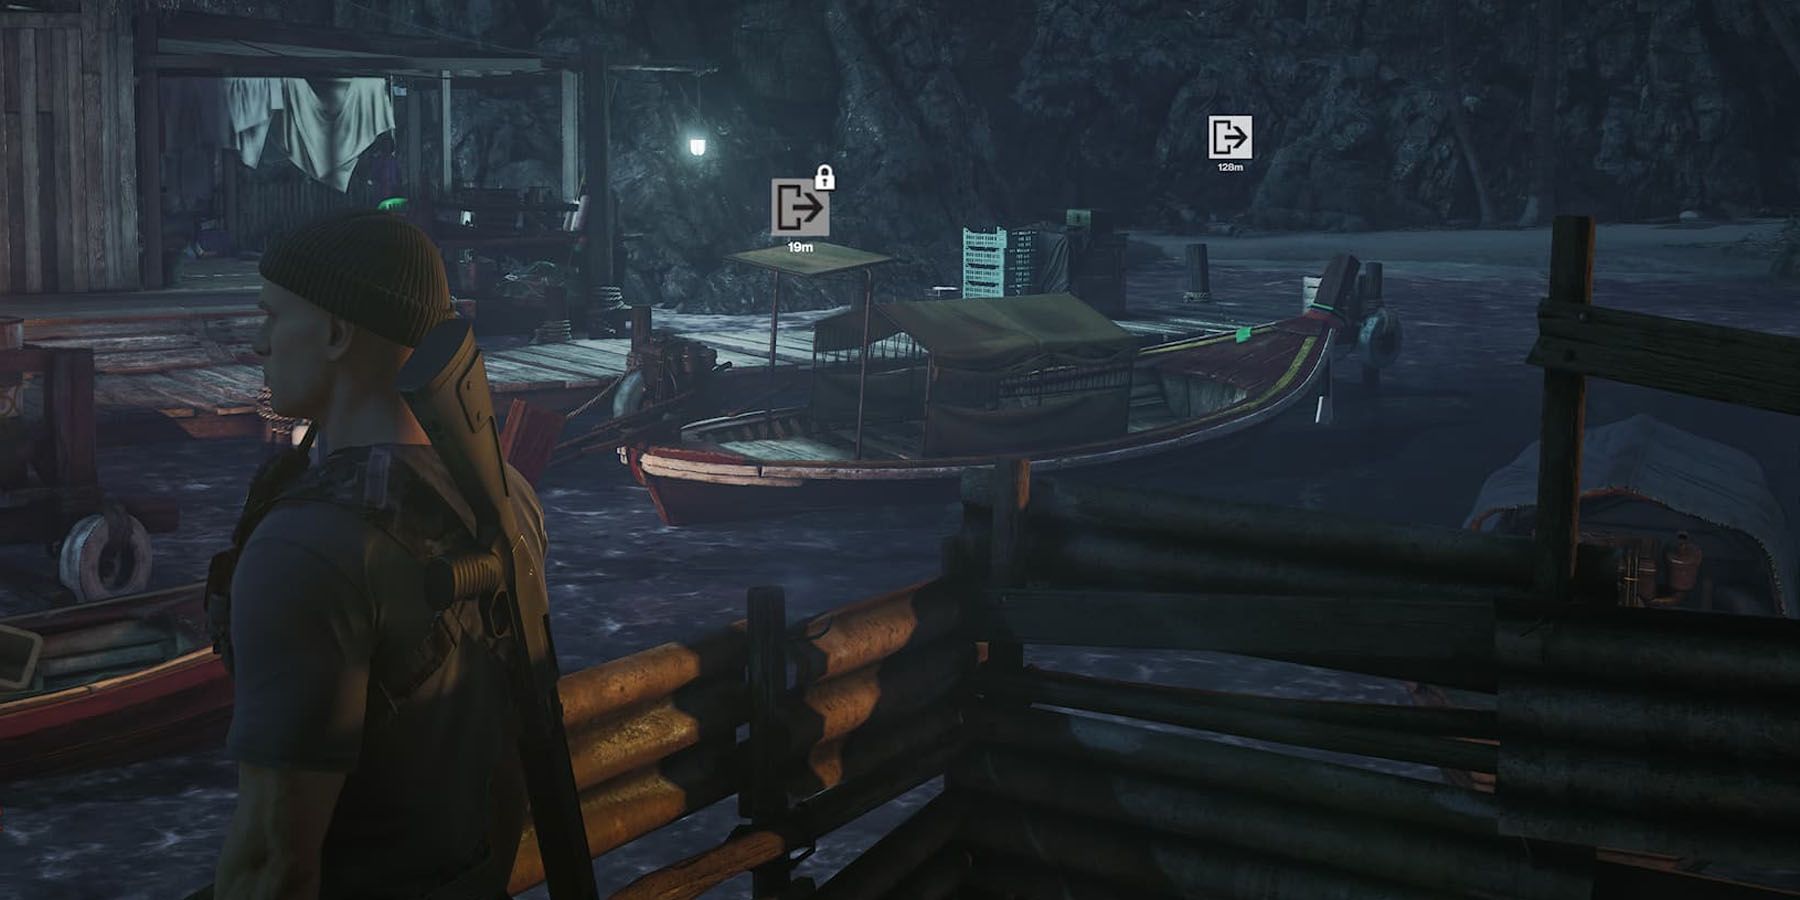
- Western Beach: Located in the westernmost part of the Island is the Western Beach, characterized by a small dock and a short beach that leads into the rest of the Island's main areas. This area is relatively "open," but not as open as other areas of the map.
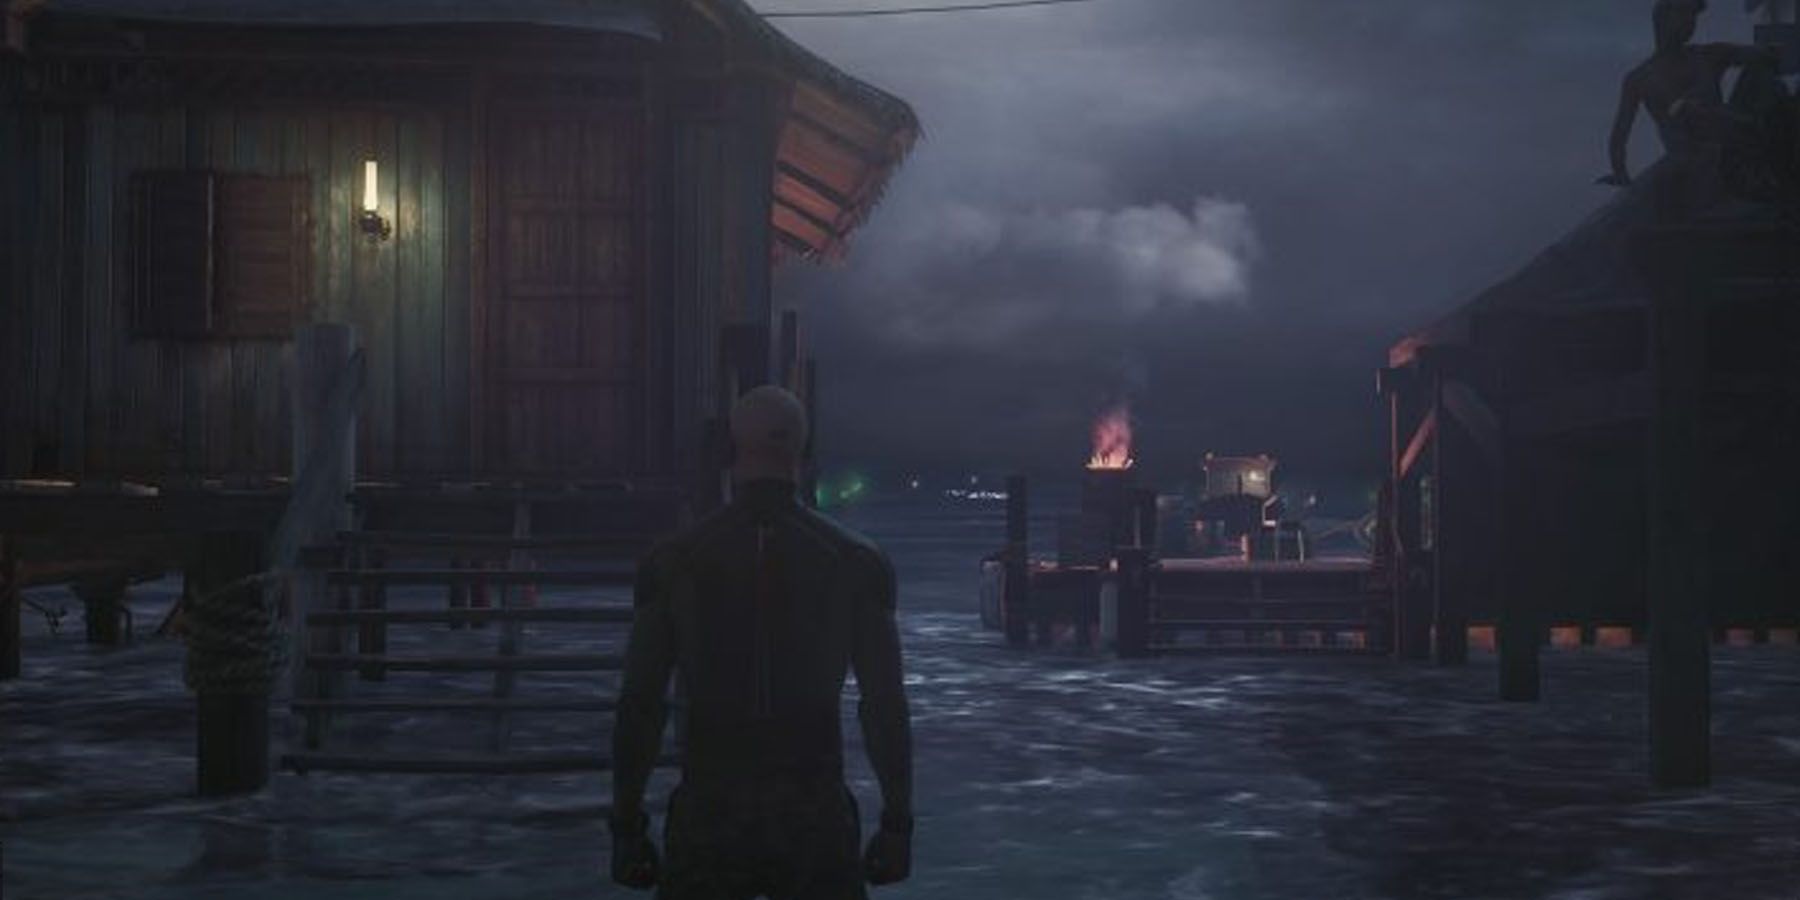
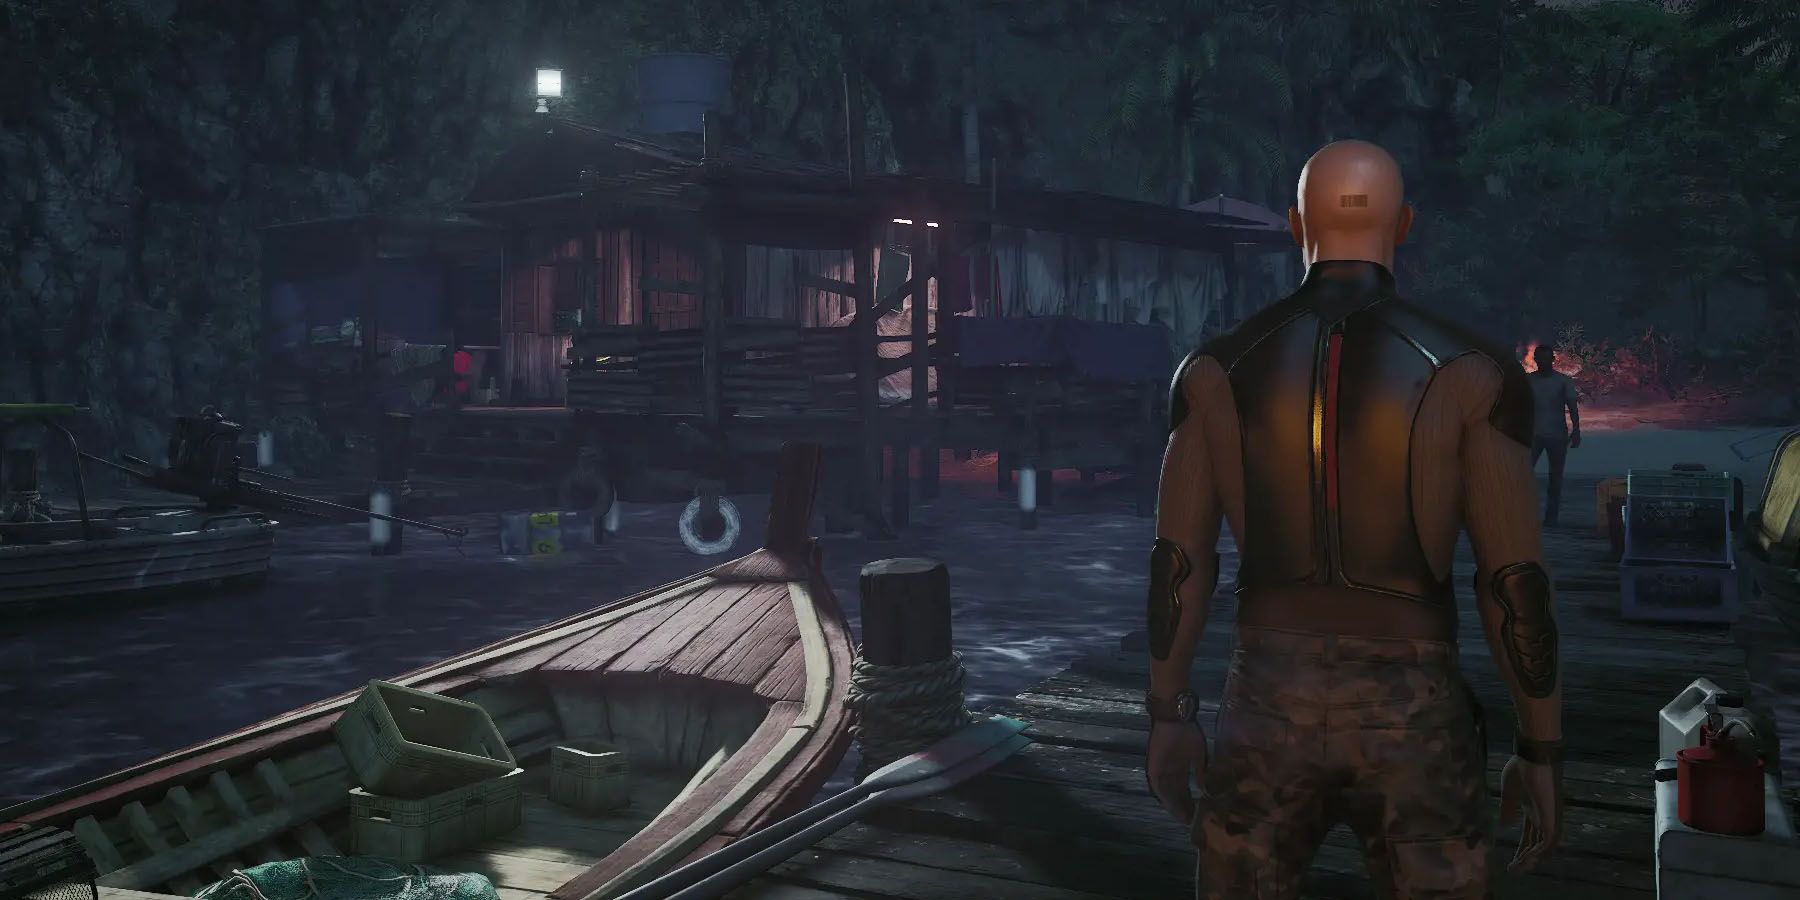
- Middle Beach: If players head to the first two (2) pathways to the left of the Western Beach and go straight ahead, they will proceed to a Middle Beach area. This is characterized by a long stretch of a shore and two (2) tiny houses by the docks. From the Middle Beach, turning right heads to the Village, and going straight ahead leads to the Radar Tower.
- Right-Side Forest: From the Middle Beach, going to the left-most path and heading left will give players access to the Right-Side Forest. This is a forested area with multiple pathways, with a northern bridge that leads into another forested area close to the Militia Caves.
Militia Cave
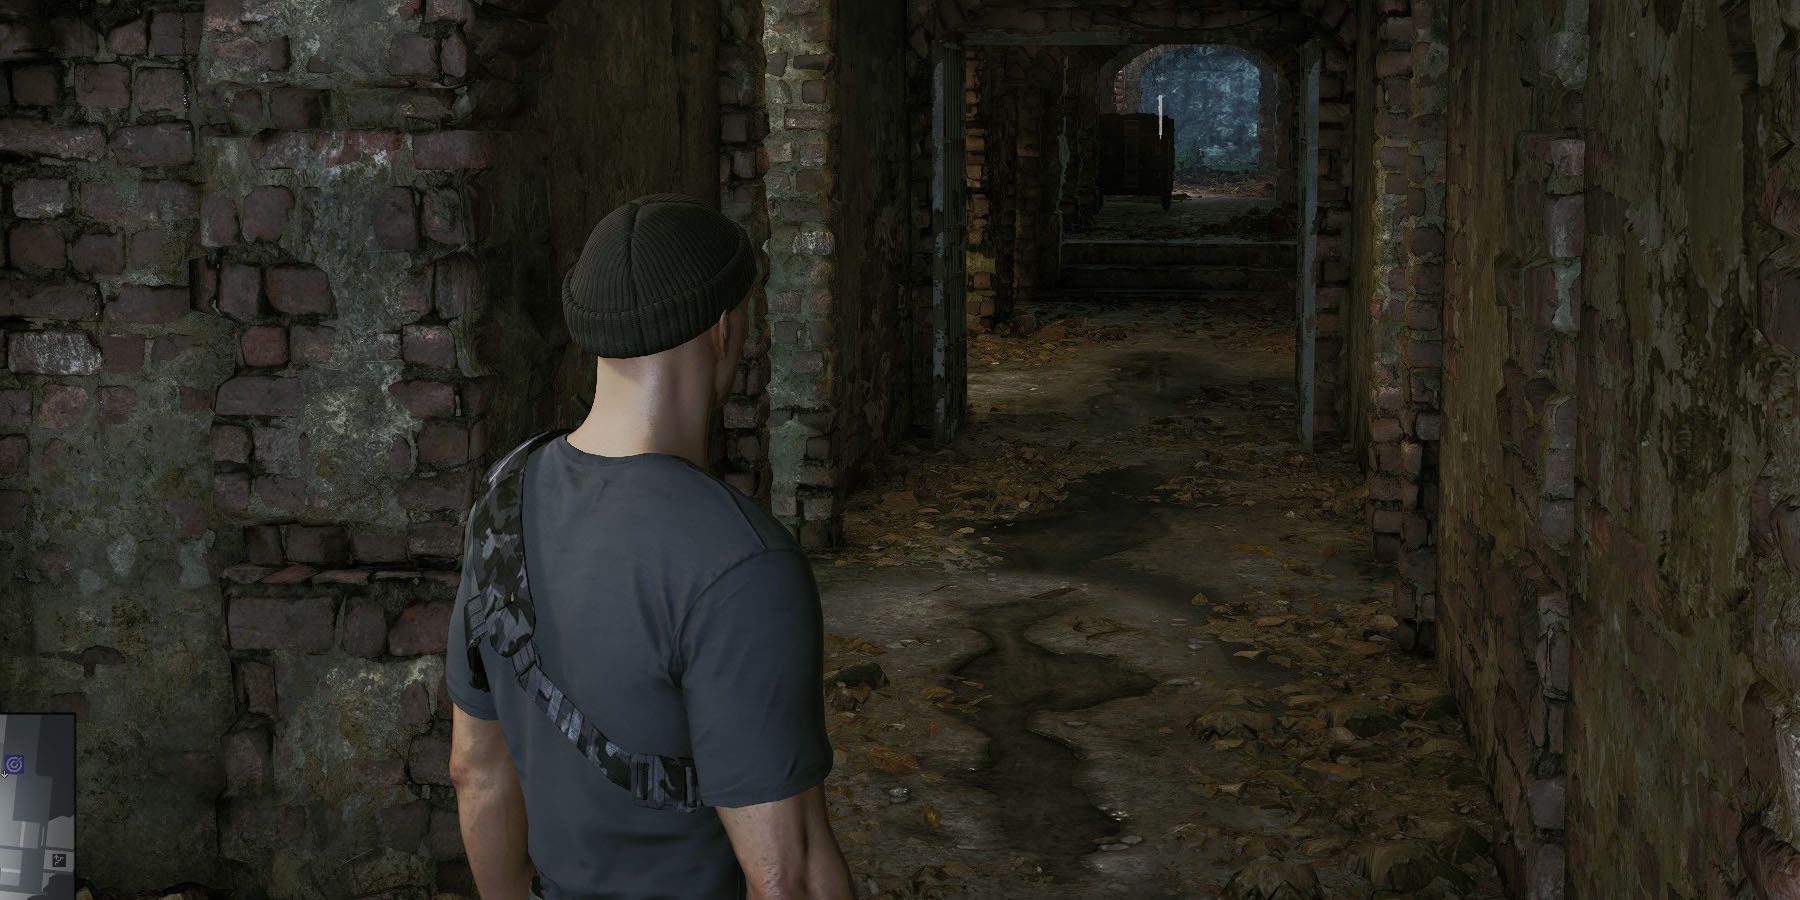
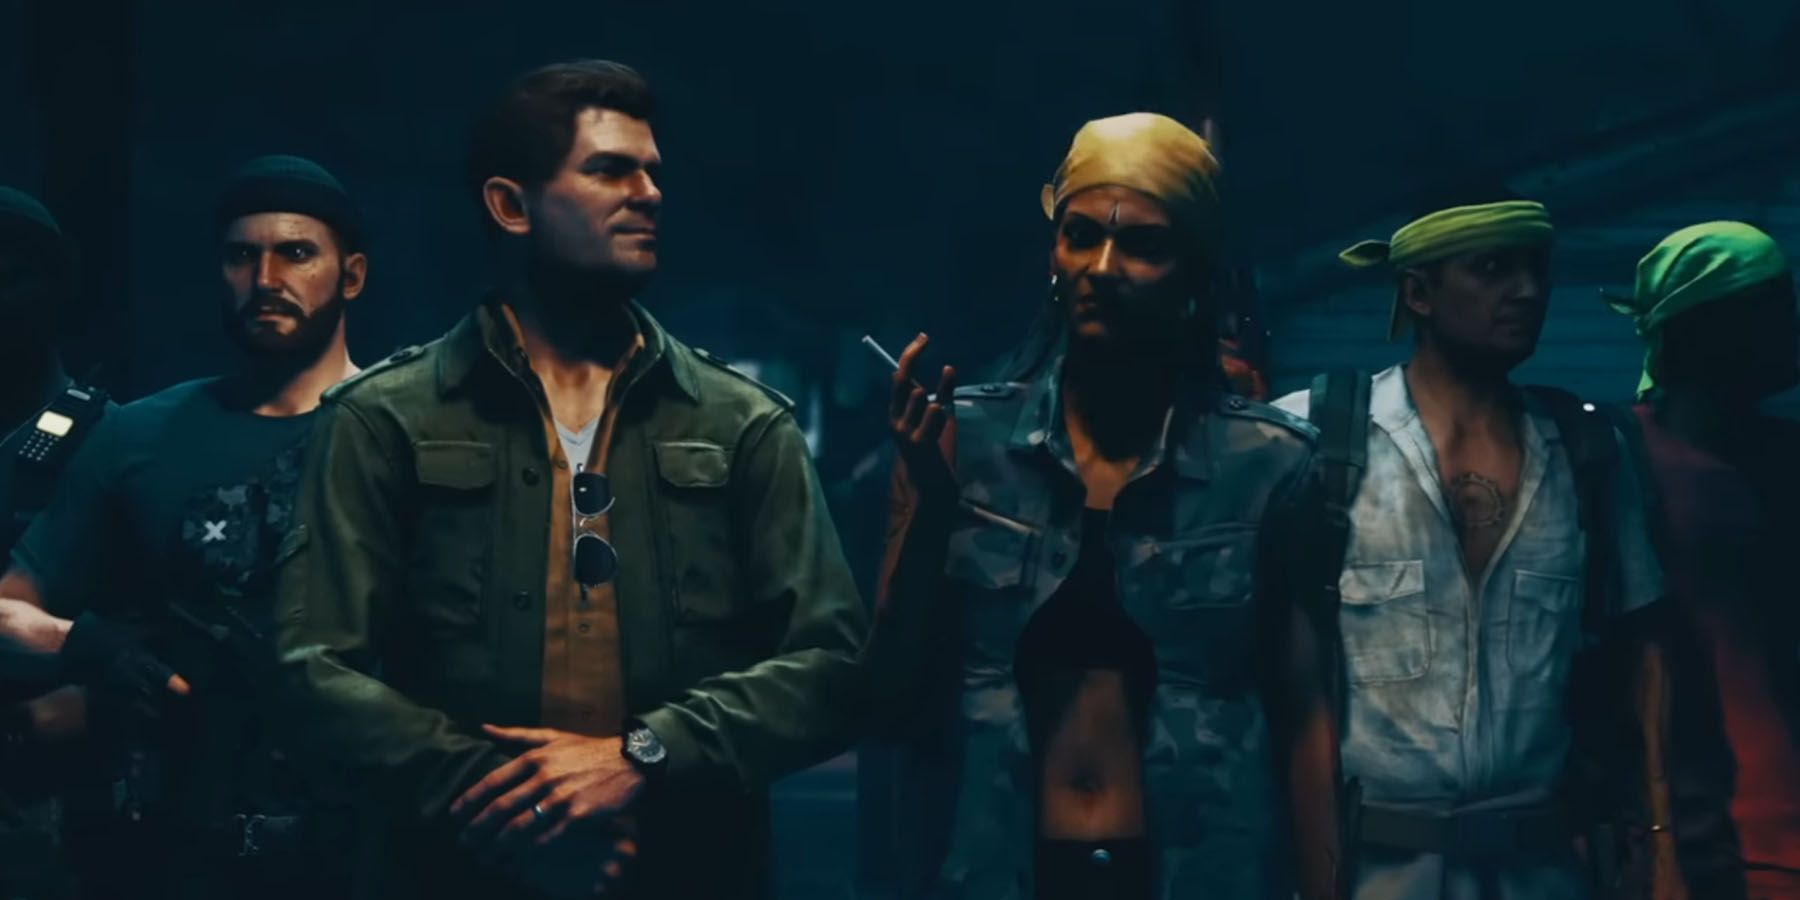
When players take the leftmost pathway from the Western Beach, they end up in a large and straightforward cave system. This is actually the Militia Cave that serves as the main headquarters of Noel Crest's rogue group. Most notable in this location are Colonial Ruins which have been transformed into a makeshift base.
- Colonial Ruins: This is the largest structure inside the Militia Cave, with the Colonial Ruins having multiple entryways and exit points that players can use to their advantage.
Workshop
Going to the rightmost pathway from the Western Beach will lead players to the largest southern shore area that houses the Workshop. This location houses multiple boats alongside various forms of buildings near the docks, just along the sandbar. Going to the end of the sandbar is a small section that leads players to the Radar Tower. Turning left immediately sends players to the Village. This area is open enough that there’s not a lot of room for Agent 47 to be reckless with his activities.
- Workshop: The Workshop is the first and largest structure players would see, evident by the large structural road that gives them access to the building.
Village
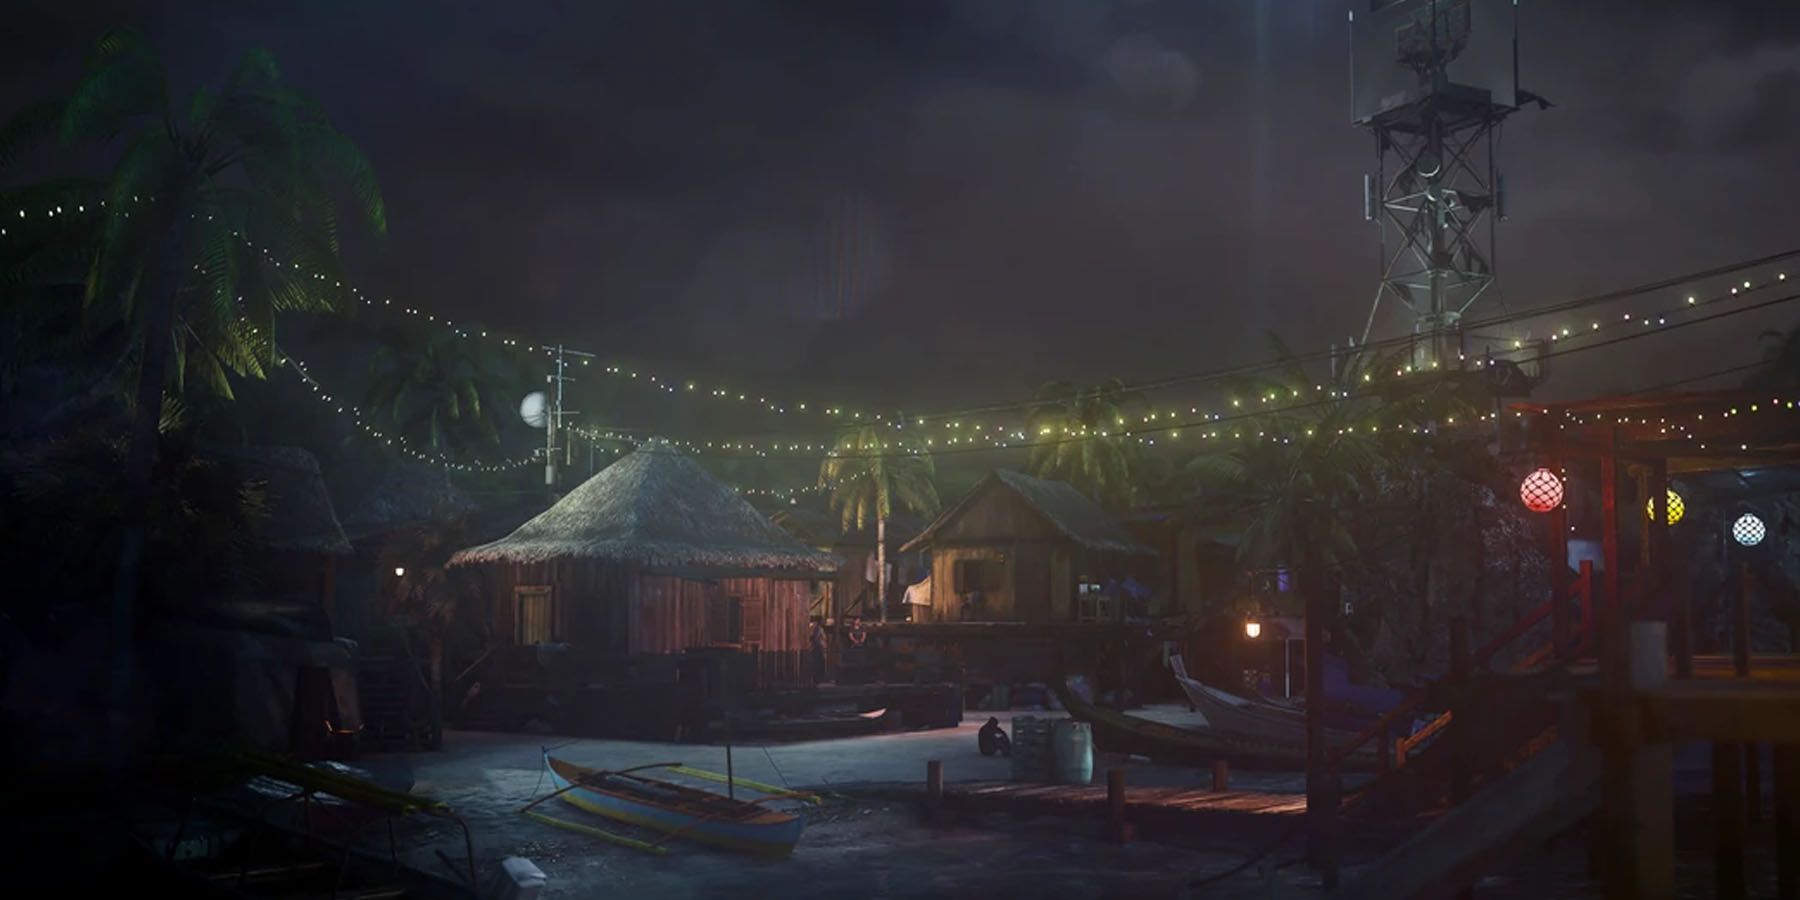
Proceeding above the Workshop or straight ahead via the center-right road from the Western Beach sends players to the Village. As the name implies, this is a collection of small roads in between households of various sizes. This is a relatively straightforward patch of land in between the Middle Beach and the Workshop area.
- Village Proper: The Village houses various houses that players may enter and traverse for a wide variety of reasons, and usually for hiding. Around 13-14 houses exist in the location, divided by three (3) small alleys.
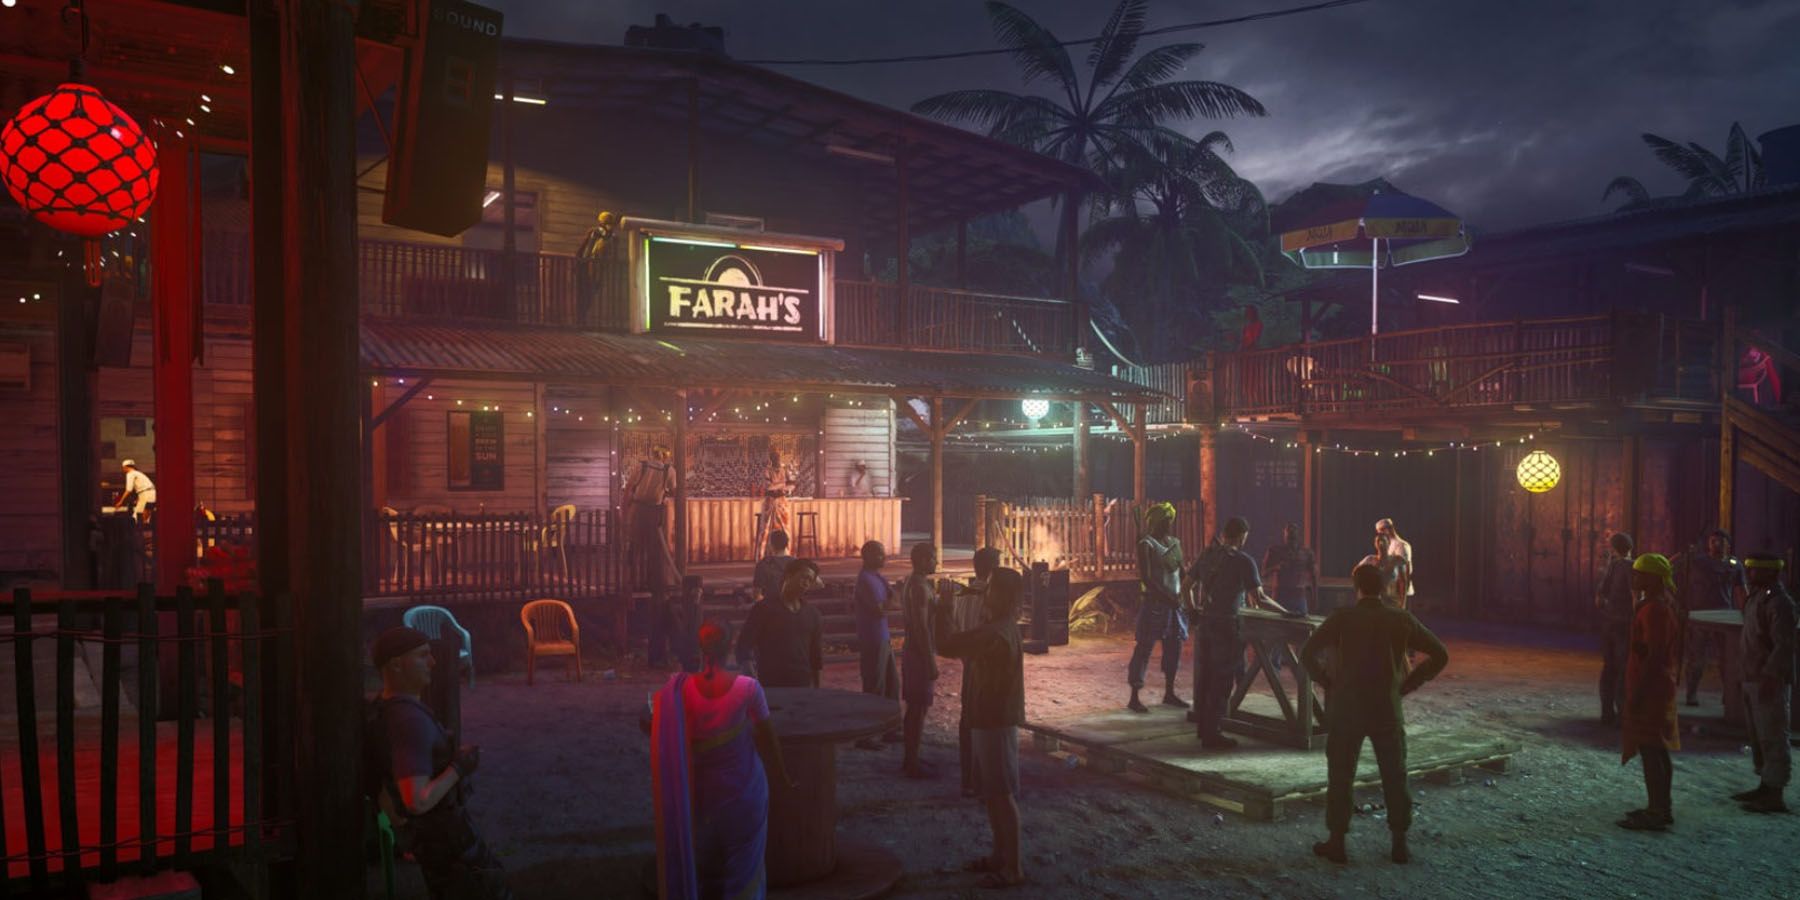
- Farah's Place: The compound of Farah is situated to the north of the Village Proper, and consists of 2-3 major structures.
Radar Tower
The Radar Tower is located on the rightmost side of the Island, where there's the least foliage and more roadworks. The Tower itself is located inside a compound that has a group of houses.
- Radar Tower: The most prominent part of this area of the Island is the gargantuan Radio Tower, visible from almost any part of the location.
- Hostage Hut: Left of the Tower is a Hostage Hut, which may be relevant to the player's pursuit of gameplay objectives.
- Akka's Hut: Adjacent to the Hostage Hut is Akka's Hut, another major location in the game.
Mission: Shadow In The Water
The main mission associated with Ambrose Island in Hitman 3 gameplay is Shadow In The Water. Chronologically speaking, this is the sixth mission in the Hitman 2 timeline and happens just before Hitman 3 takes place. However, with regards to mission sequence, “Shadow” serves as the game’s extra seventh mission, right after “Untouchable” which serves as the sixth and final mission of Hitman 3.
In the mission brief, it’s revealed that Agent 47’s handler Diana Burnwood and supporting character Lucas Grey have caught wind that the enigmatic Constant will be present in a gathering of the Providence’s members in a few weeks.
This discovery jumpstarts the sequence of missions in the core Hitman 3 experience. Meanwhile, Grey has asked for Agent 47 and Diana’s assistance in dealing with his former Militia members, which his former right-hand Noel Crest has seized control. Under Crest’s command, the Militia has begun committing heists all over the globe, to the point of stealing control of a satellite for an upcoming extortion scheme. Grey needs this stopped, as the growing power of the Militia can catch the attention of the Providence secret society, which Grey and his Militia is originally targeting.
Mission Overview
When players begin the “Shadows” mission in the Hitman title, they are presented with various mission parameters. While there are numerous side quests available for players to accomplish, there are main three (3) objectives that they need to finish. As usual, the game offers Ambrose Island as a large-enough sandbox for players to use to find numerous ways of finishing the job.
- Target: Noel Crest, the former associate of Lucas Grey.
- Target: Sinhi “Akka” Ventham, the leader of the pirates located in the Island.
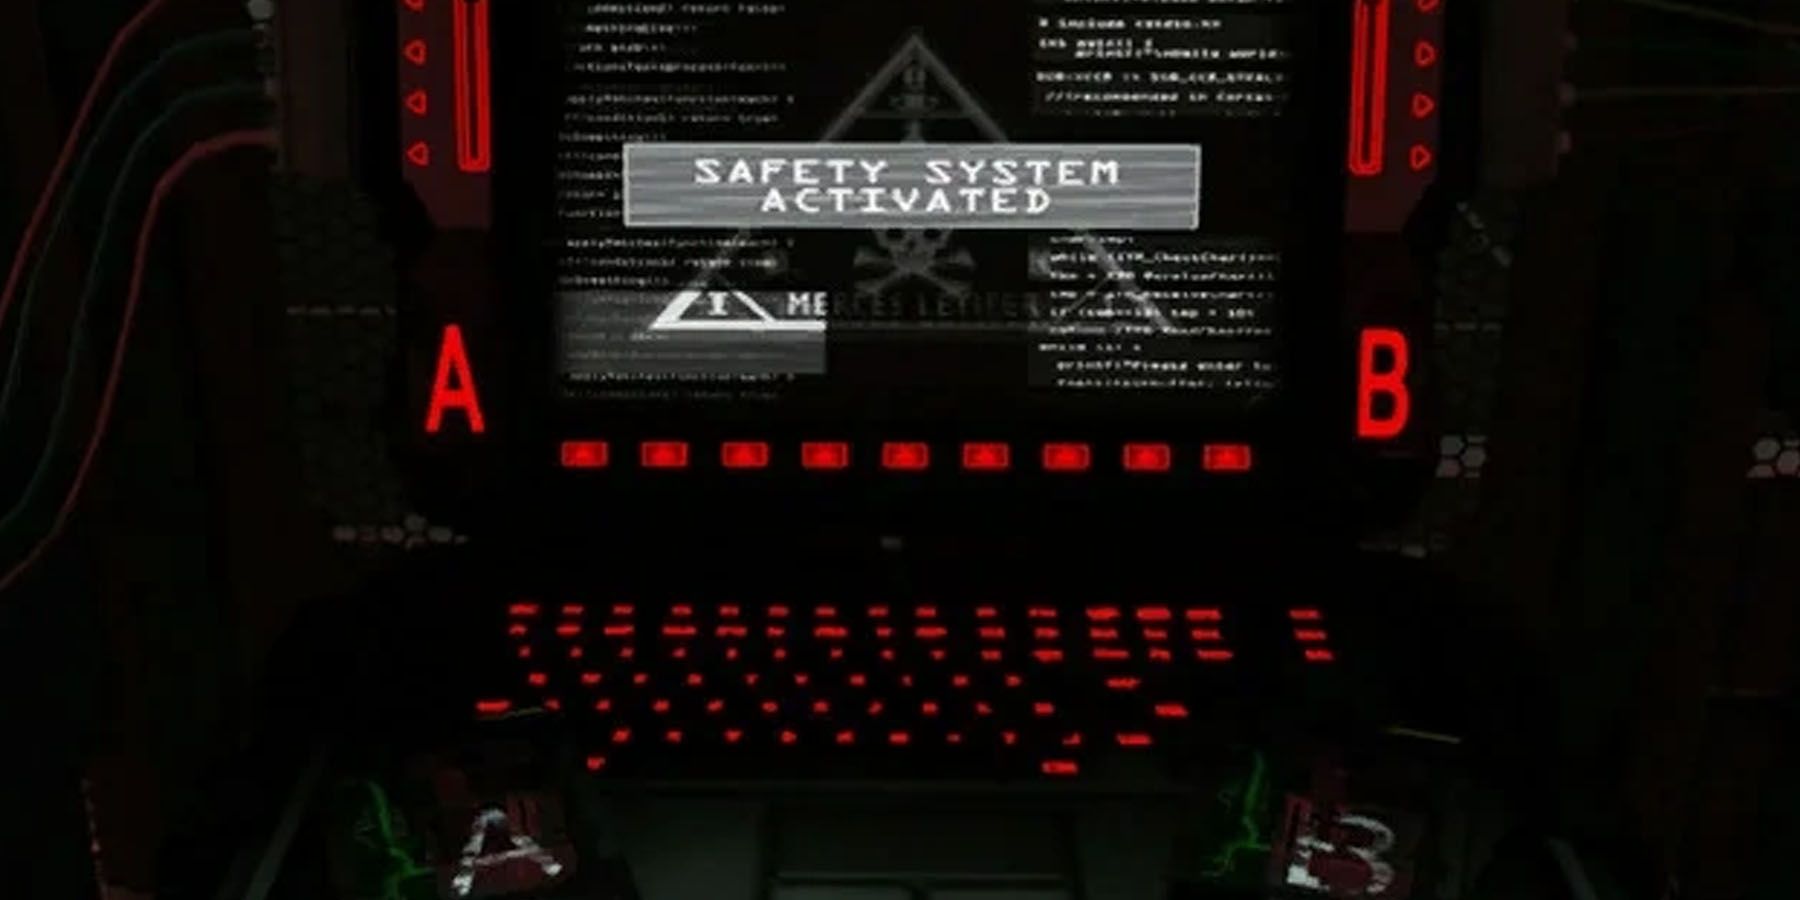
- Objective: Deny access to the Surveillance Satellite, either by destroying or disabling its core mechanism.
Step 0: Mission Preparation
Before players proceed to start the “Shadows” mission in the stealth game, it’s important to understand how Agent 47 can prepare for the situation more appropriately. While there are a multitude of ways of approaching the mission that are available in the Island proper, the most important items players should smuggle into Ambrose Island or acquire throughout the mission are the following:
- Lockpick: There are certain segments in the map that are locked and can only be opened by the Lockpick.
- Krugermeier: Silent shots from the Krugermeier make it a nifty firearm to bring. Not to mention, it can get loud enough to cause distractions for the player’s favor.
- Lethal Poison Vial: One of the most efficient ways of eliminating both targets involve poison, so it’s handy to get one (1) to two (2) Lethal Poison Vials in the location.
Step 1: Poisoning Crest
One of the best approaches to the Hitman mission is to kill both targets with the same method, which removes a lot of the back-and-forth across the Island’s areas that may risk exposure to the player. To do this double-kill setup, players need to do the following things:
- Acquire the second Lethal Poison Vial: As soon as players spawn, they should go to the big tree closes to them. This has a Lethal Poison Vial, which is a nifty second container should players fail to bring one with them.
- Go to Farah’s Place: Players should head to Farah’s Place, the bar in the Village. There should be a staircase to the left of the bar, which players should use to go up. They should find a locked door when they walk around the balcony.
- Go inside the locked door: When players reach the locked door, they should time their approach as soon as the guard looks away during their patrol. It’s at this time that players can pick the lock of the door via the Lockpick and enter.
- Poison the drink: Inside the room, players should go to the glasses of whisky and use the Lethal Poison Vial in the right glass. This is the glass Crest will drink from and cause poisoning.
Step 2: Preparing The Second Poison
When players manage to poison Crest’s glass, it’s time to do the same to Akka’s. Unfortunately, players won’t likely get access to two (2) Lethal Poison Vials on the get-go, meaning they have to grab another poison elsewhere and ruin Akka’s drink in a different location. Continuing from where they left off in their Hitman playthrough:
- Leave the room: After poisoning Crest’s glass, players should leave the room and go back down. They should leave the bar via the north path so they can access the beach alongside a bridge near it.
- Check the emetic flower: Upon reaching the bridge, players should head to the left side. There should be a vine players could climb up. From the top of that area, players should head towards the jungle area and make a sharp right upon seeing the nearest path. This leads them to an emetic flower, which provides another poison for players to use.
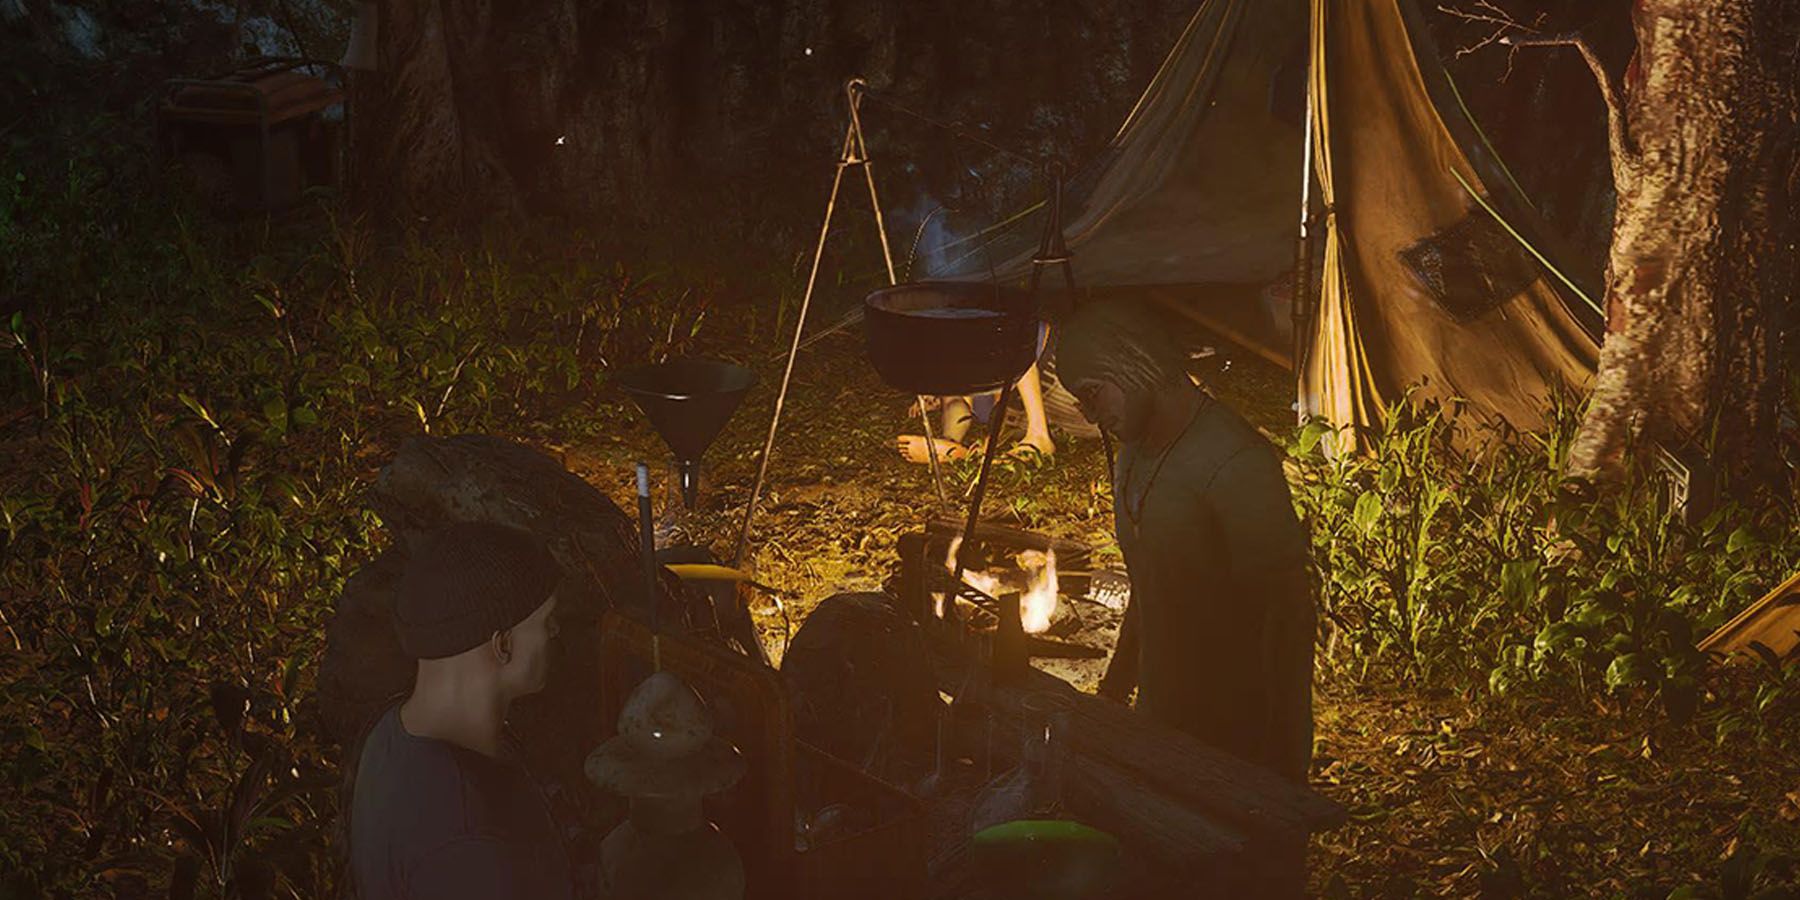
- Find the campsite: When checking out the emetic flower, players should’ve passed a staircase. They should go back to this staircase and into a small campsite. Interacting with the student there will reveal he is a biochemistry student working on his thesis. Handing him the emetic flower will have him transform this into lethal poison.
- Grab the Knife: After getting the new Lethal Poison Vial, players should look for the Knife in the nearby tree. They should grab this for later use.
Step 3: Poisoning Akka
Once players acquire their new Lethal Poison Vial, now is the time to poison Akka. This time around, Hitman players should follow these steps to ensure they can poison Akka’s drink inside her office without being spotted:
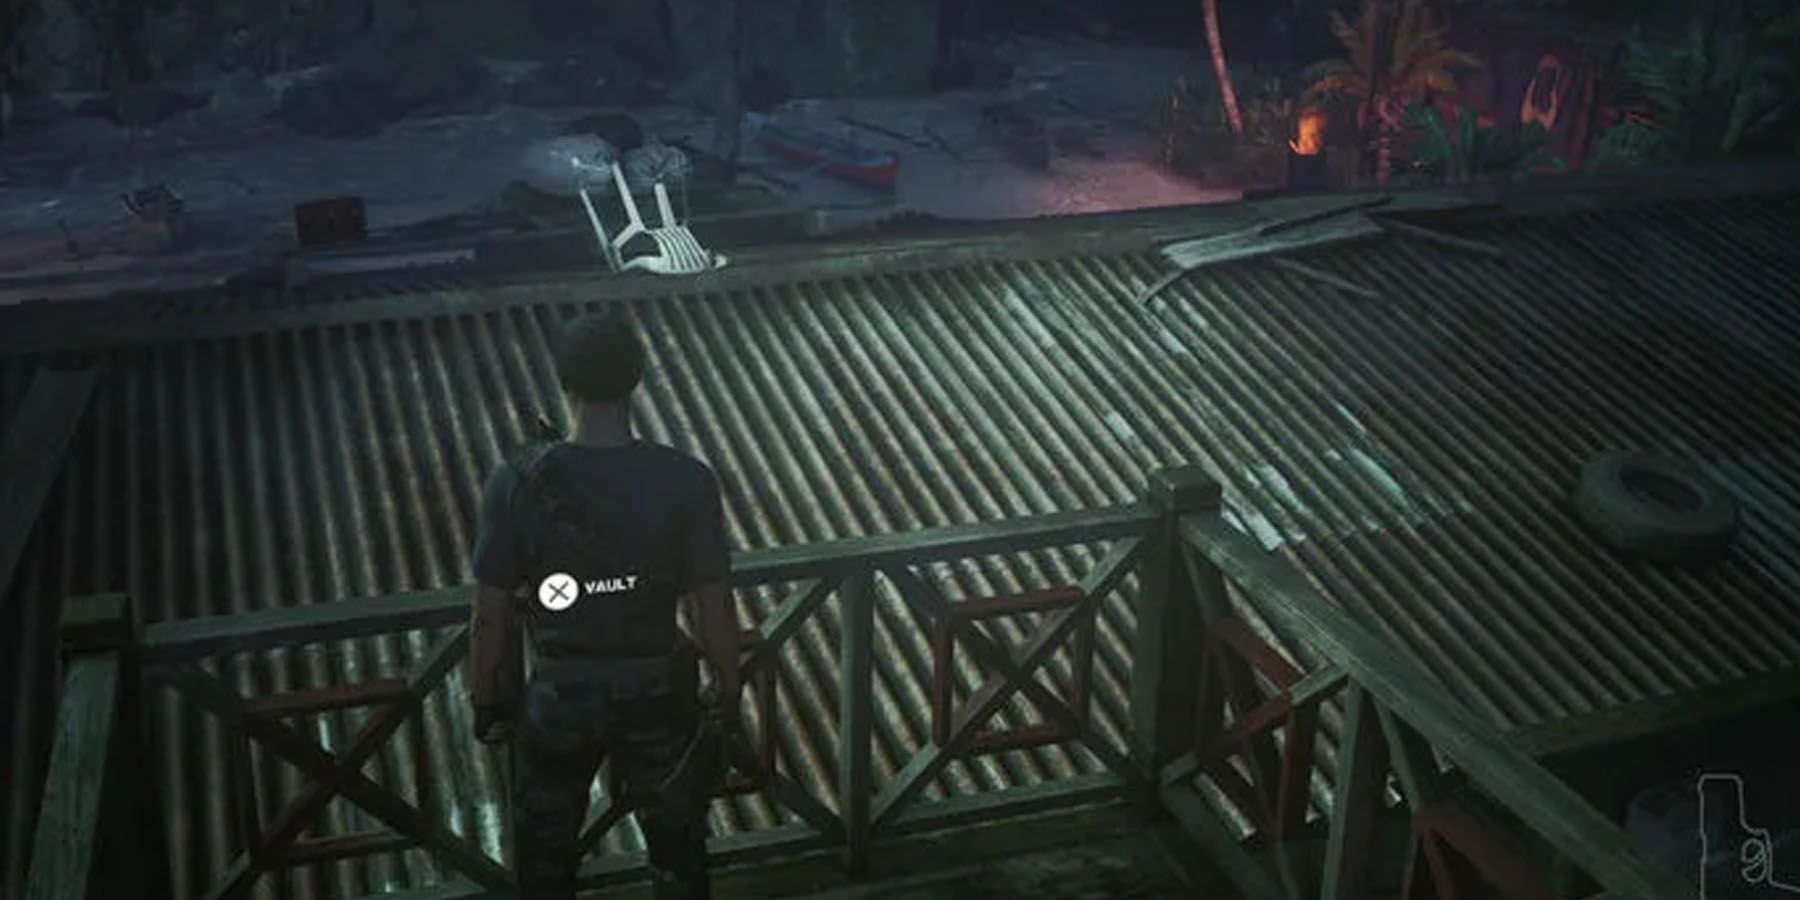
- Head to the Pirate Building: When players go back up the same staircase, they should make a quick turn right. They should be able to do a vault on the railing and get to the roof, which is the house closest to the Pirate Building.
- Take note of the storage chest: Players should go to the right and climb on the Pirate Building veranda, specifically the location in front of a storage chest anda generator.
- Grab the Crowbar: There’s a window near the veranda, which players should climb to get into the next room. There should be two (2) guards in the room. Players can move to the small counter area to the left, which serves as cover. There’s a Crowbar there, which they should grab.
- Go outside: From this location, there’s a door nearby. Players should open this and go to the bushes on the other side of the path. Looking upwards to the power pole will reveal two (2) cameras to players, which they should shoot.
- Get back to the Pirate Building: From the bushes, players should spot a building in front of them, which is the same Pirate Building from a different view. They should use the Crowbar to open the nearby window, and then get inside. There should be a nearby guard there, who players can incapacitate and put in a storage chest.
- Poison Akka’s whisky: Inside the same building, players should take note that both the other guard and Akka shouldn’t be able to spot them. It helps to use Instinct Vision near Akka’s office to ensure she’s not there, as she periodically goes back to her room. Once inside, players can use their new Lethal Poison Vial to poison Akka’s whisky.
Step 3a: Double-Kill Execution
Once players manage to set up the Lethal Poison Vials in the right locations, it’s time to trigger the situation that actually fulfills the Hitman execution. Since these kills are all done with poison, they’re considered Accidental Kills and therefore bypass the risk of their bodies being spotted. Here’s what players should do:
- Get out of Akka’s Office: Players should exit Akka’s Office from their initial entrance while still paying close attention to the patrolling guard.
- Get to the Radio Tower quickly: In front of the containers close to the patrolling guard is the Radio Tower, which should be the player’s next destination. They should do this quickly, as it’s most ideal for Akka to get to the meeting first before drinking her whisky at home.
- Eliminate the guard on top of the Tower: Before players make it to the top of the Tower, they will notice a nearby patrolling guard. Thankfully, throwing the Crowbar at the guard should eliminate them quickly. There’s no need to drag his body away as no one else climbs the Tower.
- Trigger the meeting: Once players reach the top of the Tower, they should light it up with the button in the interface. This triggers the meeting between Crest and Akka, which takes place in the original room with the first poisoned whisky.
- Wait for the lockdown to finish: When Crest drinks his whisky, he dies. This naturally forces Akka to go into panic mode and cause a lockdown, which should subside after a few minutes. This triggers her usual routine and have her return to her office and drink her own glass of whisky, which should trigger her death.
Step 4: Disable/Destroy The Satellite
By the time players start executing their double-kill plan, they should proceed to the final objective - which is to either disable or destroy the satellite. This takes place in the area of the Radio Tower. Following the double-kill method earlier, players should be at the top of the Radio Tower and should descend carefully and elude the guard leading into the prisoner room, and then use that location to get out of the pirate compound. While there are guards in the entrance, they won’t be able to blow the Hitman player’s cover.
Get The Kill Notification
Proceeding further into the entrance, players will see the vine they’ve used earlier that leads to the opposite end of the beach. Players should go down and head towards the nearest cave, which is the location of the final objective in the Hitman mission. It is by this time that the game gives a Kill Notification for Crest and Akka. While this triggers the final objective, their deaths won’t affect the player’s progress dealing with the satellite.
Satellite Destruction
When players go into the cave, they should follow these specific steps:
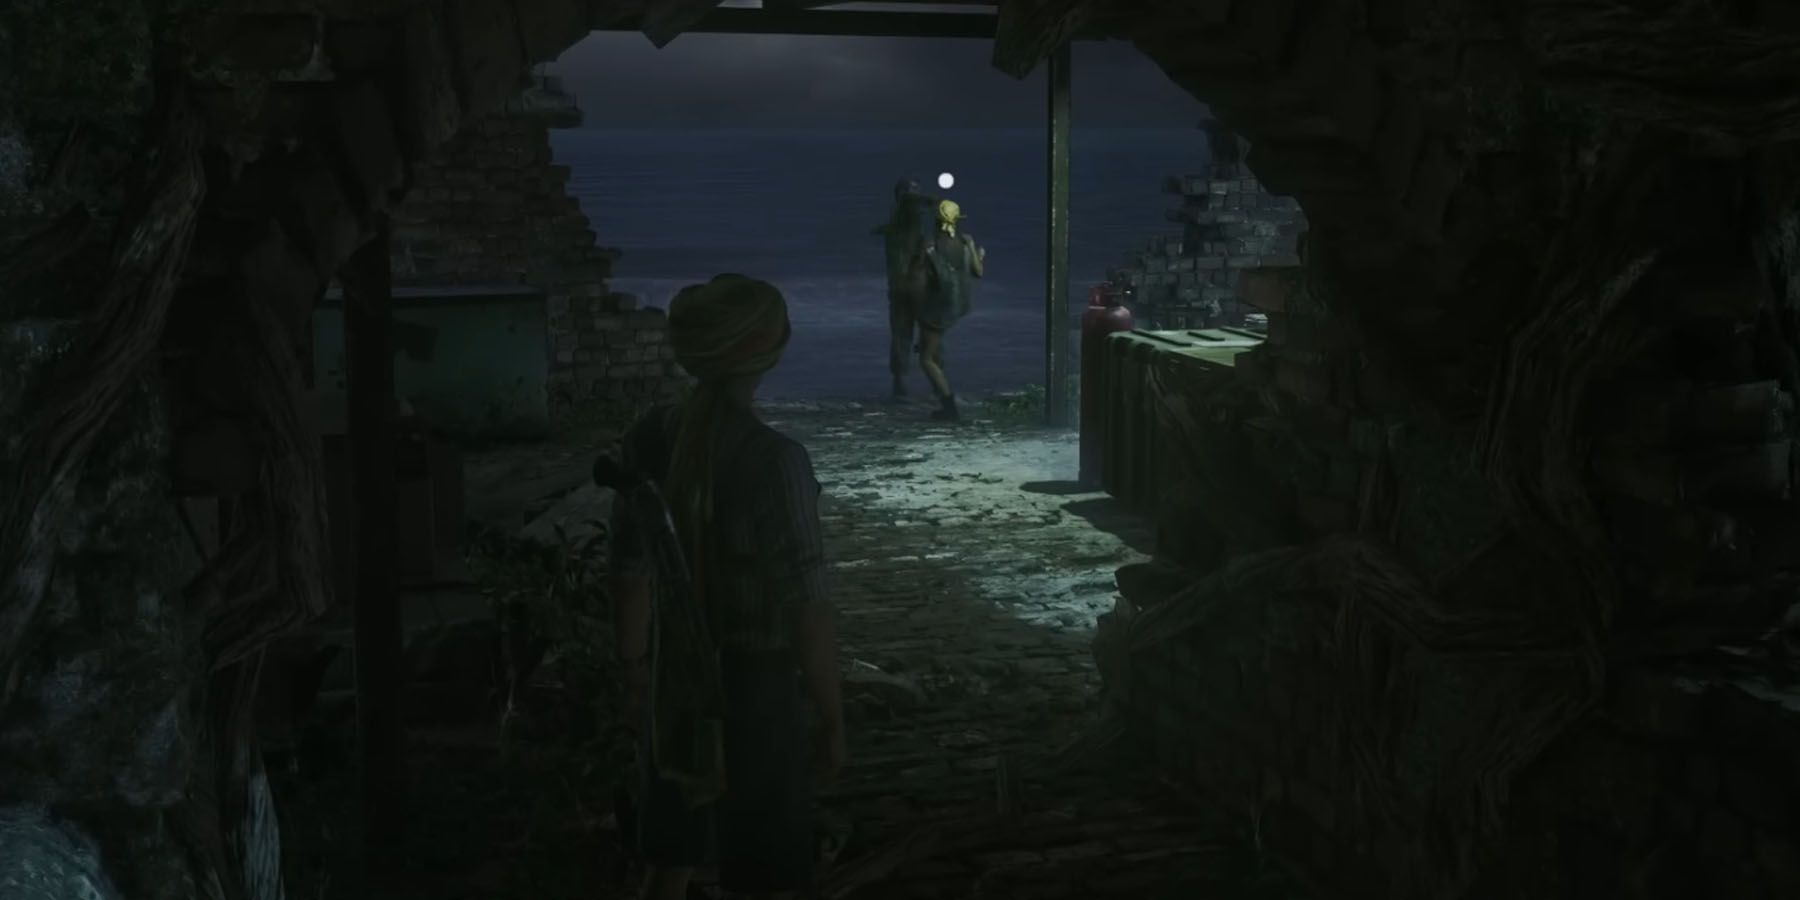
- Secure the cave entrance: As soon as they enter the cave, they should shoot the camera on the ceiling. This alerts a guard to the direction of the shot, and players should hide. When the guard finishes the observation, players should knock him out as soon as possible. Be mindful that there is another guard that patrols the immediate area, so players should take out the first guard only after the second guard reaches halfway to the other side of the cave to avoid being heard.
- Eliminate the second guard: As soon as the second guard is out of the way, that should give Agent 47 enough time to drag the first guard to the nearby storage chest. Players should hide out here first to wait for the second guard to patrol the area again, which leaves them wide open once they start navigating to the other end of the cave. This gives players room to subdue that guard and store him in the chest alongside the first guard.
- Get the Screwdriver: Now that the guards are subdued, players can go to the main cavern. As they spot the first set of boxes, they can see a Screwdriver on a crate. Players should grab this item as it’s essential to the final part of the mission.
- Screw with the satellite: Players should proceed to the central platform and then vault to reach its highest point. There will be a prompt to use the Screwdriver on the back part of the platform, and then another prompt to use the Knife from earlier to cut a wire.
- Finish the objective: Doing the Screwdriver maneuver earlier allows Agent 47 to disable the satellite quietly, which they can do so from the other side fo the main terminal.
Step 5: Escape The Island
After players disable the satellite, now is the time for them to secure the Silent Assassin rating in their Hitman gameplay. They can do this by first destroying all security footage from the terminal, especially since cameras are also considered as guards. Players can do this by going to the area with the grate, and then use their Instinct Vision to destroy the surveillance unit nearby.
Players should then leave the cave from the entrance they’ve used. Theoretically, players can escape via the cavern deep within the satellite, but acquiring the keys here without disguises can become tough. Instead, players should follow the extraction point as per Lucas Grey’s instruction, or even escape from the Western Beach.
Extra: Challenge Routes
While the above double-kill via poison is one of the fastest ways to accomplish Ambrose Island’s mission, there are other objectives players can try to pursue that can earn them various Challenge Rewards. This may force them to use other assassination methods for each of the Targets, however. Here are some challenge routes players may want to try for the sake of sheer thrill:
…I Thought About It
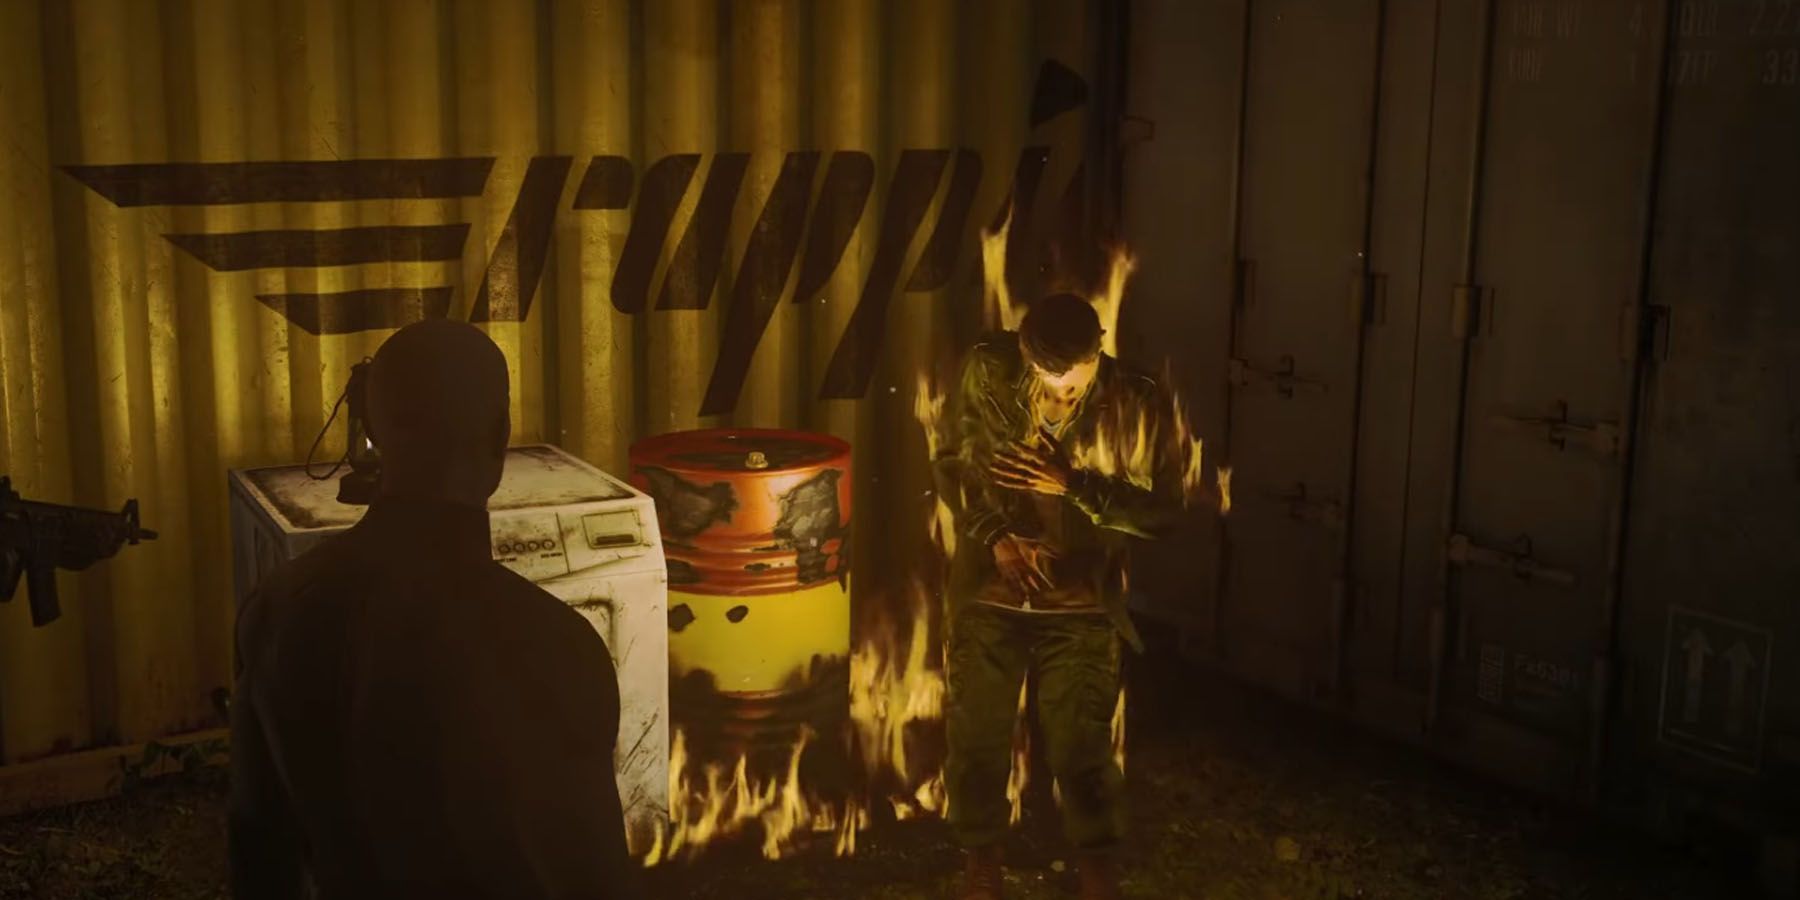
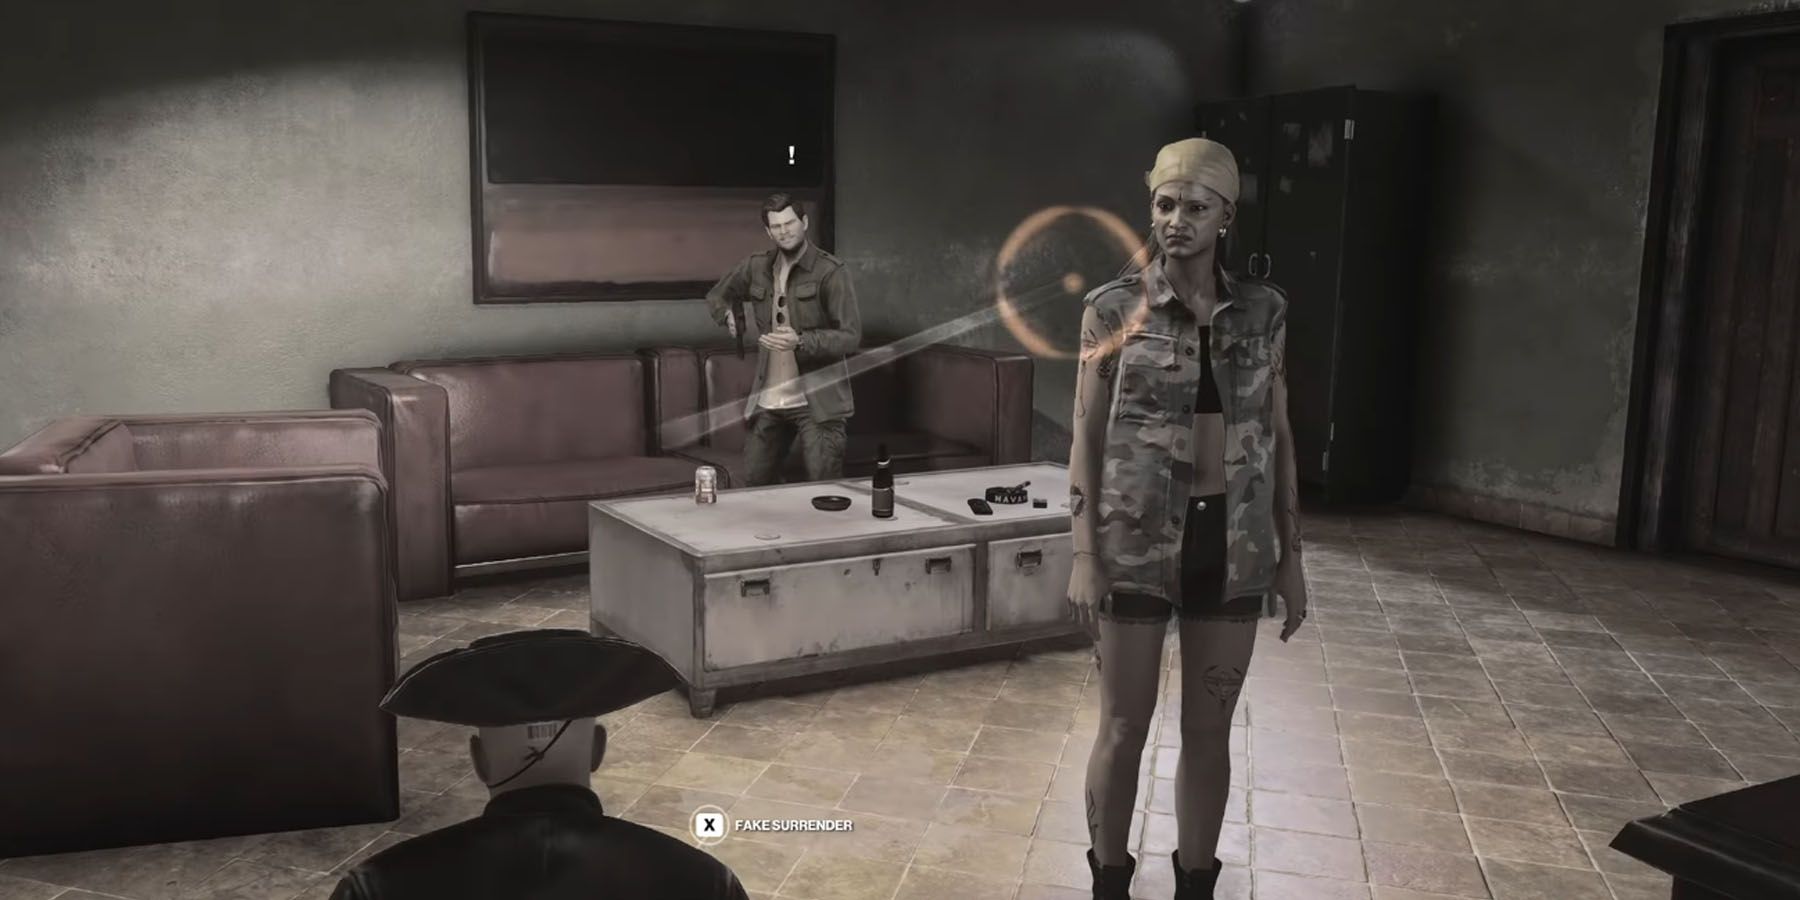
At some point during the player’s visit to Farah's Place, four (4) militia guards will challenge Agent 47 in a slapping contest. Winning against all of them will capture Noel’s attention, and they will bring players to a secluded area to talk. There’s a nearby oil barrel in that area. Players can puncture that area beforehand, so Noel burns to death as soon as he lights his smoke.
A Bridge Too Far
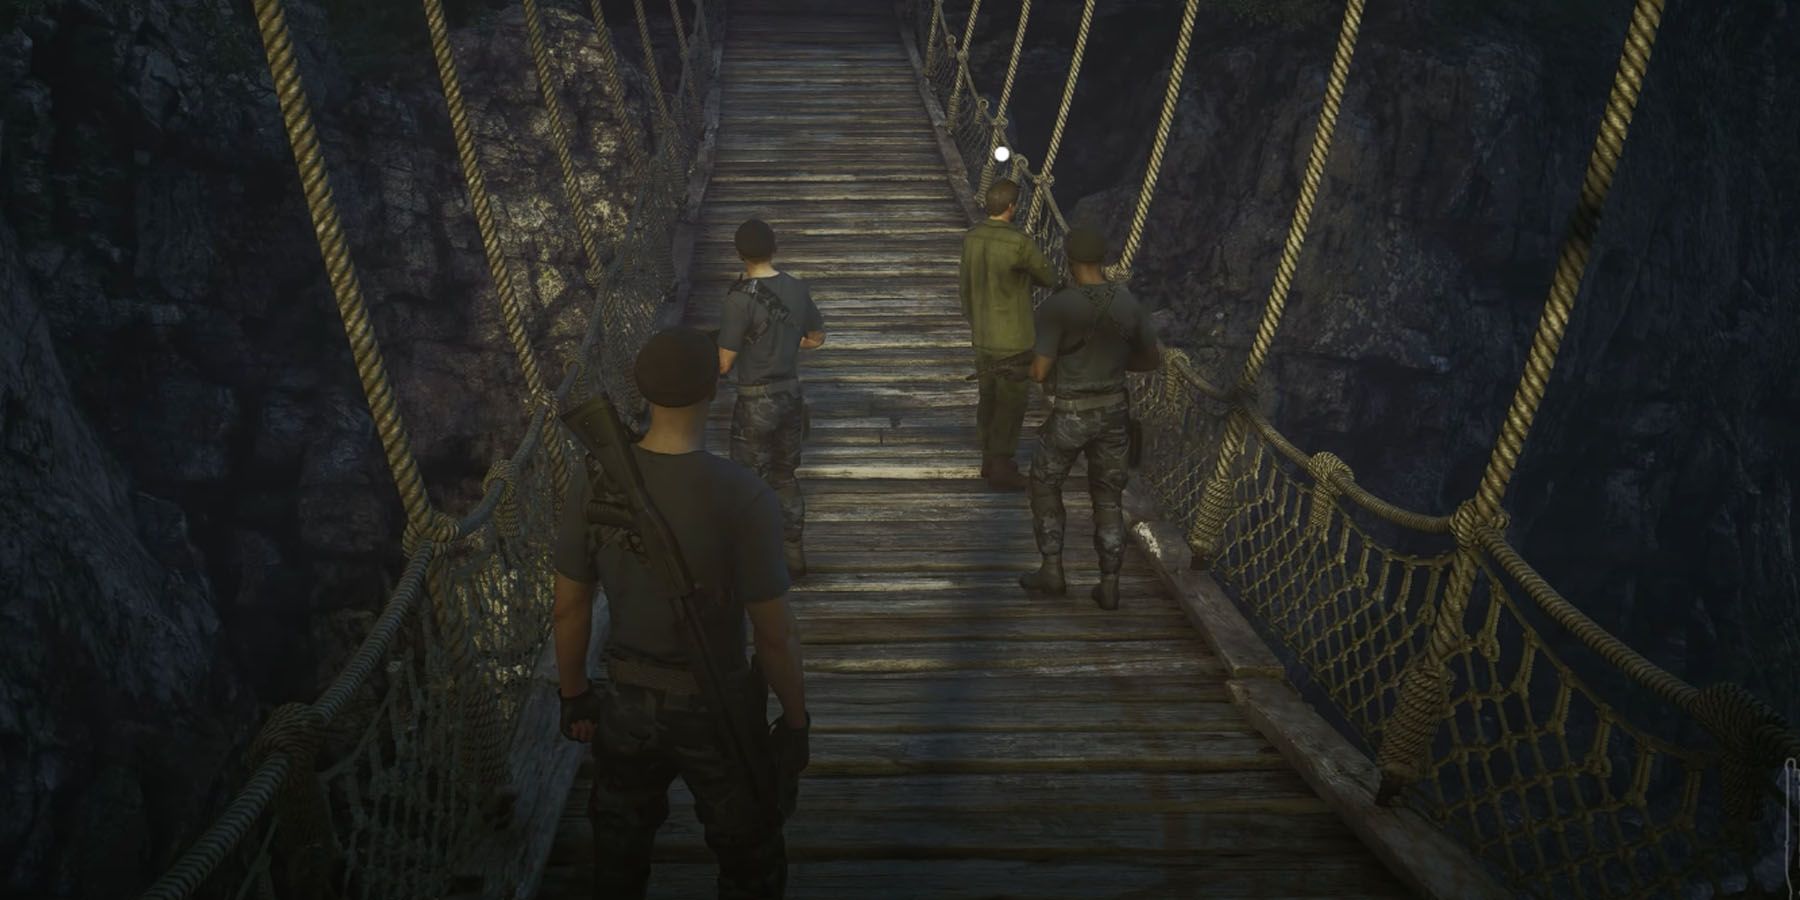
Another alternate method to kill Noel is inside the Colonial Ruins. Players should locate the antenna near the area and sabotage it so Noel checks it out. After fixing the damage, Noel goes back to the Village via the rope bridge. Before he does this, players can loosen a segment of the bridge with a Crowbar. That way, Noel falls off the bridge as soon as he steps on that part of the bridge.
Jump Start
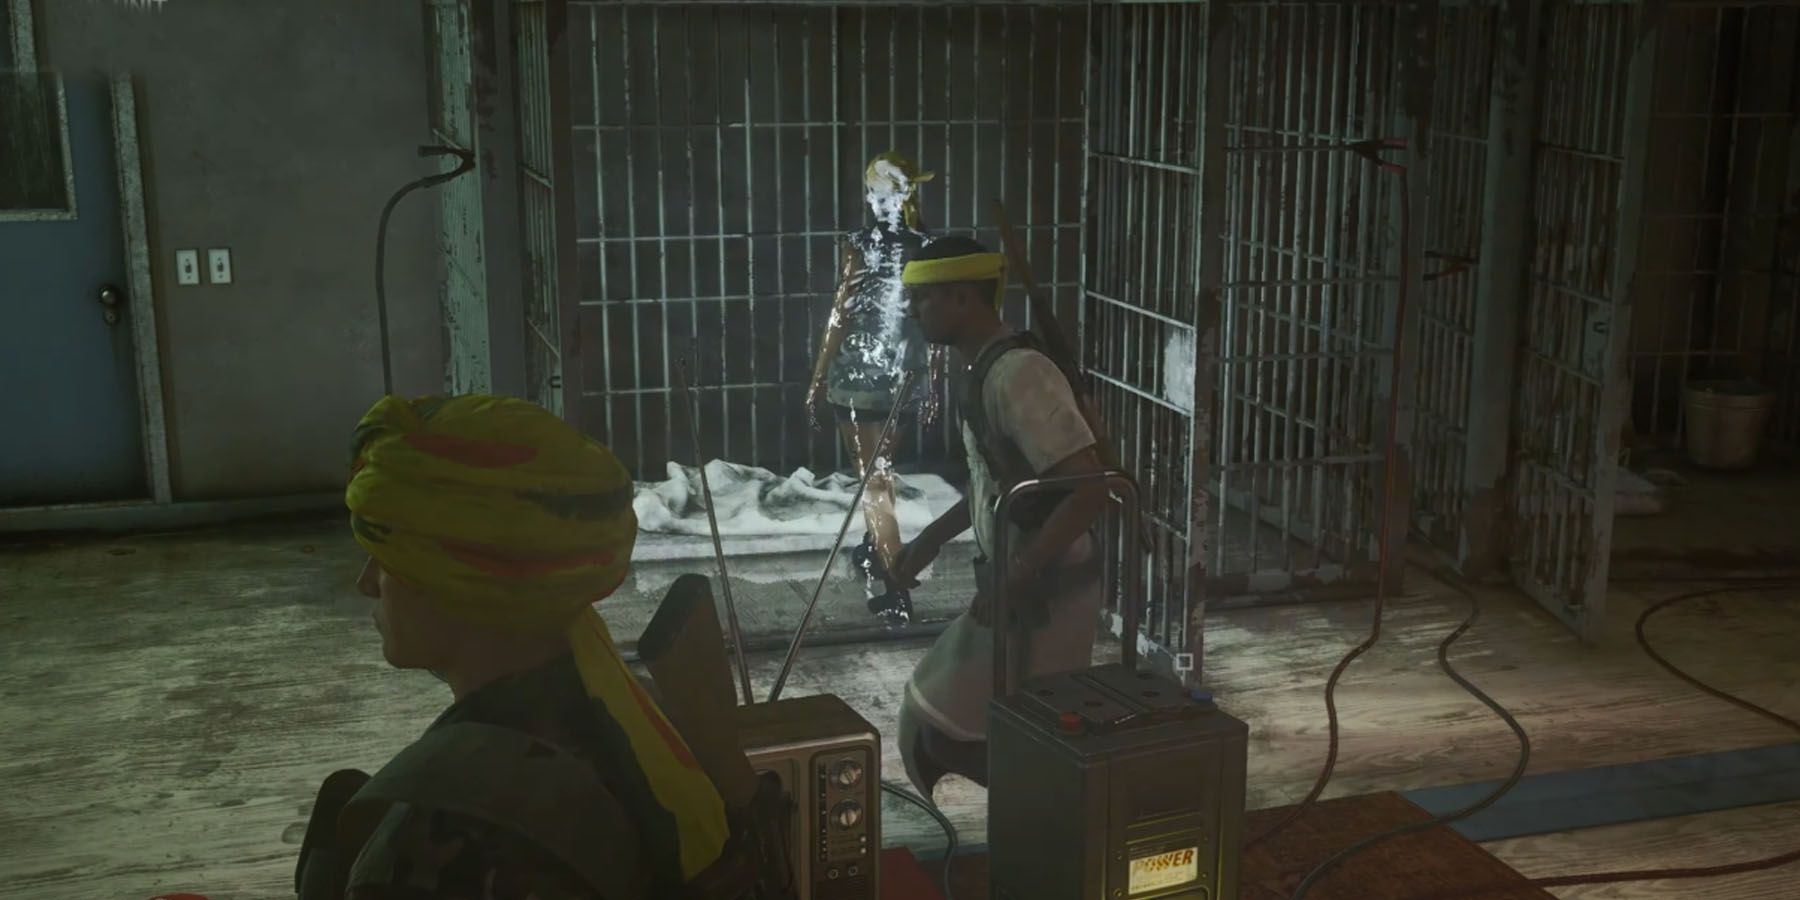
When players reach the Pirate Building, they may spot a hostage area where an Agent Smith and a tanker captain are being held. Once a pirate captures the tanker captain, Akka will be checking out the cage where he is held. If players loosen a valve nearby, this makes the cage wet. This is important, as Akka always carries a car battery when torturing Agent Smith, so she gets electrocuted as soon as she activates this mechanism, making this one of the more gruesome killing methods in Hitman.
A Kill To Treasure + Another For Good Measure
There’s actually a way to score another double kill in this Hitman mission, though this requires a bit more creativity. Players should take a picture of Lance Hsu in the colonial ruins and give it to Akka, either by placing the photo in her office or to Farah in the bar. This will prompt Akka to call a meeting to the tower near the Pirate Building, which will have Akka kick Noel off the tower’s ledge. After this encounter, Akka will smoke near a gas canister. If players loosen this canister, Akka triggers an explosion that kills her, scoring another kill.
A Pirate’s Life For Me
A quirky way to finish this Hitman mission is to grab the buccaneer outfit and a saber, and then kill both Targets with these weapons. Players can acquire both equipment either from Haven Island, or from two (2) locations in the map. The outfit is located in a treasure chest alongside a cave area with cannonballs and gunpowder. Meanwhile, two (2) sabers are hidden near the Colonial Ruins and a gravestone, respectively. However, four (4) braziers around the map should be lit before the gravestone becomes available for digging.
Hitman 3 entered its Year 2 this 2022 and is available for PCs, PS4, PS5, Nintendo Switch, Xbox One, Xbox Series X and S, and Google Stadia.


