Highlights
- Tesla Towers provide high-risk, high-reward AoE protection, targeting enemies within range, but watch out for friendly fire risk.
- Mine Fields offer AoE protection with minimal risk by placing them where Automatons land, ensuring players stay safe.
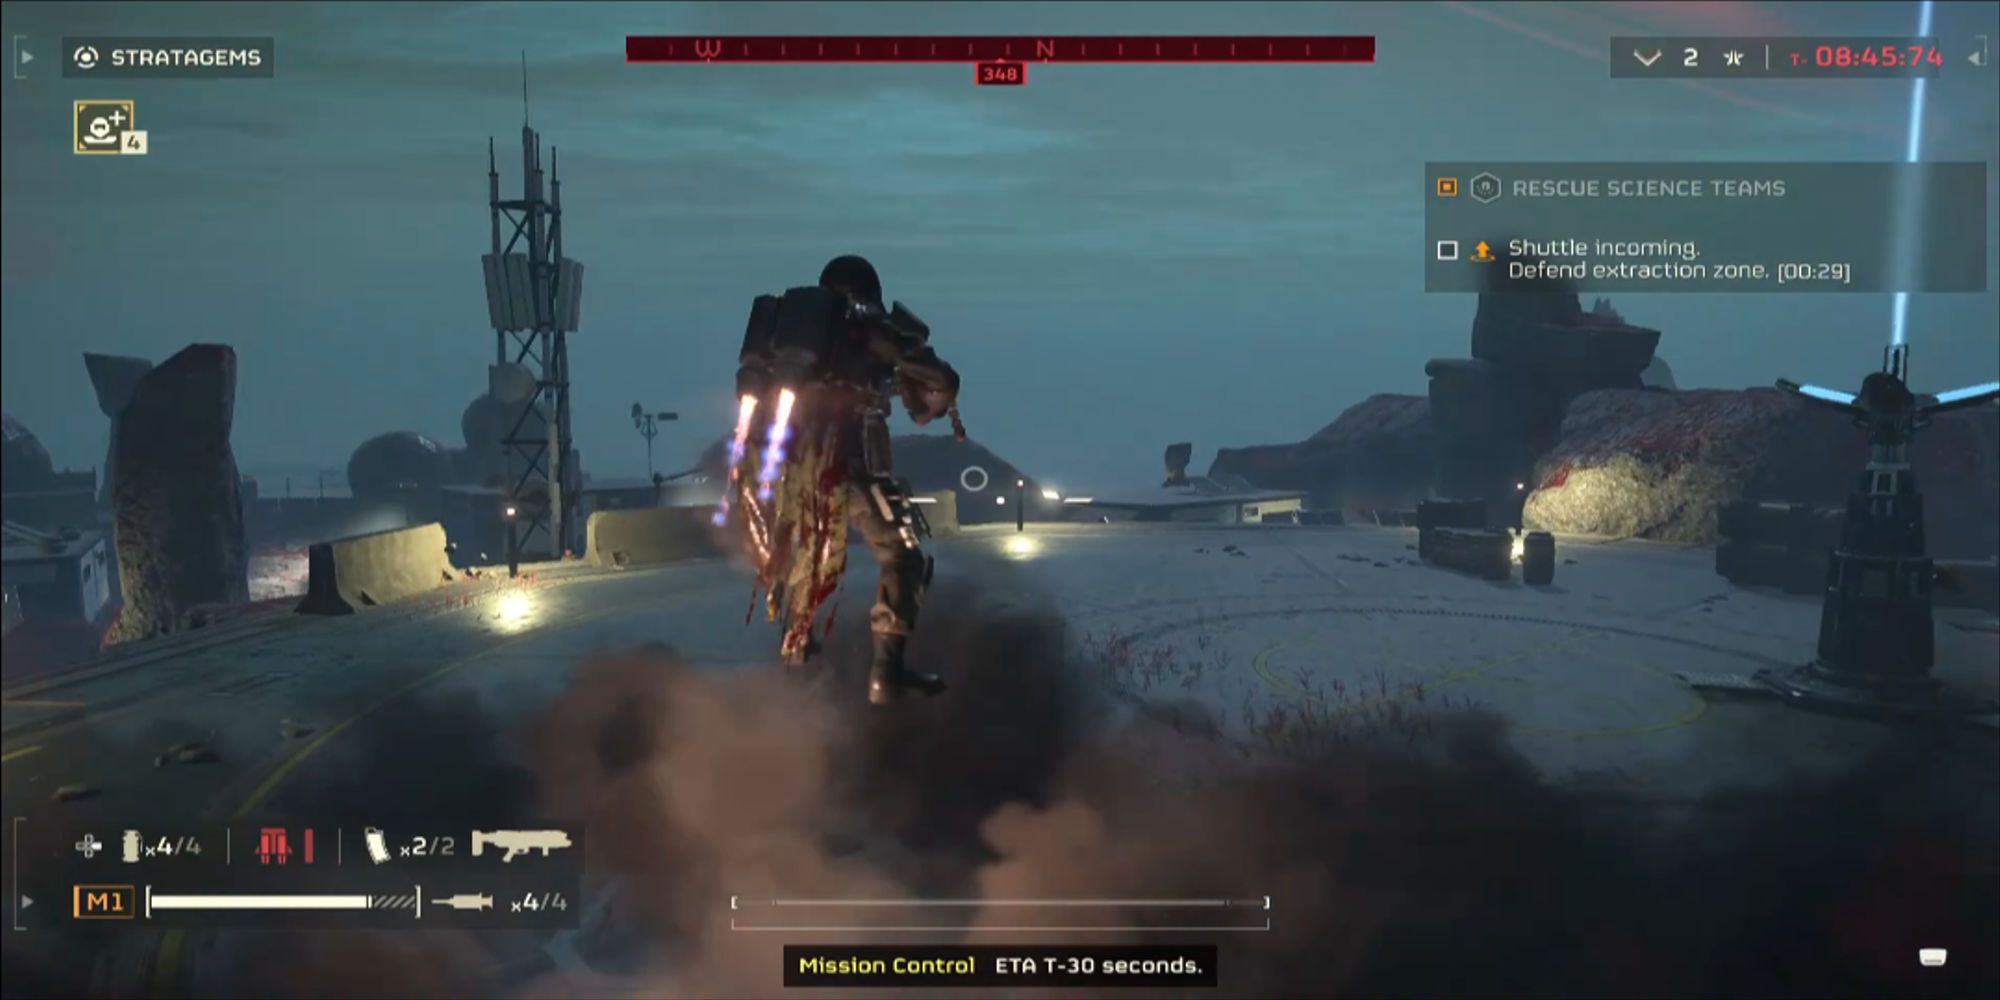
- Jump Packs give extra movement to open doors faster and avoid enemies, while Railguns are powerful but require careful charging to avoid backfiring.
In Helldivers 2, players take on the role of soldiers that drop onto foreign planets and complete missions to advance the cause of Super Earth. There are many different types of missions, ranging from destroying enemy infrastructure to raising Super Earth's flag in specific locations.
Helldivers 2: Best Loadouts, Ranked
The sheer number of different weapons and stratagems in Helldivers 2 means many loadout builds exist. However, these are the best ones overall.
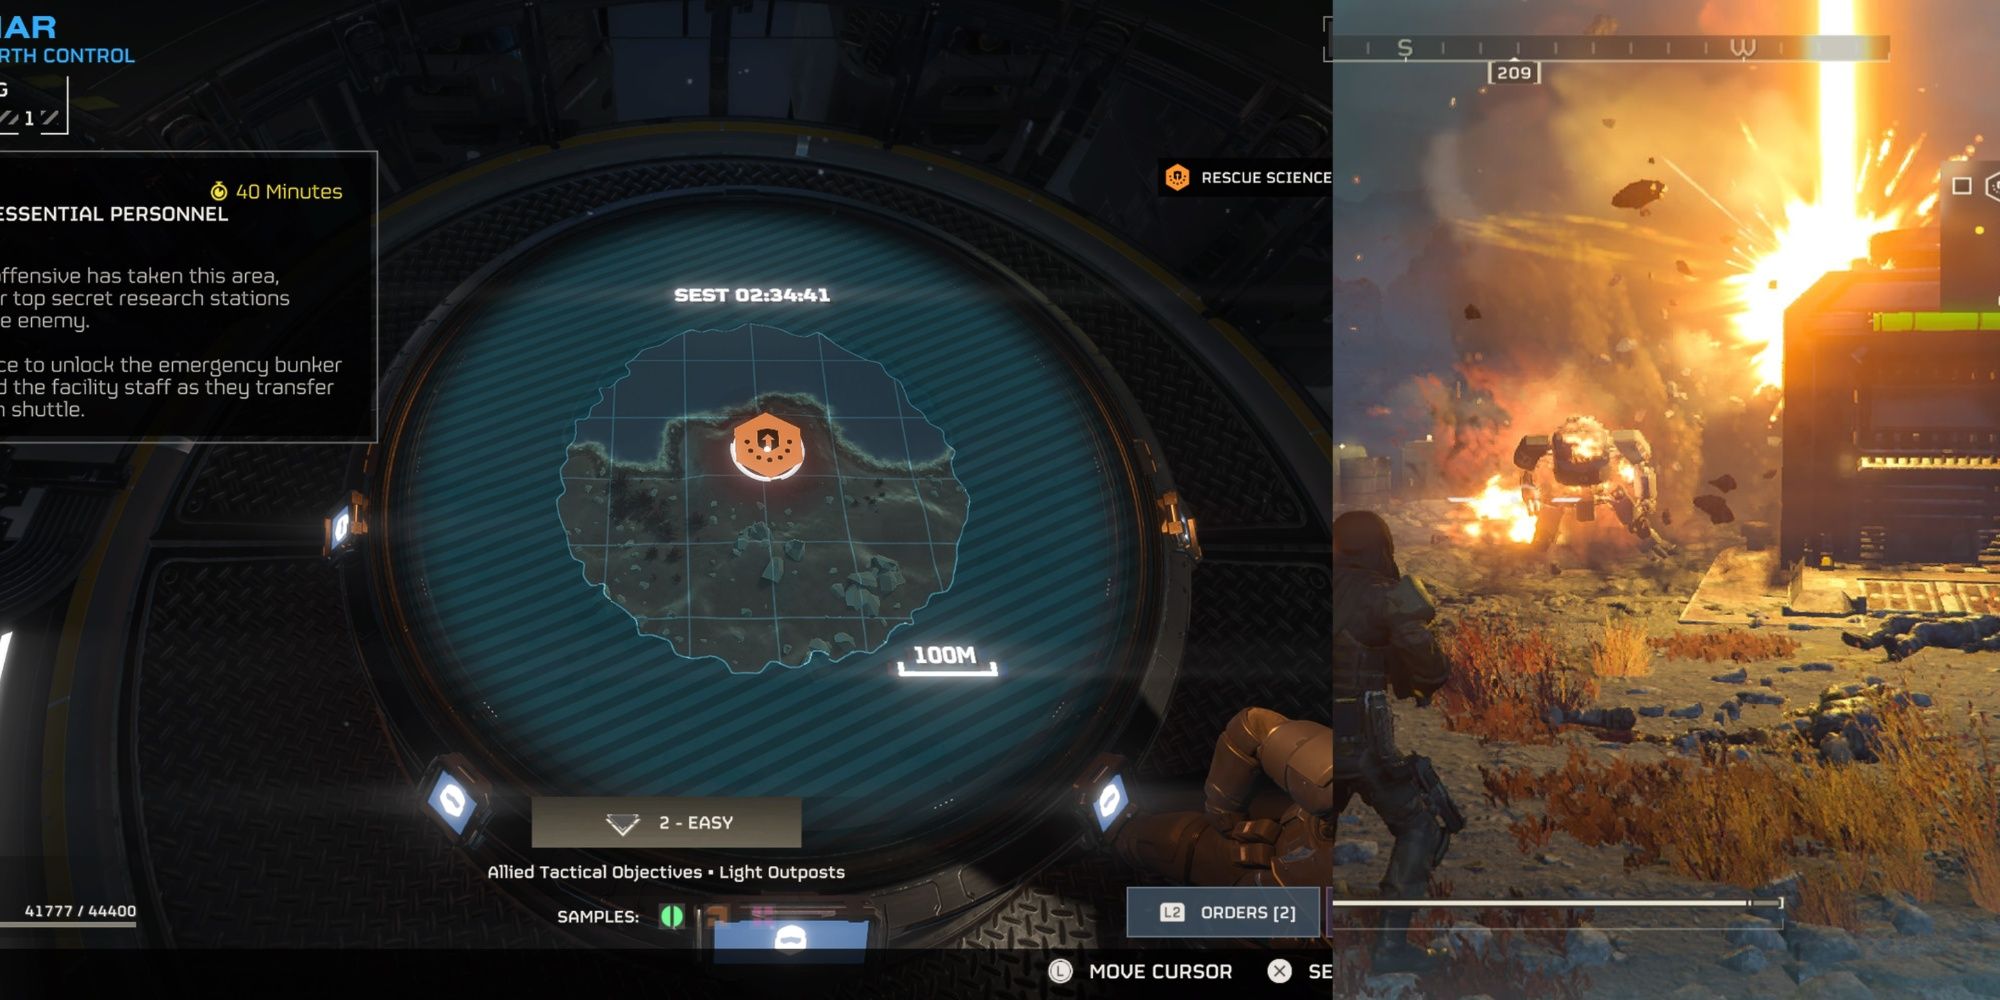
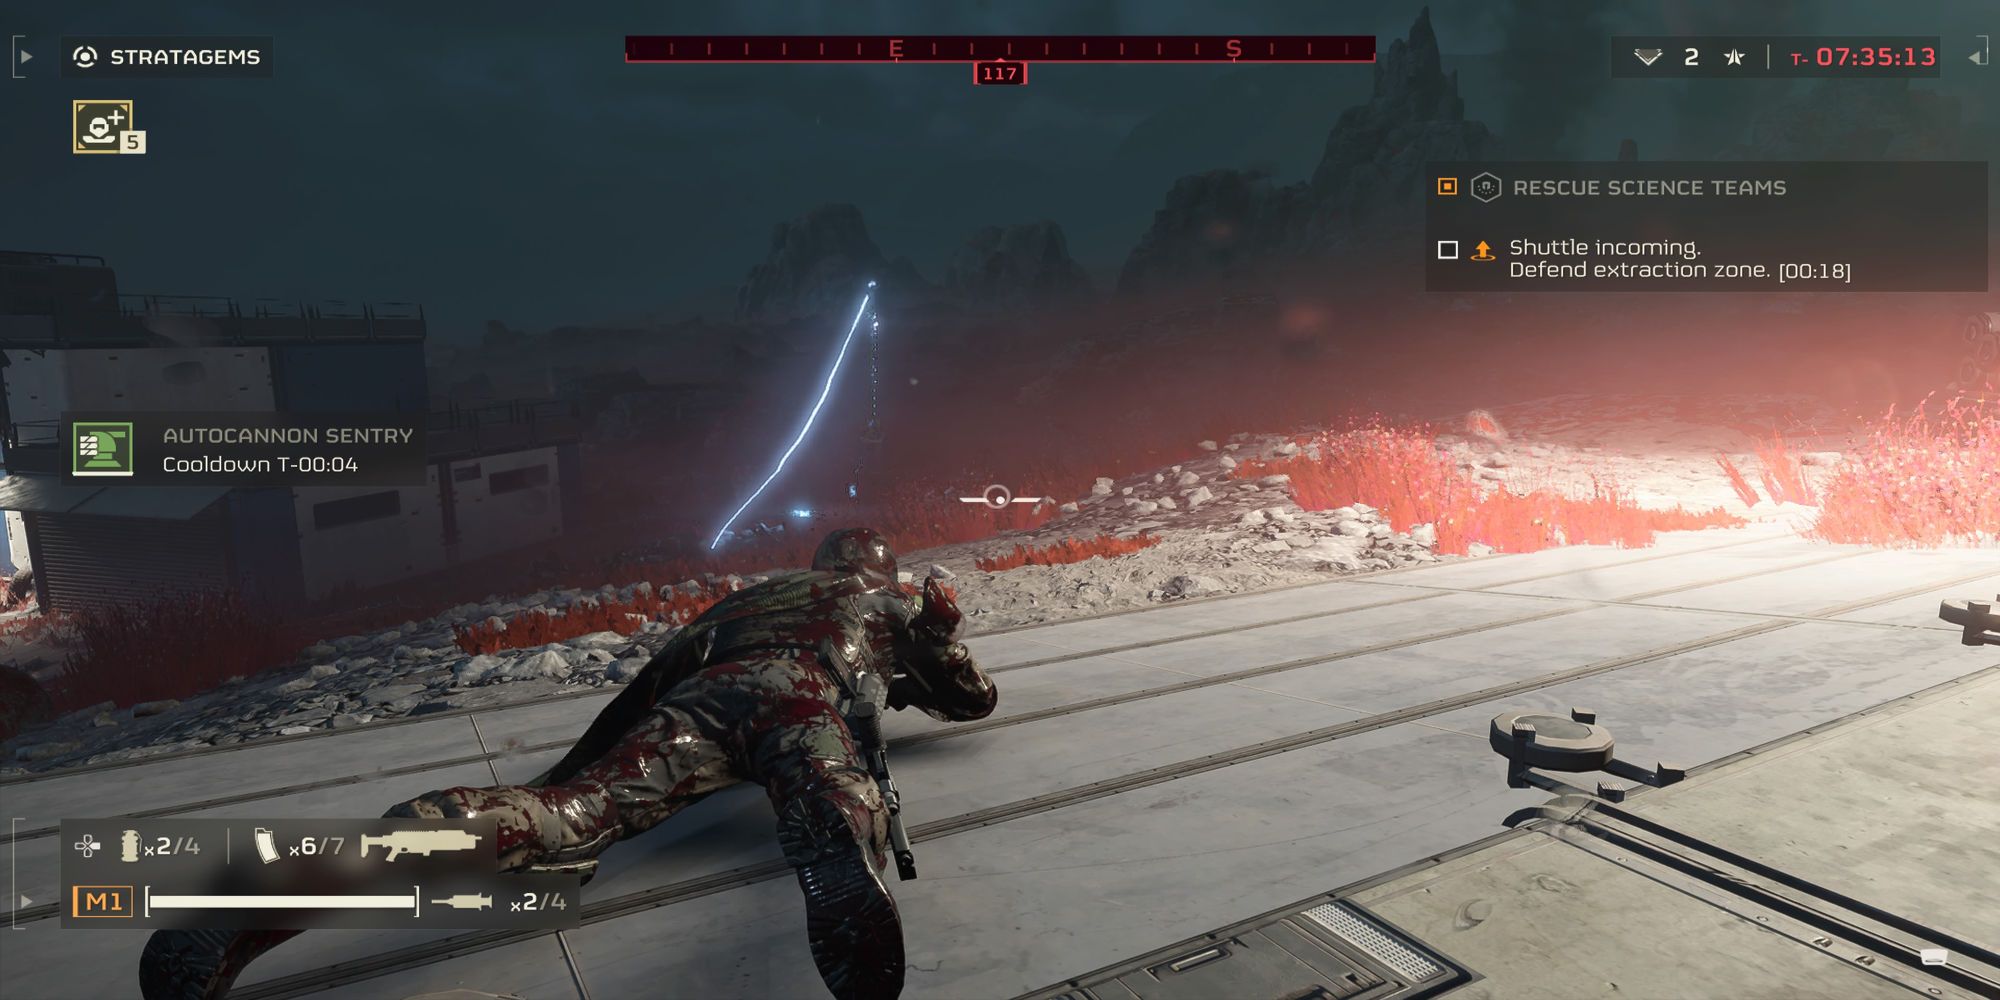
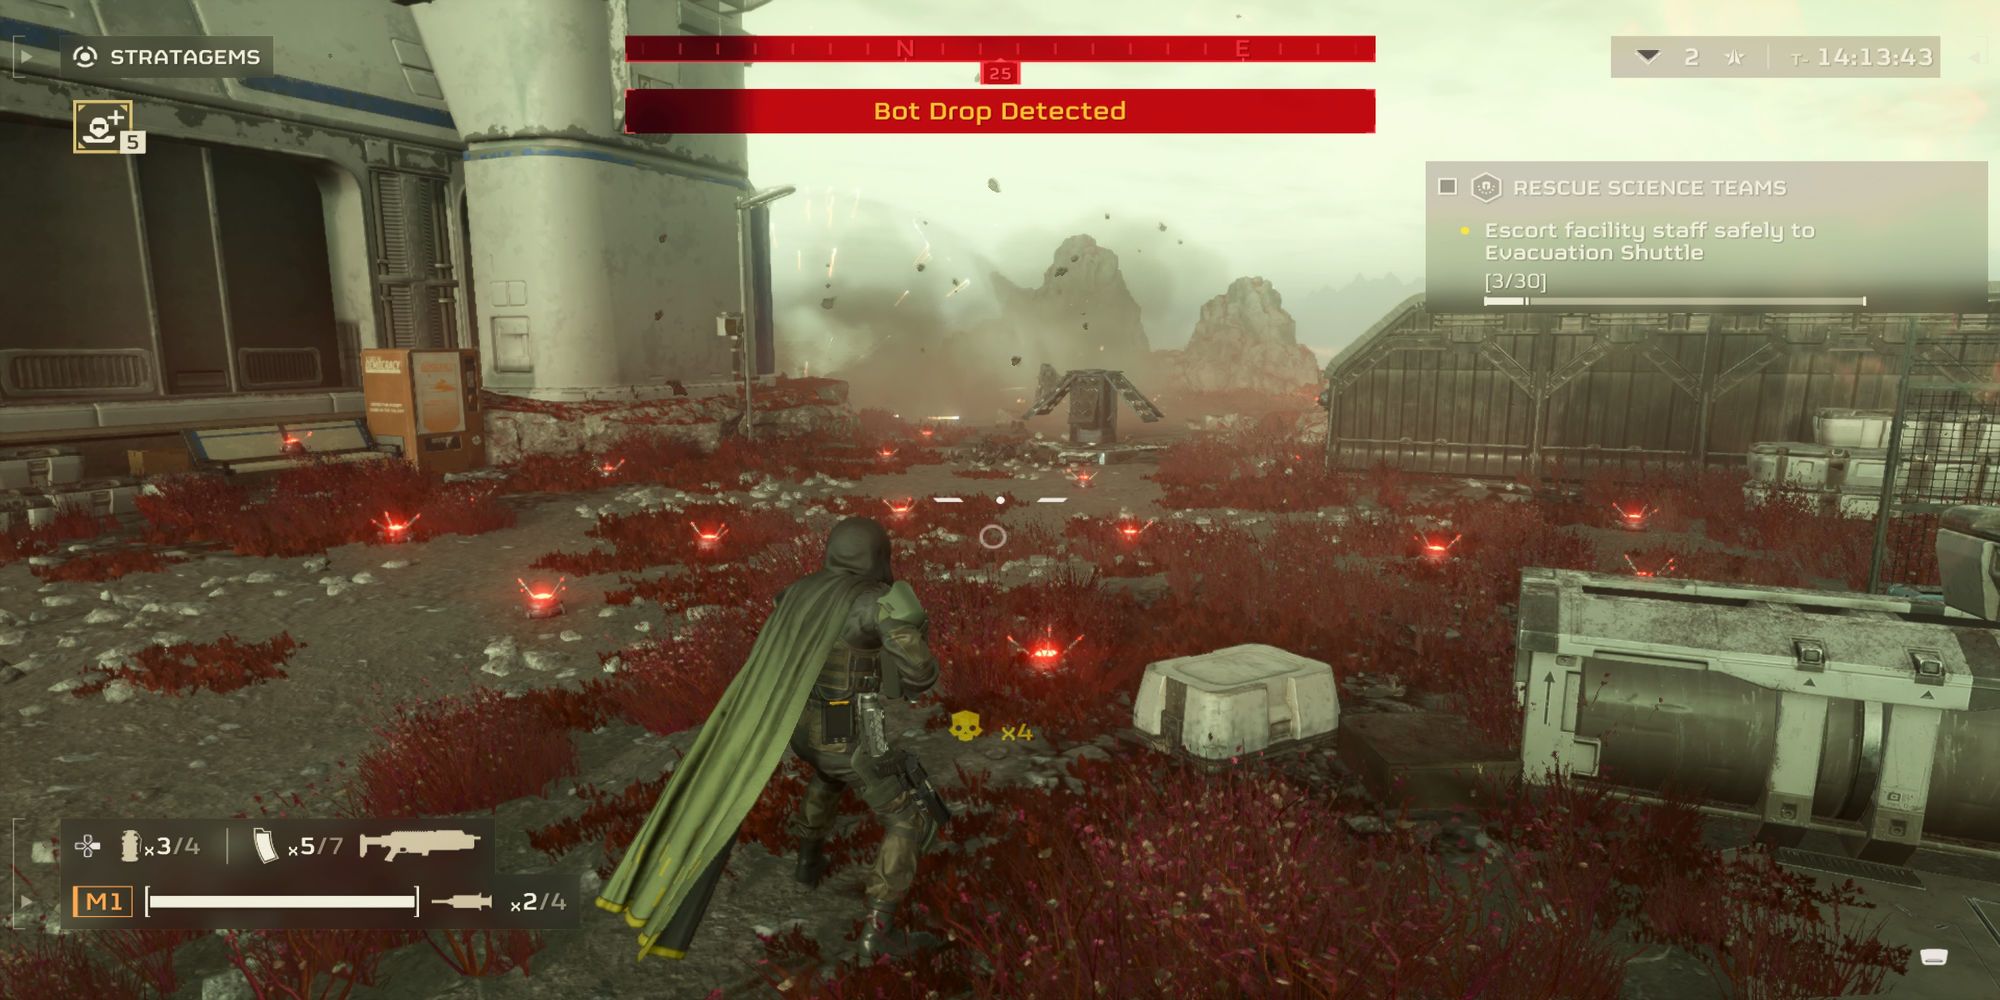
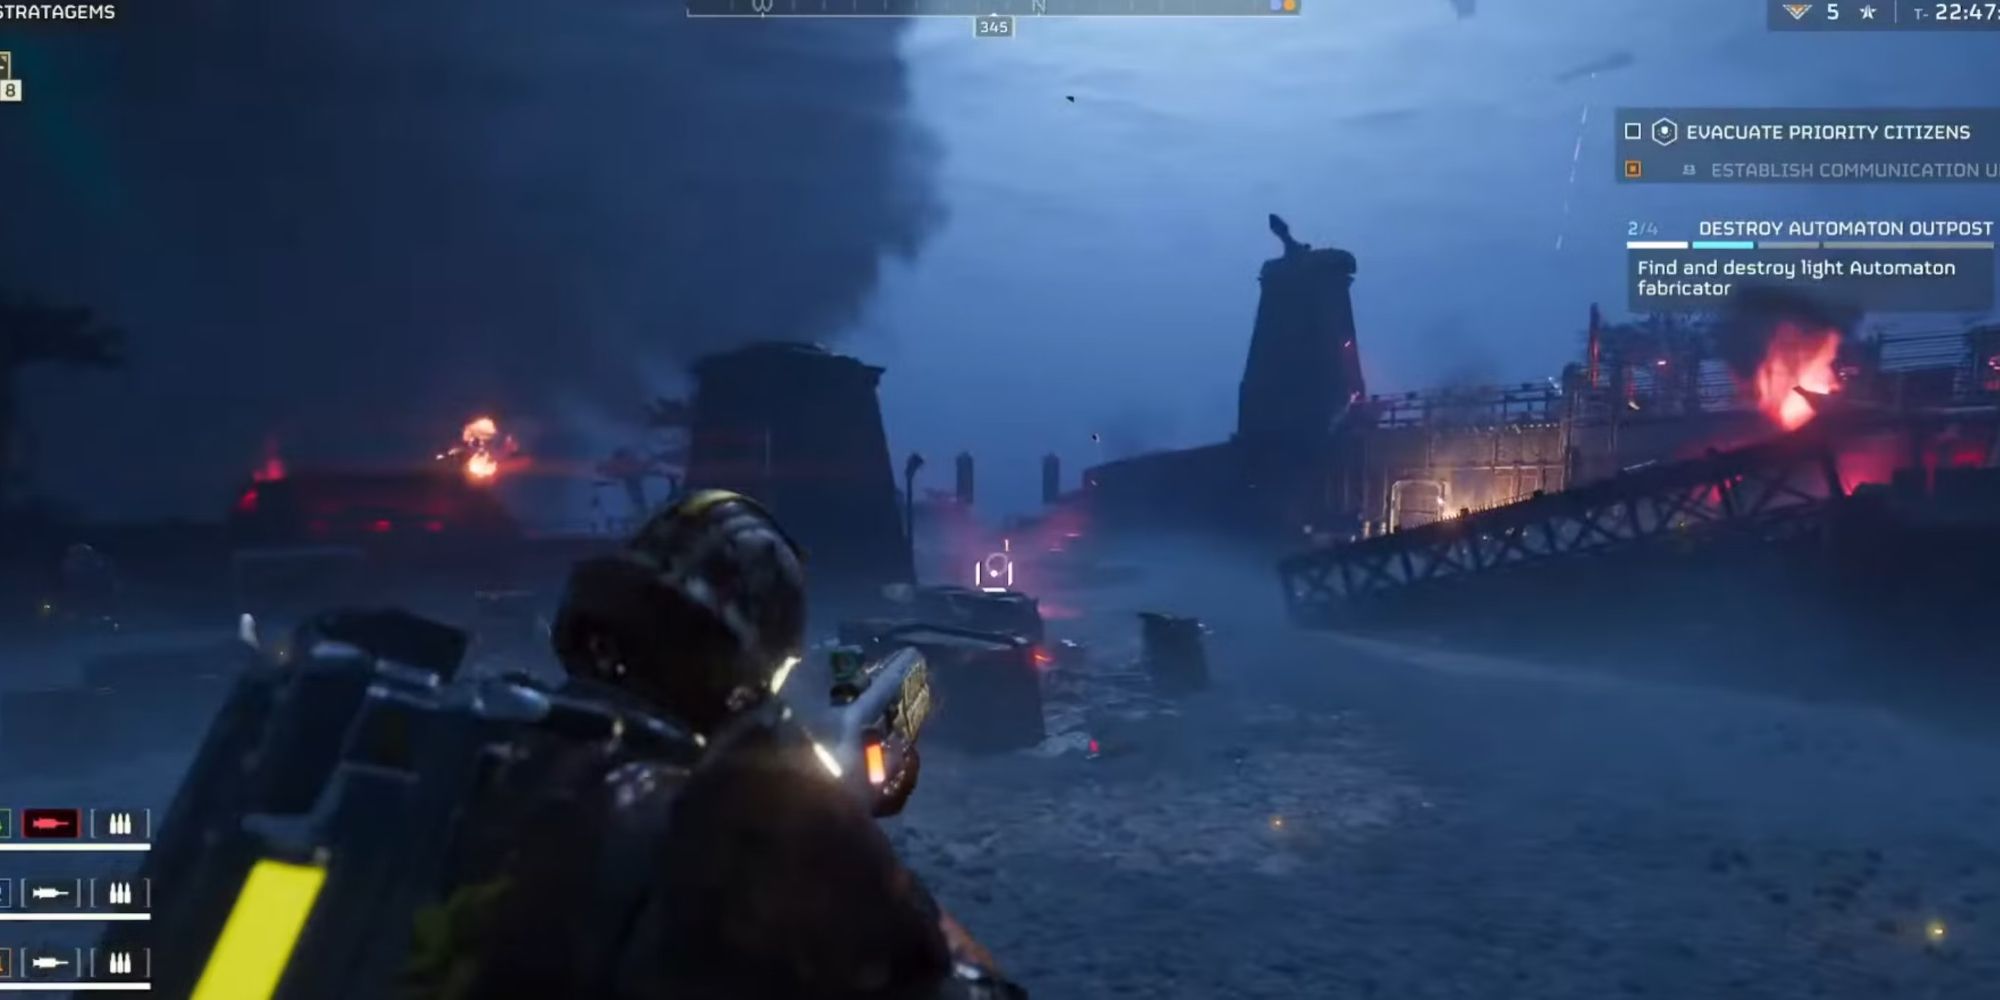
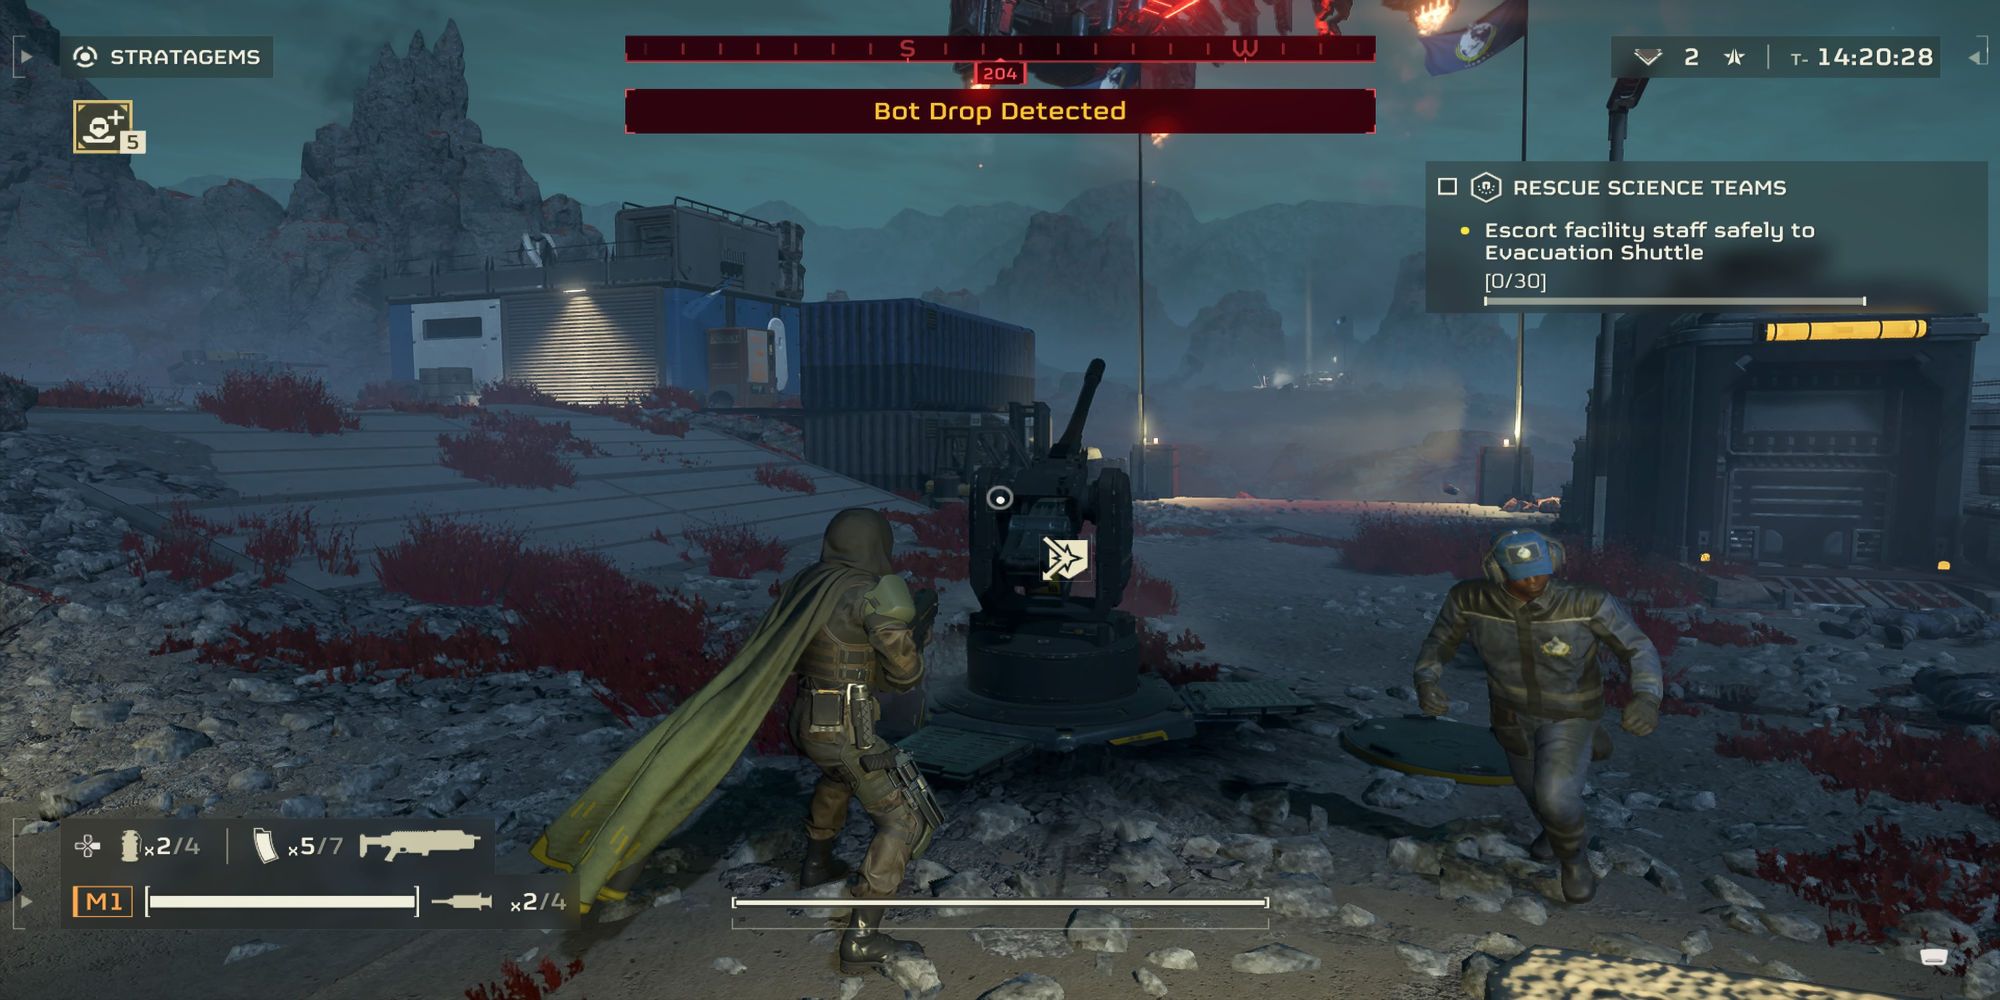
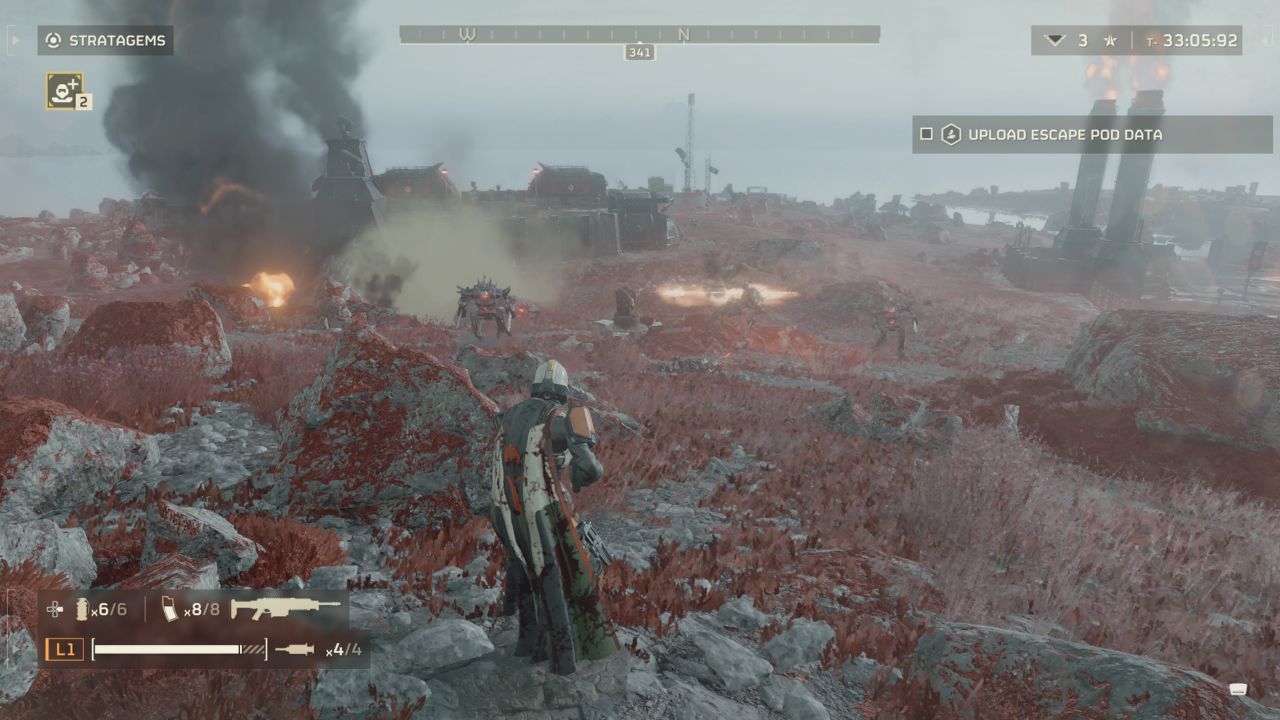
One mission type involves players rescuing civilians and helping them evacuate. Players need to stay in an area around a compound and open doors to release civilians, so they can make a break for the main building where they will board a ship to leave. The civilians are released three at a time and are completely helpless against the waves of enemies dropping around the compound. Defensive and AoE Stratagems tend to work very well for these missions, since players need to protect several areas at once. Here are the best options for players looking to get the civilians to safety.
10 Tesla Tower
High-Risk, High-Reward AoE Protection
- Tesla Towers target anything within range except for prone players.
- The towers can be destroyed from a distance by both players and enemies.
Tesla Towers radiate electricity around them and target any Terminid, Automaton, or Helldiver that get too close. The only way to get close without dying instantly is to go prone and crawl, although even this isn't foolproof with terrain changes and attacking enemies.
Because of the friendly fire risk, these Towers need to be placed far from areas where players or civilians will go. Placing them just outside the compound's walls where dropships go is a good strategy because the towers can neutralize enemies as they land. However, a bad throw or an unexpected bounce while deploying Tesla Towers can spell disaster.
9 Mine Field
AoE Protection With Minimal Risk
- Mine Fields can be placed where Automatons land.
- If placed correctly, the risk to players is mitigated.
Automaton dropships usually deploy new bots in specific areas just outside the complex with the civilians. Placing AoE Stratagems in these locations means Automatons will not be able to get far from the landing site, if they even survive the landing in the first place.
Using the Mine Field Strategem in these landing zones is a good strategy because players should stay inside the complex to guard civilians and keep letting more out of the doors. Players should be careful to make sure that the Strategem is thrown far enough away that no mines drop in the path where players or civilians will run. If this is done, the only issue with using Mine Fields is that eventually, enough Automatons will die from the mines that the way is clear again.
8 Guard Dog Rover
Extra Firepower Never Hurts
- Guard Dogs can fire in a 360 degree radius around the player.
- Having extra guns firing kills waves of enemies faster.
Guard Dog Rovers watch over their player's back, firing at any enemies within range in any direction. They are great for solo players and players separated from their squad. There are two kinds of Guard Dogs: one with a laser and one with a Liberator.
Having a gun constantly scanning for nearby enemies keeps the player from being ambushed or overwhelmed as long as the Rover does not need to recharge or reload. A Guard Dog Rover can easily protect both the player and any civilians nearby, so they are great for evacuation missions for players who stay near the paths that the NPCs use to run to safety.
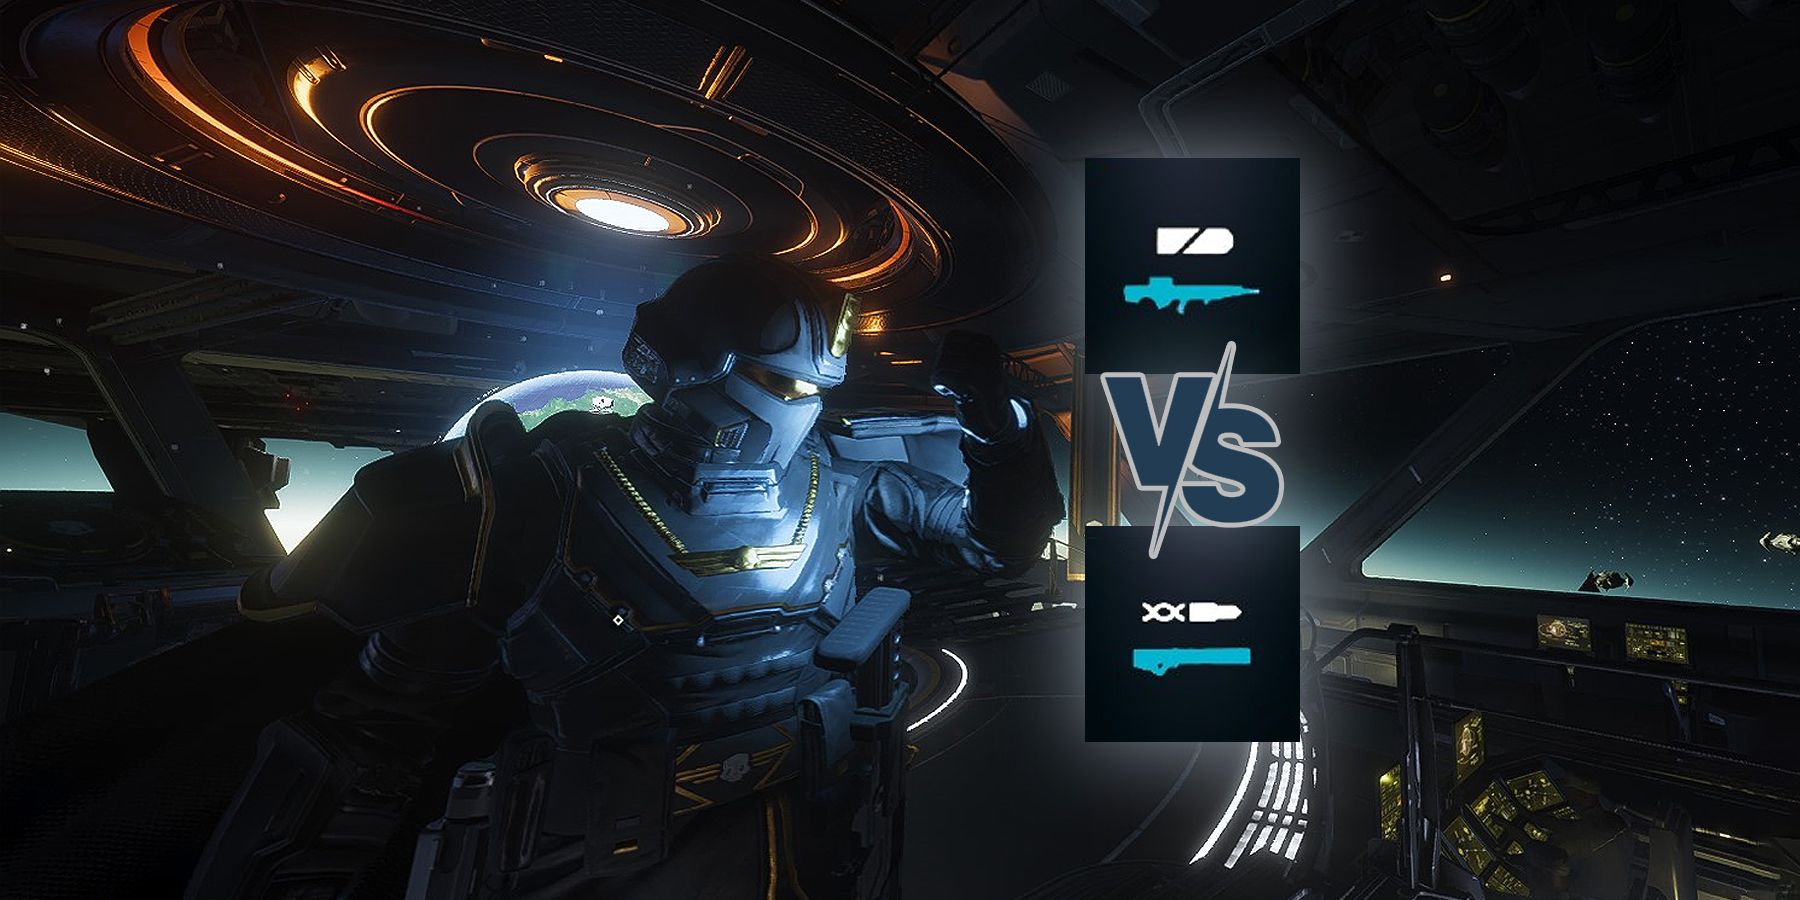
Helldivers 2: Autocannon vs. Railgun
Autocannons and Railguns are two highly popular anti-tank weapons in Helldivers 2. While both are deadly, these stratagems are not equal either.
7 Jump Pack
Extra Movement Helps Open Doors More Quickly
- Faster movement means that doors can be opened faster.
- Using a Jump Pack to dodge enemies can keep the player alive longer.
While it takes a little bit of time to get used to, the Jump Pack adds a great deal of movement for players that equip it. They can use it to jump away from Chargers, dodge missiles, or reach locations faster than normal.
When evacuating civilians, a player with a Jump Pack can get around the complex more quickly. This enables them to more effectively move between the doors that civilians are released from, freeing up other players to just focus on killing enemies or defending the civilians already en route to safety.
6 Railgun
Powerful Weapon That Players Need To Be Careful With
- Powerful weapon that can deal more damage when fully charged.
- Charging the weapon too much causes it to backfire and kill the player.
The Railgun is a high-powered Support Weapon that players can call in to take out armored enemies. Players can charge the Railgun to make shots more powerful, but overcharging causes the weapon to backfire and kill its wielder. Players who don't want to risk this can keep the gun in safety mode so that it will never overcharge, but this does limit its maximum damage output.
Even when it is limited, a Railgun can kill a Hulk in just two shots. Having such a powerful weapon is a must for evacuating civilians at higher difficulty levels. Since it is so powerful and is wielded like a normal gun, it is generally a better choice than other high-powered weapons like the Spear, since these missions take place at close quarters.
5 Shield Generator Relay
A Dome Of Protection For All Allies
- Players can shoot out at enemies while under the shield.
- The shield can be placed in the path where civilians.
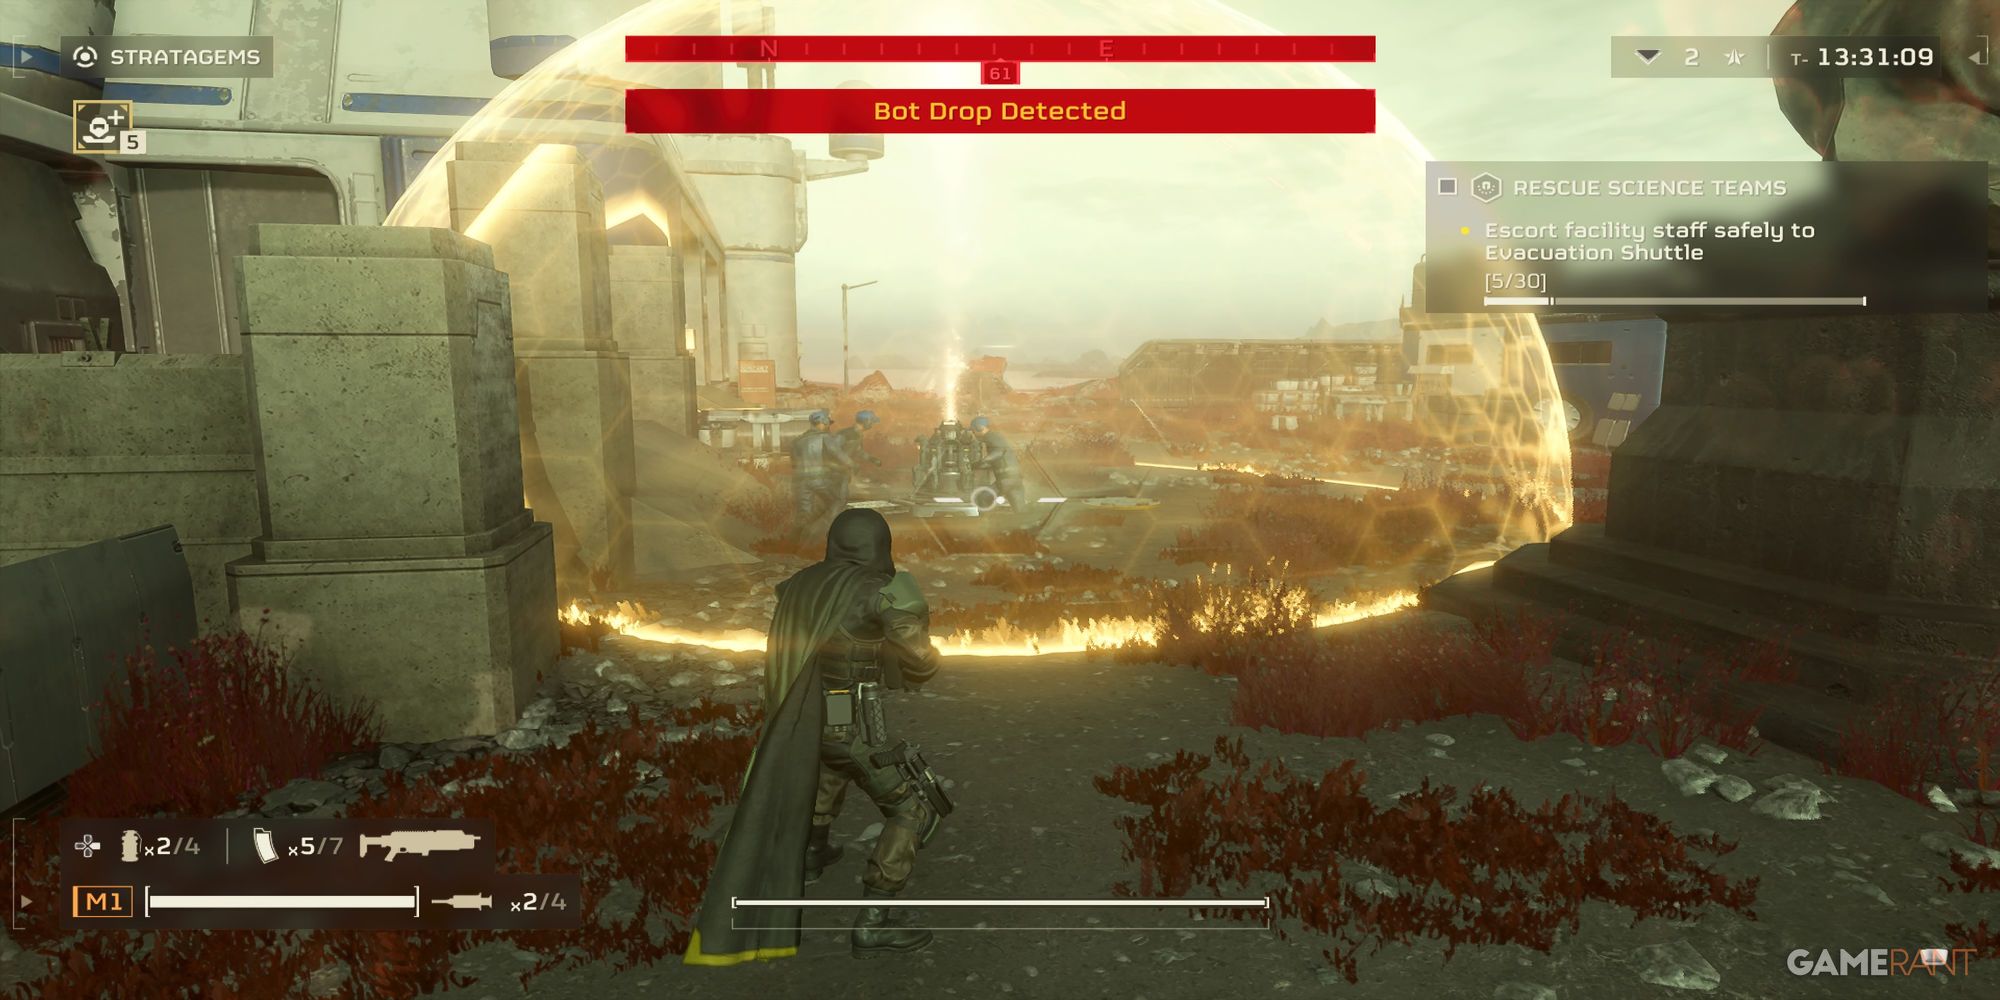
Laying down a Shield Generator Relay causes a shield to come up as a dome around the area where the Strategem was thrown. The shield is impervious to all damage sources from outside it and only goes away after a set amount of time. Players standing inside the shield can still fire at enemies outside it, which is a great thing. However, enemies can walk through the barrier, so players should not get too comfortable.
When evacuating civilians, a Shield Generator Relay can be deployed near the civilians' destination to maximize how many of them are protected by it. Players can also use it as a buffer to stop Missile Devastators and other high-damage ranged attacks from reaching targets.
4 Autocannon Sentry
Long-Range Sentry That Packs A Punch
- A powerful Sentry that can take out armored enemies.
- Slower rate of fire makes it vulnerable to melee attacks.
The Autocannon Sentry is a long-range automated weapon that can deal damage to armored targets. When it fires, it deals damage around a small area, so there is some risk of friendly fire.
Autocannons are more powerful than the Machine Gun and Gatling Sentries, so they are best suited to higher level missions filled with Walkers and other armored enemies. Players need to place them carefully, however, because their slower rate of fire makes them more vulnerable than other Sentries. If placed in areas where melee threats are minimized, an Autocannon Sentry is very effective at helping a squad evacuate civilians.

Helldivers 2: Best Loadouts, Ranked
The sheer number of different weapons and stratagems in Helldivers 2 means many loadout builds exist. However, these are the best ones overall.
3 Gatling Sentry
Extra Firepower That Needs To Be Placed Away From Civilians
- This Sentry can easily mow down waves of unarmored enemies.
- The fast rate of fire keeps it from being overwhelmed at close range.
The Gatling Sentry is a Strategem that players can unlock fairly early in the game. It rapid-fires bullets at enemies within its line of sight and can make quick work of large patrols, so long as the enemies are not armored.
Since it fires so quickly, a well-placed Gatling Sentry usually kills any unarmored threats to it before they can attack it. However, it is not as effective against armor as an Autocannon Sentry, so a mix of different Sentry types is the most ideal way to handle the waves of advancing enemies during an evacuation.
2 Grenade Launcher
Explosive Weapon Useful For Attacking Groups Of Enemies
- A single well-aimed grenade can kill a cluster of enemies.
- Grenades bounce off of armor, which can be dangerous.
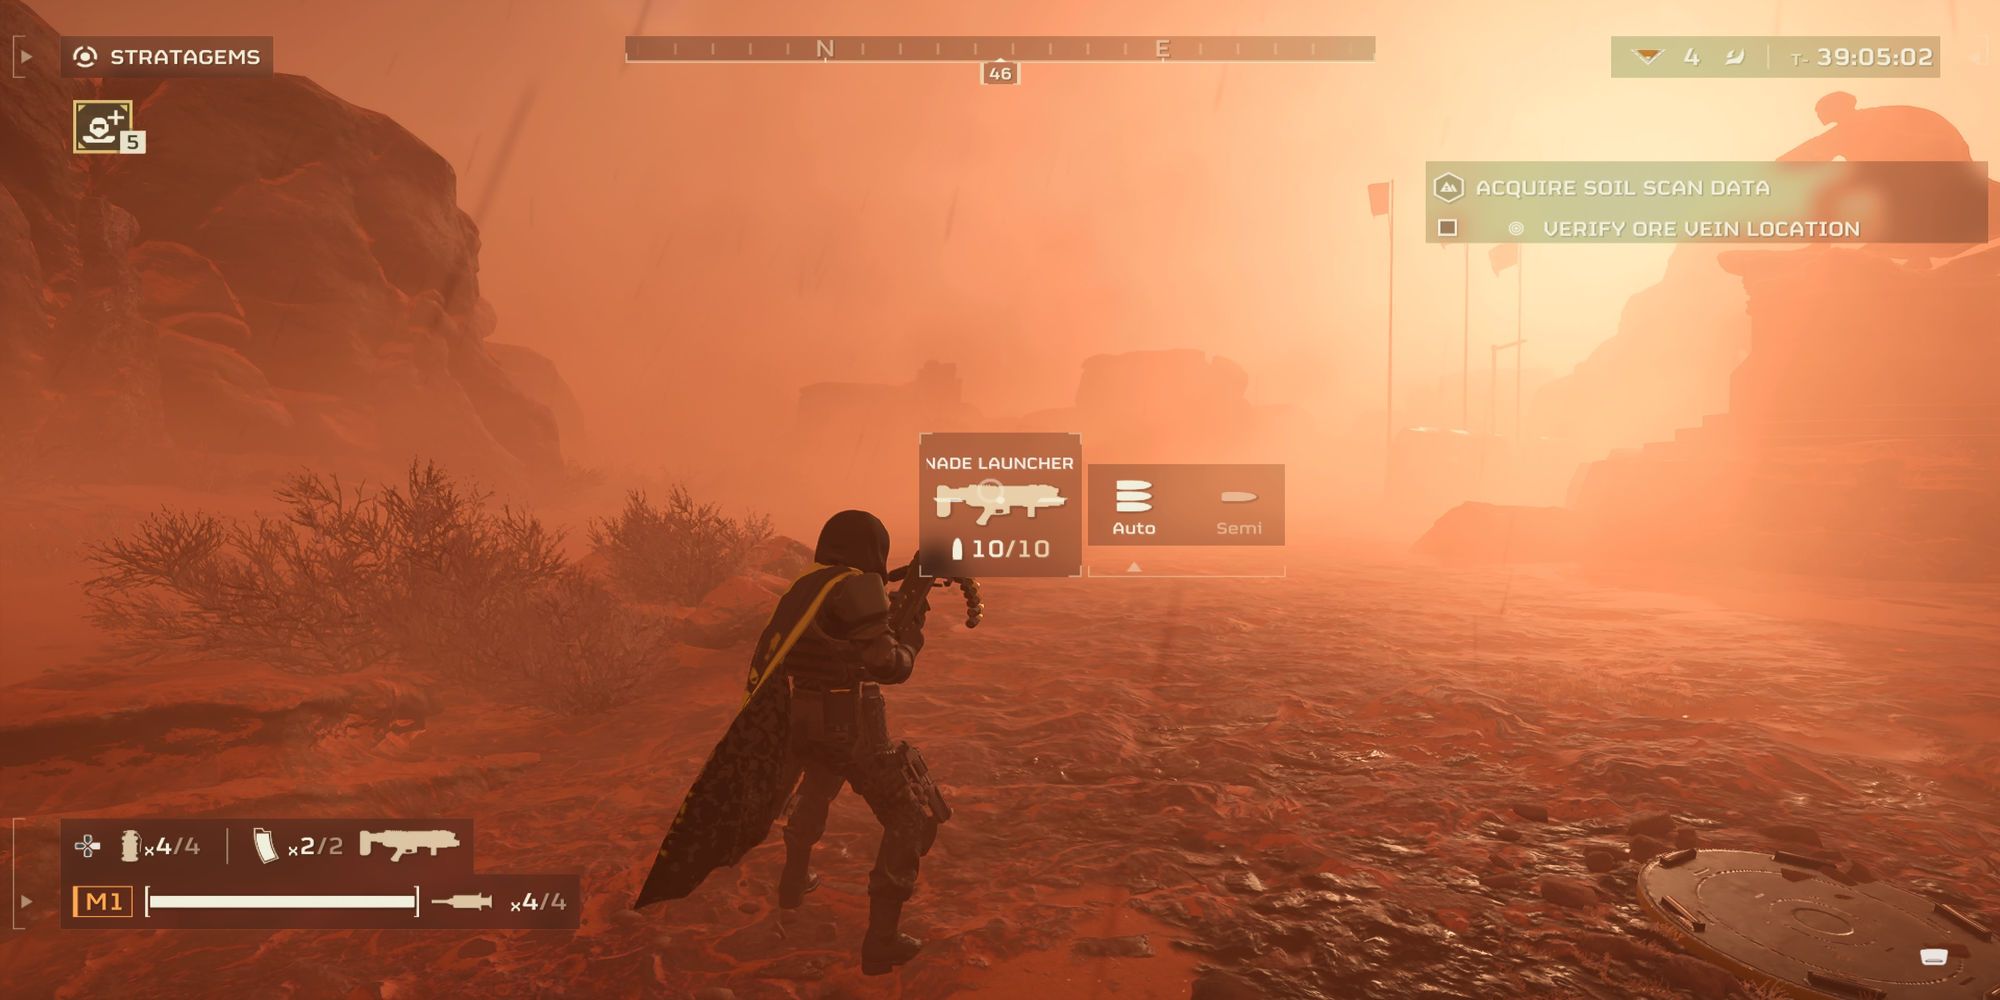
The Grenade Launcher is a Support Weapon that can handle groups of enemies that are clustered together very easily. Grenades can also be aimed at the weak points of tougher enemies like Chargers to deal with them. As with other Stratagems, players should be careful not to accidentally endanger themselves, their squad, or the evacuating civilians. Grenades bounce off of armor and can easily blow up in the face of the player wielding the Grenade Launcher.
Since one of the main difficulties of evacuating civilians is dealing with the large number of enemies in the area, having a weapon that simultaneously kills multiple enemies is a huge advantage, so long as its wielder is careful and accurate.
1 Orbital Laser
Highly Effective Against Numbers And Tank Enemies
- This Strategem can kill many enemies
- It can also kill the most difficult units in the game
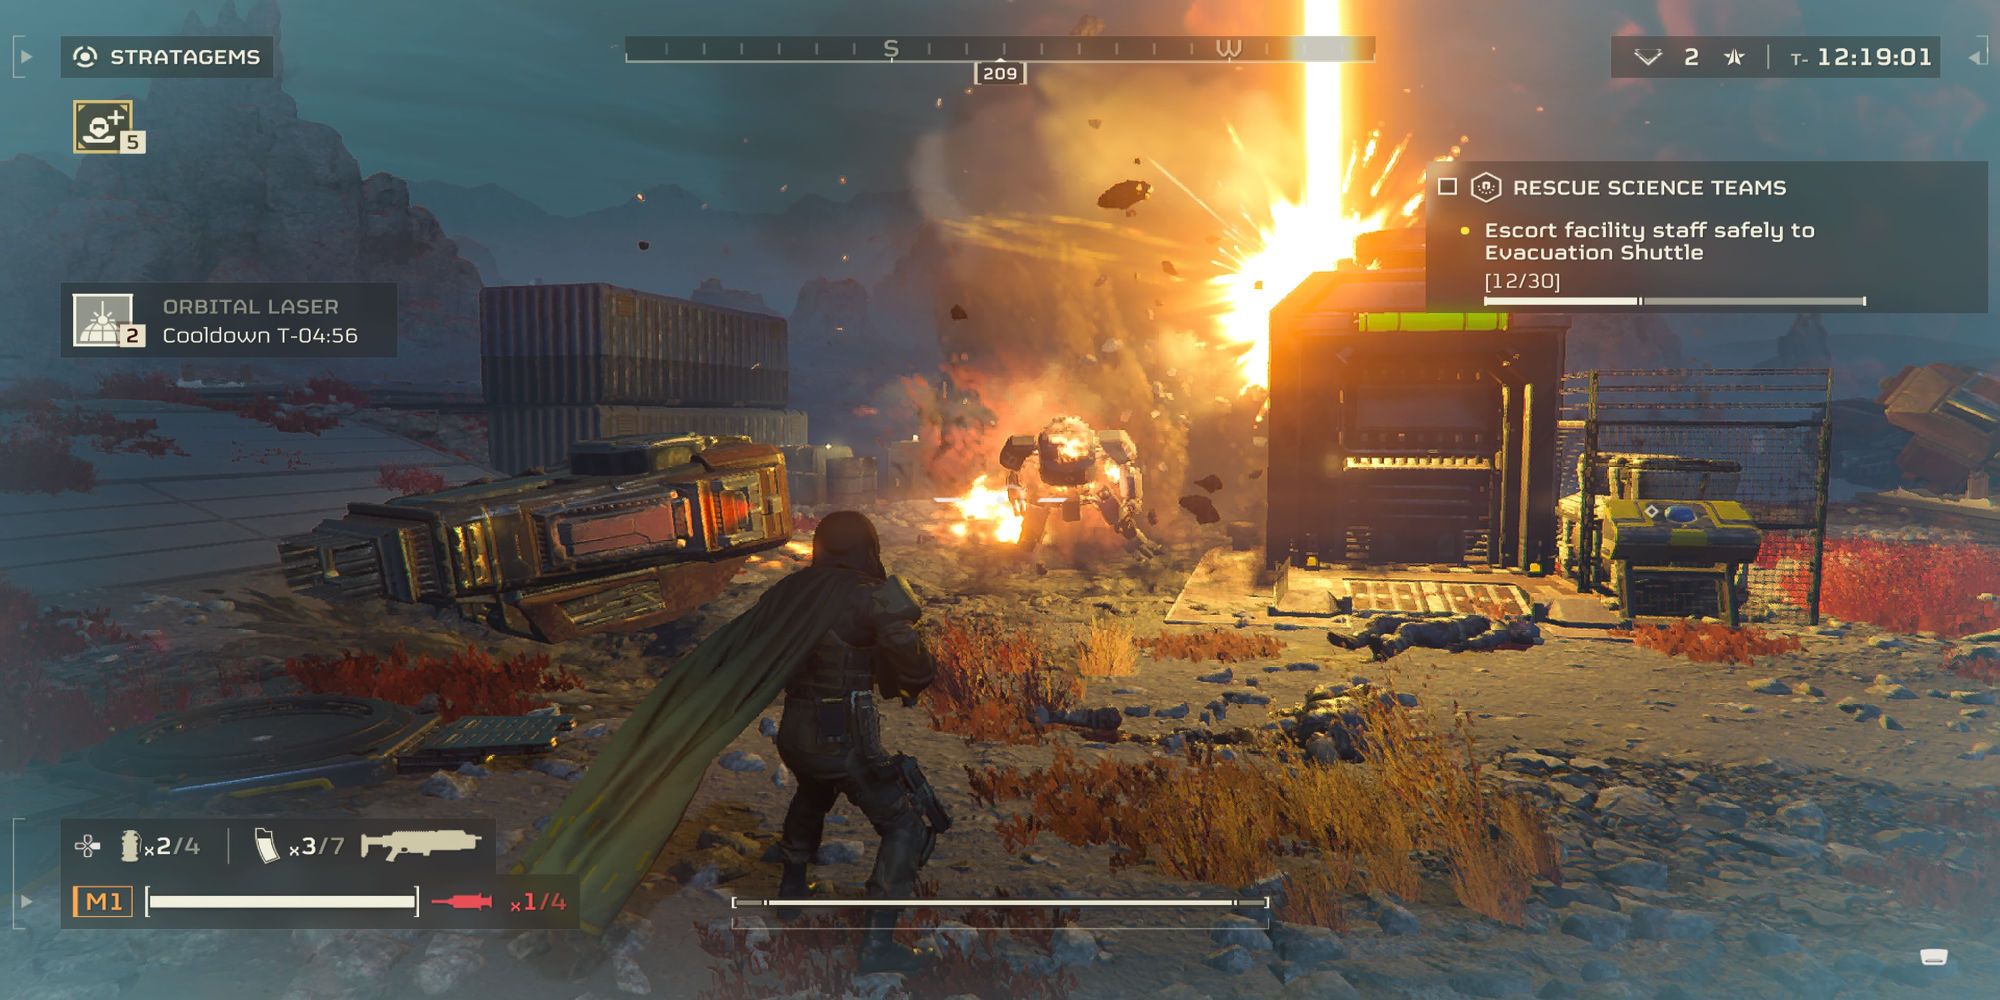
The Orbital Laser is a great Strategem that can kill many enemies, including heavily armored foes like Hulks and Bile Titans. The beam starts wherever the Strategem was thrown and then moves to the nearest enemies, targeting new enemies every time the current target dies.
Most Stratagems are best suited for either killing large numbers of weak enemies or dealing with one or two heavy enemies. The Orbital Laser excels at both, which makes it an extremely valuable Strategem. The versatility of dealing with large waves and taking out the biggest enemies in the game make it ideal to use for evacuating civilians since both types of threats can overwhelm players in this mission type.

