Quick Links
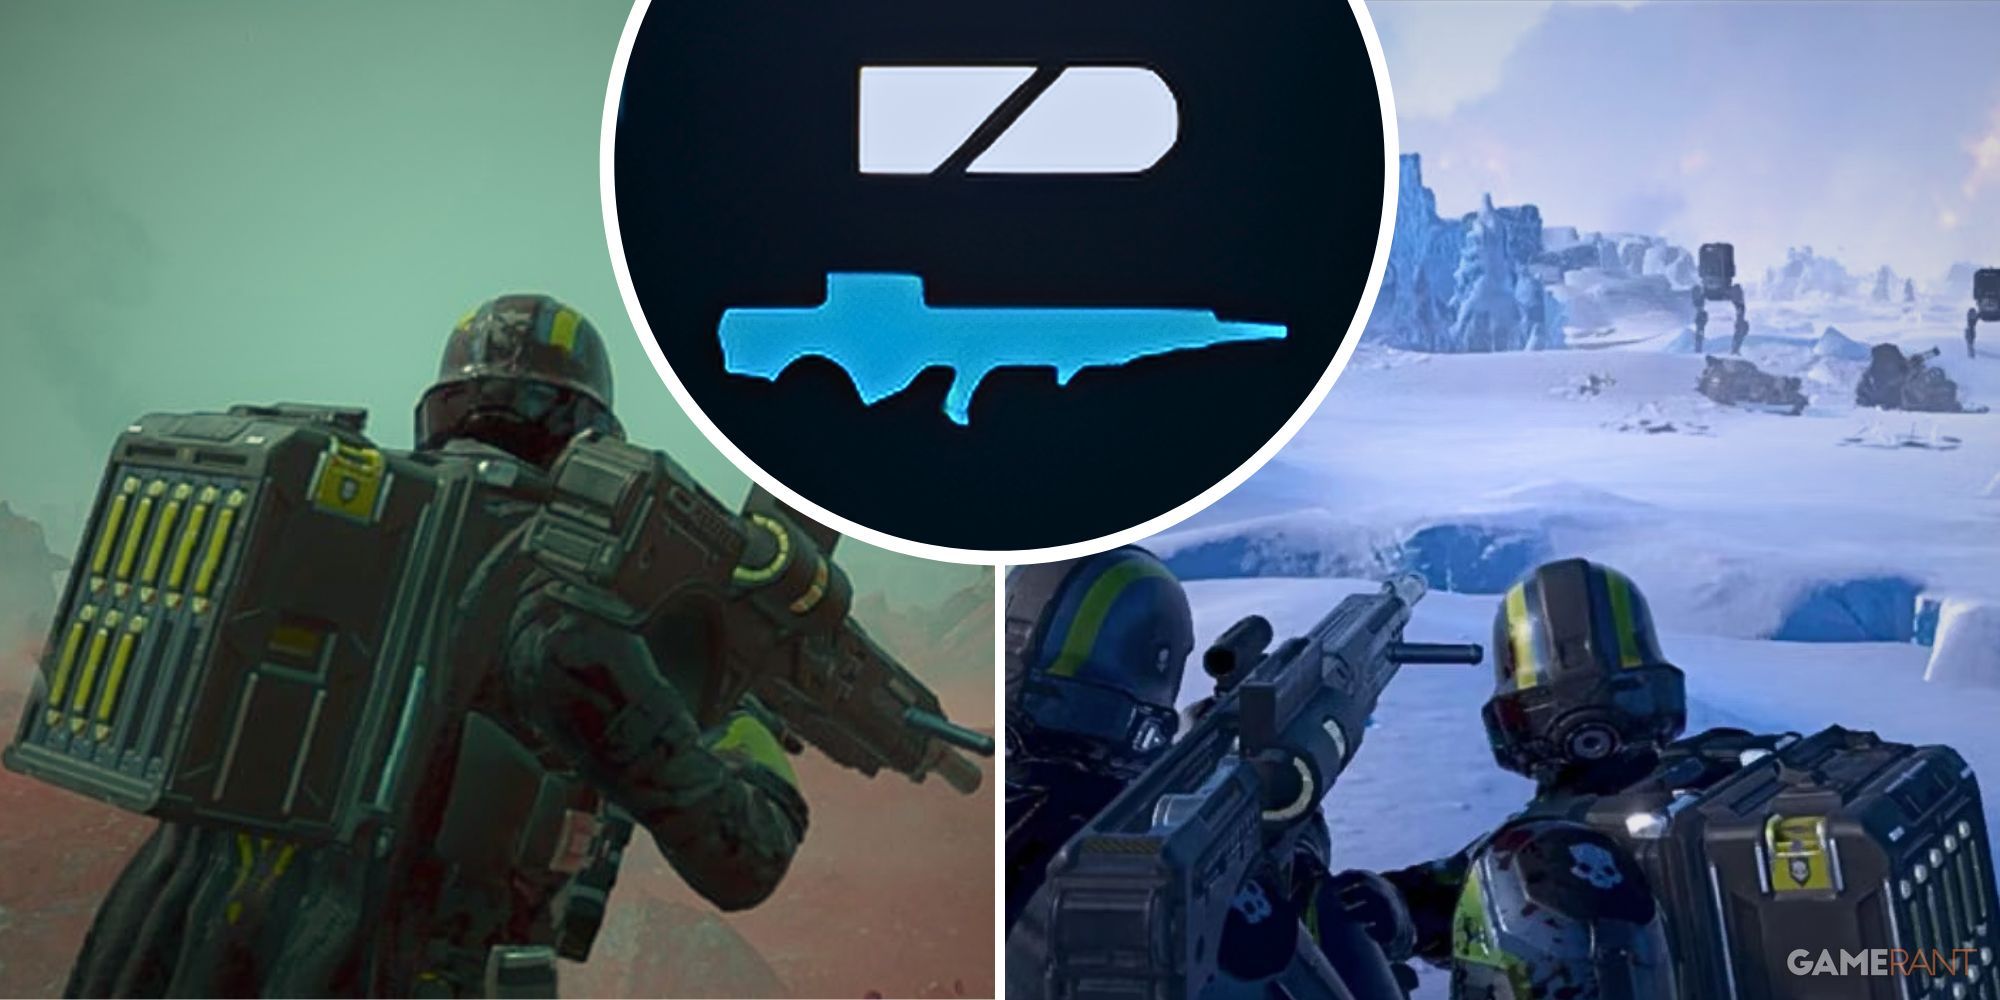
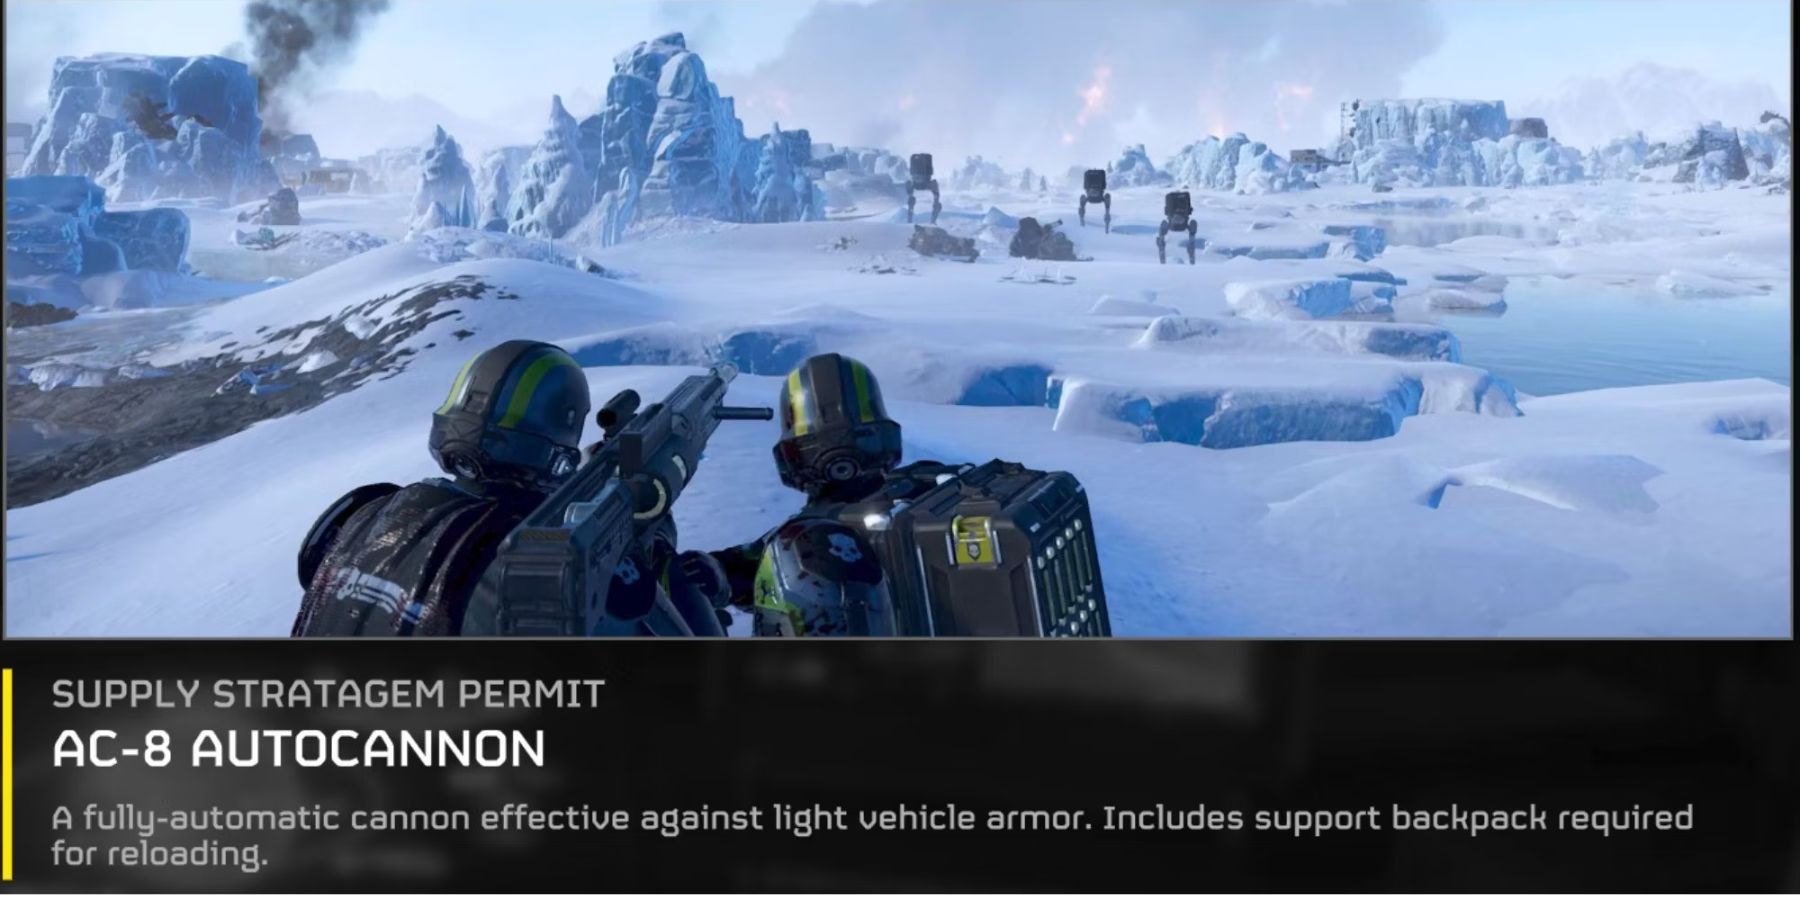
Helldivers 2 features a wide variety of weaponry, ranging from underpowered primaries not worth your time to niche Support Weapons that shine in very specific scenarios. The Autocannon is perhaps one of the most versatile weapons in the game, able to dish out excellent damage at extreme ranges to troublesome medium-armored targets and clusters of weaker units alike.
Helldivers 2: Best Flamethrower Build (& Tips)
Fuel up the Flamethrower to incinerate enemies at close range in Helldivers 2. Here's the loadout you need for well-cooked bugs.
This Support Weapon isn't going to be the answer to all problems on the battlefield, but it will aid you and your allies in a wide variety of situations, from clearing out mission objectives across the map to exploding some of the most annoying and troublesome enemies in the game. This guide will detail the best loadouts that allow your Autocannon to shine against each faction (Terminids and Automatons), as well as some tips and tricks for wielding the Autocannon as effectively as possible.
Best Autocannon Loadout Against Terminids
The Terminids feature swarms of instectoid enemies that want nothing more than to tear you limb from limb, but the Autocannon can do quite a bit to prevent just that. It's a little better against Automatons than Terminids, but even so, it's able to deal with most Bugs easily — up to Chargers and Bile Titans (Chargers are possible, but trickier due to the placement of their heavy armor). But the Autocannon isn't going to save you in every scenario, so it's important to equip yourself with other weapons, tools, and Stratagems to prepare for every obstacle these devilish insects can throw your way.
Best Primary Weapons: Punisher Or Dominator
- SG-8 Punisher: This 'default' shotgun is incredible against Stalkers — fully outclassing the former great Slugger in the wake of its nerf. The Punisher's greatest attribute is its ability to stagger Stalkers, which can quickly overwhelm a well-organized group due to their speed, stealth, and hit-and-run tactics. Great for short and medium range encounters, it's clear why the Punisher is one of the best shotguns in Helldivers 2.
- JAR-5 Dominator: This explosive rifle (acquired via the Steeled Veteran Warbond) can help keep combat at a safe range, but even if you must deal with enemies up close, the weapon's explosive damage won't actually hurt you, (unlike the Autocannon itself). Dealing impressive damage and stagger, the Dominator is a bit unwieldy, but with practice, this weapon offers explosive precision, pairing well with the Autocannon for a more at-range focus.
Best Secondary Weapon: Redeemer
- P-19 Redeemer: This tiny machine pistol will save your life in a pinch. Truly a backup weapon, the Redeemer will run out of bullets very quickly if you're forced to rely on it too frequently, but you can empty a clip into an aggressive enemy in less than 2 seconds flat, providing a fantastic lifeline for those moments when your back is up against a wall.
Best Grenade Option: Stun Grenade
- G-23 Stun Grenade: Grenades can be an invaluable tool for closing Bug Holes and Bot Fabricators, but with the Autocannon able to perform that same task, you're free to utilize one of the best utility items in the game: the Stun Grenade. It will stun any Terminid (save for Bile Titans), allowing you crucial moments to reposition, retreat, or line up that killer Autocannon shot. Acquired via Cutting Edge Warbond.
Best Armor Option: CE-07 Demolition Specialist
- CE-07 Demolition Specialist: Light armor is critical against Terminids, where speed is one of your strongest assets, and the Demolition Specialist additionally provides excellent Stamina and Stamina Regen. It also comes with the Engineering Kit Passive, which provides a 30% reduction in recoil when crouched or prone — this is a massive benefit to the Autocannon, granting more precision to every shot. It also provides an additional +2 grenades for your loadout (bringing your total to 6). Having additional grenades lets you be more liberal with your Stun Grenades, keeping you at range at every opportunity. Acquired via Democratic Detonation Warbond.
Best Stratagems To Pair With The Autocannon Against Terminids
- Orbital Airburst Strike: This Stratagem is a lifesaver against tenacious swarms of bugs. Airbust Strike releases 3 volleys of concentrated fire into the target area, which almost perfectly coincides with the rate at which Terminids spawn from a Bug Breach. When you see that orange smoke and get the alert, simply toss this Stratagem right on top. It will clear out everything aside from Chargers and Bile Titans, greatly reducing battlefield chaos. The cooldown is also only 120 seconds, allowing you to utilize this powerful tool pretty frequently.
- Eagle 500KG Bomb: The 500KG might be one of the coolest to deploy due to its massive democratic explosion, but its area of damage is surprisingly small. With the Expanded Weapons Bay Ship Module, you'll have 2 Eagle 500KG Bombs at the ready before needing an Eagle Rearm — at higher difficulties, this is an excellent choice due to the frequency at which you'll be encountering Bile Titans. The Orbital Laser is more useful at lower levels, but with only 3 uses per match, it's harder to justify on Difficulty 7-9 Terminid missions.
- Autocannon Sentry: Unlike the Support Weapon sharing a similar name, the Autocannon Sentry actually can and will deal serious damage to heavy armor units like Chargers and Bile Titans. If you're able to drop it in a safe location with a great view of the battlefield, it can wipe out huge swaths of enemies — excellent for a massive Bug Nest. It's vulnerable to swarms, though, so you'll want to keep it safe from smaller bugs.

Helldivers 2: Is The R-36 Eruptor Worth Getting?
The Eruptor is the first bolt-action primary weapon in Helldivers 2, and it packs an explosive punch that many players will want to get.
Best Autocannon Loadout Against Automatons
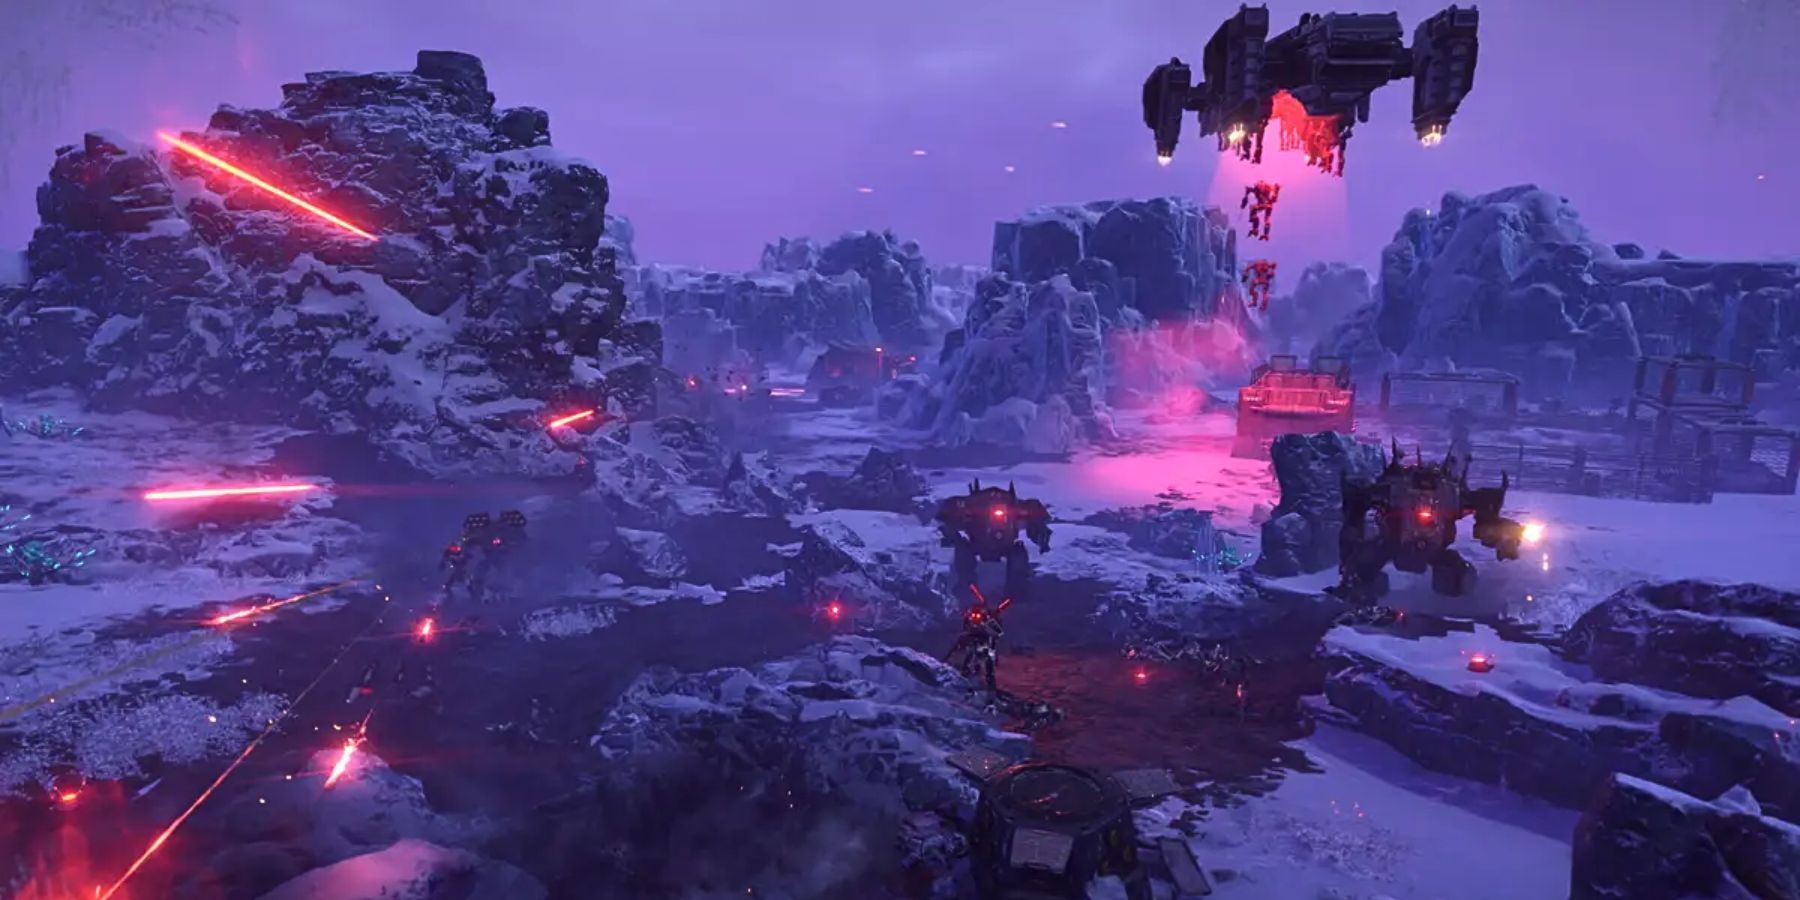
The Automatons are in many ways a bit more challenging than their insectoid counterparts, due to their proclivity for ranged combat and entrenched positions. However, the Autocannon itself can destroy every Automaton unit save for the Factory Strider (though the Autocannon can actually deal quite a bit of effective damage to this enormous unit if you know where to shoot). Even Hulks are vulnerable to an Autocannon aimed right at its eye (two shots), though Tanks are trickier (their glowing vent weak point at the rear of the main gun being the only place to damage them).
Best Primary Weapons: Breaker Or Dominator
- SG-225 Breaker: This shotgun once dominated the meta, but after an aggressive round of nerfs (to damage, ammo capacity, and recoil), it still manages to be exceedingly useful. It's got solid accuracy at good range, and it can fully unload during those moments when you're being aggressively swarmed by Berserkers. Despite its nerfs, it's still considered the best primary in the game.
- LAS-16 Sickle: Available in the Cutting Edge Warbond, the Sickle provides excellent accuracy at close, medium, and long ranges, and due to the way it handles overheating, you aren't likely to worry about ammo. Able to destroy Devastators and Berserkers with accurate fire — and all the rest down the Automaton roster — the Sickle is a great option for the longer-range encounters you'll have with Automatons when you're hoping to conserve your Autocannon's ammo.
Both the Breaker and Sickle are also great at quickly staggering Rocket Troopers out of their way-too-accurate aiming.
Best Secondary Weapon: Redeemer
- P-19 Redeemer: Excellent for all the same reasons why it's good against the Terminids, the Redeemer simply shines brightest as a true backup weapon. When you need to reload your primary, and those last two Berserkers are rushing straight for you, the Redeemer can make quick work of these tenacious foes.
Best Grenade Options: Stun Or Smoke
- G-23 Stun Grenade: Due to the Autocannon's ability to destroy Bot Fabricators, you can rely on the Stun Grenade in dire situations. When a Flamethrower-wielding Hulk is bearing down on you, toss this out to help you line up those two critical shots to its glowing eye, bringing it down for good. Extremely valuable when Automaton melee units are closing in, the Stun Grenade is one of the strongest tools in your arsenal.
- G-3 Smoke Grenade: When you're favoring a more stealthy approach to your objectives, the G-3 Smoke can be invaluable. Automaton patrols tend to pop up at the worst possible times, and the Smoke Grenade allows you to avoid detection for a time, giving you precious seconds to reposition or retreat before you're noticed. Even after you're noticed, the Smoke Grenade can greatly increase your survivability, as it severely lowers the enemy's accuracy. Excellent for covering a tactical retreat.
Best Armor Option: B-24 Enforcer
- B-24 Enforcer: Light armor isn't as useful against Automatons as Terminids; speed is valuable, but the bots shoot back. Medium armor grants a crucial extra bit of armor without severely hampering your speed. The Enforcer comes with the Fortified Armor Passive (easily the best in Helldivers 2), which grants an excellent 30% recoil reduction when crouched or prone, allowing for greater accuracy at long range with your Autocannon. Additionally, it offers 50% resistance to explosive damage, which can be a huge boon when you're hounded by Rocket Troopers and Rocket Devastators. Acquired via Super Credits Store.
Best Stratagems To Pair With The Autocannon Against Automatons
- Eagle Airstrike: Easily one of the strongest Stratagems in Helldivers 2, the Eagle Airstrike comes with 2 uses before requiring an Eagle Rearm (3 with the Expanded Weapons Bay Ship Module), and it lays down targeted heavy fire on a specific area. This Stratagem can wipe out Bot Fabricators. It doesn't deal with heavy armor at all, but it's fantastic at quick, controlled destruction that can delete most units in a zone. This Stratagem shines very brightly during search and destroy missions when you don't have the right angle on a Fabricator with your Autocannon.
- Orbital Laser: Since the Autocannon can pretty successfully take out most enemies, the Orbital Laser truly shines during particularly tense and chaotic encounters — or when you really want to destroy a huge Automaton Base without a second thought. Simply toss the Orbital Laser down, and watch as it carves a path through Fabricators, heavy units, and most mission objectives with ease. It can only be used three times throughout a mission, so reserve it for those major encounters (or to put a huge dent in a Factory Strider).
- Autocannon Sentry: Great for destroying every single Automaton unit on the battlefield, the Autocannon Sentry also comes with extreme effectiveness vs Gunships. If you're trying to destroy a Gunship Factory (or several close together), there's nothing more annoying than their barrage of lasers destroying your Hellbomb before it's able to detonate. The Autocannon Sentry will help keep the skies clear while the Hellbomb counts down to democratic destruction.
Video Demonstrating The Autocannon Loadout Vs An Automaton Outpost
8 Funniest Ways To Die In Helldivers 2
There are a lot of ways to die in Helldivers 2. Some of them, however, are just downright hilarious.
How To Use The Autocannon Effectively
Stratagem Stats | Stratagem Traits | Level Requirement | Cost |
|---|---|---|---|
|
| Level Requirement: 10 | Cost: 7000 R |
The Autocannon is the quinticential Helldiver Multitool, excellent for such a wide variety of scenarios that many players fear an incoming nerf. But the Arrowhead CEO has stated that they're very happy with where the Autocannon is at, performance-wise, which makes sense. It's not good at taking out the biggest targets on the battlefield — its strength comes from its versatility. Beyond simply wiping out the enemies of democracy, it's also excellent at dealing with a variety of mission objectives, from destroying Spore Spewers and Illegal Broadcasts (from across the entire map) to closing Bug Holes and Bot Fabricators at the right angle.
Switch into first-person view for slightly more accuracy and less recoil.
Reloading Solo & With A Partner
Reloading the Autocannon takes some time when you're solo, but it's nowhere near as prohibitive as the Recoilless Rifle. Similar to the Recoilless Rifle, if you have a friend wearing your Autocannon's ammo backpack, they're able to keep you reloaded as quickly as you can shoot.
- Reloading Solo: Make sure to reload before the weapon is completely empty; each clip restores half of the ammo the weapon can carry at a time. If you reload from completely empty, the reload animation takes more than twice as long as simply loading a single clip.
- Reloading With A Friend: If an ally is wearing your ammo pack, they are able to grab hold of your shoulder and move with you (limiting your movement), and they can load an entire clip in as quickly as you can shoot. This tactic takes serious coordination, but it can lay waste to armies.
How To Close Bug Holes & Bot Fabricators
Closing these enemy spawn points is a very important objective during any mission, and the Autocannon is incredibly useful for this task. Normally, players can simply toss an explosive grenade in or drop a specific Stratagem (Eagle Airstrike is great for this), but with the Autocannon, you're actually able to take these enemy spawns out from extreme range — so long as you have a good line of sight into the Bug Hole/Bot Fabricator.
- Bug Holes: Aim directly into the hole, and fire away! A single well-placed shot will do the trick. If you're at an odd angle, you might have difficulty in closing the hole, so continue repositioning until you've got a more dead-on angle.
- Bot Fabricators: A little trickier than Bug Holes, but still simple. For these, the angle is even more critical, since you want to aim for one of the two vents at the top front of the building. Fire at the vent from straight on, and the round will ricochet into the Fabricator and blow it up from within. Alternatively, if you have a bad angle on the vents but have a clear line of sight on the doors, wait for them to open, then fire off a shot through the open doors — this can be just as effective as long as enemies aren't bearing down on you. throwing your reticle wide.

