Grounded is pretty punishing in its early hours. From the moment players are dropped into the backyard, they'll be forced to contend with a myriad of massive bugs. Finding food and water is difficult enough with all the dangers around, and this becomes doubly true at night when some of the most imposing creatures begin prowling each area. Because of this, it's vitally important for new Grounded adventurers to get their hands on some upgraded gear as quickly as possible.
The game gets a bit "easier" as soon as players begin to craft heavier armor and weapons (although there are still some enemies that are punishing at any level). Unfortunately, thanks to the degradation system, weapons and armor will break down over time. Most low-level items can be repaired by simply grabbing the required materials, but higher-tier gear will need some additional ingredients, like Repair Glue.
Where To Find Repair Glue In Grounded
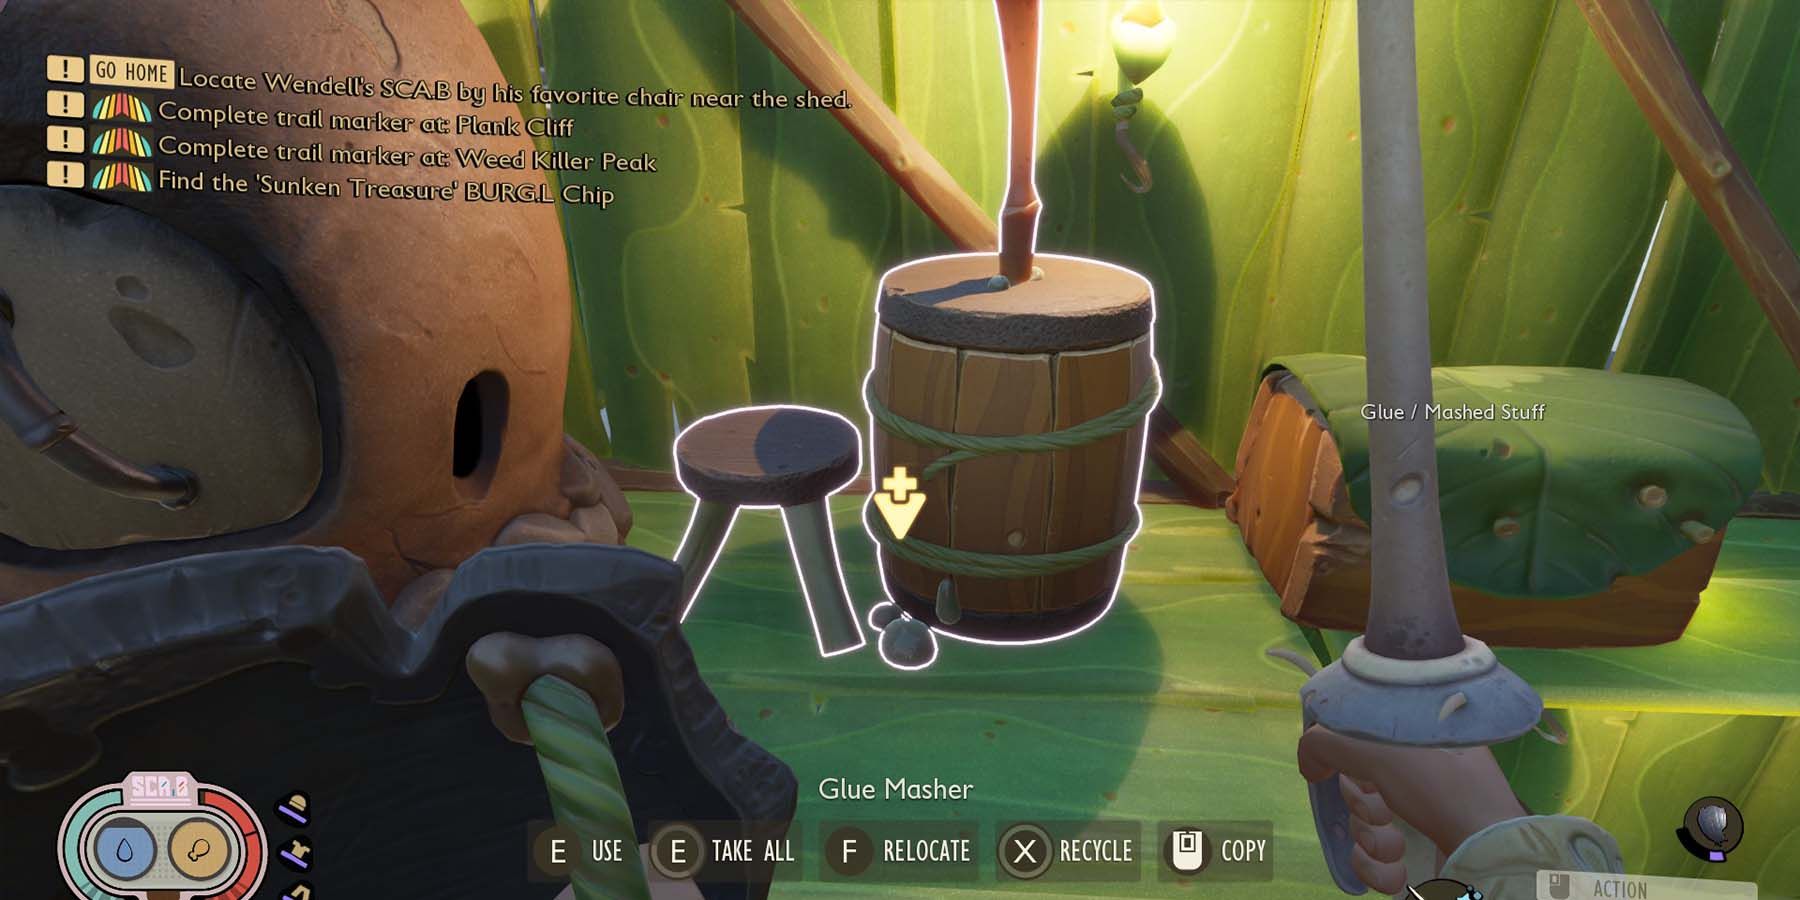
Although Repair Glue is necessary for repairing higher-level items, it will take players quite a bit of time and resources to gain access to it. In order to create Repair Glue, players first need to gain access to the Glue Masher. The blueprint can only be unlocked by purchasing it in the store for 500 Science, butBURG.L will only offer it up after players have retrieved the Black Anthill BURG.L chip. Getting this Chip means making it through the Black Anthill Lab and defeating a Mini-Boss called the Assistant Manager.
Players will need the following items to successfully explore the Black Anthill Lab and reach the BURG.L chip: At least two explosives like the Splatburst or Bratburst (carry more just incase), a Gas Mask, and a Torch.
The Black Anthill Lab is split into two sectors, but players should start in Sector A, as they will need to navigate through it to gain access to Sector B. The easiest path to Sector A is to enter the Black Anthill that's buried deep in the middle of the Trash Heap. This area is located in the southwestern corner of the map, close to the house. It's important to note that players will need a Gas Mask to navigate the noxious fumes from the Trash Heap itself and should also carry a torch to see inside the Black Anthill once they begin to explore its depths. Players will know they're close to Sector A of the lab once they see wires jutting out from the ceiling of the anthill.
Once inside, players need to progress through the lab, using an explosive to take out a rock blocking their path and fight through some TAYZ.Ts until they reach a switch labeled A. Tapping this switch will open the array of "A" labeled doors, including one back near the entrance (where players blew up the rock blocking the path) that will lead to a small cave which drops into Sector B. Players will continue exploring the new sector until they reach a switch to unlock all "B" doors. After doing so, they can continue to the start of the lab (in Sector A where they blew up the obstruction) and head through a new "B" labeled door that should now be open.
Once in this new area, players will tangle with some Black Ant Soldiers and then find a button they can press to open a nearby door. Inside this area is a glass with a small crack in it. Players can use another explosive to get through the glass and into the arena to fight the Assistant Manager Mini-Boss. Once the boss is downed, they'll gain access to a keycard which can be used on door nearby. Here, players will find the BURG.L chip, which they can then take back to BURG.L to unlock access to the Advanced Smithing: Glue Masher blueprint, which can be purchased from any ASL Terminal.
Once players have the blueprint, they can build the Glue Masher. The recipe requires:
- 3 x Sprig
- 3 x Acorn Shell
- 2 x Crude Rope
- 1 x Stinkbug Part
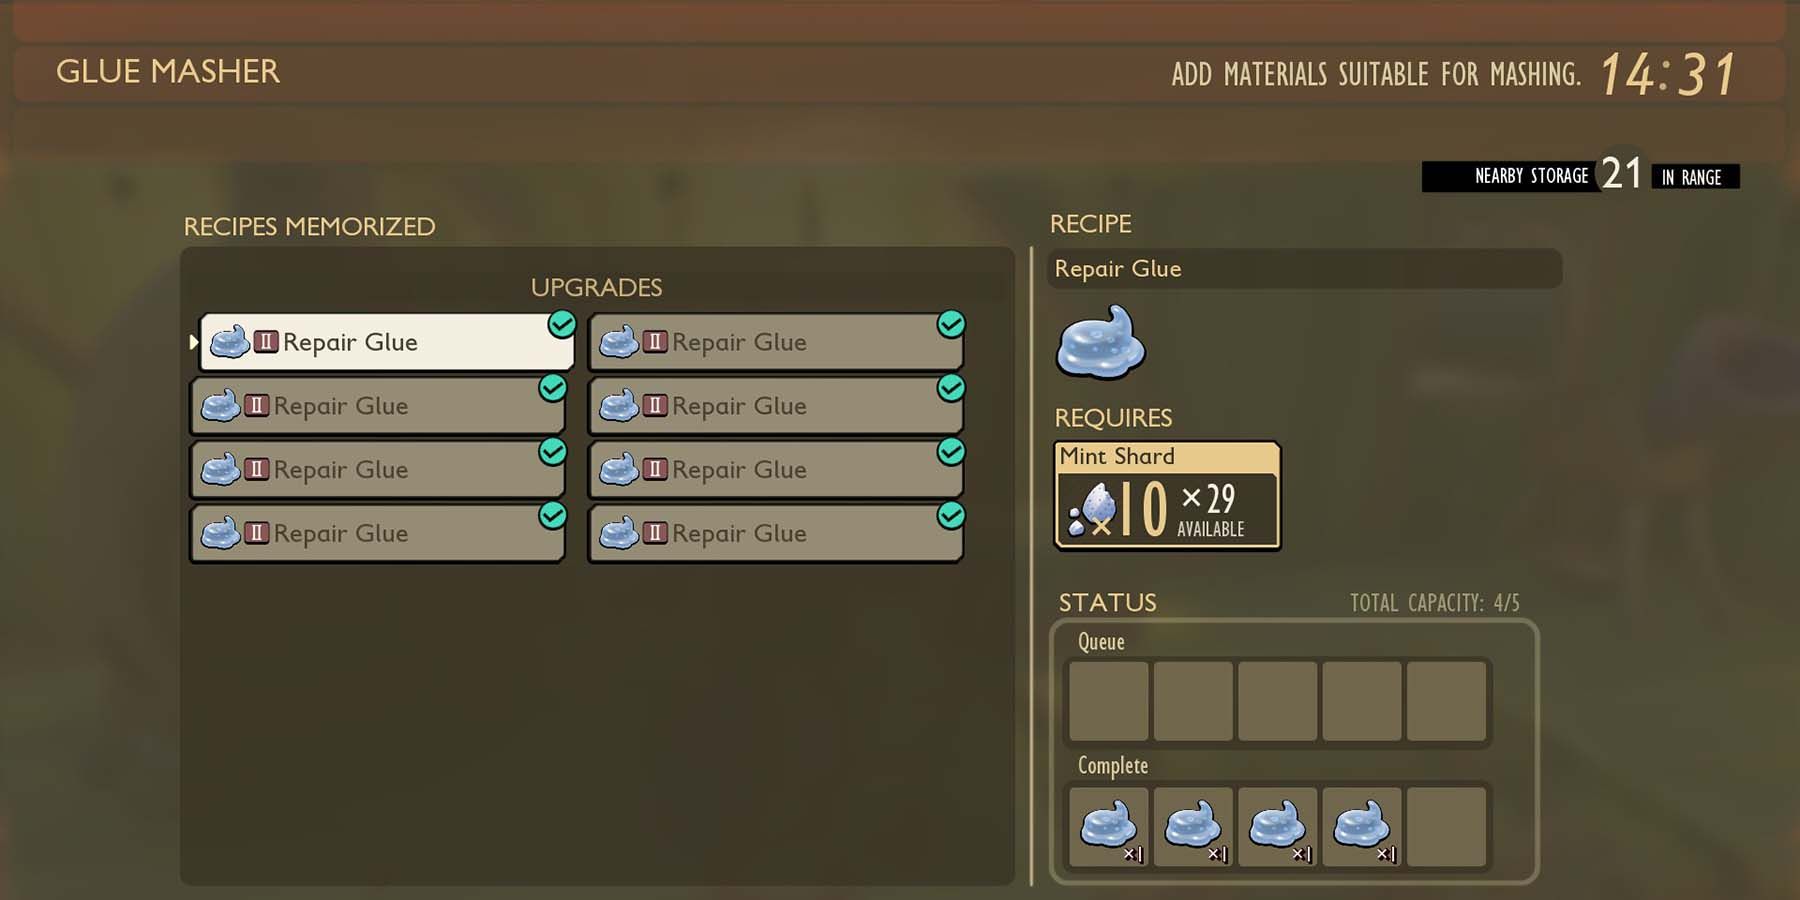
Once built, players can create Repair Glue by tossing Bug Parts into the machine. Here's a look at the quantities of parts (and what parts can be used) to create a Repair Glue (players will only need one "type" of these items to create a repair glue):
- 10 x Mint Shard
- 10 x Sour Lump
- 10 x Spicy Shard
- 8 x Spider Chunk
- 6 x Stinkbug Part
- 5 x Ladybug Part
- 5 x Bombardier Part
- 4 x Termite Part
- 3 x Antlion Part
- 2 x Black Ox Part
- 2 x Roly Poly Part
What Is Repair Glue For In Grounded?
Once players gain access to the Smithing Station, they'll be able to upgrade their armor and weapons to higher levels. Once an item reaches Level 6, it will require new (and rarer) upgrade materials. In turn, it will also require Repair Glue to fix it, once it starts to break down. Thankfully, the normal material repair cost is replaced by Repair Glue, meaning players won't have to spend time collecting the appropriate bug (and nature) parts once they upgrade an item past Level 5. At this point, a single Repair Glue is enough to make the item good as new.
This can be extremely useful and convenient in the later parts of the game, as players may find themselves creating armor sets or weapons that require specialized parts from rare or difficult enemies. Swapping out the material cost for a Repair Glue (which is relatively easy to craft) can save a lot of time and effort.


