Quick Links
Every region you explore in Final Fantasy 7 Rebirth is unique in its appearance and content that is available. After leaving Gongaga in the previous chapter, you will get to explore Cosmo Canyon. Here, you can find the iconic planetarium along with the place where Red XIII grew up. While there are some side quests you can do in this region, most of them don't become available until you've completed most of this chapter. Here is what you can expect as you begin Chapter 10: Watcher of the Vale.
This walkthrough contains spoilers, so players should proceed with caution.
Final Fantasy 7 Rebirth Review
Final Fantasy 7 Rebirth is an epic-scale adventure with an unforgettable cast of characters that will keep players busy for dozens of hours.
Welcome to Cosmo Canyon
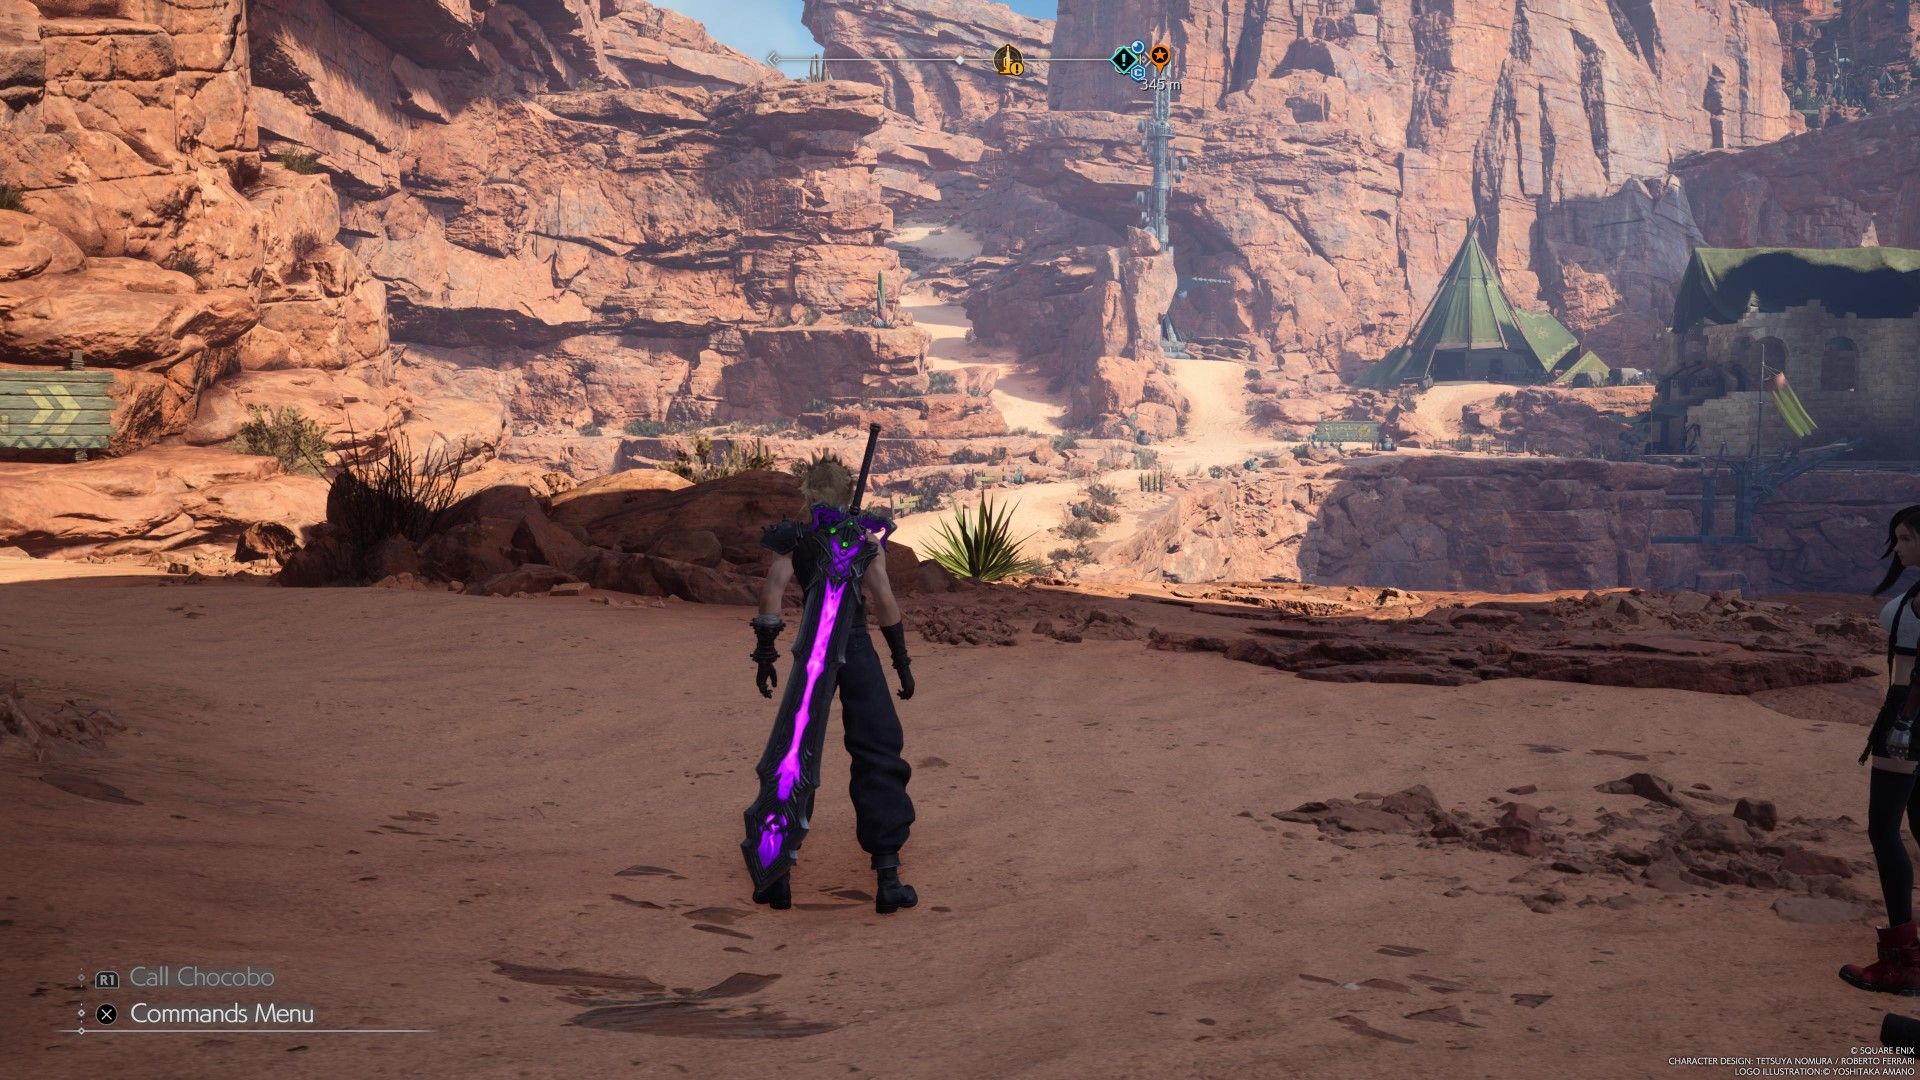
As Cid flies away, the tenth chapter begins. To begin with, make your way to the tower that is to the north. Since it is on the way toward your destination, it doesn't hurt to activate it. Not only that, but activating the tower will also display the location for where you can catch the Cosmo Canyon chocobo. To progress the story, keep following the signs that point in the direction of Cosmo Canyon.
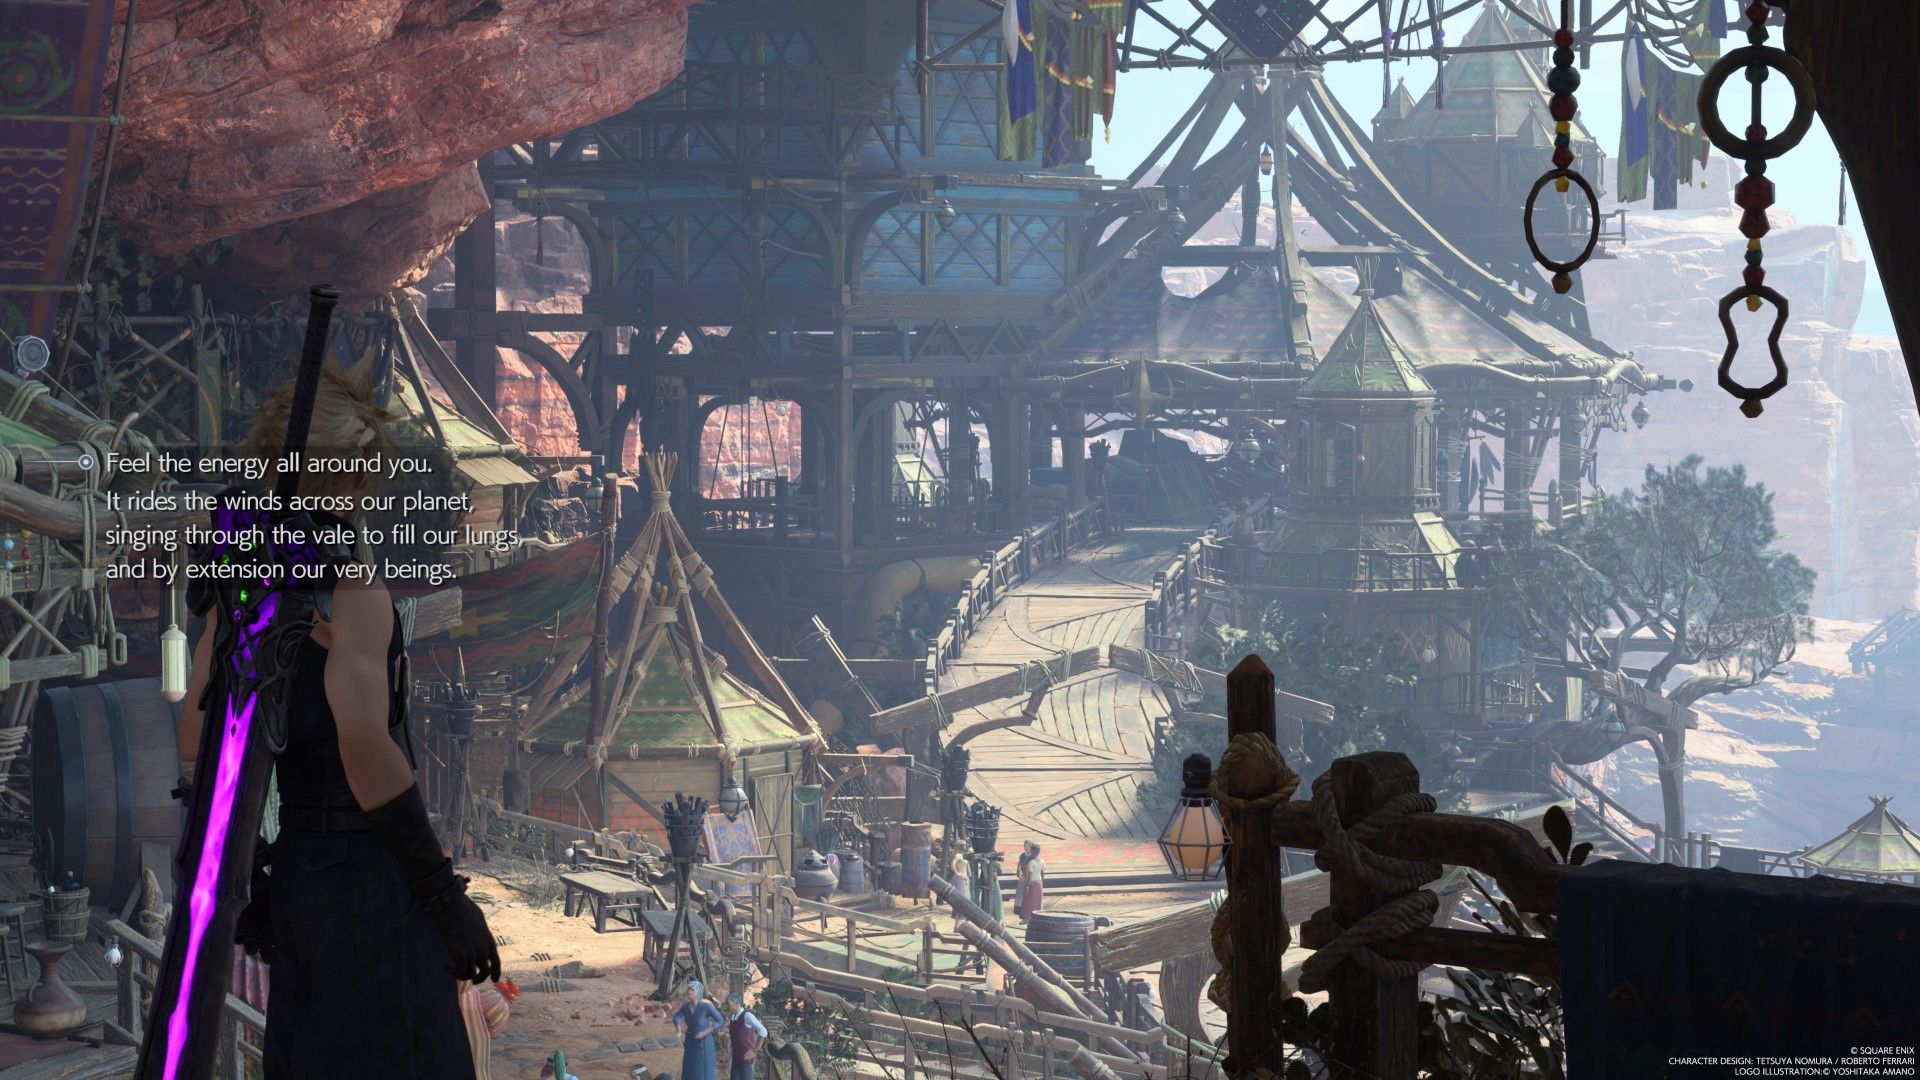
Before long, your destination will come into view. Go down the path and cross the bridge to trigger a cutscene. At this point, fast travel will become unavailable and Red XIII will temporarily leave the party. Go through the village and head up the stairs to find several shops to browse if you are in need of supplies or equipment. Further ahead, you will trigger a cutscene.
From there, head toward the planetarium. To get there, head to the elevator and hold down the Triangle button to go up. At the top of the elevator, go along the walkway until you find Red XIII.
The Planetarium
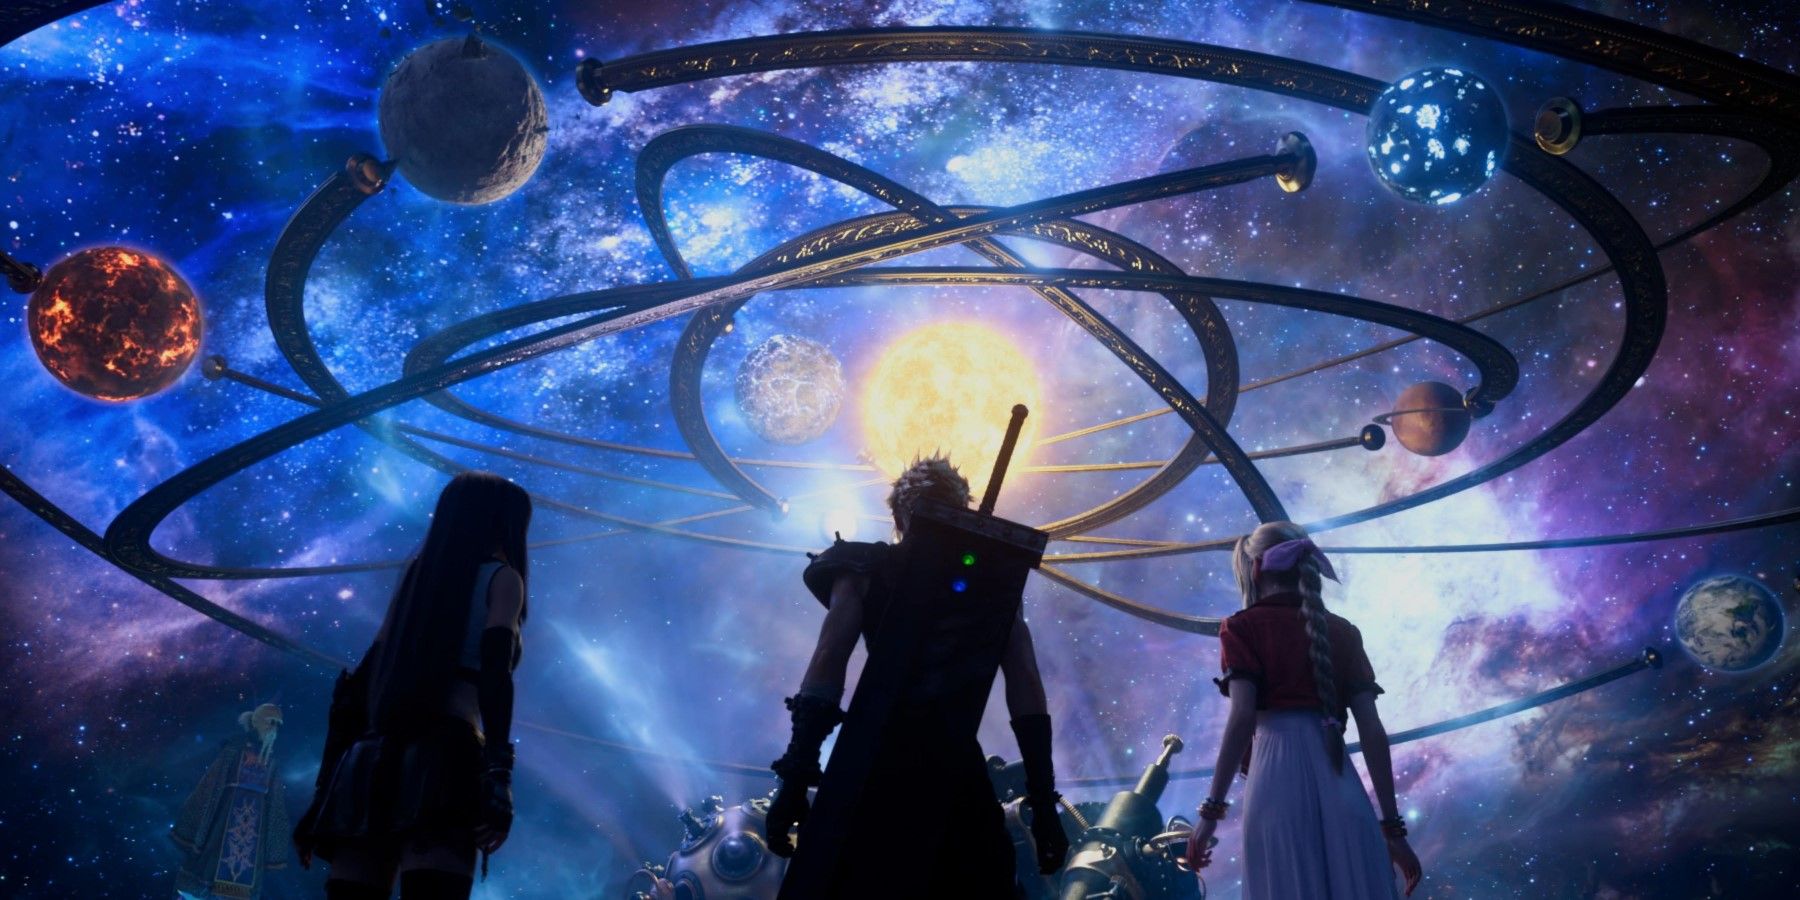
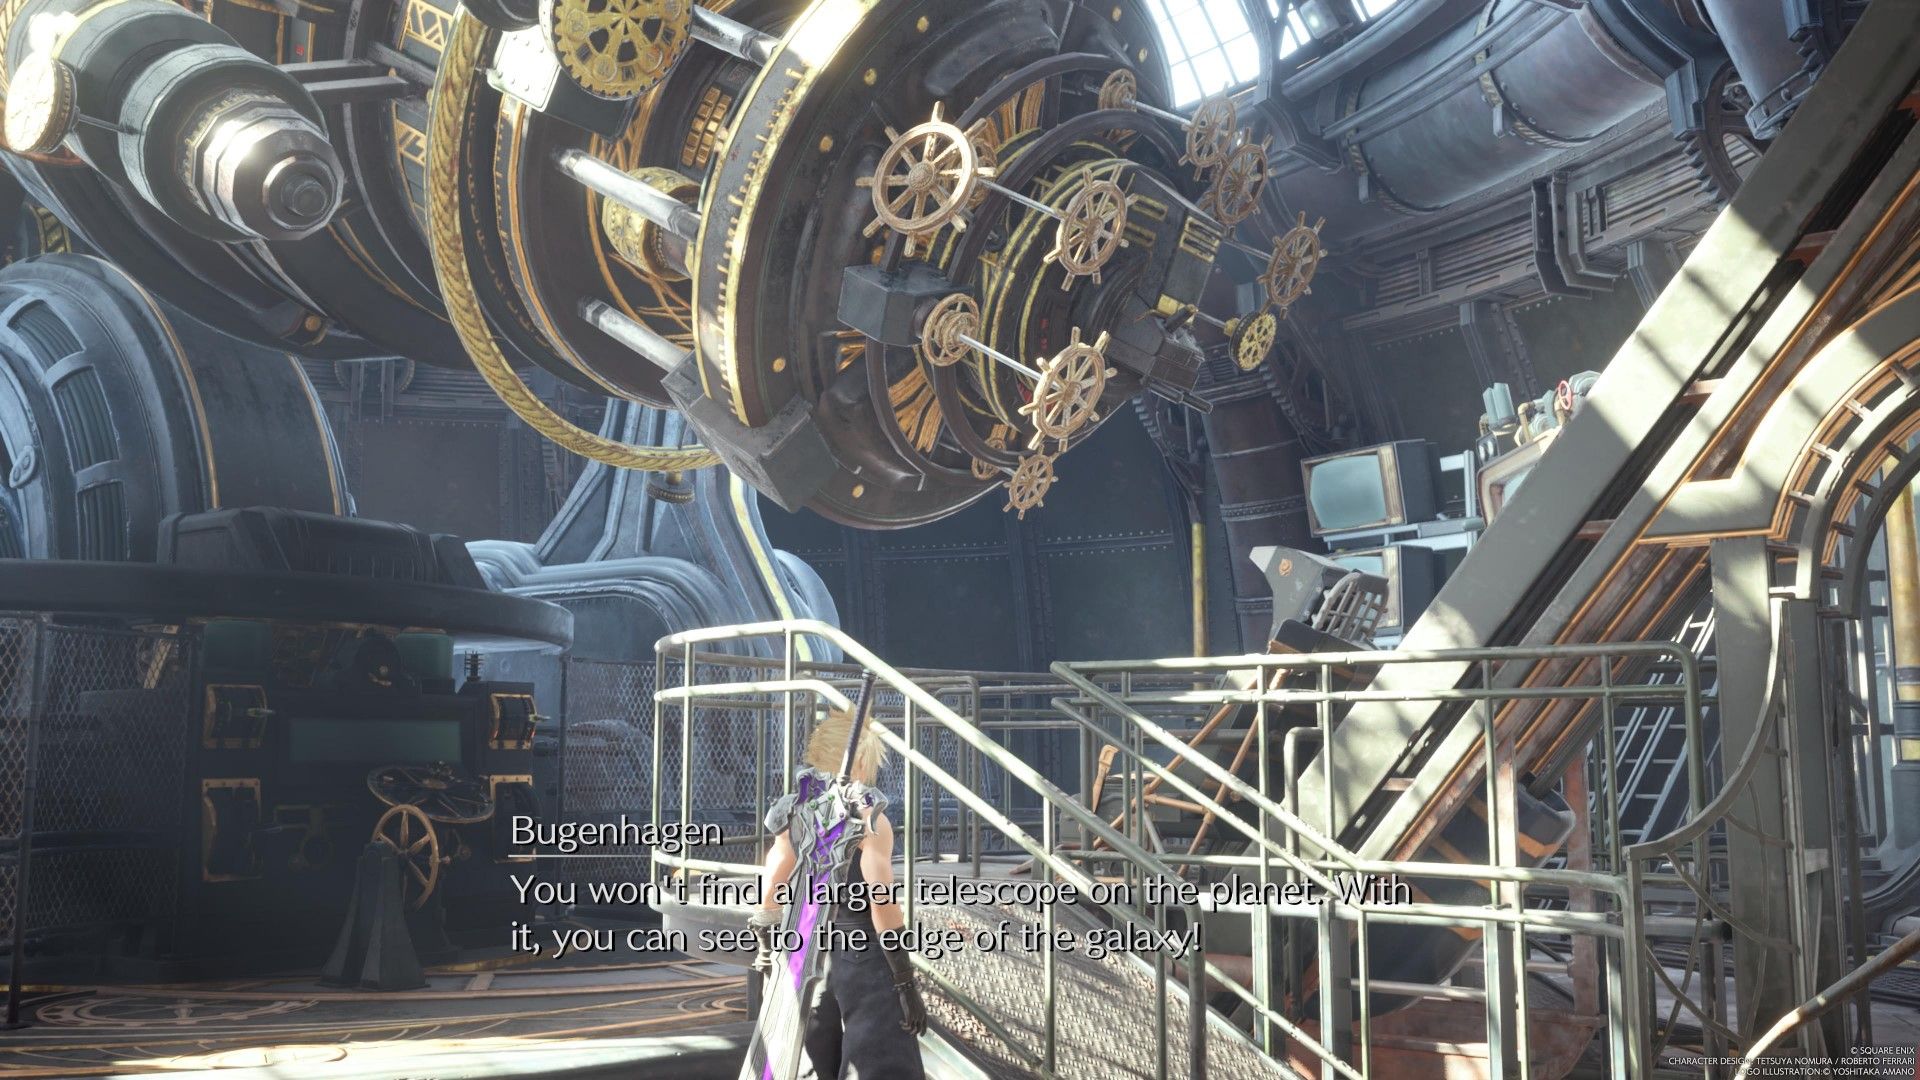
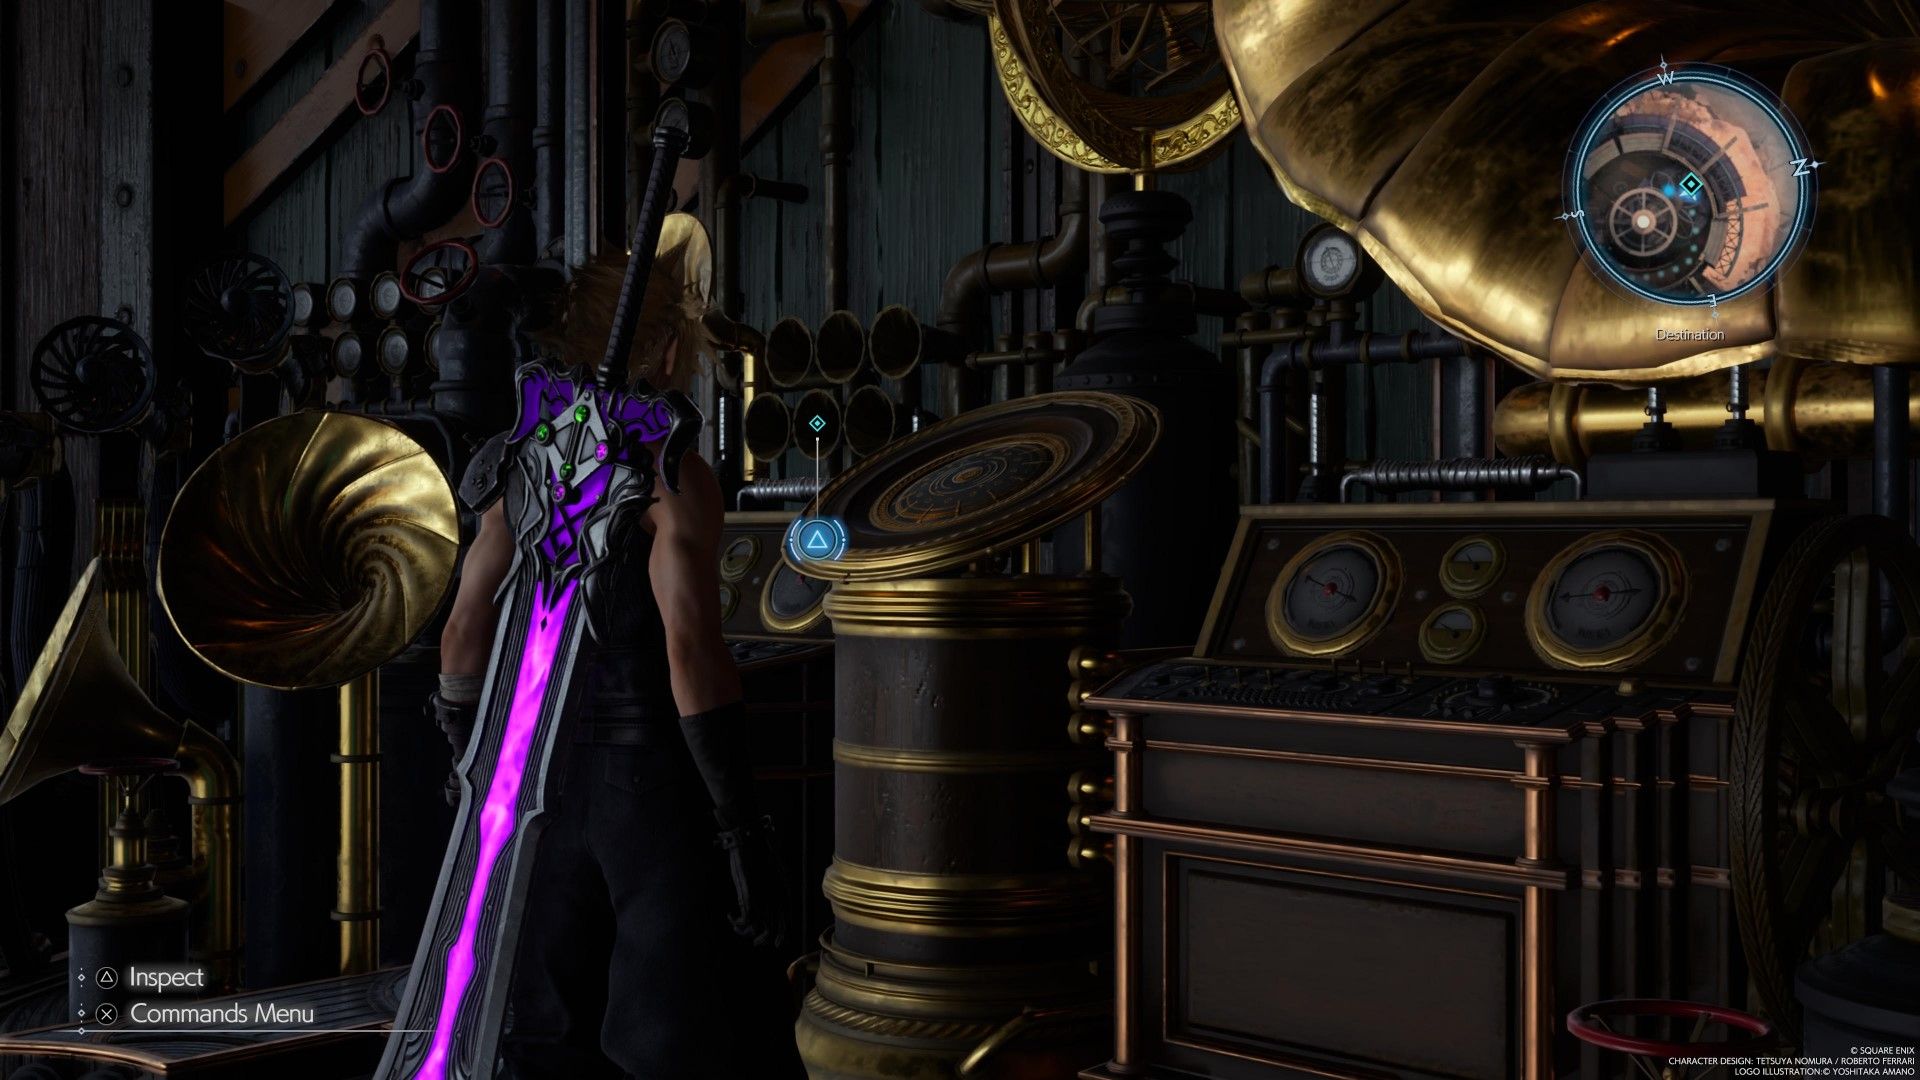
Head inside the planetarium and take a look around. Examine the various objects around the room. There is also objects to interact with on the second floor as well. There is also a set of double doors on the second floor that you cannot interact with until you've thoroughly explored the planetarium, including the third and fourth floors.
Once you've examined everything, go down to the second floor and examine the device that made a sound. At this point, you'll be able to go into the room that lies beyond the double doors. After the cutscene ends, leave the planetarium and talk to the attendant who will give you access to the store room. There are several valuable items inside this area, including a new weapon for Cait Sith.
Head back to the elevator and go down. As you leave the elevator and walk along the street, an attendant will approach and will tell you to follow them. You will come across a group sitting in a circle. Following the cutscene, head down to the plaza where everyone is gathering. To advance the story, talk to Aerith who is next to the bonfire. You can also talk to your other party members to improve your relationship with them.
Follow Bugenhagen
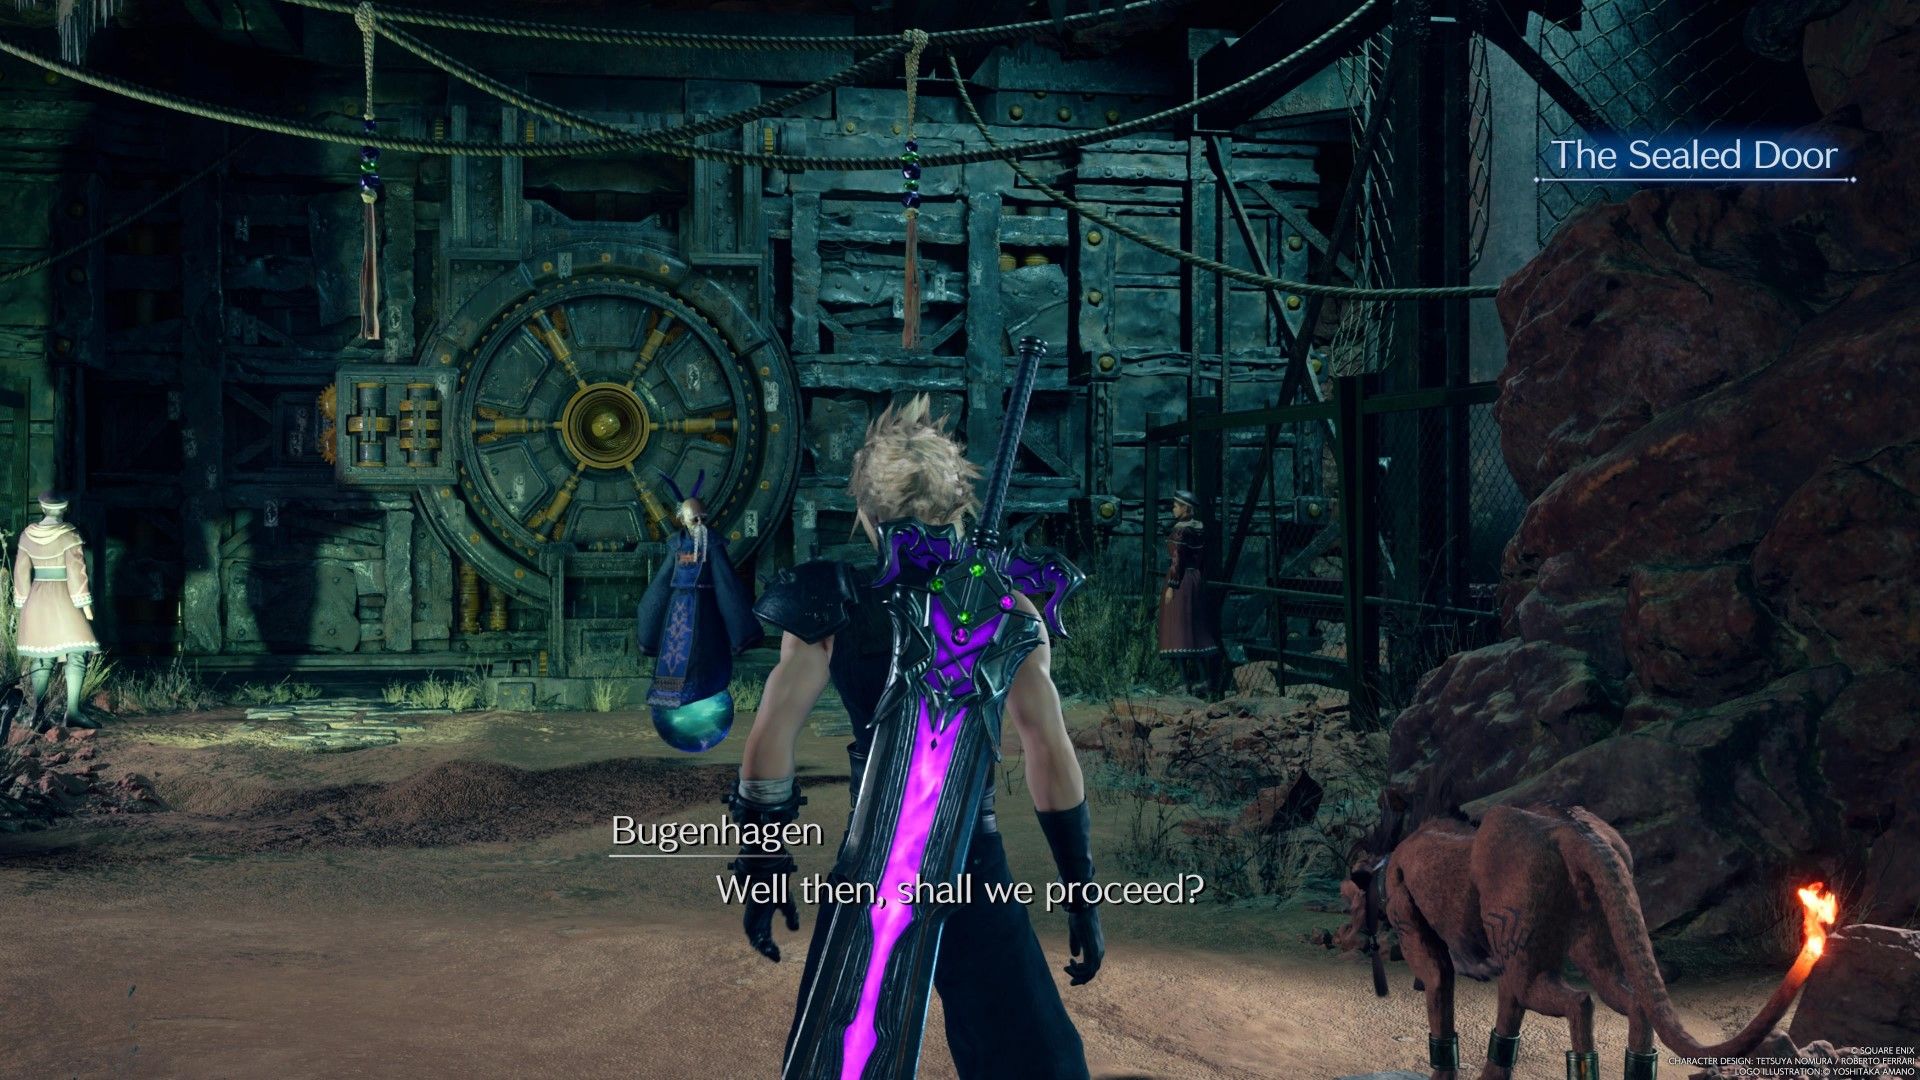
Once the cutscene ends, follow Bugenhagen to reach a sealed-off area. Tell Bugenhagen when you are ready to proceed, and he will open the door. Follow him and get onto the elevator. Shortly after you get off the elevator, your party will change, and you will only have access to Barret and Red XIII. Make use of the vending machines if needed and then head further into the cave.
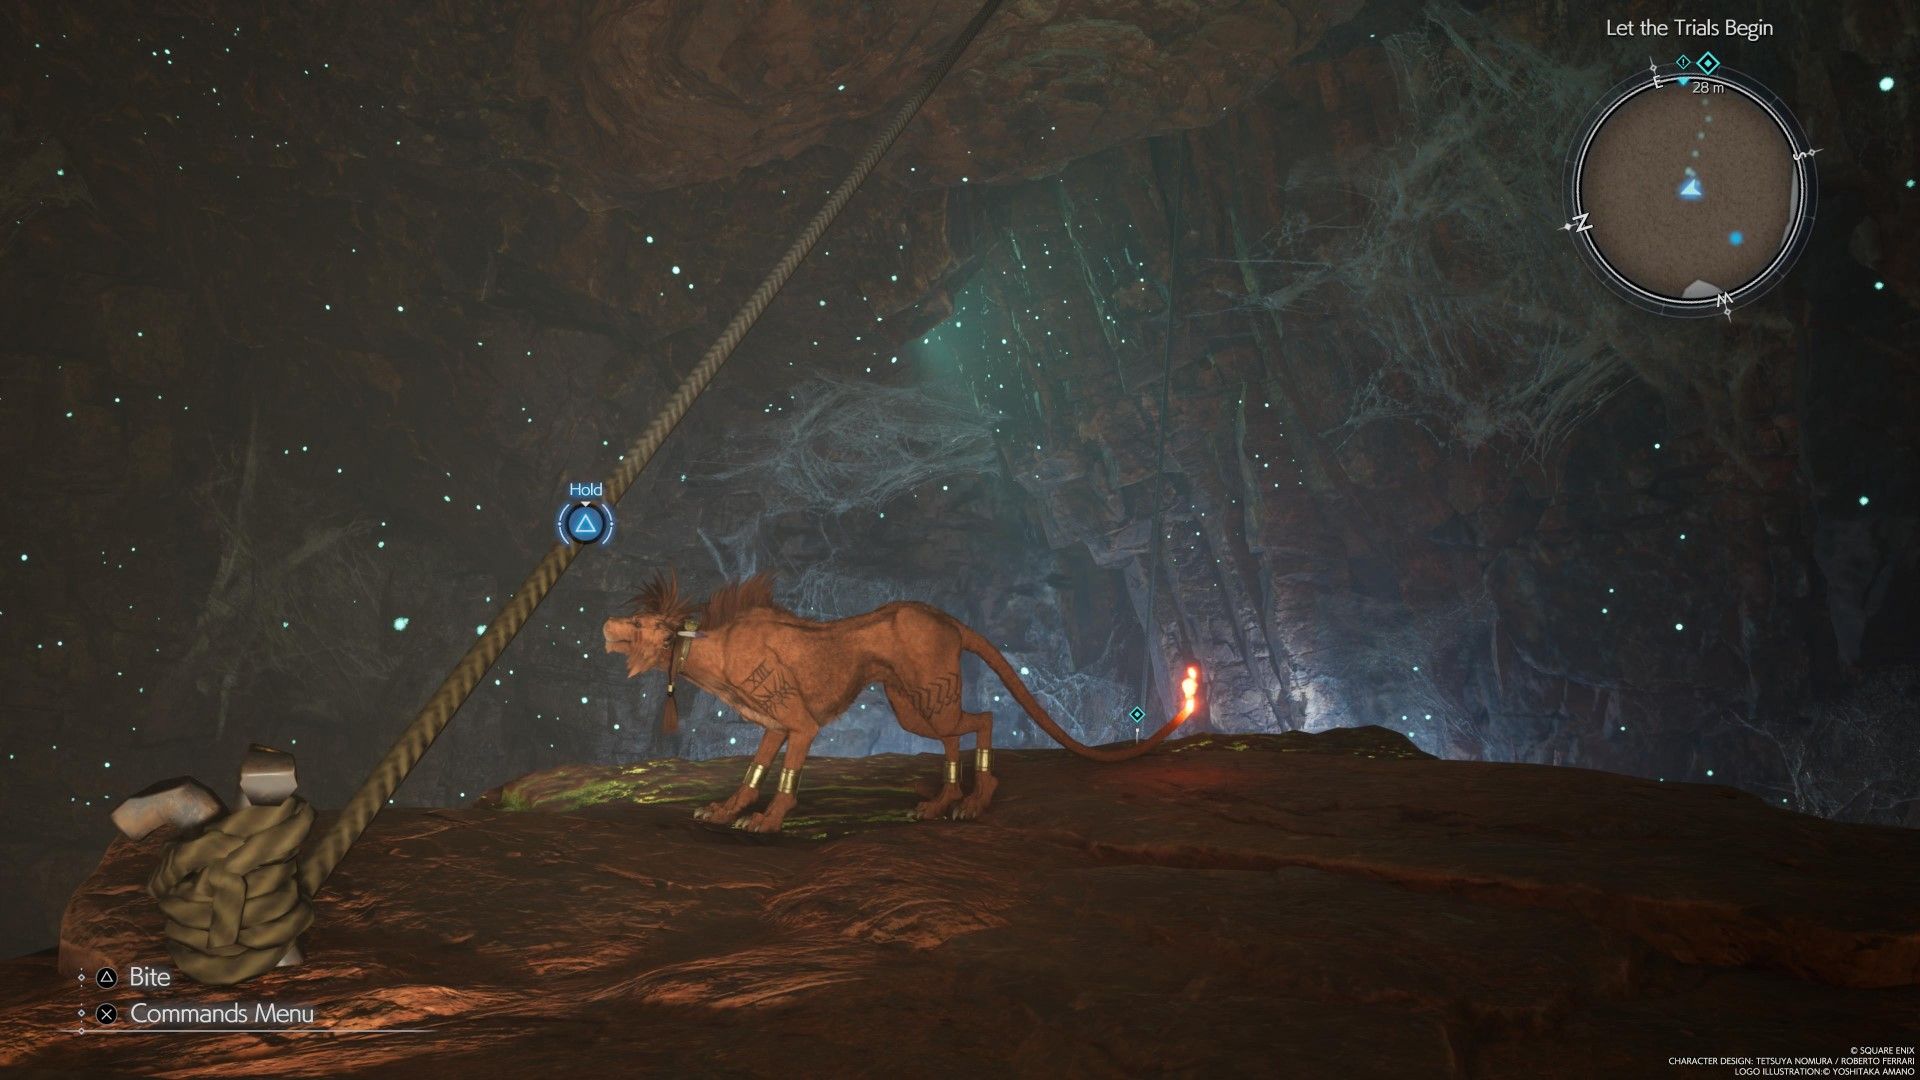
After you kill the group of enemies, you will get a tutorial about climbing glowing walls as Red XIII. Look to the west and climb up the wall. This allows you to get past the rocks and further down the tunnel. Keep going south, and eventually you will come across a large stone door that is sealed off with rope. To open it, climb up the nearby pillar and hold down the Triangle button to break the rope that is holding the door in place.
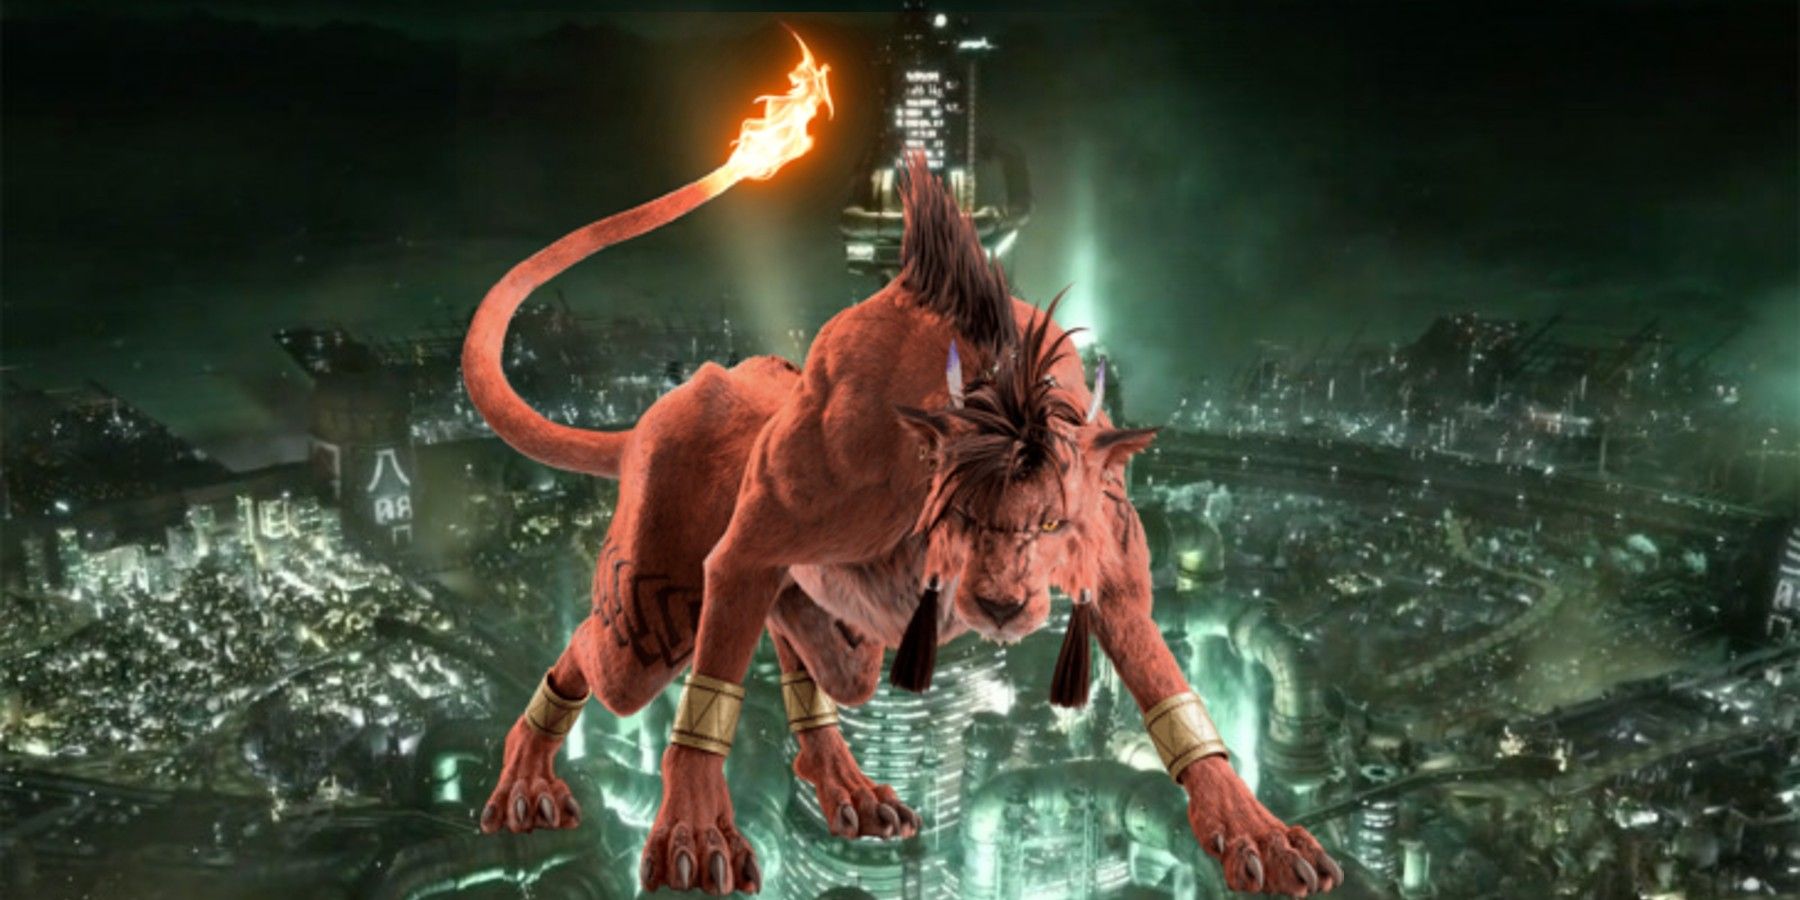
Final Fantasy 7: The Lore Behind Red XIII Explained
The lore behind Final Fantasy 7's Red XIII has helped to make the character one of the most beloved parts of Square Enix's iconic JRPG.
The Trial Begins
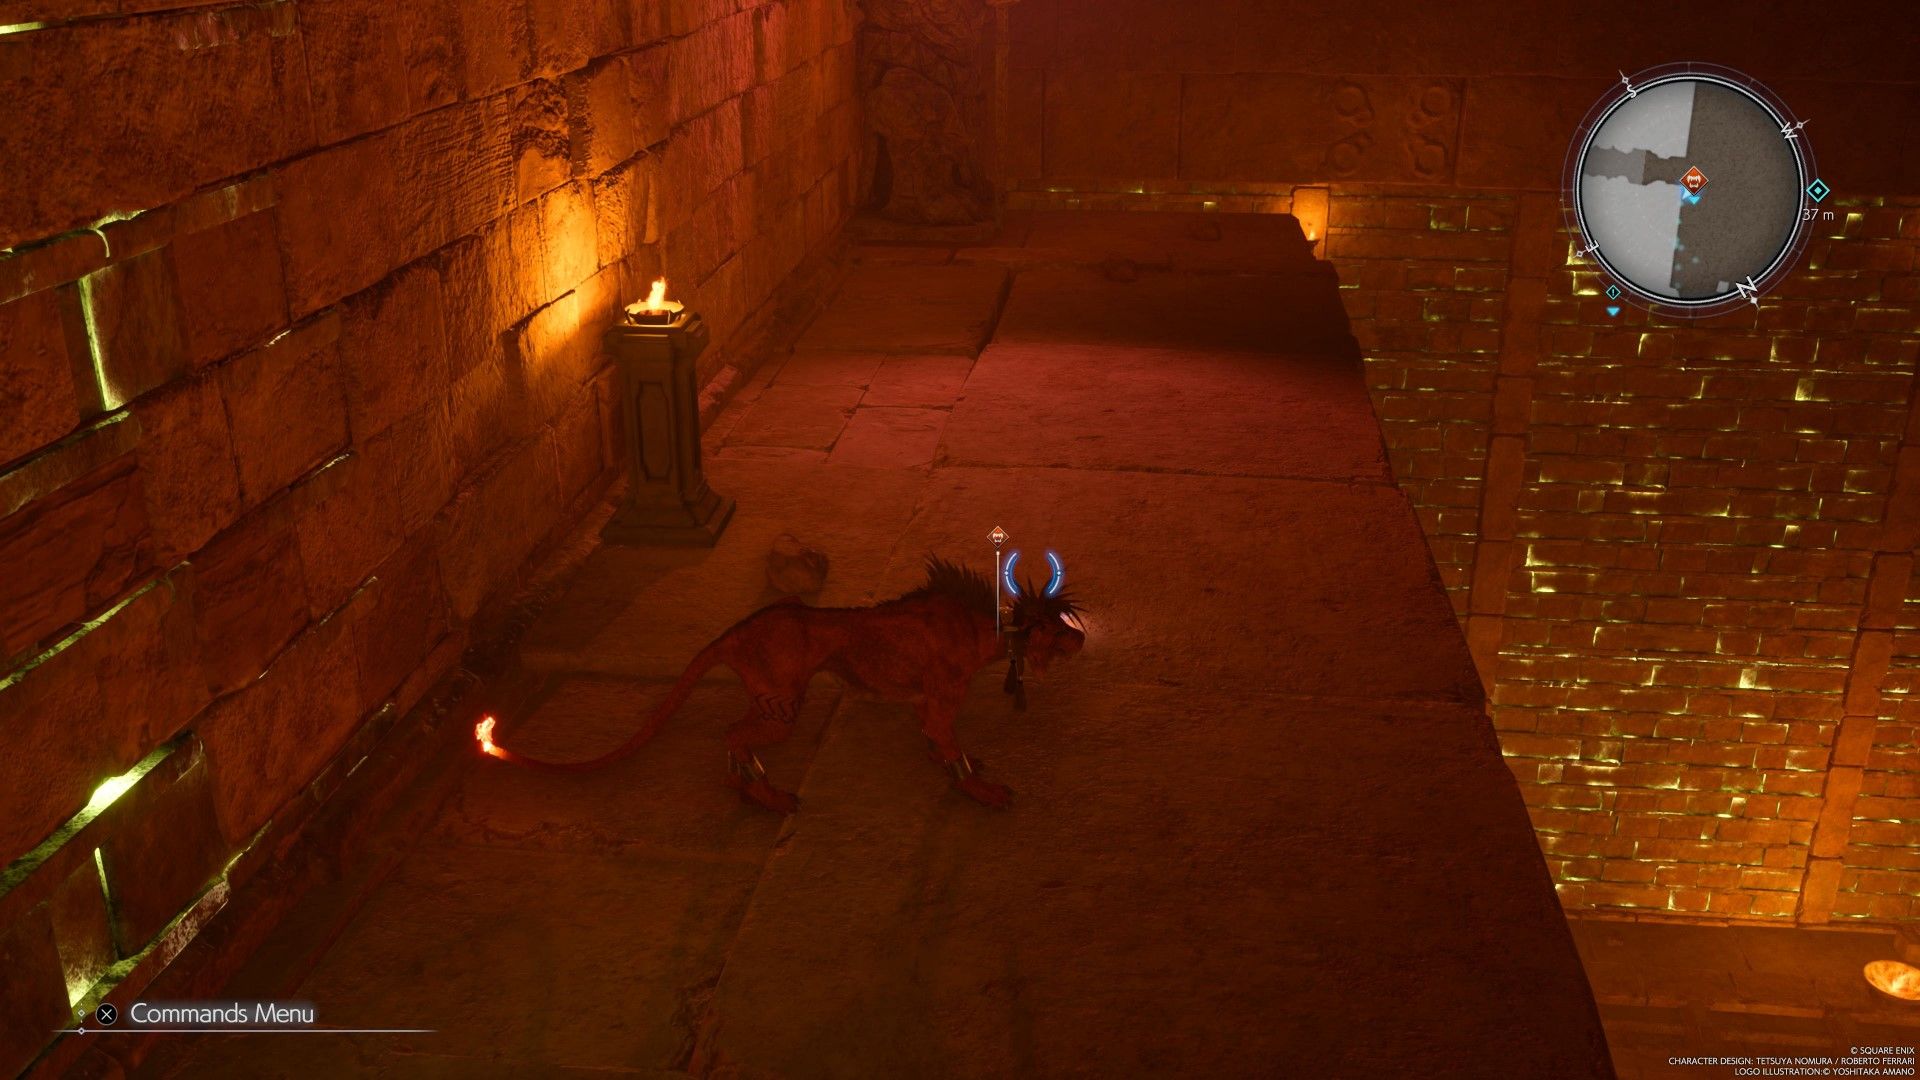
Go beyond the door and into the next area. Further ahead, you will find a set of stairs that go down a long way. Go all the way to the bottom and go through the doorway. Approach the statue to trigger a cutscene. To progress beyond this point, you will need to search for artifacts and bring them back to Bugenhagen. Once you are in the circle, drop the artifact. If it isn't the right one, keep searching.
Up on the right wall is an artifact that, once identified, becomes healing materia. The correct artifact is up on a ledge on the wall directly behind the statue. Upon taking it back to Bugenhagen, you will trigger a cutscene and a battle. Once the battle is over, pick up the statue and take it with you into the next room. When you come across a ramp that goes down to another chamber with four podiums, bring the artifact down there.
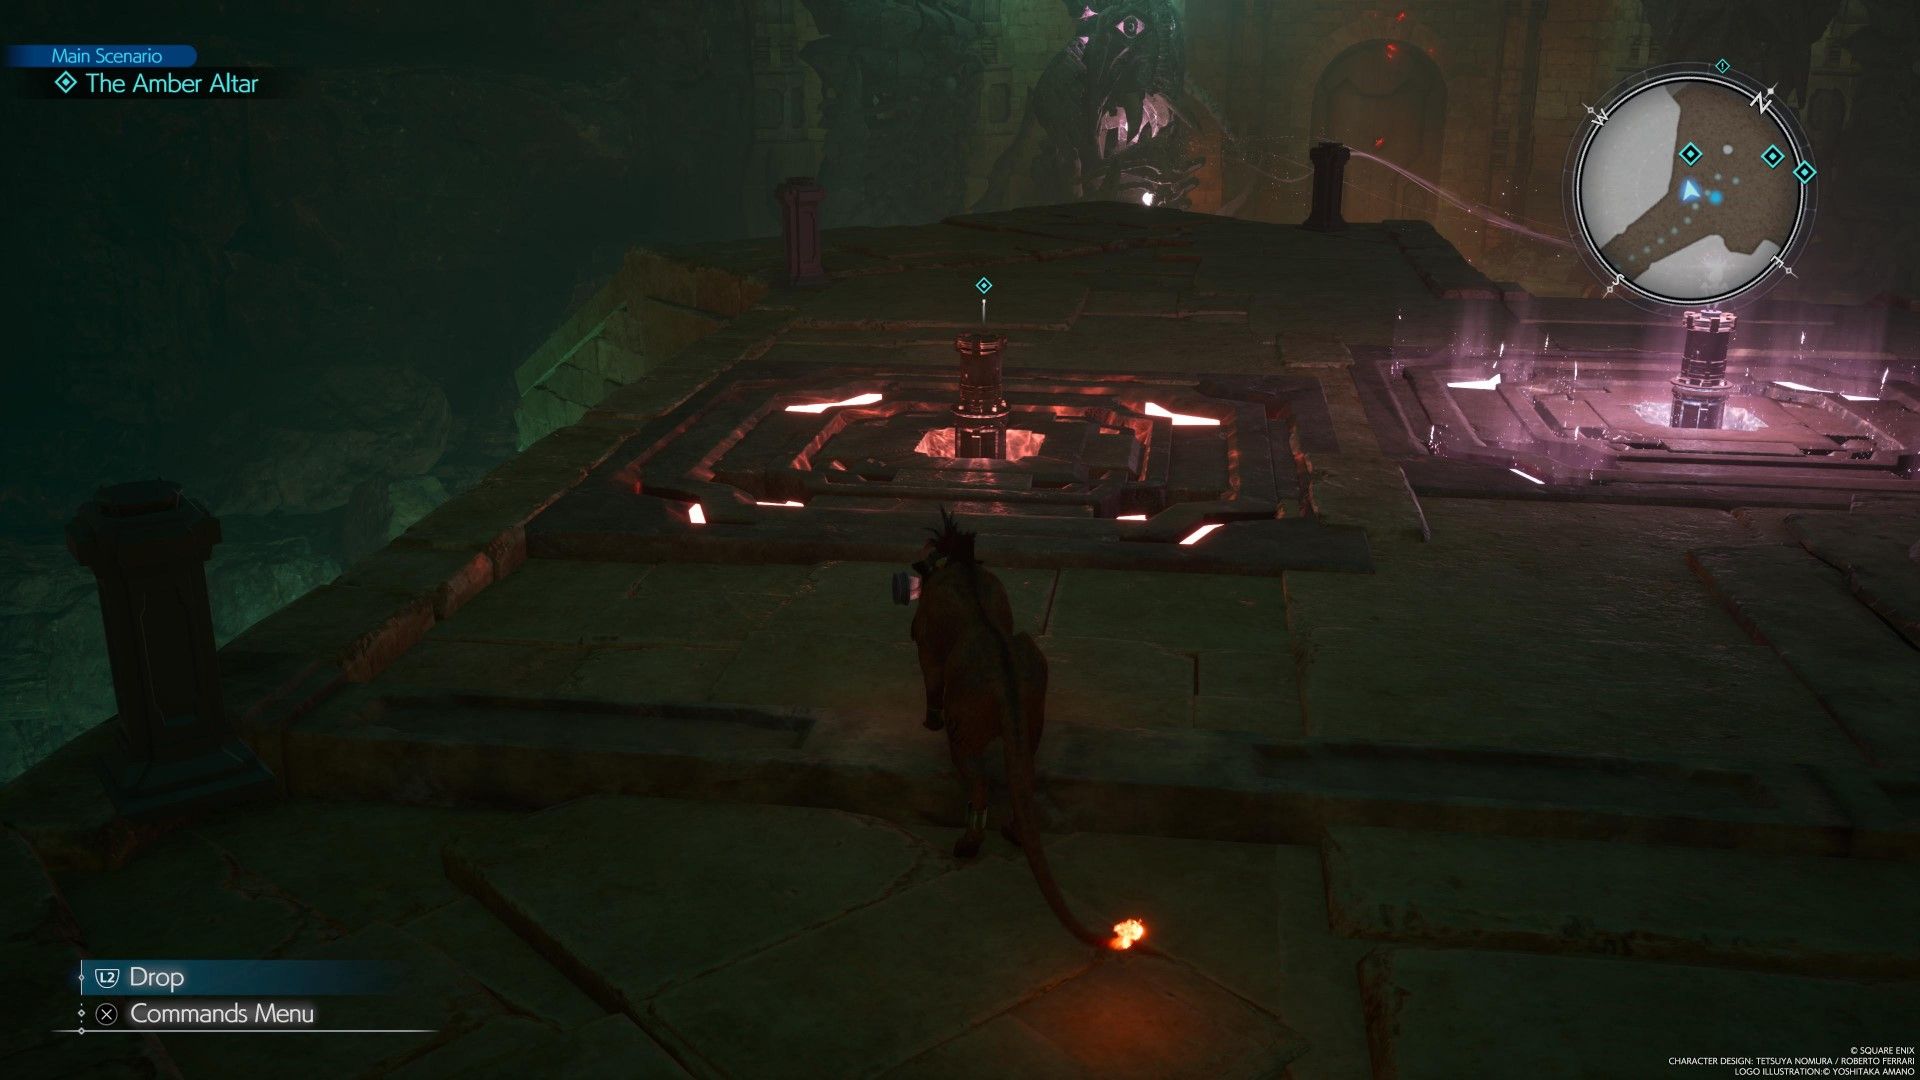
Take the statue to the left most podium and press the Triangle to place it. Next, go to the right and pick up the yellow statue. This one goes onto the yellow podium. After that, go down a path to the right. Use the rock wall to reach another passage, but keep in mind that Red XIII will have to go alone. Approach the altar and pick up the last statue. As you leave, one of the statues will come to life. Defeat it and continue carrying the statue back to the last podium.
After all four statues have been placed, the door will open. This was only the first trial, however, and several more await you beyond this point.
Get Through the Gates
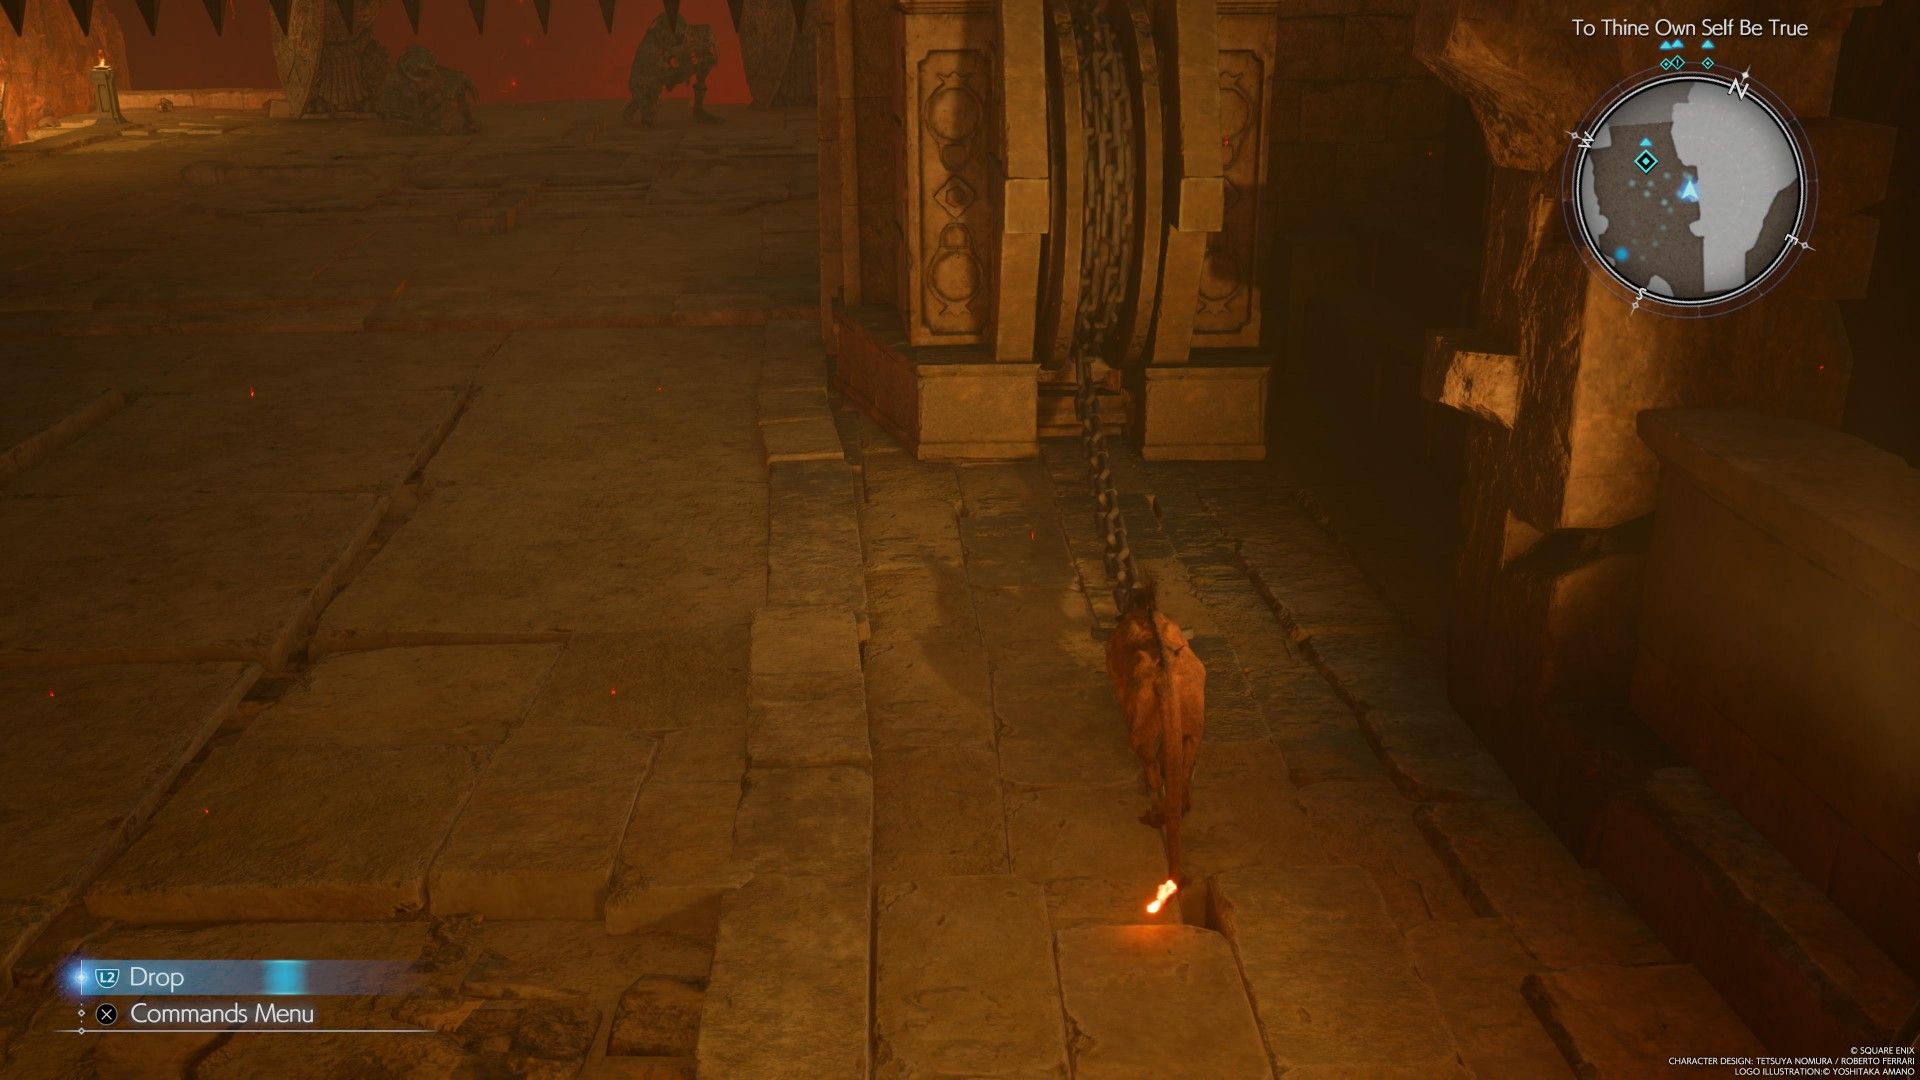
As you enter this new area, go down the multiple sets of stairs and take out any enemies you encounter as you go down. Eventually, you will come across the first gate. To open it, go to the right and pick up the chain by holding L2. Once you've raised the gate all the way up, it will (fortunately) stay open. Continue onward and deal with the reanimated Gi statues.
Go down the stairs to the left and approach the chain. Pull it all the way back to create a bridge to the other side. Go up the path and climb up the wall after looting the chest that contains three Gold Needles. You'll soon arrive at the second gate, which you open almost exactly the same way as the first one.
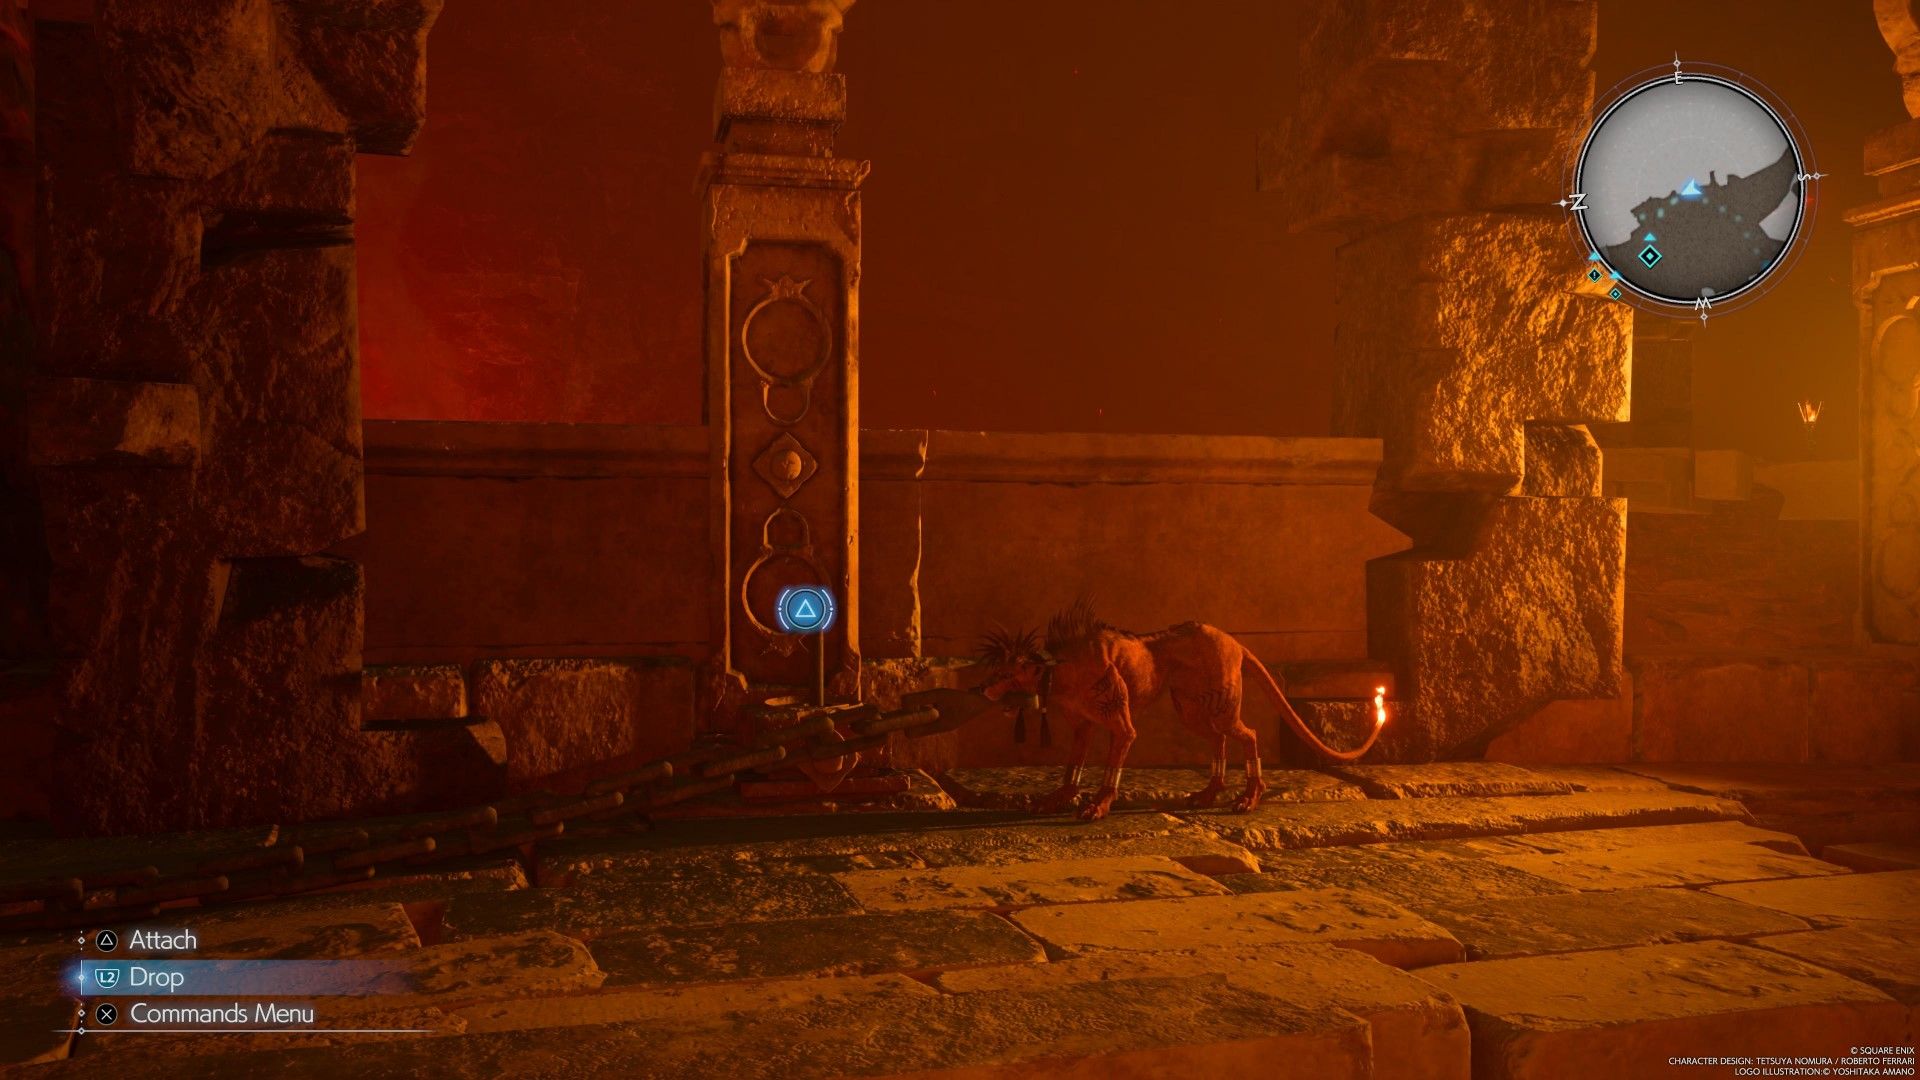
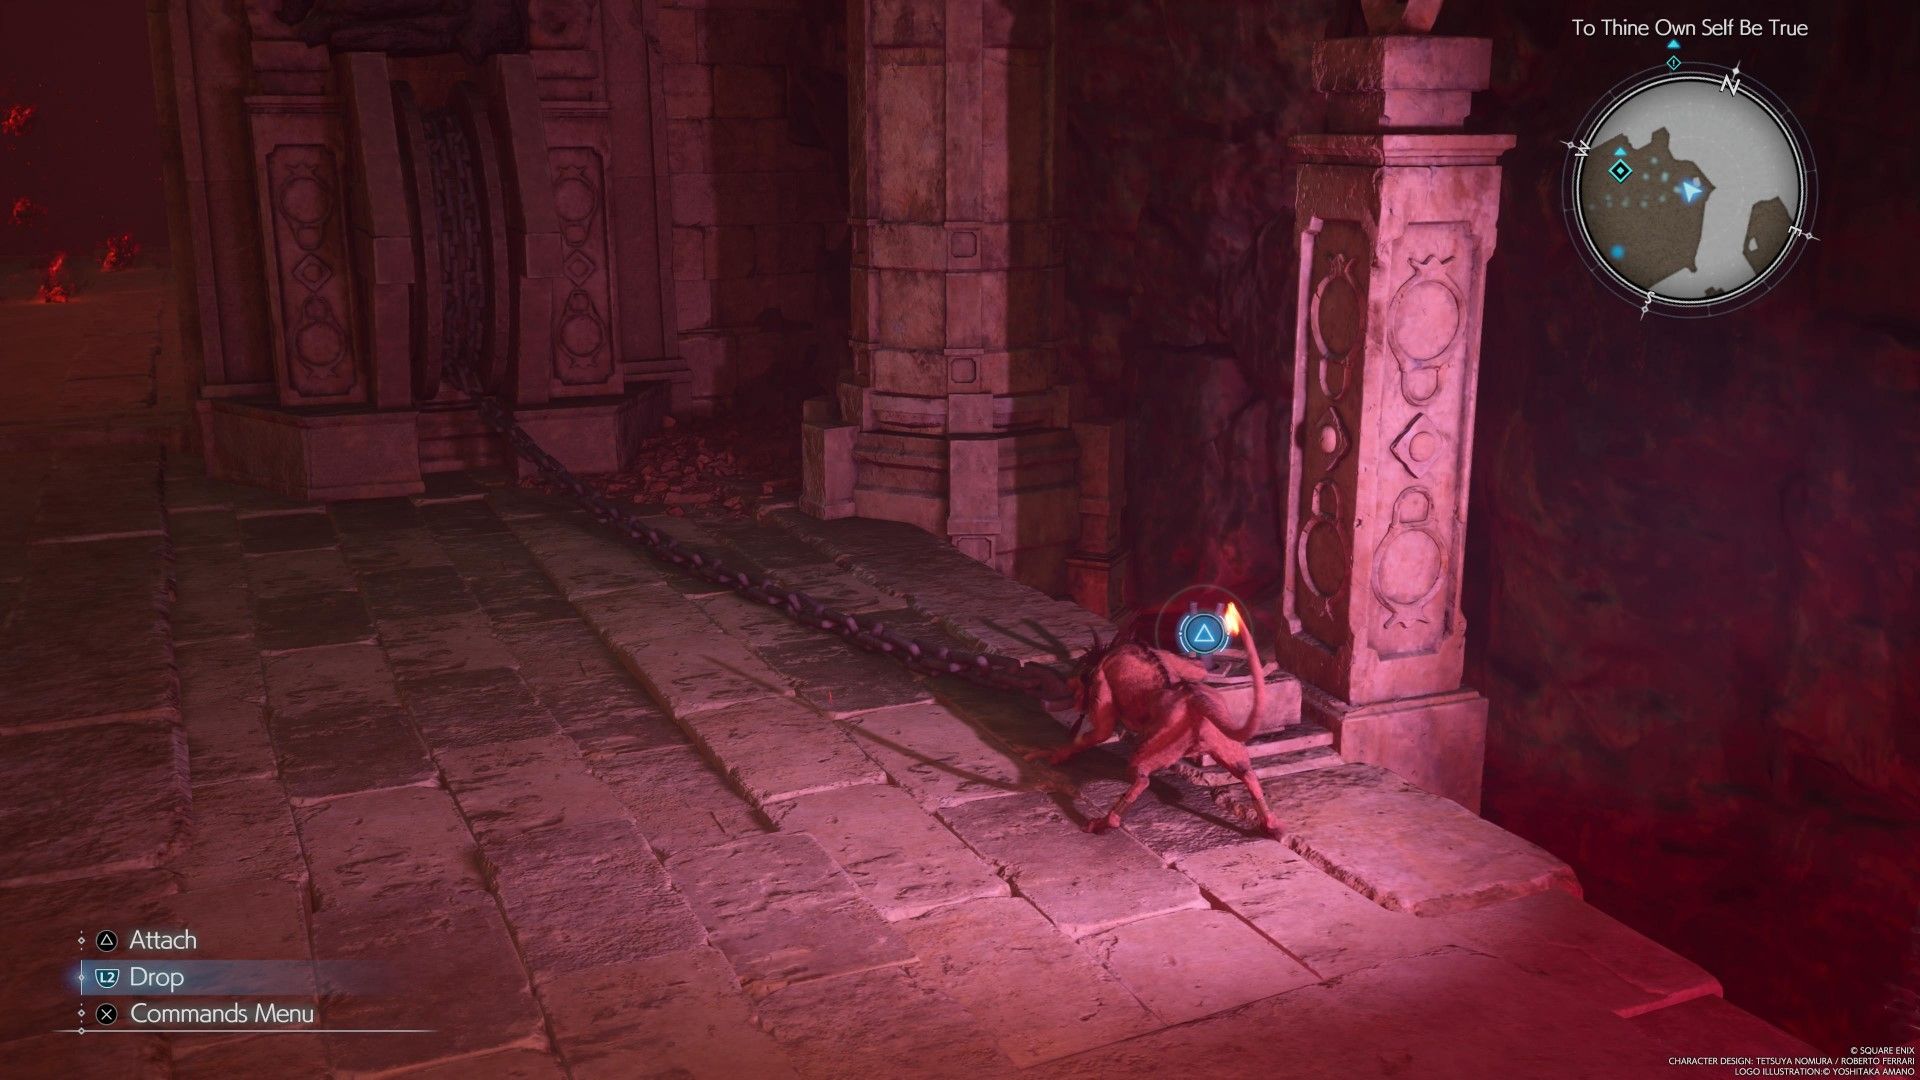
The mechanism that locks the gate in place is broken, so drag the chain back and then press the Triangle button to attach the chain to a nearby metal pole. Go through the open gate and take out the Gi waiting for you there. Continue onward and then climb up the wall/walk up the ramp to proceed to trigger a cutscene.
Pull the chain all the way back and go across the platform that it extended. Climb up the wall and pull another chain. This will unlock another platform below that will allow you to get to the next gate. Go up the wall on the left and destroy all the boxes for some easy items.
For this next gate, the metal pole you need to attach the chain to is missing. Look to the left side of the gate to find it. Insert the hook, grab the chain, and attach it to the hook to open the gate. Once you are through the gate, you will come across a rest station and some vending machines. Take this time to prepare yourself, as this can only mean one thing once you go beyond this point.
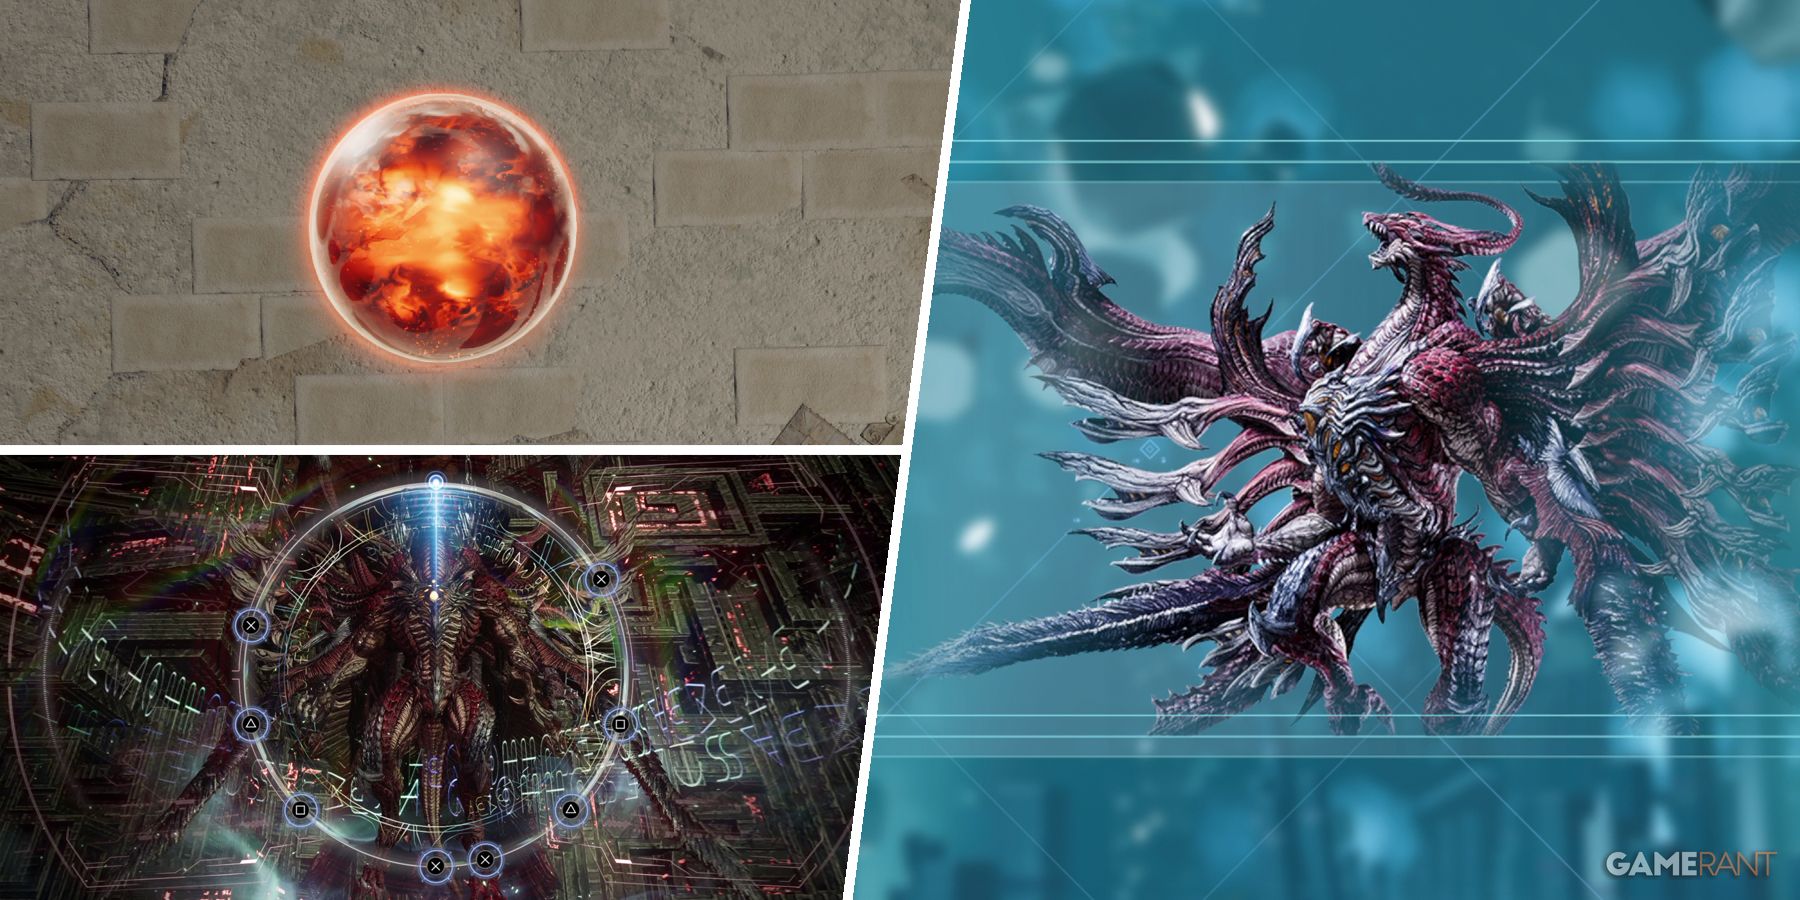
Final Fantasy 7 Rebirth: How to Get the Bahamut Arisen Summoning Materia (& How to Upgrade It)
Players will need to wait until Chapter 10 of Final Fantasy 7 Rebirth before they can get their hands on the Bahamut Arisen Summoning Materia.
How to Beat Gi Nattak
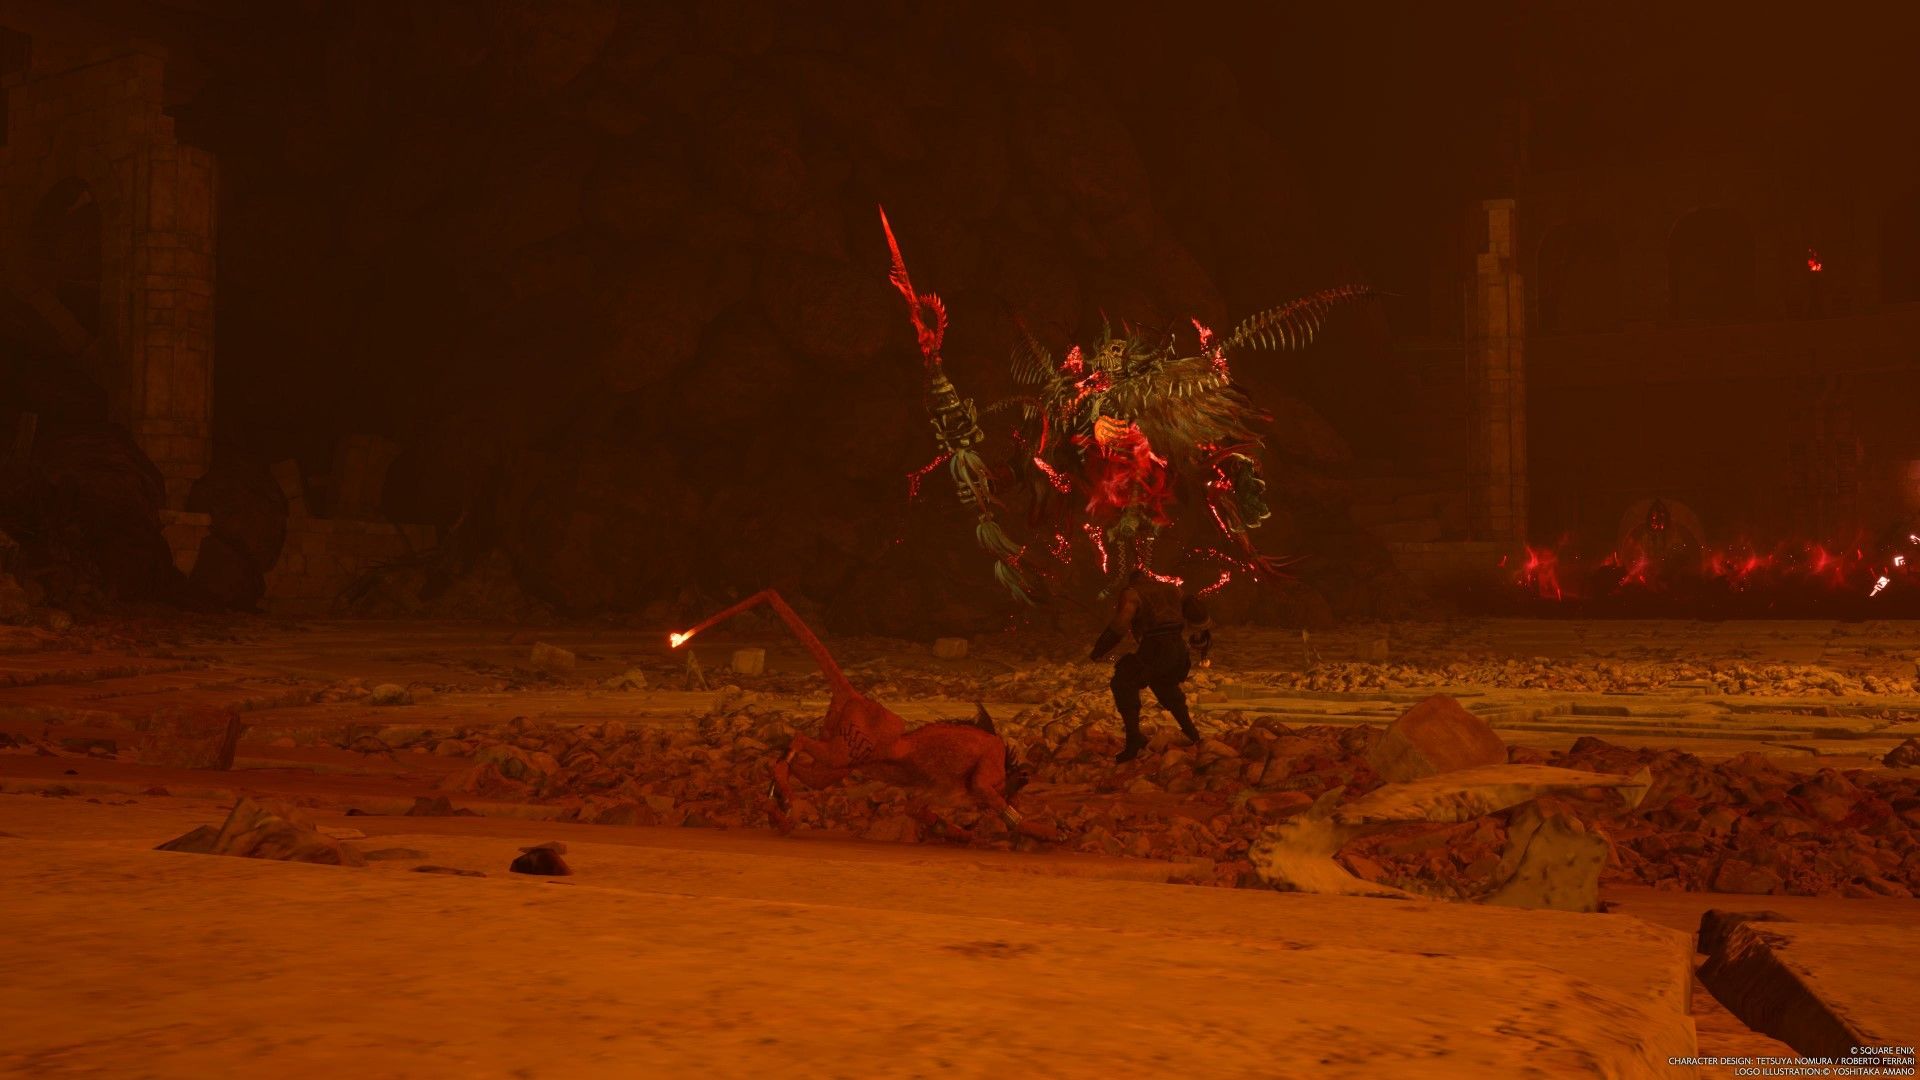
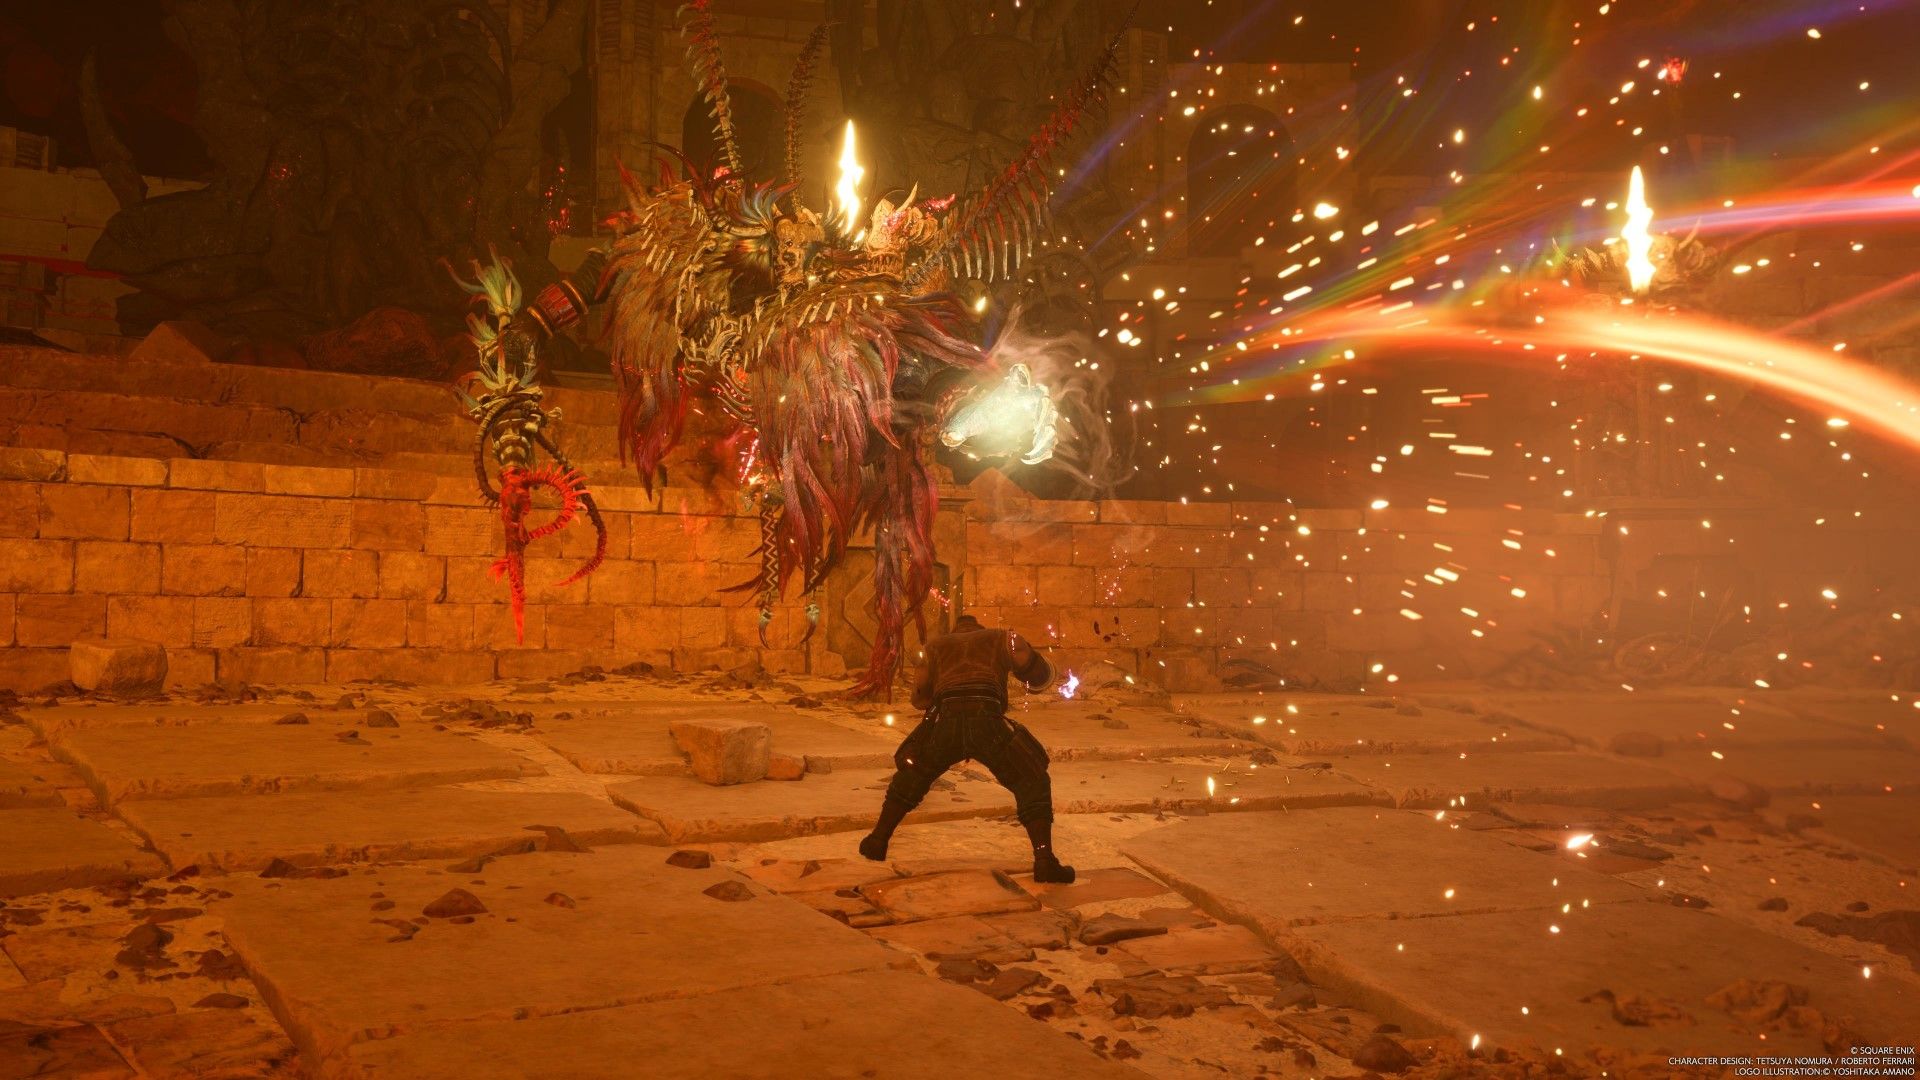
Gi Nattak will teleport around a lot, making him difficult to hit. Unfortunately, Gi Nattak has no weaknesses. Take control of Barret, as Red XIII has a much more difficult time landing hits on this boss. When Gi Nattak uses Phantasmal Scourge, it will shoot a bunch of homing energy bolts up into the air. Dodge them as best you can, and don't try to block them.
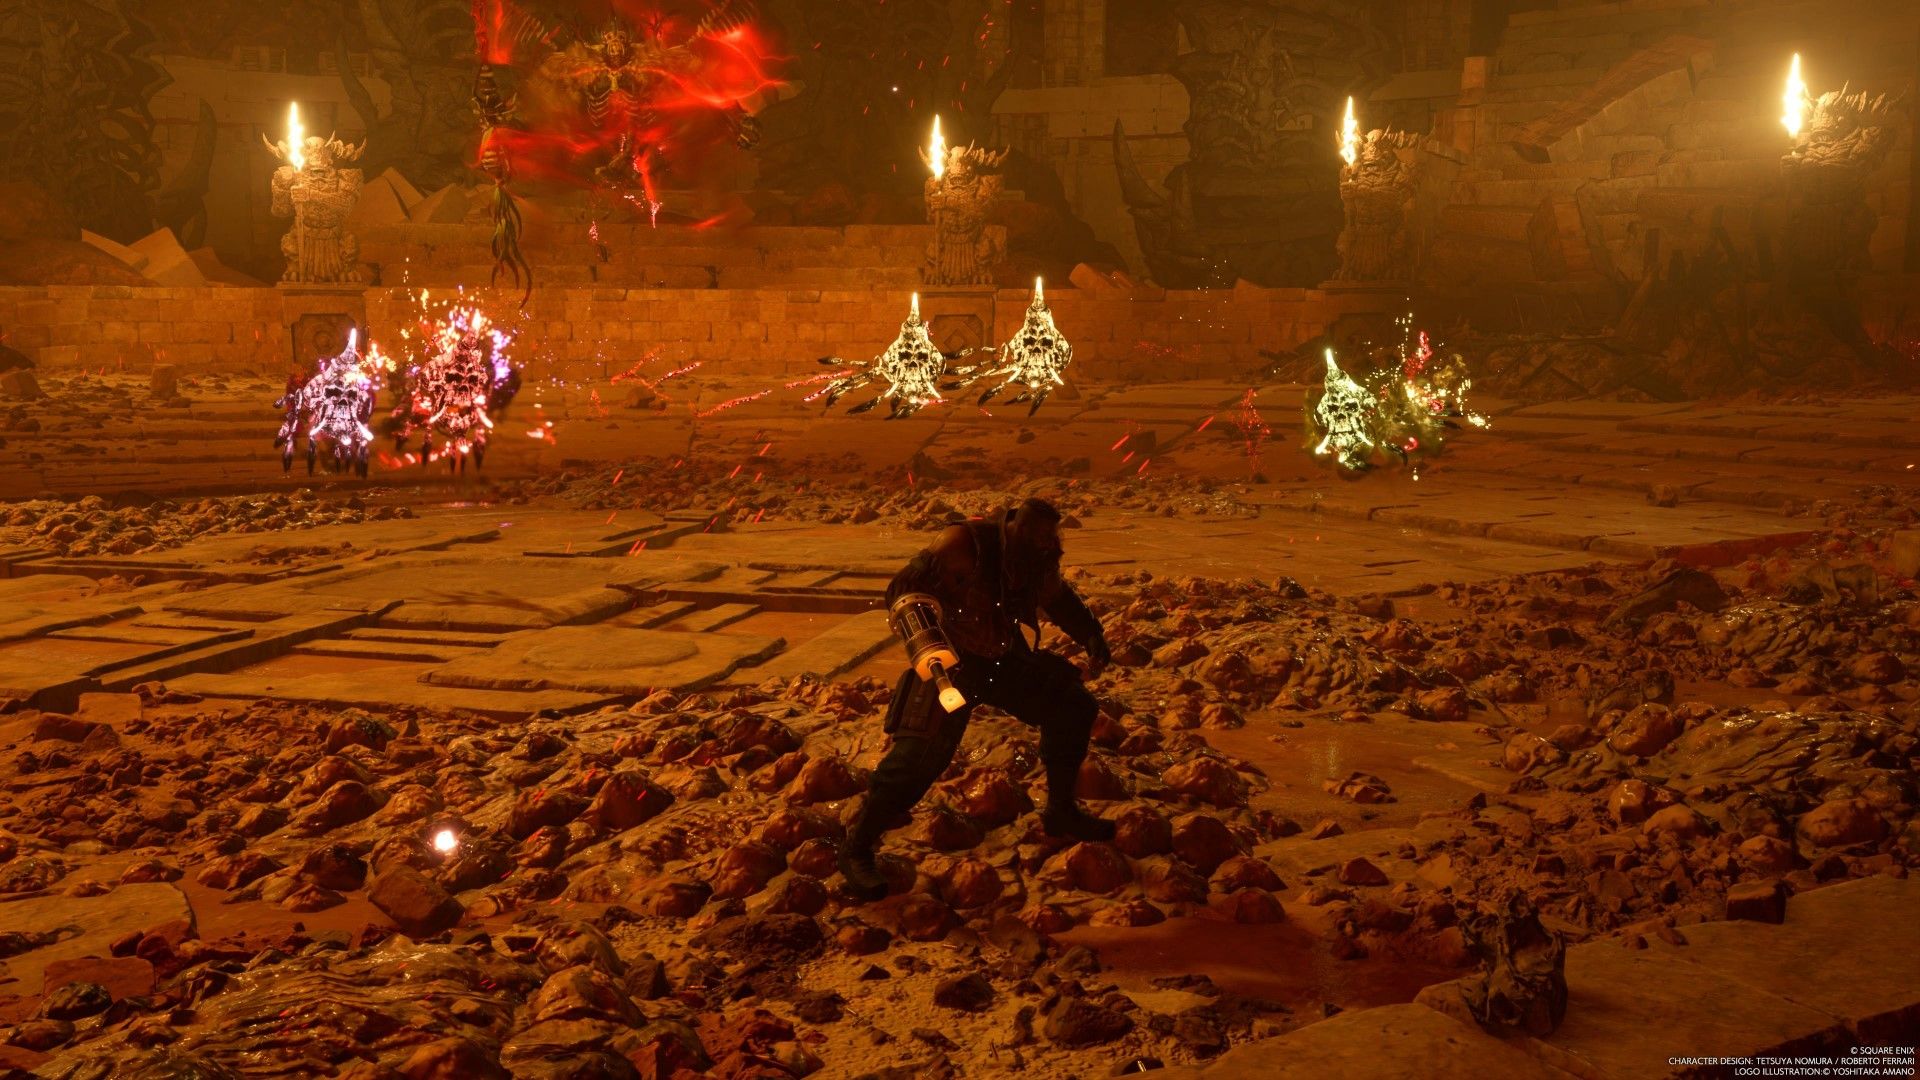
After a while, Gi Nattak will spawn a bunch of Soul Flames that will cast Fira. Kill them as quickly as possible to reduce the sheer amount of damage they can all do. Gi Nattak will possess one of the Soul Flames, inflicting one of four curses onto a party member (Halve HP, Halve MP, Deplete ATB, and shrink the battlefield).
As Gi Nattack falls below 20% health, it will cast Doom on the entire party. When the large number on your head depletes, you instantly die. At this point, the fight becomes a DPS race.
While you are selecting commands, Doom does NOT pause. If you need to think about what you want to use, pause the game.
Unleash everything you've got on the boss. Hit it with Synergy Abilities, Summons, whatever you have to do to kill the boss quickly, do it. Time is absolutely of the essence. Once the fight is over, go through the door to reach the end.
Follow Gi Nattak
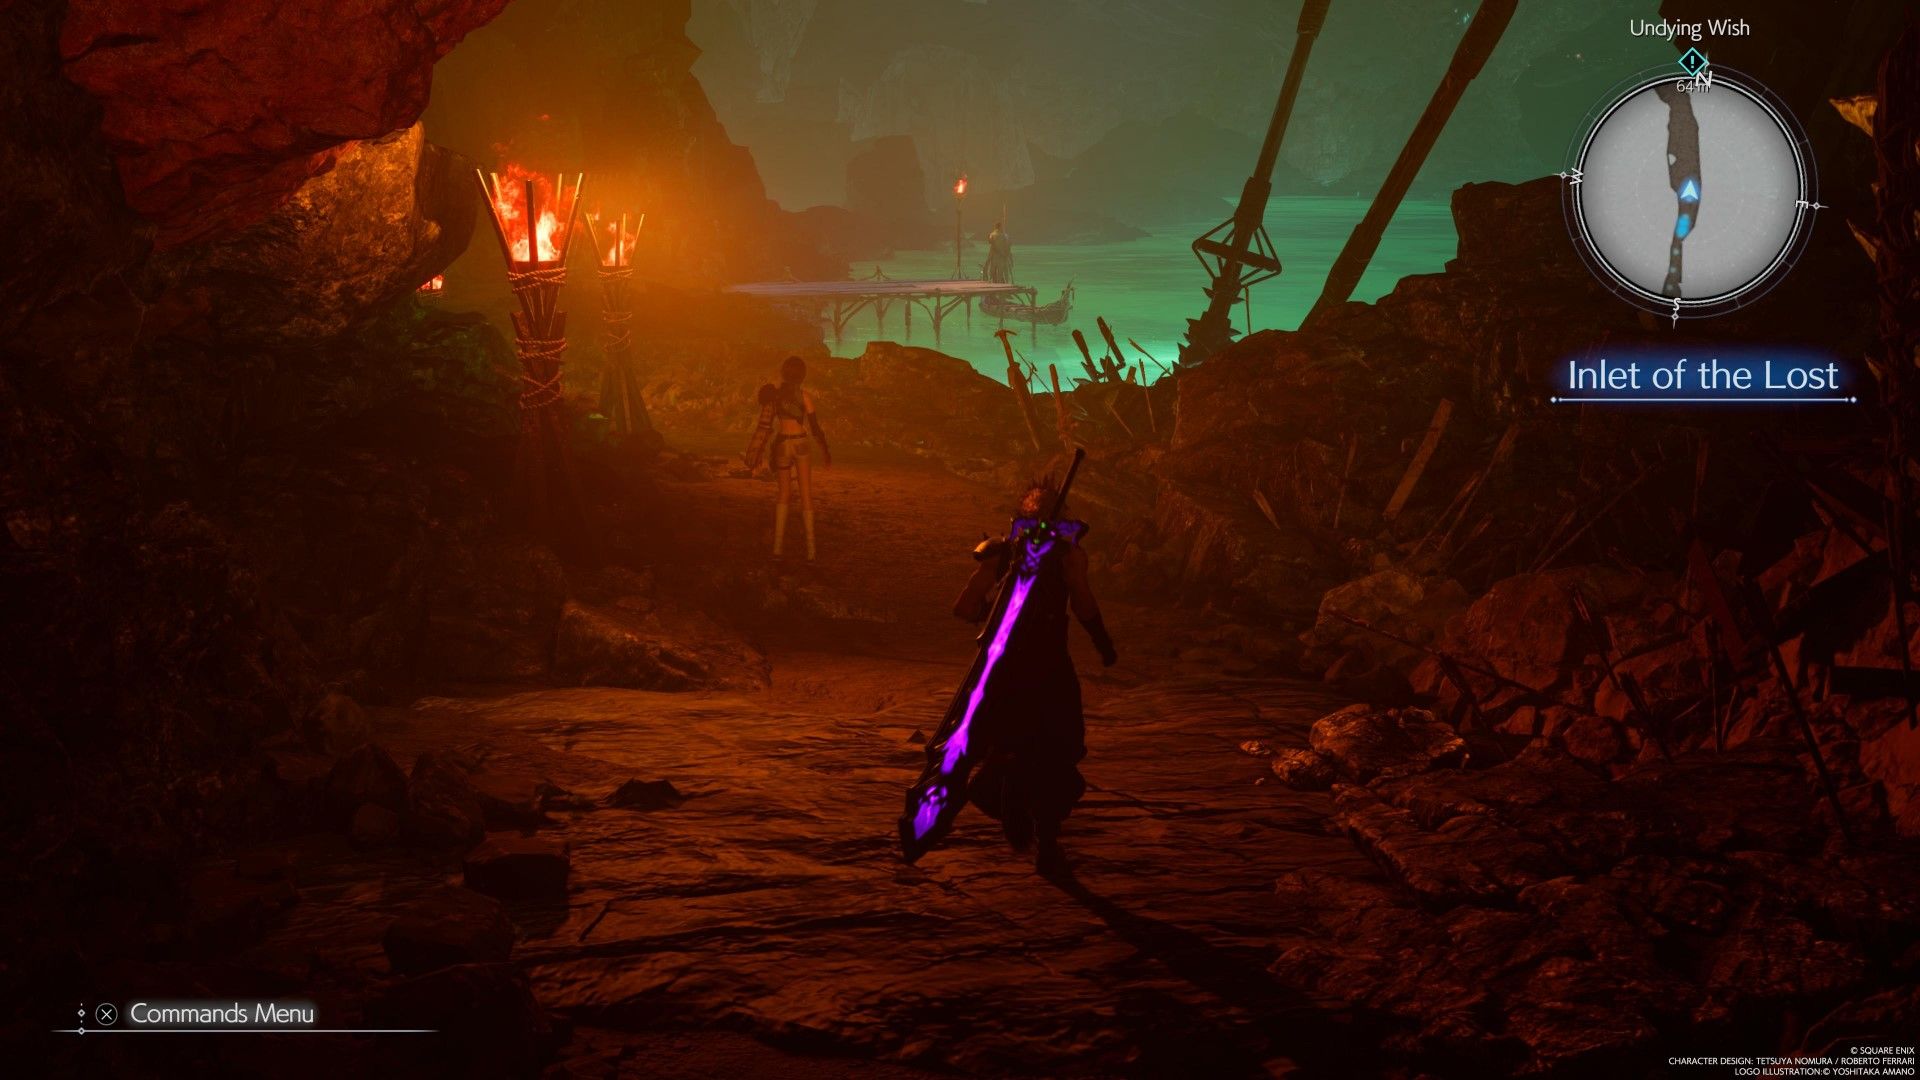
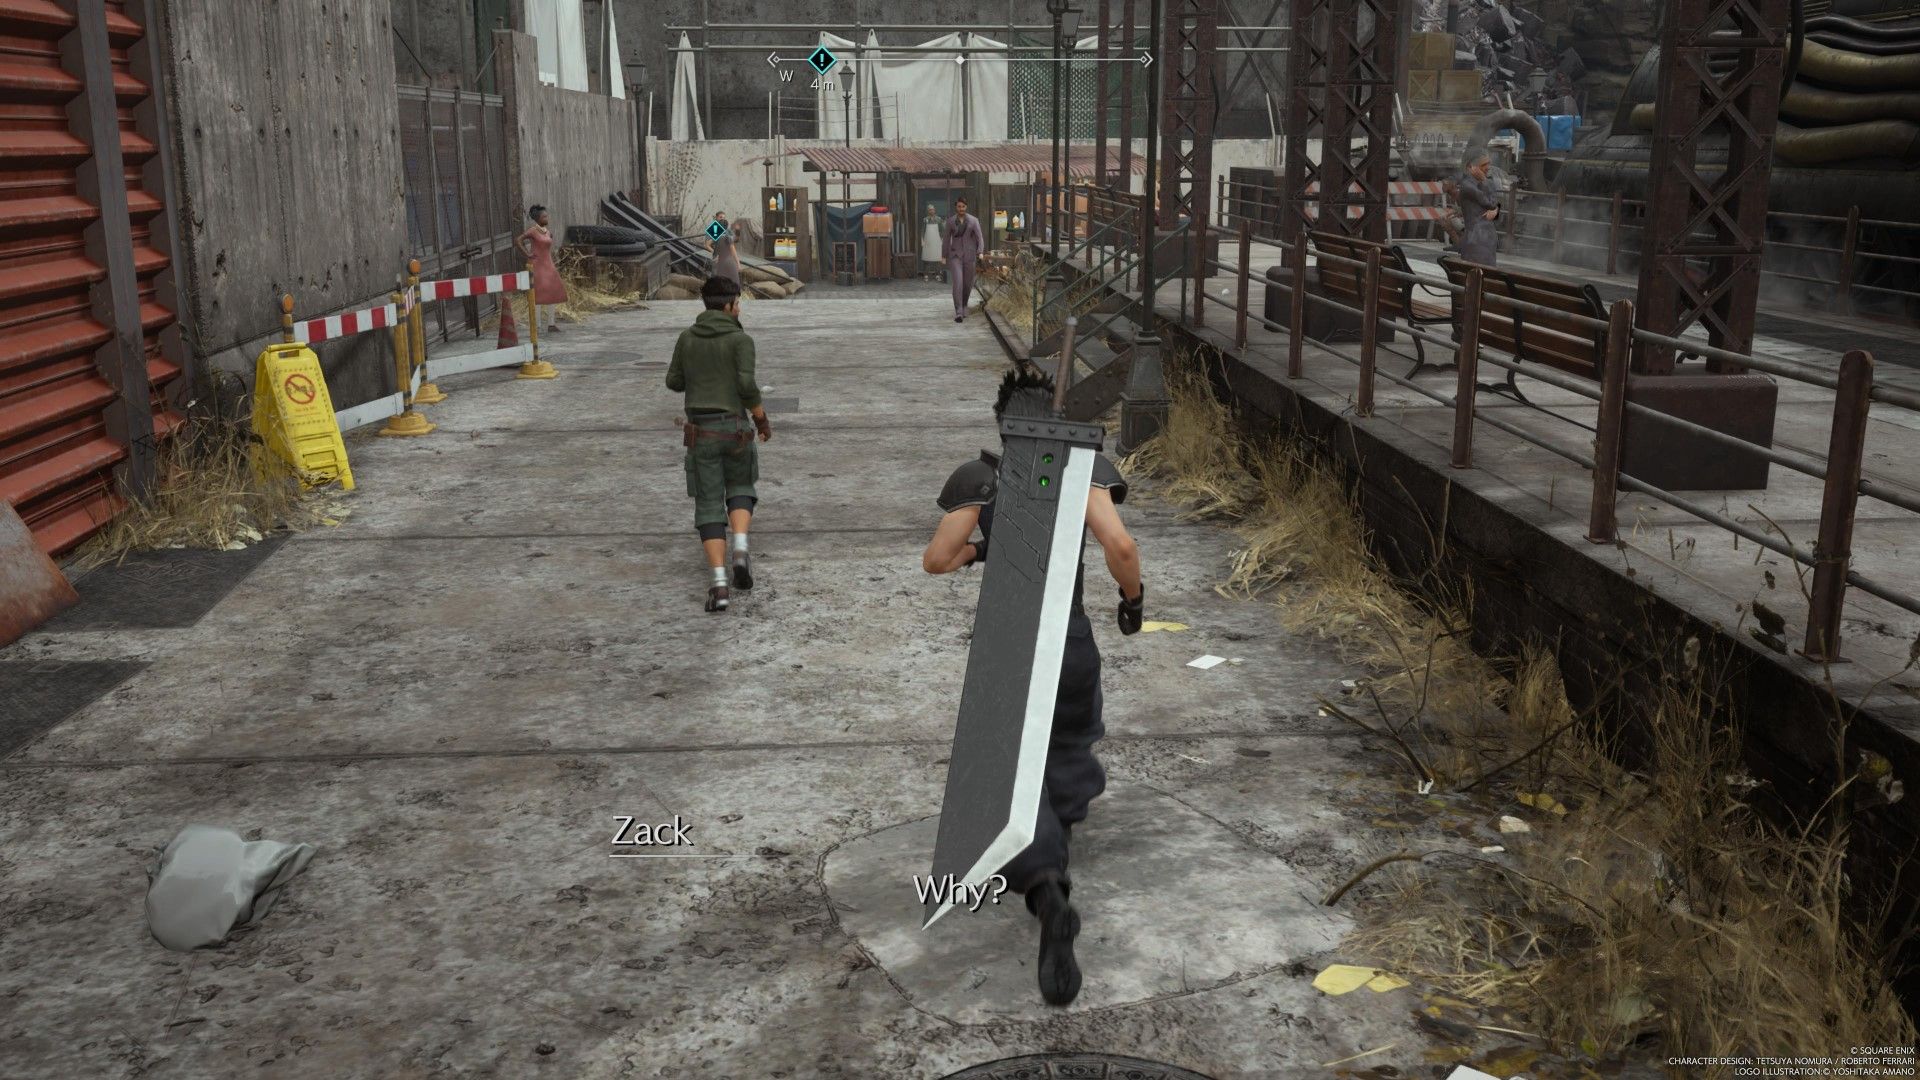
After the cutscene, the whole party will regroup. Go down the tunnel directly ahead of you, and you will reach a dock where Gi Nattak is waiting. While Cloud and the others board the boat, the scene shifts to Zack as he and Biggs talk about their circumstances. Following that cutscene, follow Biggs outside the house. There isn't really anything to explore or find during this section, so just focus on following Biggs around and enjoy the cutscenes.
Once Biggs heads off on his own, go down the alley directly ahead of you. Once you arrive at Aerith's house, the scene will soon shift back to Cloud and the others. To the left of the rest station is a chest that contains a weapon upgrade for Aerith. Make use of the vending machines if needed, and then approach the statue further ahead. Follow Yuffie as she charges ahead.
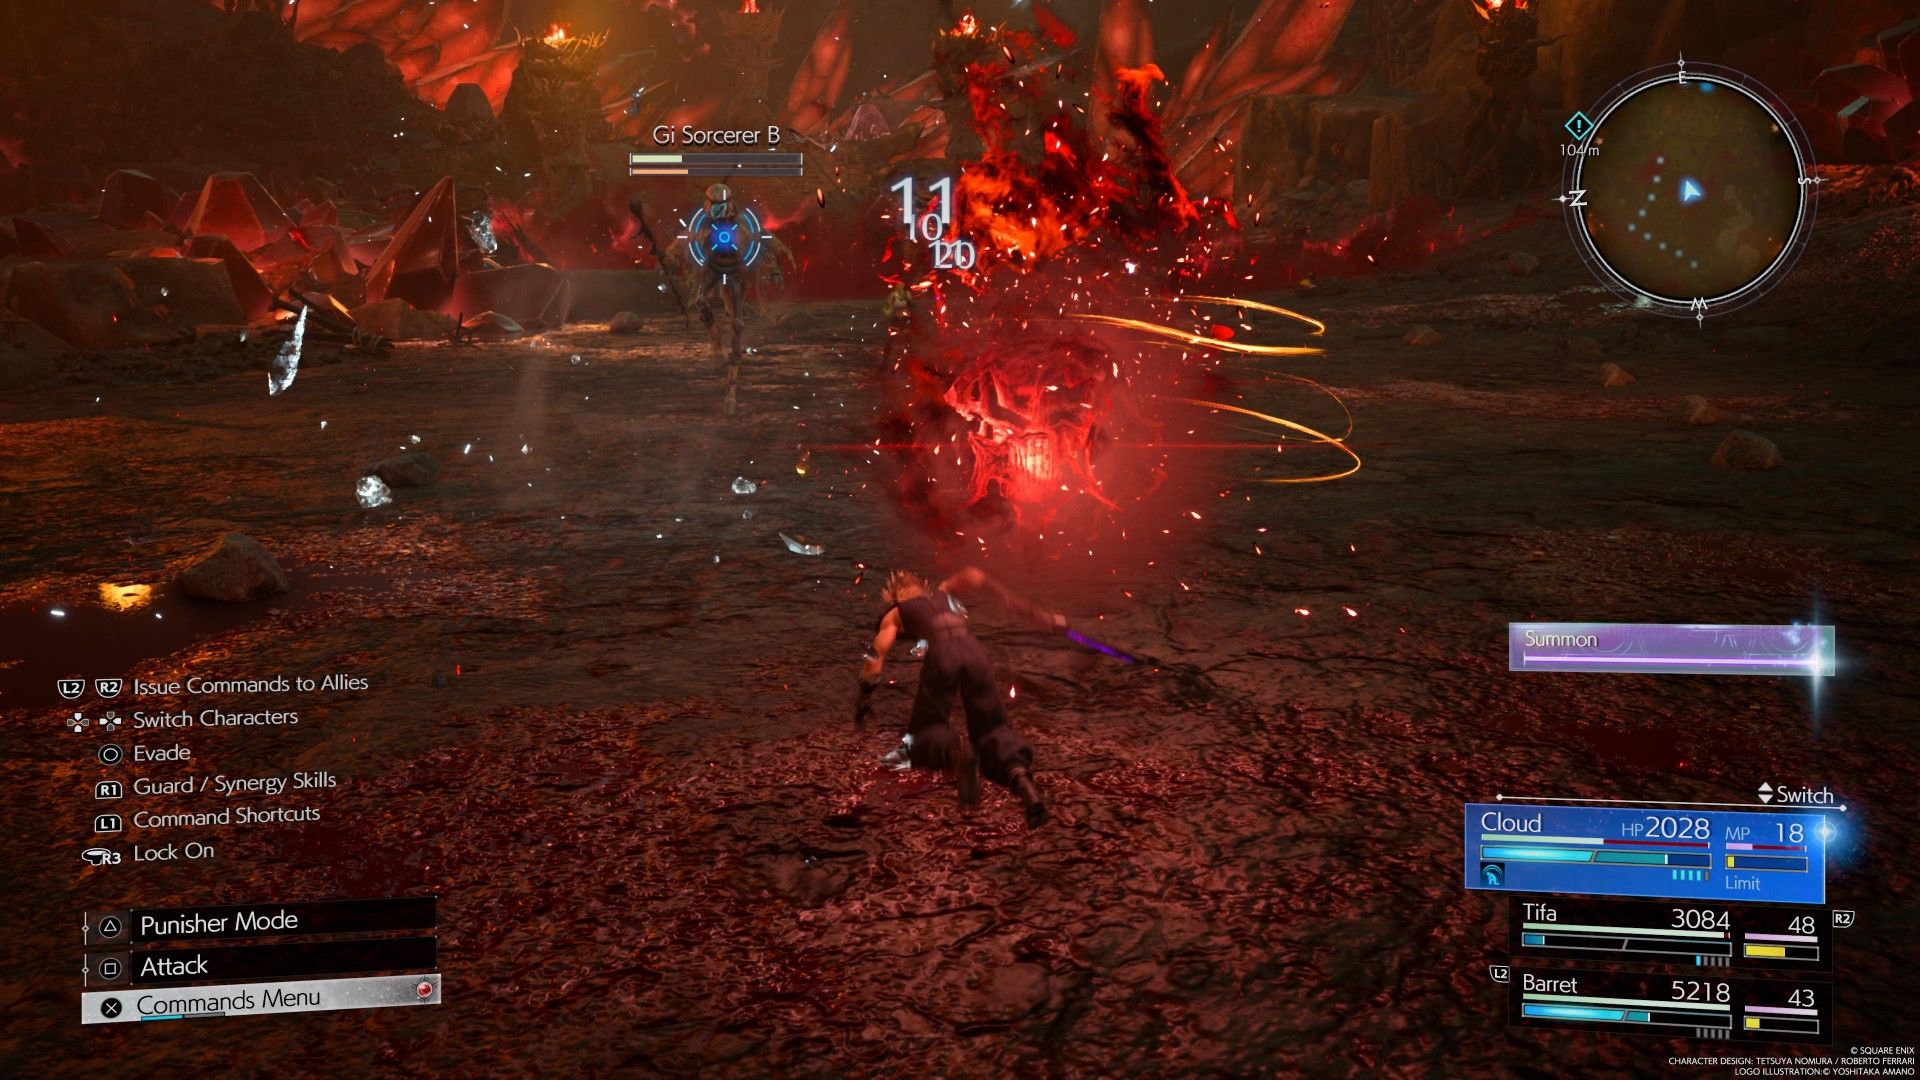
Deal with the Gi that attack you, and continue following Yuffie as she impatiently runs ahead with little regard for caution. Defeat another group of Gi and continue going up the path. When you fight a group of Gi that include two sorcerers, make sure to kill them both as quickly as possible as they will keep resurrecting any other Gi that dies during the battle. Once you catch up with Gi Nattak, there will be a cutscene and the entire party will be transported back to where they started.
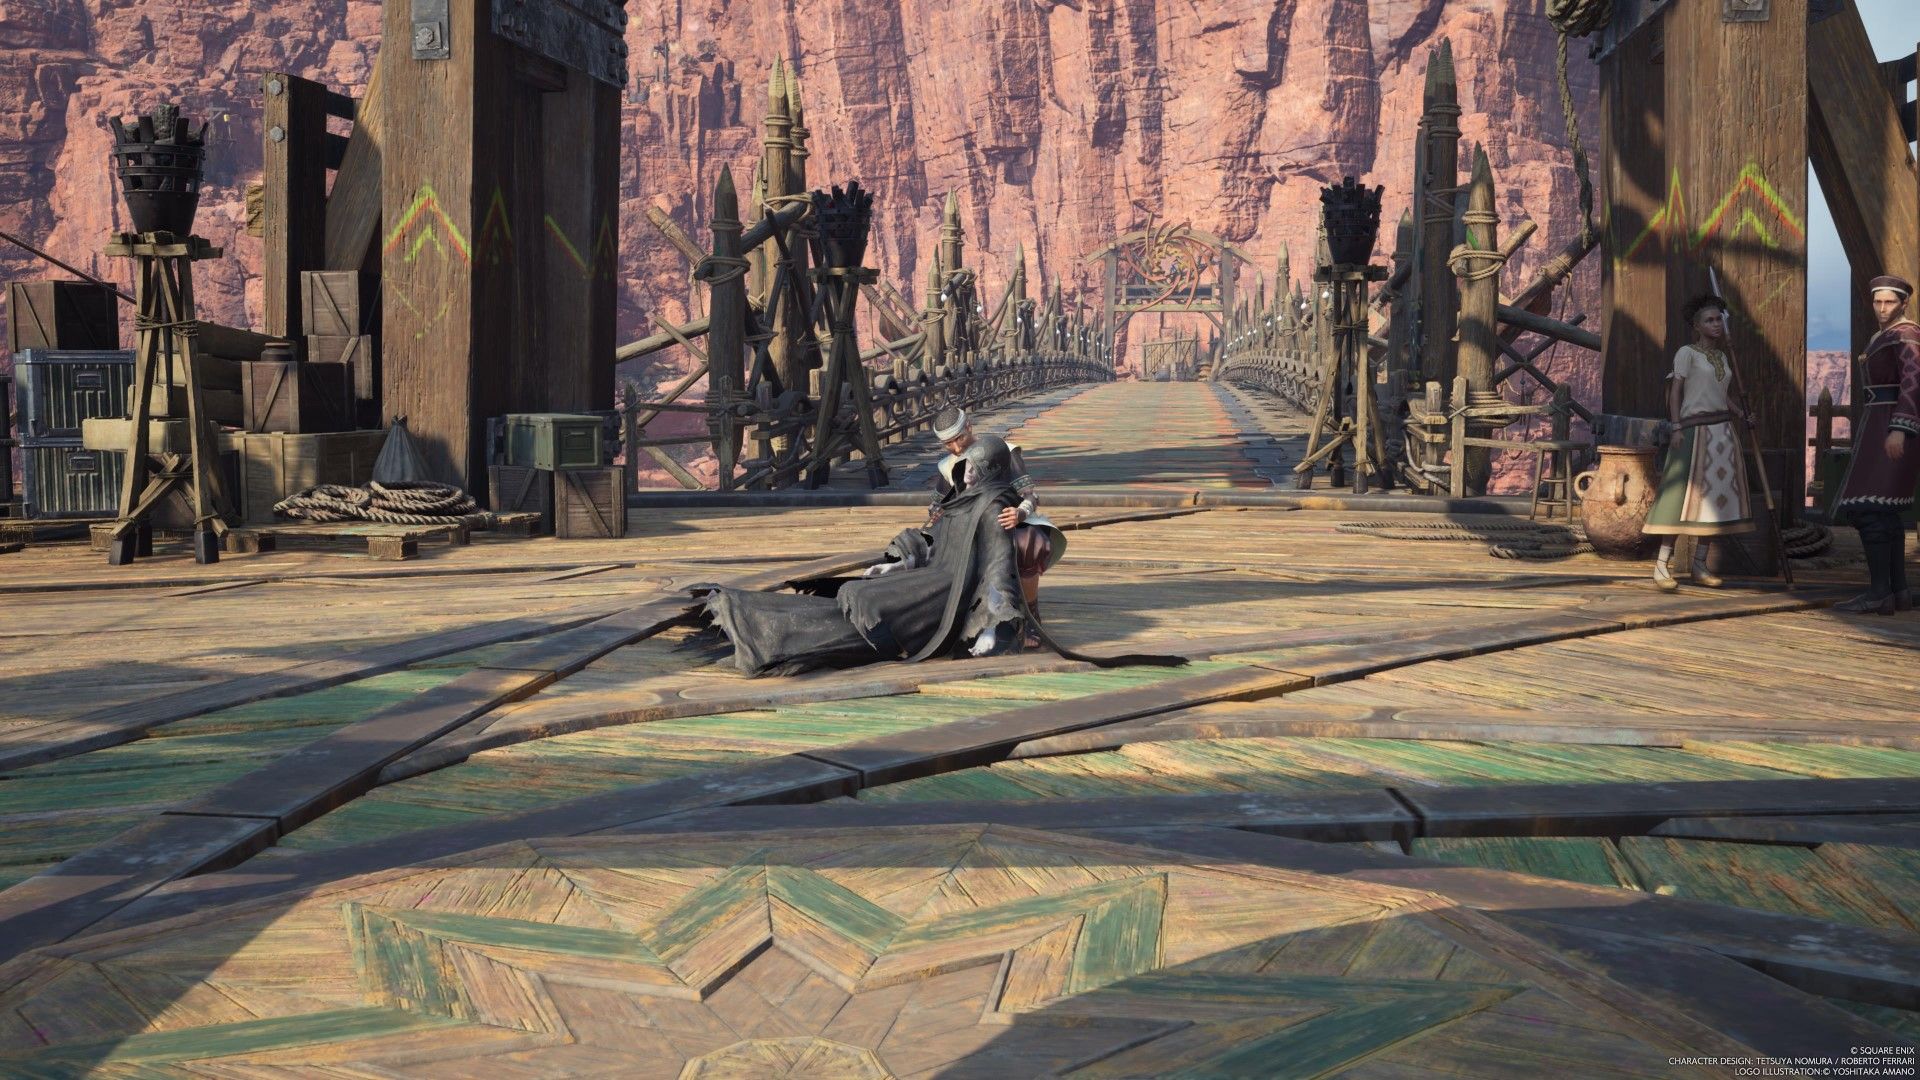
Go back and use the elevator to head up. There, you will find Bugenhagen. Approach him to trigger a cutscene, and then talk to one of the nearby guards to quickly get back to the entrance of the settlement. After the trail of the black robed figures went cold during an earlier chapter, one was found near the gate. Go to the entrance and approach to trigger a cutscene. At this point, the community board will have some side quests available. Alternatively, if you just want to continue the story, head back to the airstrip.
Use the phone and Cid will appear. Select Nibelheim and then enjoy the view as the Little Bronco takes you to your destination and the next chapter of Final Fantasy 7 Rebirth.
Final Fantasy 7 Rebirth
- Platform(s)
- PlayStation 5
- Released
- February 29, 2024
- Developer(s)
- Square Enix
- Genre(s)
- RPG

