Quick Links
Once players progress far enough into the Corel Region in Final Fantasy 7 Rebirth, they'll unlock the ability to explore the desert area surrounding the Gold Saucer. There, they will gain access to a new set of Protorelic challenges that revolve around strange-looking modular power reactors spread around the area. Heading to the first reactor will begin a new sidequest that has players traveling to an array of Cactuar-shaped rocks to gain access to these buildings and then undergoing a unique mini-game once inside.
As players unlock each modular reactor, they'll be presented with a trial from Kid G, who has them tackling an array of Cactuar enemies in a timed combat trial with either Yuffie or Aerith. While passing these trials can be pretty simple, getting the best possible score (and unlocking the best possible item as a reward) can be trickier. Here's a look at how to find each Cactuar rock for the Corel Protorelic Phenomenon, as well as how to get the best score in each Cactuar Crush Trial in Final Fantasy 7 Rebirth.
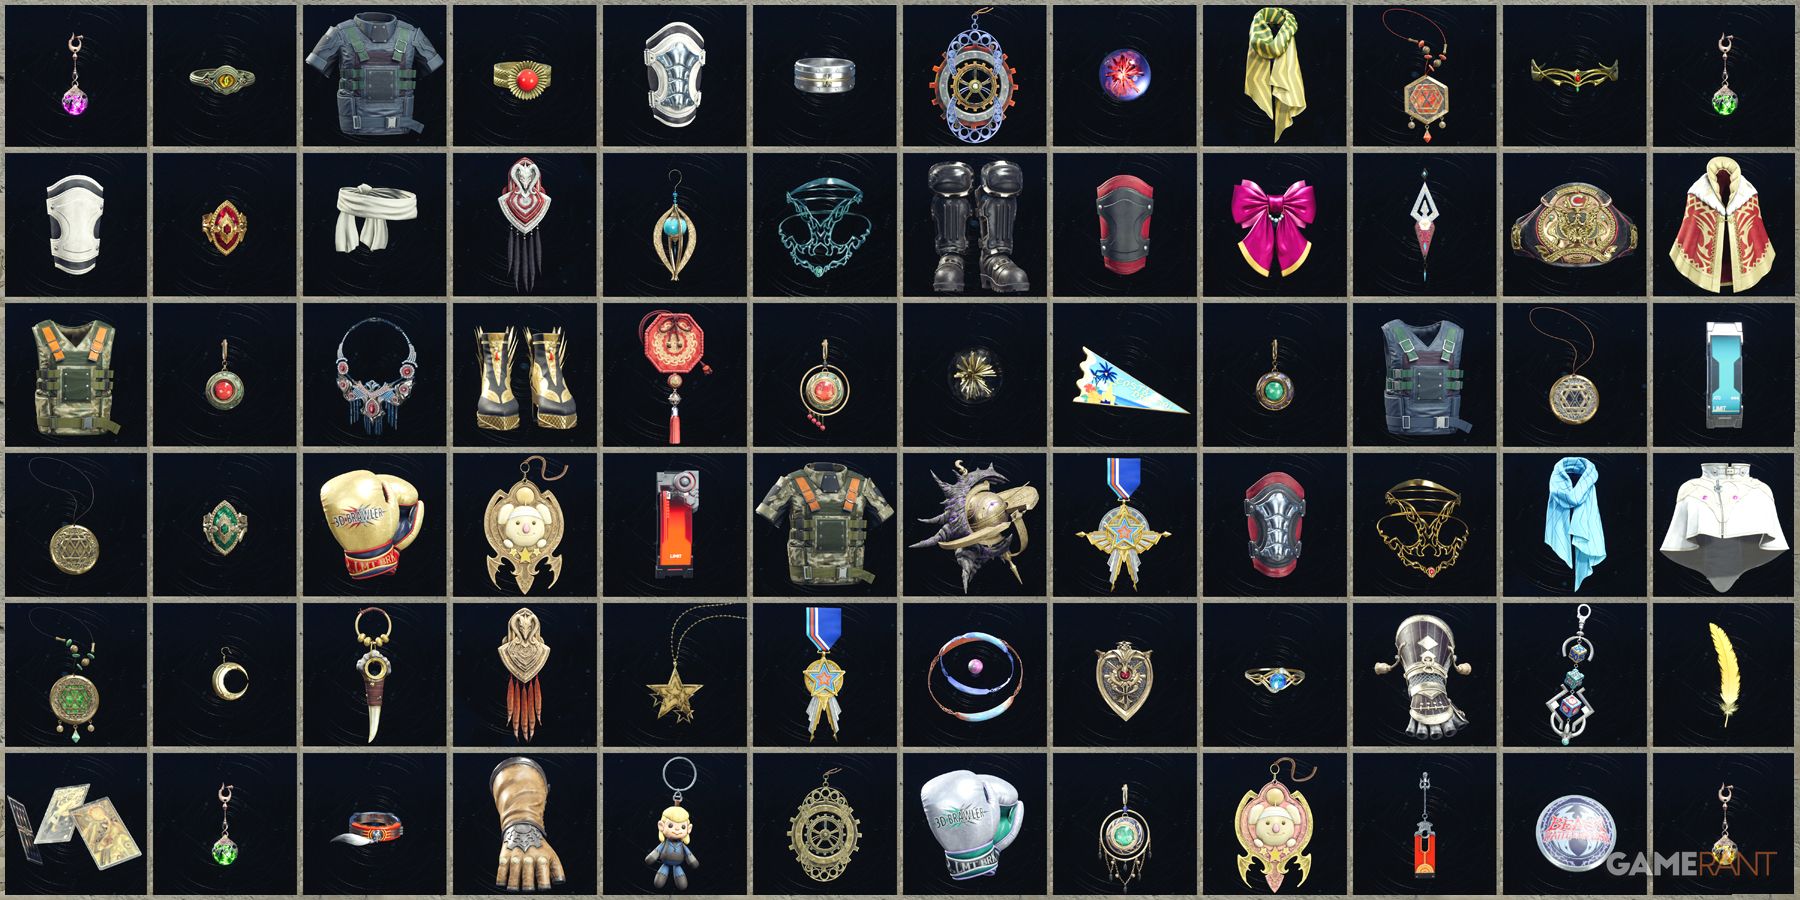
How to Get Every Accessory in Final Fantasy 7 Rebirth (All FF7 Rebirth Accessories)
The best FF7 Rebirth accessories can make a big difference in battle, but even some of the less desirable ones can prove useful in certain situations.
Understanding The Cactuar Crush Mini Game
At its core, the Cactuar Crush Trials are fairly straightforward, and passing them is relatively easy. That said, getting the maximum score on each trial can be considerably harder and players will need to effectively manage their time and attacks if they want to reach the best possible score for each trial.
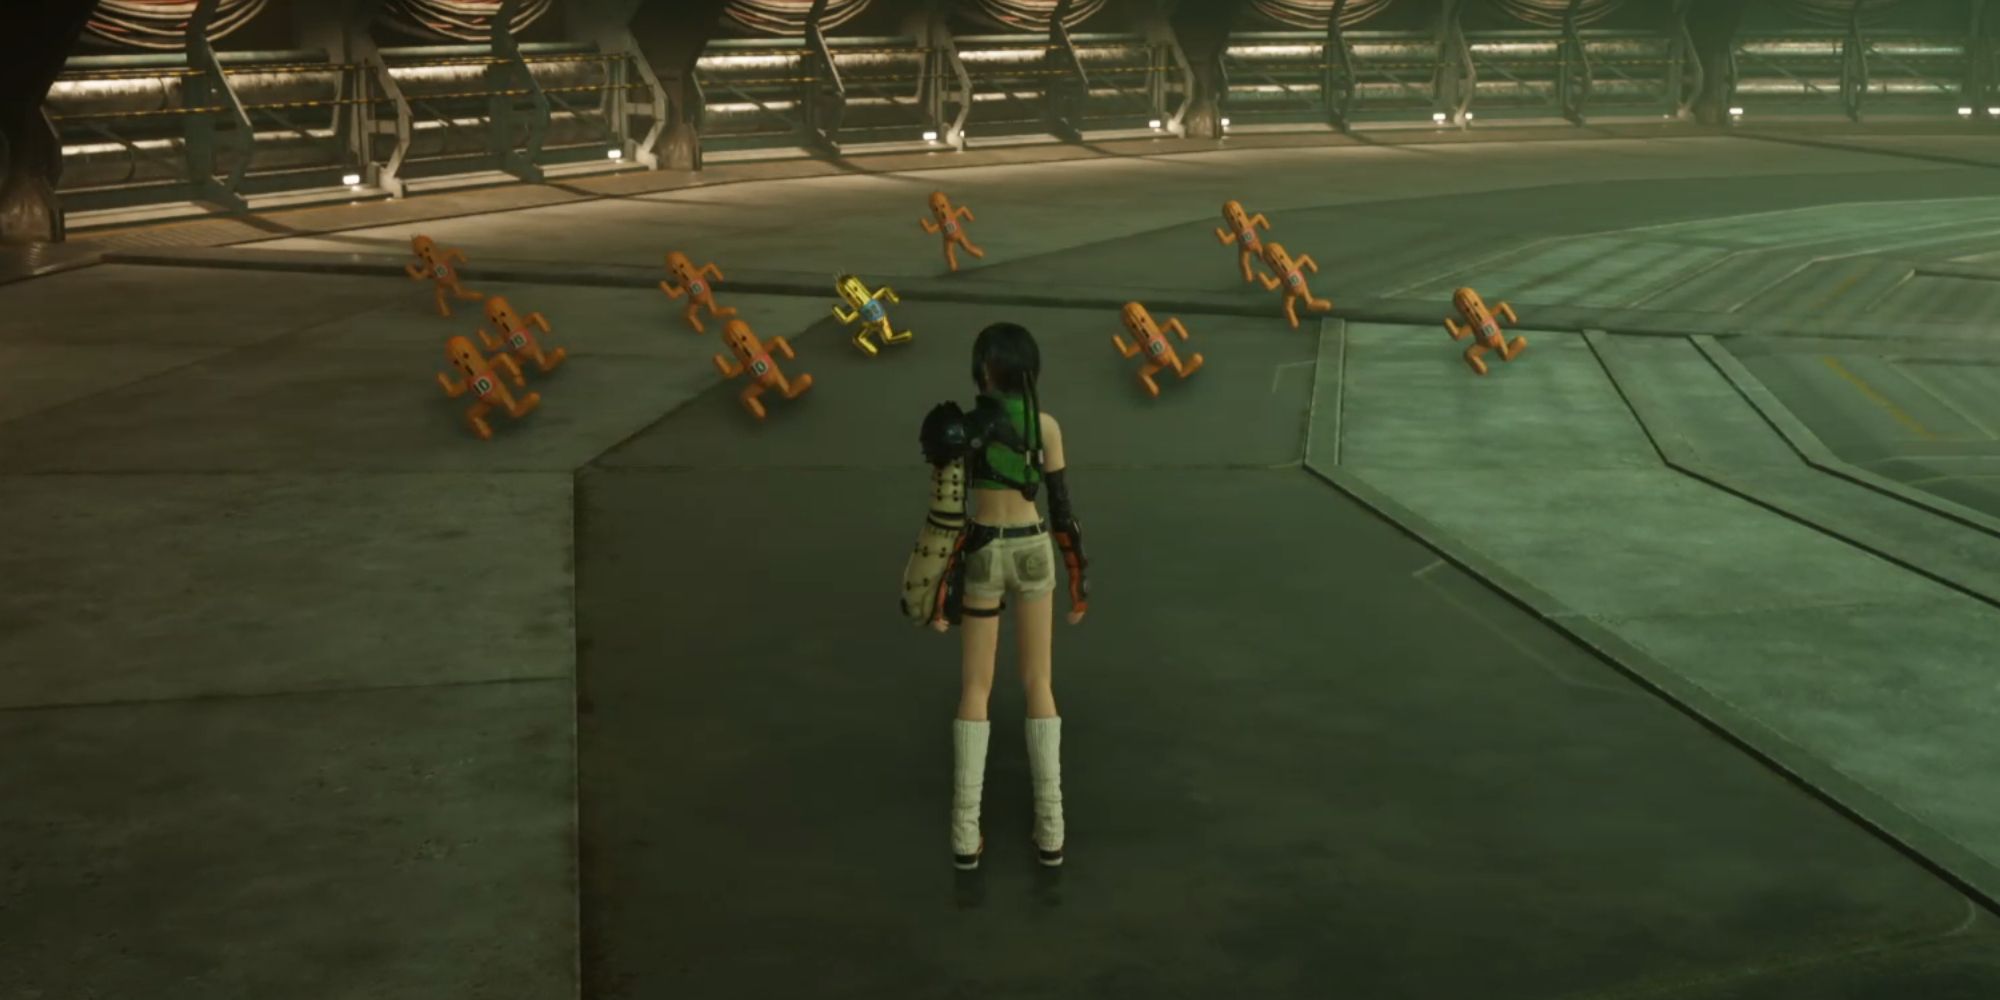
During each trial, players will race against the clock to defeat as many Cactuar enemies as possible. These enemies vary in type and size, with each one having its own point value and a very peculiar rainbow-colored Cactuar adding additional time whenever slain. Here's a look at the types of Cactuars and their values for the mini-game across all trials:
It's important to note each type of Cactuar and quickly identify what their weakness is in order to be successful in Cactuar Crush.
Cactuar Crush #1 Time Trial (Corel Photorelic Phenomenon: Treasure Protector G)
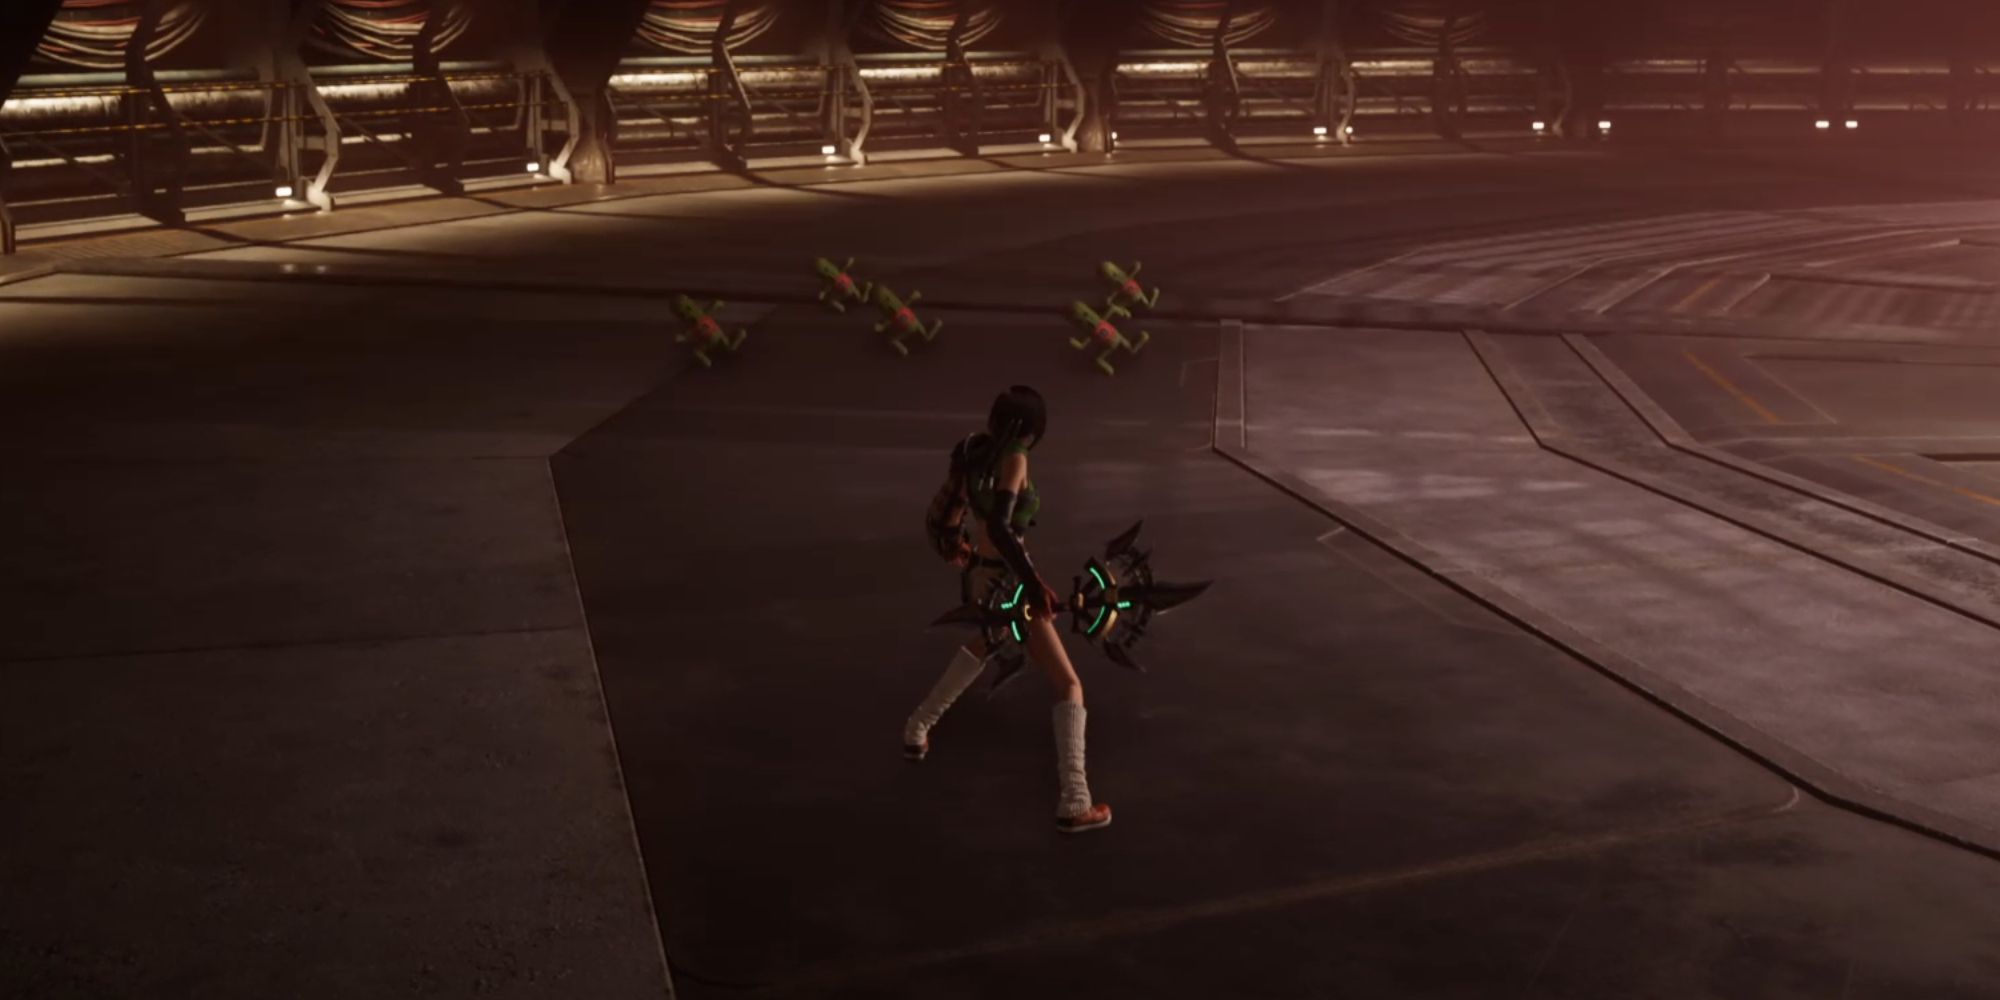
For the first time trial, players will use Yuffie. This trial acts as the introduction to both Yuffie's mechanics, as well as the mechanics for the trials overall. Players will be introduced to Gladiatuars (which are green), Magitaurs (which are orange), and Giftuars (which are Rainbow colored). This trial is pretty forgiving, allowing players to get hit many times (the score for defeating all of the Cactuars in the allotted time is well over what is needed) so it's important to focus mainly on the "swapping mechanic" between the two types of Cactuar.
- Gladiatuar (green) are weak to physical damage, so players should attack them as normally, using Yuffie's Art of War attack on the larger ones to take them down faster.
- Magitaur (orange) are weak to magical damage, meaning players can chew through them using Yuffie's Ninjutsu. To activate it, first toss out her projectile weapon using the Triangle button, and then repeatedly tap the Square button to do damage at range. One trick that is useful against the Magituar's is to dodge before tapping attack, as this will cause Yuffie to spin her Ninjutsu around her in an AOE-style circle, hitting even more foes at once and dishing out greater damage.
Once players get the hang of swapping between dealing physical damage, and magical damage, it's not too difficult to take down this first trial with a maximum score.
Cactuar Crush #2 Time Trial (Corel Photorelic Phenomenon: Kid G’s Trial)
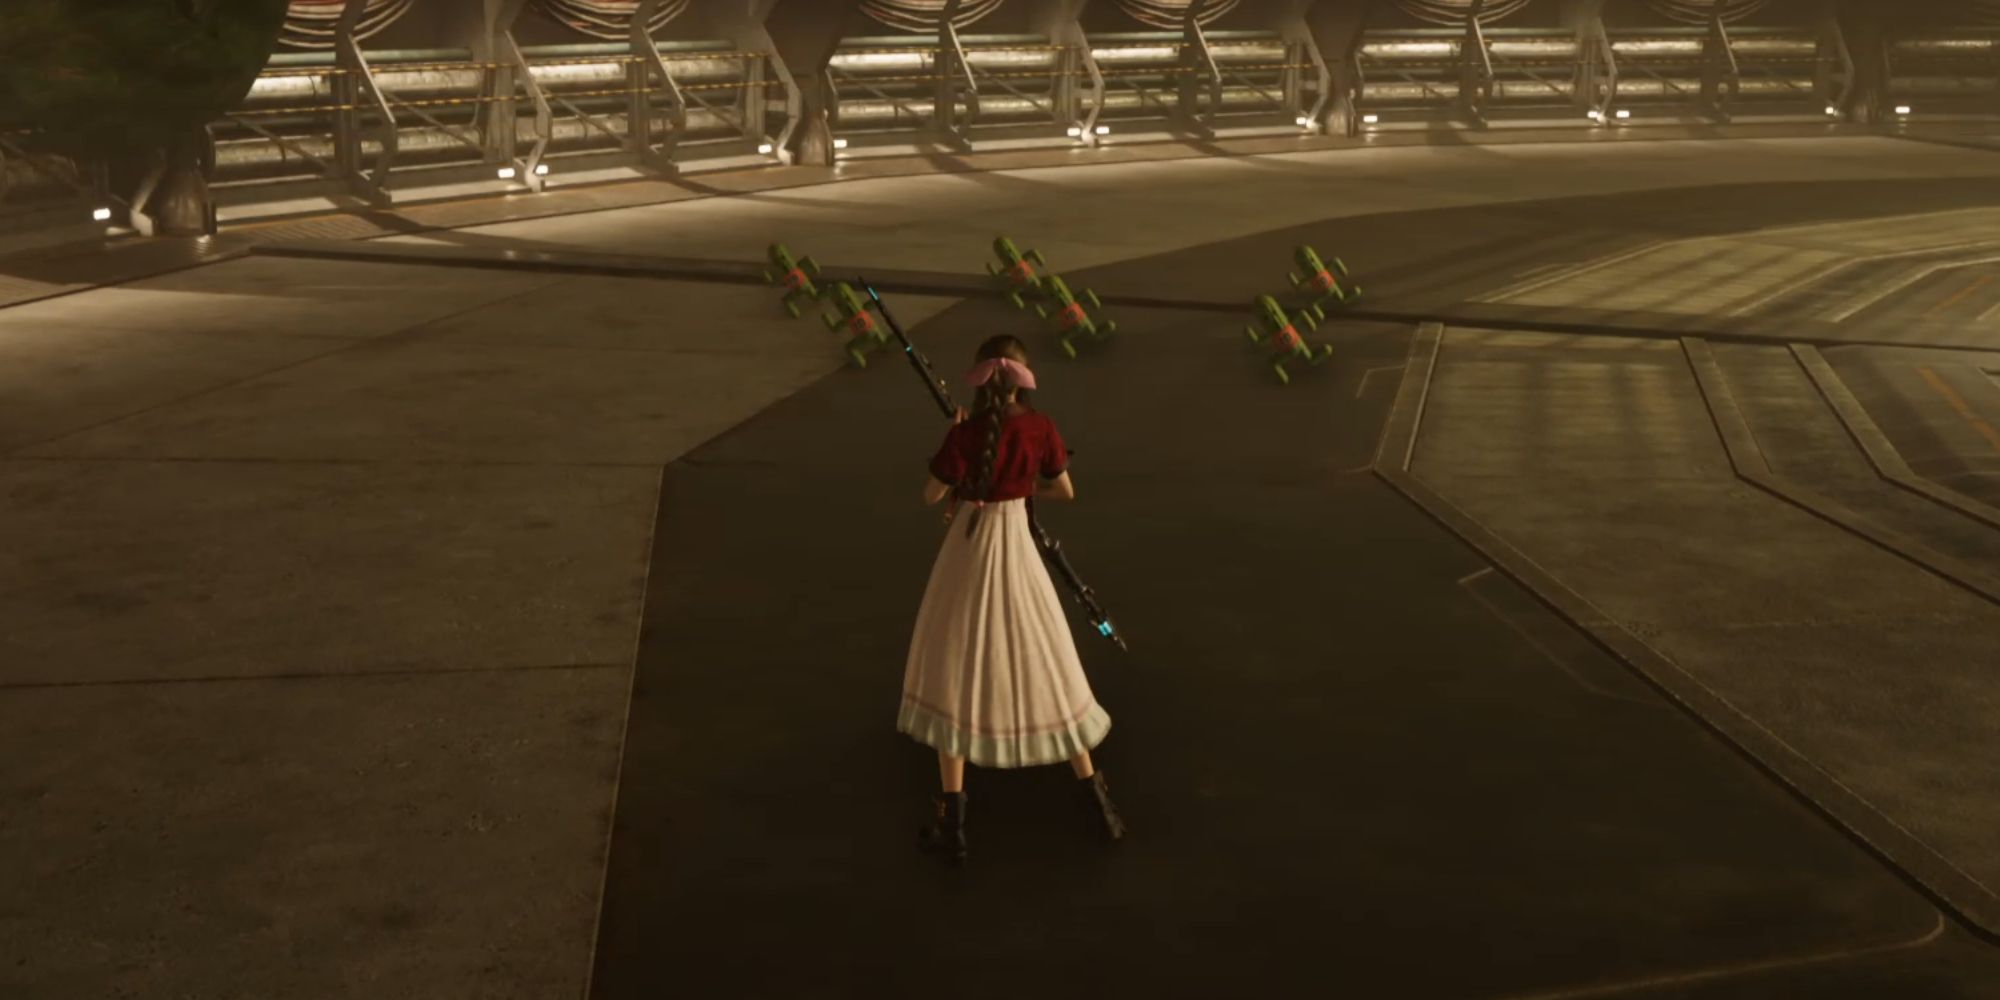
This is the first trial in which players will use Aerith and figure out her mechanics. Players will once again run into Gladiatuars, Magitaurs, and Giftuars, but will also contend with Lightaurs and Darktuars, as well as Magical Gigantuars. Aerith's mechanic is a bit more nuanced than Yuffie's and will require players to activate different wards depending on what enemies they are fighting. Here's a look at how players should handle each type of Cactuar as Aerith:
- Players will need to be close to Gladiatuars and hit them directly with her staff. Hitting them with magic attacks from range will do heavily reduced damage. Physically connecting the staff with Gladiatuars is the easiest way to take them out quickly, so it's important to be close to them each time they're seen.
- Magituars can be quickly eliminated by using magical attacks from range, as well as charge attacks. Players can also make use of Soul Drain for heavy damage against larger Magitaur opponents and Sorcerous Storm for heavy AOE damage.
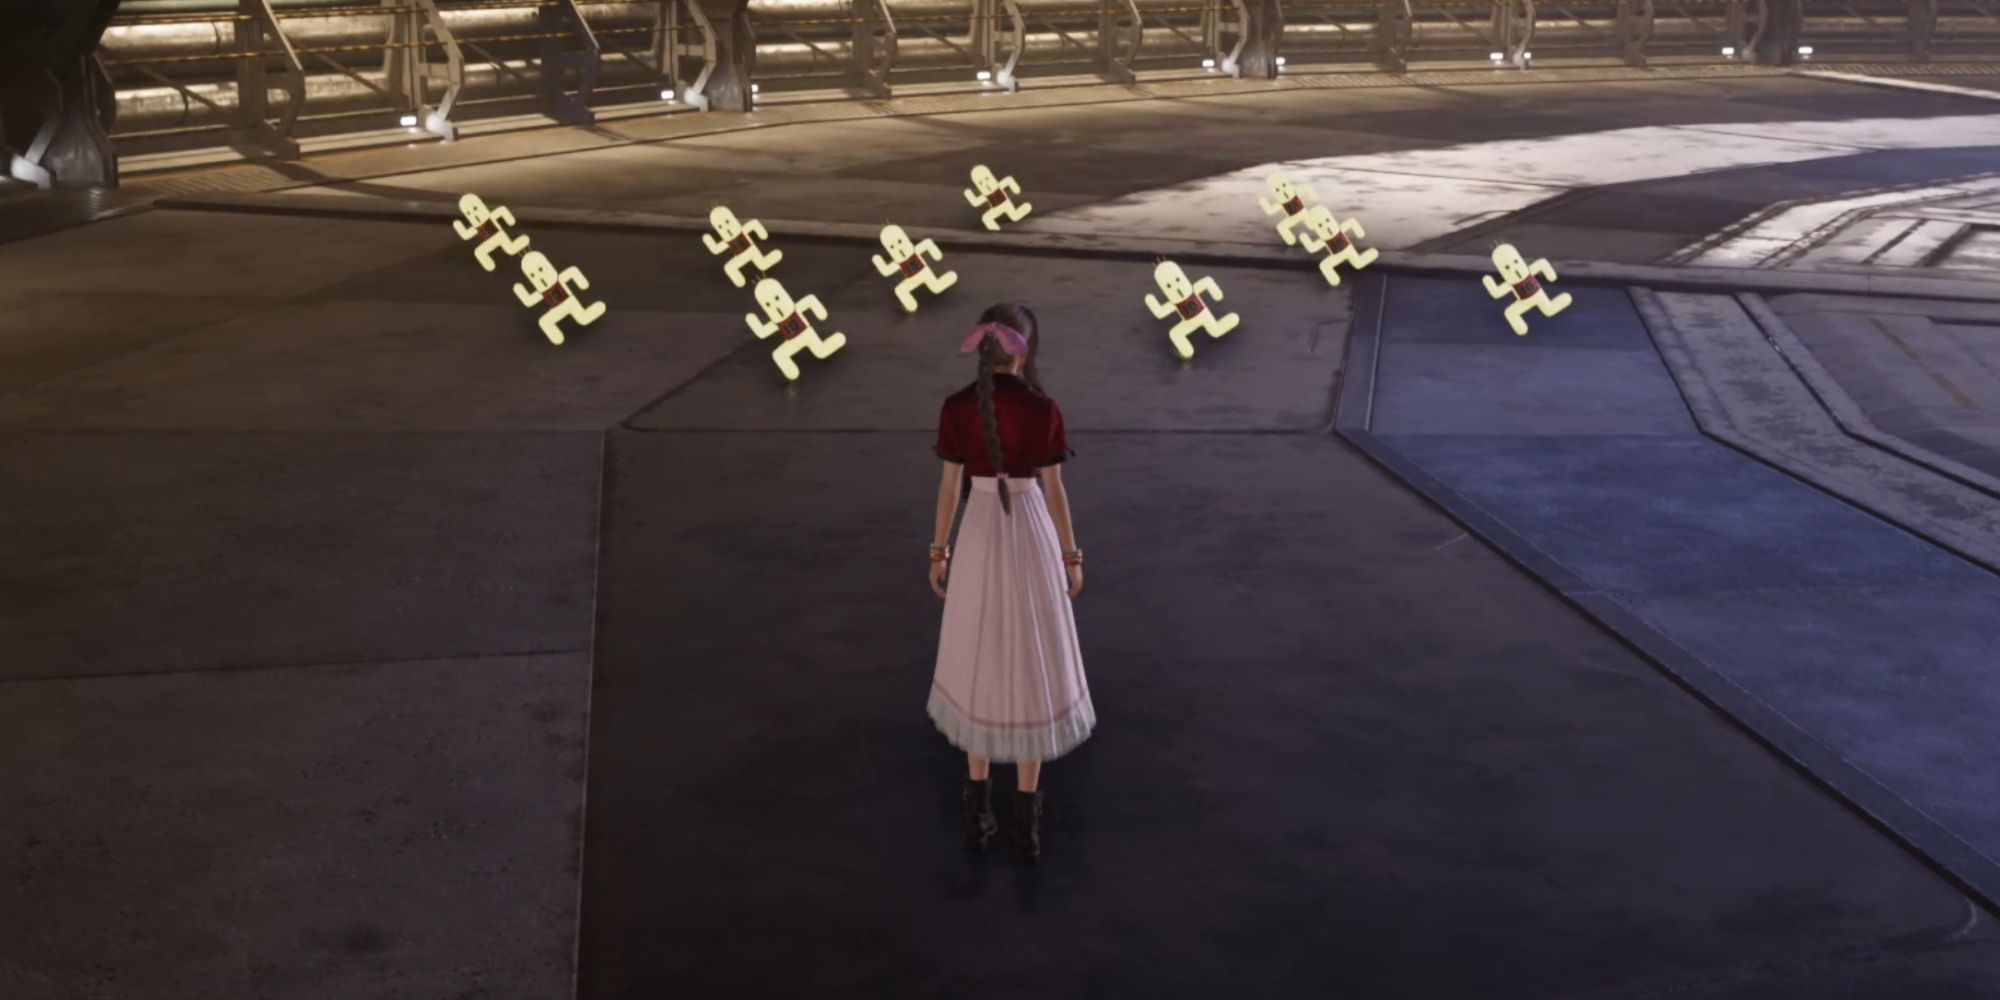
- When players spot Lightaur (white), they need to first activate a Luminous Ward with the L2 button, and then stand within the glowing circle while hitting the creatures with magical attacks. It's important to note that attacks like Soul Drain and Sorcerous Storm will work on Lightaur as long as players are inside the Luminous Ward when they cast them.
- Defeating Darktuar (black) acts the same way but players first need to activate the Shadow Ward by hitting R2 and then cast magical attacks from inside the circle.
- The Magical Gigantuar should be treated like any other Magituar but players will want to use Soul Drain on it as often as possible to whittle its health down quickly. If players stick close to the Gigantuar it will eventually employ a Body Slam attack. Dodging away and letting it fall forward (being careful not to get hit by the AOE) will put it in a staggered state and cause it to take even more damage. If players hit it with Soul Drain during this moment it will greatly reduce its health.
The key to beating this trial effectively is managing Aerith's Wards, matching them to whatever color Cactuar (between White Ligtuar and Black Darktuar) is around. Staying close to Gladituar so Aerith physically strikes them with her staff when attacking is key to eliminating them quickly. Similarly, staying close to the Gigantuar is the best way to bait out its Body Slam attack and put it into a staggered state. It's also important to note that players will not be able to use their ranged magic unless they are standing inside a ward.

8 Best Aerith Quotes From Final Fantasy 7 Rebirth
Aerith is a key character in Final Fantasy 7 Rebirth, and she delivers some of the game's funniest and most important lines during its campaign.
Cactuar Crush #3 Time Trial (Corel Photorelic Phenomenon: Unfriendly Competition)
Yuffie's second trial adds Gold Cactuar to the mix and introduces a new mechanic that players will need to contend with. On top of swapping between magical and physical attacks for normal Gladiatuar and Magituar, players will now have to watch for something called an Affinity Switch that affects two new enemies known as Pugilistic Cacneo and Magical Cacneo. Although it seems like a lot to take in, dealing with this trial can actually be pretty simple once players fully understand what is going on:
- Players should still handle Gladiatuar and Magituar the same way, getting close and dealing physical damage to the green Gladiatuar and ranged Ninjutsu magical damage to the orange Magituar.
- Pugilistic Cacneo and Magical Cacneo are handled in the exact same way as Gladiatuar and Magituar, respectively, they just have more health and are capable of switching Affinities mid-fight. Players need to keep their wits about them and switch between using physical attacks and magical ranged Ninjutsu attacks depending on what enemies they see. Whenever Cactuars change affinities using Affinity Switch, they will always swap to the opposite affinity and they will always change to the corresponding color (either green for physical or orange for magical).
- Gold Cactuar can be damaged by either method and simply have more health overall. They do not have a weakness but are relatively easy to kill when focused.
Another tip players can use is to activate Yuffie's Art of War to deal heavy damage to Gladiatuars and Pugilistic Cacneo, as well as avoid taking damage from attacks like Spine Spew and Spine Explosion. When Yuffie attacks with her Art of War she is invulnerable to these attacks, so use it to your advantage to stay safe. Players who have access to her Doppelganger ability can activate it during the fight to help deal even more damage while simultaneously giving enemies a clone to target.
Cactuar Crush #4 Time Trial (Corel Photorelic Phenomenon: Bladesman of Legend)
This is arguably the hardest of the time trials based on how comfortable players are with Aerith. You will once again be swapping back and forth between wards to content with specialized enemies but this time will have to deal with a unique mechanic known as Manaward. This ability will enshroud the Cactuar in an impenetrable magical shield and must be dispelled before players can deal damage. Here's a look at how to best handle this trial.
- Players will once again handle Gladiatuar (green) by getting close to them and hitting them directly with Aerith's staff to deal maximum damage. Magituar's must be attacked from range with magical attacks and are susceptible to things like Soul Drain and Sorcerous Storm.
- Lightuar and Darktuar are handled the same way, wither players throwing down the appropriate ward depending on the color, but this time they will activate a Manaward after taking a certain amount of damage. The only way to dispel the Manaward is to run up close to the Cactuar and hit them with Aerith's staff. This can be a bit tricky as some Cactuar will purposely run away, forcing players to give chase.
- Gold Gigantuar are handled the same as before, with players baiting out their Body Slam and then hitting them with Soul Drain to take them down as quickly as possible.
Many of the Cactuar in this trial will use Spine Explosion and litter the ground with explosive balls that will hit Aerith and cause her to lose score. It's imperative to try to avoid these whenever possible as dodging takes much less time off the clock and will not result in a score penalty. Players should be sure to keep their wits about them and always make sure they're out of range of these explosives.
Players will also want to make sure they are outside of any summoned wards when dealing with Gladiatuar, as being inside a ward can make it more difficult to damage them with purely physical strikes from the staff. It's better to rush over to green-colored Cactuar whenever they spawn than stay still inside a ward and wait for them to show up. Aerith can call unlimited wards relatively quickly during the challenge so players shouldn't be afraid to move wards with them often. This trial can be a bit tougher than the others and may take a few tries before players nail down the rhythm and how to contend with each enemy type.
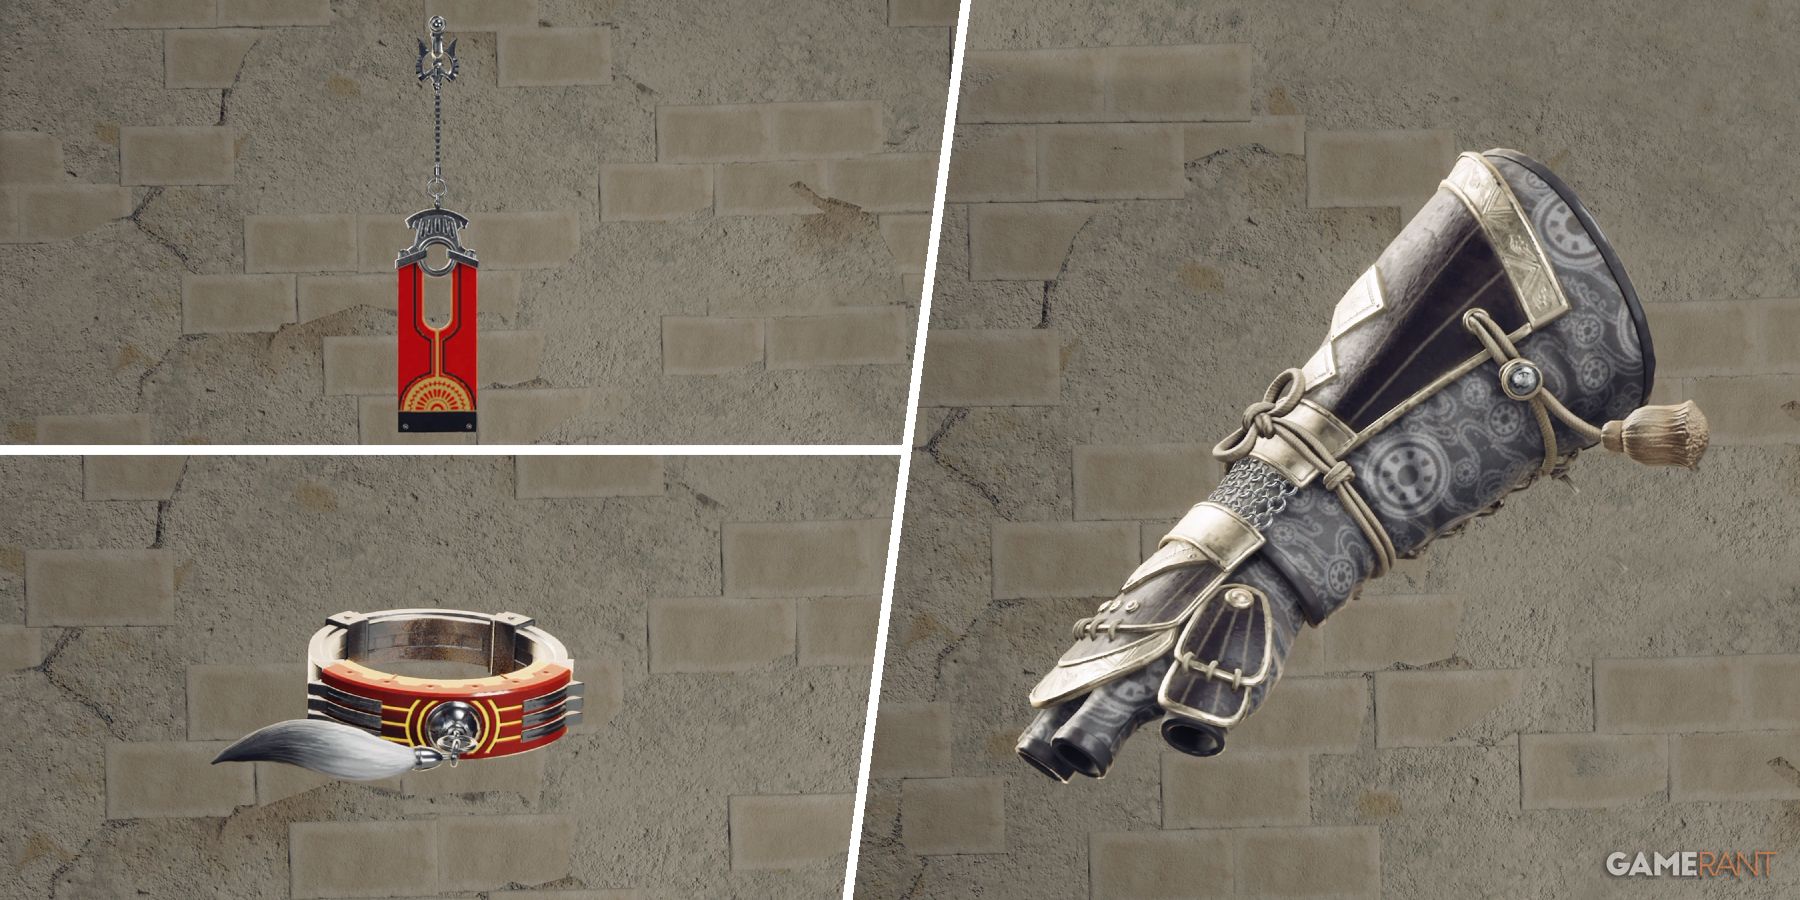
Final Fantasy 7 Rebirth: How to Get the Genji Gloves, Earrings & Ring (FF7 Rebirth Best Accessories)
The Genji equipment ranks among the best FF7 Rebirth accessories, though getting one's hands on the gloves, earrings, and ring is far from easy.
Unlocking Each Cactuar Rock
Unlocking the Cactuar Rocks for each trial is relatively simple and will show players exactly where to go thanks to the beam of light that emits from the Cactuar statue when it's held high. That said, players can also use this guide to quickly and easily find the Cactuar Rocks for each modular reactor.
Mastering the Cactuar Crush Trials can take some time and effort any players shouldn't be afraid to keep retrying until they perfect certain sections and mechanics. With enough practice, it's possible to reach a max score with plenty of time left on the clock. Completing all trials will also unlock a Hard Mode which players can take down for even more rewards.

