Getting to phase three of Final Fantasy 14's Dragonsong's Reprise Ultimate is difficult and worth celebrating. Coming to this point means the raid party has gotten past phase one against Adelphel, Grinnaux, and Charibert; as well as phase two against Thordan and his knights. Both of the previous phases are quite challenging, but the FFXIV raid party is not done yet and this next phase is not the last.
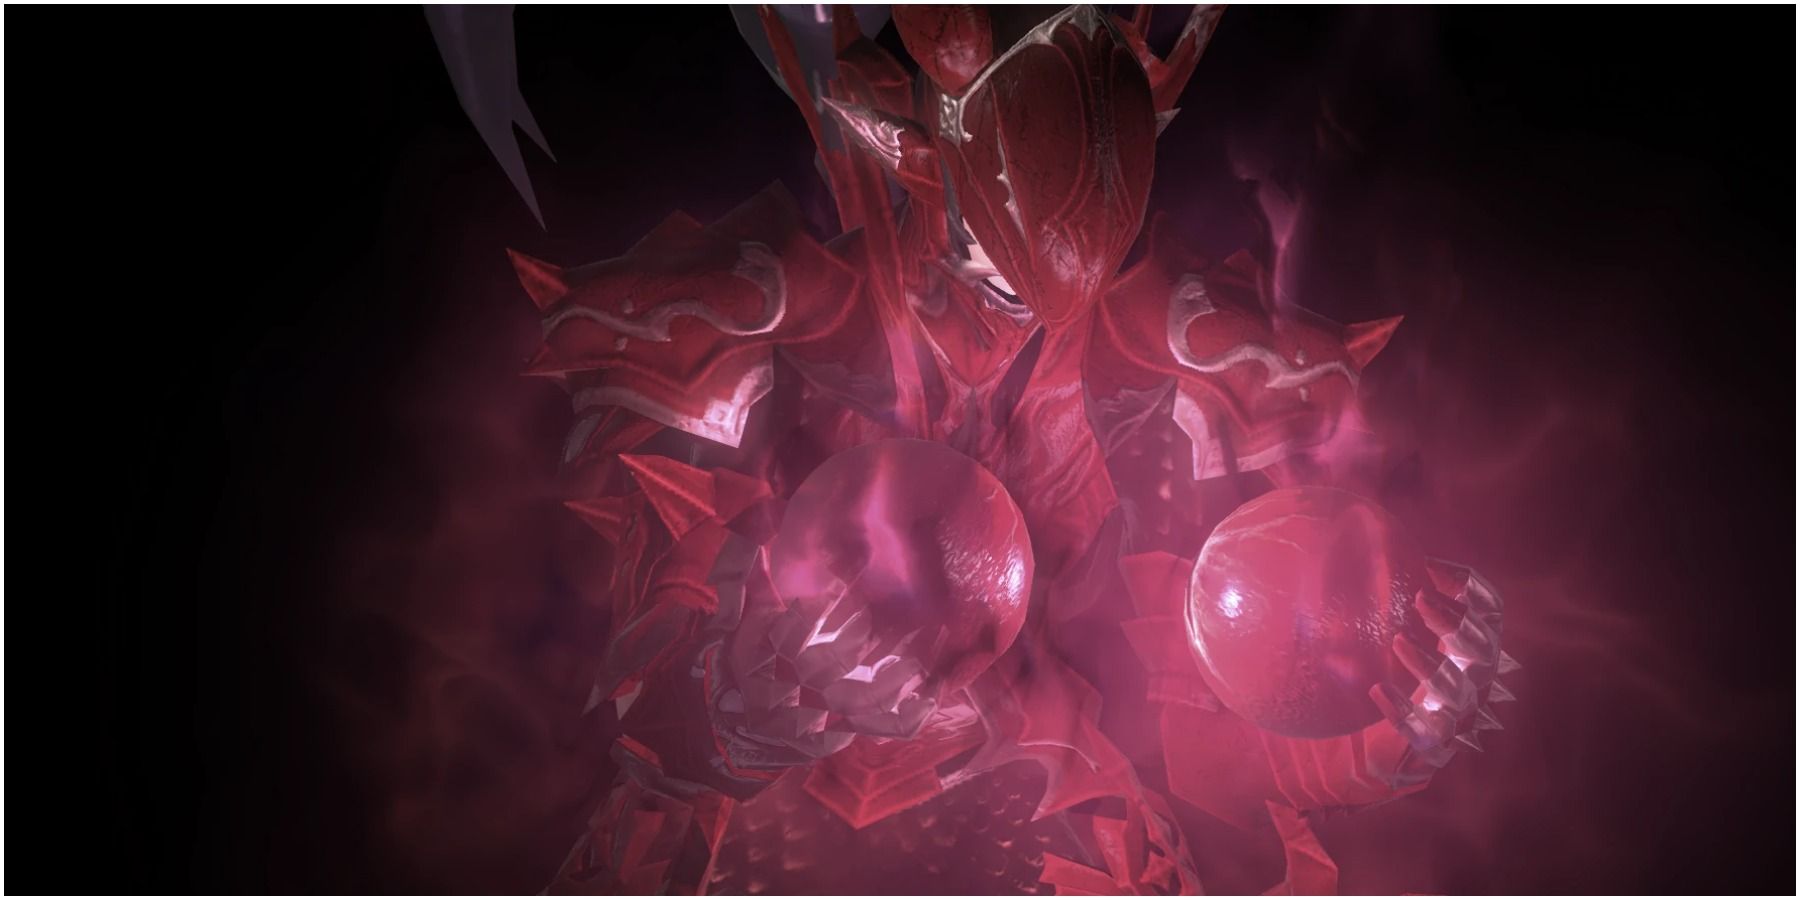
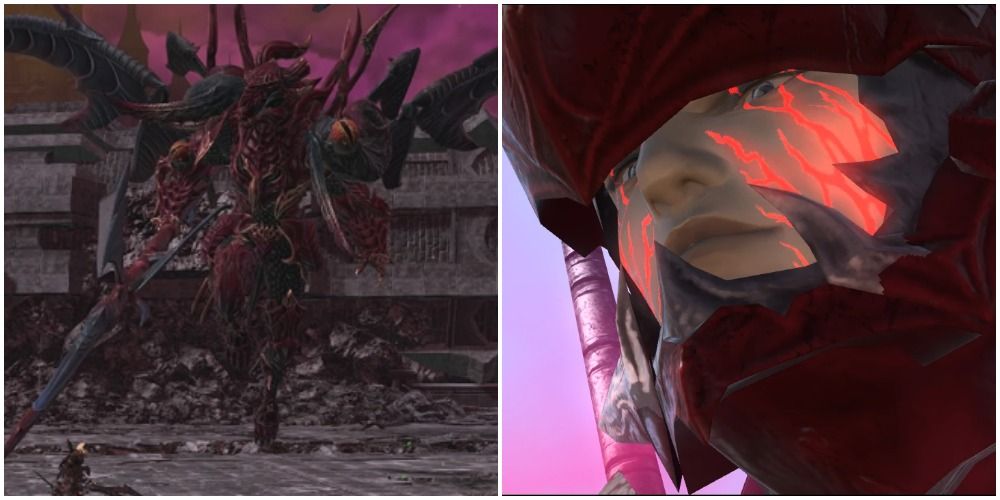
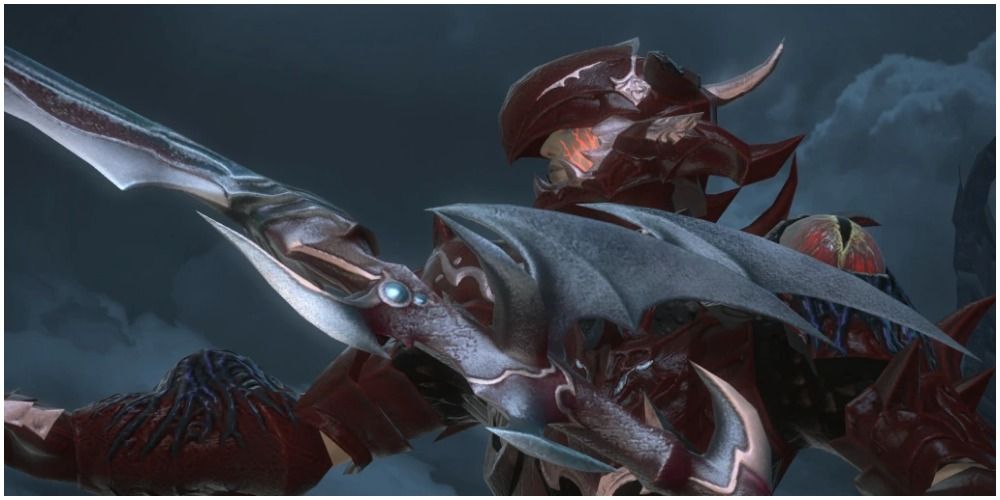
In this phase, the raid will fight against Estinien possessed by Nidhogg. The fight requires a lot of positioning due to towers. Players will want to avoid hits as much as possible because vulnerability stacks can spell death later on. While still difficult, this phase is shorter than the others and actually has very few mechanics. These mechanics, however, have a lot of randomization and possibilities for players to strategize through.
Please follow these links to learn how to complete the previous phases in the Dragonsong's Reprise Ultimate Raid:
Set-Up, Nidhogg Clones, And Towers
Nidhogg's First Attacks
In terms of markers, raids commonly use 1, 2, 3, 4, A, B, C, and D at the cardinals and inter-cardinals in a circle around where Nidhogg will land. Note that the walls in this arena are instant death if touched. The first attack from Nidhogg will be raid-wide, which can be deadly if the party has not healed and mitigated from their fight with Thordan. Once Nidhogg has landed, a tank needs to gain his attention and face him away from the party. This is because, like Thordan, his auto-attacks are cleaves.
After three auto-attacks, Nidhogg will cast Dive from Grace, which willput markers on people's heads. The party will have markers with one, two, and three. There will be three "1" markers, two "2" markers, and three "3" markers. These markers are the order in which the clones of Nidhogg will dive on those players. These numbers will remain on players as a debuff. Once the clones dive the players, they will leave behind towers. A player that was not hit by that specific Nidhogg clone needs to be the one to take the tower it left behind.
Clones
Nidhogg clones will do specific dives: the High Jump Target, Elusive Jump Target, and Spine Shatter Dive Target. Different dives leave towers in different ways, which is important to know because players will want these towers arranged around the boss. Optimally, players should arrange one to the left of him, one to the right of him, and one behind him.
This is where the markers will become very useful. Players will want to position themselves so that others do not get hit with their dive, but also in a way that makes it easy for players to run and stand on the tower left behind. The three types of dives work as follows:
- High Jump Target: The clone will dive on top of the players and the tower will be placed on top of them.
- Elusive Jump Target: The clone will place the tower behind the targeted player.
- Spine Shatter Dive: The clone will place the tower in front of the targeted player.
It is recommended that players take the towers in the following pattern:
- Players marked with the number 3 take the towers left by players marked with the number 1.
- Those marked with 1 take the towers left by the 2-marked players.
- 2s take the towers left by 3s, but since there are only two marked two players, a player marked with one needs to also take a three tower.
Meanwhile, the original Nidhogg is either going to cast a stack marker and then either Lash and Gnash or Gnash and Lash. These attacks are either an in-and-out or out-and-in mechanic, respectively. So the raid party needs to stack and then either go in or out. Once some towers are taken care of, there are some Nidhogg clones that will need to be baited, as they will be casting line AOEs. Bait them so they face away from the party.
Towers With Pillars And Enrage
Once the AOE clones are baited, the main tank will take Nidhogg's cleaving auto-attacks again. Nidhogg will then cast Drachenlance, which is a cone-shaped cleave in front of him. After that, fourtowers will appear, this time with pillars that show the number of players needed to stand in them. These towers will be in every inter-cardinal direction. The raid party will need to plan who will stand where, and where they will move (clockwise or counterclockwise), according to how many players are needed at these towers.
While these towers happen, there will be baits that players will need to take care of. One Nidhogg clone will have a tankbuster, and the original Nidhogg will have a tankbuster as well. After that and the towers, Nidhogg will do a few more auto-attacks which the main tank should take care of.
Now is the time for players to melt down Nidhogg's health, or else they will wipe to his enrage. Once he is defeated, players will want to immediately stack and prepare for the next phase of the fight.
Final Fantasy 14 is available now on PC, PS4, and PS5.

