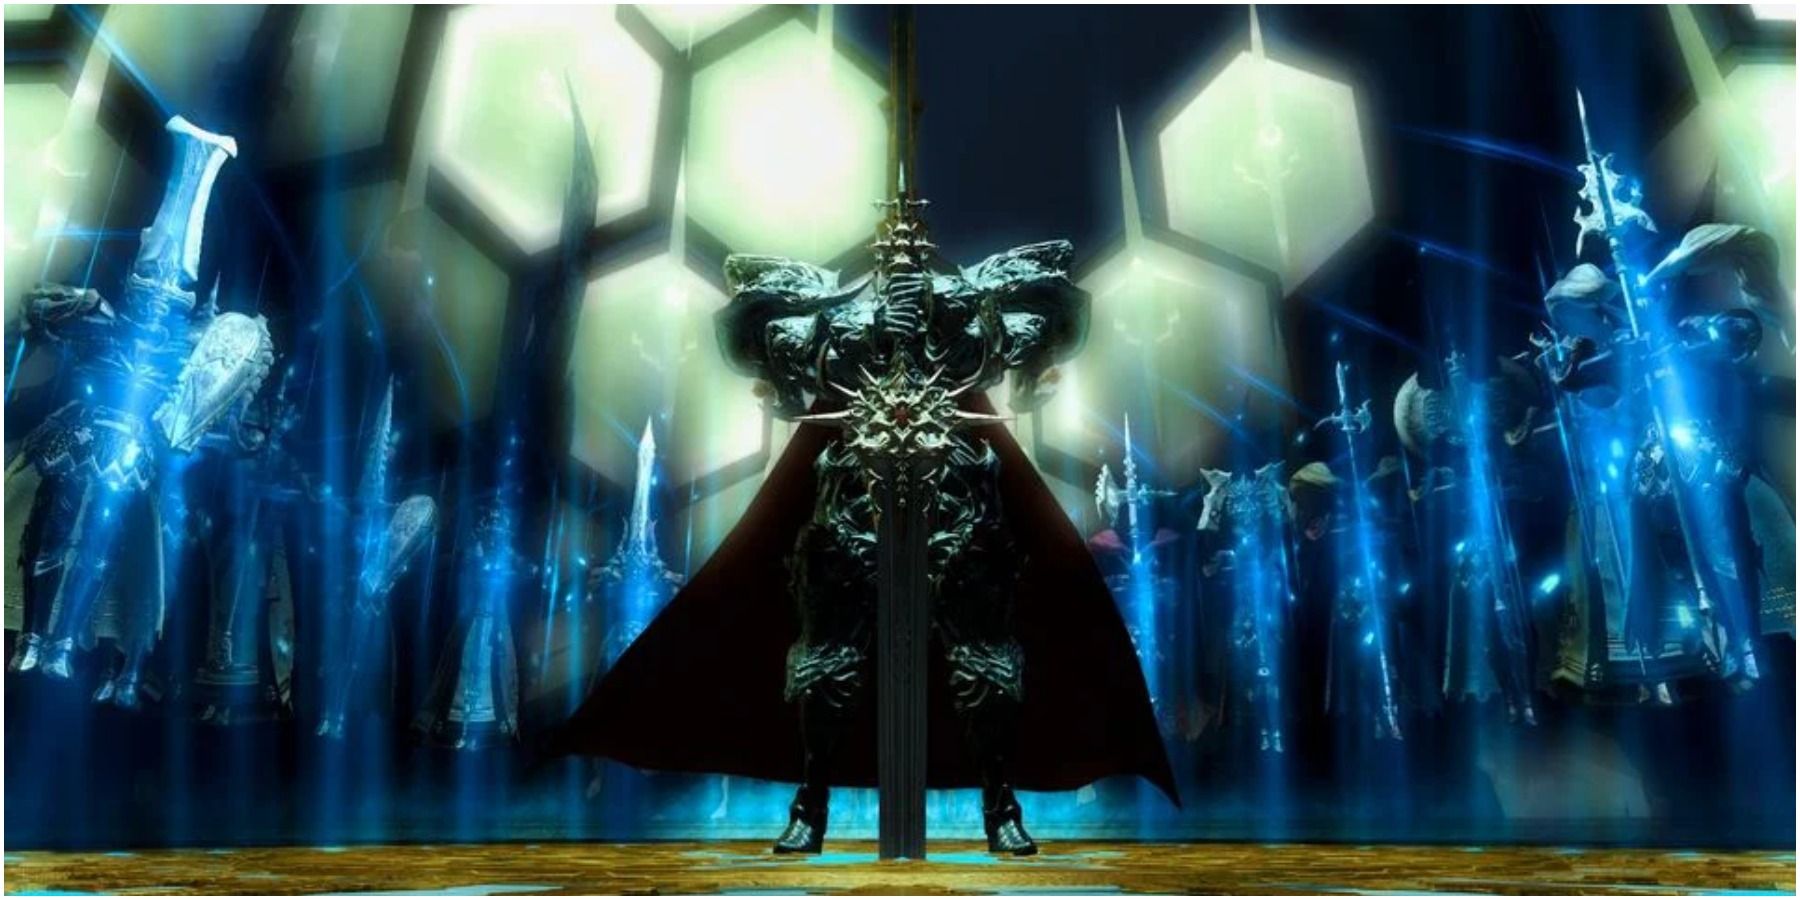
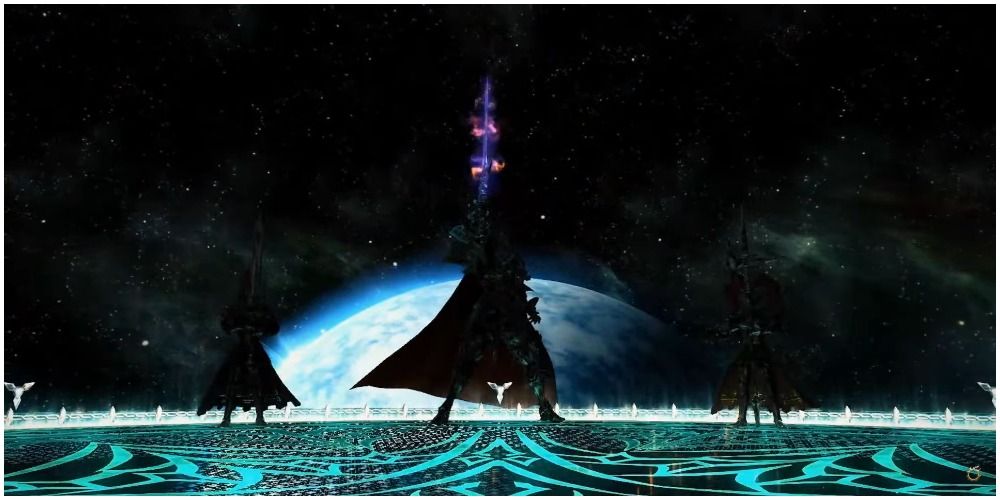
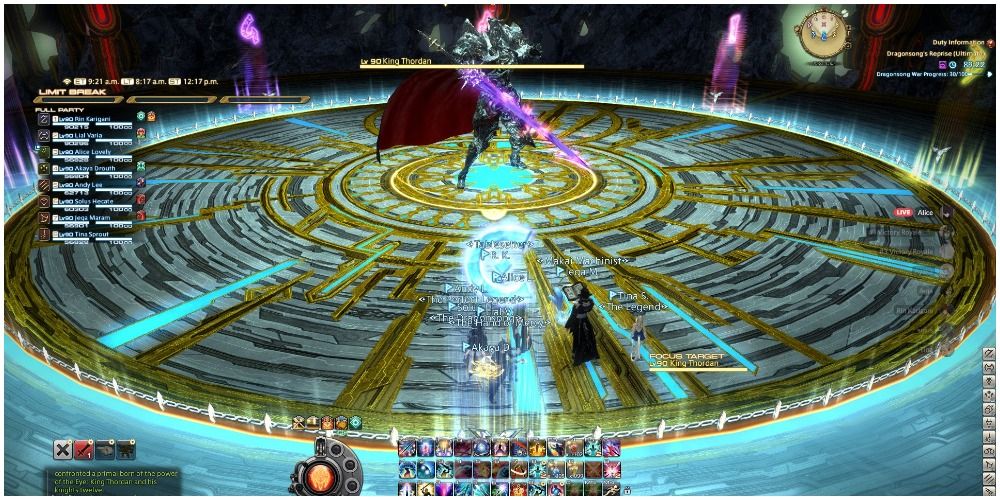
The Final Fantasy 14 raid, Dragonsong's Reprise: Ultimate, has a couple of phases. The second phase is against King Thordan and can only be completed after defeating Adelphel, Grinnaux, and Cheribert in the first phase. The first phase itself is hard, but there is good news. Once the raid gets past the first phase, the party has reached a checkpoint. This means that even if the party wipes to Thordan, they can start at the beginning of the second phase and not need to go up against those three knights again.
The bad news is that phase two is even more difficult than the first phase, with the raid group needing a tank swap, lots of mitigation, partners, adjusting to tethers, light party splits, and dodging many attacks at once. The phase has even more enemies than the first, with Thordan as well as his many knights.
Setting Up And First Mechanics
One part of this phase's set-up is that the raid will want to split themselves into two light party groups. Each one should have a tank, two DPS, and a healer. These groups will be utilized for two mechanics in the fight. There will also be mechanics that require partners, so a DPS should pair with Tanks and Healers. Players will also want to mark up the arena with 1, 2, 3, and 4 around the intercardinals and A, B, C, and D around cardinals.
Throughout this fight, Thordan will auto-cleave the area in front of him, so the main tank should be away from the rest of the party to direct the cleave away from them. Thordan's first named attack is Ascalon's Mercy Concealed. For this, the entire party should stack before the cast bar finishes. Once it finishes, players will want to move to the sides. Immediately after that, the main tank (who will want to be away from the party at this point) will take three-cone attacks. The main tank will want some mitigation and healer support for these attacks.
The Knights Come In And Attack At Once
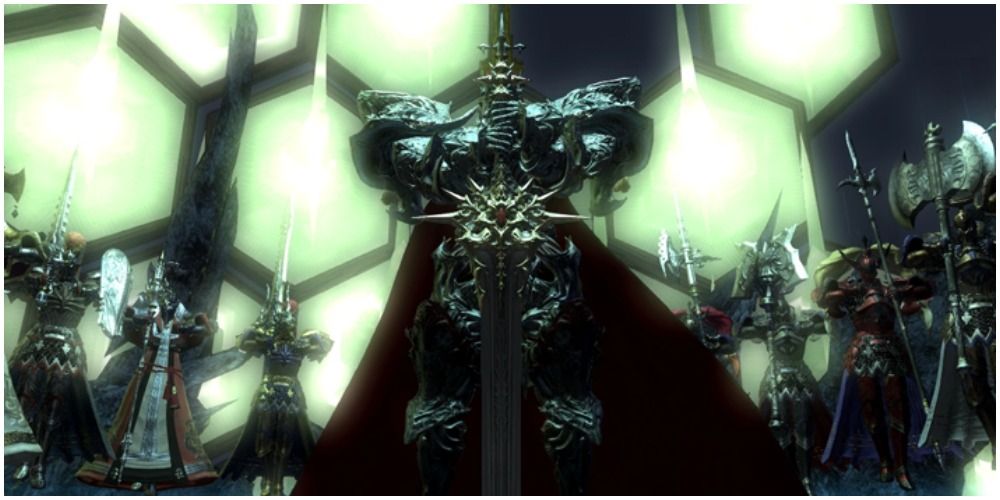
Thordan will now summon his knights and cast Strength of the Ward. The knights will be summoned and jump away. Right as they jump, players will want to split into light parties groups one and two. Group one should stand in the direction of intercardinal 1 to the northwest and group two will want to stand in the direction of intercardinal 3 to the southeast. Now three different attacks are coming at once. Here is what they do:
Lightning Storm: Cast by Thordan, will require the players to spread.
Heavy Impact: Cast by a knight in the middle which will be an earthen wave AOE that will start from the middle and move out in waves.
Spiral Thrust: Cast by three knights at different cardinals on the outer edges of the arena. They will be dashing through the middle.
These attacks take up a lot of the arena, but there will be two safe spots that are directly opposite each other. Parties one and two will need to rotate to those safe spots and spread within them. The Spiral Thrusts and Lightning Storm will happen at once and the first wave of Heavy Impact will begin. As the Heavy Impact spreads its wave outwards, Thordan will prepare another Ascalon's Mercy Concealed.
At this point, the party should stack back together and dodge the Heavy Impact. Parties may need to dodge in different waves depending on the knight's position (which can change but is always around the middle). The fourth wave of Heavy Impact will go at the same time as Thordan's Ascalon's Mercy, which groups one and two will want to dodge to the side as he hits north and south.
Puddles, Blue Markers, And Dragon's Rage
Now four knights will spawn in. Players will want to position themselves in the middle. Eight dark puddles will form on the arena. They will grow and leave four safe spots. While this happens, three players will also be targeted with blue markers. They will be hit with a big AOE that causes physical vulnerability.
The marked players will want to quickly follow three moving knights to safe spots and get to the edge so as to not share their AOE with others. Every other player will want to stack on the remaining safe spot with no blue marker players. Some tower markers will start appearing, but the party does not need to worry about them just yet.
Tanks actually have a special job before going to a safe spot. They need to watch the knights as they will be tethering two random players. Each tank needs to pick up a tether before going to their safe spot and will want to stand at the side edges to avoid clipping others. Thordan will also drop down and begin to cast Dragon's Rage. This will require all five non-blue-marked players to stack and share the damage. Everything will go off at once. Blue markers will have large AOEs, Dragon's Rage will hit the stacked group, and the tanks will get dashed at by the tethered knights and stunned.
Towers, Ancient Quaga, And Heavenly Heel
After everything goes off and the two tanks are stunned, now is the time to take care of the towers. The six non-stunned players will have to spread out to them. There should be a tower directly in front of the players that were marked in blue, so they can just go to those. The other three players will have to take the towers near where Thordan was. While they do this, the tanks will be taking three tank busters from the knights that stunned them.
Thordan will then spawn in the middle and cast Ancient Quaga. It is a raid-wide attack that requires mitigation, so the players should all come towards the middle and prepare. The main tank needs to be away from other places, as Thordan will begin doing his auto cone attacks again. Next, Thordan will cast Heavenly Heel, which is a strong tank buster that requires a tank swap. The off-tank will need to be away from both the party and main tank when the swap happens because they will then have three cleaving conal tank busters directed at them.
Sanctity Of The Ward And Sword Markers
The knights are all back and Thordan will cast Sanctity of the Ward. Players will want to pre-position in the middle of the arena. Three knights will spawn in the middle and a dragon's eye will appear on the outside. Two paladin knights will be standing opposite each other and will either look clockwise or counterclockwise. Which way they face will determine which direction to dodge their attack.
Two players will get sword markers above their heads, one with one sword and one with two swords. They are marked by the third knight, a Dark Knight who will jump on one, then two, and then one, and two again. The marked players cannot soak this damage alone and will need to stack with light parties. Group one will want to be in front of the Dark Knight and group two will be behind the Dark Knight. This could be done with the arranged light party groups one and two, but because marked players are random, that may not always work and players will have to adjust.
As this happens, Thordan will also cast a gaze attack which will be mirrored by the dragon's eye. Both light parities should go to the opposite ends of the arena and wait for the paladins to begin their clockwise or counterclockwise attack. They'll need to make sure to look away from Thordan and the dragon eye. Then, the paladins will do their clock explosion attack, and light parties will move around the arena together to avoid the explosions while the Dark Knight jumps between groups to deal damage. Mitigation is needed and healers will need to heal while all this happens.
Partners, Meteors, And More Towers
Now is the time to spread and stack with a partner chosen during set-up. Partners will want to stand in cardinals. Thordan is going to stab the ground and make the outer edge of the arena unsafe. A knight will also cast Hiernal Storm as four circles appear in the area at each of the intercardinals. The partners will absorb icy stacks. As this happens, two players will be targeted with red markers. These players, after taking the stacked damage with their partner, will need to run around the arena, as they will be dropping meteors, and meteors that touch each other will explode and cause massive damage.
There is very little room at this point, so players will need to be careful. The marked players will want to be opposite each other, so partners may need to swap. Additionally, eight towers will now appear. The partners need to split to their nearest two towers after taking their stacked damage. This may take some adjustment, as the towers are not spread evenly. Those that will be spreading meteors need to be careful and make sure they take towers that are at opposite ends of the arena.
After the stacked damage and towers, the marked players must now run around the arena with the meteors until they are opposite where they started. It is recommended for the marked players to run in a sort of zig-zag motion to make sure the meteors do not touch. As the marked players run and drop meteors, eight more towers will spawn on the outer edges of the arena. Players will need to adjust to standing between all of the towers.
Faith Unmoving, Ultimate End, And The Last Parts
While players are adjusting to the eight outer towers, a knight in the middle will cast Faith Unmoving. This is a pushback attack that can knock players out of the arena. Everyone on the outside must cast knockback immunity while those in the middle can ride it to make it to their tower. By now, seven meteors were dropped by each marked player and they can go to their towers. The puddles will disappear, the knockback will happen, and the towers each get soaked by a player.
After the towers are done, the entire raid group should stack to the north at the set-up mark A. Thordan will appear and cast his ultimate attack, Ultimate End, and change the arena. This will require heavy mitigation as it is raid-wide damage. If the party survives that, the rest is easy. Thordan is weakened now and can only cast Broad Swing in different directions. Players can just dodge by moving behind him and then moving into where he first cleaved to avoid the other two.
Thordan will finally cast Aetheric Burst, his enrage. The party just has to get him to zero health before the cast goes off and wipes the party. If he is defeated, the party should stack in the middle and mitigate as they transition into phase three of this challenging yet enjoyable raid.
Final Fantasy 14 is available now on PC, PS4, and PS5.

