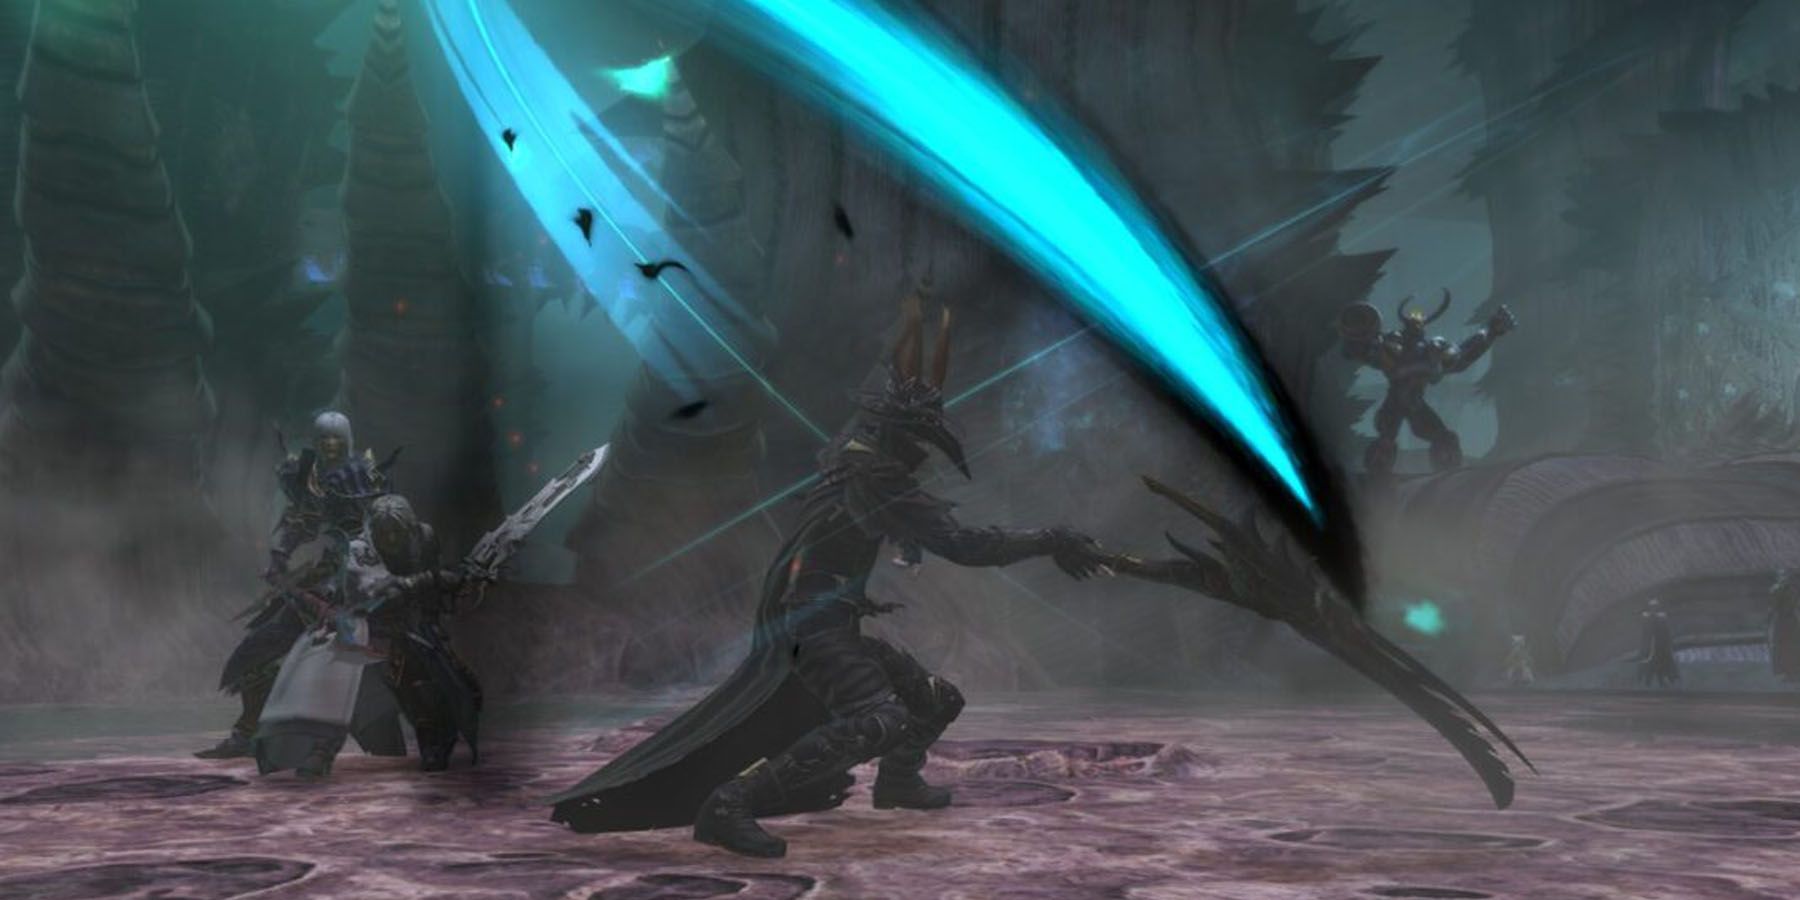
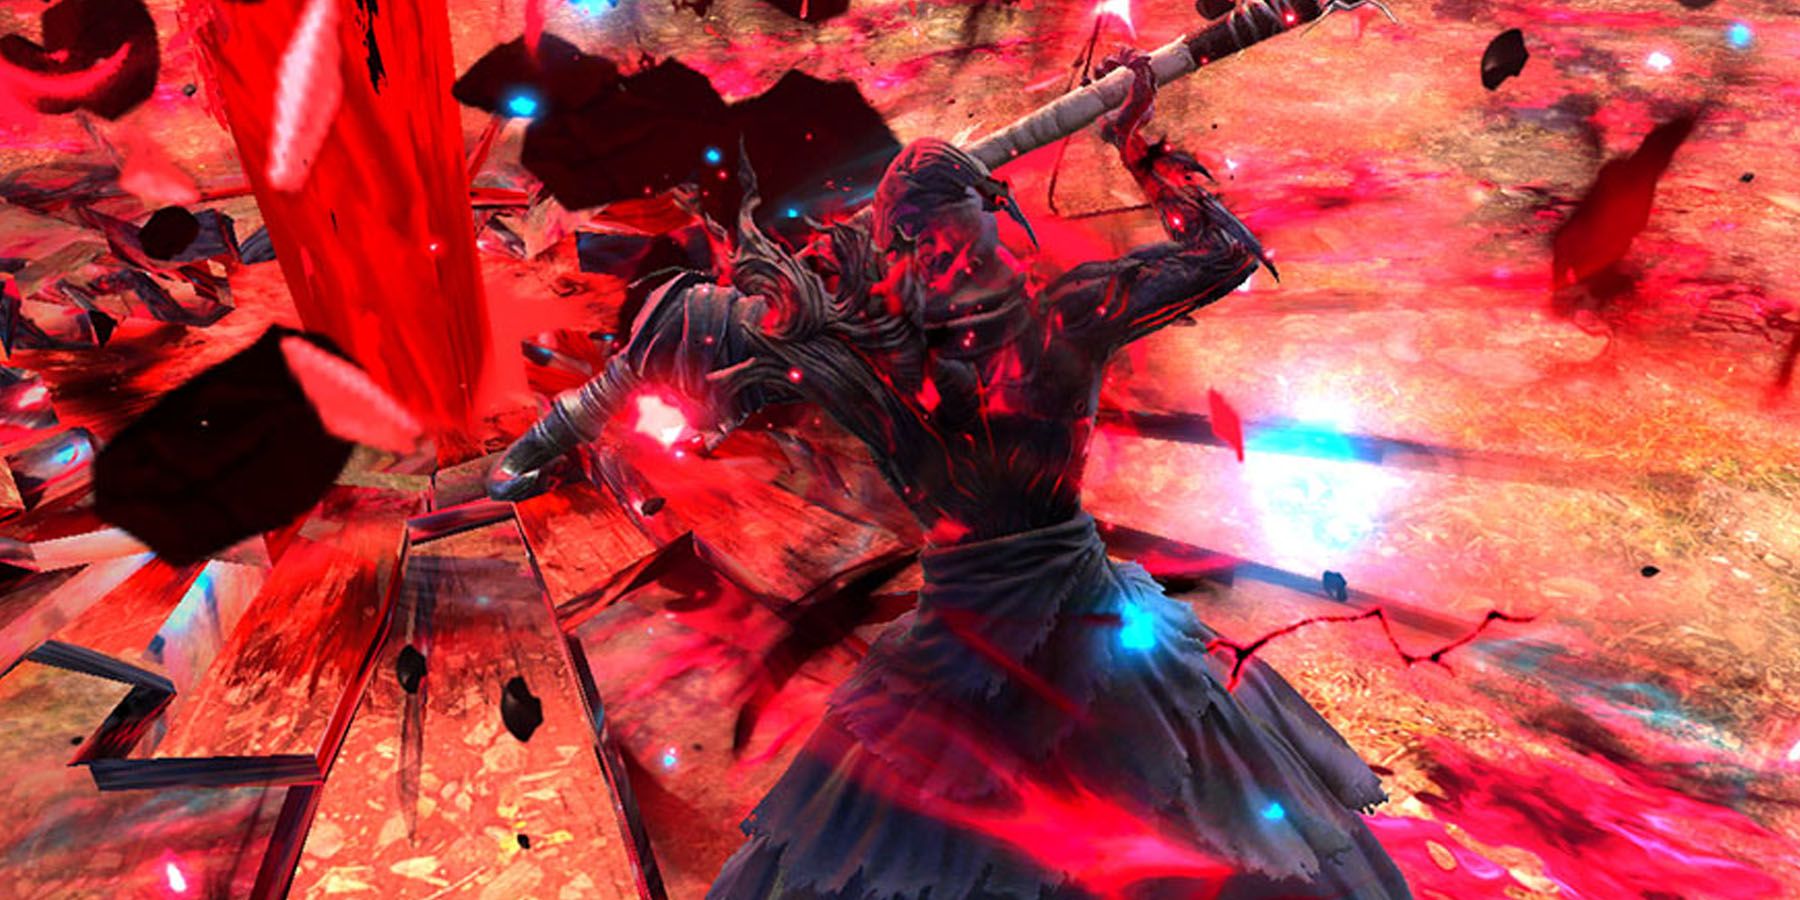
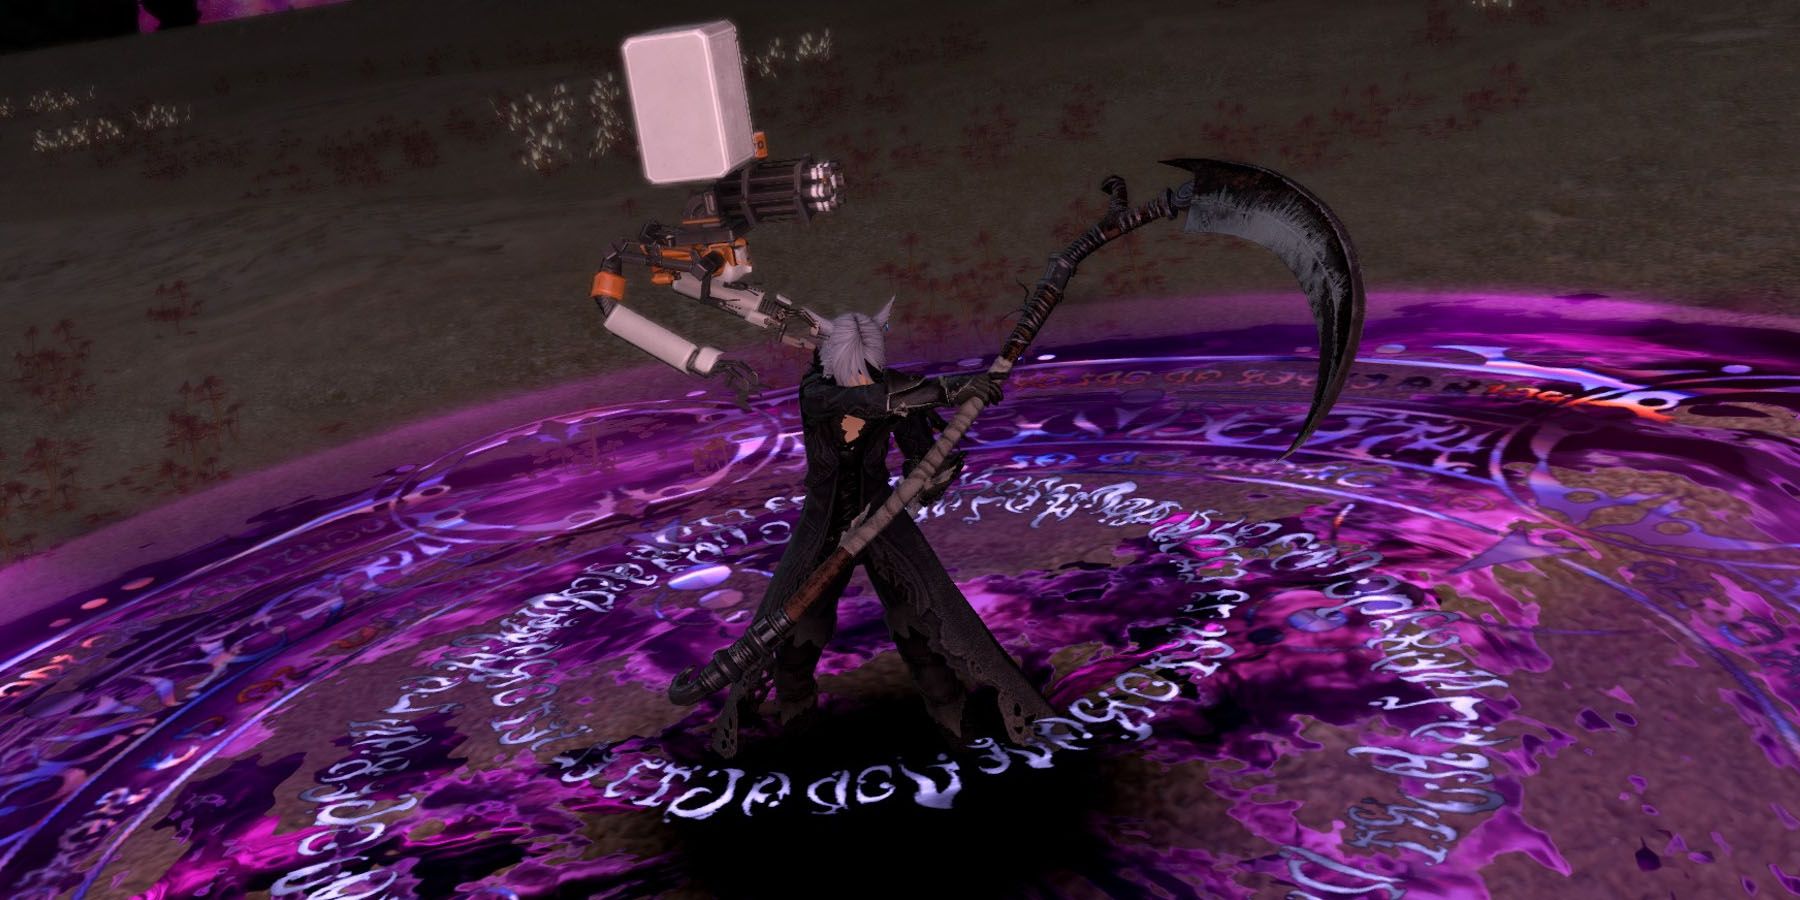
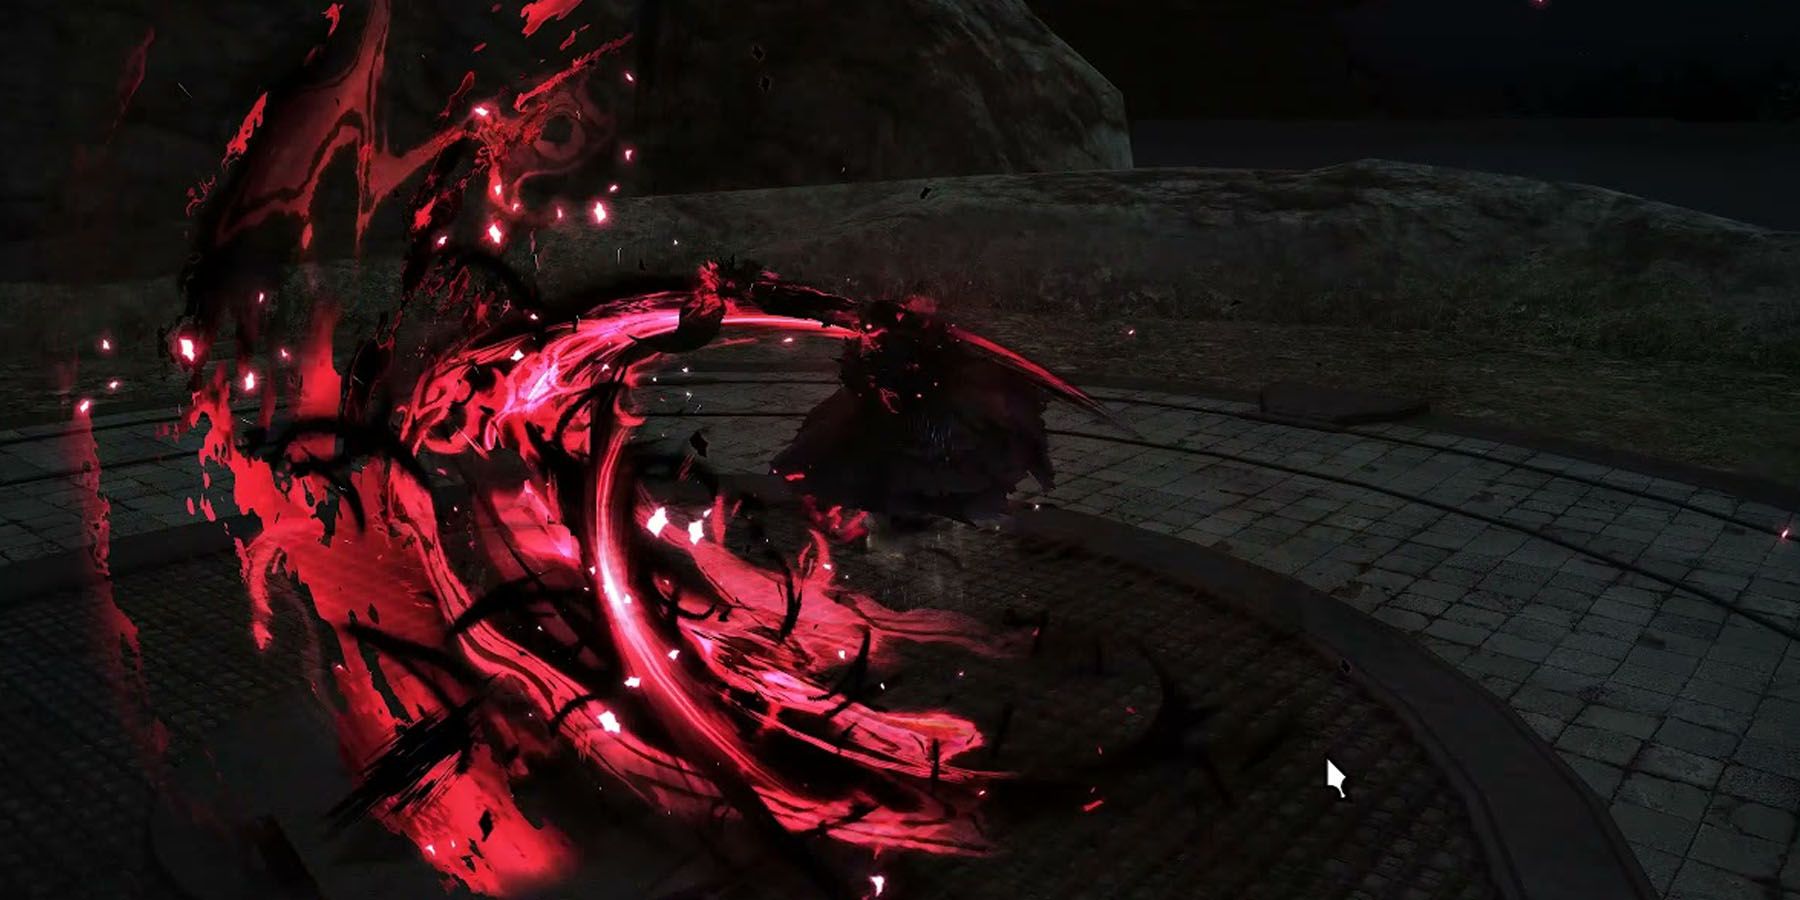
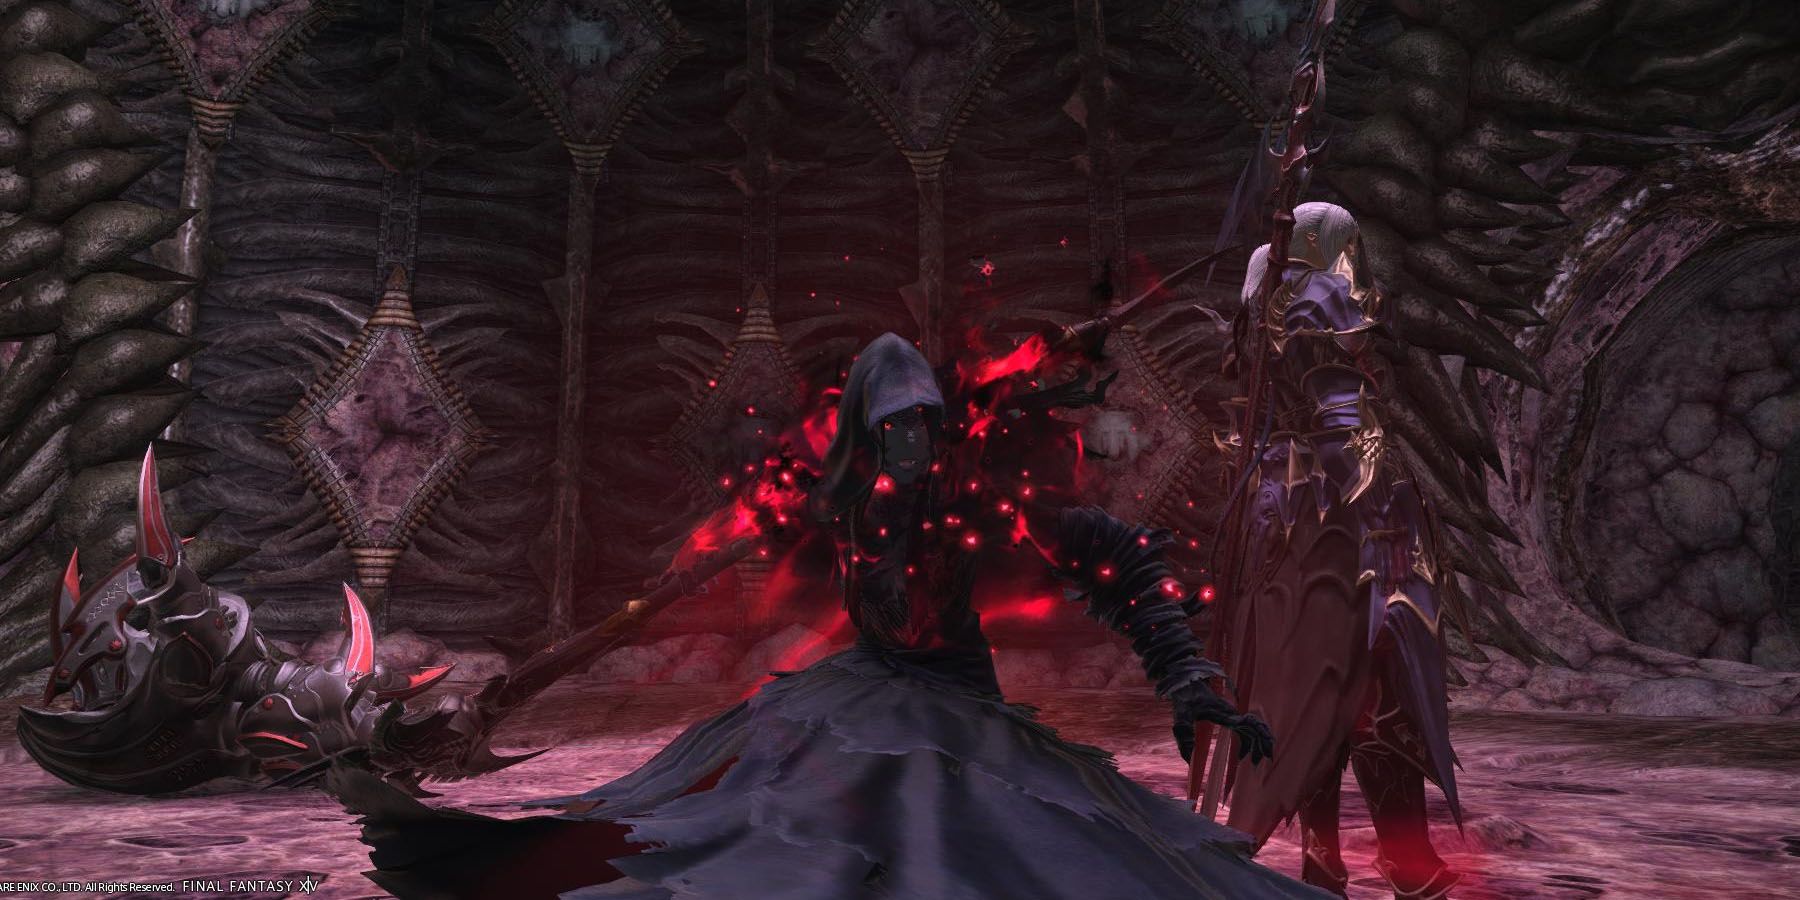
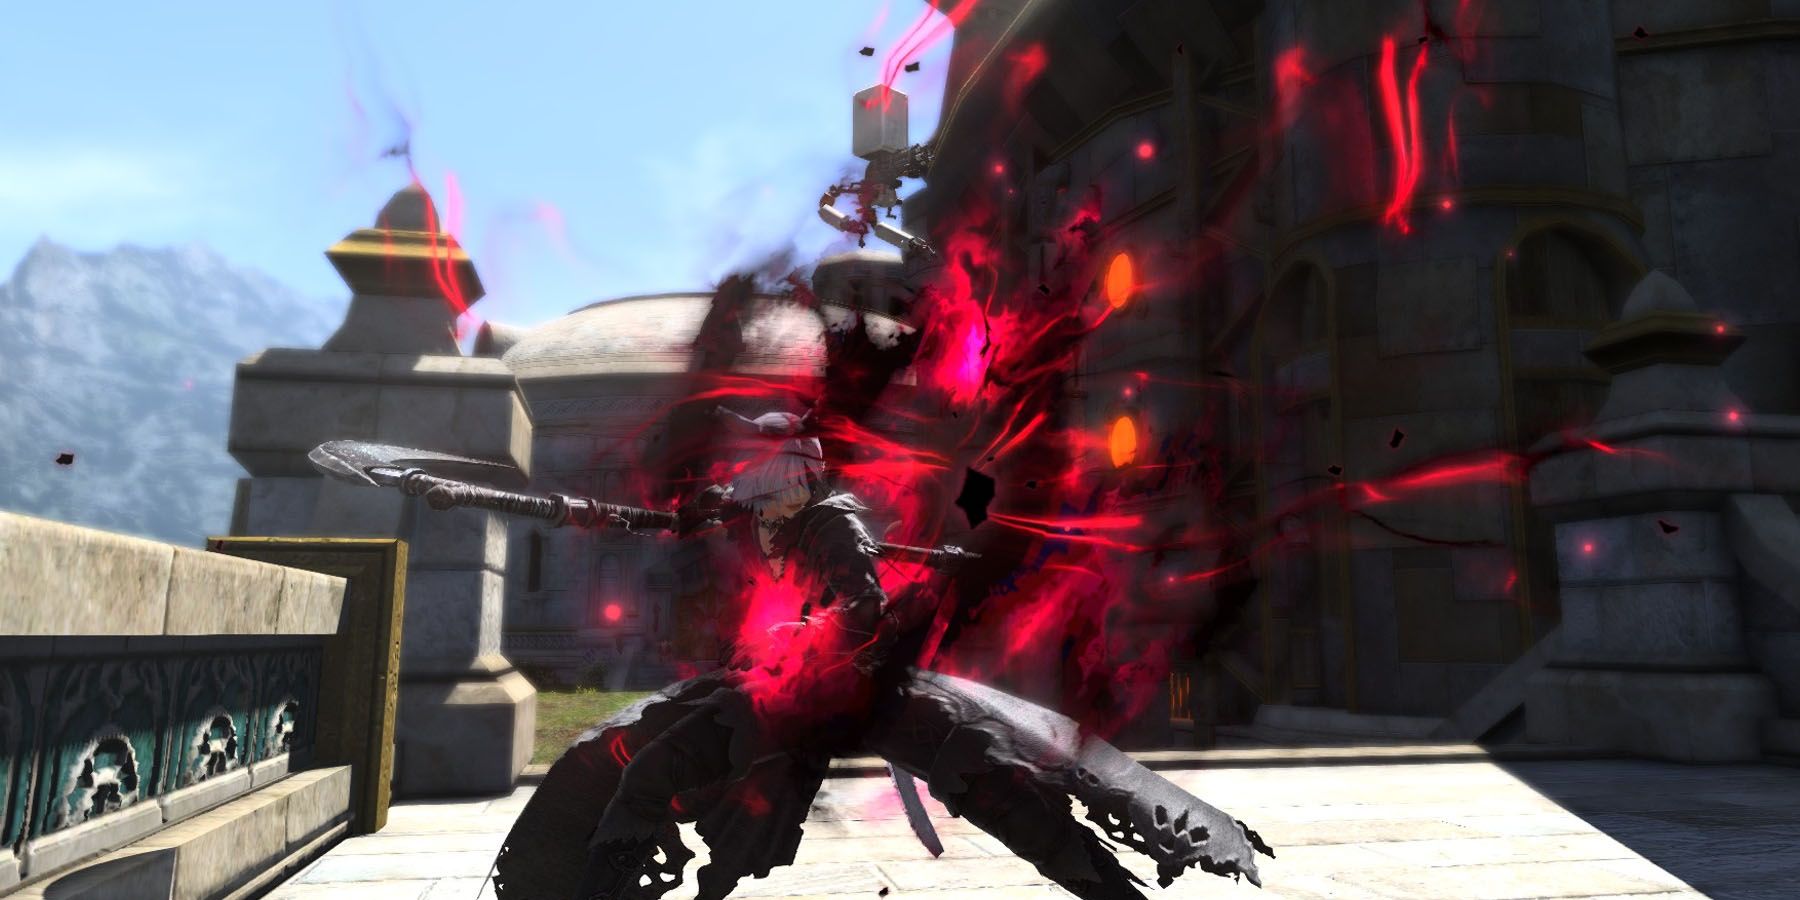
The Reaper of Final Fantasy 14 is one of two new Jobs introduced in the Endwalker expansion, this time around focusing on a speed-oriented melee class with a penchant for crowd control. Thanks to its control over shadows and deathly energies, the Reaper has a multitude of ways to approach combat that allows them to play with enemies or take a more focused approach. Its variety of high-speed maneuvers and combo options make it quite appealing for a DPS Job, which can make it a bit overwhelming for newcomers.
Interestingly enough, the Reaper does offer exciting new ways to approach speed in combat that other Jobs don’t necessarily offer on the get-go. With the Reaper’s deadly potential in combat, just how should newcomers approach the Reaper and maximize its innate potential?
9 Remember The Reaper Basics
At its core, the Reaper is a Disciple of War, a gathering of Jobs that focus on dishing out melee damage against opponents up close. When leveled up, it can easily become one of the fastest Jobs in the game, making it a force to reckon with. Here are some things to remember with the Reaper Job:
- Melee DPS is the combat role of the Reaper: This entails that unlike other Disciples of War, the Reaper prioritizes building and raking up high damage numbers in order to obliterate opponents much faster compared to other Jobs.
- Similar to other Jobs in some aspects: Some players might remember other speedy Jobs when it comes to building their own Reaper. For starters, it uses Maiming Gear similar to the Dragoon but chooses Striking accessories to accentuate its melee damage potential. Likewise, a lot of its skills need certain positions similar to the Ninja and the Monk, but not as many as them.
8 Remember The Resources
At its core, thanks to the combat-oriented nature of resource acquisition, the Reaper always gets a steady stream of resources that players can strategically use to be able to adapt against both strong solo targets and mobs with ease. Here are things to consider:
- Soul Gauge: This is the primary resource of the Reaper, acquired when using basic combos, be it single-target skills or AOE-skills. When filled up, Reapers can spend the Soul Gauge on powerful single-target attacks like Blood Stalk or devastating AOEs like Grim Swathe. OGCDs like Soul Slice and Soul Scythe can give higher numbers of Soul Gauge upon execution, but their firepower means they’re better off being used against stronger foes.
- Shroud Gauge: Despite being a resource on its own, the Shroud Gauge is more of a secondary gauge only accessible when the Reaper enters its power-up mode called the Enshroud. At the cost of 50 Shroud Gauge (acquired via Gallows, Gibbet, and Guillotine), the Enshroud mode is a power-up form that replaces some skills with more powerful variants that cost Shroud.
- Soul Reaver: Although a minor resource than a major resource, the Soul Reaver is a resource provided when executing Gallows, Gibbet, and Guillotine Skills, as well as Gluttony. It’s essentially a “stacking” component that allows Reapers to use Soul Reaver-granting skills with added perks. However, it’s important to note that Reapers should use Soul Reaver-stacking skills one after the other or else this benefit is lost.
7 Capitalize On Strengths, Mitigate Weaknesses
Given the emphasis of the Reaper in combat, it helps to remember that it’s much better to capitalize on their existing strengths in order to avoid mishaps and other errors in combat. Thankfully, capitalizing on the Reaper’s strengths has a lot to do with the proper use of engaging and disengaging in combat, as well as using bursts carefully:
- Burst whenever convenient: Due to the flexible nature of bursts from the Reaper, players should mind whenever they Burst in order to avoid wasting their charges. Unlike other Jobs, Reapers have more room to time their bursts.
- No perfect rotations: Unlike other Jobs, the flexible nature of the Reaper’s moveset means there’s no “perfect” rotation for them. Rather, this really depends on what the player wants to do at any given moment, especially given the position of their opponents. Players can freely switch from a single-target to a multi-target combo on the fly depending on whether the enemies bring more mobs or manage to be reduced to a single threat.
- Disengage and re-engage freely: Unlike other Jobs, the Reapers have Hell’s Ingress and Egress in order to quickly - and safely - engage and disengage in combat. This is a good way for players to quickly reposition themselves in the battlefield when needed, and should be used liberally.
6 Note The Positionals
Unlike other Jobs, the Reaper can dish out more damage depending on the skill in question and the positions they require. The additional damage by fulfilling these positional requirements can easily rake in high DPS for Reapers when done properly. Here are things to take note:
- Reaper’s Gibbet and Gallows, single-target staples in the Reaper’s rotation, deal additional damage when executed from the monster’s flank and the rear, respectively. This means players need to constantly switch positions to the front and the back of the target.
- True North Role Skill is a must-have, considering that it allows any DPS player to enjoy the damage benefits of positionals without fulfilling their directional requirements. While this is only available for two charges per load, the True North Role Skill is indispensable for emergency situations.
5 Capitalize Speed With Hell’s Ingress, Egress
Similar to most Jobs, the Reaper has a mobility skill of its own called Hell’s Ingress and Egress. As the name implies, Hell’s Ingress allows the Reaper to instantaneously teleport 15 yalms forward. This would leave a gateway of sorts behind them. Predictably, using Hell’s Egress will teleport the Reaper 15 yalms backward via that gateway.
Players shouldn’t underestimate the presence of this teleportation ability, especially when facing foes. Remember, a lot of basic Reaper attacks are positional, so Hell’s Ingress and Egress will become vital in securing these positions while avoiding deadly attacks.
4 Death’s Design Adds Insurance To DPS
Given their nature as a Melee DPS, it makes sense for the Reaper to dish out mean damage on the get go. However, this damage element is also improved upon by various buffs from allies, and even the Reaper themselves. A nifty skill called Death’s Design increases the damage received by its bearer by 10-percent for at least 30 seconds and up to 60 seconds.
As new Reapers may guess, players need to ensure that Death’s Design is always up on their target in order to increase the base damage they receive from the Reaper’s attacks. This ensures maximum base damage on top of potential buffs from their allies. Here are some other considerations:
- Maintain Death’s Design for one target: When fighting a single target, a Reaper should consistently use Shadow of Death to maintain the Death’s Design debuff. This dramatically boosts damage dealt to an opponent.
- Maintain Death’s Design for multiple targets: When fighting multiple enemies, Reapers should consistently cast Whorl of Death to maintain the Death’s Design ability. This will help sustain increased damage against multiple opponents.
3 Utilize Utility To Ensure Battlefield Advantage
To help the Reaper dish out as much damage as possible as a Melee DPS, players need to take note how to use their utility skills to maximize their playstyle. Interestingly, players can trigger certain Reaper advantages depending on certain situations. Here are specific examples:
- Use cooldowns to boost damage: Aside from using cooldown times to pre-cast certain skills. Reapers can actually use their cooldowns to trigger Arcane Circle. This skill boosts the entire party’s damage by 3-percent. As this stacks, this can easily build into high-enough damage when used often enough.
- Maintain the control over distance: Being a Melee DPS, enemies that get out of the player’s range can ruin the Reaper’s momentum. To avoid this, players can use special skills to punish opponents who try to leave the battlefield, like with Harpe (300 Aspected Potency Damage), and use Soulsow to trigger Harvest Moon to hit opponents nearby.
- Tap into Enshroud as often as possible: With Enshroud being a power mode, Reapers should use this as often as possible to capitalize on its extra damage. During Enshroud Mode, it helps to attack with Grim Reaping (200 Potency Damage in cone) and Lemure’s Scythe (100 Potency Damage in cone) one after the other before capping with Communio to damage enemies surrounding the Reaper.
2 Sustain Burst Damage For Any Number Of Targets
On top of being a Melee DPS, the Reaper can be delegated to focus on dealing high damage to any target enough to take down elite opponents to bosses. However, the success of such an approach depends highly on the kind of combo the Reaper follows while doing this process. At its core, here are the most important principles to follow when focusing on any number of targets:
- Ensure combo sustains to secure damage: When fighting one opponent, dealing as much damage consistently matters. Reapers should never drop their combo. When in fear of dropping combos, Reapers could restart them with Infernal Slice (140 Potency Damage), Waxing Slice (140 Potency Damage), or Slice (300 Potency Damage).
- Consider plans for certain resource numbers: When possessing certain resource numbers, the Reaper may want to follow certain skills as well. For instance, Soul Slice is a good way to generate Soul, Gluttony to generate Soul Reaver stacks, and Plentiful Harvest to generate Shroud.
1 Build Damage Through Rotations
While it’s true that the Reaper doesn’t have a standardized rotation, it helps to remember a key principle when it comes to building the Reaper’s rotation at any given time: maximize damage. Thankfully, players can achieve this by building towards certain outcomes of their combos, and then switching back and forth depending on what they want to achieve. Here are things to consider:
Gluttony First
This aspect of a rotation prioritizes on using Gluttony as soon as possible, so its usage won’t be wasted. To achieve this, players need to do the following in sequence:
- Harpe: This is pre-cast two seconds before it fully cools down. This deals unaspected damage of 300 Potency.
- Shadow of Death, Whorl of Death: This deals 300 Potency damage and inflicts Death’s Design for 30 seconds or extends an existing one to 60 seconds.
- Potion: If possible, a player may want to use a Potion here to replenish resources.
- Soul Slice: This attack deals 460 Potency damage.
- Arcane Circle: This buff increases the damage dealt by the Reaper and their allies by 3-percent.
- Gluttony: The star of this partial rotation, Gluttony summons Death’s Avatar and deals unaspected 500 Potency Damage to the first opponent and 25-percent less to subsequent opponents.
Enshroud Is The Endgame
This aspect of a combo builds towards unleashing Enshroud in the endgame, allowing players access to more powerful attacks in another attack chain. In order to achieve this output, players need to consider the following moves:
- Gibbet: This deals 460 Potency Damage when dealt from an enemy’s front, and 400 if dealt normally.
- Gallows: This deals 460 Potency Damage when dealt from the enemy’s rear, and 400 if dealt normally.
- Plentiful Harvest: This delivers an attack in a straight line, dealing 560 Potency Damage to the first enemy, and 60-percent less damage to other enemies.
- Enshroud: This power-up mode will have Death’s Aspect possess the Reaper. This maximizes the player’s stacks of Lemure Shroud.
Enter The Grim Reaper
This aspect of the Reaper’s rotation capitalizes on the Reaper’s potential as the Grim Reaper. Capitalizing on the Enshroud power-up, players can unleash more powerful attacks leading into the Communio power attack. Here are things players need to consider:
- Void Reaping: This deals an attack with 460 Potency Damage.
- Cross Reaping: This attack deals 460 Potency Damage.
- Lemure’s Slice: This ability deals 200 Potency Damage.
- (Repeat until Communio is available for casting)
- Communio: This AOE attack deals a whopping 1,000 Potency Damage to the first enemy hit and 60-percent less damage to enemies around it.
Soul Reaper Strikes Back
Players can use this aspect of the rotation to either cool down from the Enshroud or to capitalize on the Soul Gauge by using other kinds of attacks. Here are things to consider:
- Soul Slice: This attack deals 460 Potency Damage and also fills the Soul Gauge.
- Unveiled Gibbet: Granting a Soul Reaver stack, this enhanced attack summons Death’s Avatar to deal 400 Potency Damage.
- Gibbet: This attack deals 400 Potency Damage.


