The Elder Scrolls Online features a multitude of challenging foes, many of which are found in the various Group Dungeons throughout Tamriel. While it is possible for some skilled players to brave these dungeons on their own, it is often a good idea to venture into them with a team because some bosses can prove to be a serious hindrance to any dungeon run.
Before delving into The Elder Scrolls Online's many Group Dungeons, players should know exactly what they might face, as some of the bosses found within them can be a challenge even for veteran players.
10 High Kinlord Rilis
Location: Banished Cells I & II
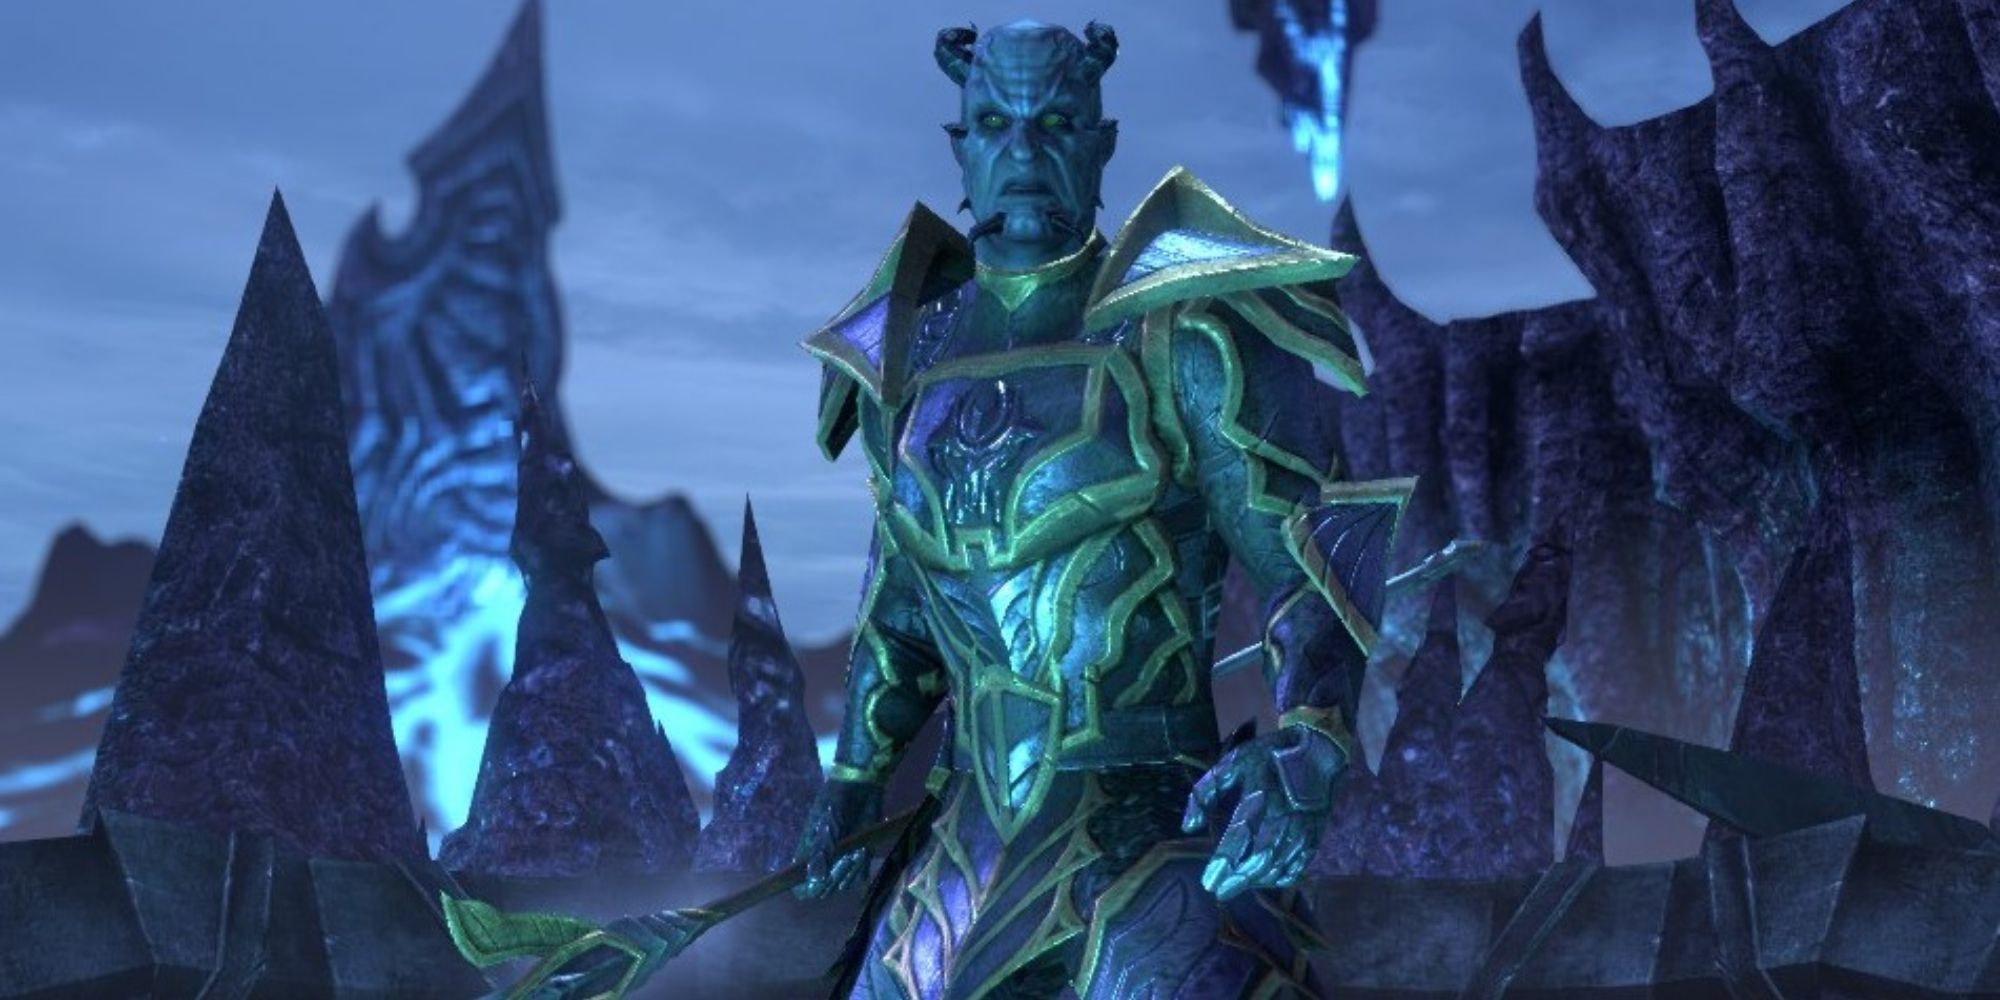
High Kinlord Rilis appears as the final boss of both Banished Cells variants, and players will likely encounter him at a low level as Banished Cells I is often one of the first Group Dungeons players face. In that variant, Rilis doesn't prove too much of a challenge and can be defeated fairly easily.
However, he makes a return in Banished Cells II, in which he is much more powerful. Throughout the fight, Rilis regularly summons healing orbs and Daedroths, both of which are necessary to kill as fast as possible. If the orbs reach Rilis, they restore a portion of his health, and if Daedroths are allowed to continue spawning without being dealt with, they could overwhelm even the hardiest of tanks.
9 The Engine Guardian
Location: Darkshade Caverns II
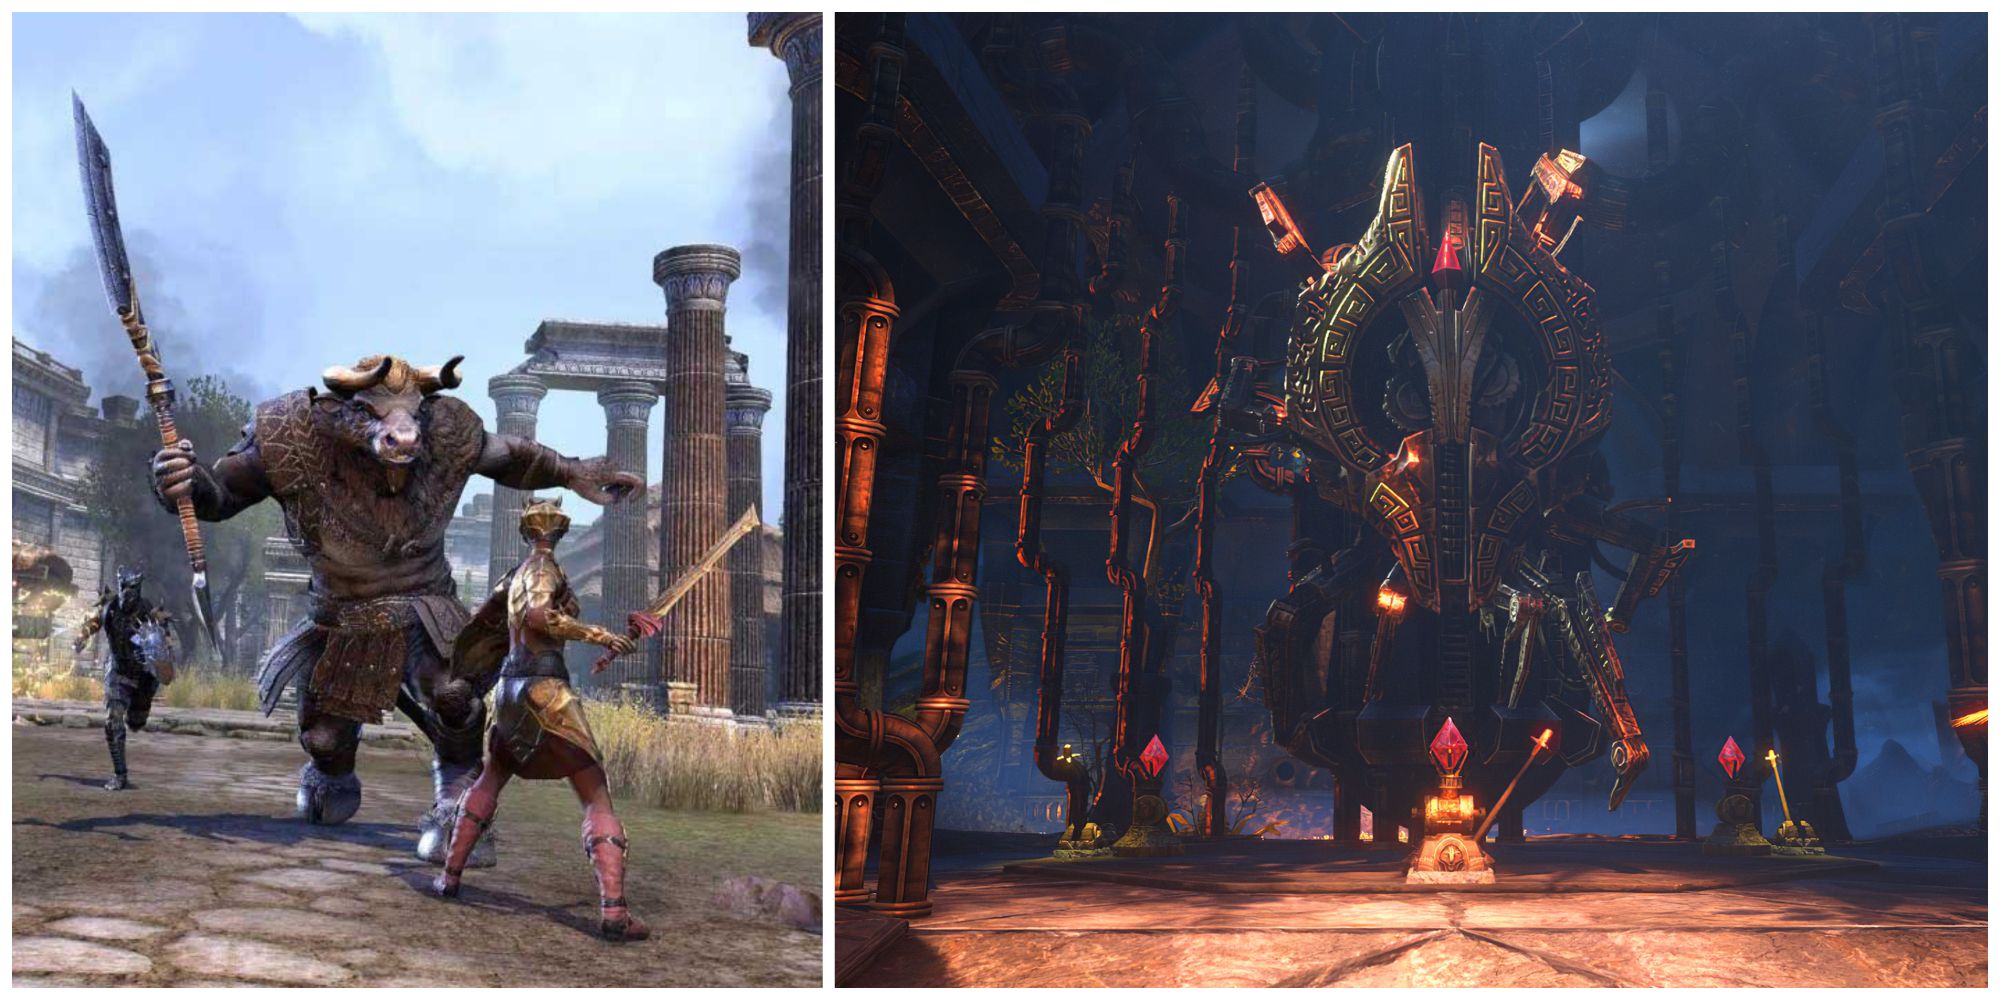
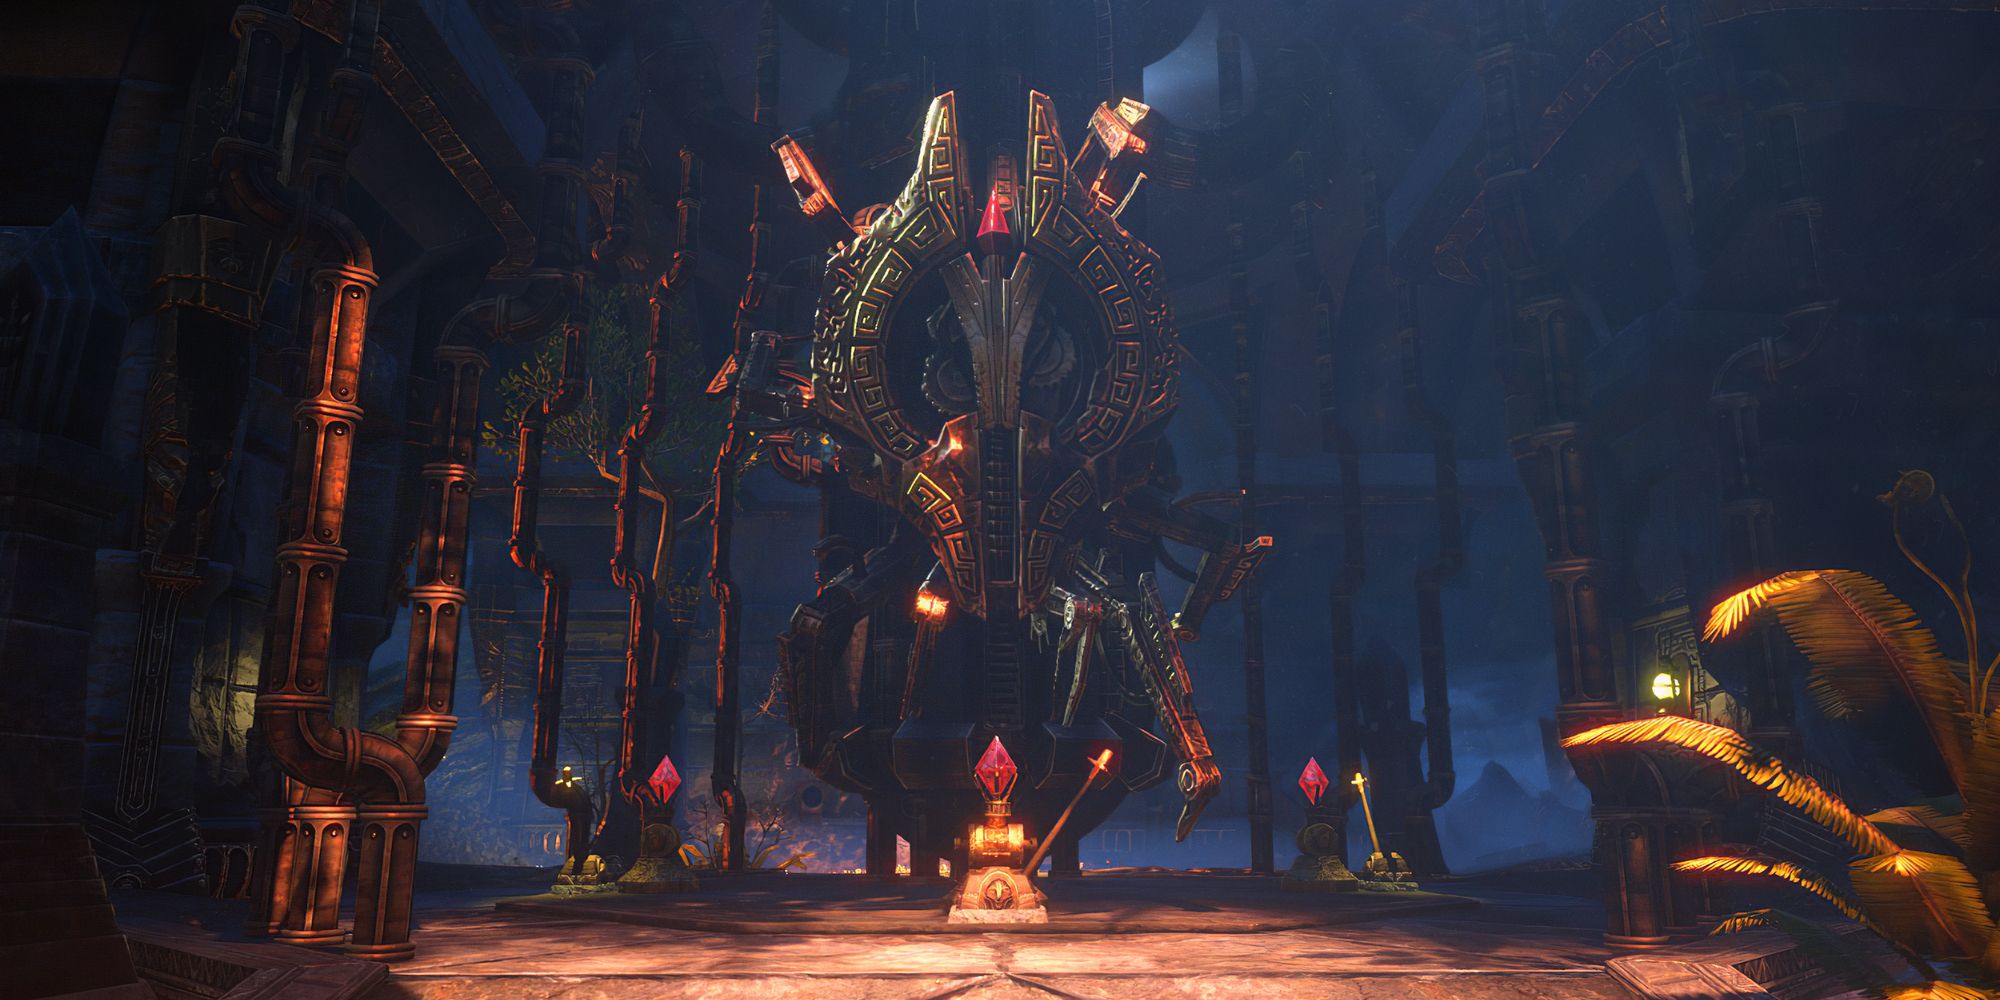
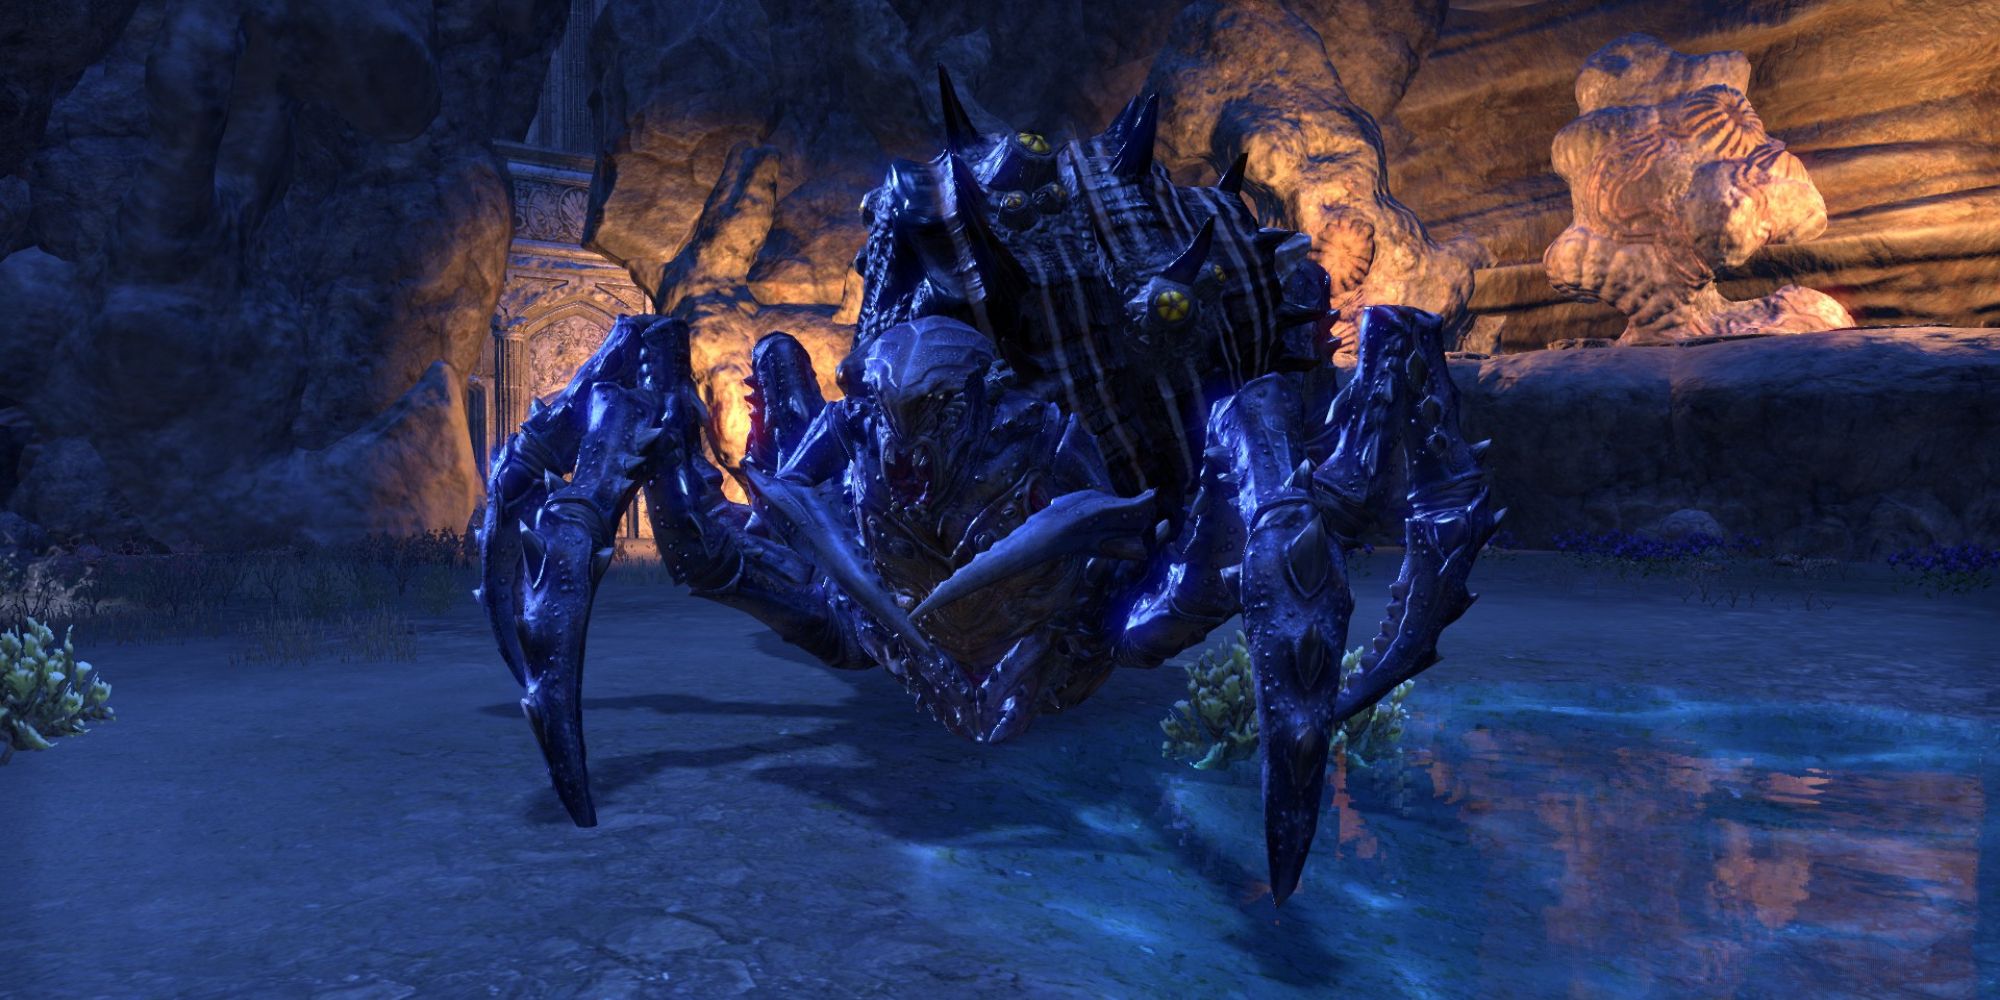
The Engine Guardian is a large Dwarven Spider and the final boss of Darkshade Caverns II. It is not particularly difficult to take down, but it possesses some devastating abilities that can catch players off-guard, including one in which the air is filled with poisonous gas.
A proficient healer can combat this poison damage, but if players don't know what to expect, then it can kill them very fast. Fortunately, the four levers in the center of the room can be activated by the group to dispel the gas.
8 Mylenne Moon-Caller
Location: Moon Hunter Keep
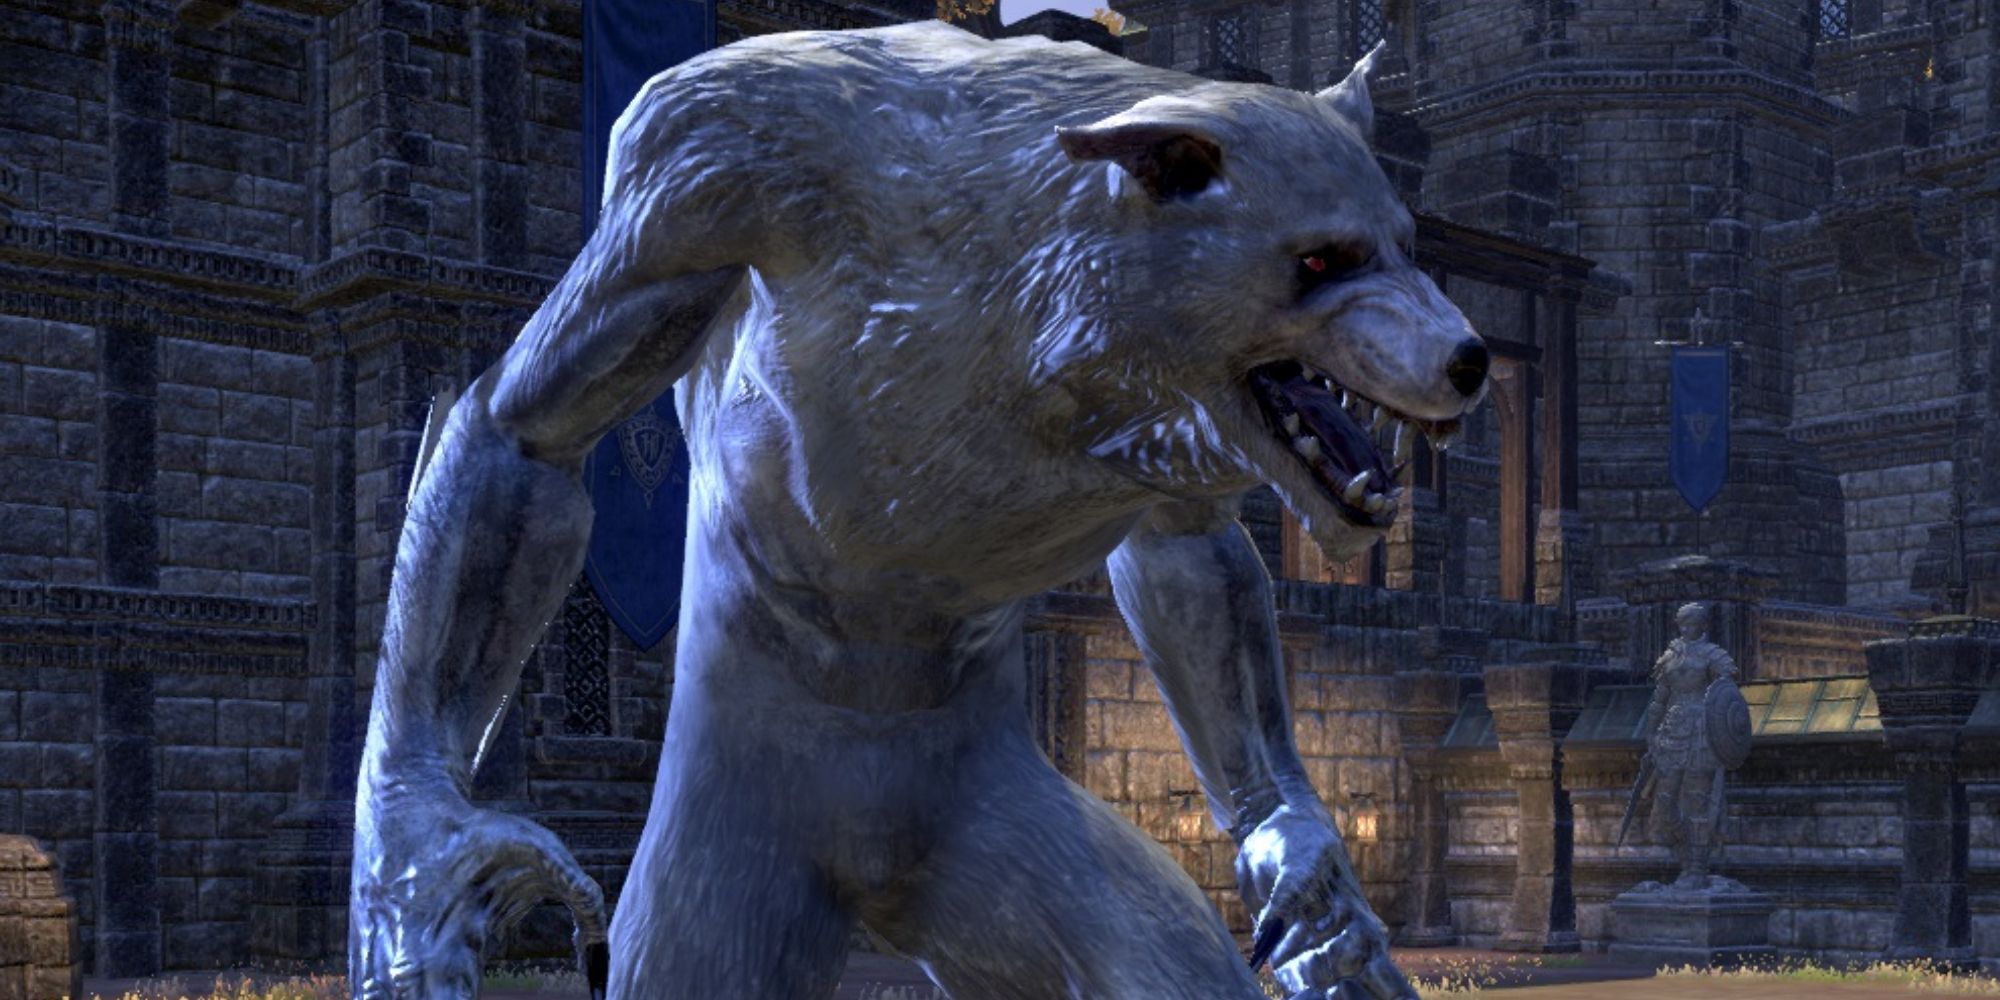
This powerful werewolf is only the third of five bosses in Moon Hunter Keep, but she can prove a significant obstacle to even the most experienced of groups. She has numerous abilities that can prove lethal, killing many players within seconds, and often summons enemies to aid her that target a single player.
Without high damage, output groups may find themselves overwhelmed by Mylenne's summons, and healers must remain constantly on their toes to combat the immense amounts of damage Mylenne deals.
7 Kinras Ironeye
Location: Black Drake Villa
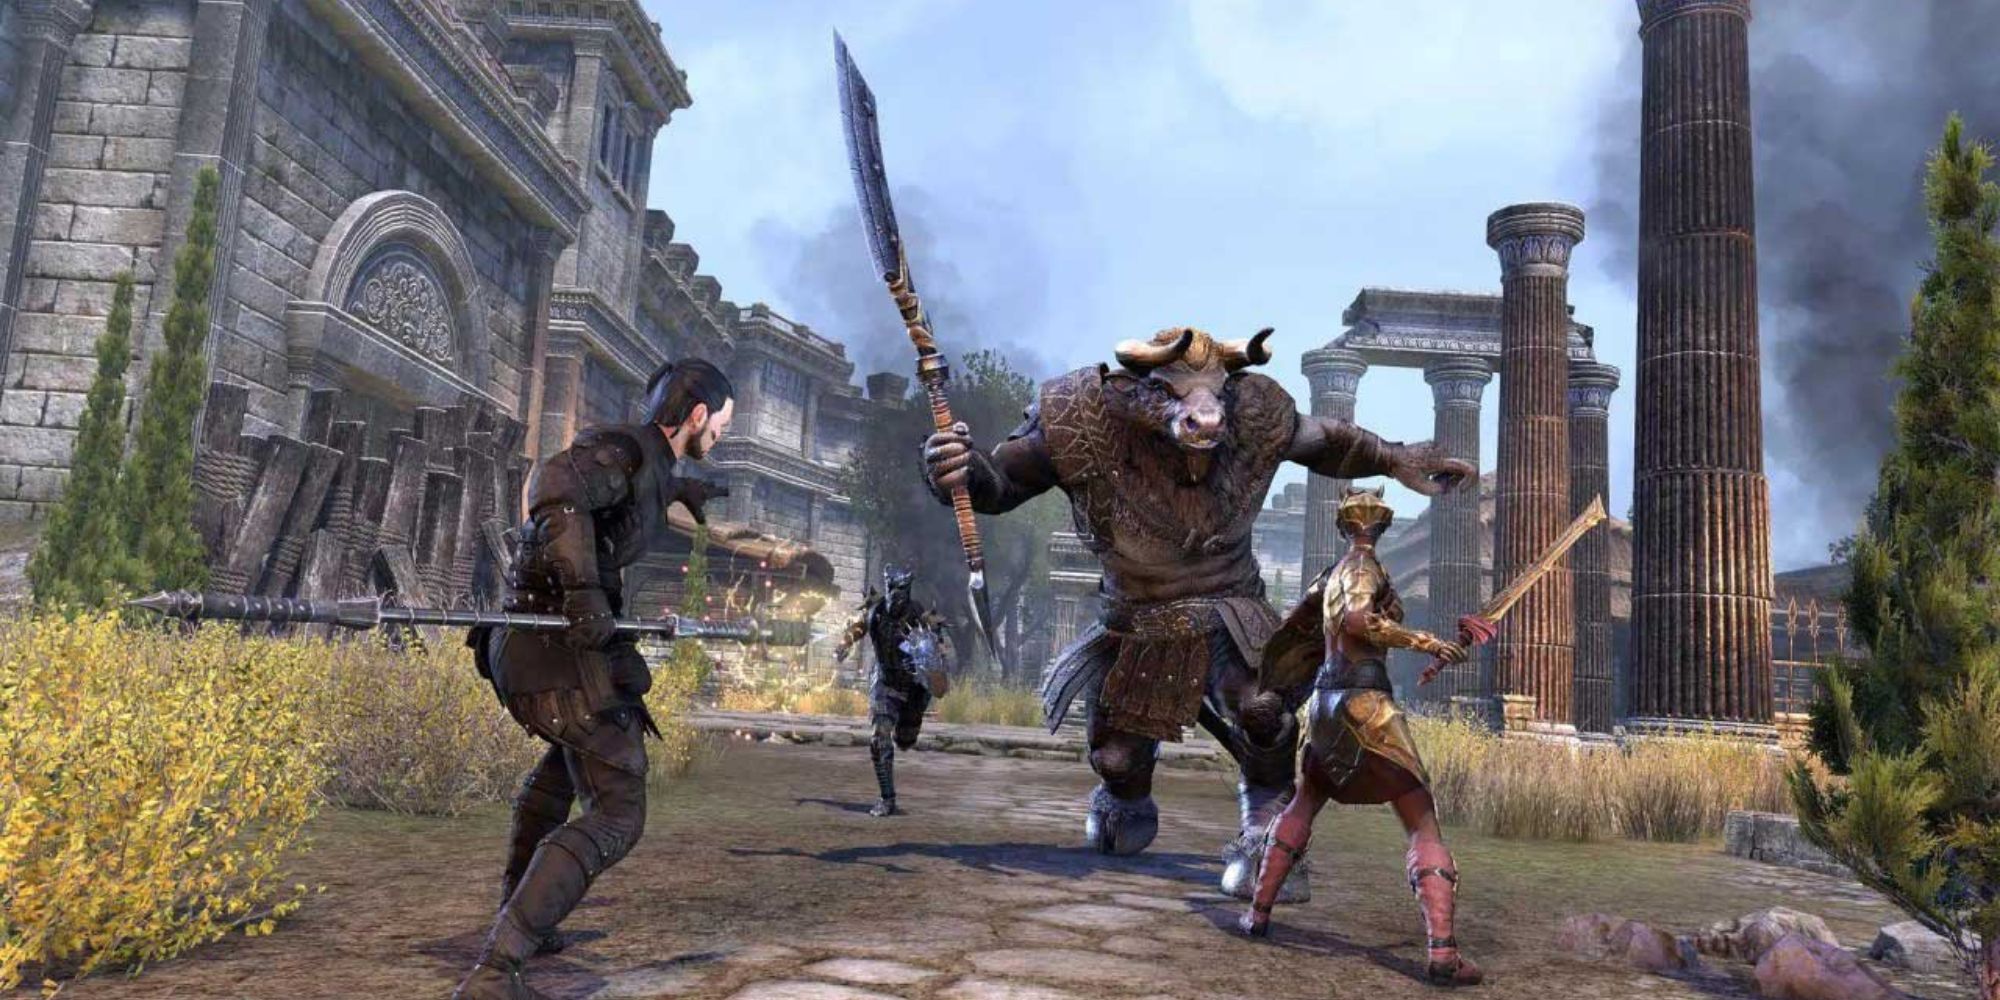
Kinras Ironeye is a huge minotaur, and although he is only the first boss in Black Drake Villa, he can wipe out whole groups quite fast if players don't have an effective strategy. Kinras constantly summons totems and salamanders, which deal a lot of damage and buff the minotaur.
While Kinras may initially seem an easy boss, if his summons are ignored for too long, he can become increasingly difficult and eventually be too much for most groups. DPS players should prioritize these summons whenever they appear.
6 Dark Orb
Location: Depths of Malatar
This orb may not seem imposing initially and can't even do damage on its own - however, it frequently summons Aurorans to fight the group, which it buffs with its own abilities.
Players should focus on killing the Aurorans as fast as possible before worrying about the boss and prioritize destroying any Radiant Orbs that are summoned, as they make the Aurorans much more powerful. Patience is the key to this fight.
5 Maarselok
Location: Lair of Maarselok
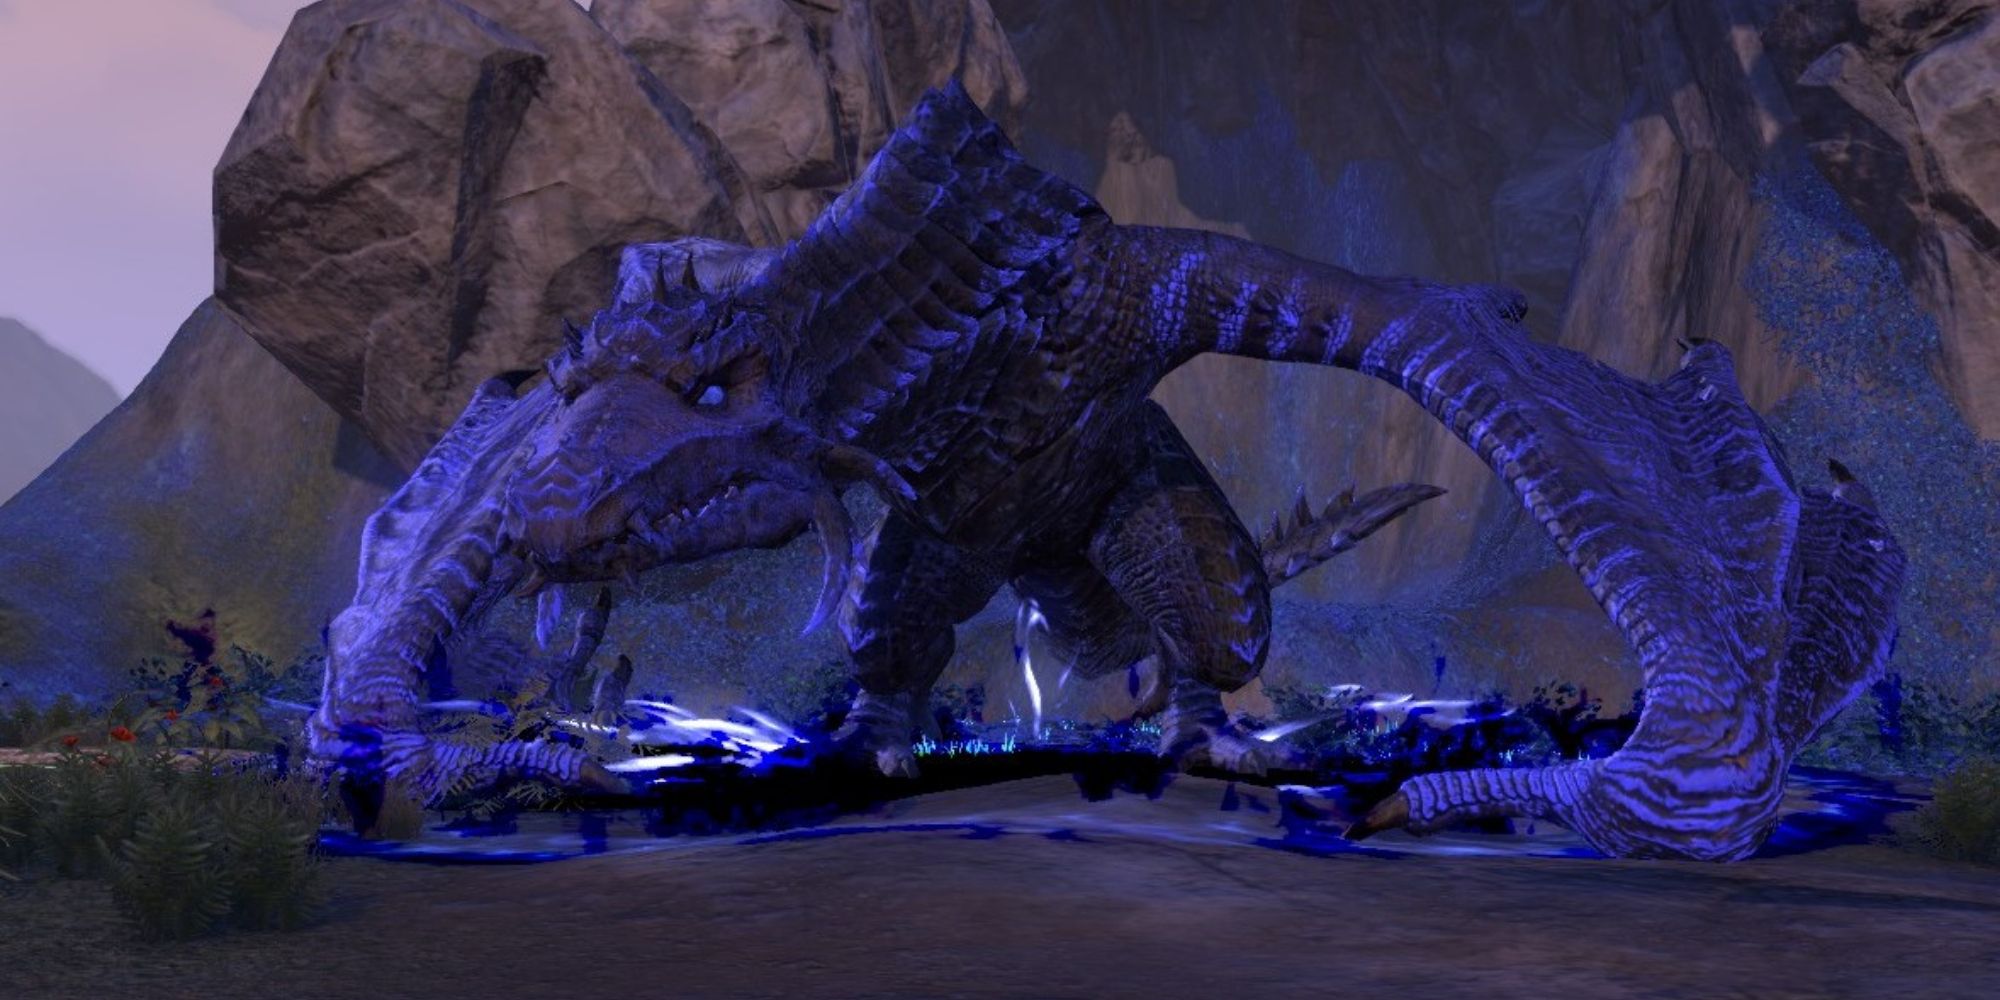
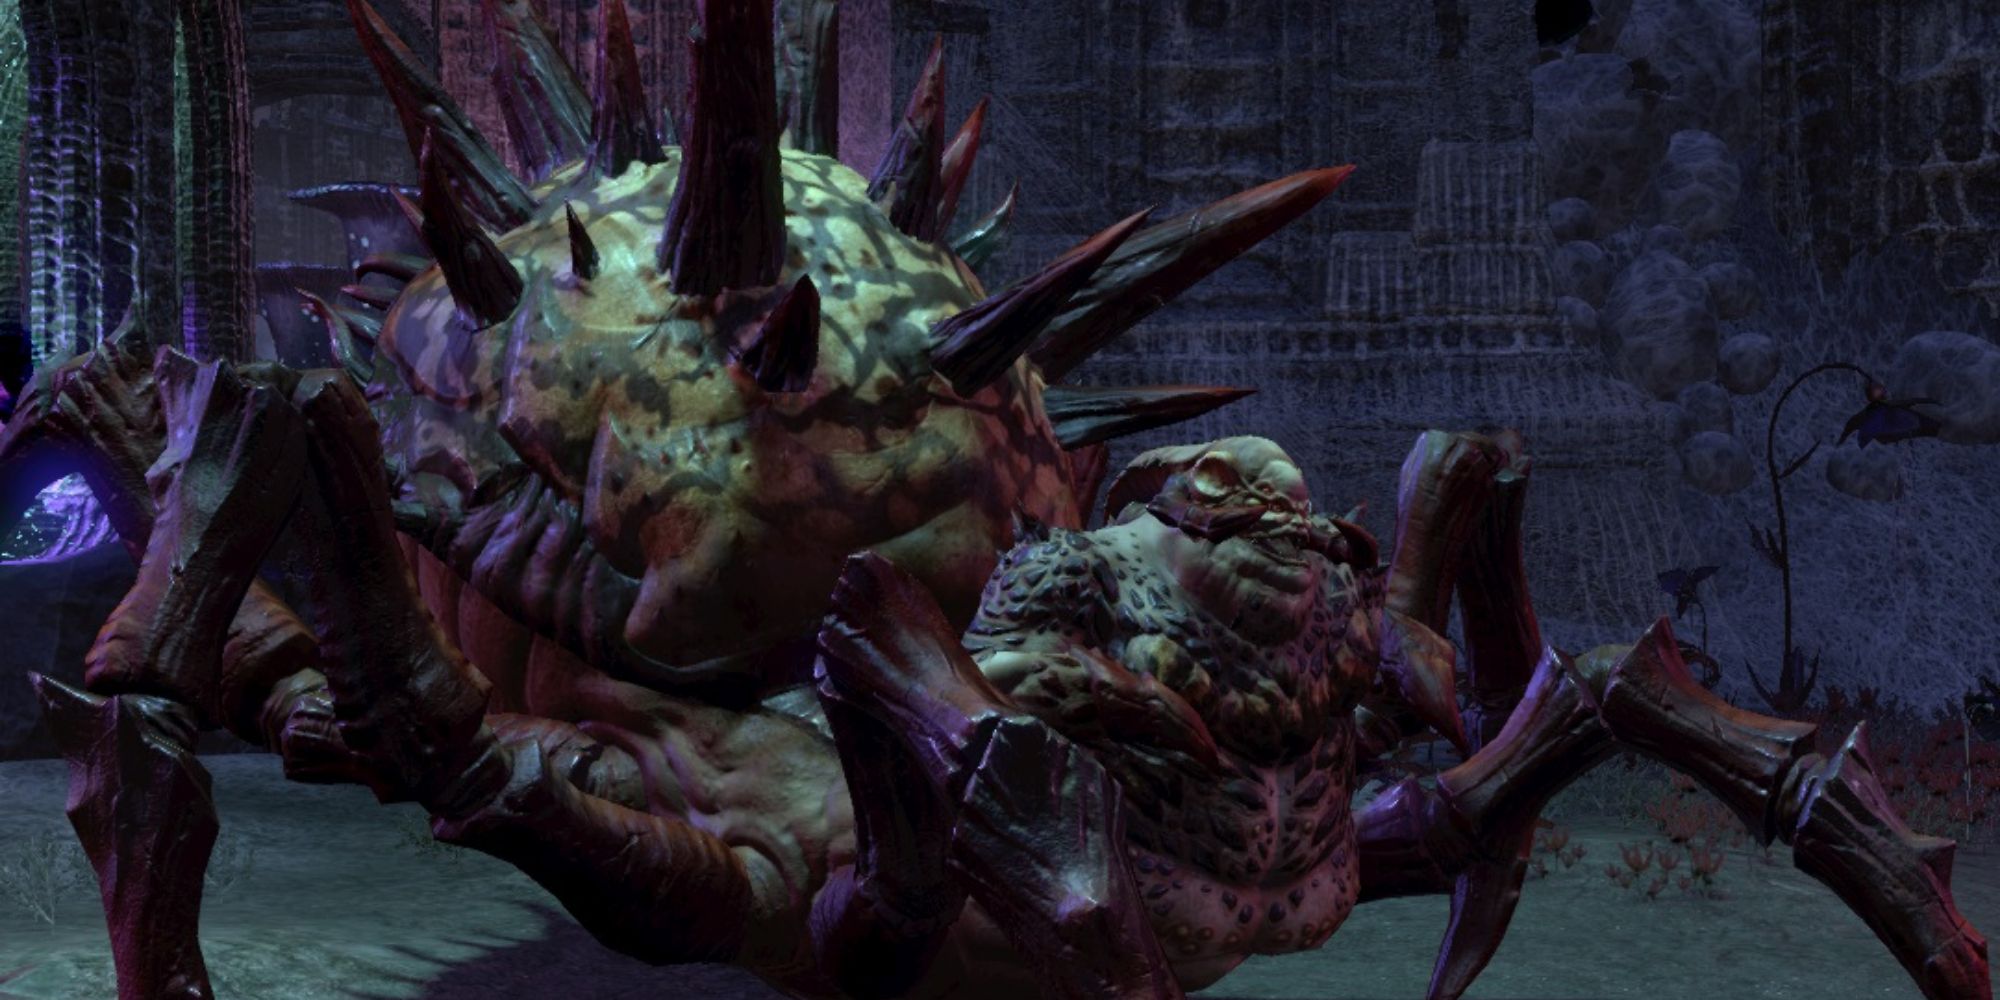
Maarselok has to be fought on three separate occasions throughout the dungeon before he can be defeated. He can be a challenge all three times, possessing a large pool of health and dealing heavy amounts of damage. The most difficult aspect of fighting Maarselok, however, is the numerous distractions he inflicts.
In the second encounter with Maarselok, the dragon can use Unrelenting Force to knock back players, and he summons wave after wave of Stranglers, which must be killed rapidly lest they hinder the group's progress. In the third encounter, Maarselok infects players with Azureblight, and they must then cleanse it by activating a ward placed on the battlefield. Fighting Maarselok is a battle of attrition, and he can easily exhaust any group.
4 Maligalig
Location: Coral Aerie
Maligalig isn't particularly powerful on her own and is only the first boss of her dungeon, but groups can be easily wiped out by her allies without proper coordination. At intervals throughout the battle, Maligalig will summon a tremendous whirlpool, which spins players around the battlefield.
To escape the water's grip, players must activate certain jets to launch themselves onto narrow platforms on the edge of Maligalig's lair and then fight numerous yaghras before she can be fought again. This is easy enough, but if players don't launch themselves onto the same ledge as their teammates, they can easily be picked off by the yaghras. Cooperation is crucial to this fight.
3 The Mad Architect
Location: Vaults of Madness
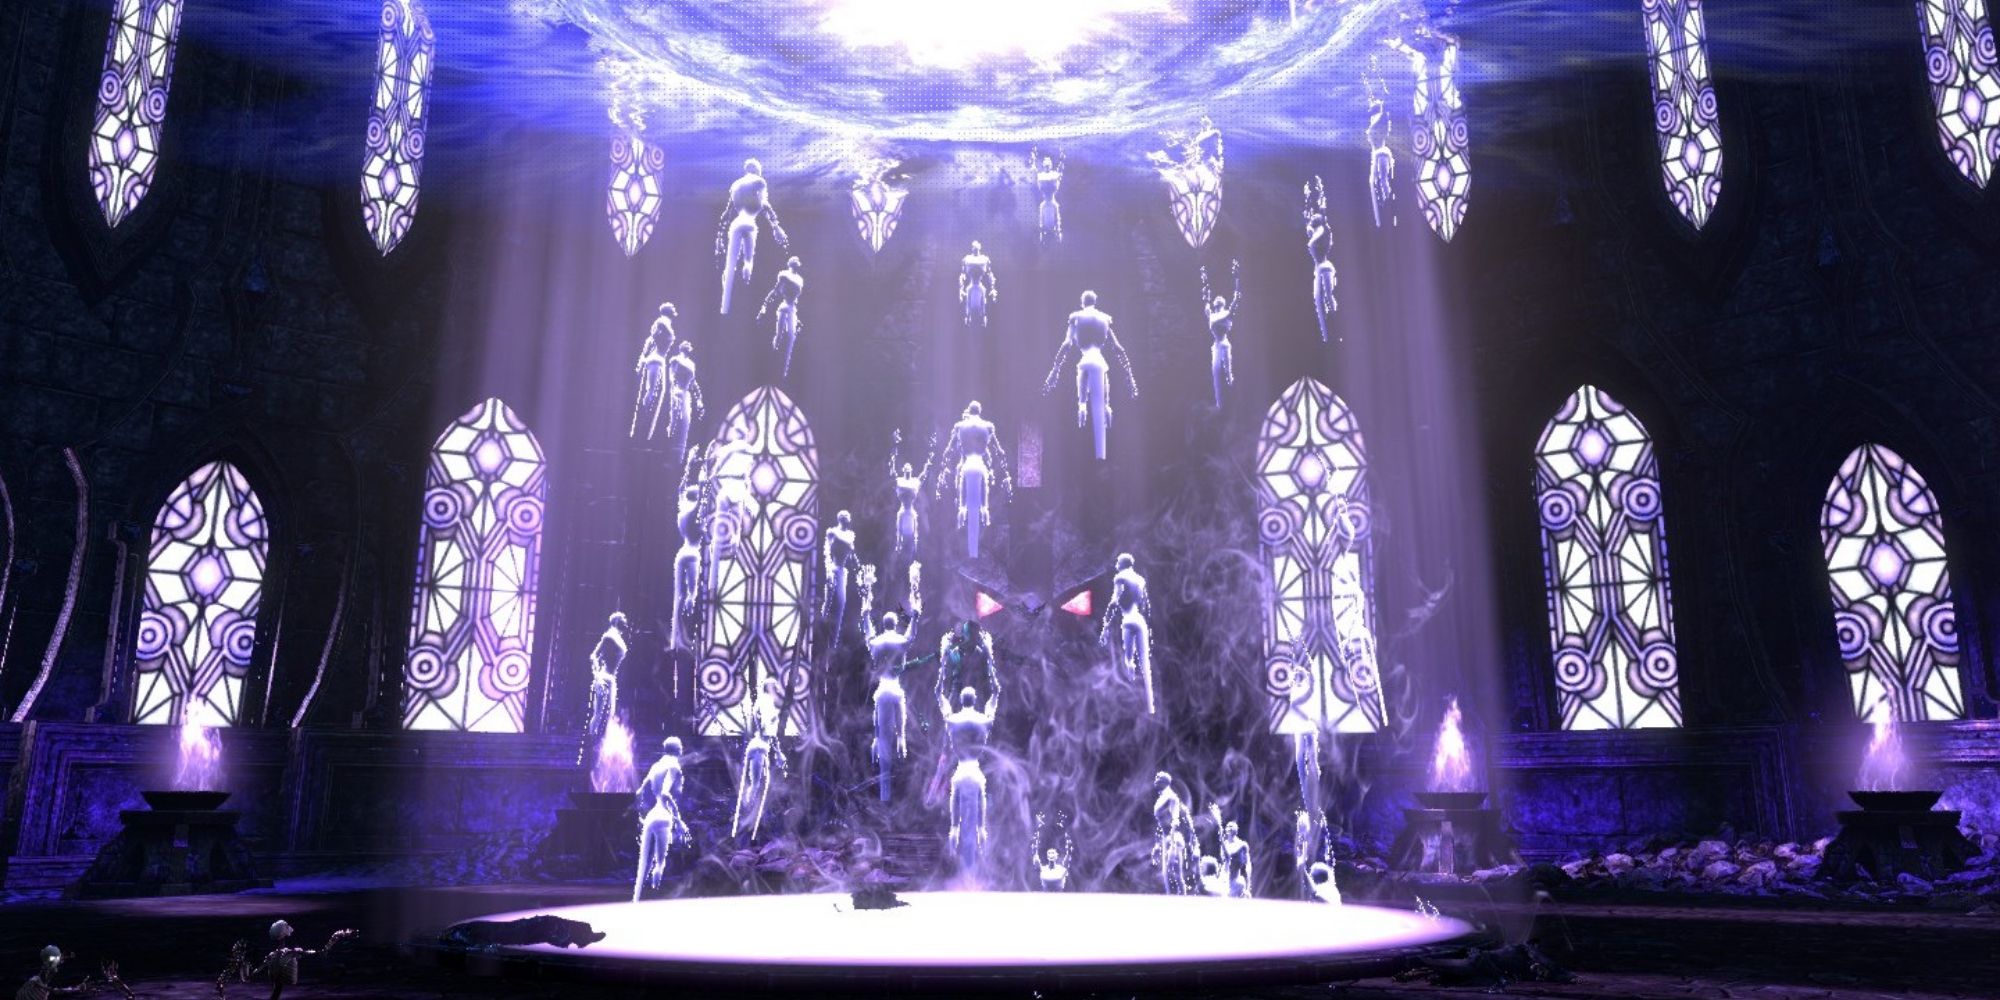
As the final boss of his dungeon, the Mad Architect can be a tricky foe to defeat. He has several locational attacks which deal high amounts of damage and one which snares players. Periodically, the Mad Architect unleashes an explosion that cannot be avoided - so it is essential healers stay on their toes to prevent it from killing allies.
At one point during the fight, the Mad Architect will create a shield around himself and then shatter the windows around the battlefield. The shards of glass deal high amounts of damage over time to anyone not standing inside the shield, so this ability can catch players off-guard if they have not fought him before.
2 Velidreth
Location: Cradle of Shadows
This servant of Mephala makes for an interesting - and challenging - final boss fight, as twice during the fight, she will teleport the group into an alternate area. In veteran mode, the group is also split into pairs. Then, players must find their way through the catacombs to the arena, suffering endless attacks from hoarvers while the darkness snares and damages players over time unless they remain within the light.
Players should try to stick together, for on their own, they may be overwhelmed. Furthermore, not every path will lead back to the arena, and the correct path changes each time.
1 The Stonekeeper
Location: Frostvault
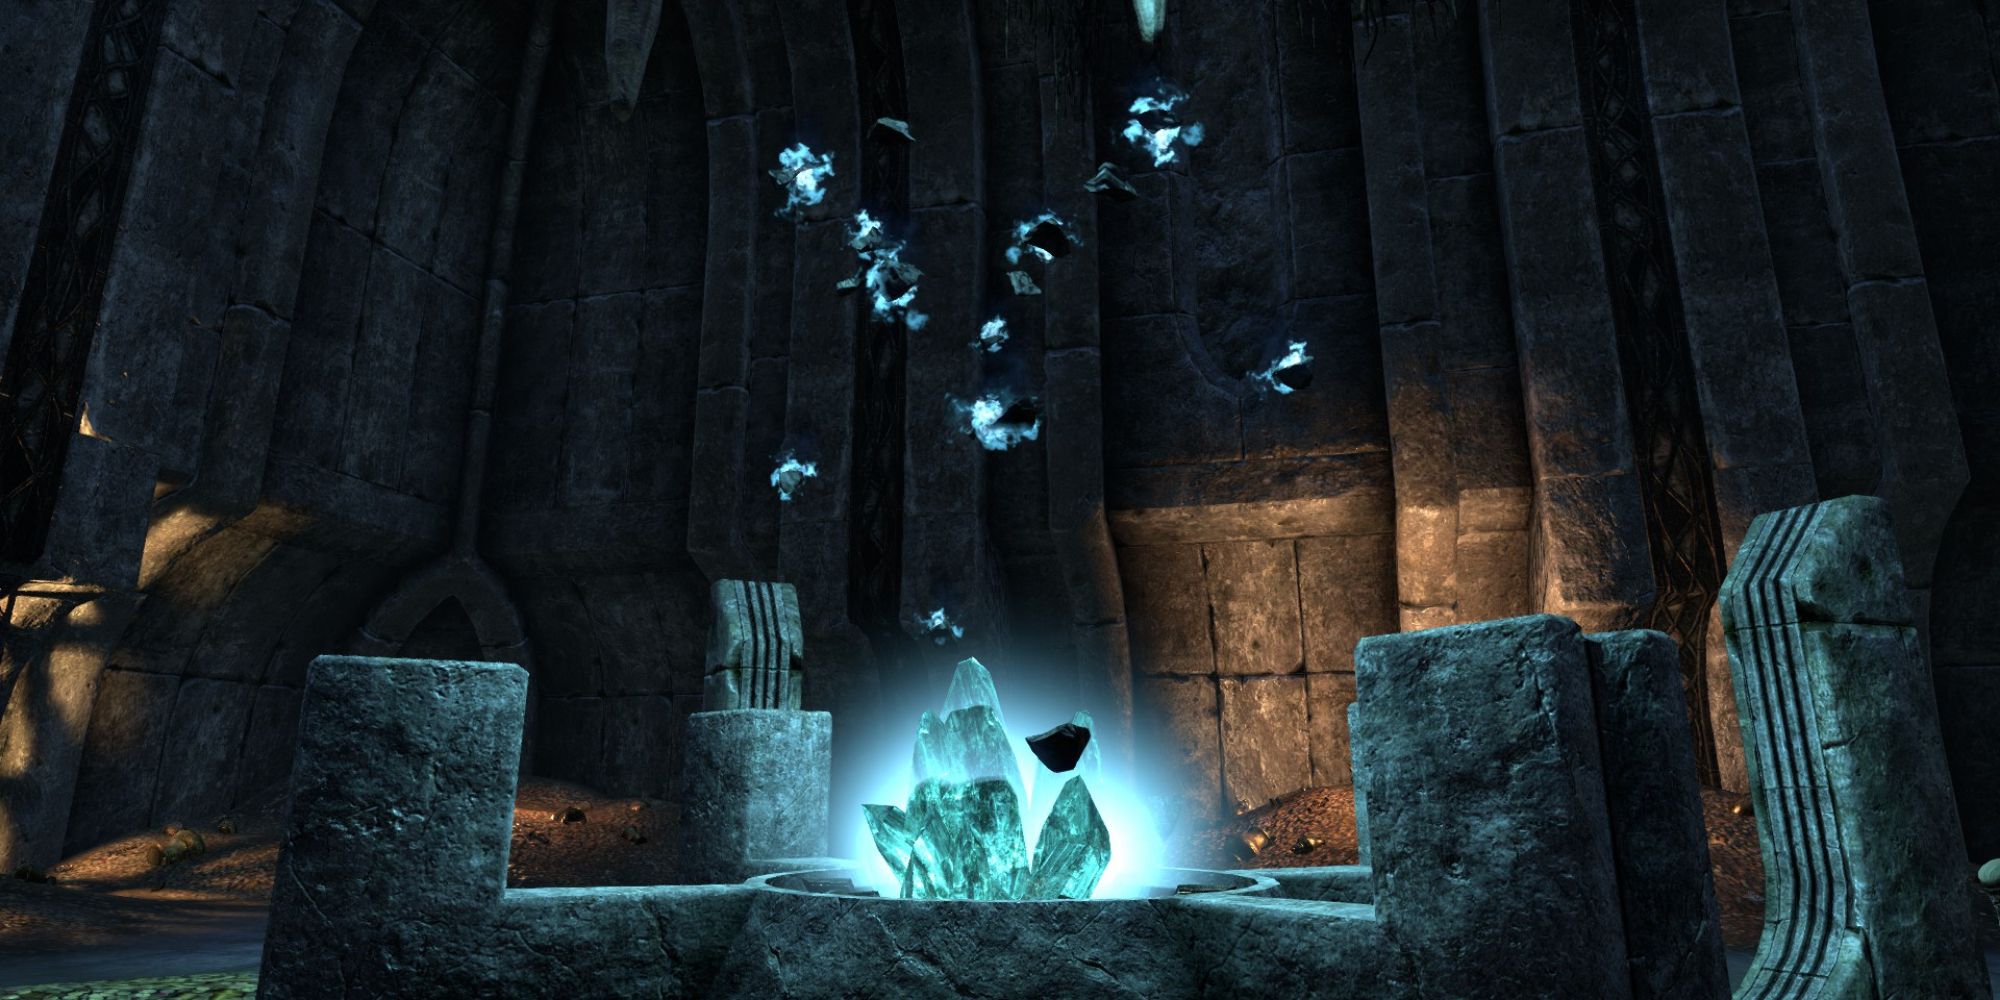
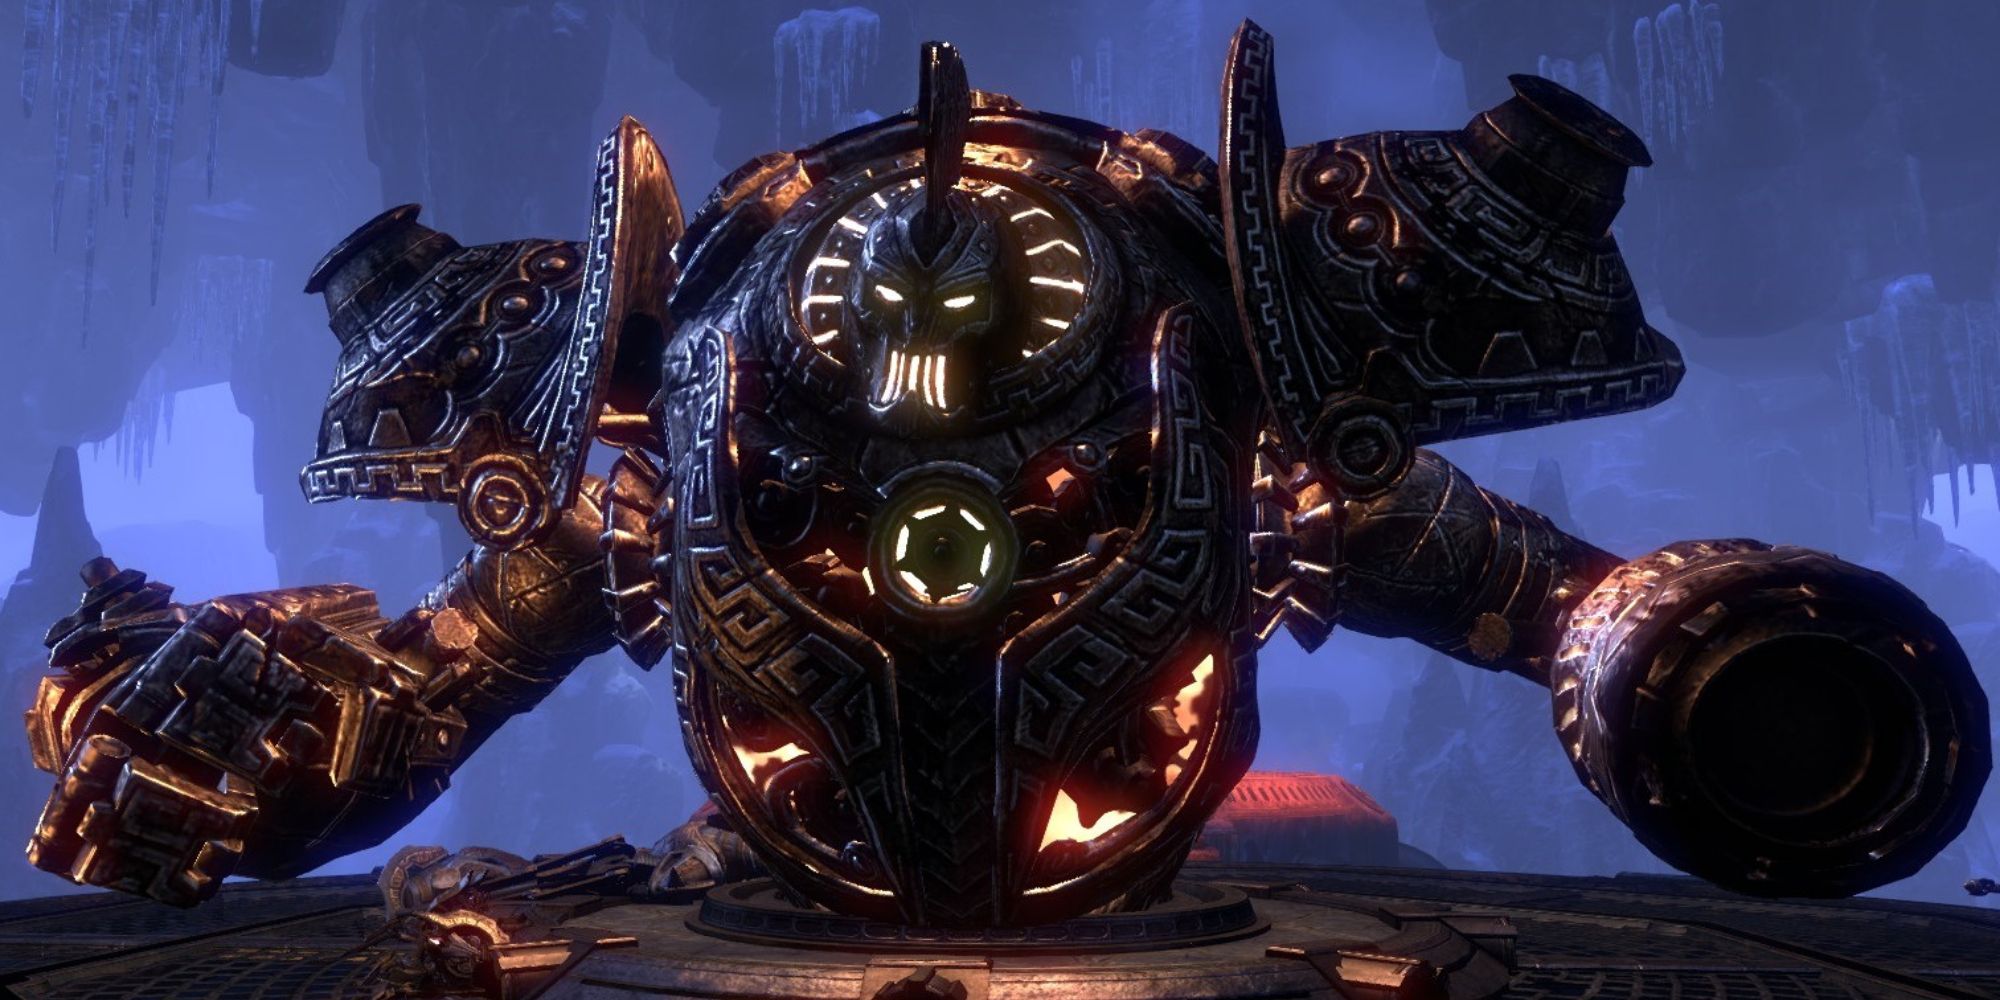
This final boss comes with some unique mechanics that players new to the dungeon may struggle with. During one phase of the battle, the Dwemer construct charges up a lethal attack, and players have 10 seconds to get into a skeevaton at the side of the arena to survive it. The group must then charge their ultimate and follow the blue lines to destroy the four shock conveyors, all while avoiding flames and spinning blades.
Alongside this tricky interlude, the Stonekeeper has some devastating and potentially lethal attacks and can summon Dwarven Centurions - so preparation is a must!
Elder Scrolls Online is available now on PC, PlayStation 4, PlayStation 5, Xbox One, and Xbox Series X/S


