


Quick Links
There are few fights in Elden Ring: Shadow of the Erdtree as creepy and mesmerizing as Metyr, Mother of Fingers. It's a grotesque mass of hands and fingers, with one enlarged index finger that serves as its "head." Its attacks range from creepy finger movements to luminescent spells that light up the entire arena.
Figuring out the best ways to avoid its attacks and fit in your own will require some choreography and plenty of deaths to get the timing just right. Its finger attacks can be comically clumsy, but its spells are a headache to dodge. Here's our guide to defeating this boss and the best ways to dodge some of its ridiculous attacks.

Elden Ring: Shadow of the Erdtree - Ancient Dragon Senessax Boss Guide
Senessax is a new Ancient Dragon boss fight added in Elden Ring: Shadow of the Erdtree. Follow this guide to find Senessax's location and defeat it.
Where To Find Metyr, Mother Of Fingers
Metyr can be found close to the end of Ymir's questline. Once you've reached the necessary step in that quest, approach the empty throne and touch it. It'll slide backward and reveal a secret ladder leading below the church. Descend the latter, enter the Finger Ruins of Miyr, fight Swordhand of Night Anna, and head up to the top of the hill.
Your Tarnished will be prompted to sound the Finger Stone there. Once you do that, you'll be teleported into a separate arena where Metyr will be waiting for you.
Boss Guide
Metyr will open its fight up in one of two ways: they'll either fire a laser at you or slowly crawl at you. If it fires a laser at you, input a dodge the moment you see the laser heading toward you. Alternatively, you could also dodge the moment you see the charge-up ring disappear.
Regardless of what opening it chooses, its next attack will be a "head" slam, where Metyr will lift itself up and slam its head toward the player. Wait for a moment as Metyr prepares the attack, then dodge as you see the finger headed toward you.
Once that's finished, Metyr will choose from a few different attacks to do. After each attack, there's usually a small window to fit in a few light attacks or a single uncharged heavy attack. Here's a general list of Metyr's moves and how to dodge them:
Attack Name | Description | How To Dodge |
|---|---|---|
"Head" Slam | Metyr does a small push-up to lift its "head" up before slamming it into the player's location. Metyr may then immediately leap up and slam its head again at the player's location up to two more times. | Press dodge when you see Metyr's upper body move downward. After you've dodged the attack, pause for a moment and see if Metyr follows up with more attacks. If Metyr does a follow-up attack, immediately dodge when you see Metyr off the ground. After the third attack, there will be no follow-up attacks and you can attack back. |
Jump Slams | A variation of the "Head" slam. Metyr will tense for a moment then leap up and slam its head toward the player in a swinging motion up to three times. | Dodging this attack is similar to the head slam with one important variation - its final slam is slightly delayed. Press dodge when you see Metyr's chest pause in the air for a moment. |
Bongo Hands | Metyr slams the ground with its left hand, then immediately slams the ground with its right hand like it's playing a bongo drum. After that, Metyr slams the ground with both hands up to three times. | Dodge backward when you see Metyr's left hand move downward. This will make the left hand miss and will sometimes stop the attack chain there. If Metyr does its follow-up slams, press dodge as both of its hands reach their maximum height, then immediately press dodge again to avoid the next few strikes. |
Body Slam | Metyr rears up on its hind fingers and, after a short pause, slams downward toward the player. | Wait until the two fingers underneath Metyr's arms move apart, then press dodge. There is a large opening after successfully dodging this attack. |
Two Finger Piano | Metyr will lean backward then quickly press two of its fingers at the player like it's pressing piano keys. After that, Metyr will sometimes turn to its side and splay out its fingers. This attack is usually done if you're too close to Metyr. | When you see Metyr rear backward, dodge backward for the easiest timing since the first part of this attack has a shrot range. When Metyr turns to its side, press dodge when you see its fingers curling. |
Two Swipes | Metyr will wind up with its right hand before swiping at the player. This is followed shortly by a swipe with its left hand. | Dodge when Metyr's right-hand pauses for a moment or when its fingers are fully flexed outward. Then, immediately dodge to your right. |
Jump Away Worm Spray | Metyr will tear into itself, and leap into the air above the player, spraying a disgusting curtain of worm-like fingers below it. This attack can have Metyr land on the player. If the player is far enough away after it lands, Metyr will charge a laser and slowly sweep it at the player. | Dodge toward Metyr when it leaps above you to make sure you don't take damage from the worm spray. After that, dodge away from Metyr as it passes over your head to avoid the following slam. If Metyr sweeps its laser at the player, start running at Metyr. When the laser is just barely out of the right side of your screen, dodge diagonally to the right toward the laser to avoid it. |
Finger Crawl | Metyr turns to its side, rears up, curls its side fingers, then crawls toward the player with its fingers. This attack can do a lot of damage if it's not dodged. | Sprint away when you see it rear up from its side. If you're too close, mash dodges backward as much as possible. |
Spawn Fingers | Metyr will tear open the mass on its chest and create two or three small finger enemies. | Attack into the red area Metyr is using to create its minions. This will both damage the boss and immediately kill the enemies it spawns. |
Phase 2
When Metyr reaches close to 50% health, phase 2 will begin. Metyr will pause for a moment and gather gravitational magic into its tail, creating a black hole. This transition creates a vortex of magic near Metyr that will keep hitting the player if they stay near it. Metyr will then lift off the ground and create a second large shockwave.
When you see the transition start, back away from Metyr to avoid the first pulse. If you continue running away after the initial vortex forms, you'll avoid the secondary blast. However, if you think you're still too close to Metyr and won't be able to avoid the second blast by sprinting alone, dodge a moment after Metyr's arms leave the ground.
Here are the attacks to look out for in Phase 2:
Attack Name | Description | How To Dodge |
|---|---|---|
Helicopter Body Slam | Metyr will lift off the ground and start spinning around before crashing into the player. | Sprint away the moment you see Metyr lift off the ground and continue sprinting until Metyr touches the ground. If Metyr gets too close to you when it crash lands, dodge roll as Metyr's body slides at you. While it's possible to dodge roll through this attack without sprinting first, the timing is extremely strict in medium armor. It's also possible to use a shield with 100% physical resistance and block this attack. |
Black Holes Minefield | The black hole on Metyr's tail will lift its hind section into the air while its arms are stretched outward. Metyr will then lift its arms upward and a minefield of black holes will be summoned around the player. These black holes will explode when they come into contact with another body or after a short duration of time. | When you see Metyr lift off the ground, sprint directly to your left or right and continue sprinting until the attack is over. This will move you out of the minefield and has the added benefit of making Metyr's next attack move it out of the minefield as well. |
Charged Head Slam | Metyr's head starts smoking and it'll wrap its arms around its body. Metyr then slams its head into the ground, lighting up the area and causing it to explode after a short duration. This attack can sometimes be done in phase 1, but it's seen more in phase 2. | Sprint to one of Metyr's sides. Once you're clear of the explosive area, you have a window to attack. Alternatively, if you are far away enough, there are gaps where the ground will not explode. You can sit in these empty gaps and continue casting spells. |
Triple Laser | This attack replaces Phase 1's laser shot. Metyr charges its laser at its head and fires three laser shots at the player | Sprinting and dodge rolling will usually get you through two of the lasers, but a laser usually sneaks through one way or another. Repeated Bloodhound Steps or Miriam's Vanishing can help you avoid this attack, but that's a large amount of FP investment for a minor attack. |
Double Laser Sweep | This attack and triple lasers are the bane of every "no-hit" run against this boss. Metyr will put its hands onto its chest, and its black hole will glow and lift its body off the ground. A vortex of magic will be created around the boss, damaing the player if they get too close. Metyr will then create two lasers pointed in opposite directions and sweep them at the player. | Run toward the vortex and hug the bare edges of it. There's a small gap where the lasers can't reach you and the vortex won't hit you either. The spacing for the first laser sweep is strict. After that, continue sprinting counterclockwise to Metyr (following the path of the laser) to avoid the second sweep. Failing that, use |
 Miriam's Vanishing
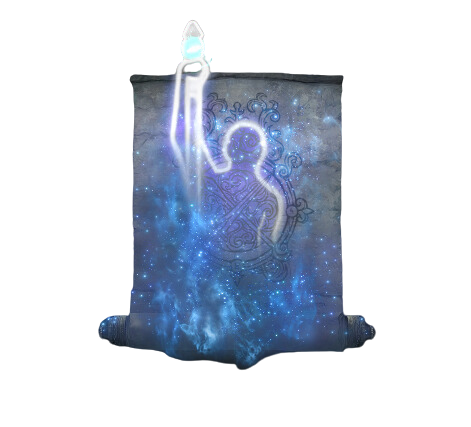
 Ash of War: Bloodhound's Step
Recommended Equipment Against Metyr, Mother of Fingers
- Any weapon or spells that inflict bleed or frostbite are ideal against Metyr because of its weak resistance to these elements
- The
 Impenetrable Thorns sorcery is perfect for this fight
 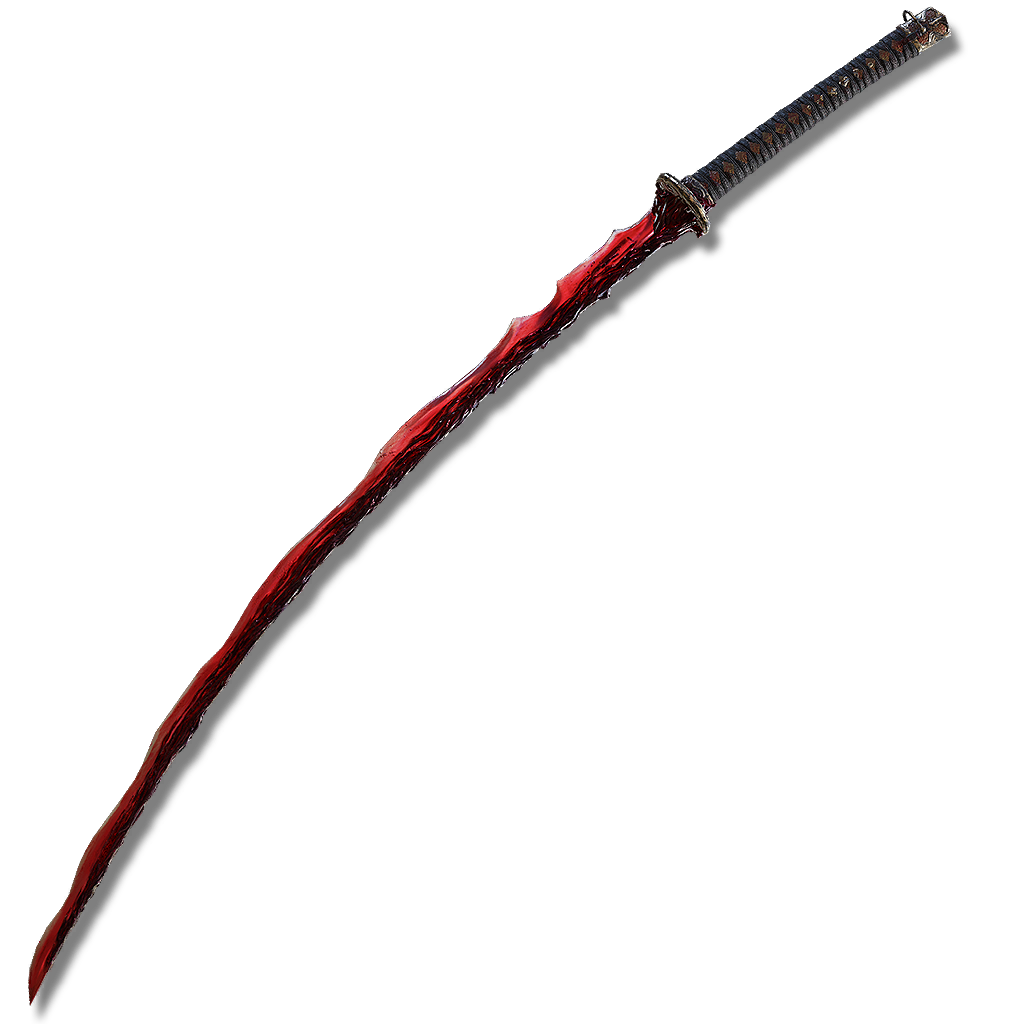 Rivers of Blood is also a good choice against this boss
- The
- Spells that hit a wide range multiple times are also good against Metyr
- High Vigor/Shadowrealm Blessing
- If you have the
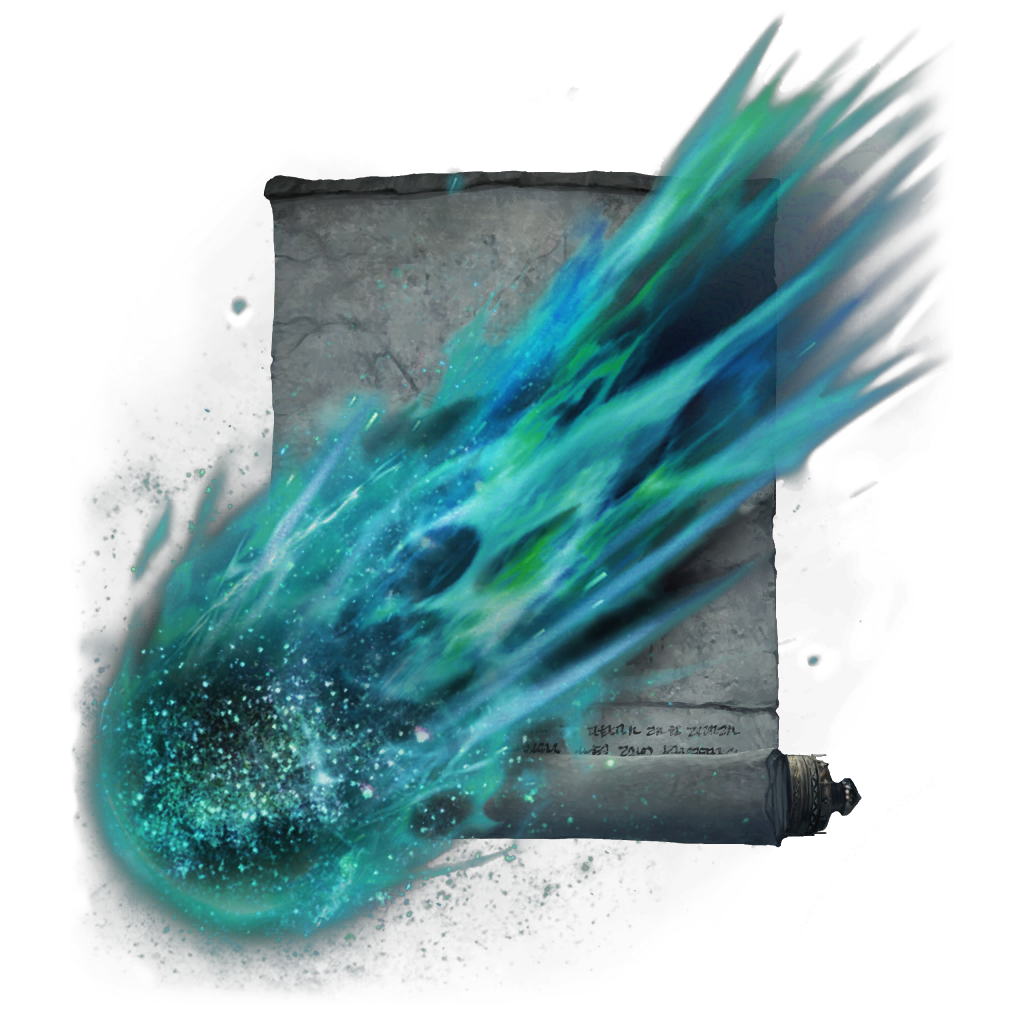 Comet Azur railgun build, this is an ideal fight for it
Metyr is weak to Hemorrhage and Frostbite, which means classic bleed builds like Rivers of Blood builds will shine in this fight. For Sorcery builds, Impenetrable Thorns will tear through Metyr's health because it can hit a wide area multiple times and inflict bleed, making it ideal against Metyr's wide body.
On that note, other spells that hit a wide area multiple times can also take advantage of how large Metyr's body is. 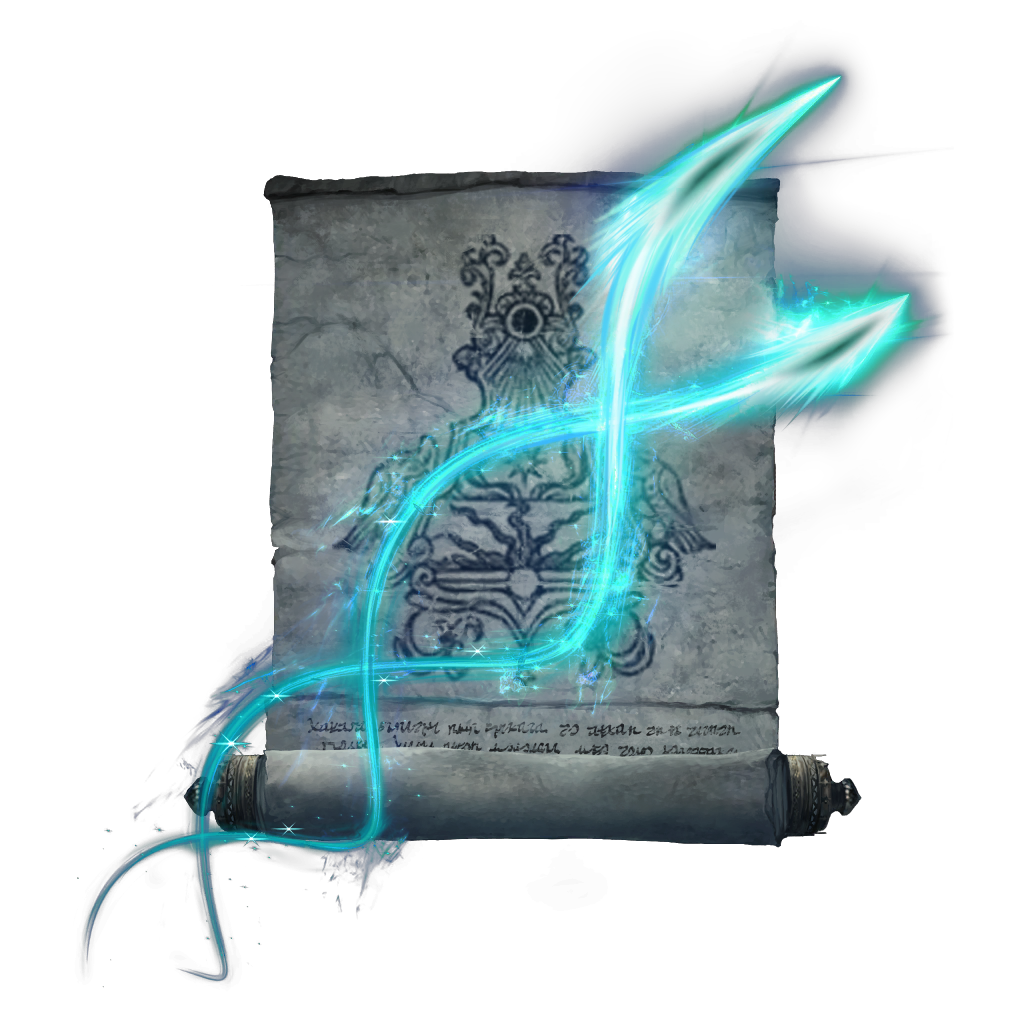 Shard Spiral ,
  Meteorite of Astel ,
 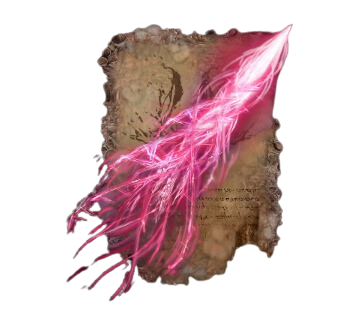 Pest-Thread Spears , and
 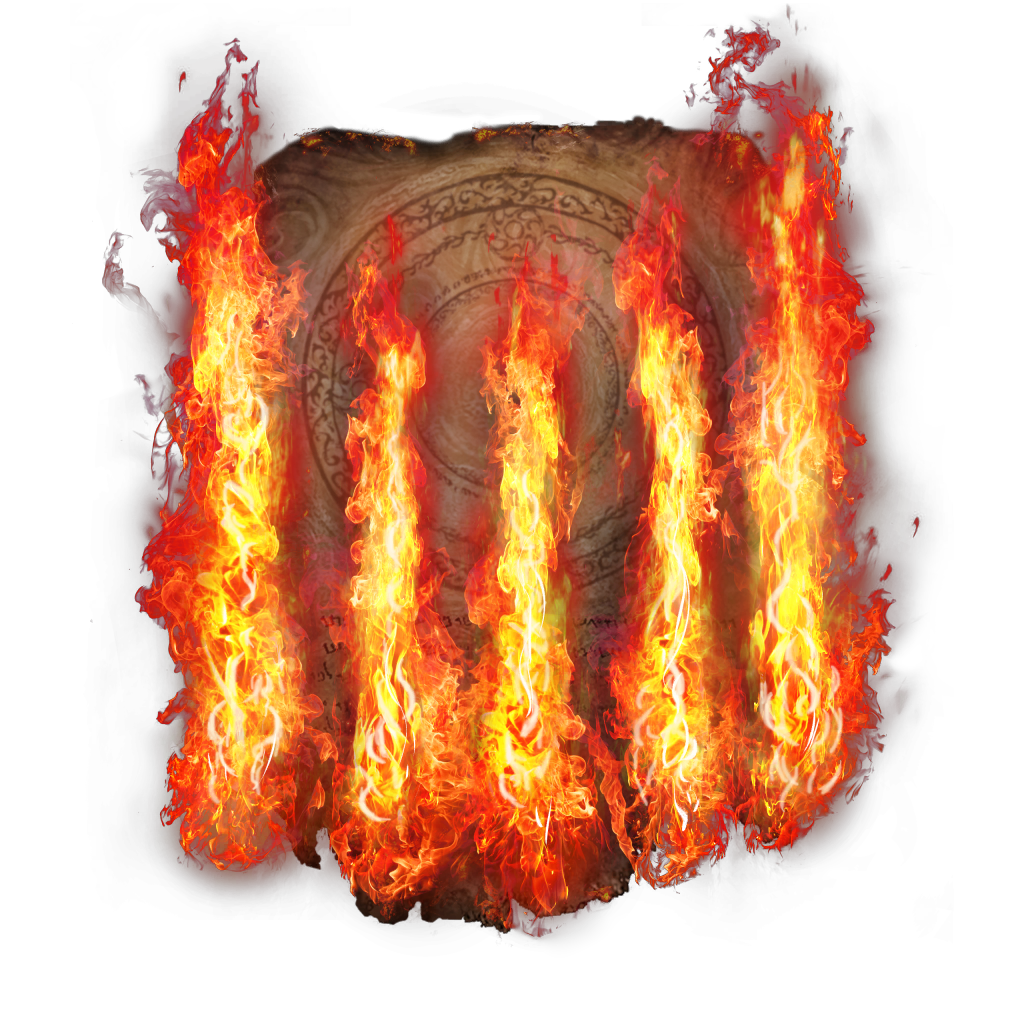 Burn, O Flame! are perfect examples of this.
High Vigor (55 or more)/Shadowrealm Blessing(10 or more) are recommended here just so you can make mistakes against this boss without getting one-shot. While its physical attacks are slow and cumbersome, its magic attacks can still deal large chunks of damage and can take some getting used to dodge. With high enough vigor/shadowrealm blessing, you'll be able to take these hits and find time to heal during the fight.

Elden Ring: Shadow Of The Erdtree - Commander Gaius Boss Guide
Commander Gaius is an obnoxious Elden Ring boss. Here are the best ways to get around his attacks, including how to dodge his charge.
Best Strategies Against Metyr, Mother Of Fingers

Melee Build
After every string of attacks, you'll have the opportunity to squeeze in either a light attack or an uncharged heavy attack. Position yourself so your melee strikes hit the squishy red opening on Metyr's body for maximum damage. Not only does this increase the damage you deal, it also decreases the chances that Metyr will do its finger crawling attack, which can be obnoxious to dodge for a melee build.
Additionally, be patient with Metyr's physical attacks. They will be slow at first followed by a fast acceleration, and the consequence for mistiming your dodge will be a large chunk of your health bar. Time your dodges for the moment the attacks start accelerating toward you, or if it's an attack that requires Metyr to leap upward, dodge as it's headed back toward the ground.
Metyr's poise does not stay broken for very long. If you hit this boss enough that you break their poise, do not waste any time and head straight to the critical hit spot.
For melee builds, be sure to keep a careful eye out for times when Metyr pianos its front fingers, or prepares to finger crawl at you. Both of these attacks do a surprising amount of damage, come out fairly fast for Metyr, and must be dodged by rolling backward. These attacks are also more likely to happen depending on where you position yourself. If you're extremely close to its body in the front, this boss is more likely to piano its front fingers. If you're off to its side and close to its body, Metyr is more likely to finger crawl or splay out its side fingers. Between the two, you'll want to stay in the front, focus on its soft weak spot, and be prepared to roll back when Metyr leans backward.
In phase 2, the biggest attacks to look out for are the giant spinning laser sweeps, triple beams, and helicopter attack. Both the spinning beams and triple beams are not easy to dodge, but the damage from them shouldn't one-hit kill you. The helicopter attack requires you to immediately start sprinting the moment you see Metyr lifting off the ground. Since you're more likely to be fairly close to Metyr when it starts this attack, you may still have to throw in a dodge if Metyr lands and slides too close to you.
Ranged Build
If you have the Comet Azur one-shot build ready, this is the ideal boss fight to use it. Metyr doesn't move very fast, and there's no cinematic splitting the two phases apart so you can hyper beam your way through this entire boss fight.
If you don't want to use that strategy, spells that inflict bleed or frostbite are the ideal picks here since Metyr is weak to those elements. As noted earlier, Impenetrable Thorns is a fantastic spell because it hits such a wide area and can tear through Metyr's health bar thanks to Metyr's large size.
With all of that in mind, your game plan with magic still boils down to usual strategy of stay away from the boss and use as many spells as you can get away with. Summons will help with this, but many of Metyr's attacks have enough recovery to them that you should be able to fit in a spell cast.  Mimic Tear Ashes equipped with a bleed or cold weapon/spell can also trigger hemorrhage or frostbite faster, while also taking the aggro off of you.
Incantation users may want to get a bit closer, since spells like Pest-Thread Spears are best used up close.
During phase 2, when Metyr uses its spinning lasers, you can dodge the first sweep of the beam with Miriam's Vanishing followed by Bloodhound Step, but afterward, if you stick close to the vortex, the second beam's sweep will miss. During that time, you'll be able to cast as many spells as you want until the move is done. While this move is a nightmare for melee users, it's a fantastic damage window for ranged builds.
Metyr's Helicopter shouldn't be too hard to dodge either since you're already far enough away when this attack starts that it should miss if you sprint far enough away. Be ready to dodge roll just in case it gets too close. If Metyr lands a good distance away from you, take that as an opportunity to sling more spells in its direction.
Reward For Defeating Metyr, Mother of Fingers

After you defeat Metyr, you'll be rewarded with 420,000 runes, 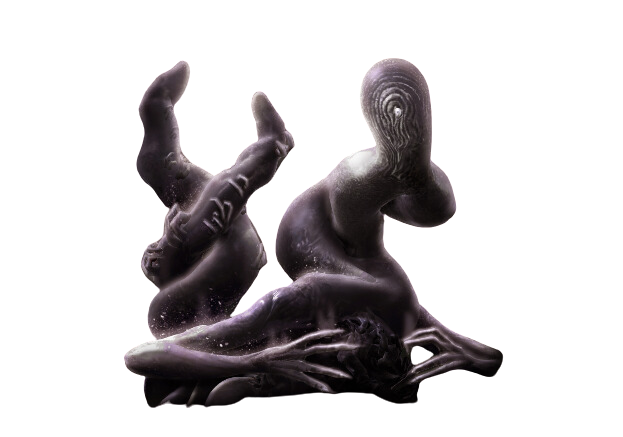 Remembrance of the Mother of Fingers , and you'll get to conrtinue Ymir's quest. Head back to the Church's site of grace and the next step will be waiting for you there.

Elden Ring: Shadow of the Erdtree
- Base Game
- Elden Ring
- Platform
- Xbox Series S, Xbox Series X, PS5, PS4, PC, Xbox One
- Released
- June 21, 2024
- Developer(s)
- FromSoftware
- Publisher(s)
- Bandai Namco Entertainment , FromSoftware
- Genre
- Soulslike , RPG